Hello friends! I hope you all had a fantastic weekend. Ours felt super short as usual, but was a total blast.
In case you missed it, last week I told you all about the awesome old wood that I found on the side of our house and I showed you how I used it to make my DIY Rustic Console Table. I actually still have quite a bit left over it’s been coming in handy here and there.
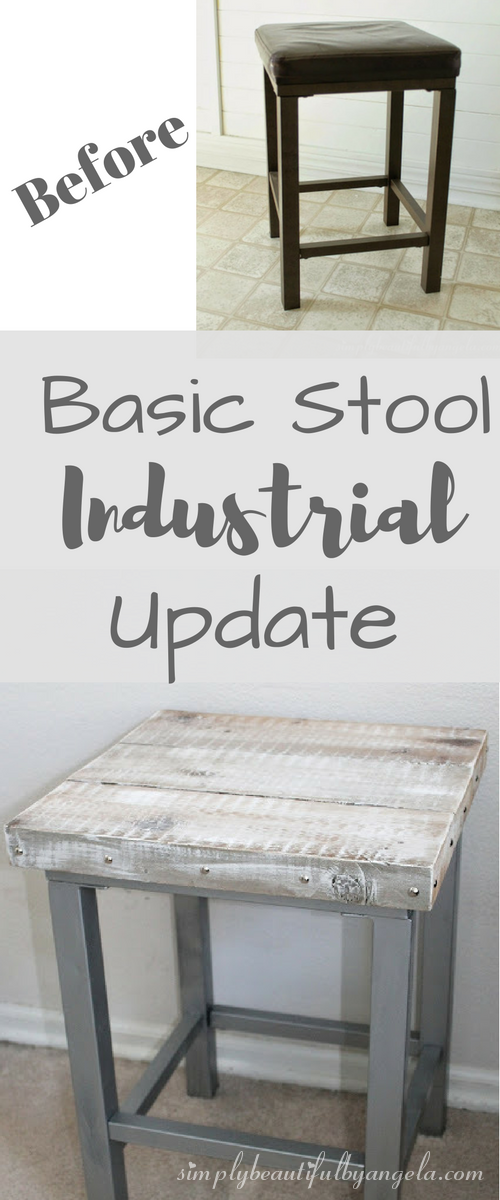
Today I’m going to show you how I used some of that awesome old wood to update this old stool and make it fit better in our industrial inspired basement.
Supplies Used: (Affiliate links may be provided for convenience. For more info, see my full disclosure here.)
-
2×6 wood (found in backyard)
-
Wood screws
-
Scrap plywood
-
White paint
-
Paintbrush
(my personal favorite!)
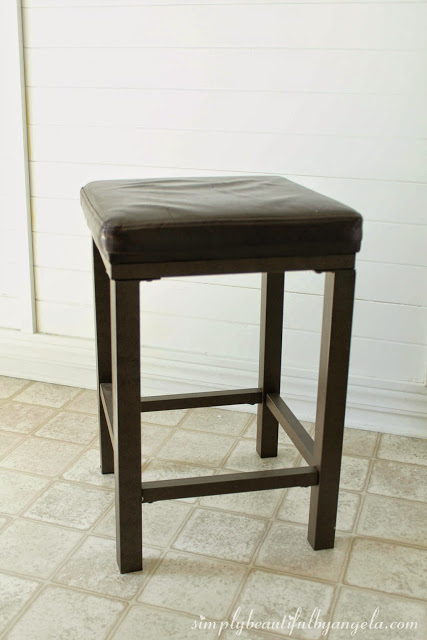
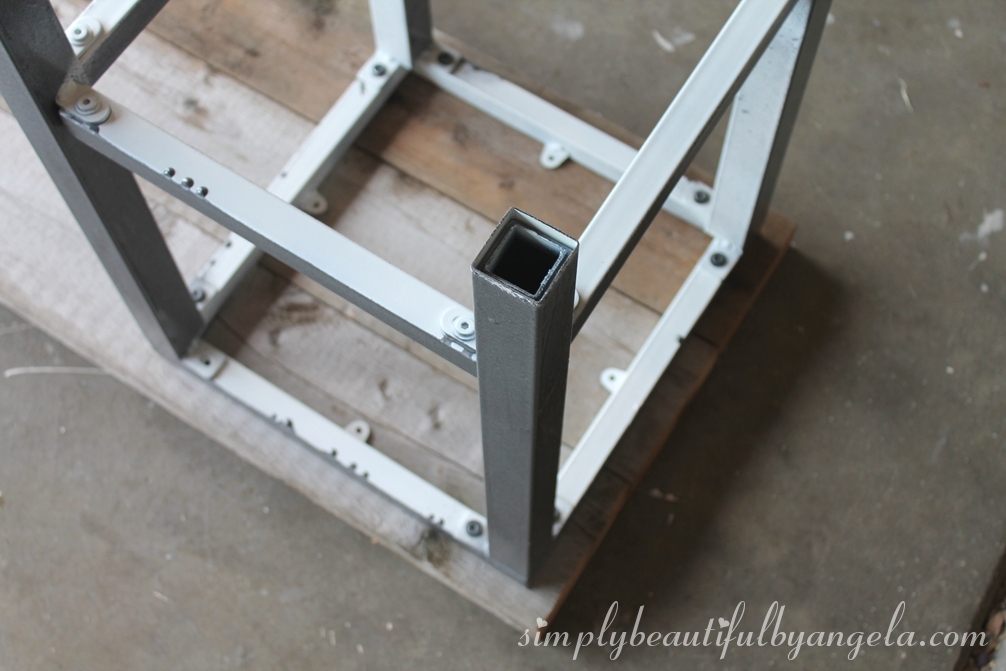
After removing the seat from the stool I began painting it with Rust-Oleum Hammered spray paint.

I love this stuff because it’s awesome at hiding imperfections, which is a must for this self-admitted sloppy spray painter haha.
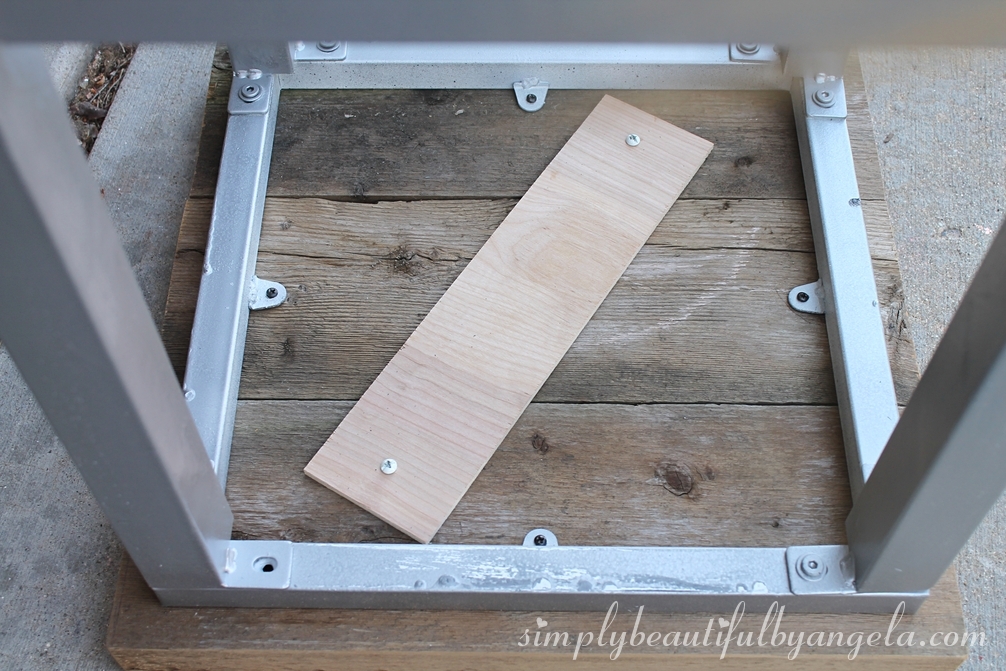
I laid the stool down on the three pieces of wood and marked where it needed to be cut.
I then attached the wood to the stool using the metal tabs that the old seat was attached to.

- It seemed somewhat wobbly, so I attached a piece of plywood across the boards to connect them a little better.
 |
And this is what it looked like when I flipped it over.

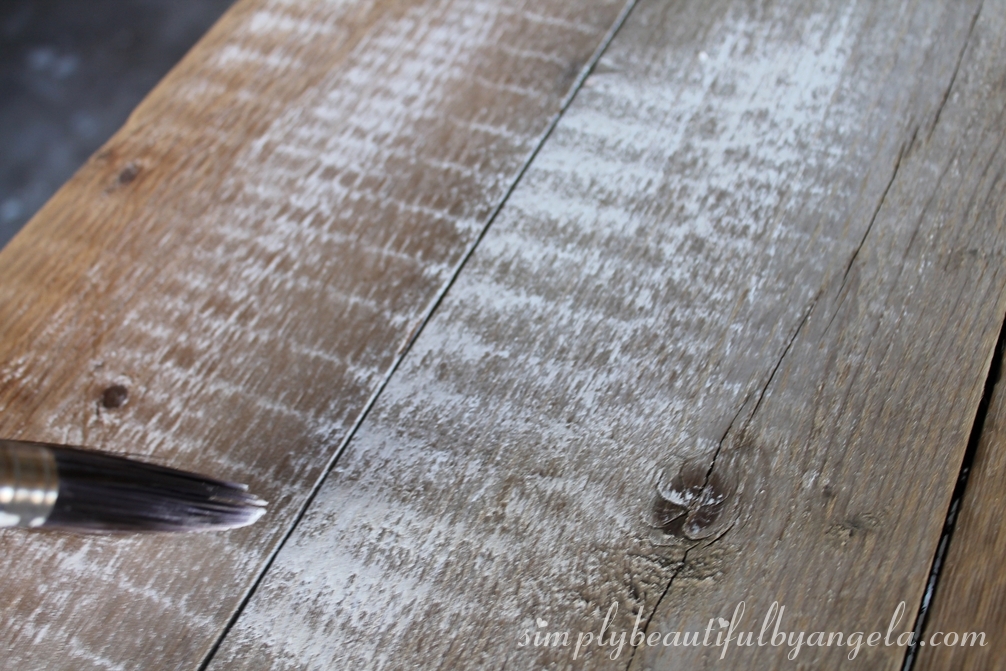
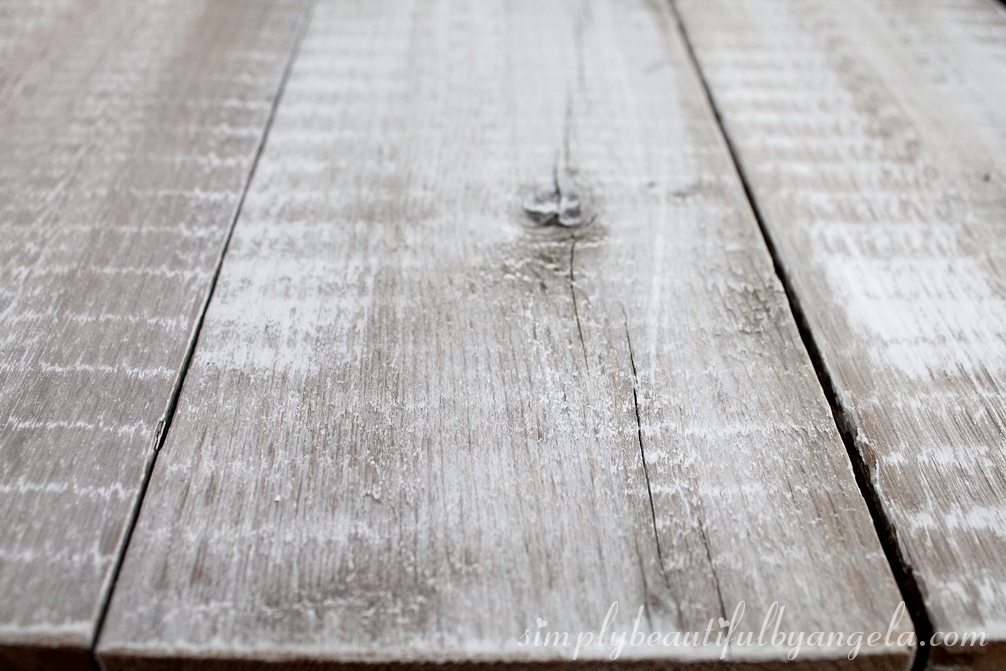
- It was nice, but needed some more interest. So after giving it a quick sanding, I dry brushed it!

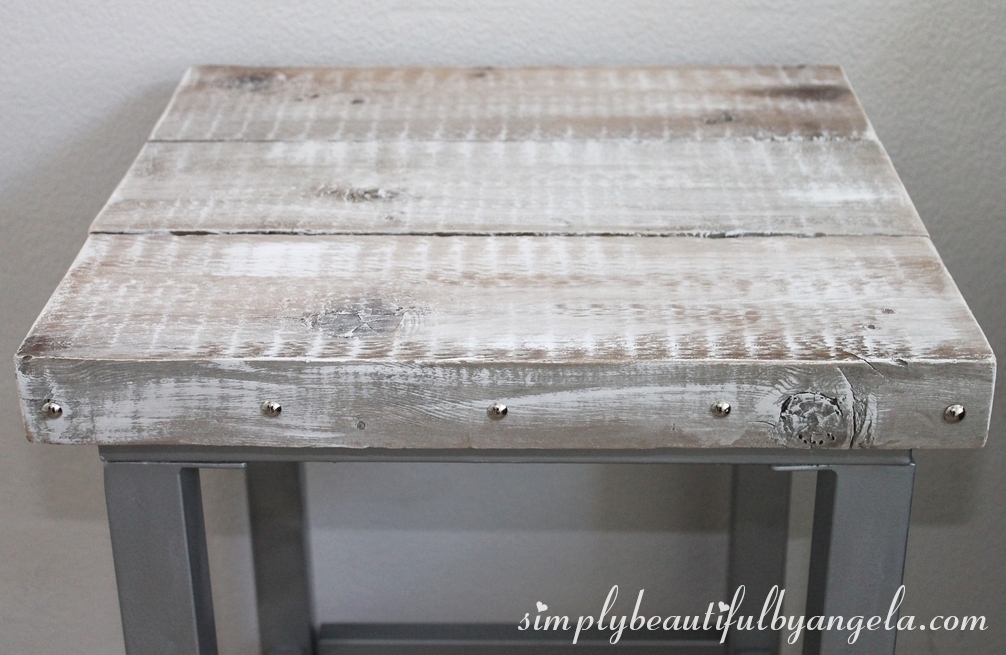
- And yet, it was still missing something. So I added a few nail heads on the edges which ended up being the perfect touch.

- And here it how it turned out!


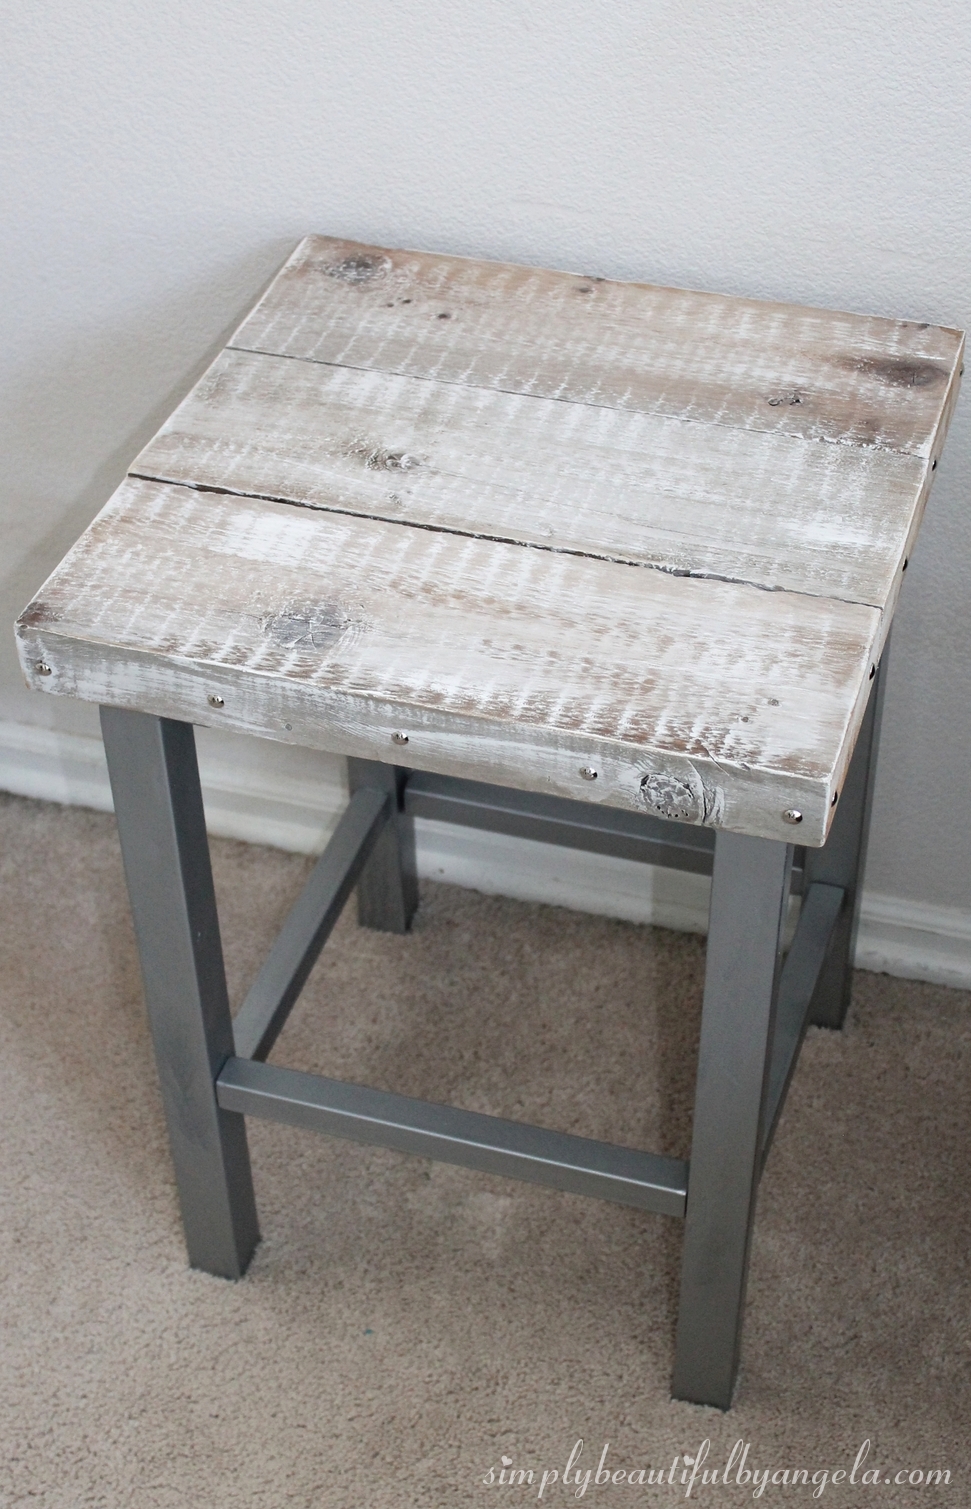
It could probably use a couple coats of polyurethane but I honestly haven’t gotten around to doing that yet! Maybe once our hectic summer slows down a bit? (Who am I kidding, I’ll be lucky if it gets done by the end of February…) There you go friends–a short and sweet tutorial for this short and sweet stool 🙂 Hope you all have a fantastic week!
Linking up to these awesome parties!
