
The Rules:
- Upcycle an item(s) from a thrift store, resale store, or garage sale into a new piece of decor.
- There’s no monthly theme.
- There’s no budget to stick to.
Meet the Hosts
Victoria | Dazzle While Frazzled Pili | Sweet Things
Debra | Shoppe No. 5 Jeannee | Shepherds and Chardonnay Sue | A Purdy Little House
Kimm | Reinvented Ann | Duct Tape and Denim Kathleen | Our Hopeful Home
Dru | Polka Dot Poplars Toni | Small Home Soul Angela | Simply Beautiful by Angela
Michelle | Our Crafty Mom Marie | DIY Adulation Chelsea | Making Manzanita
Michelle | Michelle James Designs Denise | My Thrifty House Sara | Twelve on Main
Molly | Just a Little Creativity Chelc | Inside the Fox Den
Colleen | Life on Kaydeross Creek Florence | Vintage Southern Picks
Make sure you follow our board on Pinterest for more upcycled decor inspiration!
Supplies Used: (Affiliate links may be provided for convenience. For more info, see my full disclosure here.)
- Flat Black Spray Paint
- Waverly Inspirations Chalk Paint in Mineral
- White Paint
Medium Grit Sandpaper
- 1×6
- Minwax Wood Stain in Provincial
- Liquid Nails

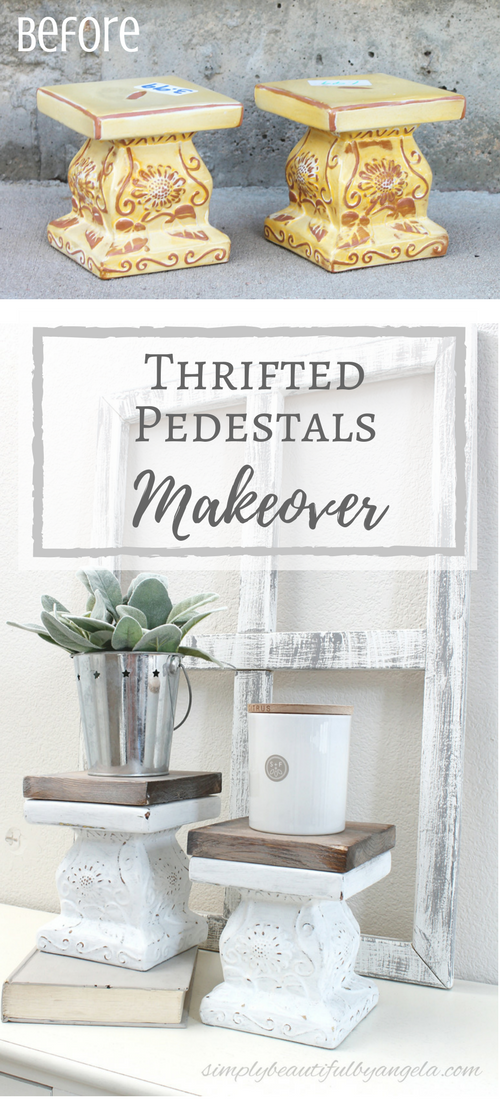
One was marked at $3.99 and the other at $1.99 but the cashier gave them both to me at the lower price–yay!! PLUS it was 50% of Saturday so I got both of them for only $1 each.
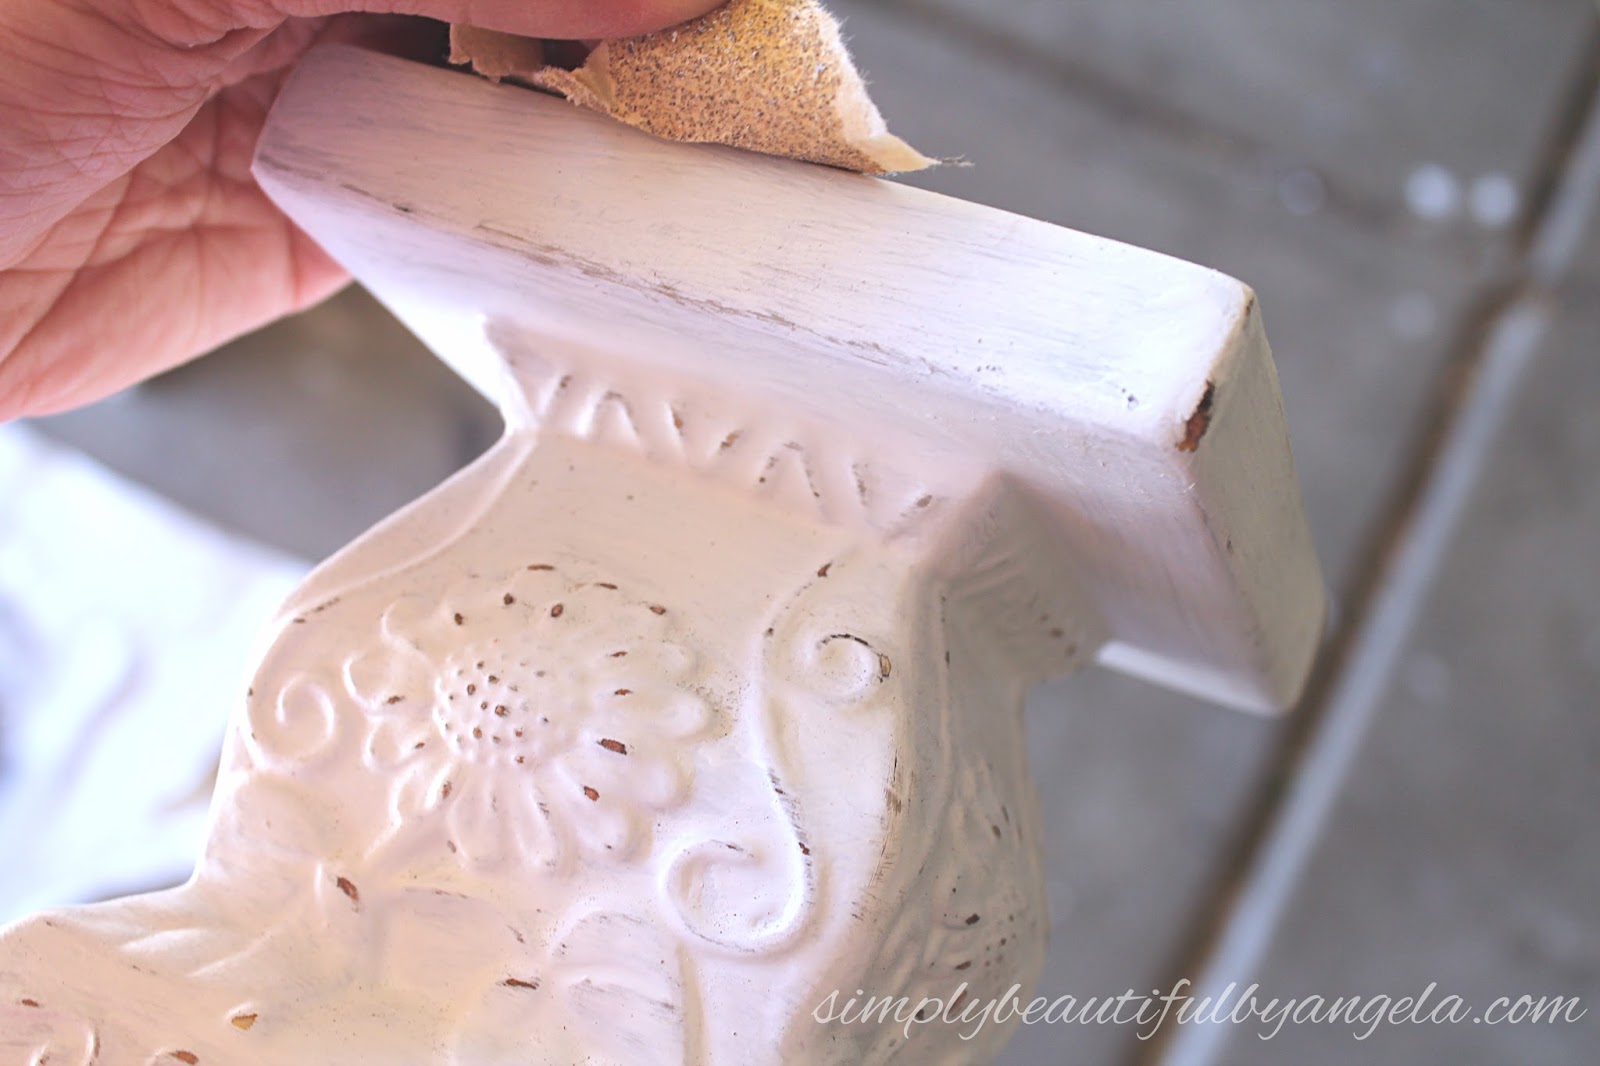
Now even though there is nothing necessarily wrong with sunshine yellow, I am a neutral girl to the core so I knew that they just had to be painted white.
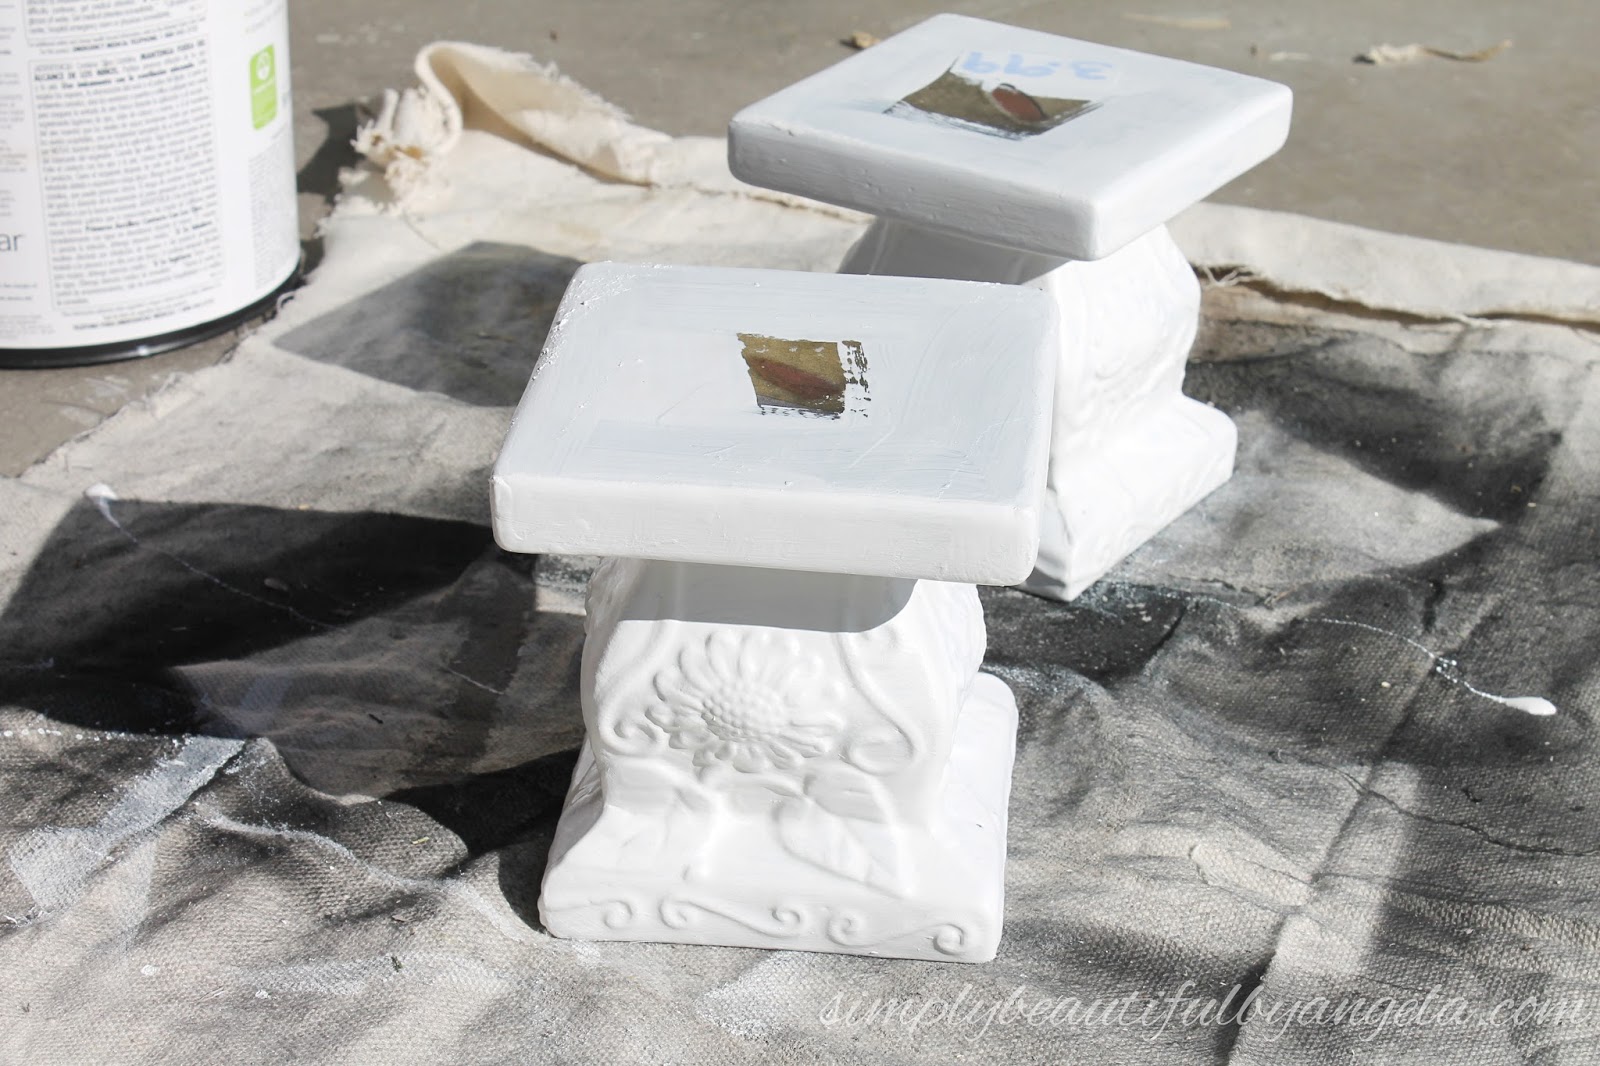
I wanted to create multiple paint layers since I wanted to distress them so I started with a coat of flat blat spray paint.

Did you catch that I didn’t remove the price stickers or paint the tops? That is because I planned on eventually covering them as you will see in a second.
Once the black was dry I applied a coat of light brown chalk paint from my stash.

I love a good white and wood combo so I measured the tops and then cut a piece that size out of some scrap 1×6. I stained them with my trusty Minwax Wood Stain in Provincial and let them dry.
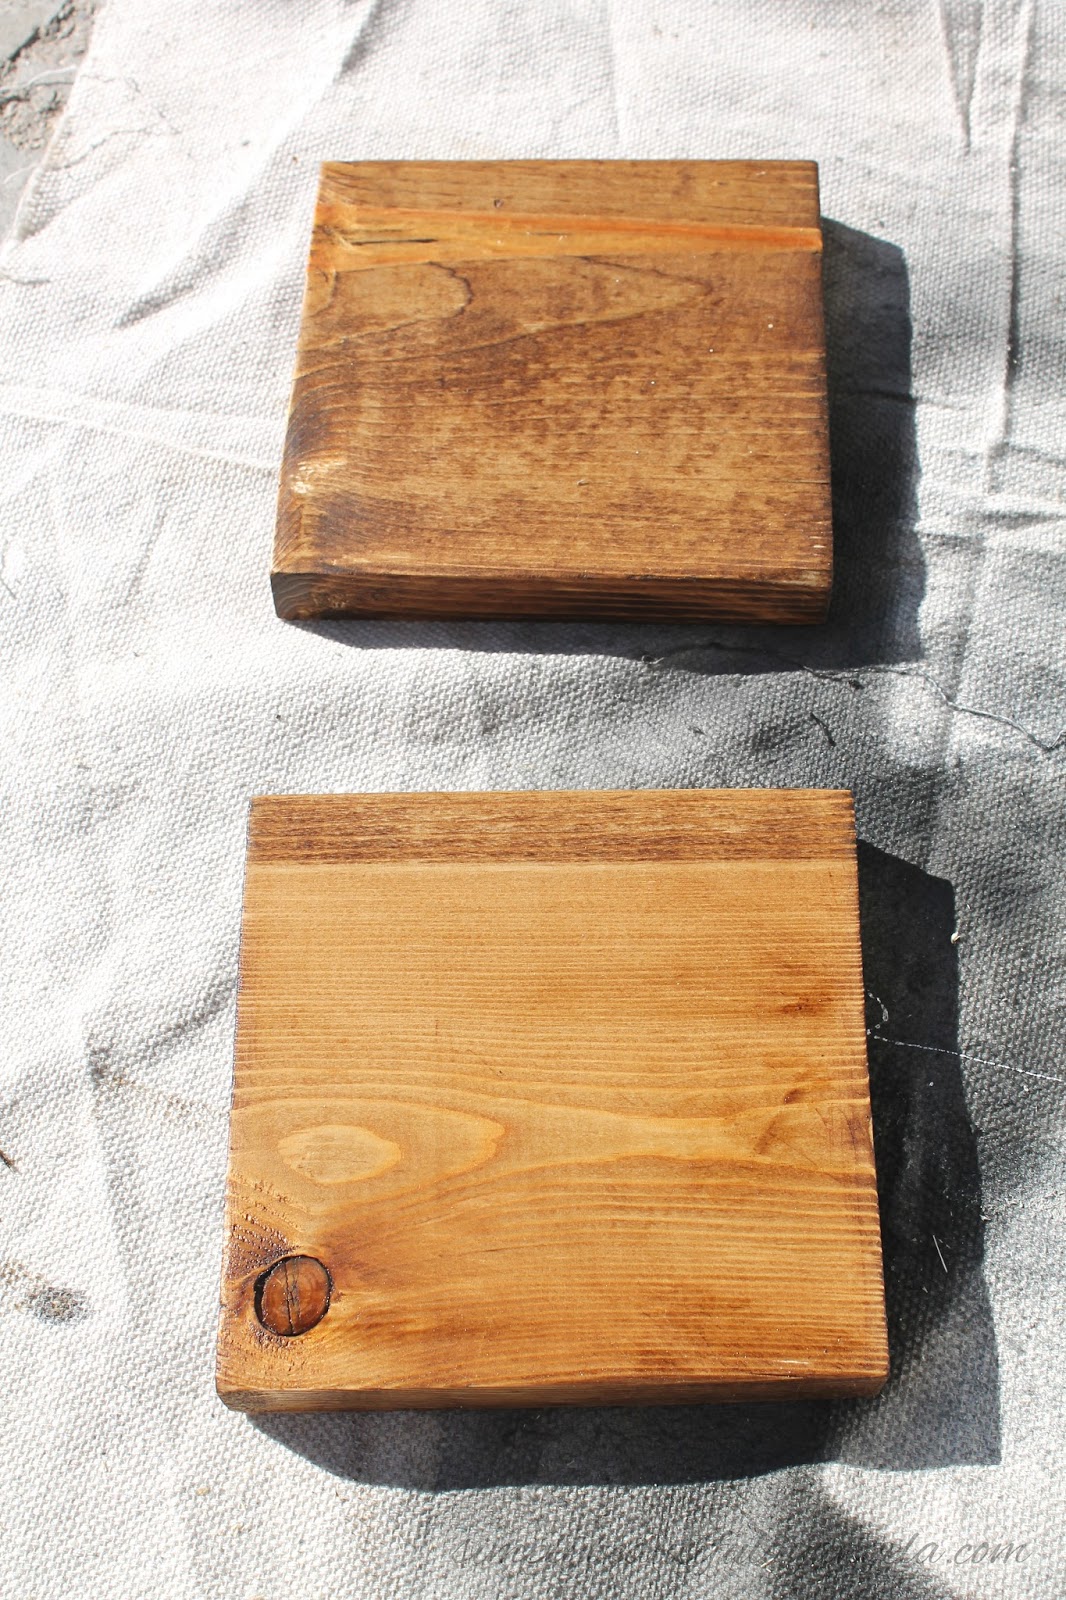
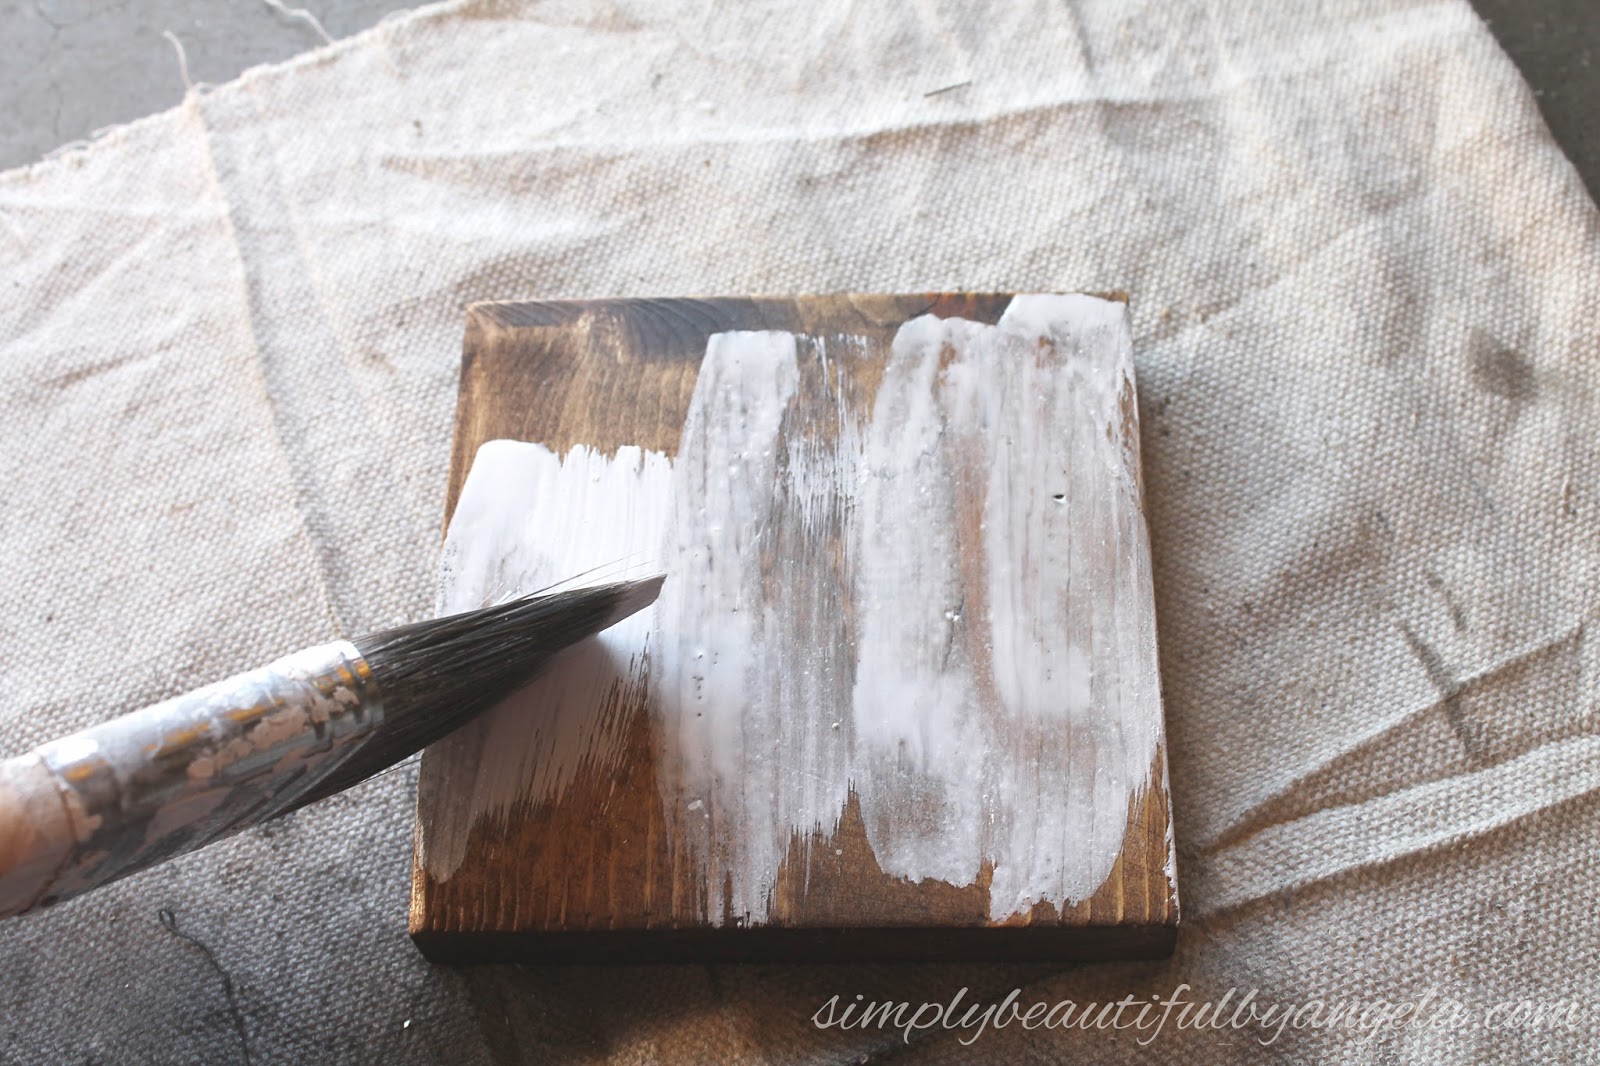

Super pretty, right?!
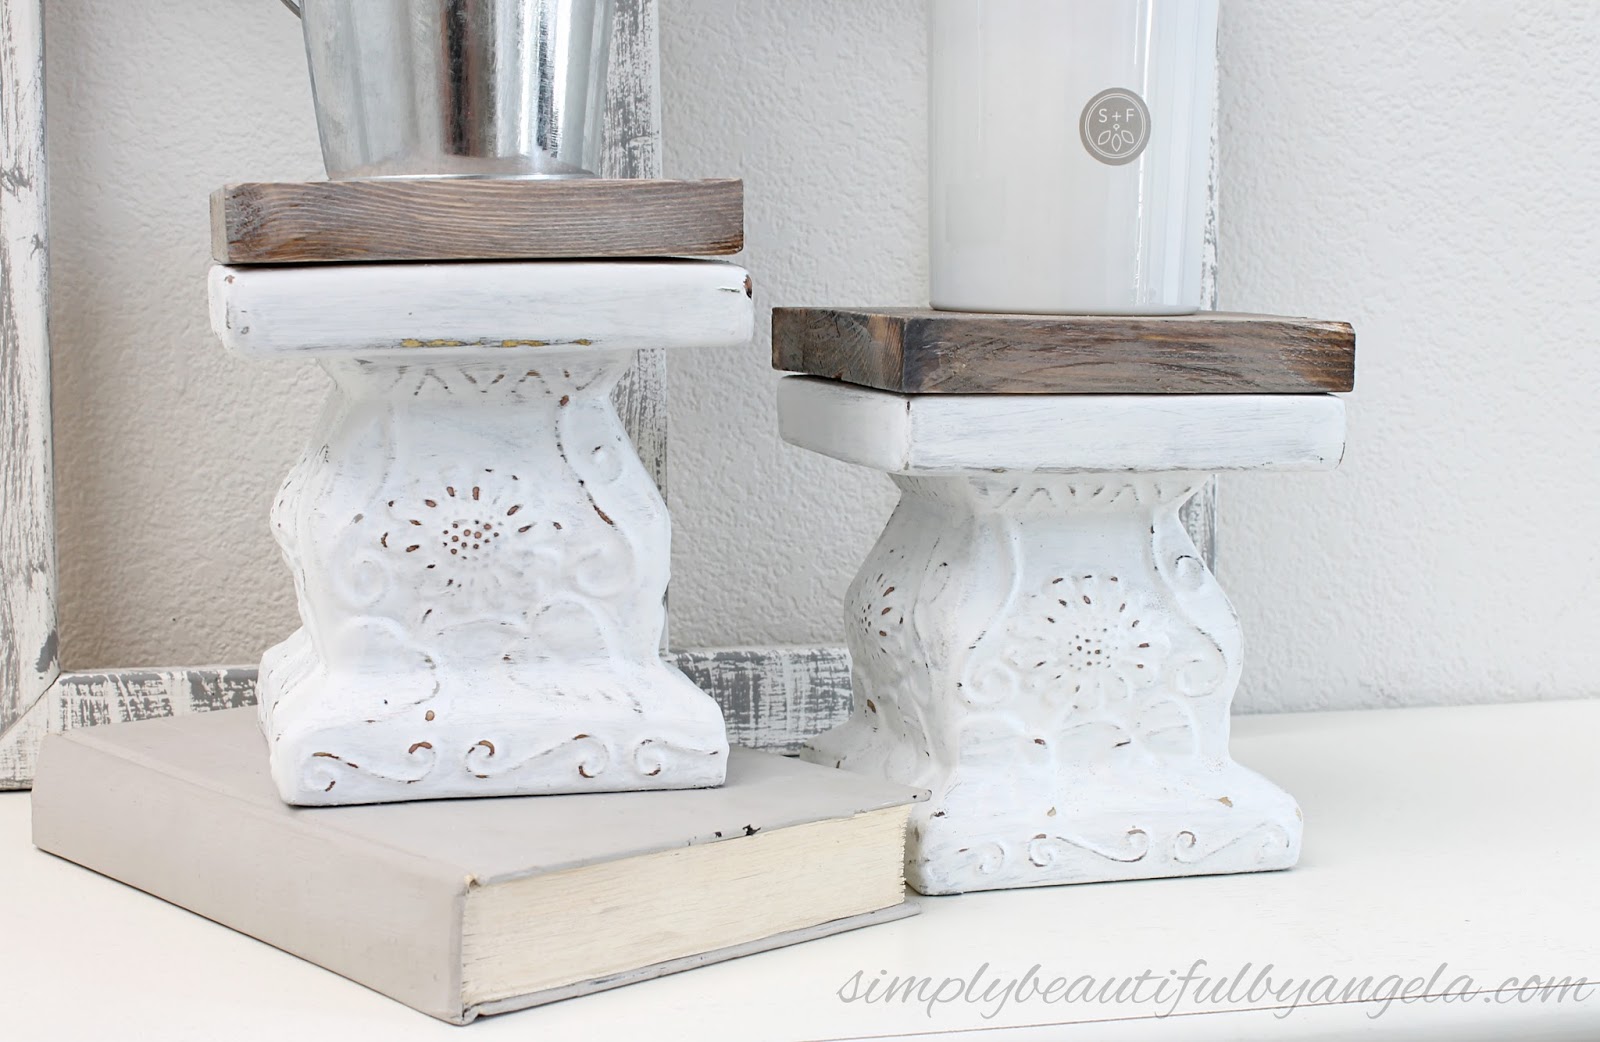
I applied some liquid nails to the back of the wood squares to attach them to the pedestals.

This is how they turned out all put together!


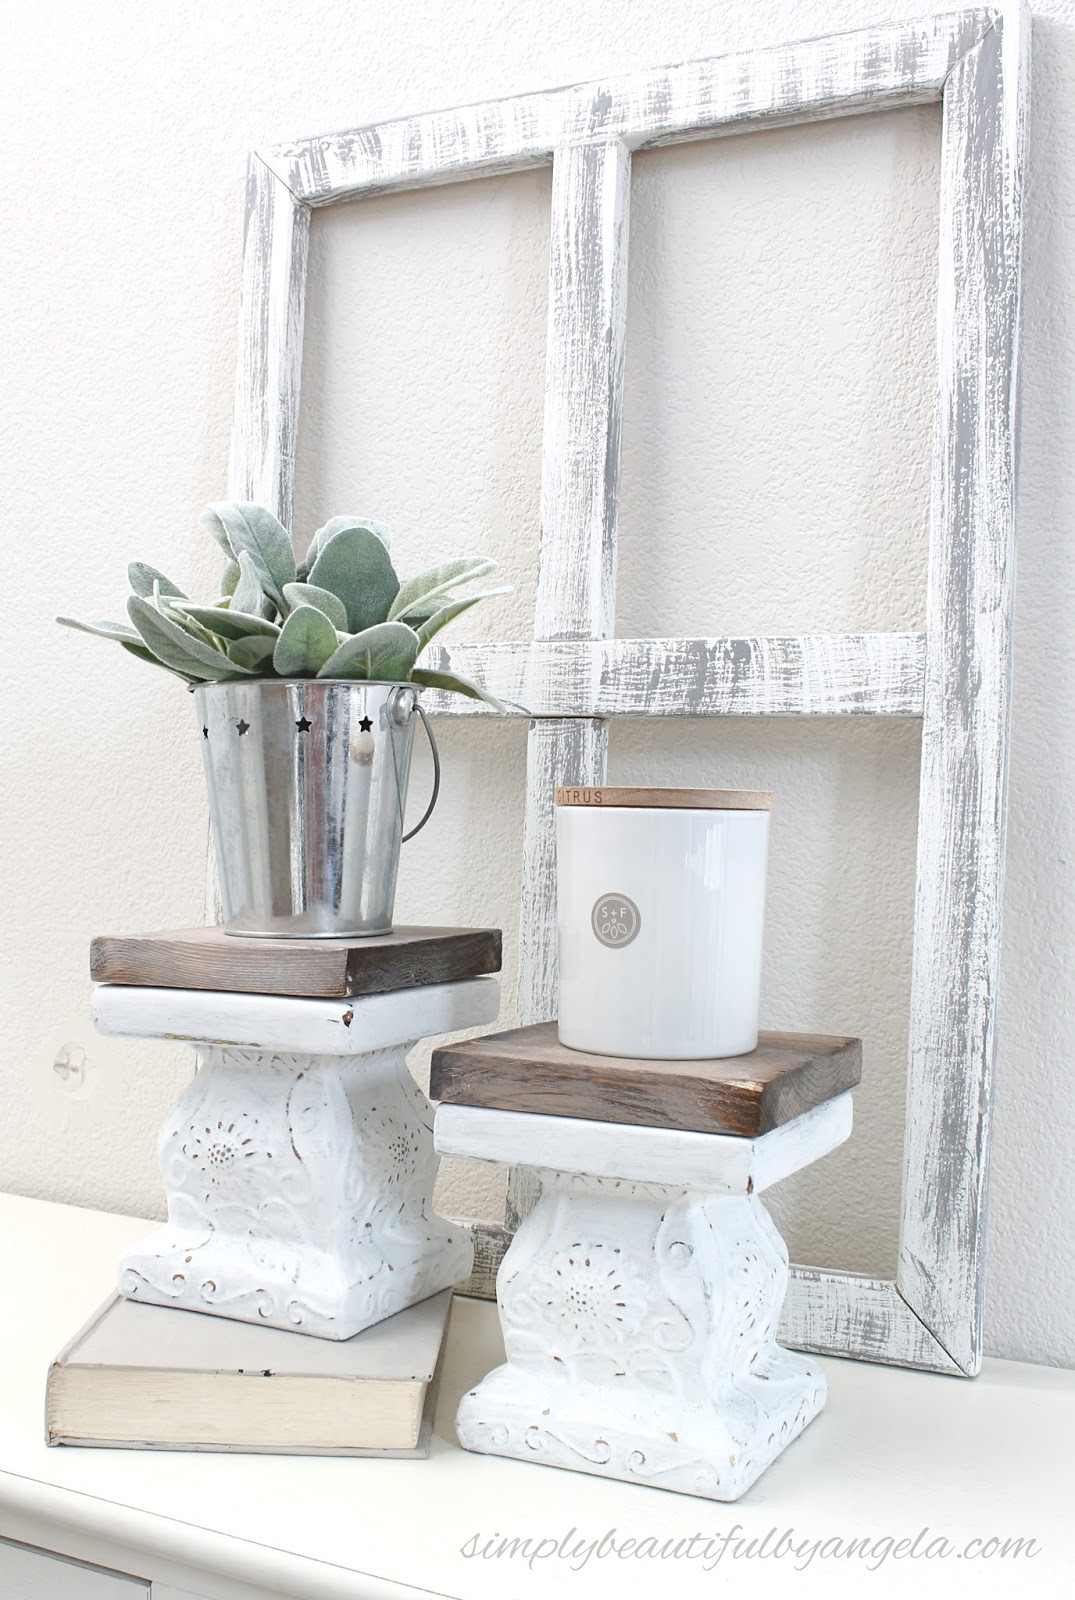


And now for more thrifty goodness!
Check out what my fellow upcyclers created below!