Hello my friends–I hope you’re all having a great week so far. Thank you all for joining me today for another fun and exciting Thrift Store Décor Upcyle Challenge!
Each month I team up with some awesome blogger friends to transform a thrifted item into something great. As you’ll see in this post it’s not always easy and can sometimes be a real challenge!

The Rules:
- Upcycle an item(s) from a thrift store, resale store, or garage sale into a new piece of decor.
- There’s no monthly theme.
- There’s no budget to stick to.
Meet the Hosts
Victoria | Dazzle While Frazzled Pili | Sweet Things Debra | Shoppe No. 5
Chelc | Inside the Fox Den Jeannee | Centsably Creative Michelle | Michelle James Designs
Molly | Just a Little Creativity Angela | Simply Beautiful by Angela
Marie | DIY Adulation Denise | My Thrifty House Lindsay | Crazy Organized
Florence | Vintage Southern Picks Shirley | Intelligent Domestications
Make sure you follow our board on Pinterest for more upcycled decor inspiration!
Supplies Used: (Affiliate links may be provided for convenience. For more info, see my full disclosure here.)
- Simple Green
- White Paint
- Plaster of Paris
- Plywood
- Nails
- Liquid Nails
- 1×2 scraps
- Molding
- Latex Caulk
- Nail Tap
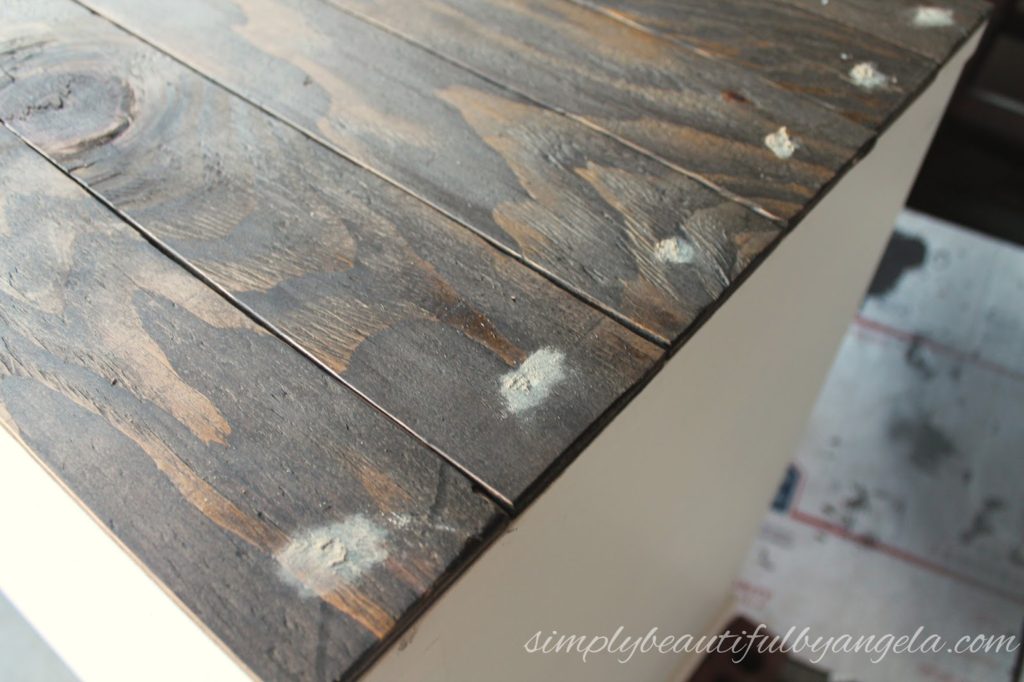
- Stainable Wood Filler
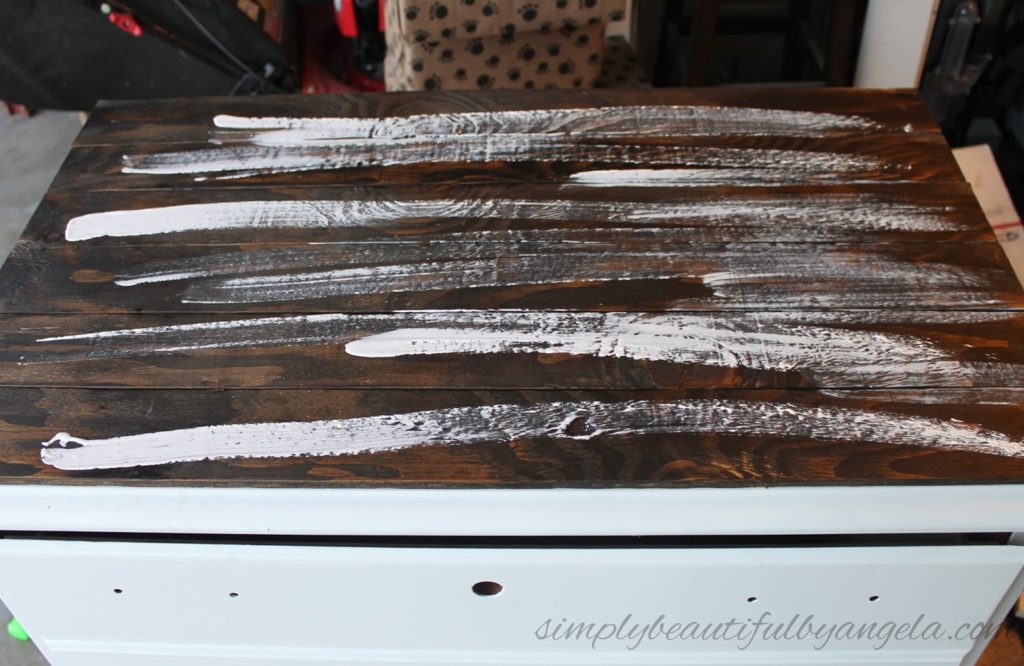
- Minwax Stain in Jacobean
- Medium Grit Sandpaper
- Polyurethane In Satin
- Rust-Oleum Oil Rubbed Bronze Spray Paint
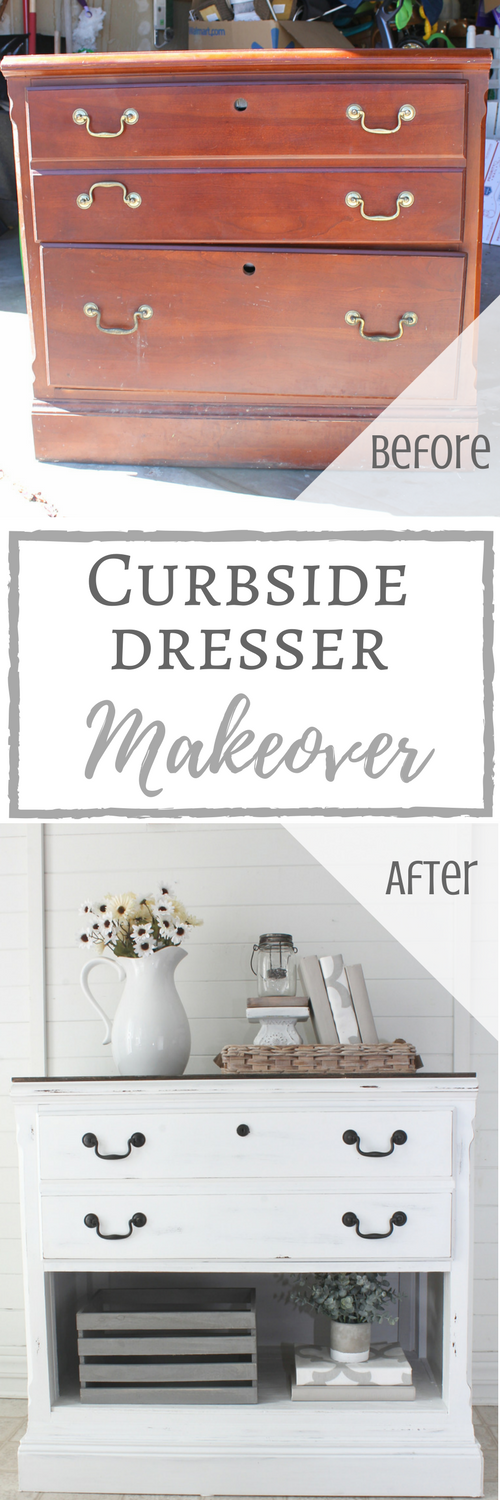
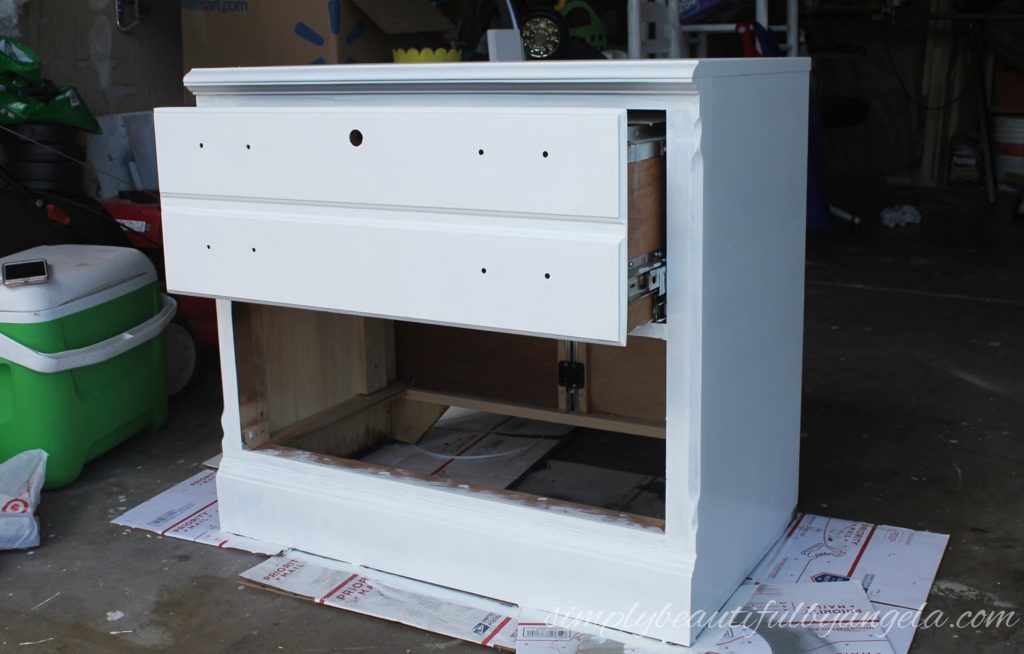
Without further ado, let’s meet this month’s lucky contestant…
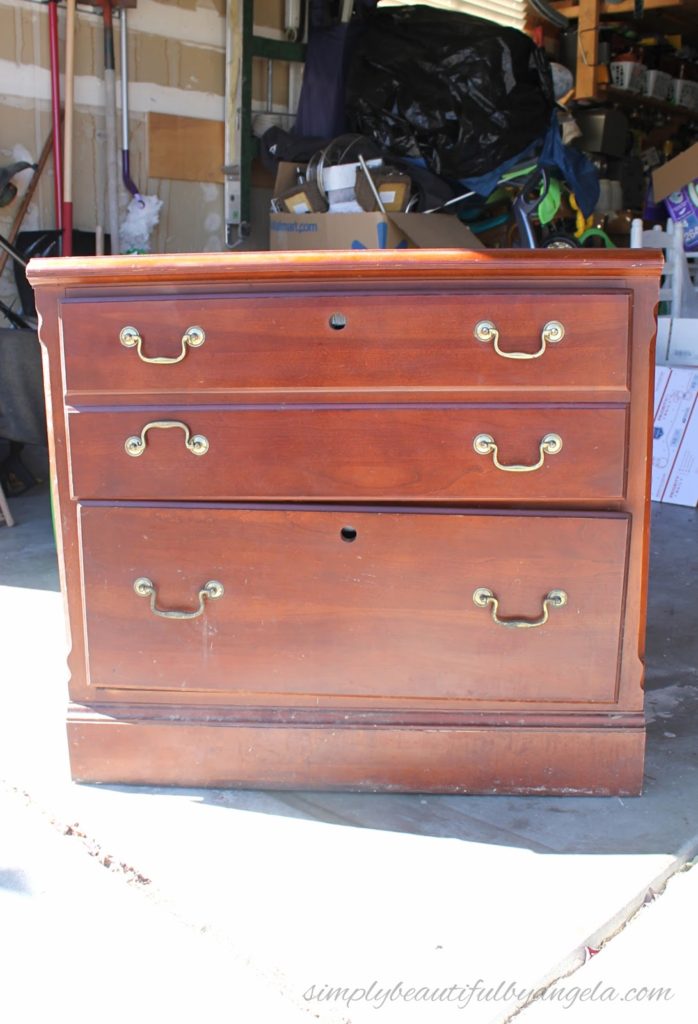
I came home later that day and I noticed that it was sitting our garage. Huh?? The hubby ended up grabbing it for me and proudly brought it home without knowing that I had already decided to pass on it. Bless his heart!
It sat for a couple of weeks while I pondered whether or not I wanted to work on it or not. To be fully honest, I considered setting back out on the curb for someone else haul it away! But one day during the boys’ naptime I was bored so I thought, “what the heck, let me see what I can do with this…”
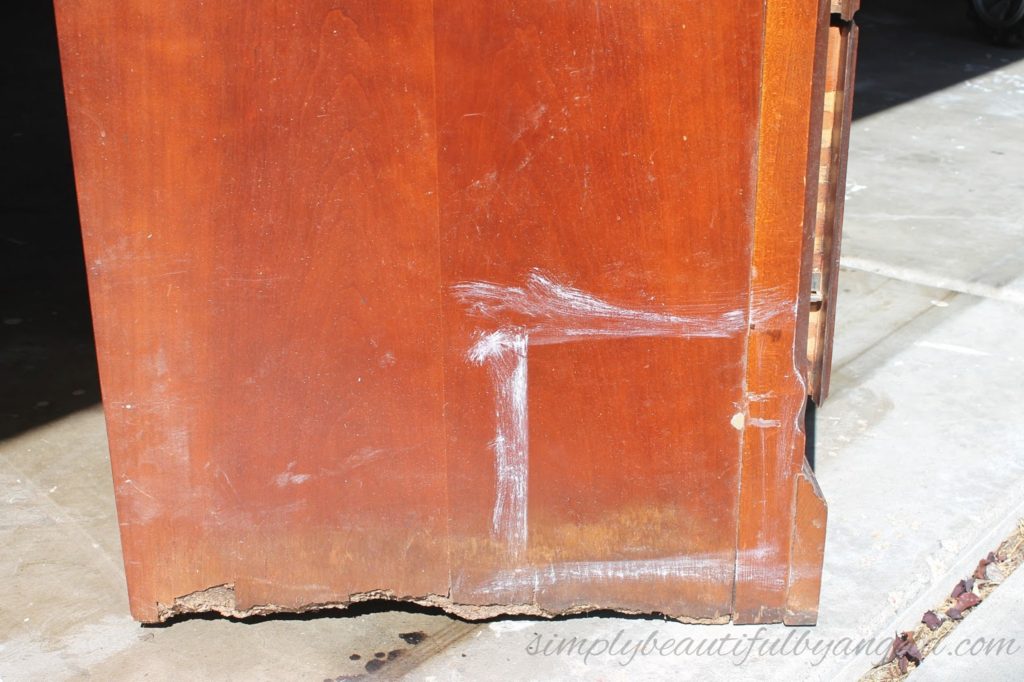
I began by doing a hardcore cleaning job. Seriously, this thing was a nightmare. First it was the dried up gunk all over the surface. Then it was the dead spiders hiding out inside. But the real show stopper was the mouse droppings I found when I took out the broken bottom drawer.. Yes, freaking mouse droppings. As soon as I saw that I must have paced around for at least 30 minutes trying to figure out what to do with it. But finally I put on my game face, grabbed the Simple Green, hauled it out to the grass and hosed it down.
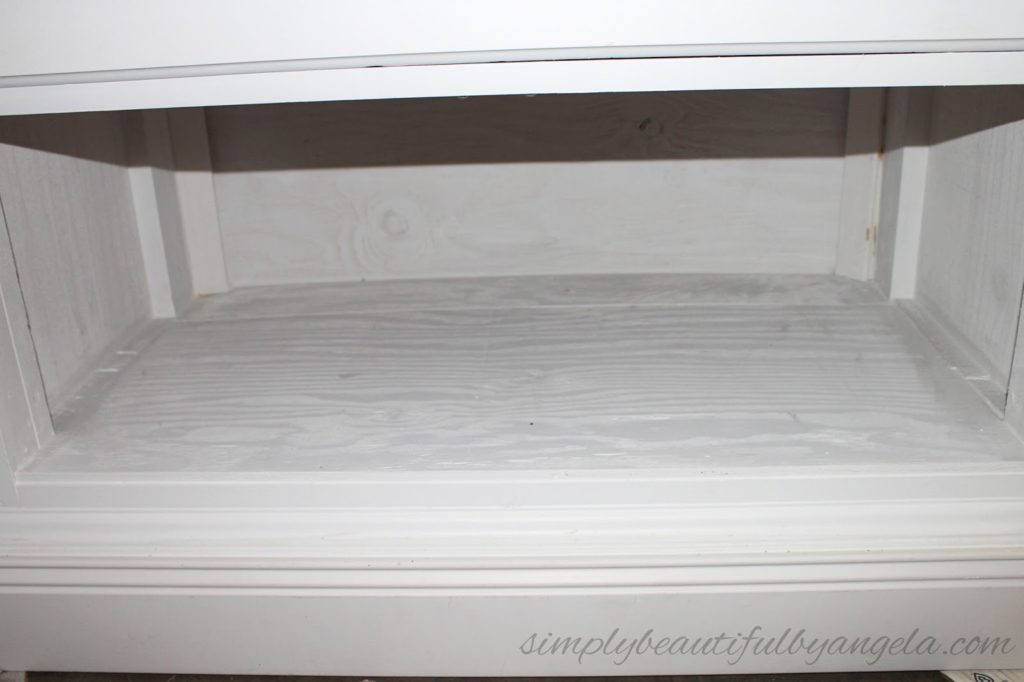
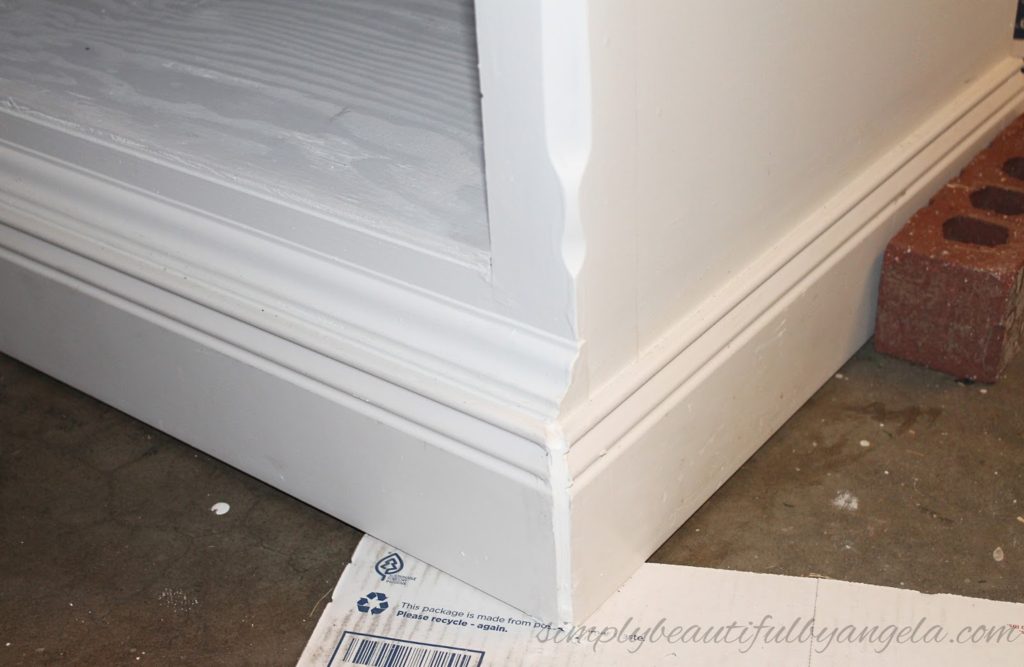
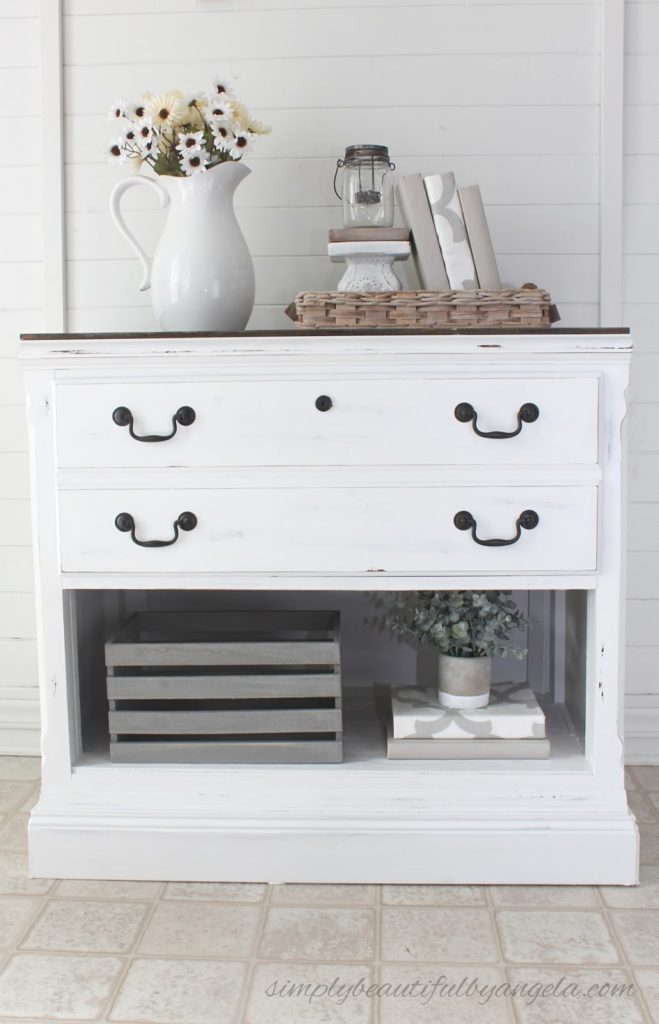
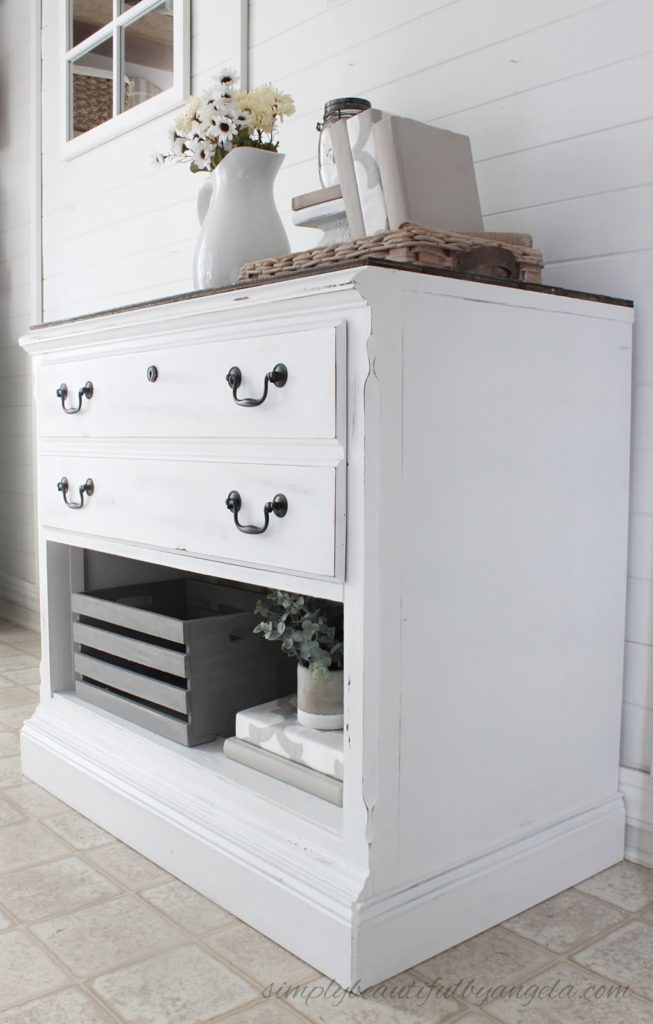
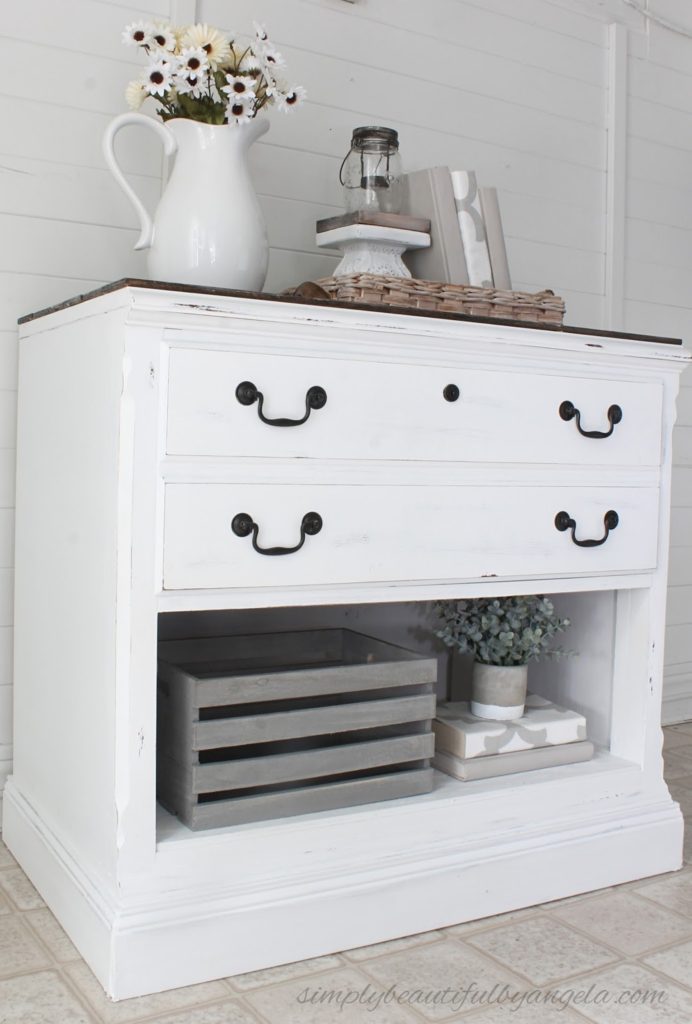
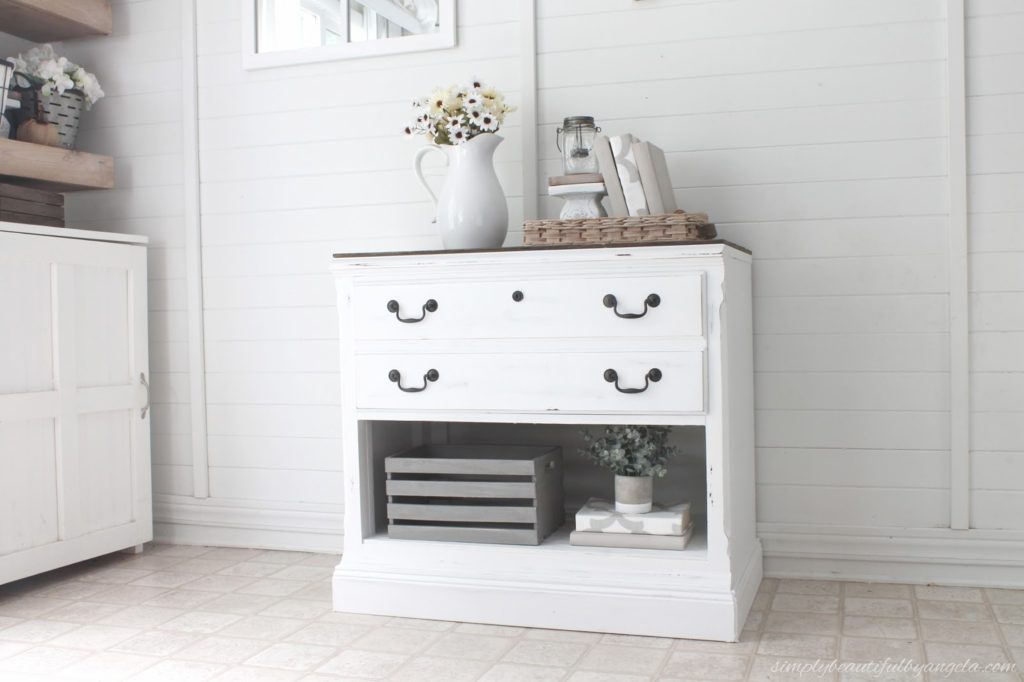
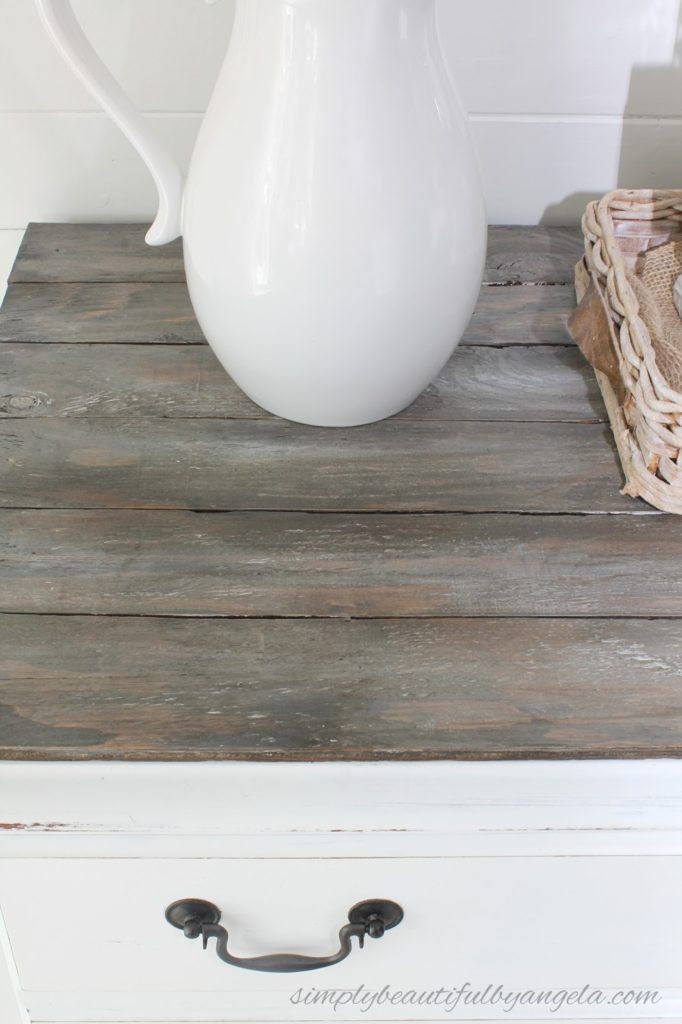
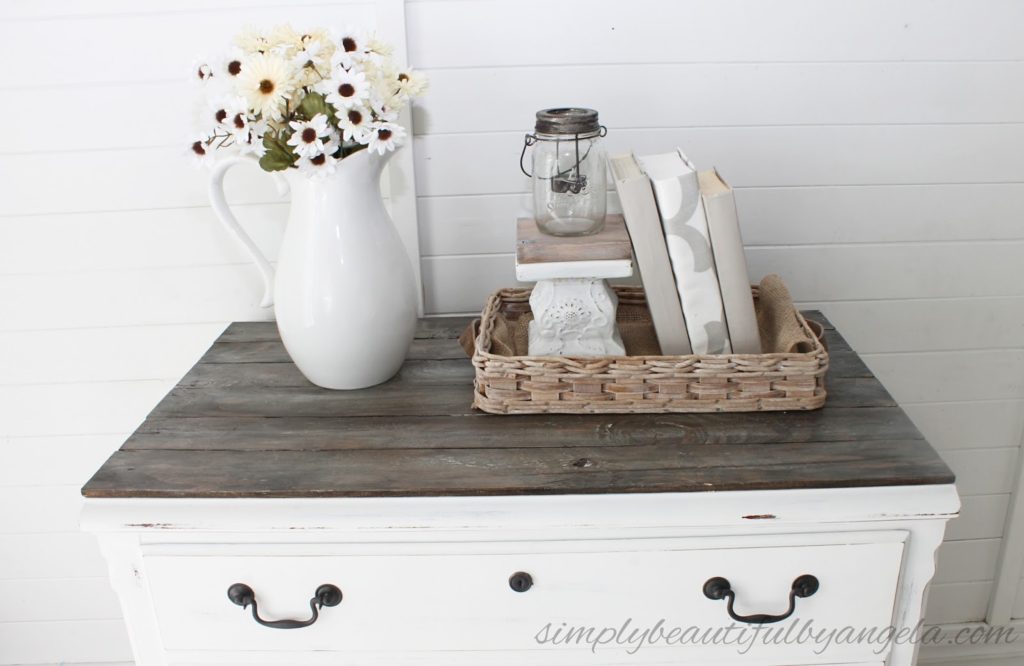
Luckily it was like 100 degrees outside so it dried almost instantly. After giving it a couple of coats of my DIY chalk paint (paint + Plaster of Paris) with a small foam roller it’s future was already starting to look a lot brighter.
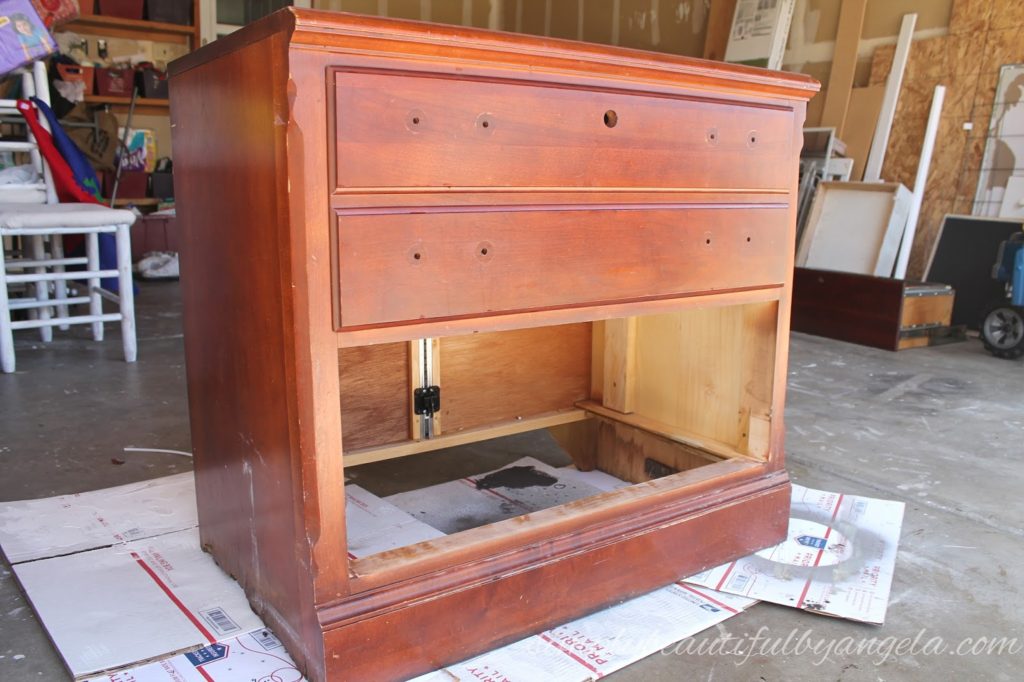
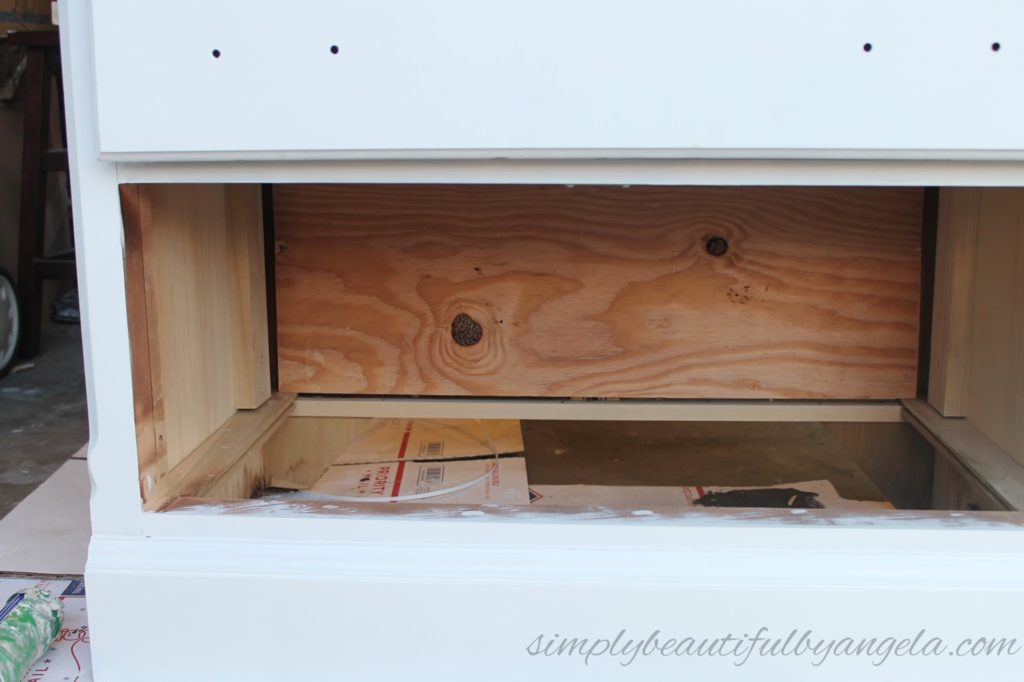
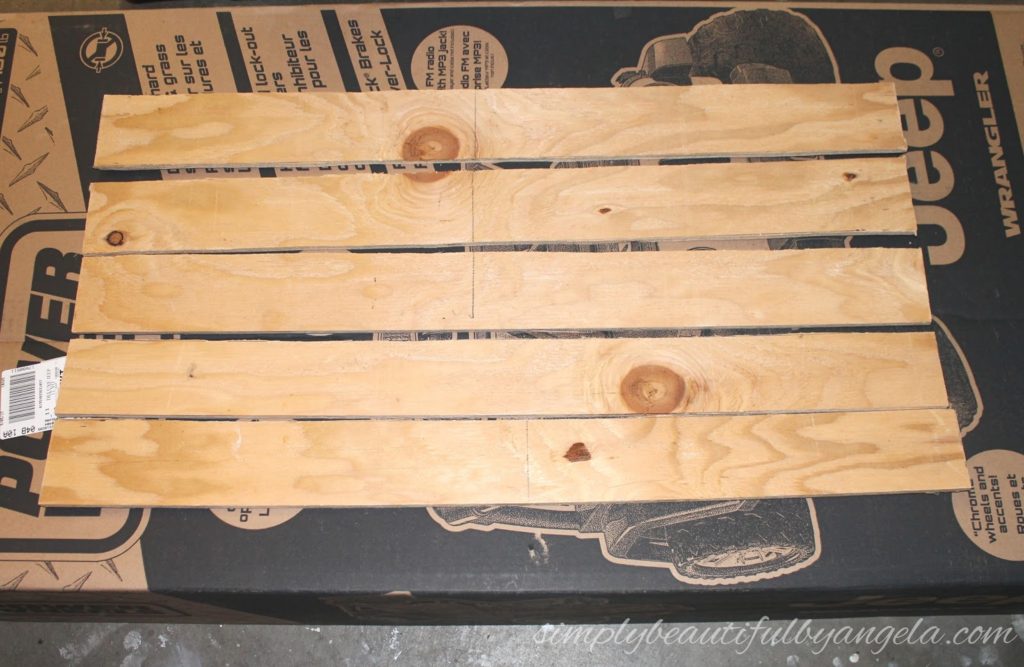
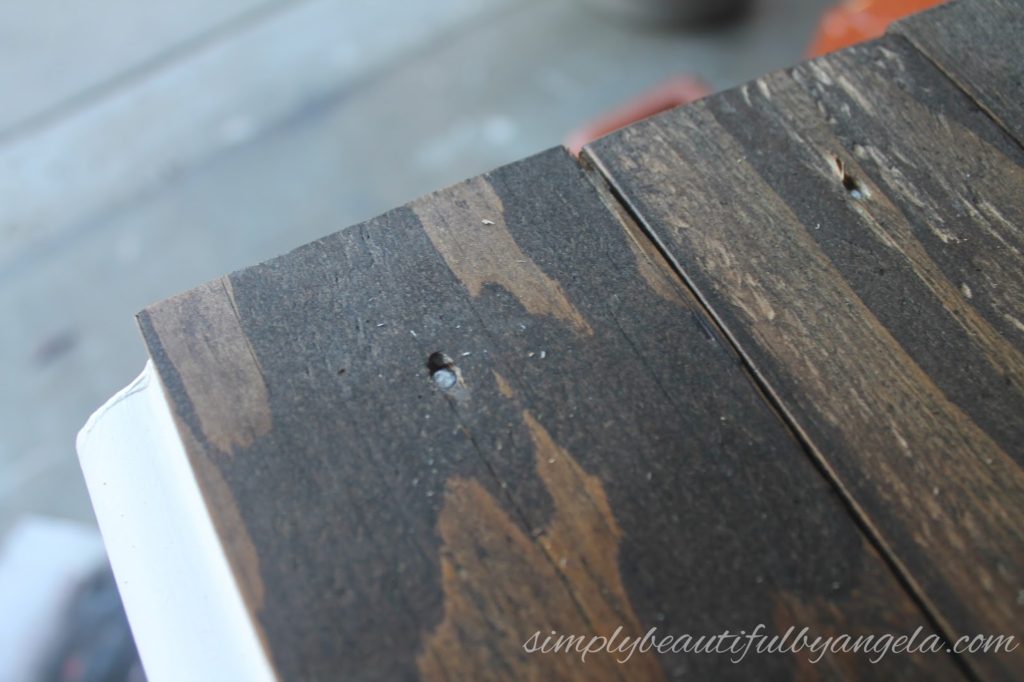
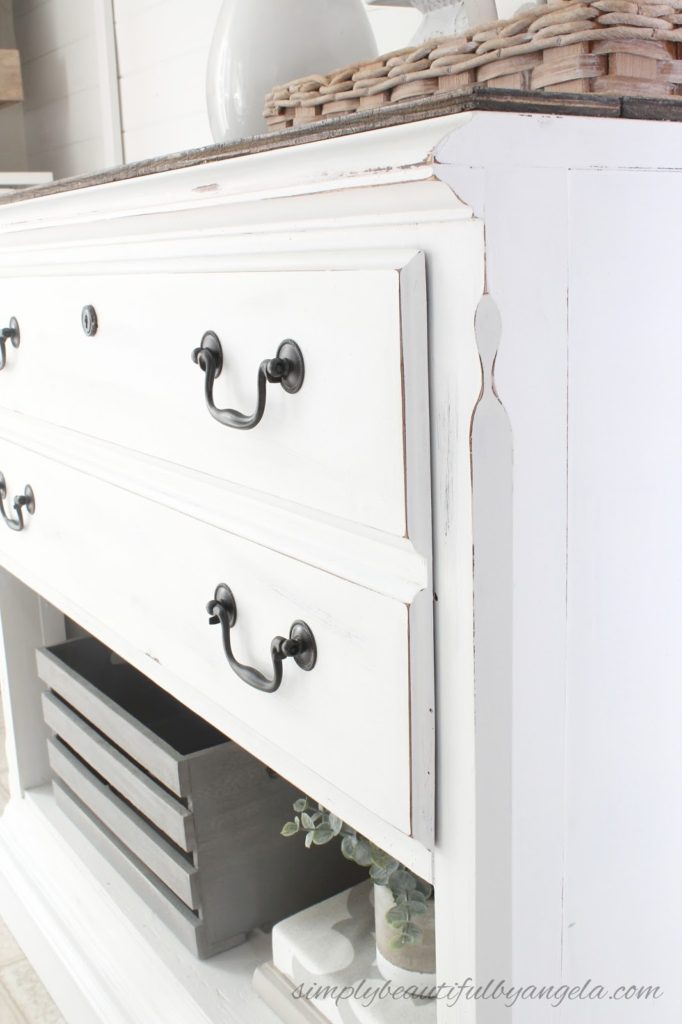
To hide the old drawer track at the back I cut down a piece of plywood that I had laying around and used liquid nails to attach it.
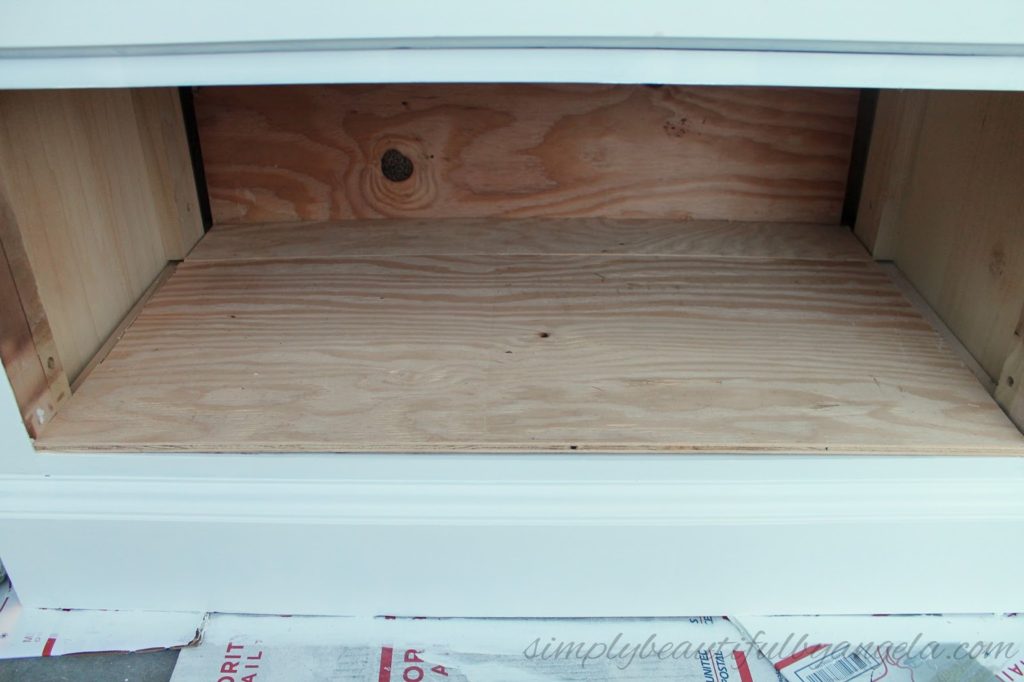
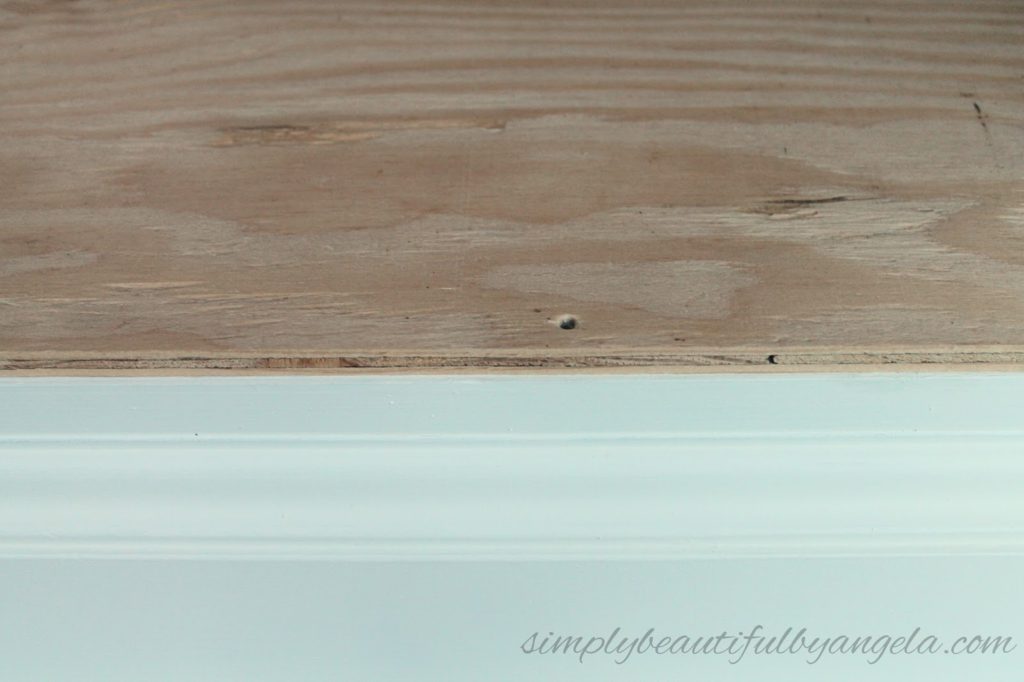
I cut a second piece of plywood for the bottom shelf and attached it with nails to the front.


Thanks for stopping by, I’ll be back next week with an update on how our floors are going (eek!!) as well as plans for the next One Room Challenge!
And now for more thrifty goodness!