
Hello everyone and welcome to the first thrift store challenge of 2019!
After taking the past two months off for the holidays, I’m super pumped to start back up with this amazing inspiration-filled challenge with my blogging buddies. I actaully haven’t done any thrifted flips since the October project, so it made it even more exciting to dive in to it this month.
Alright, so without further ado let’s get started!

The Rules:
- Upcycle an item(s) from a thrift store, resale store, or garage sale into a new piece of decor.
- There’s no monthly theme.
- There’s no budget to stick to.
Meet the Hosts
Angela | Simply Beautiful By Angela – Heather | Glitter On A Dime Amanda | Domestically Creative – Michelle | Our Crafty Mom Jenny | Cookies Coffee and Crafts – Ali | Home Crafts by Ali – Lynn | My Family Thyme – Emy | Semigloss Design – Denise | My Thrifty House – Michelle | Michelle James Designs – Debra | Shoppe No 5 – Habiba | Craftify My Love – Victoria | Dazzle While Frazzled – Ann | Duct Tape and Denim – Molly | Just a Little Creativity – Morgan | Charlston Crafted – Meredith | Southbound Blog
Make sure you follow our board on Pinterest for more upcycled decor inspiration!
Usually for these challenges I go in to the thrift store with absolutely no idea what I am looking for. I try to find something that pops out at me and then go from there. However this time I went in with a very specific search…sweaters!
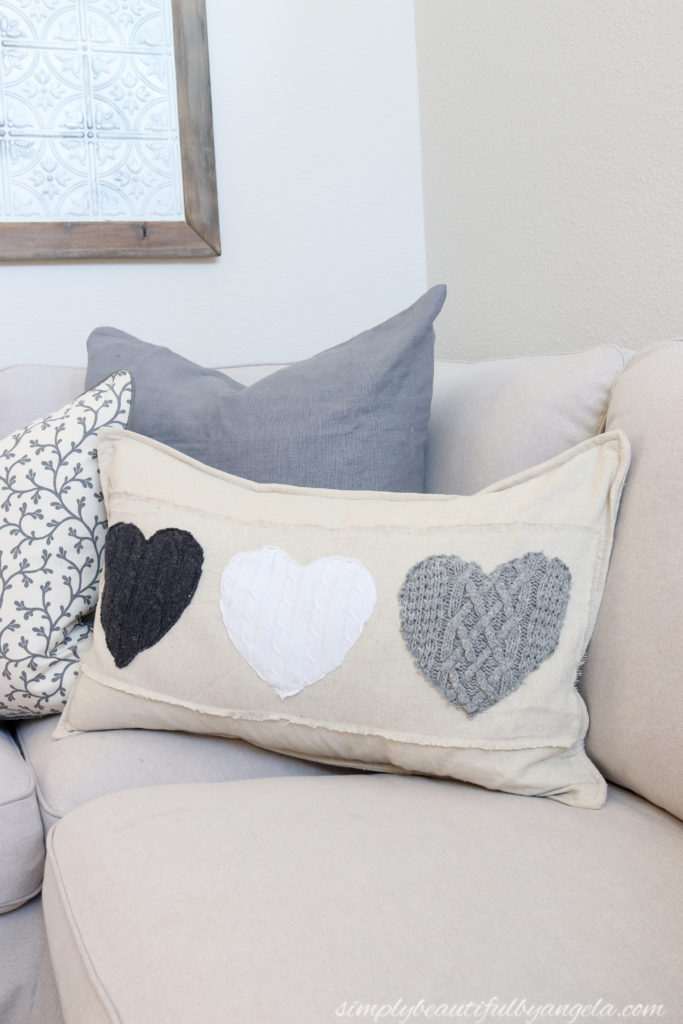
Last year I added a little bit of Valentine’s decor around the house for the first time. I had so much fun with it that I decided to expand it even more this year. I wanted to create a Valentines’ themed pillow since we all know that I have a slight obsession with them. I started brainstorming ideas and came up with the idea to use old sweaters to create some cozy heart appliques. So off to the thrift store I went!
Supplies Used: (Affiliate links may be provided for convenience. For more info, see my full disclosure here.)
- Thrifted sweaters
- Sharpie
- Canvas Drop Cloth
- Coordinating thread
- Sewing Machine (this is mine and I love it!)
- Measuring tape
- Sewing pins
- 12″ x 26″ Pillow Insert (I get mine from IKEA but these are priced well too if you don’t have one nearby)
- 24″ x 24″ Pillow Inserts (I had them on hand already from some old ones that I removed the covers from)
Step 1.
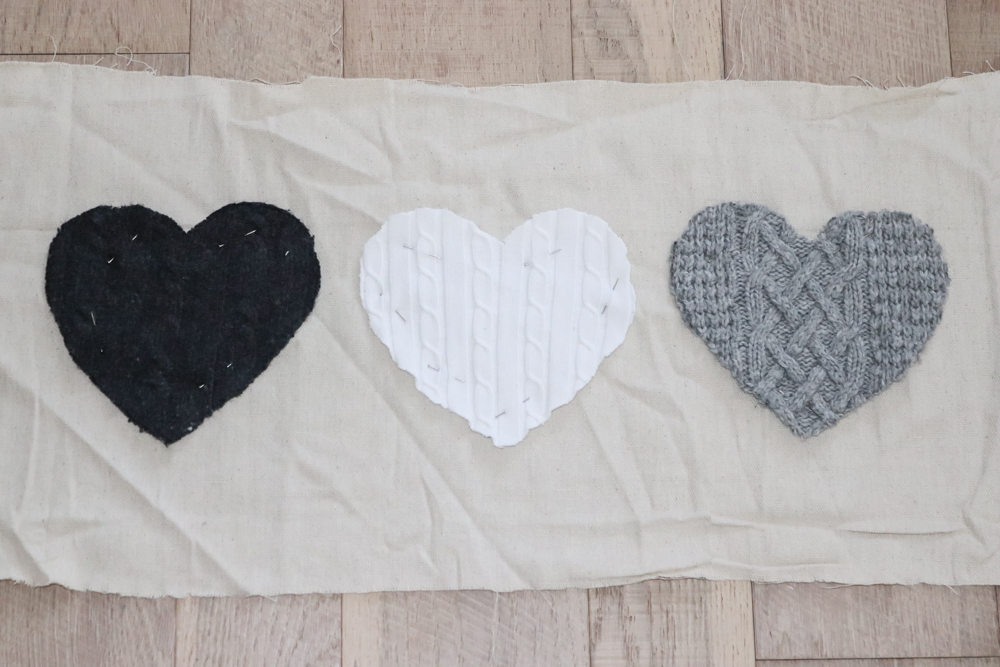
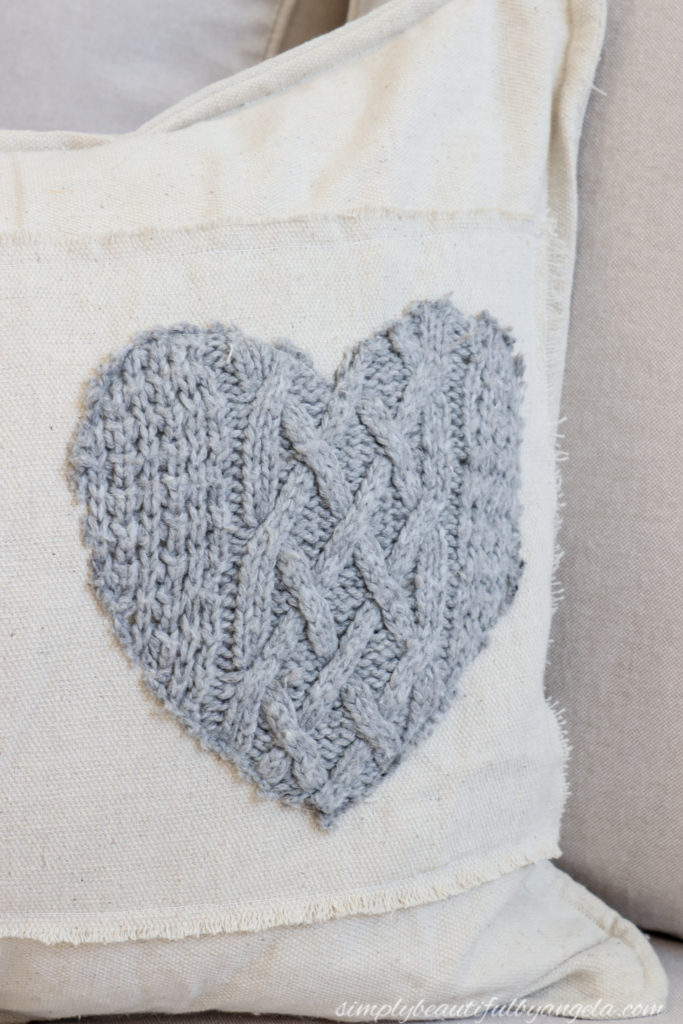
Pick your sweaters! This actually turned out to be more tricky than I thought it would be. I searched the racks high and low for neutral colored ones with nice textures. I chose these three for my trio heart pillow since I thought they coordinated nicely.
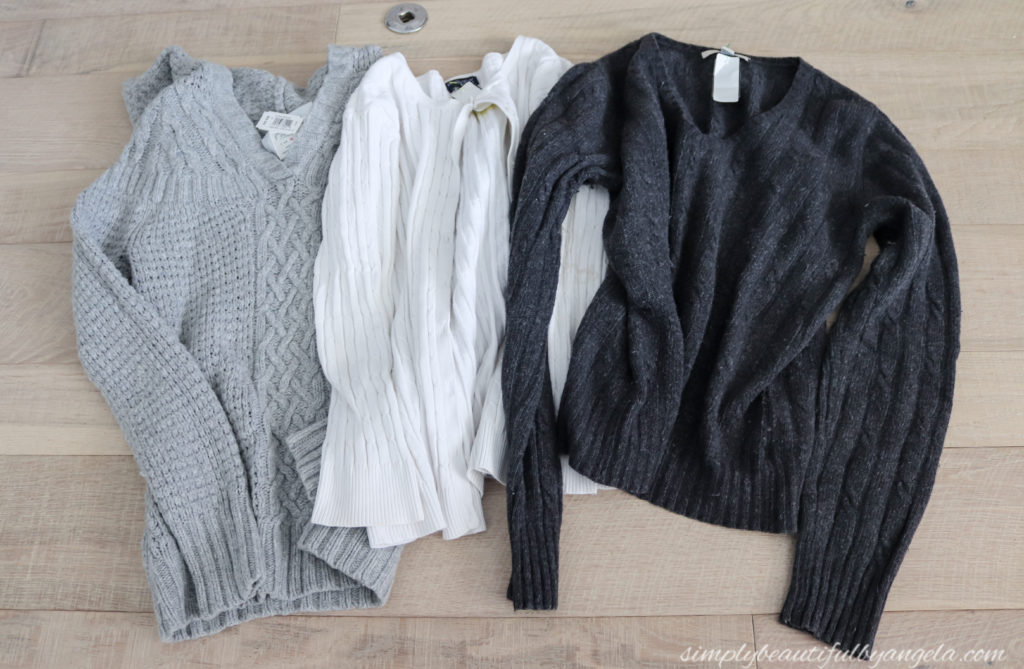
Since I waited to go until it was 50% off day I scored each one for $2.50!
Step 2.
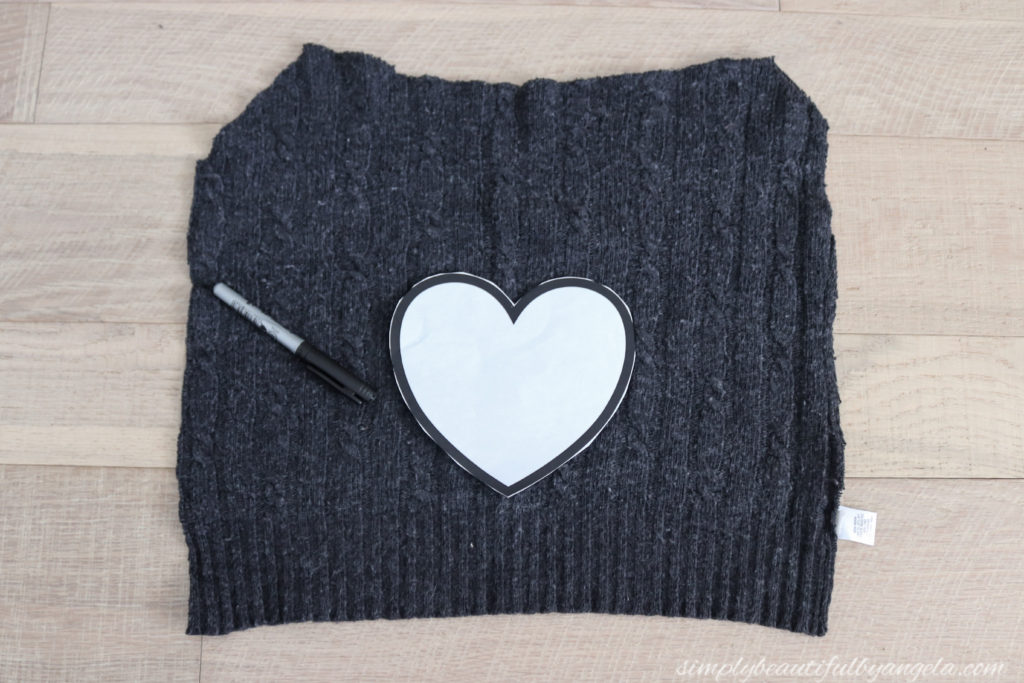
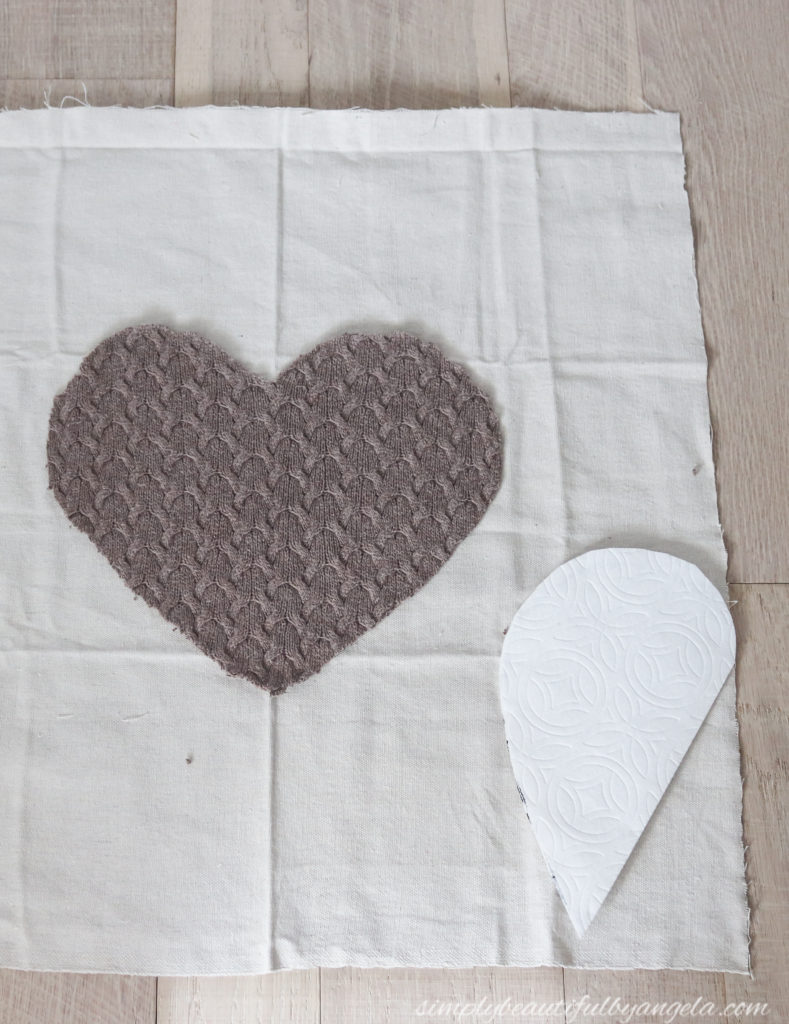
Cut a flat piece out of each sweater and trace a heart template with a sharpie. I used one that I had found online and printed out, but as I found out later you can also go old-school and just free hand one on a piece of paper folded in half.
Step 3.
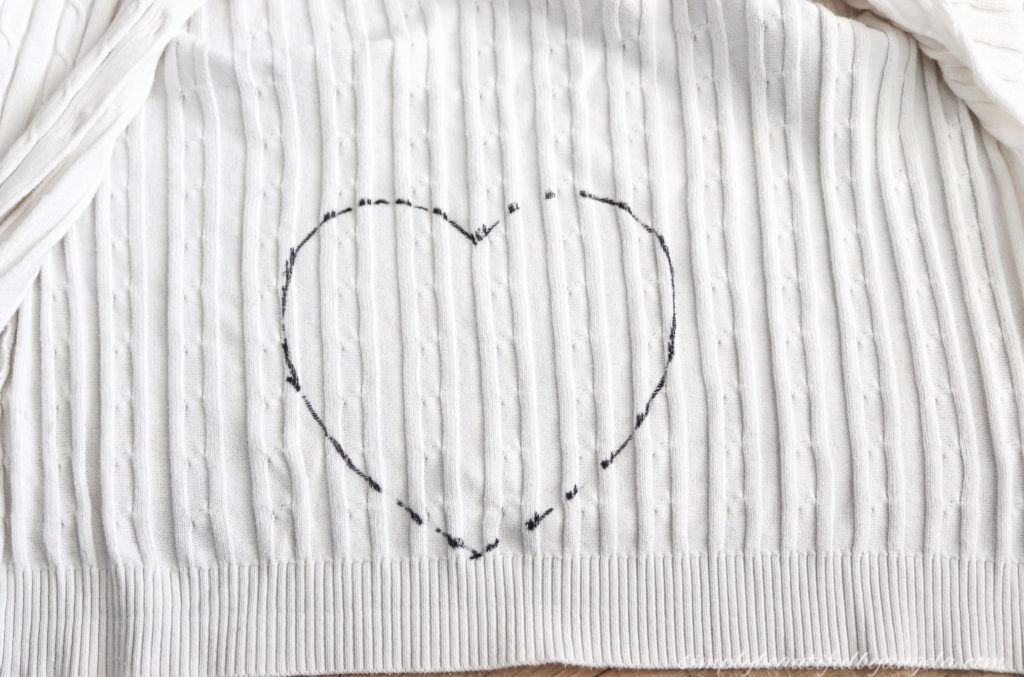
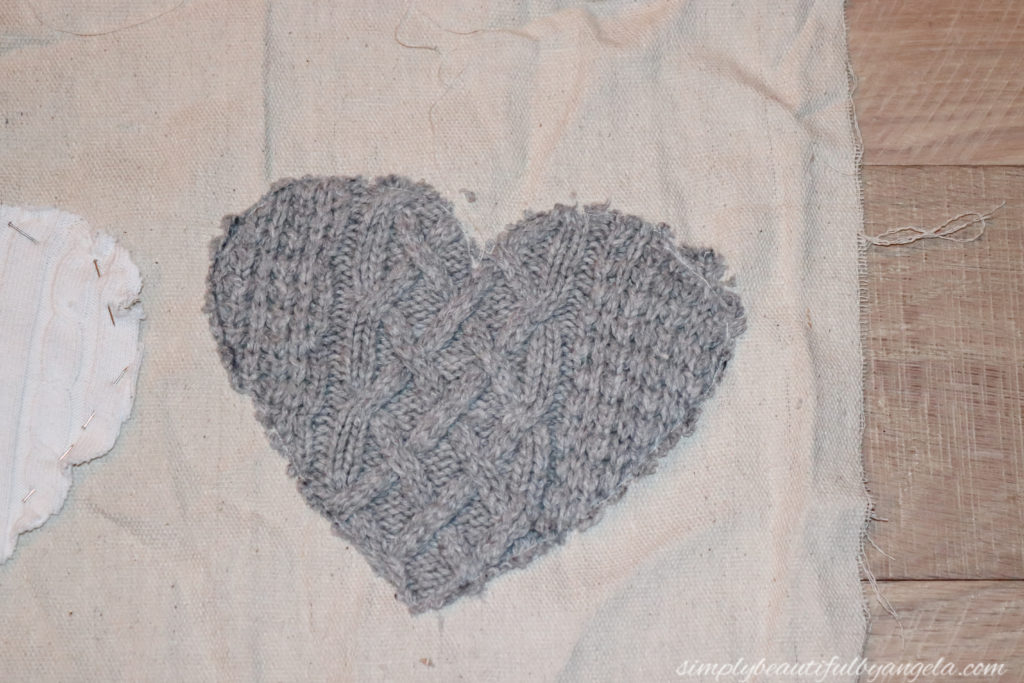
Carefully cut out the heart. Cutting knit sweaters is a little different than cutting regular fabric. I found that using sharp scissors and holding the fabric tight in my hand that isn’t cutting helps a lot.
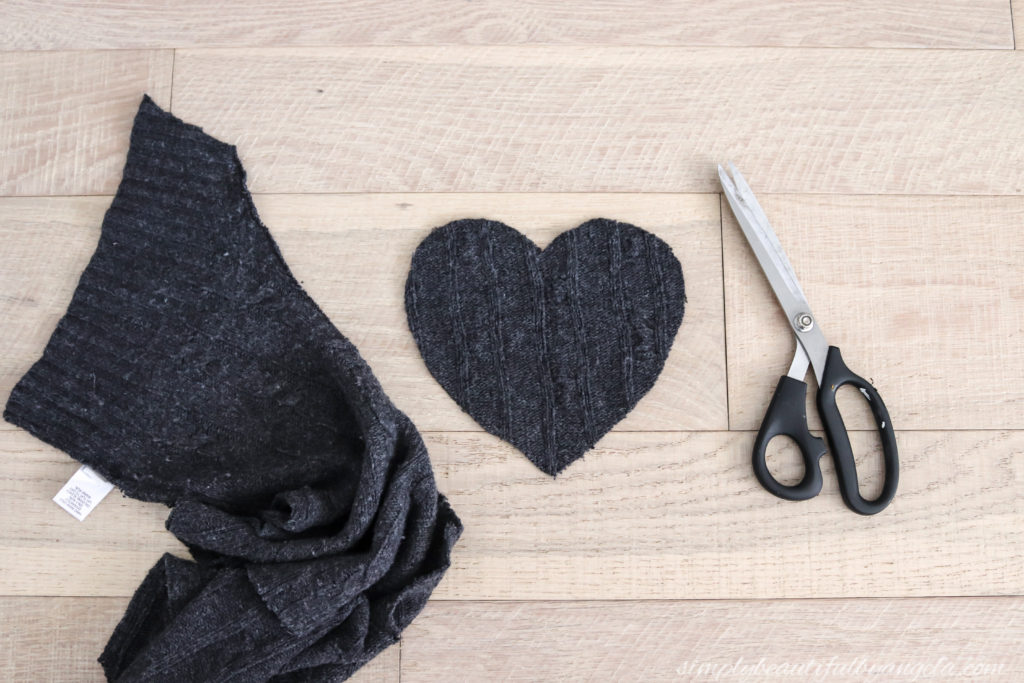
Try to cut on the inside of the sharpie line or else you will end up with some annoying trimming to do later on. Especially if you are using a light colored sweater. (I may or may not have learned this the hard way!)
Step 4.
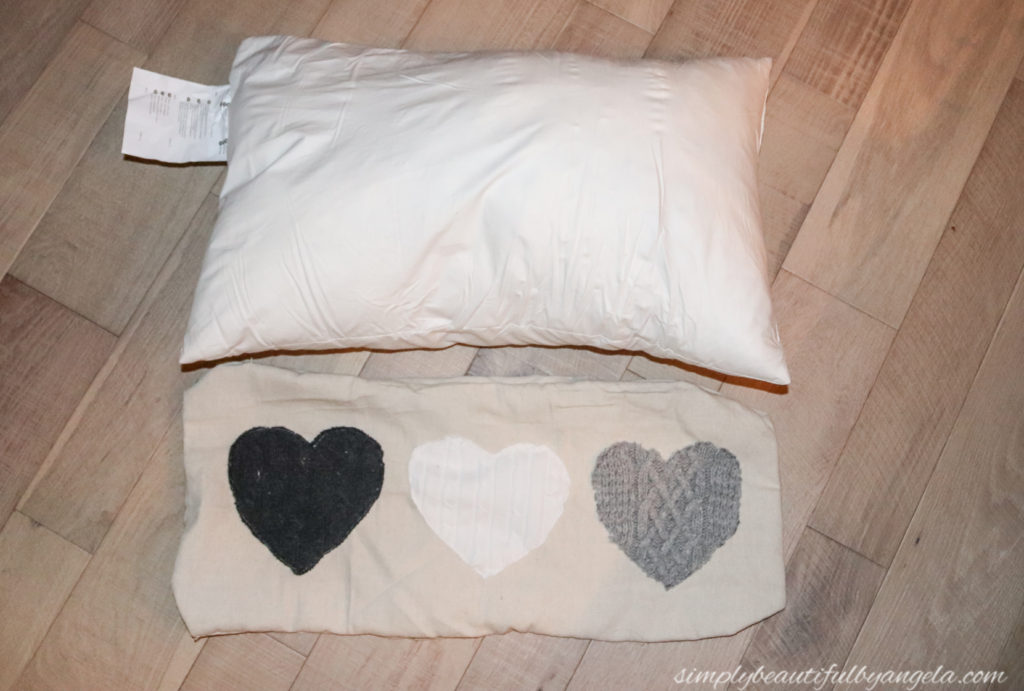
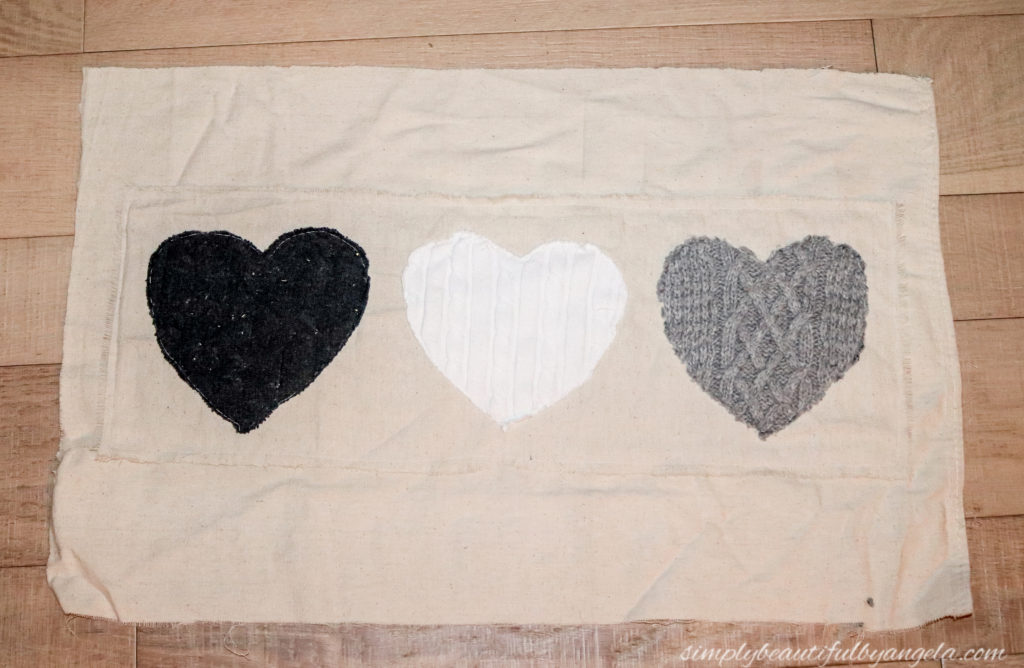
Measure out the front of your pillow insert and add 1″ to both the length and width for seam allowance. Since my insert was 26″ x 16″ I should have measured 27″ x 17″, but more on that in a sec. I used a canvas drop cloth since I love the texture and the shade of it. Once it’s cut out, use sewing pins to secure your hearts to the front before running them through the sewing machine to attach them.
Make sure you use plenty of pins on each one, you cannot have too many! I didn’t use enough here and I’ll show you what happened.
Step 5.
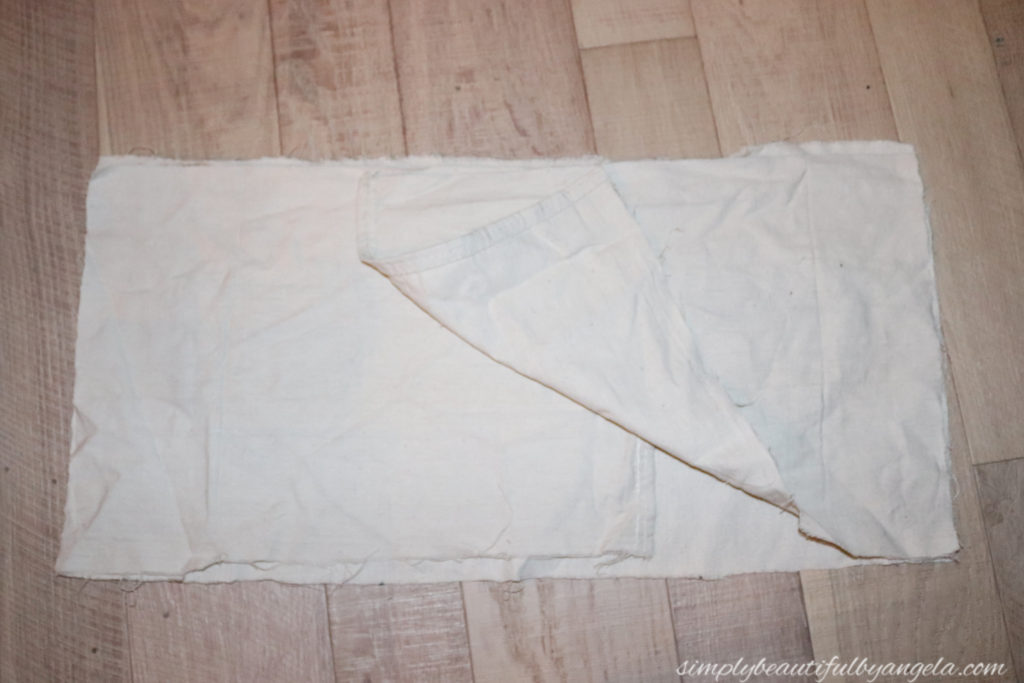
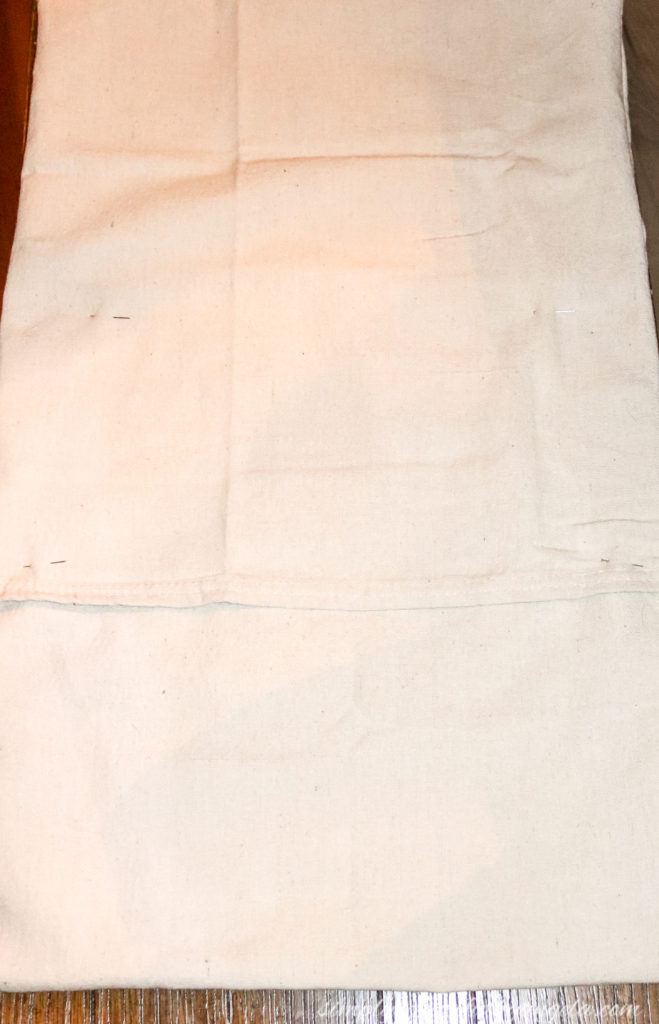
For the back pieces of the pillow, simply add 8 inches to the length so that they can overlap. Since my length was 27″ I ended up with two 13.5″ pieces. I used the pre-sewn seam of the drop cloth for the edges so that I wouldn’t have to hem them. I then placed them face down over my front piece (that was face up) and pinned them all together before running all four sides through the machine.
Mistakes!
So I messed up twice during step 4.
First, I didn’t use enough pins so my first heart went on crooked. I had to cut a new front piece and a new heart to start over. So use plenty of pins my friends, plenty!!
Second, I had a major blonde moment and measured my width incorrectly. For some reason in my head I was thinking that my insert that I had on hand was a 26″ x 12″ rather than a 26″ x 16″. As soon as I flipped it inside out and saw how skinny it was I realized my mistake.
Instead of starting from scratch I decided to just measure 1″ out from the hearts and cut that entire piece out and sewed it on my new pillow front. It turns out that I actually kind of like the look of it, so it was a happy accident after all!
Step 6.
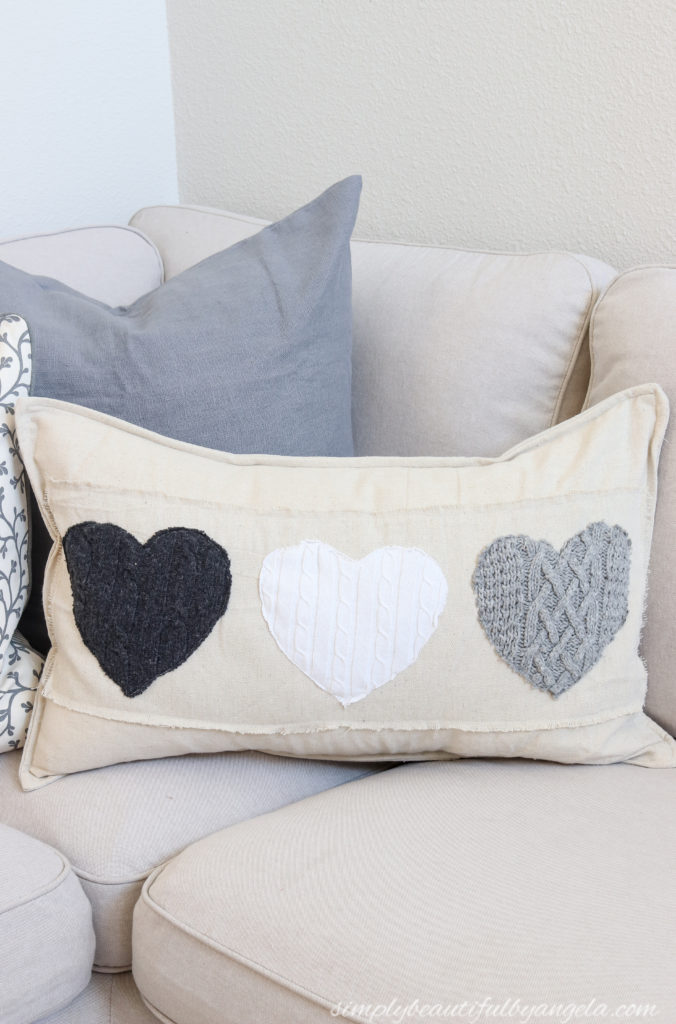
The last step was to add the flange around the edges. To do this, I flipped it right side out and then I pinned it together at the openings so that is would stay flat through the machine. Then I ran a 1/2″ seam around all of the edges.
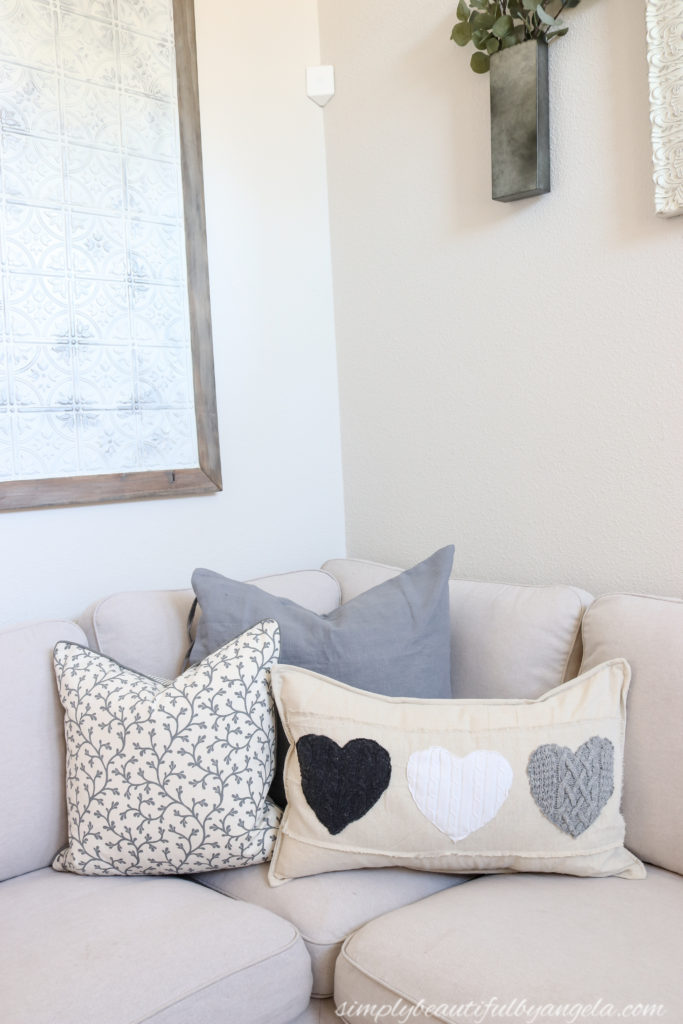
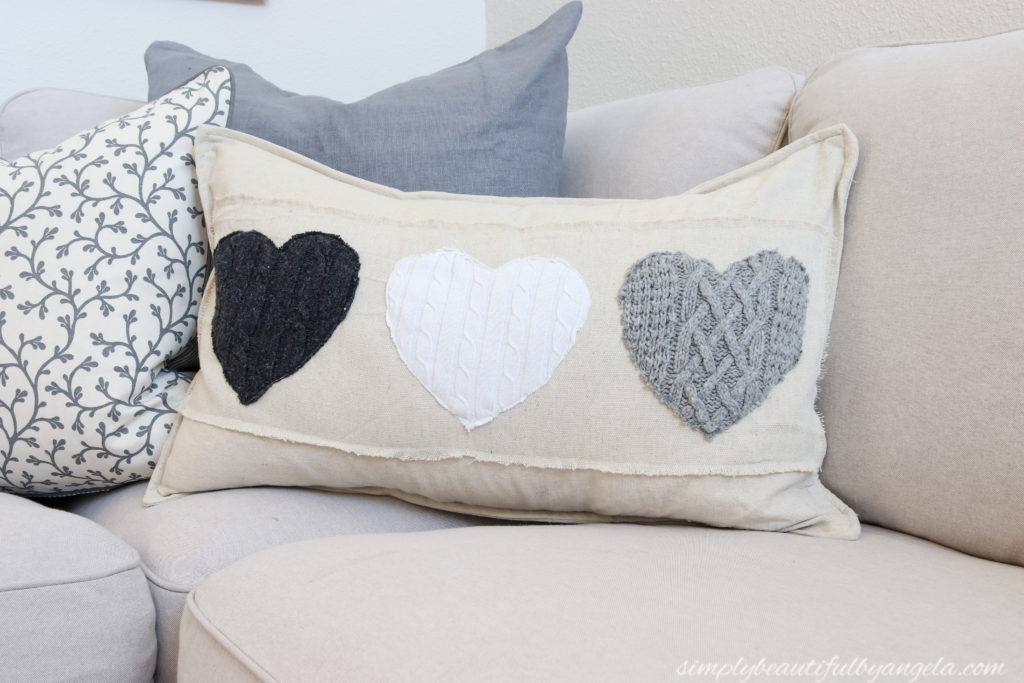
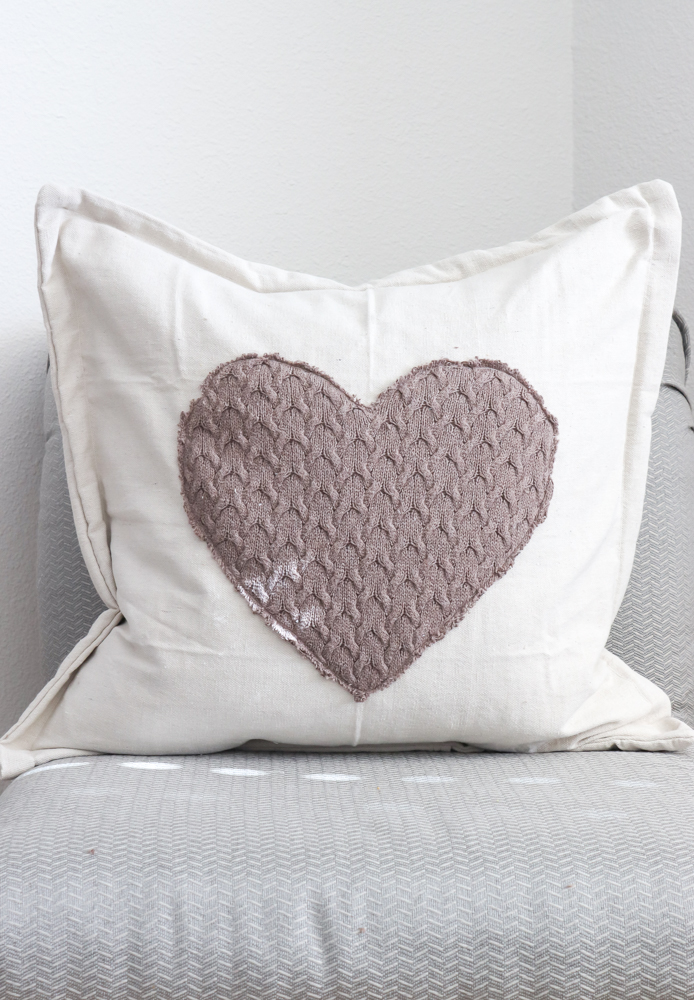
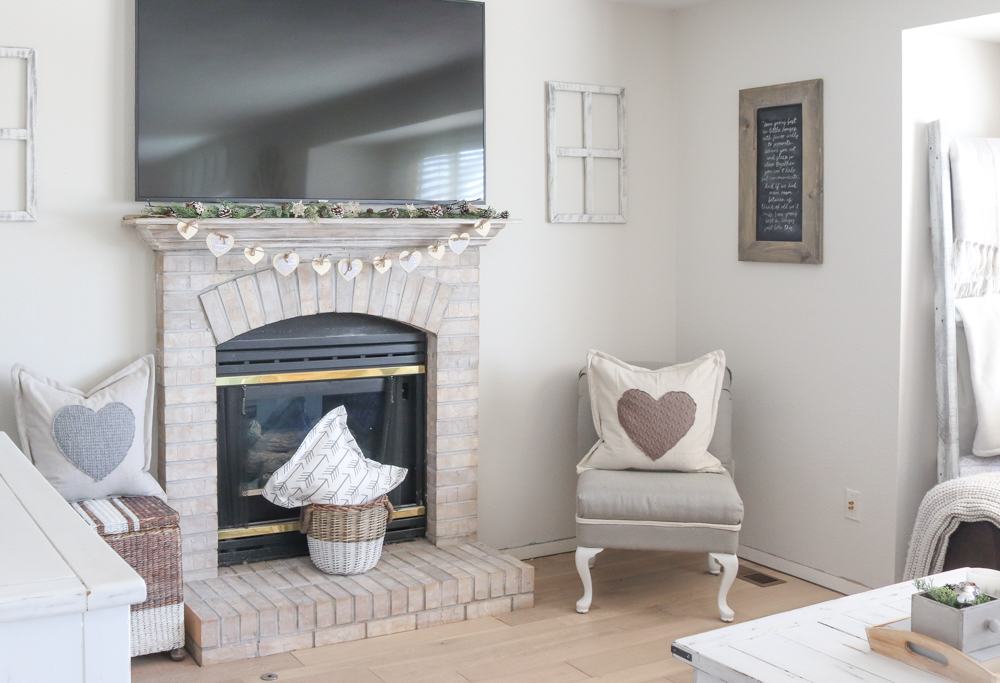
And this is how it turned out!
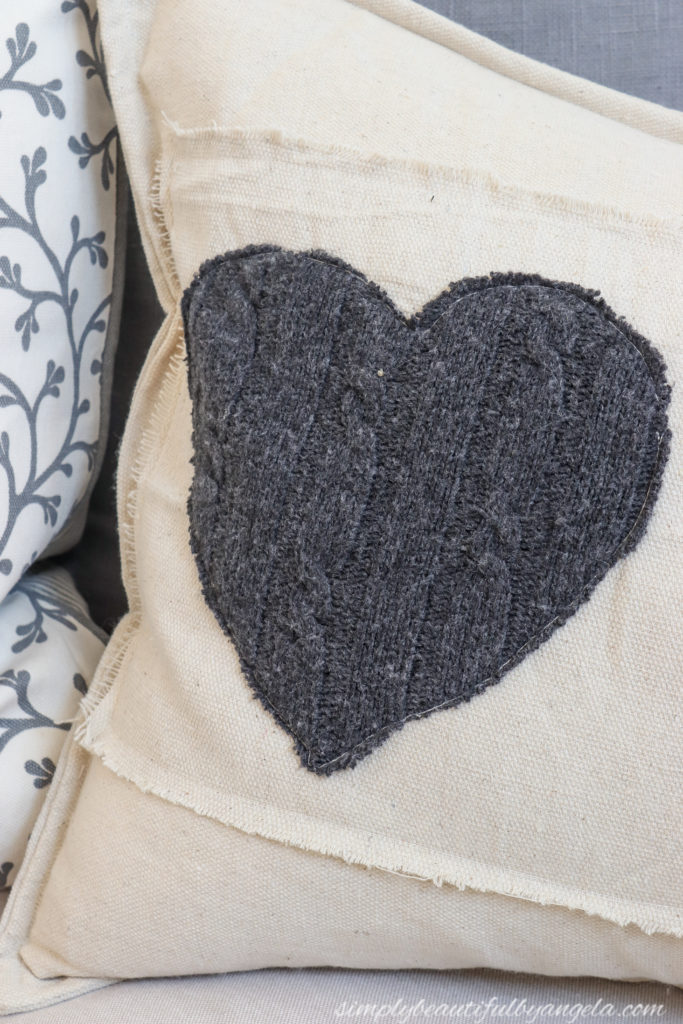
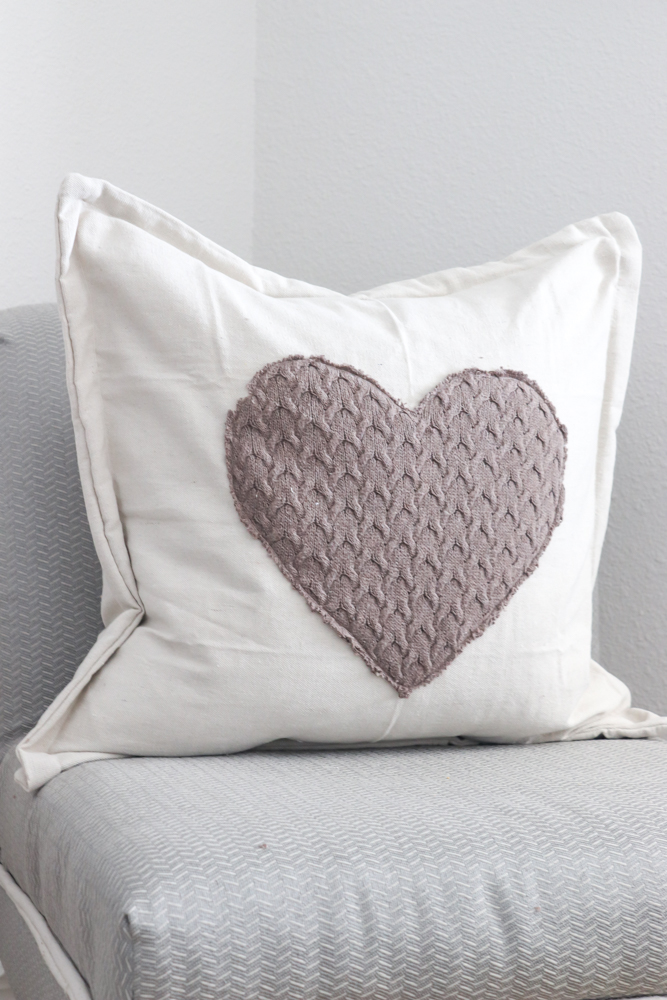
I initially only planned to make the one pillow. However I had also picked up a pretty cocoa brown sweater that I hadn’t used so I decided to cut a bigger heart out of it to make another pillow. I made a template free handed on a paper towel folded in half.
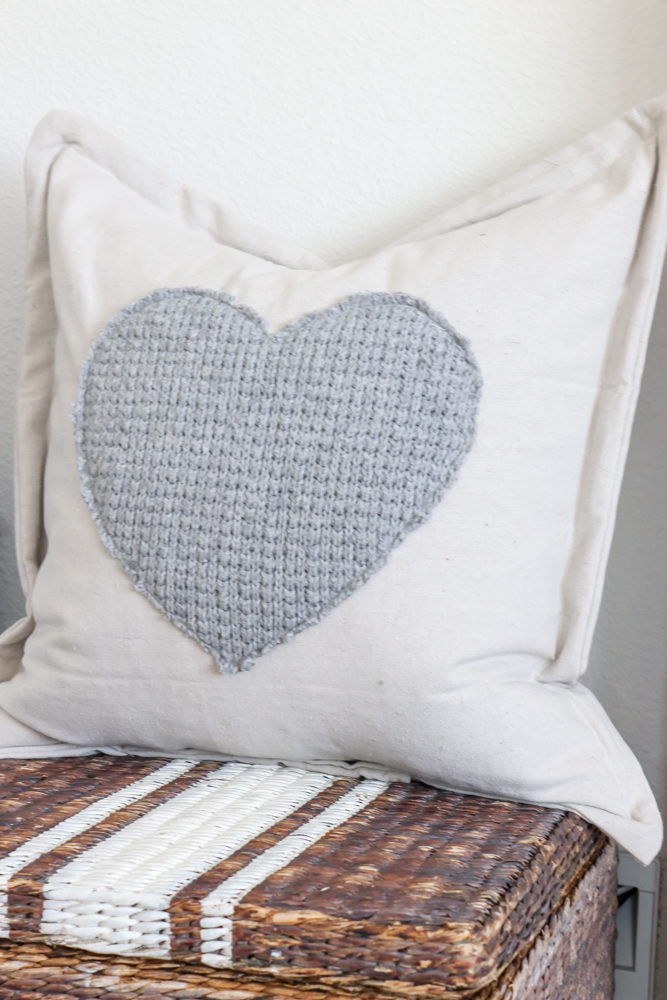
I then used some more drop cloth and the same process to create a cover for a 24″ pillow that I had on hand and added a 1″ flange.

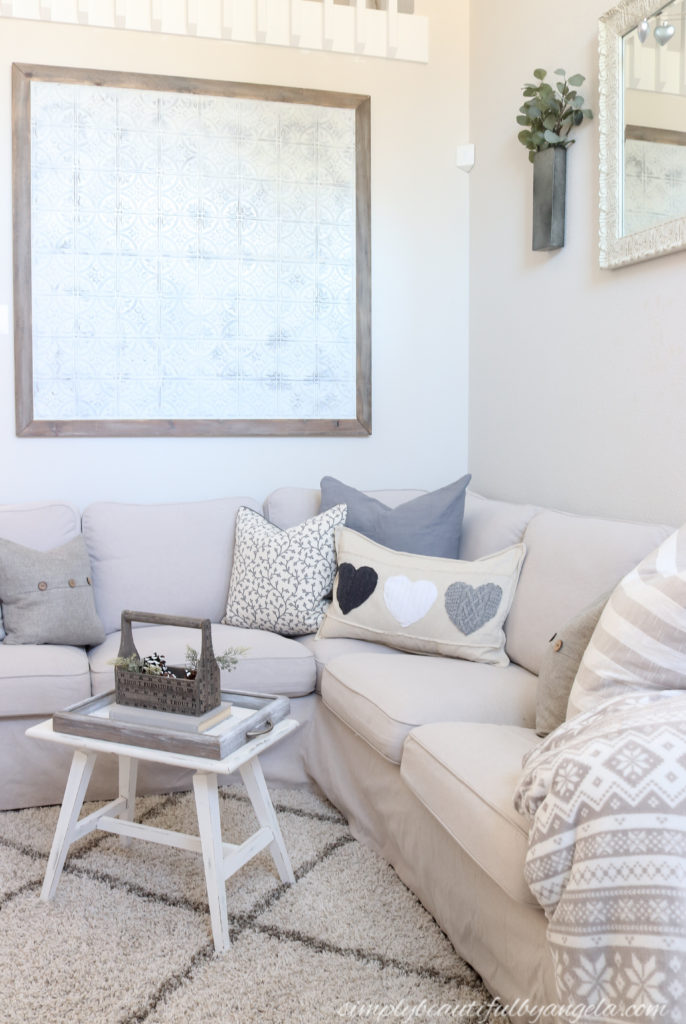
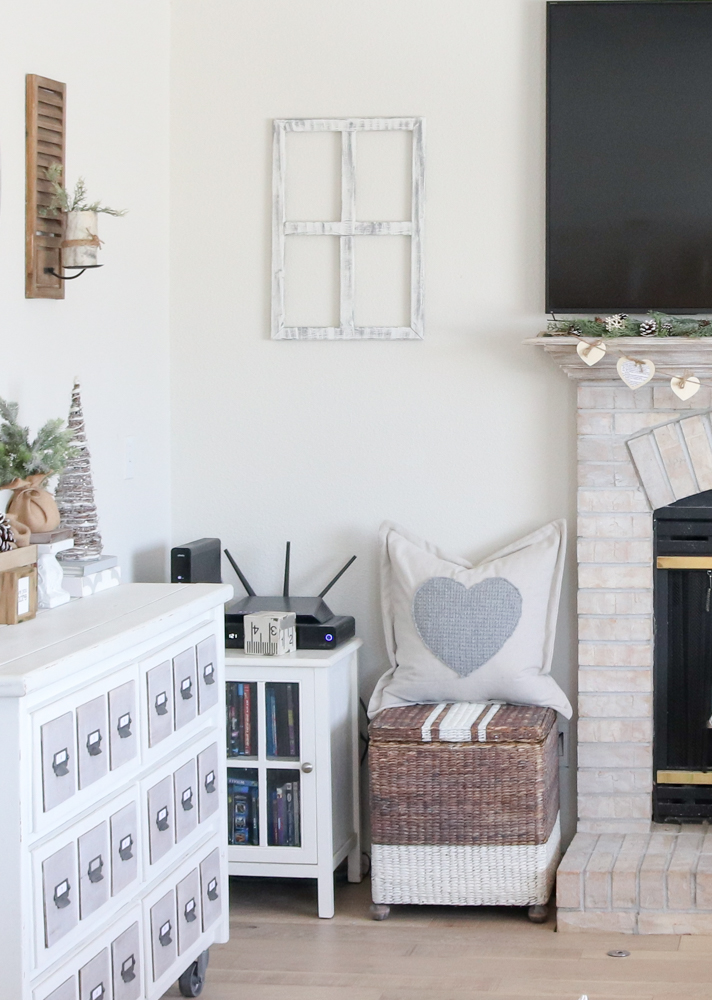
Because I had two of those pillow inserts I made a second one with the back of the light gray sweater and stuck it on my thrifted wicker ottoman that I made over last year.
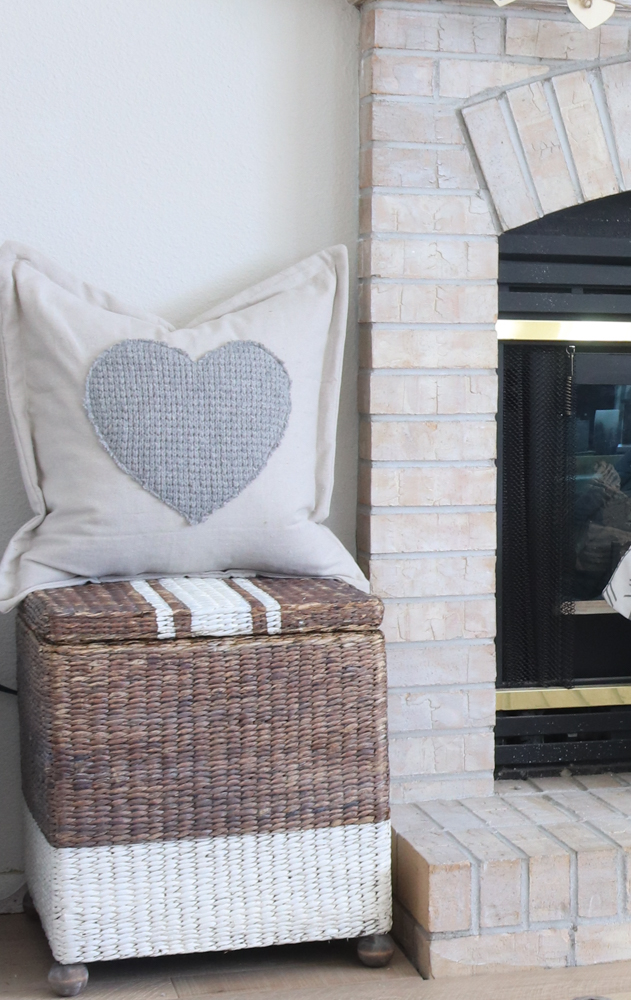

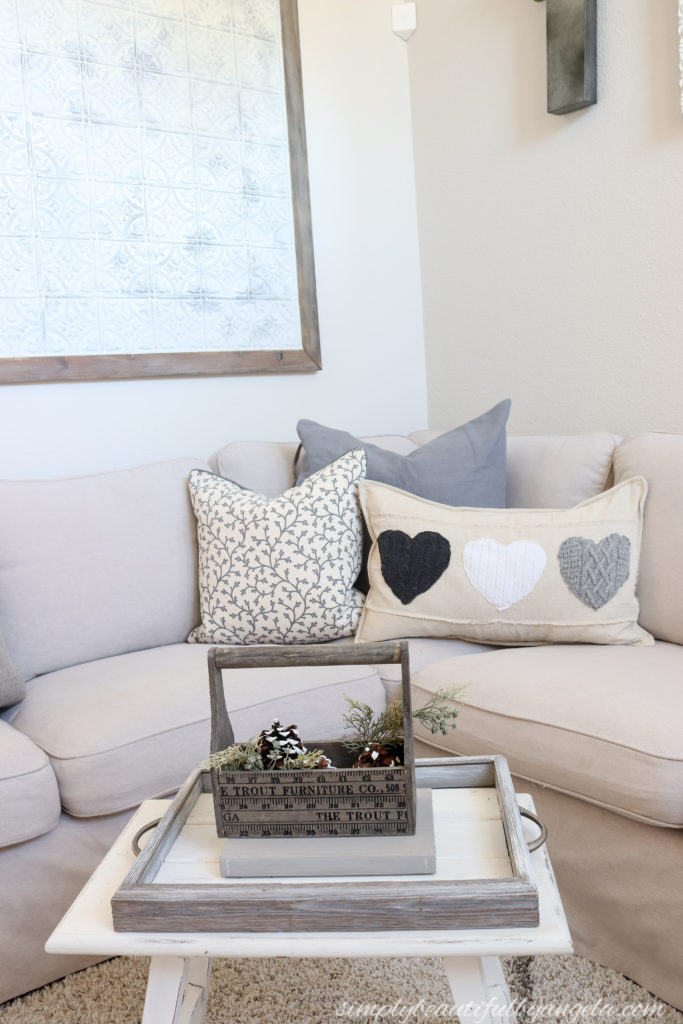
Don’t they make our living room festive?
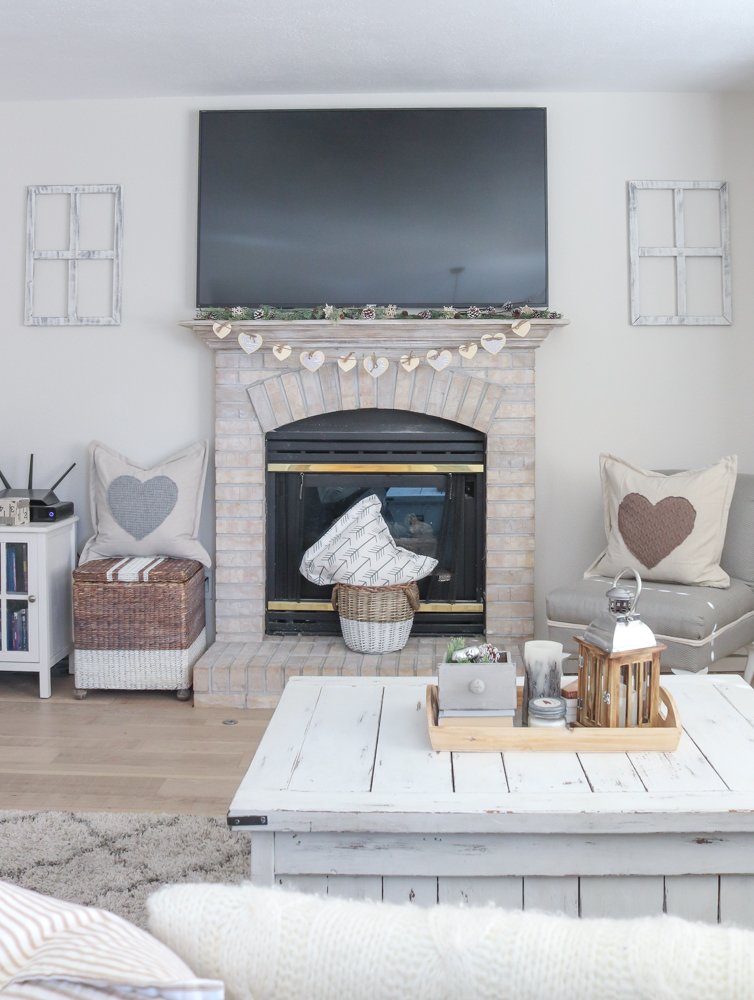

Speaking of our living room, I just remembered that when I shared the ottoman for the October challenge I captured it with the old flooring. Take a peek at what a huge difference the new floors make in this corner!
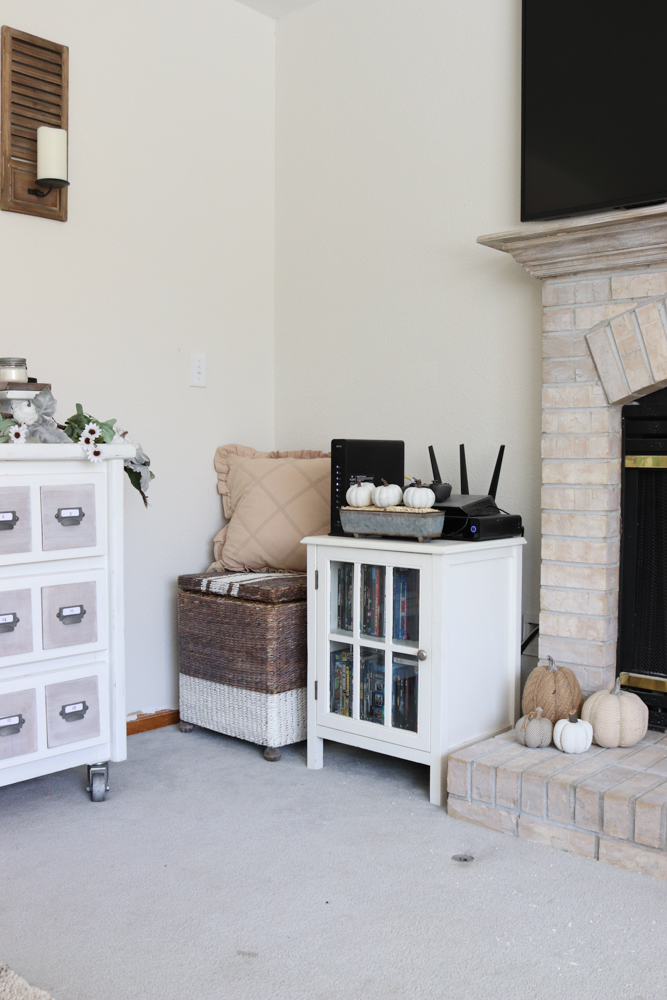
It’s a little hard to see since the angle is different, but I was simply amazed when I ran across the old picture. Also, don’t worry–the plan is to eventually build some benches on either side of the fireplace that will hide those cable box eyesores.
Having these on either side of my Romeo & Juliet Heart Garland that I draped on the mantle makes my heart oh so happy!
Thanks for stopping by today! Be sure to check out all of the awesomeness that all of the other hosts created below.
And now for more thrifty goodness!
Linking up to these awesome parties!