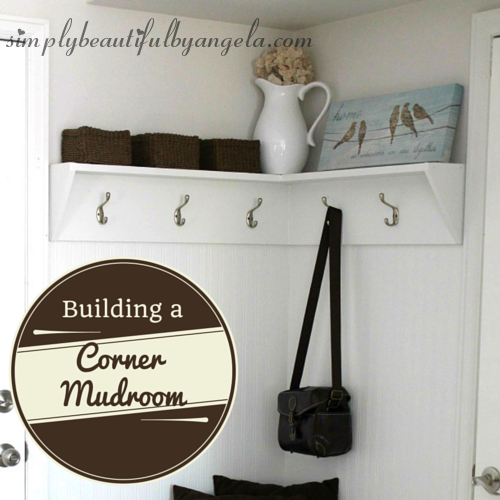
This is proof that you can practically find space for a mudroom in any home!
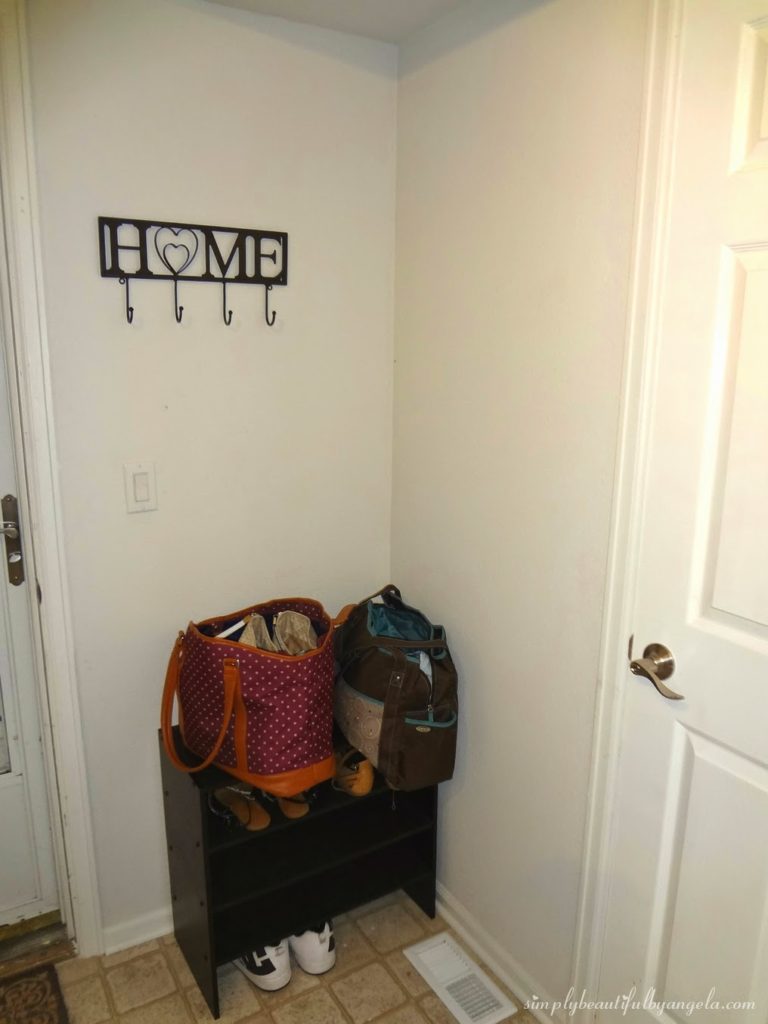
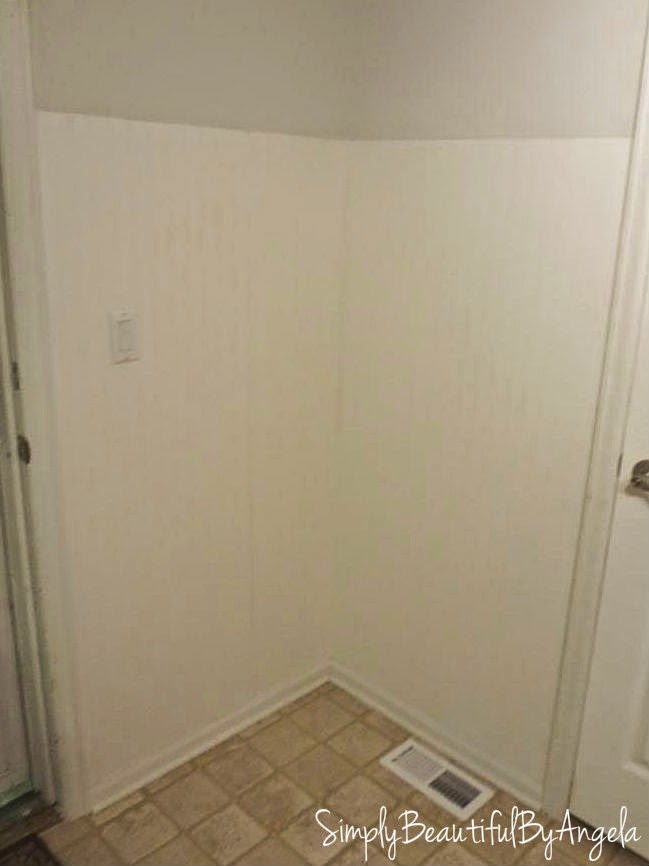
When we first moved in I had absolutely no idea what to do with the space between the garage door and the basement door. We ended up hanging our key holder on the wall and placing our old shoe rack underneath. The hubby decided that the key holder needed to be placed in studs so it ended up being sooooo off centered and that space just drove me nuts–grrrr!
One night it dawned on me, we could make a mini mudroom! I started searching for one of those fancy mudroom hutches and the cheapest I could find fell around $400. Uhmmmmm I don’t think so!
I thought about purchasing a shelf and a bench seperately, but after days and days of searching all of the benches were too big and I couldn’t find the right shelf size either. So I decided that we would make some ourselves.
We ended up spending way less than if we had purchased a bench and shelf combo and I am completely in love with the custom built in look. Swoon!
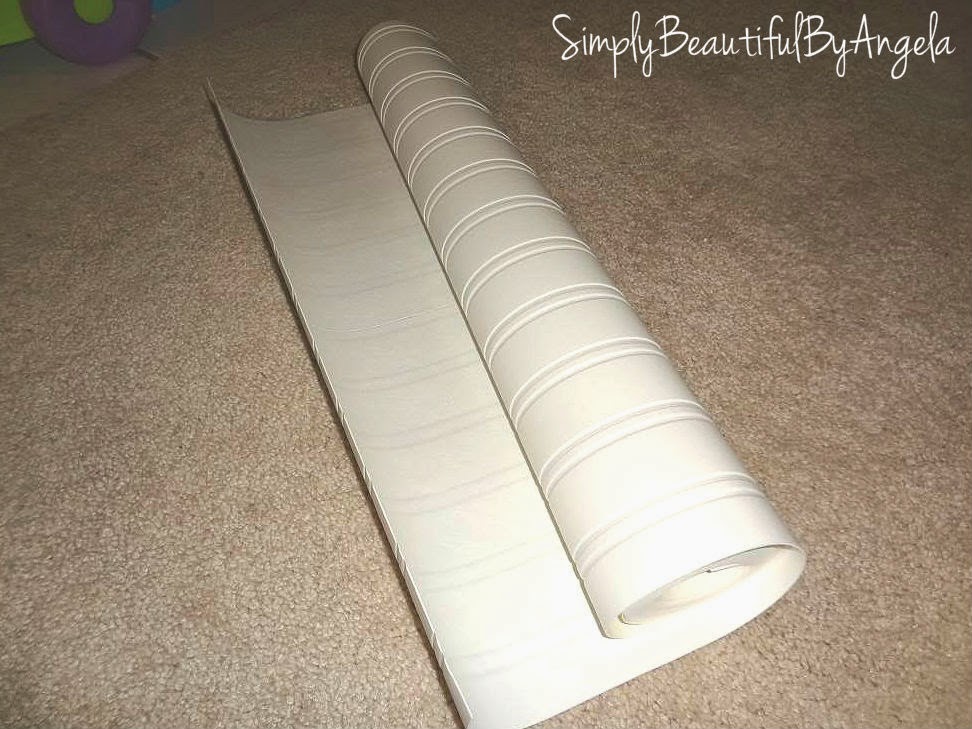
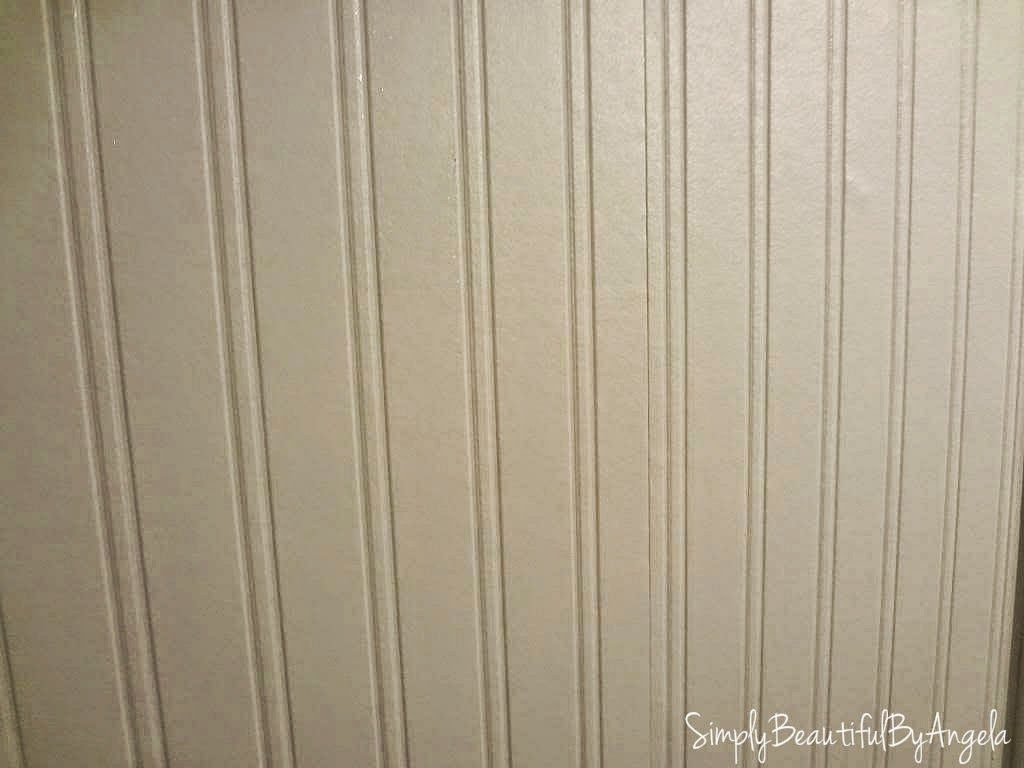
All of the mudrooms that I had looked at online had beautiful beadboard so when I found out that Martha Stewart made a paintable beadbord wallpaper I was estatic! The reviews said that it looks exactly like the real thing but without the extra cost and labor, so I was sold.
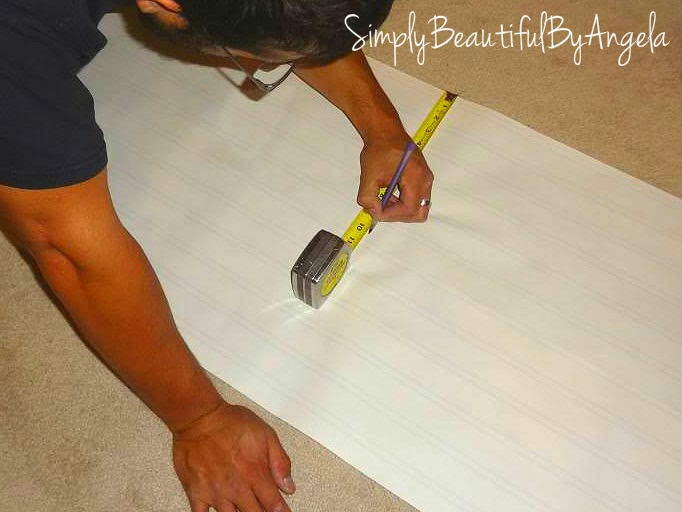
We started by laying the roll out and measuring the length that we needed. We then measured the wall to see what width we needed for the next piece. Even though the paint covers up the seams pretty nicely, you still want to be pretty precsise on your measurments.
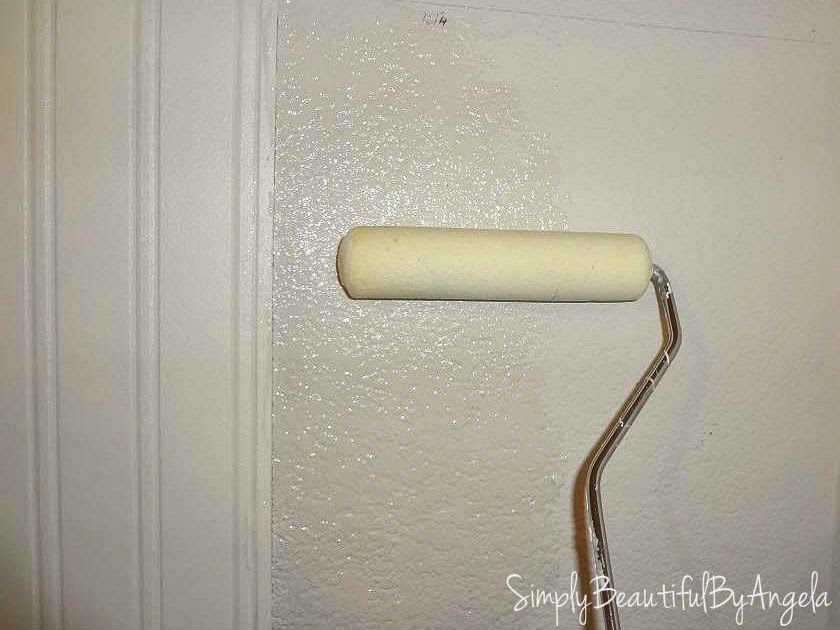
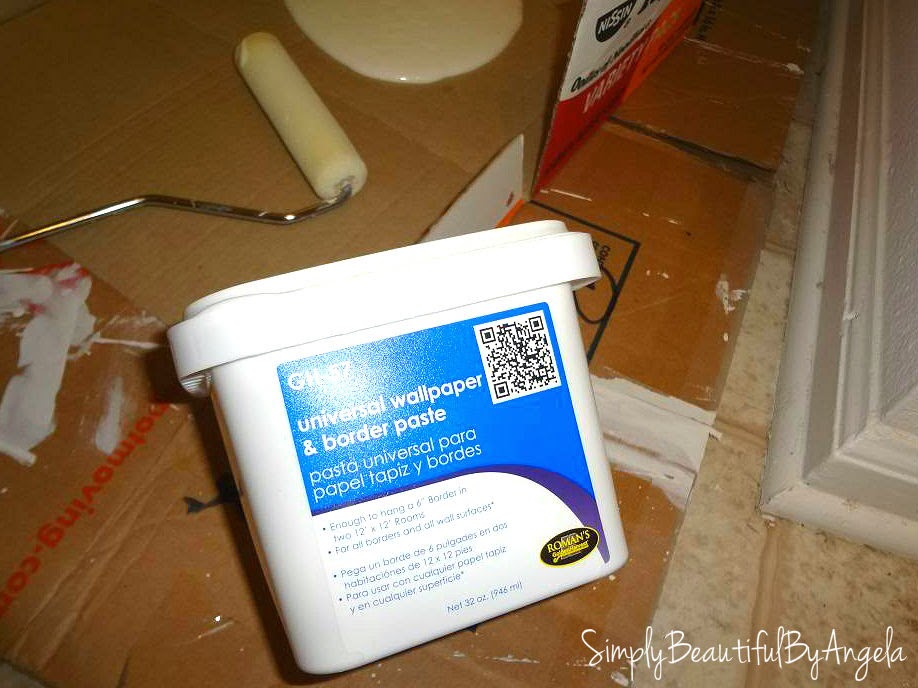
Next we rolled on that good ‘ol tacky wallpaper paste with a foam roller (picture was after were already had one piece up because I was too terrified focused on that first one to stop and take a picture). We laid on THICK to make sure that it really stuck! Also, did you know that this stuff is almost extinct from the store shelves? When I asked at Home Depot I was told they didn’t have any, but ended up checking with the cleaning supplies and found this lonely little container. I guess since wallpaper is out of style there isn’t much demand for it anymore? (Yes, we used a ramen noodle box as our rolling tray haha!)
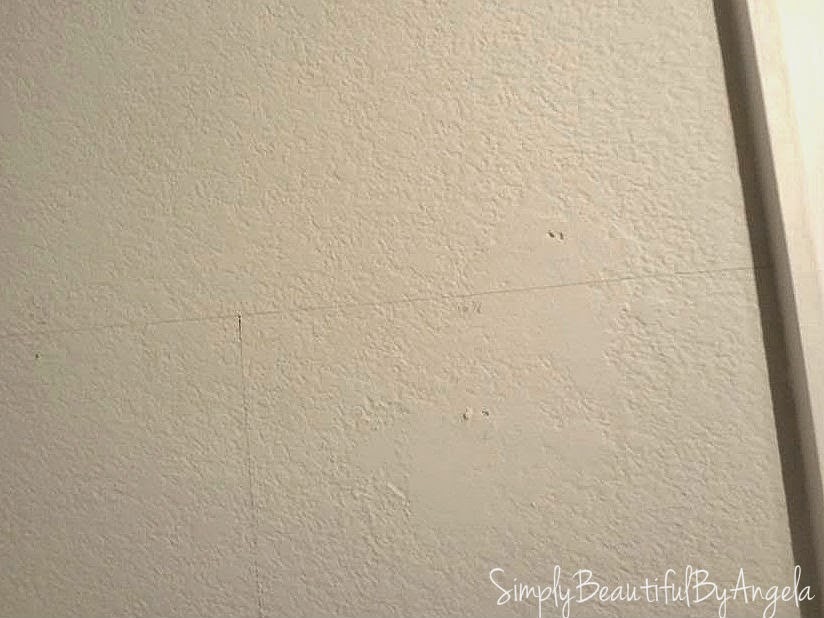
Next was the fun but tricky part. Hubby is ultra smart so he measured out and drew lines on the wall where our cut pieces laid so that we could get it on straight. Then we just started slapping that stuff right up there! Well… more like delicately placed, but you get the idea!
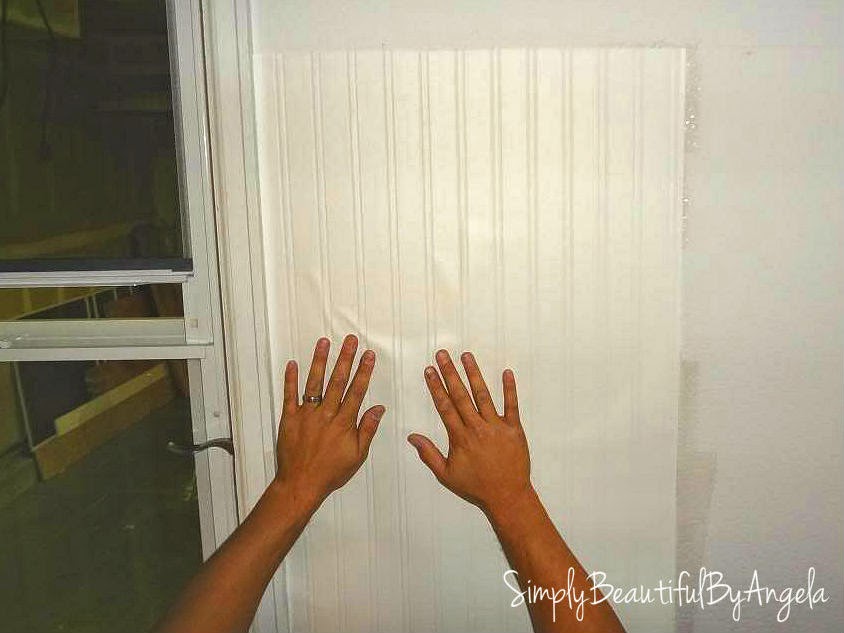
As you can see, it was tricky to lay flat but the paste takes awhile to dry so you can pull it back up and rearrage it as necessary. There were also a lot of little bubbles that ended up disappearing overnight.
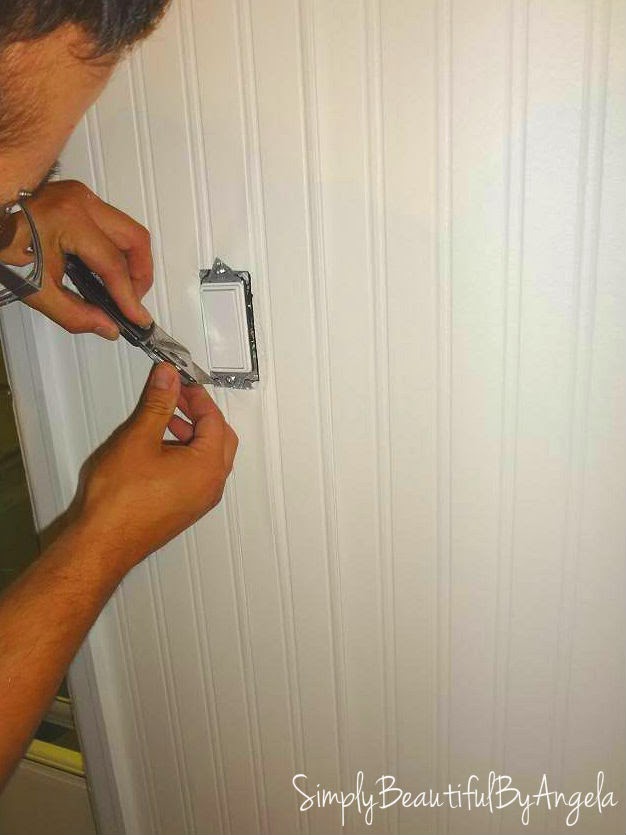
We entered a small panic mode when we remembered that there was a lightswith—whoops! We had already removed the plate during the measurements but somehow forgot it was there when we placed the paper on. We didn’t remember until hubby hit the light while flattening the paper and the room got suddenly dark–it was pretty funnny actually! Anyways, hubby quickly whipped out the box cutter and made a cut-out by feeling around. Ideally we would have measured out the cut-out on the paper first but this worked just as well (if not better).
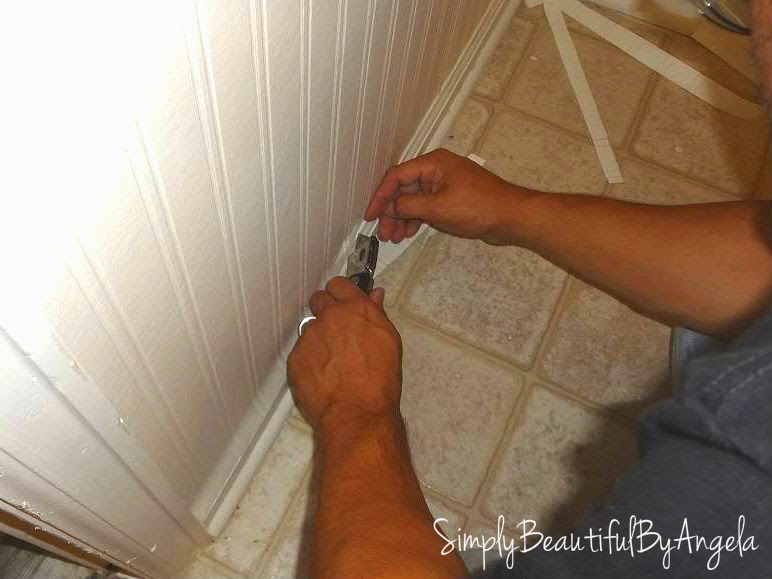
Once it was all up we ran the box cutter along the baseboard to cut off the excess and to get a clean line. Oh and we used a sponge to get all of the extra paste.
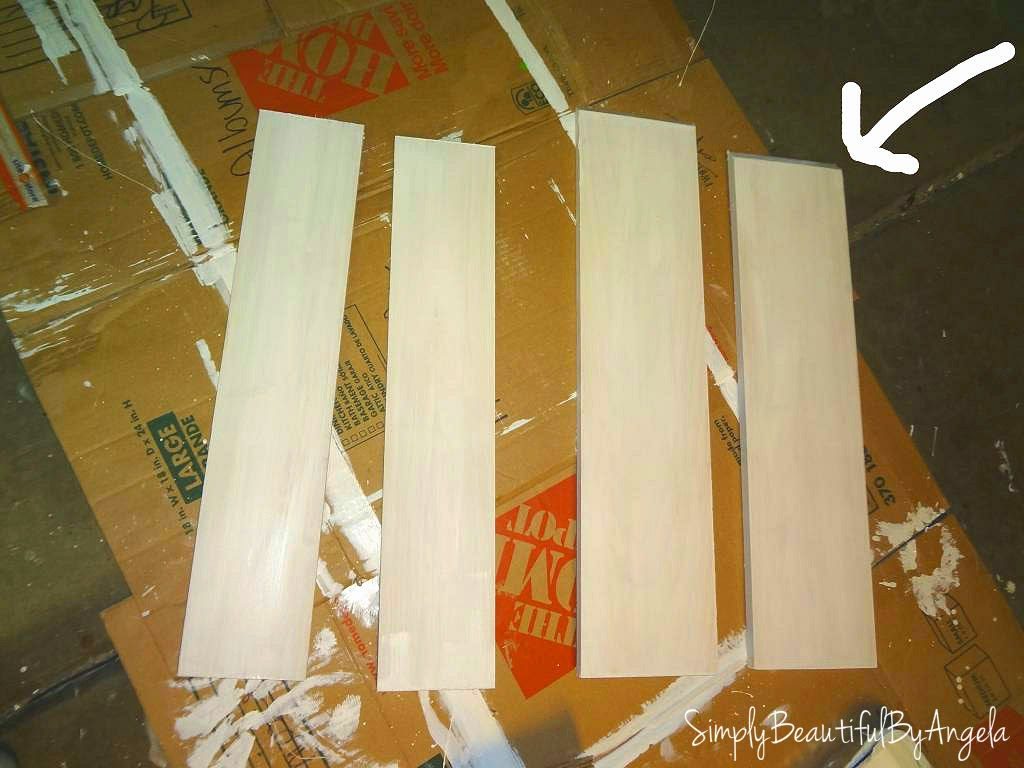
To make the shelves, we cut out two pieces that would lay flat against the wall (the part that will hold the coat hooks) and cut the inside edges at a 45 degree angle so that they would meet cleanly in the corner ( in the photo they are the two on the right–you can see the cuts where I put the arrow).
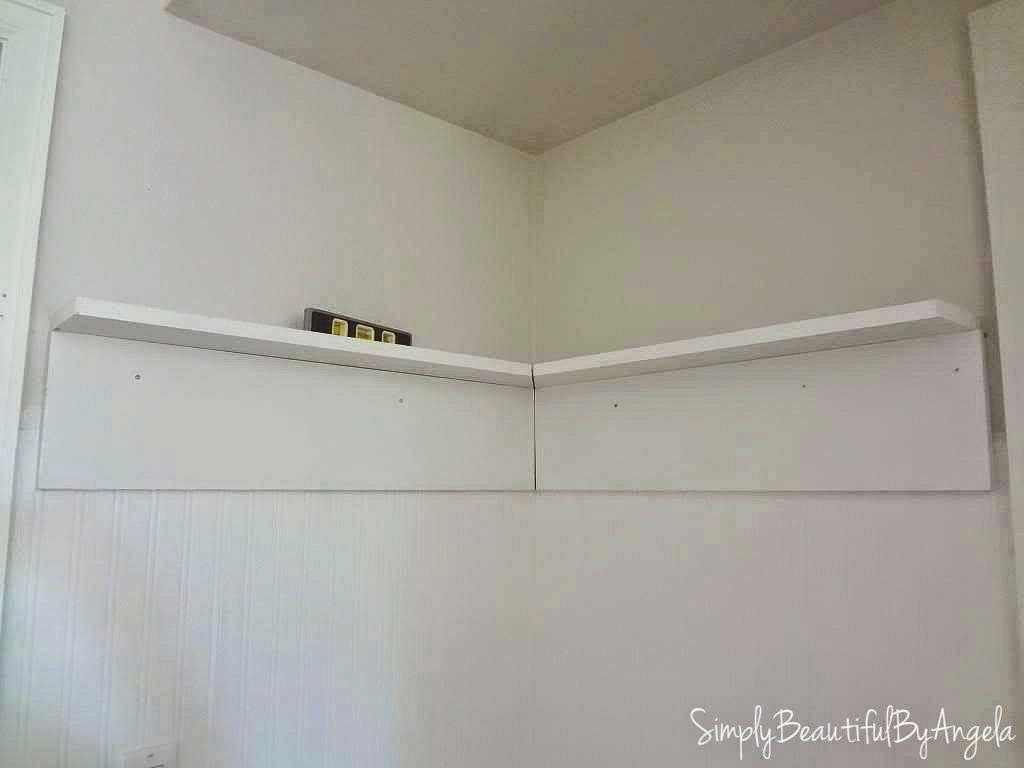
We then used drywall screws and a studfinder to screw them into the wall. First the two “back boards” flat against the wall and then the two “shelf boards” directly on top of that. Once they were up we realized that we had two problems. First, it was kind of ugly where the cuts met in the corner and second, hubby cut the 45 degree angle without realizing it would take off from the wall measurement so we ended up with a gap on each side.
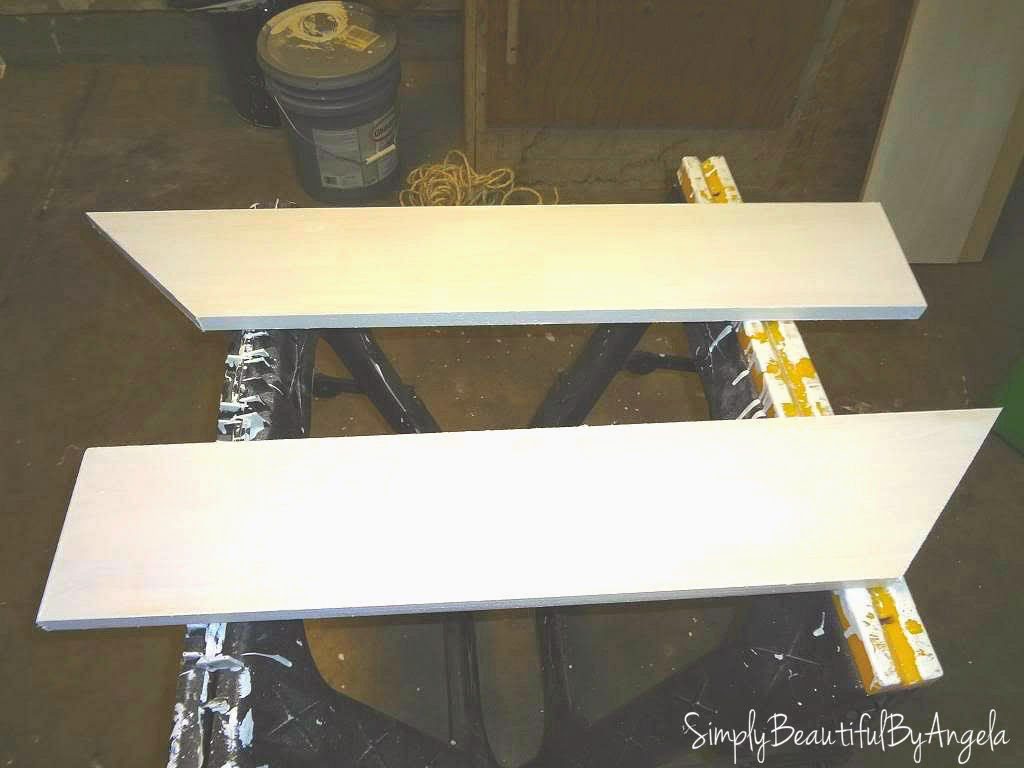
A quick line of caulking completely cleaned up the gaps where the boards met and I went over everythig with paint again to cover the screws. And the gaps on the side ended up being a total blessing because we cut out two diagonals to pop in the gap and it completely finished off the shelves on each side.
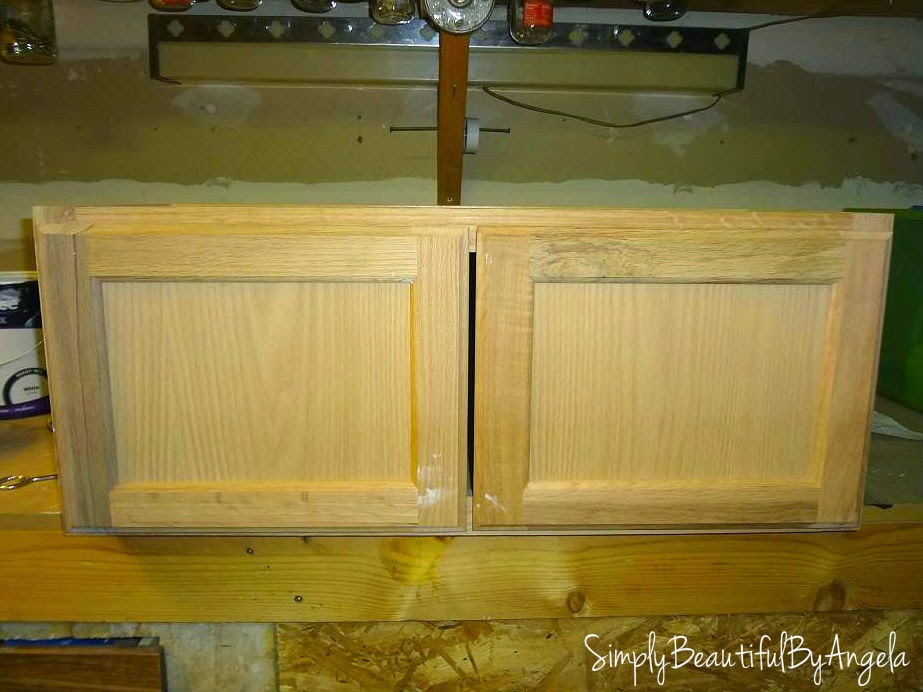
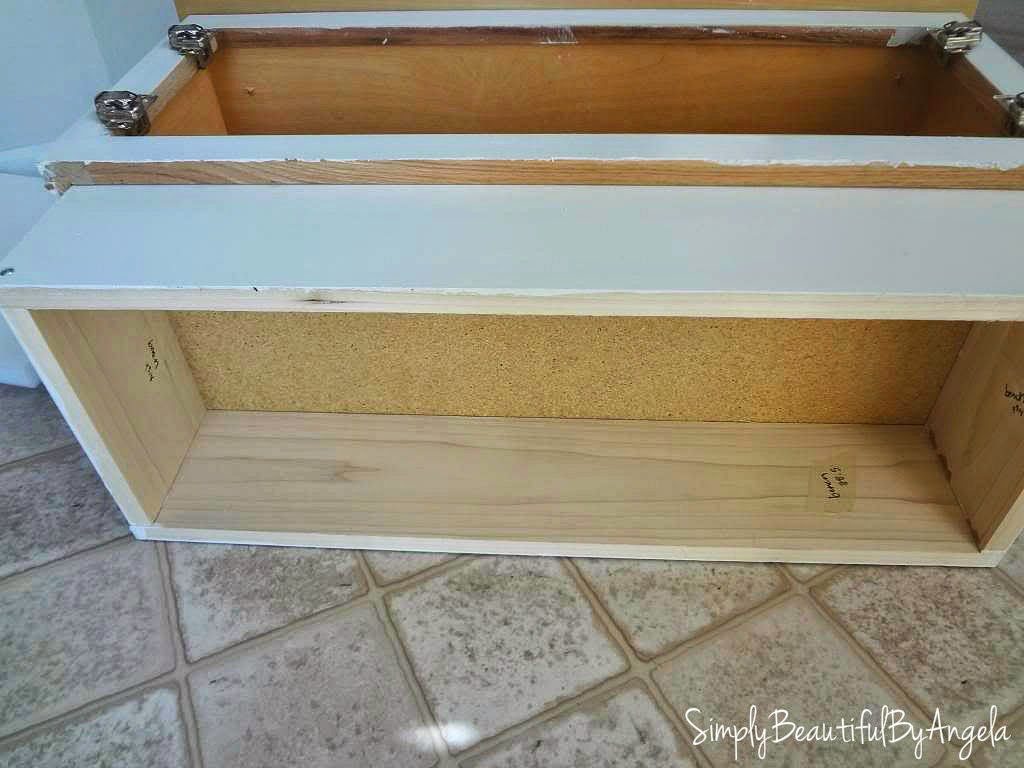
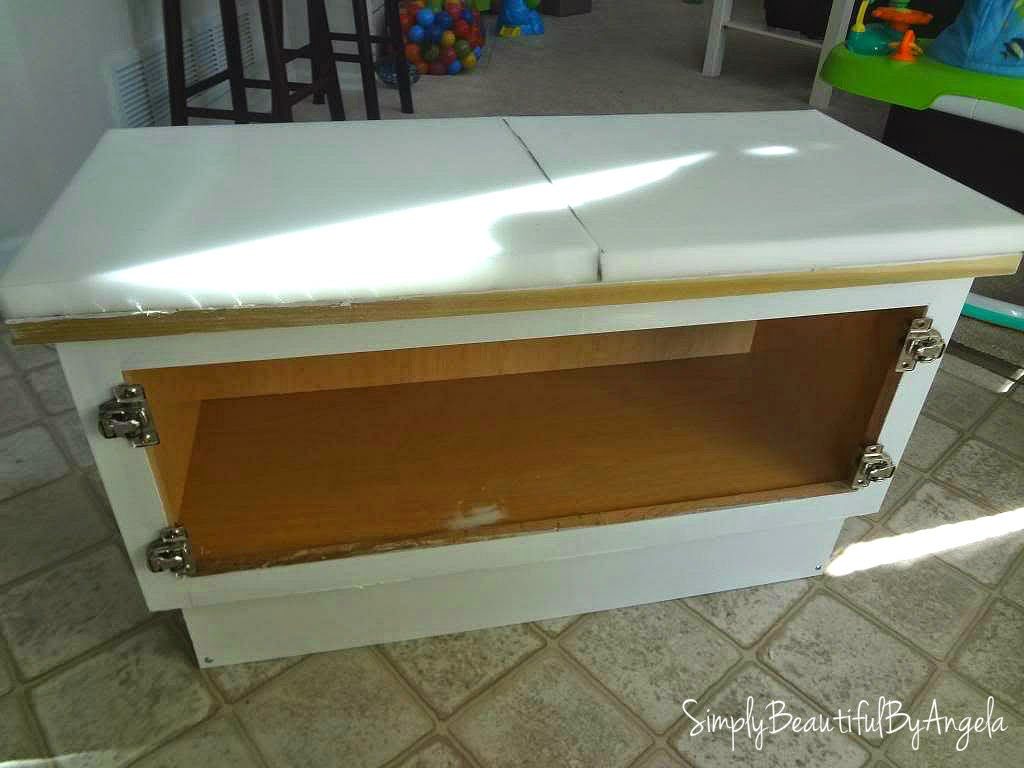
The last piece was the bench. We only had 32 inches to work with on that wall so a 30″ kitchen cabinet was an awesome (and cheap!) solution. I got an unfinished one and primed/painted it with the same satin white. Hubby cut out some wood pieces to secure to the bottom with screws so that it is the perfect height off the ground.
For the bench top we cut out four small pieces of wood, about 2×2 inches. We screwed them in the corners of the top of the cabinet and then screwed the large piece for the bench top to those. Sorry I didn’t get a pic of that step but I hope you get the idea!
I got some cheapo foam from Wally-World (aka Walmart) and cut out two pieces to hot glue on the top. This foam stuff is suuuuuper expensive at the craft stores but I found a pack of 4 squares in the craft section at Walmart for $6.97. Score! I was even able to use the left over ones to make stool cushions (which I’ll have to write about soon).
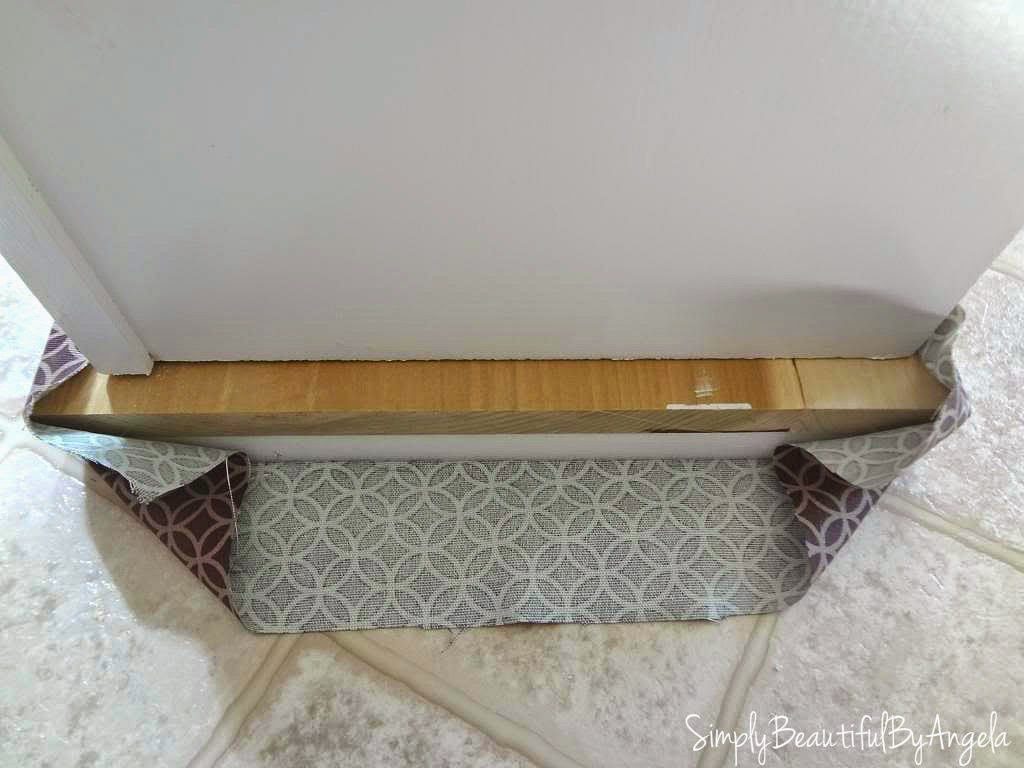
I laid down some pretty fabric on the floor and flipped the bench on top. Then I grabbed my bestie (my glue gun) just glued away. I was going to have hubby use a staple gun but this seemed to work just fine. If it starts to come off I can always go back with the staple gun but I think I like this in case I ever get tired of the fabric it would be easy to change.
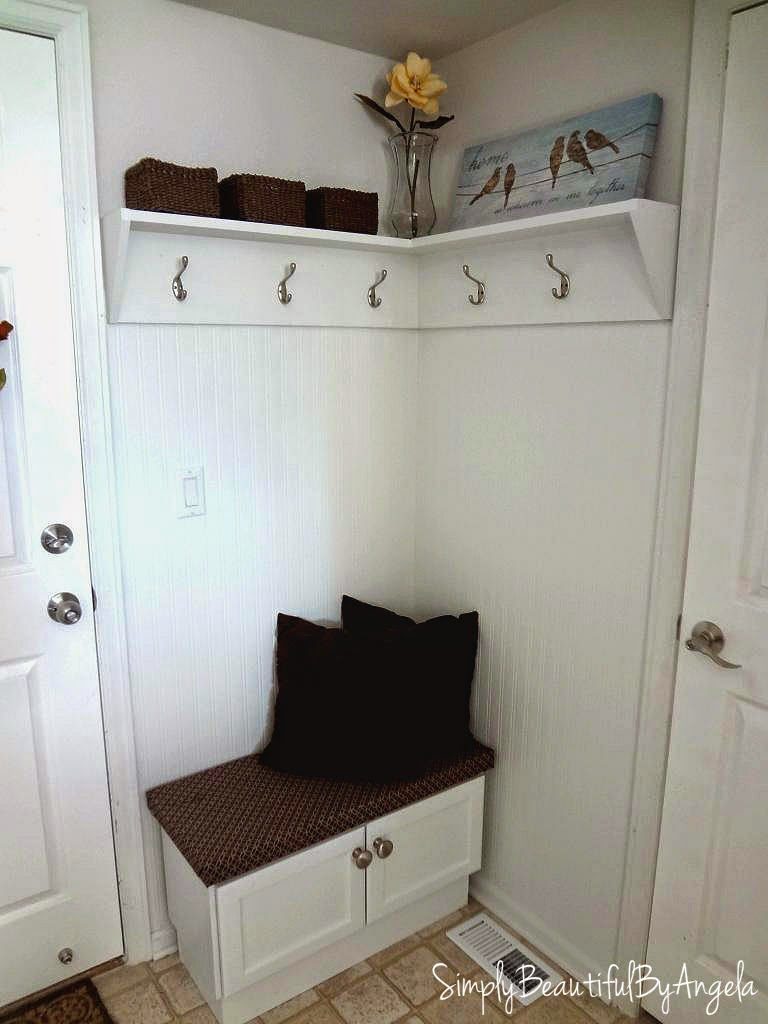
I picked out some gigantor knobs (can’t really tell how giant they are in the picture but I’m in love!!!) and we finished it off by screwing on some coat hooks to the “back board” of the shelf. And there you have it! We now have a cute and functional space in what was once just a wasted corner.
Linking up to these awesome parties:
- Before and After Party hosted by Thrifty Decor Chick (first Monday of each month)
- Inspiration Monday Party hosted by I Should Be Mopping the Floor
- Made By You Mondays hosted by Skip to my Lou
- Tutorial Tuesday hosted by Hope Studios
- Outside the Box hosted by Carissa Miss
- You’re Gonna Love it Tuesday hosted by Kathe with an E
- Twirl and Take a Bow hosted by House on the Way
- Work it Wednesday hosted by The Turquoise Home/The Blissful Bee/The Happy Housie/Place of my Tastes
- Handmade Hangout hosted by Cristina’s Adventures
- Thrifty Thursday hosted by Living Well Spending Less
- Frugal Friday hosted by The Shabby Nest
- City of Links Party hosted by City of Creative Dreams
- Fridays Unfolded hosted by Nancherrow


Most of the house owner has absolutely no idea what to do with their corner space of the home. Therefore, in most of the occasion, they used to start experimenting with their constructions. Here in this article, we can get a perfect example of utilizing corner space; where, we used to create a mudroom. This is really amazing and it shows a perfect example of a good architect.
This article help me. Thank your for sharing.