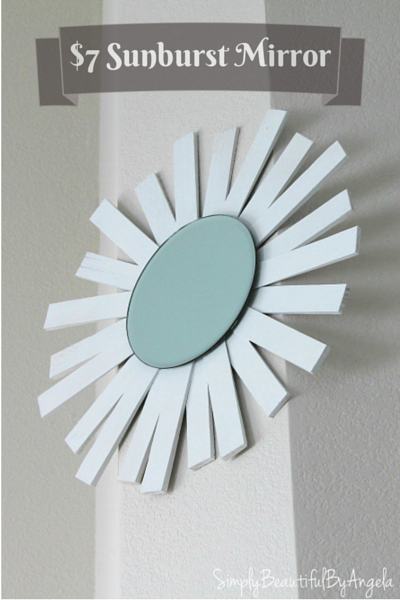
I have seen these alllll over blogland and have been wanting to make one so bad but couldn’t figure out where I could hang it. Finally I figured out the perfect spot and got straight to work!
So this project was supposed to be simple. Everyone in blogland made it made it look sooooo easy. But of course, as an Angela project I ran into a few bumps.
In the end the materials cost me a total of $7:
2 packs (24 ct) of wood shims: $3
Round mirror from the candle section at Hobby Lobby: $3 (with 40% off mobile coupon)
Circular wood piece from the craft section at Walmart: $1
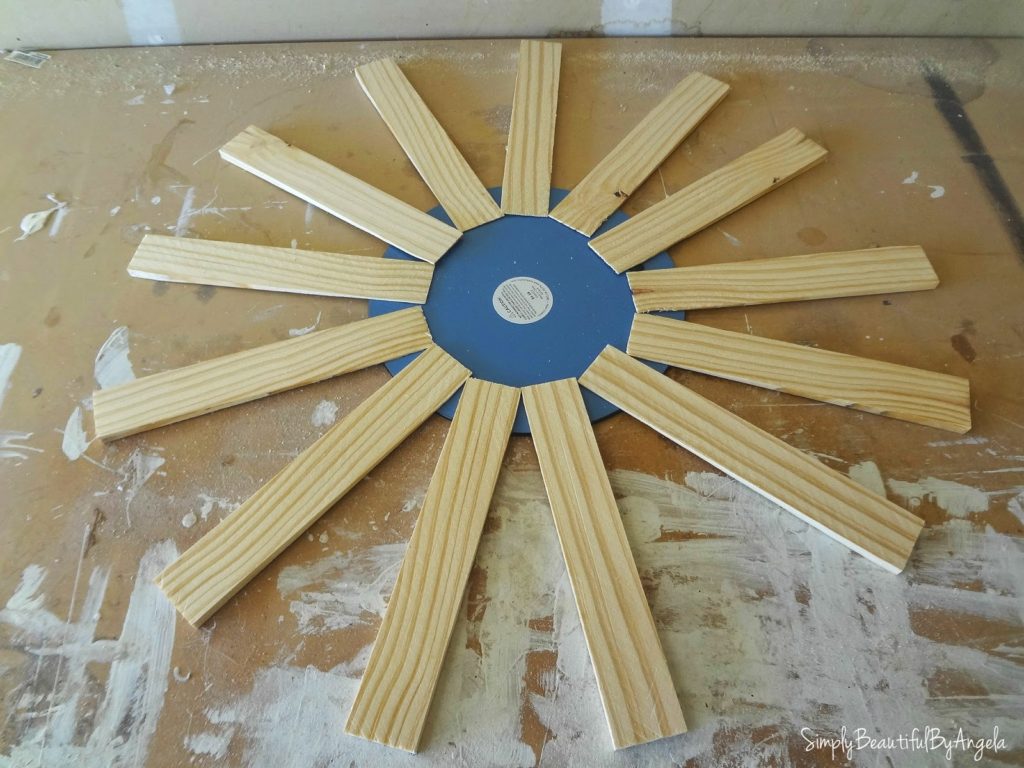
First, I laid out the wood shims evenly spaced on the back of the mirror with the thinner side of the shim on the mirror.
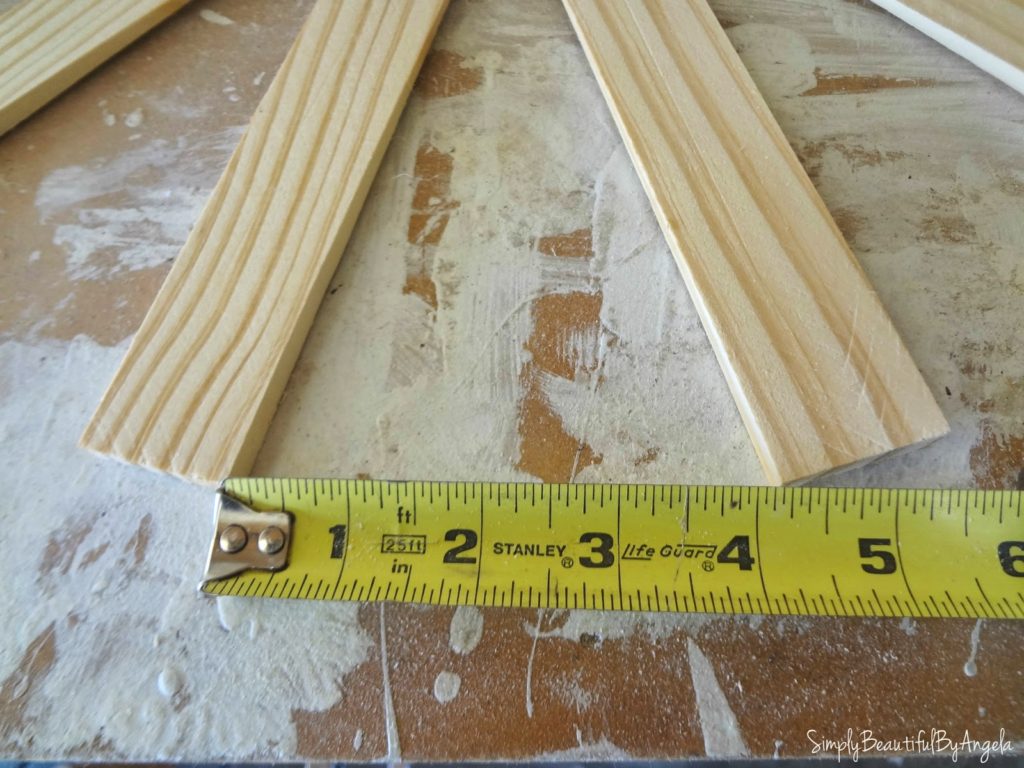
It took a little trial and error to get them as close to evenly spaced as possible, but I got them “roughly” 4 inches apart at the edges. When I say “roughly,” I mean it! There were a few that had to be off a little but you honestly can’t tell.
I then used hot glue to attach each one to the mirror (my first mistake).
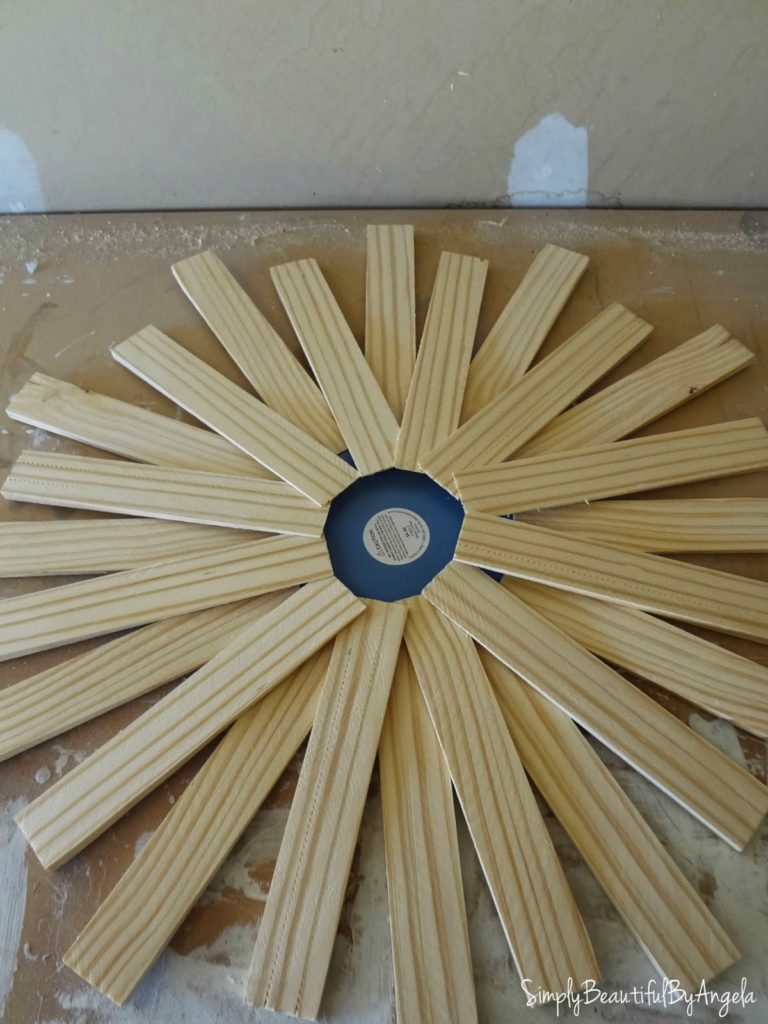
Next, I hot glued a second layer in between the gaps of the first and made them come in just a tad bit more so that they were a different length.
After gluing all of the second layer on I realized that I had glued down the thicker side of the shim on some of them and it looked super funny. Ahhh!
So I began to take those ones off and soon realized how easily they came off– which concerned me. Anytime I would move it I could hear the hot glue tearing away from the mirror.
I’m not sure how the other bloggers got away with hot glue but it was definitely not working for me!
So I set the whole project aside until I could figure something else out. Later that day I went to Walmart to search for a super adhesvie and a lightbulb went off when I found a circular piece of wood.
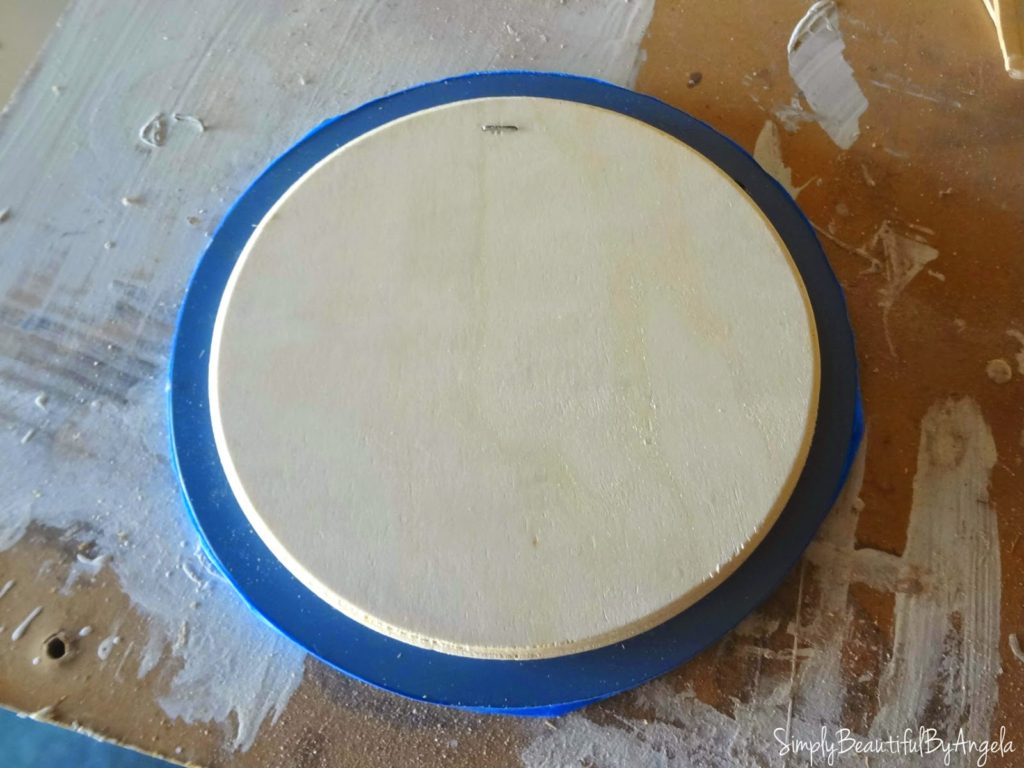
I used a TON of GOOP to attach the wood to the mirror (the blue that you see around the edge of the mirror is painters tape).
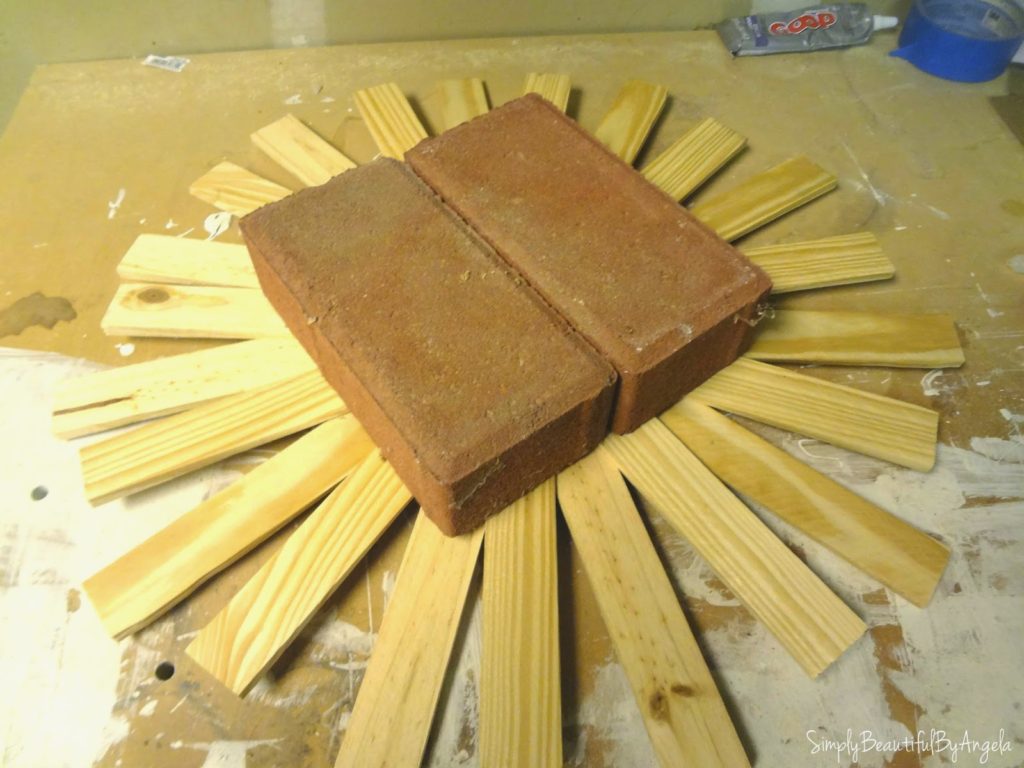
Then I attached the wood shims just as I did before but this time I used wood glue. Wood glue doesn’t adhere pieces together as quickly as hot glue so I had to use bricks to set them.
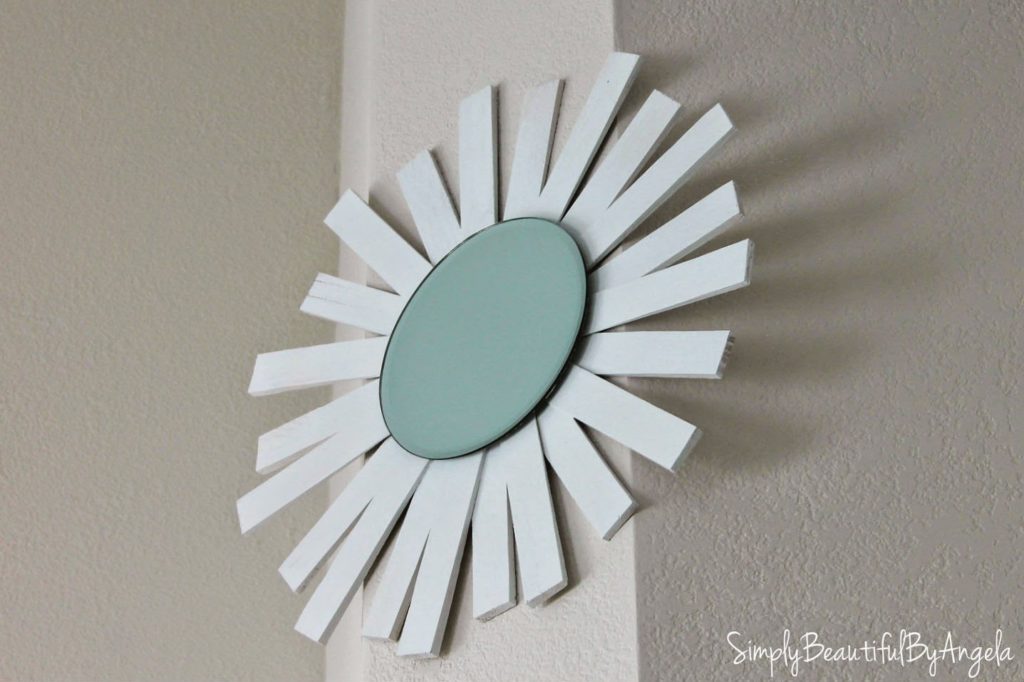
I let it dry overnight and went back in the morning and coated it with white spray paint (with the mirror taped off).
The nice thing about using the circular wood piece is that I was able to nail on a picture hanger. It isn’t very thick so I could only nail about half way through and I added some GOOP to make sure that baby isn’t going anywhere!
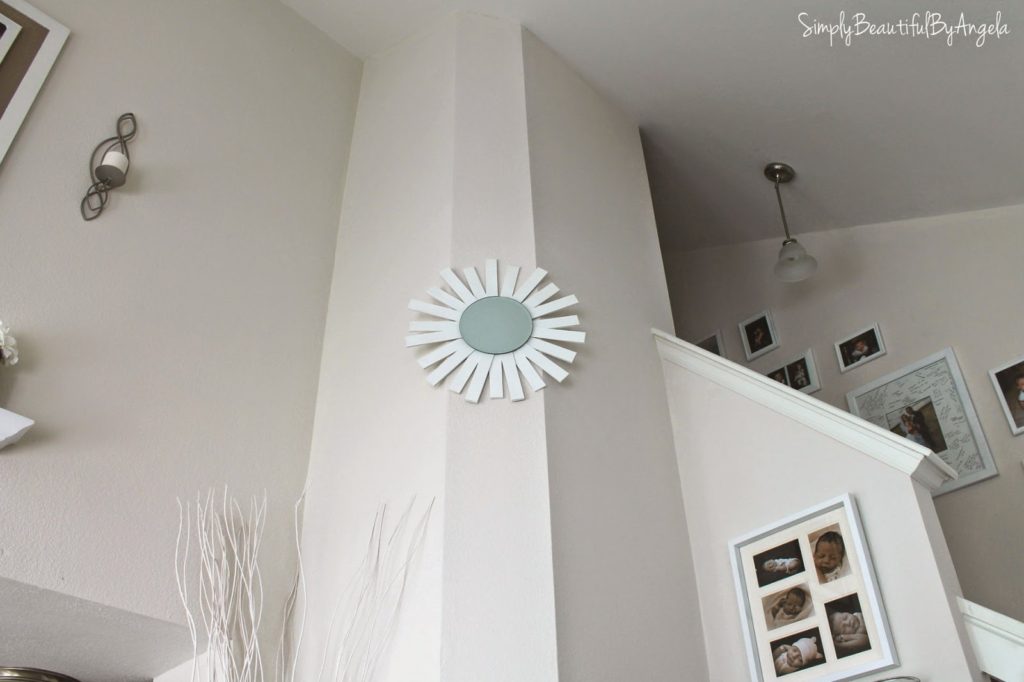
It looks so pretty on our chimney that leads up to the vaulted ceiling.
I love it so much that I want to make one for everybody I know (now that I have a good method down!)
Linking up to these awesome parties!

SO cute! And please feel free to make one for me! 🙂 This is a great gift idea for sure! – Bre @ Average But Inspired
Ok will do! Haha 🙂 Thanks for stopping by!