When I was unpacking I ended up breaking the glass of a really nice picture frame so I just tossed the frame in our Goodwill box. When I was digging through it to find something that I could use on that wall I realized that I could easily turn this into something neat! (I loooooove shopping my house)
Best part of all is that I used things I already had on hand (including the pictures which I will probably be replacing eventually) so this project cost me $0.
The frame was originally black and since I’ve been on a “everything needs to be white” kick lately I covered it with a couple of coats of white paint. Spray paint would be quicker but I always go through it too quickly so for things like this that are easy to brush I just use latex paint.
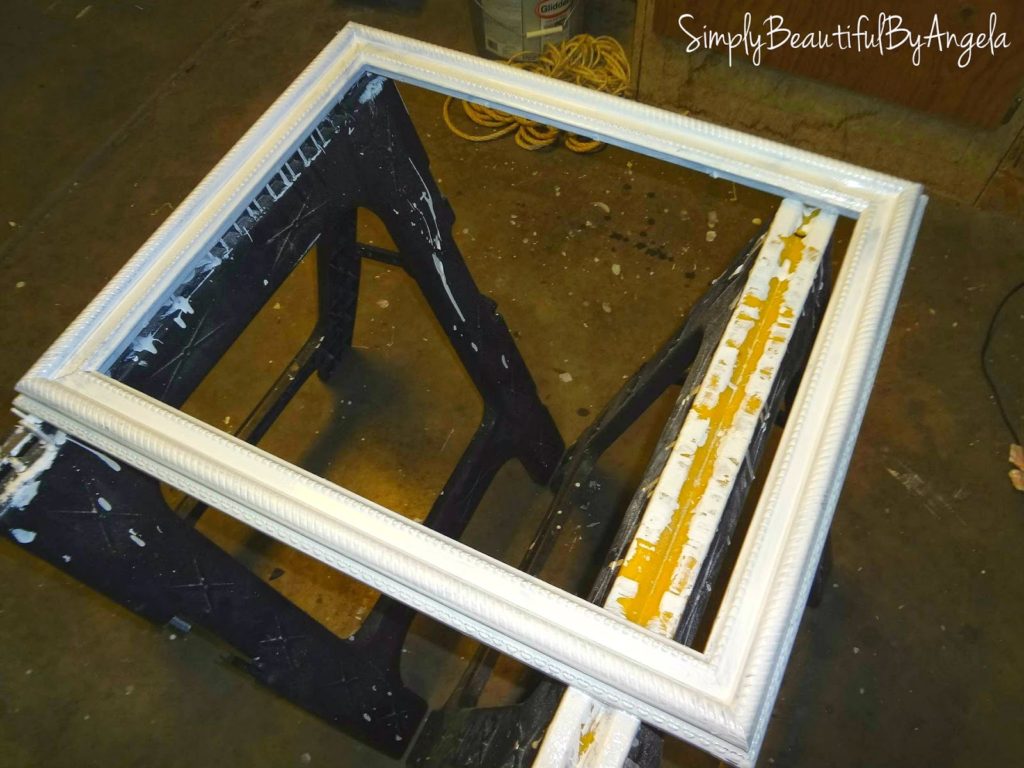
I didn’t take any other pics during the project because I wasn’t sure if I was even going to like it, but here is what I did next.
I took some old ribbon and played around with where it should go. At first I thought I only wanted two rows, but then I realized that three looked much better.
With the frame face up, I slid the ribbon around and laid the pictures on to see where each ribbon needed to be attached so that they would be evenly spaced.
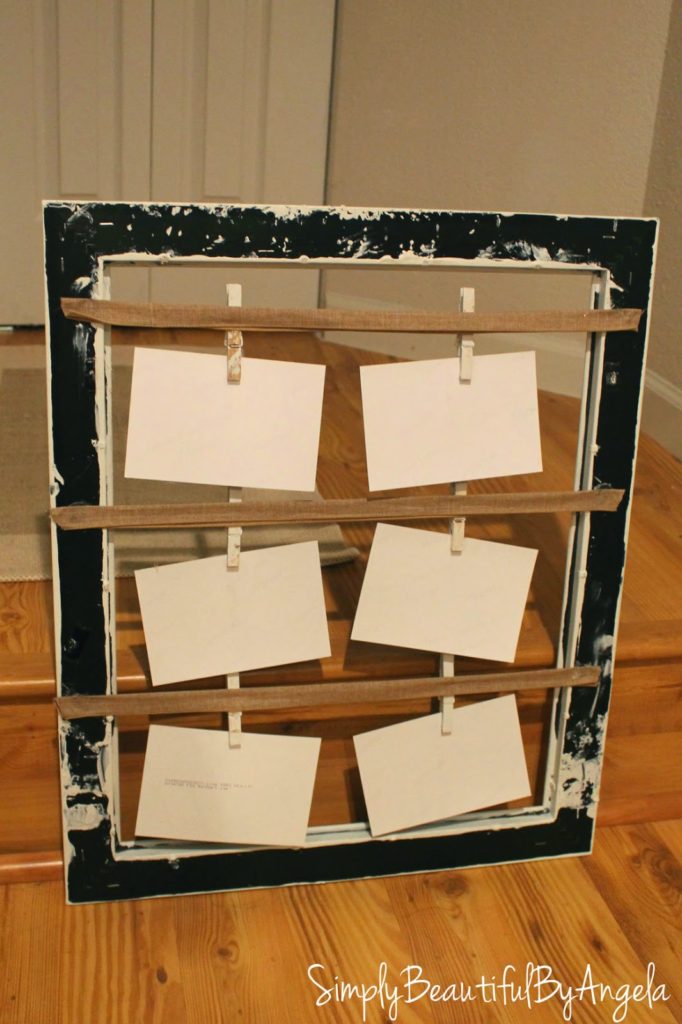
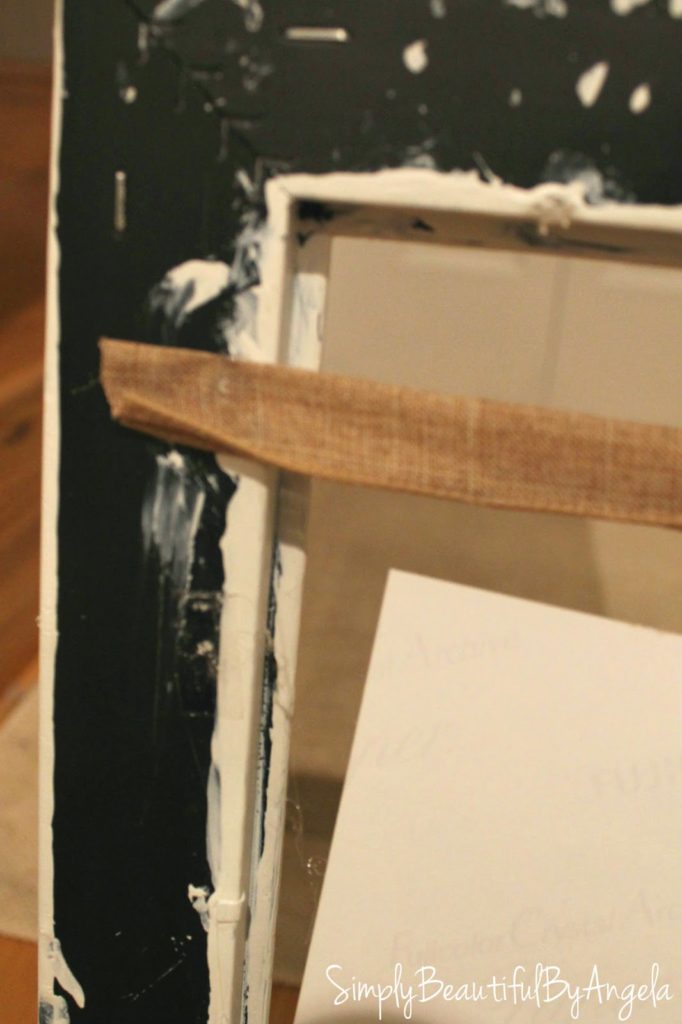
Once I was happy with the arrangement I used hot glue to attach the ribbon to either side of the frame.
If you mess up you can just pull it off and redo…I know from experience 🙂
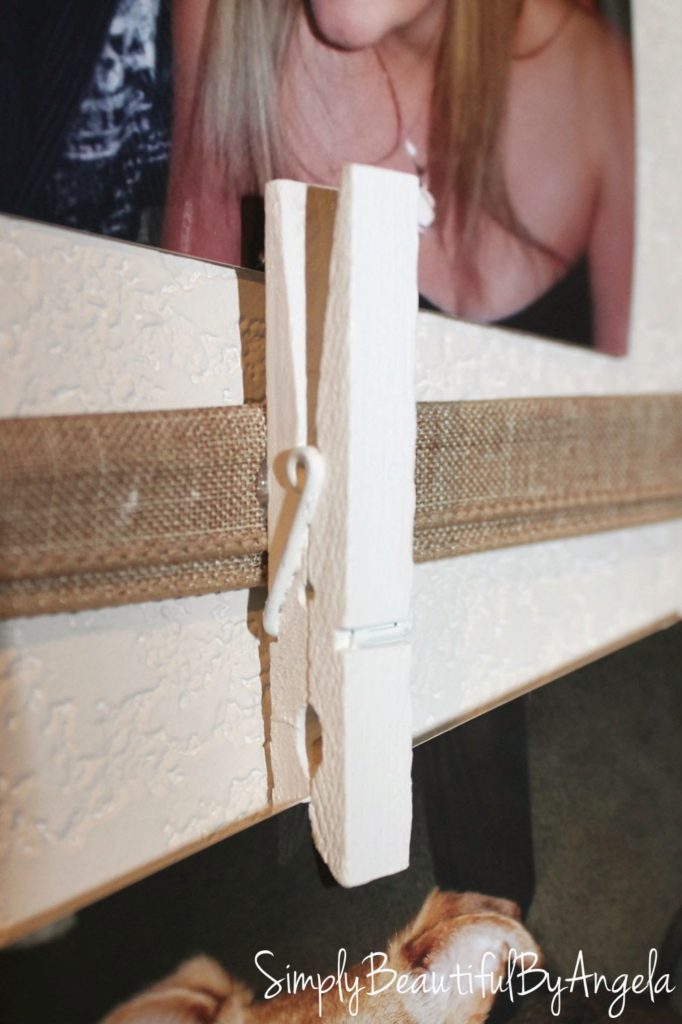
Next I painted some clothespins white. I debated leaving them their natural color but I decided they needed to be white (of course!). Then I just hot glued the backs on to the ribbon.
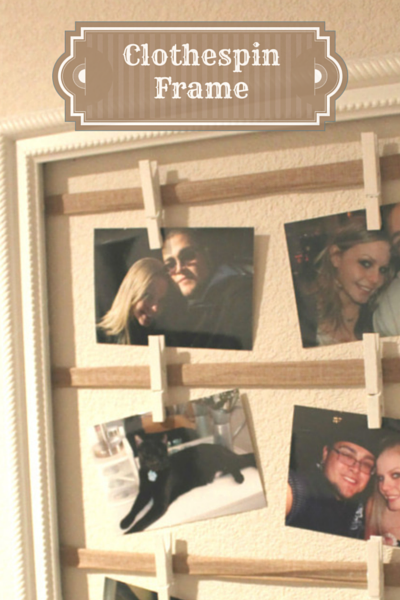
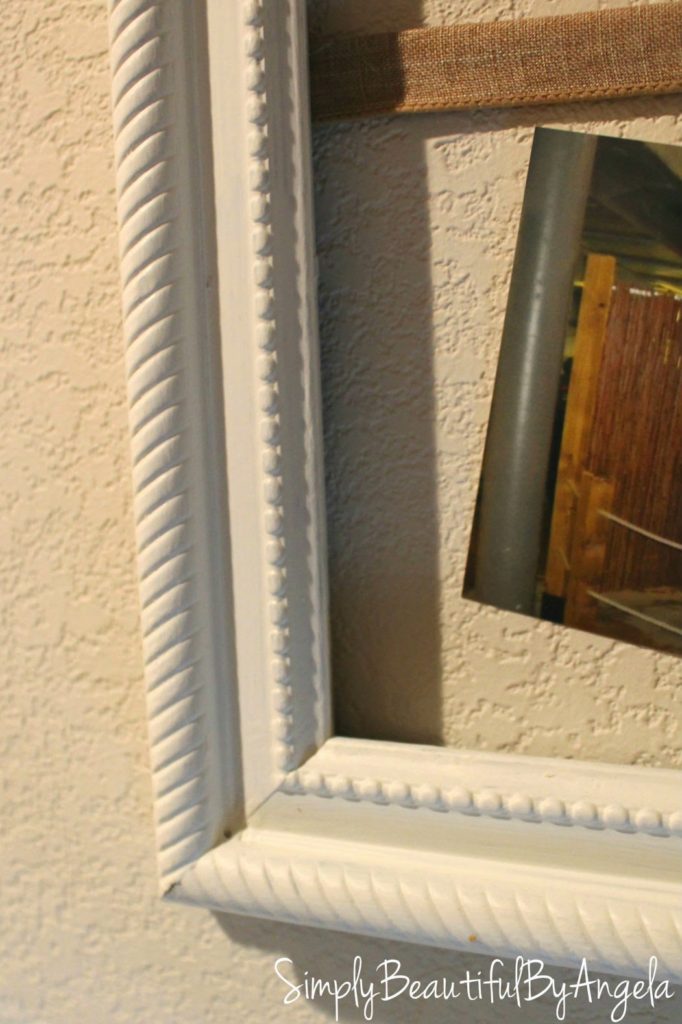
I’m so glad that I was able to use this frame because the detail on it is so gorgeous!
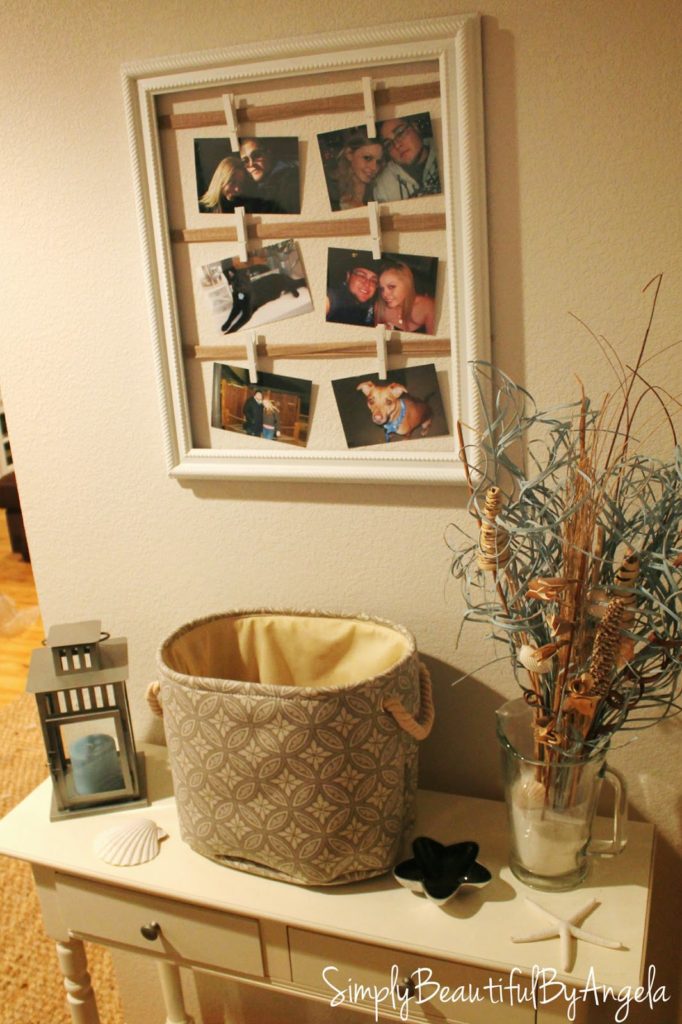
It’s such a nice addition to this wall and it’s super easy to change out the photos as often as we like. I even thought about putting up our beach pictures to go with the whole beach theme downstairs.
(I replaced the aquarium with a bin for this picture because it’s currently filthy and trust me, nobody wants to see that! :o)
Linking up to these awesome parties!