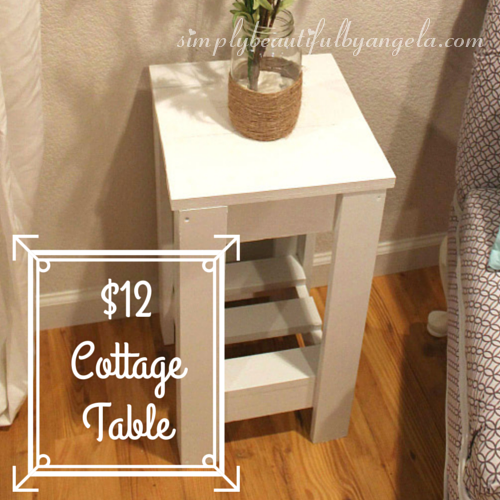
When I envisioned my saved cat chair sitting in the basement I knew it would need a cute little cottage table next to it. But I also knew that I didn’t have much to spend. When I saw this tutorial on Thrifty and Chic I was instantly inspired!
Like most of my projects though, I ended up running into a few issues and ended up with my own creation 🙂
I went to Lowe’s with my tutuorial in hand and picked up my materials listed in Thrifty and Chics tutorial. However, I got unlucky with the guy doing my cuts and ended up with all sorts of strange measurments for the legs.
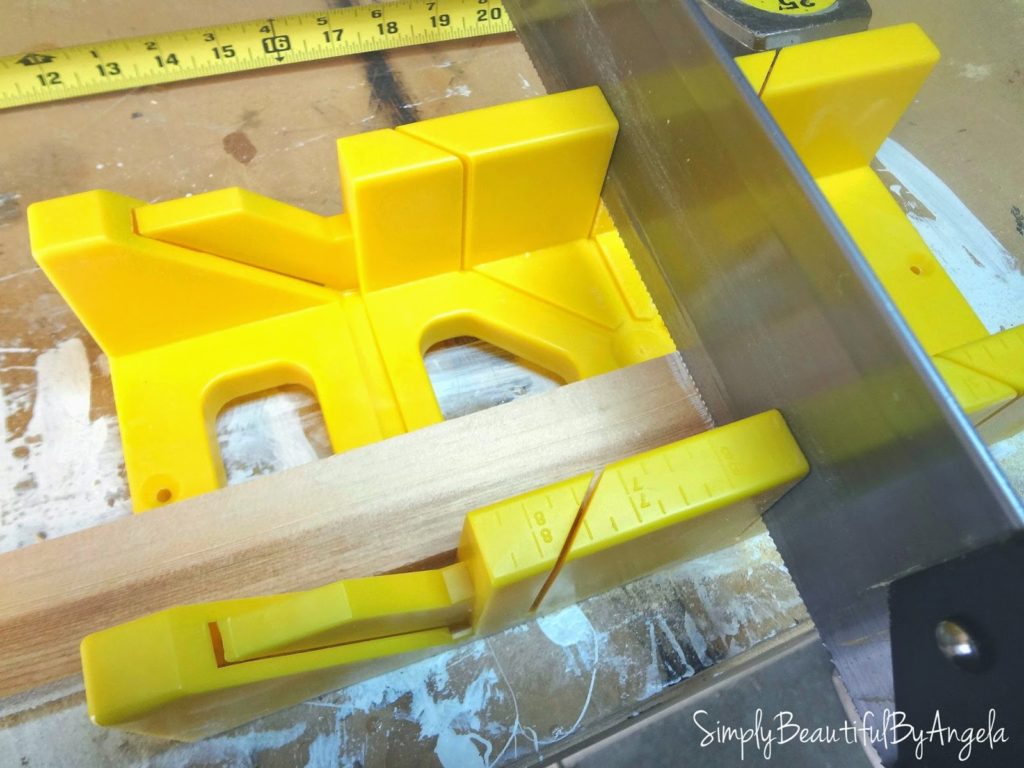
Luckily I purchased this miter box that same day for my upcomming mirror framing project and was able to take the shortest piece and cut them all down to that size. The table height actually turned out perfect for that spot next to the chair. I loooooove it when things like that happen!
Here are the materials I ended up using, which are slightly different than Thrifty’s tutorial:
•Four 1x2s cut at 22″
•Four 1x3s cut at 22″
•Seven 1x3s cut at 10″ (4 for the sides and 3 as planks on the bottom “shelf”)
•Five 1x3s cut at 12″ (for the planked table top)
•Four 1x4s cut at 10″
•Wood glue
•Wood screws
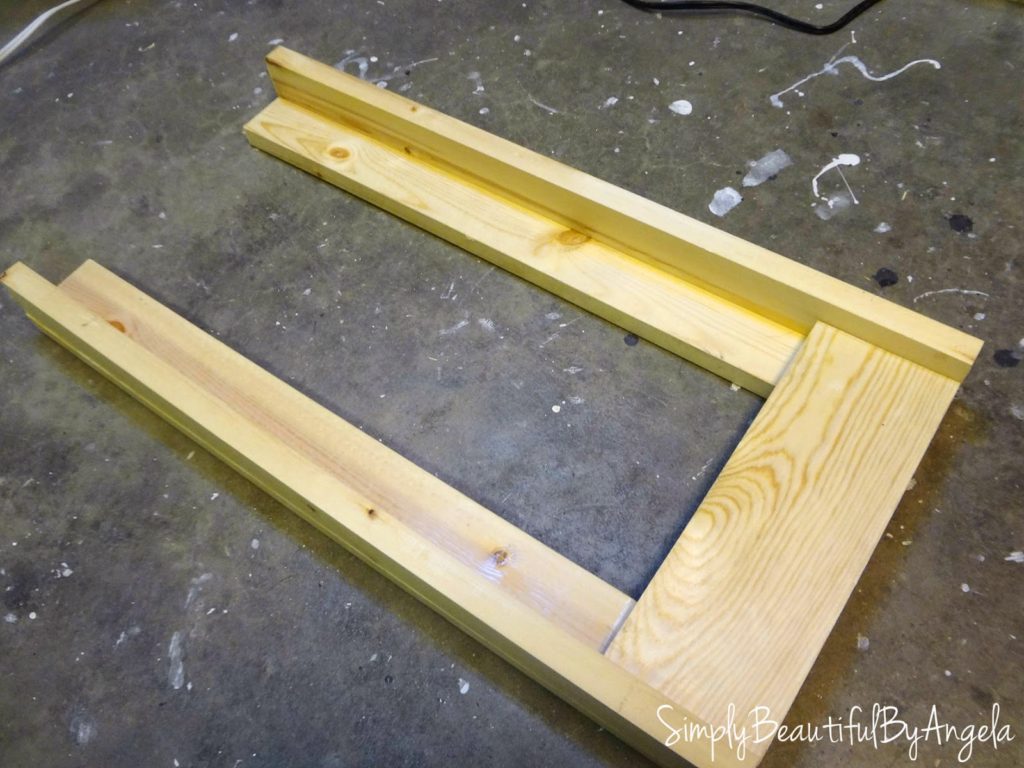
1. The first step is leg asseambly. Take one 1×2 and one 1×3 and secure them with wood glue. Repeat that for the other three legs and let the glue dry for 30 minutes.
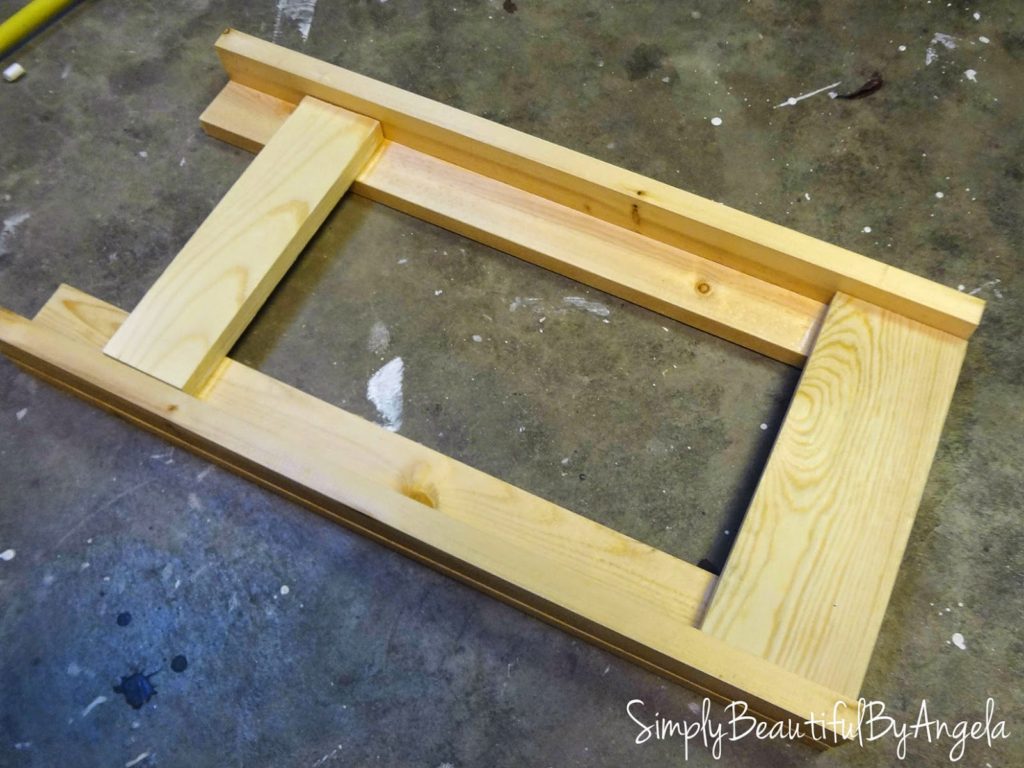
2. The second step is to assemble the sides. Take two of the legs and connect them by gluing a 1×4 at the top:
and a 1×3 at the bottom (make sure you measure how far up you want it so that both sides are even) and let dry for 30 minutes.
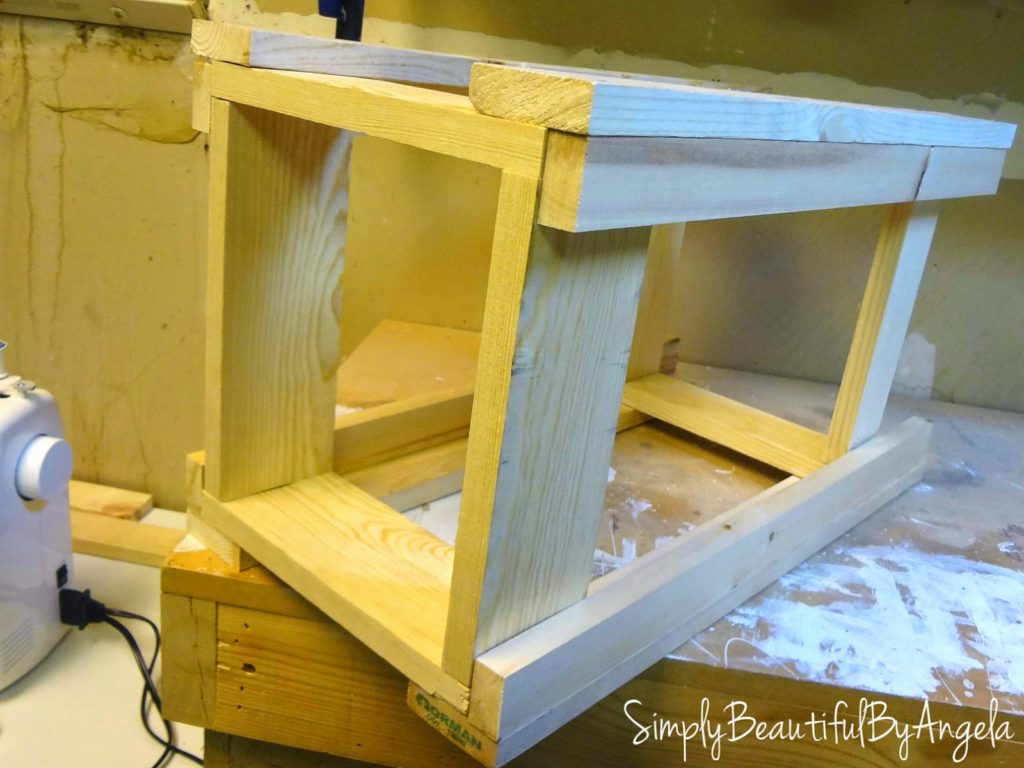
3. Now you are ready to connect the two together with another 1×4 and a 1×3 just like in step 2. I first connected them to one side and let the glue dry:

then I connected the other side. At this point the hubby secured everything with wood screws. You probably should do this during each step but we didn’t have any on hand yet and I was too impatient to wait!
Originally I was going to do a round table top like the tutorial and I was sooooo excited when I found a round piece of wood at Lowes! Buuuuuut silly me didn’t even think to check my measurments and I found out that it was too small to fit on top. Whomp whomp.
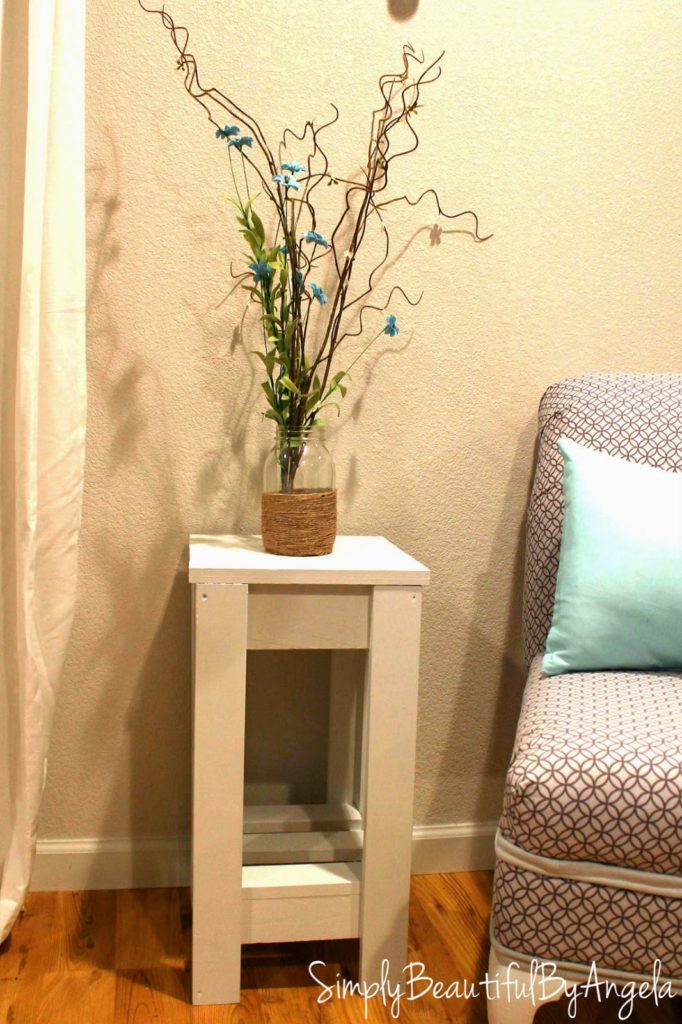
But again, it ended up working out because I decided to just do a plank table top which saved me a couple of dollars and it adds to the distressed beachy charm that I’ve been going for in the basement.
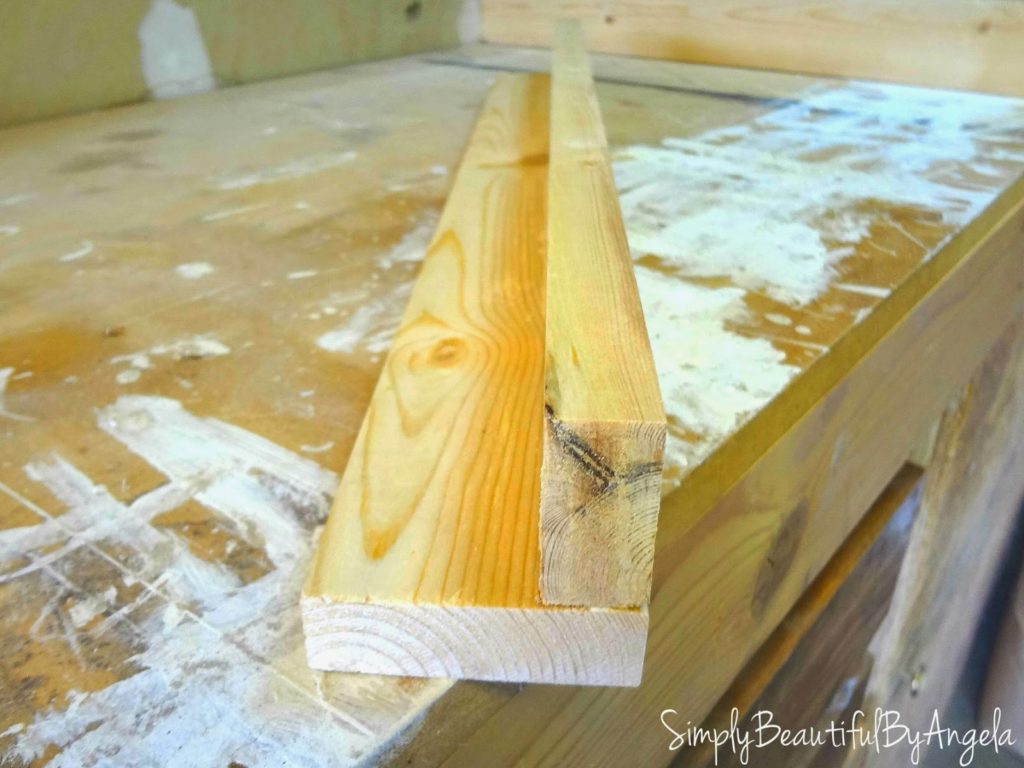
For the planks I went to Lowe’s and got a 6 foot 1×3 and didn’t even bother having them cut it because I was worried that they would just mess it up again. I came up with a pretty nifty way to make equal cuts.
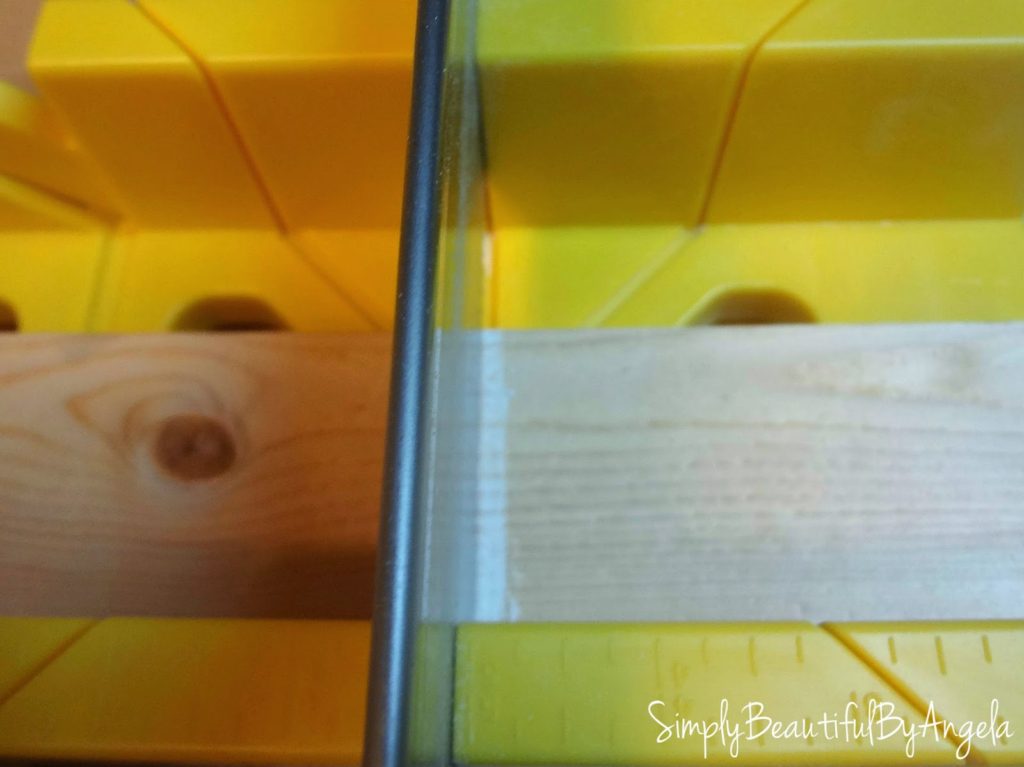
I cut my first plank at 12″ then lined it up and ran a chalk line against the edge like so:
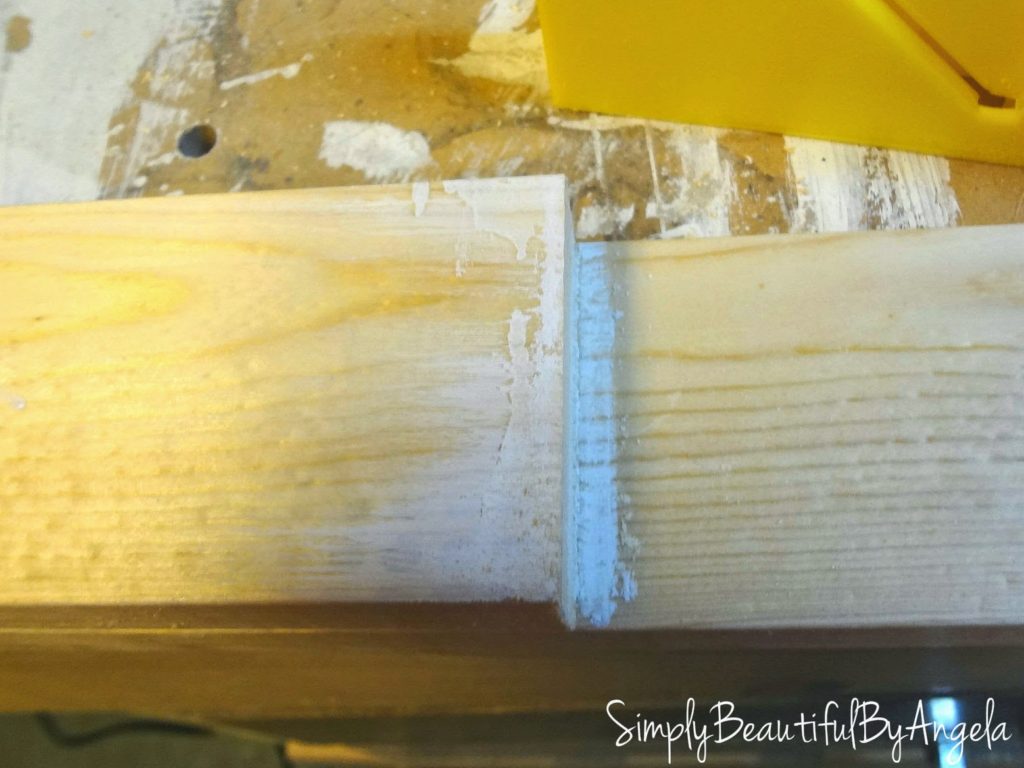
When I removed the first plank, I knew that my saw needed to be right at the edge of that chalk line. This saved me from having to measure each one out and they all came out almost perfect.
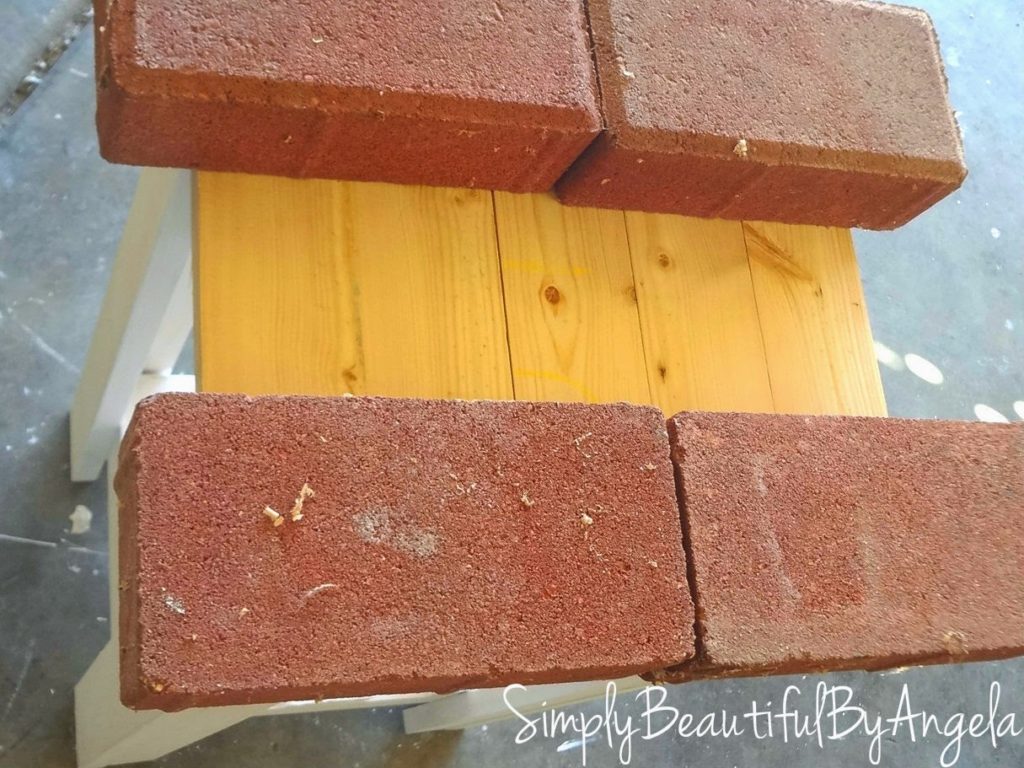
I just secured them with wood glue and laid a couple of bricks on them while they dried.
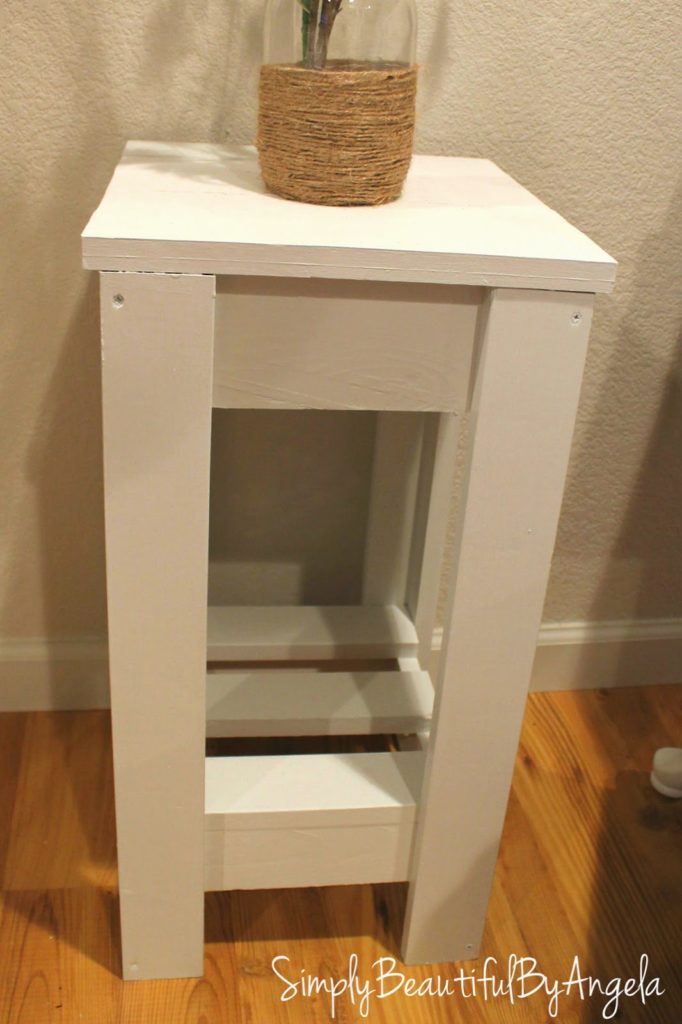
For the bottom I secured three 1x3s cut at 10″ and then I primed and painted the whole thing. Looking back, it probably would have been a lot easier to paint everything before assembling it. Live and learn 🙂
The hubby went around and caulked a few gaps and left some for that distressed coastal look. I’m debating whether or not I want to spackle over the screws or if I like the way it looks now.
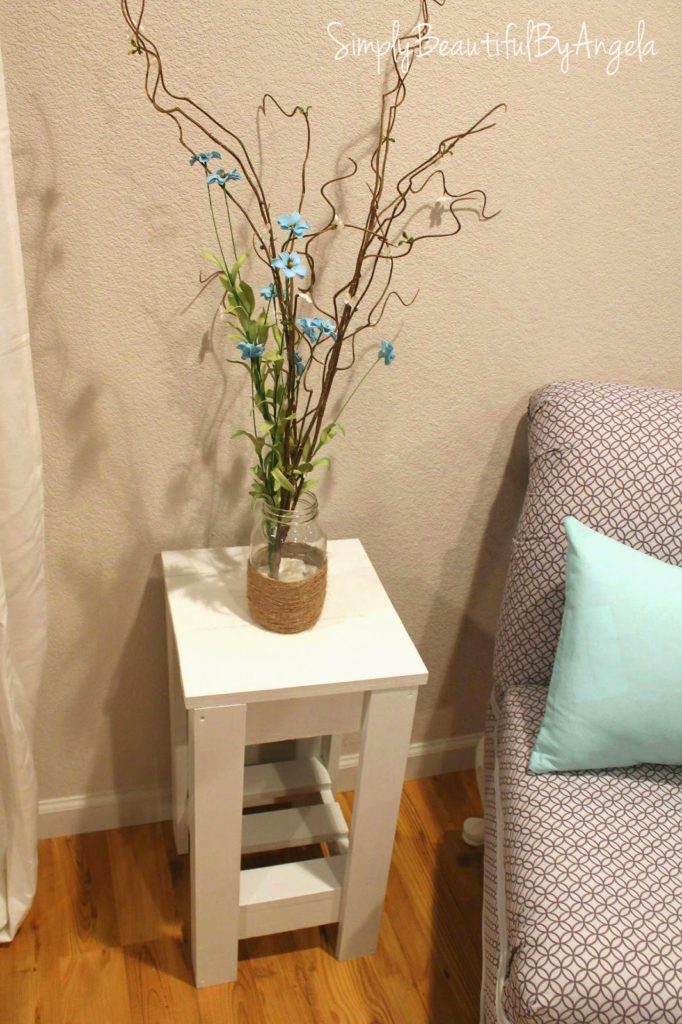
Now I am on the look out for a green glass lamp to put on it. I saw one at Ross that I loved a few months ago before I had any idea of where to put it, but it was gone when I went back to snag it. Then I actually saw TWO a couple of weeks ago but didn’t have any idea of where I needed one at the time. Of course they were gone when I went to check last Friday. Oh well, I’ll eventually score one…or come up with something else to put here (the twine vase is one of two that go on either side of the TV that I just borrowed to take the pic).
Since I already had the paint and wood glue on hand the whole project cost about $12! I couldn’t even find one that cheap on Craigslist!
Linking up to these awesome parties!

Just found your blog! Neat DIY's! Love the table and the cabinet made from cubes. Great job!