Simply Beautiful By Angela

creating simple beauty on a budget

  • Home Tours
  • Projects
  • Legal
  • Link Parties
  • Let’s Chat!
  • About Me

Easy Envelope Pillow

October 29, 2014

When we first bought our couch it came with some really nice, but dark pillows. And since I’m a light and bright kind of girl I set out to find some new ones. But store-bought pillows can get crazy expensive and it can be hard to find what you’re looking for when you have exactly what you want already in mind!
Then I realized that since IKEA sells pillow inserts for super cheap, I could pick out my own fabric and make my own. They sell a 20″ x 20″ for $2.99 and a 16″ x 26″ for $3.99. They also have a 26″ x 26″ for $9.99–a store-bought pillow that big in the store could get expensive!

(source)

Yes, I am in love with IKEA–I could get lost in there for hours although the place drives my husband insane haha.

Anywhoooo…I ordered a few pretty fabrics from fabric.com (another place that I can get lost for hours haha).

I like the idea of envelope pillows because they’re removeable for washing (a must with pets and kids) without the hassel of putting on a zipper. It probably takes a total of 10 minutes to bust one of these out!

Step 1:

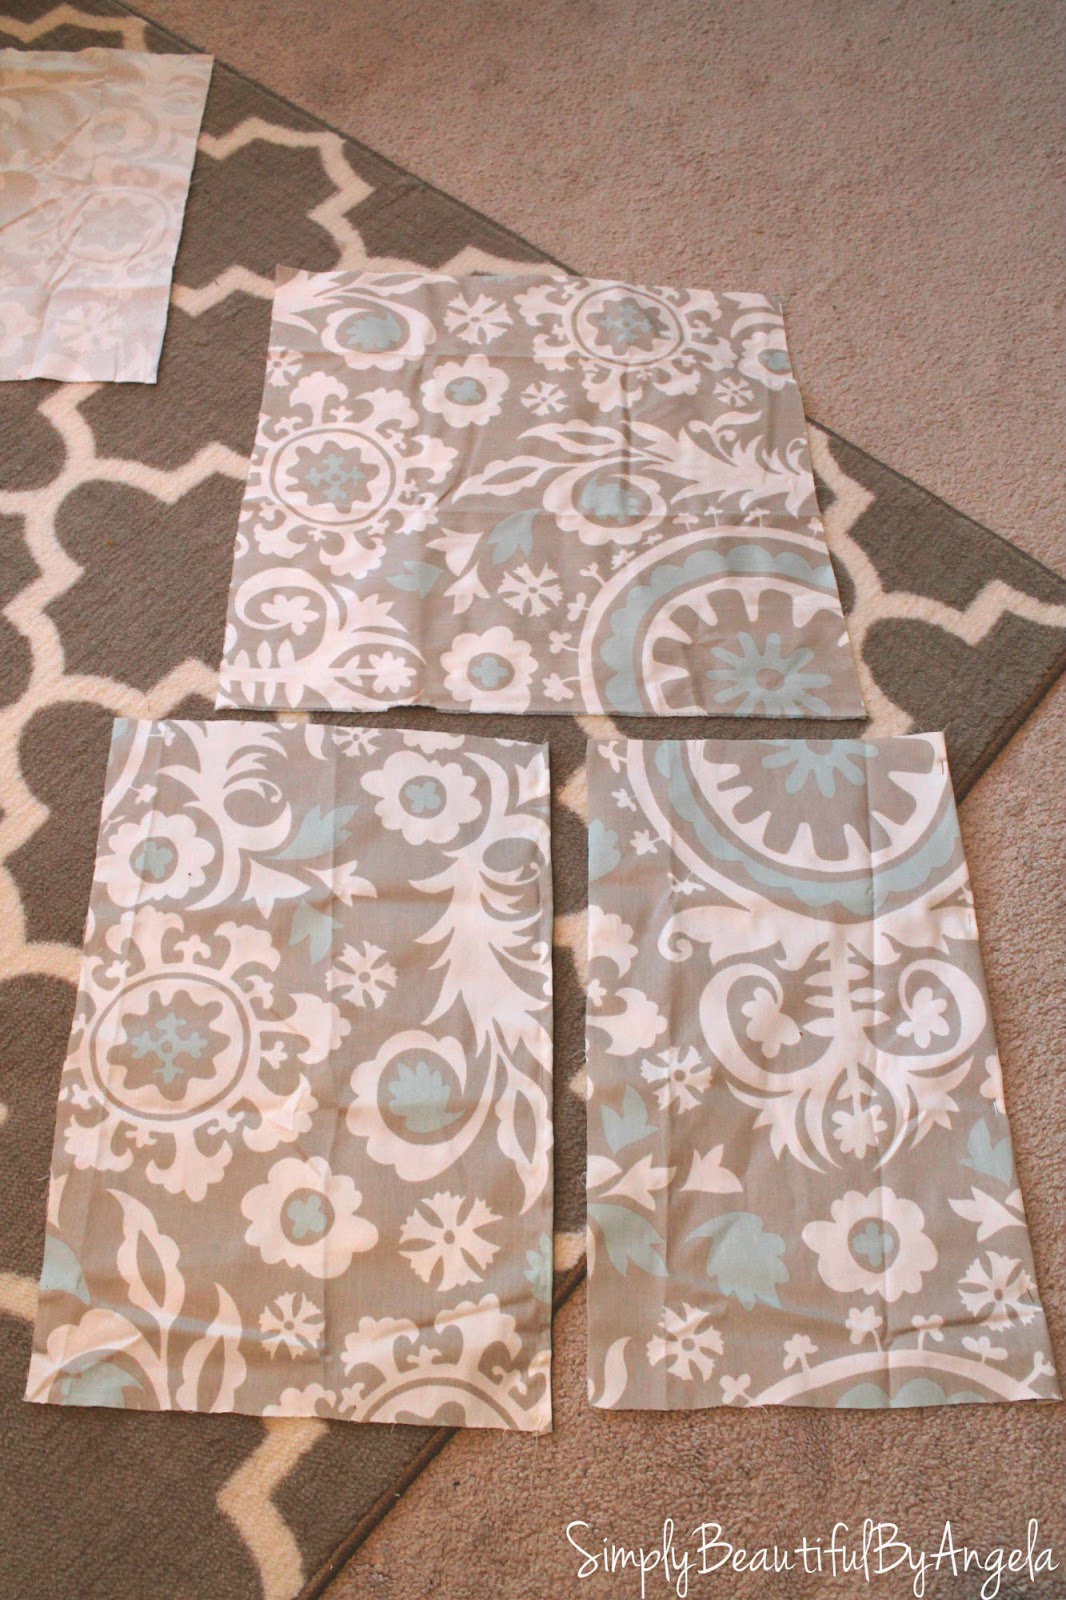
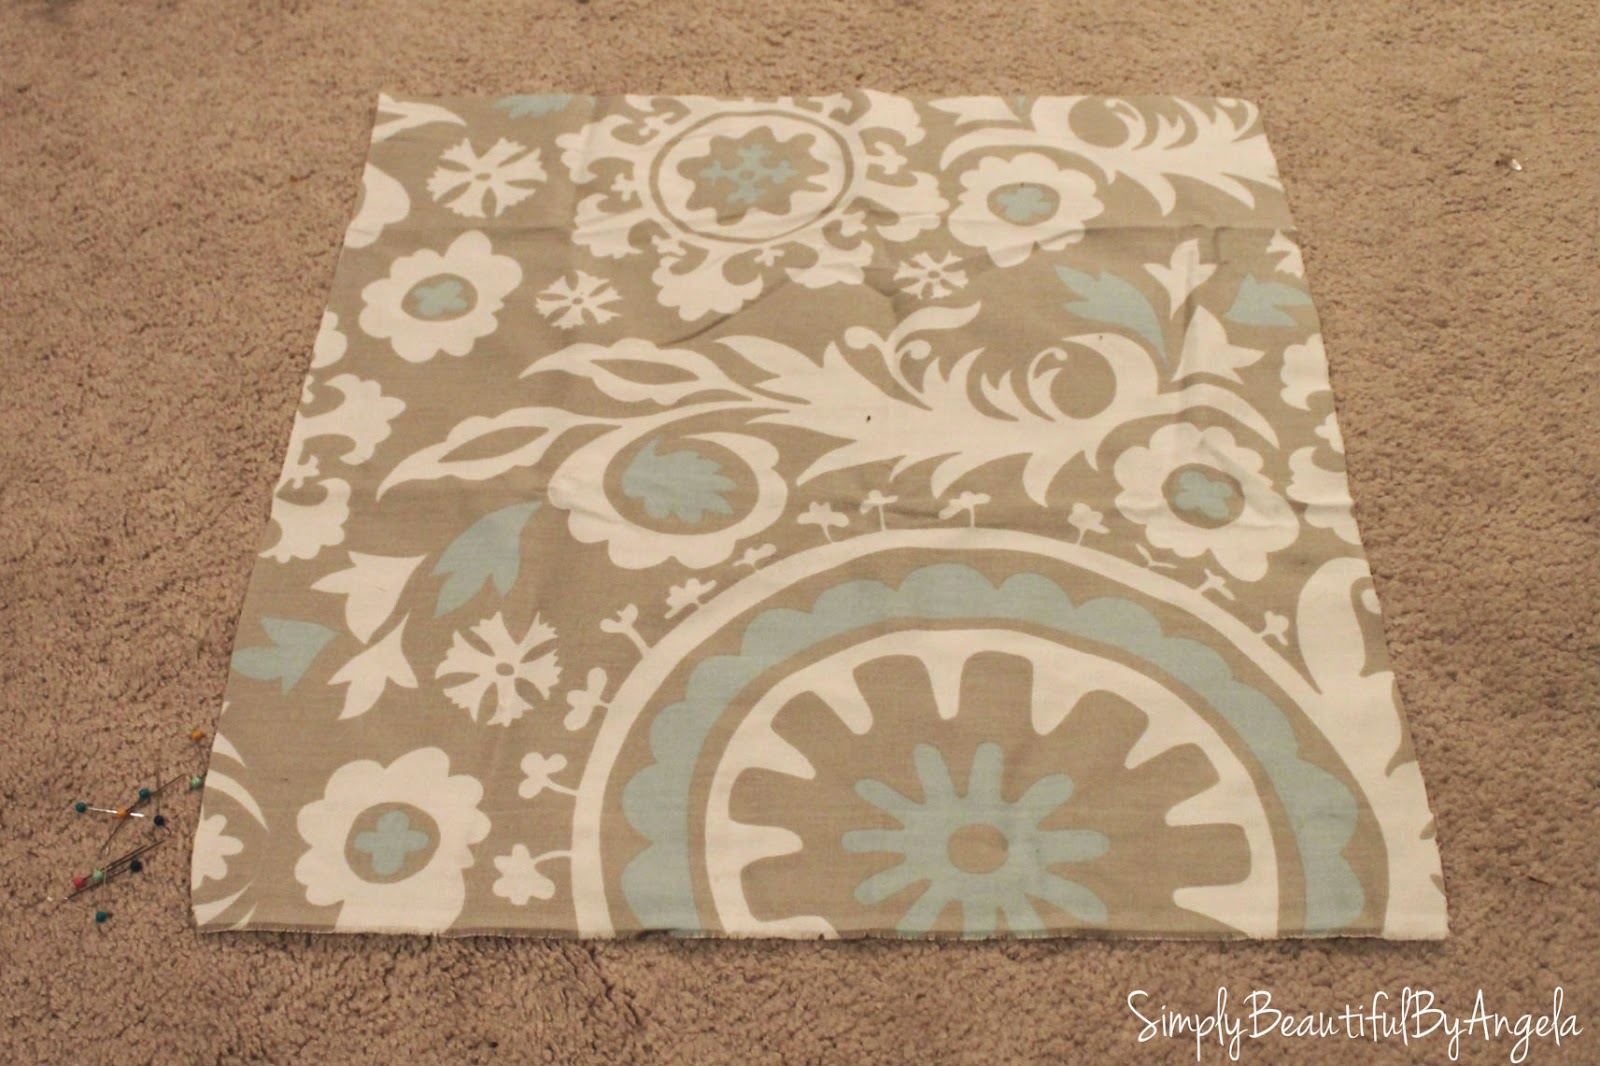
Before getting started you will need to measure out and cut your fabric. Instead of adding a seam allowance, I cut the measurements exactly the same as the pillow because I like them to be nice and full.

One piece will need to be the full size of your pillow for the front (20″ x 20″ in this case) and the second piece will need to have added length because you will cut this one in half and it will eventually create your envelope overlap in the back. Make sense?

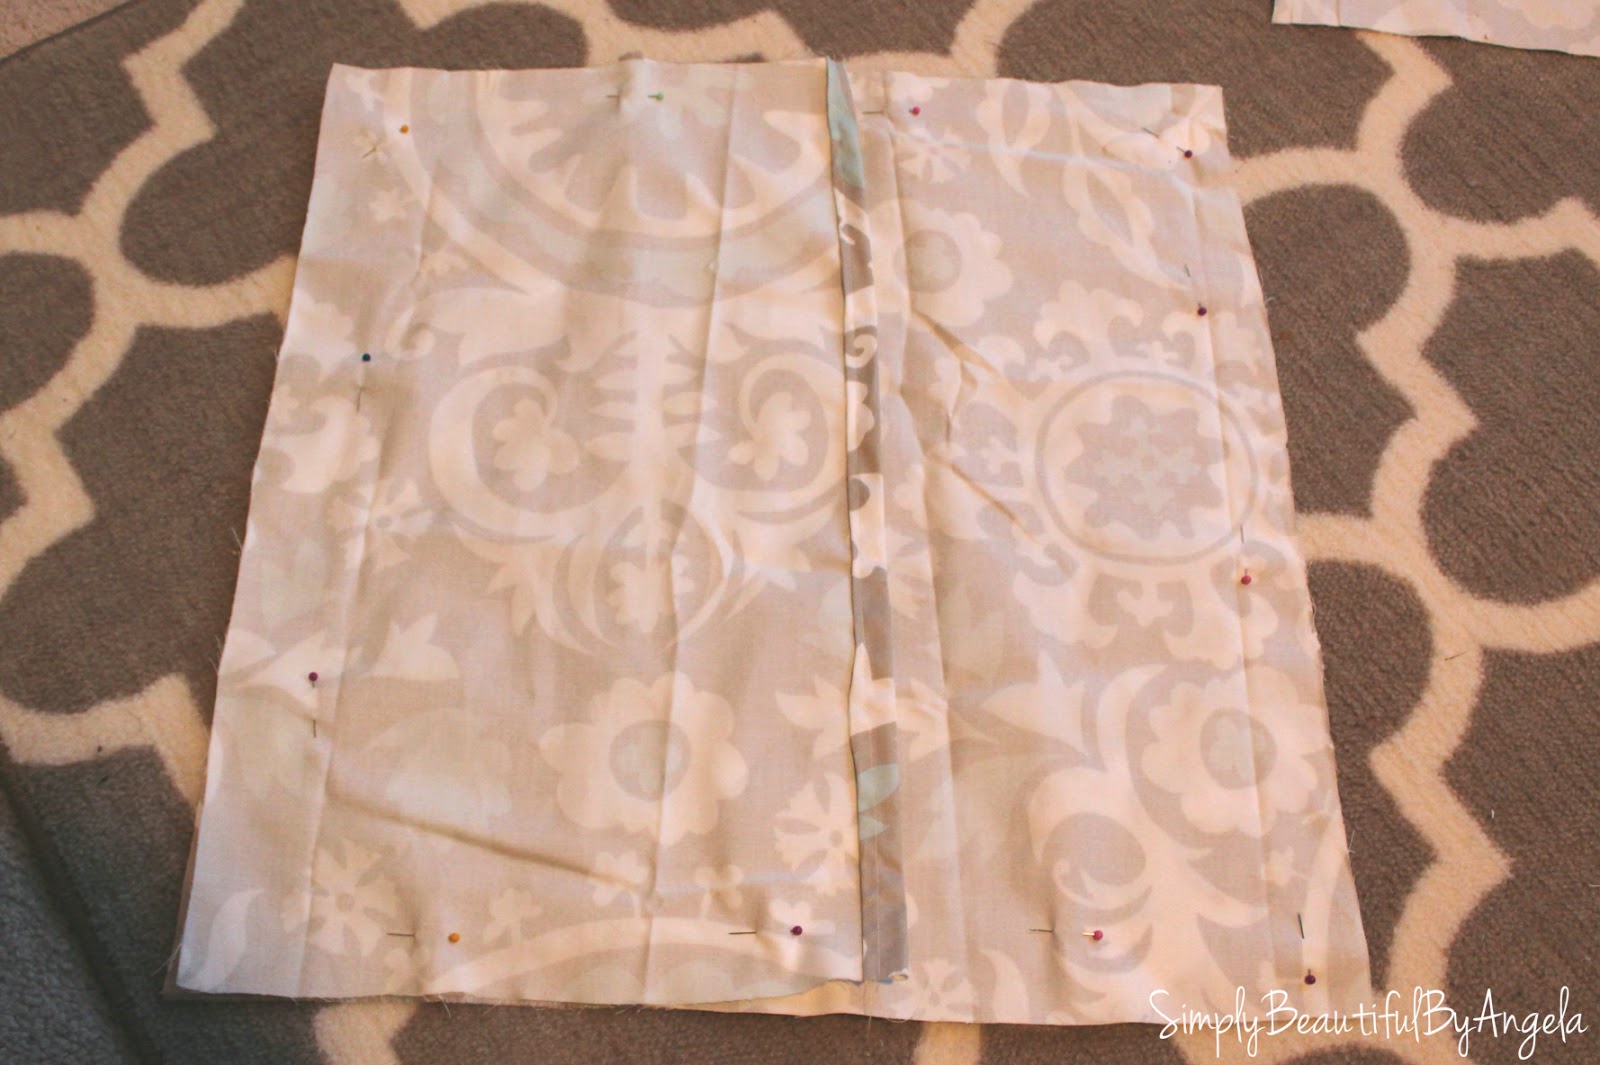
I think my second piece was 20″ x 28″ (in the picture I had already hemmed my two back pieces so they don’t look as long)
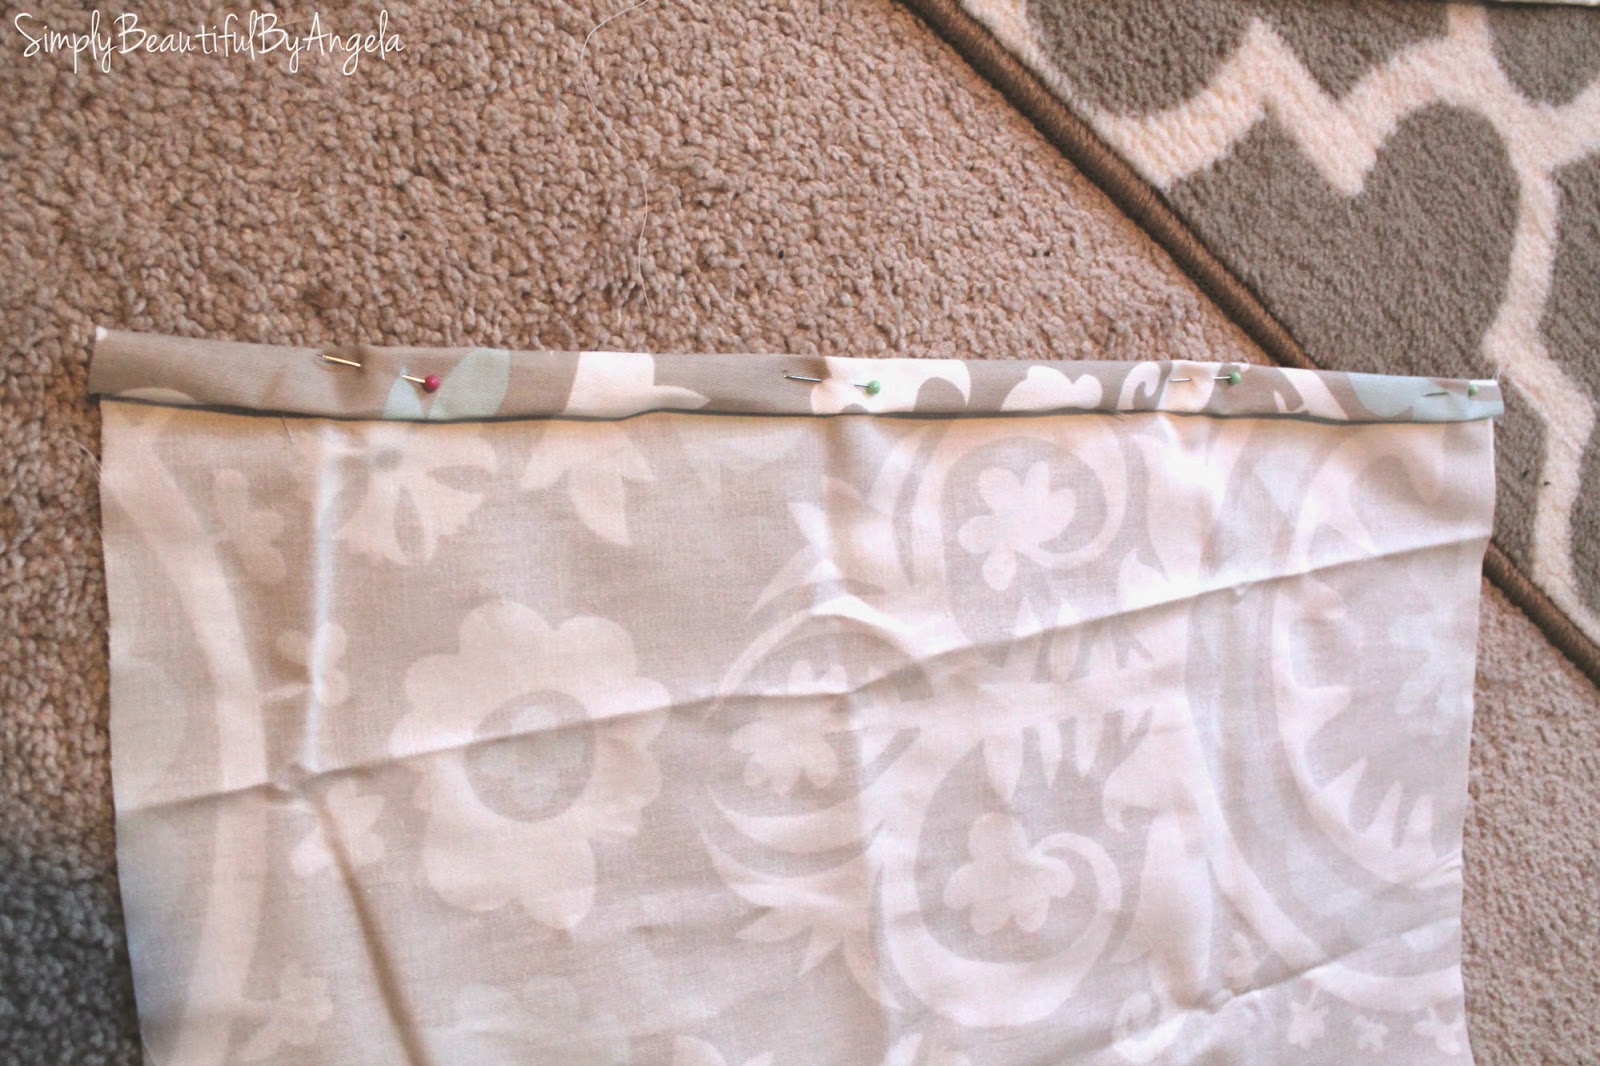
Step 2:

Fold the edge over on the each of the back pieces where you made the cut, pin and sew a hem on each.

Step 3:

Now lay your front piece with the design facing up.

And place each of the back pieces on top of it, both face down so that all of the pieces have the design facing inward. Make sure you have a decent overlap of the two back pieces.


Step 4:

Place a few pins to hold the pieces together and then run all 4 sides through the sewing machine.

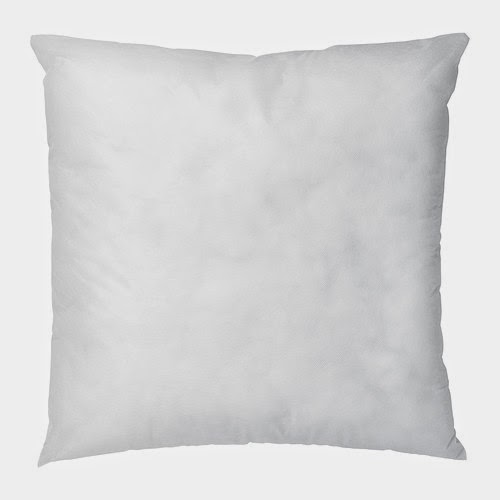
Now you can flip it right side out, stick your pillow insert in through the flaps in the back…

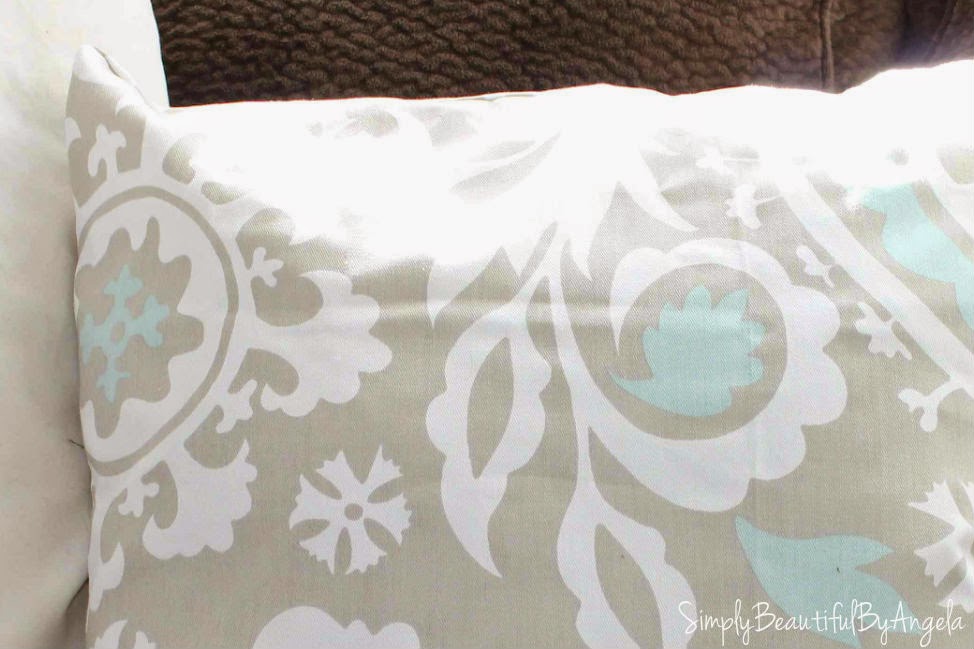
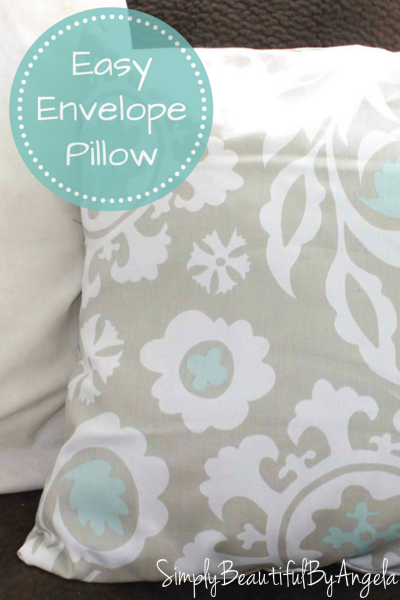
and you will have yourself a beautiful new pillow!

This is a quick and easy project and you can make pillows for the whole house for super cheap!

Linking up to these awesome parties!

· Labels: Uncategorized

Comments

  1. Draven says

    November 1, 2014 at 9:12 pm

    One of my fave tricks! This reminds me though that I should get on changing mine up for Winter! 🙂

  2. Angela says

    November 3, 2014 at 3:03 pm

    True–now that I know how to make these I'm pretty sure I'll be changing them frequently! Thanks for stopping by 🙂

Hello, I am so happy that you're here! My name is Angela and I love to create simple beauty in our home on a budget. Here you will find DIY decor and home projects, furniture flips and other home inspiration!

Never Miss a Post!


Diagonally Fluted Nightstands

Diagonally Fluted Nightstands

Hello! I’m really enjoying the extra daylight and the fact that it’s been paired with warm sunny weather this week has been icing on the cake. I’m trying to soak it all in before the next snowstorm! Today’s flip was from about a year ago and is still one of my favorite sets of nightstands…

Read More »

How to Update a Dresser with a Missing Drawer

How to Update a Dresser with a Missing Drawer

Hey friends, happy March! Even though I know we still have quite a bit of cold weather coming our way here in Colorado, it’s exciting to see these warmer days sprinkled in here and there. This week I am sharing how I saved an old IKEA dresser from ending up at the landfill! Supplies Used:(Affiliate…

Read More »

Vintage Ice Box Style Nightstands Makeover

Vintage Ice Box Style Nightstands Makeover

Hello friends! We just got back from our annual trip to the Great Wolf Lodge and it was fun times as always! Today I am sharing how I updated these fun vintage ice box style nightstands that I found on Marketplace! Supplies Used:(Affiliate links may be provided for convenience.  For more info, see my full disclosure here.) …

Read More »

Never Miss a Post!


GOOGLE 2

GOOGLE 3

GOOGLE 4

GOOGLE 5

GOOGLE 6

GOOGLE 7

Theme by 17th Avenue · Powered by WordPress & Genesis