Well this past weekend I finally got up the motivation to start on the plank wall that I mentioned last week in this post.
Now, keep in mind I am tackling this by hand, no power tools whatsoever! So it has been very time consuming and anything but easy, but the pride that I have looking at my work has made it worth it so far.
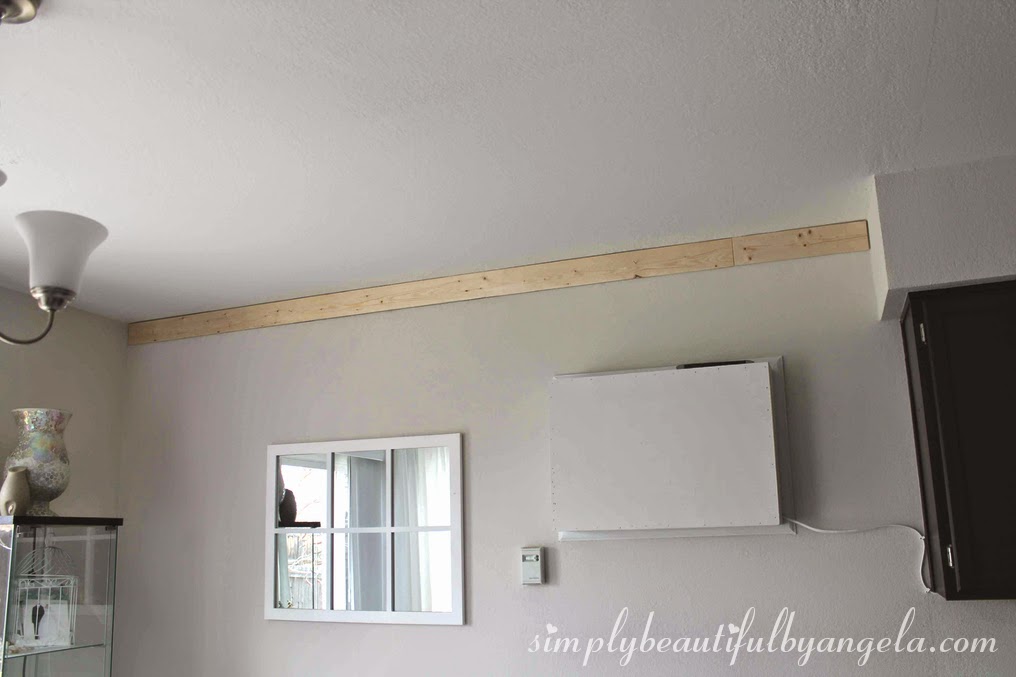
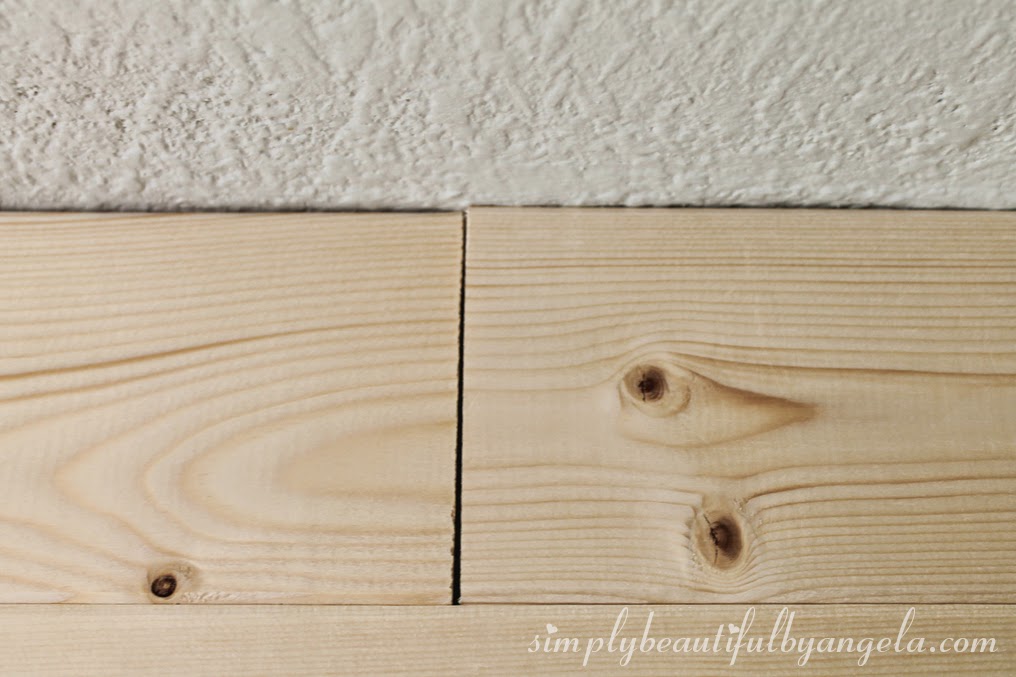
I began by making sure that our ceiling was straight by holding a level up to it, and luckily it was. If it wasn’t then I would have just needed a little of extra caluk along the top to hid the gap.
Here is my first row up…exciting!
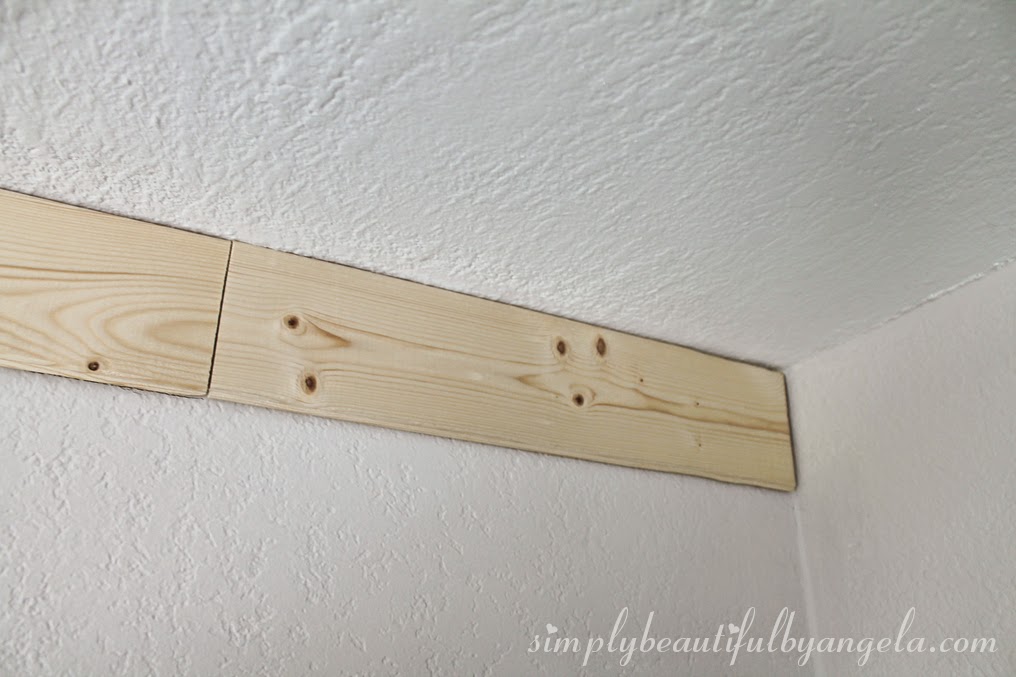
The wall was just a little bit longer than the 8 foot boards so I had to cut another small piece for each row. I used my miter box and saw for each one–my goodness was sooooo sore the next day!
I had this grand idea that I was going to use liquid nails instead of actual nails. I thought it would be less work and would look cleaner without the nails. Yeh no.
First off, I would have ended up going through probably 10 tubes since I was out after only doing a couple of rows. And it took forever and a day to actually hold them in place to keep them from sliding around or falling off the wall! I found myself holding them for minutes at a time and then popping a nail in to secure it. So I decided to ditch the liqid nails completely and just use finishing nails.
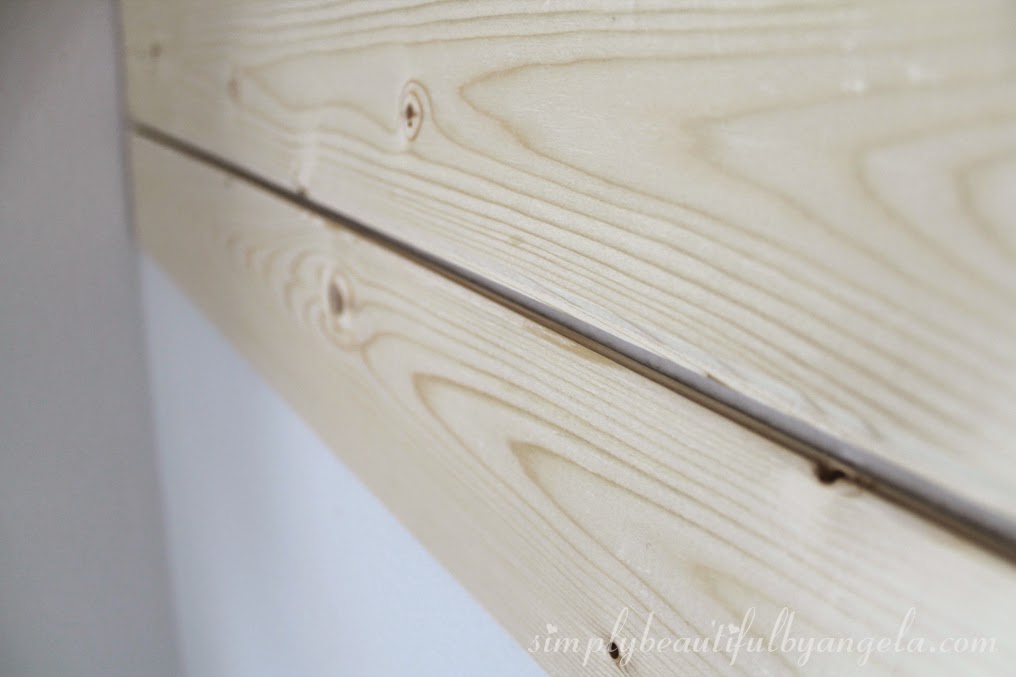
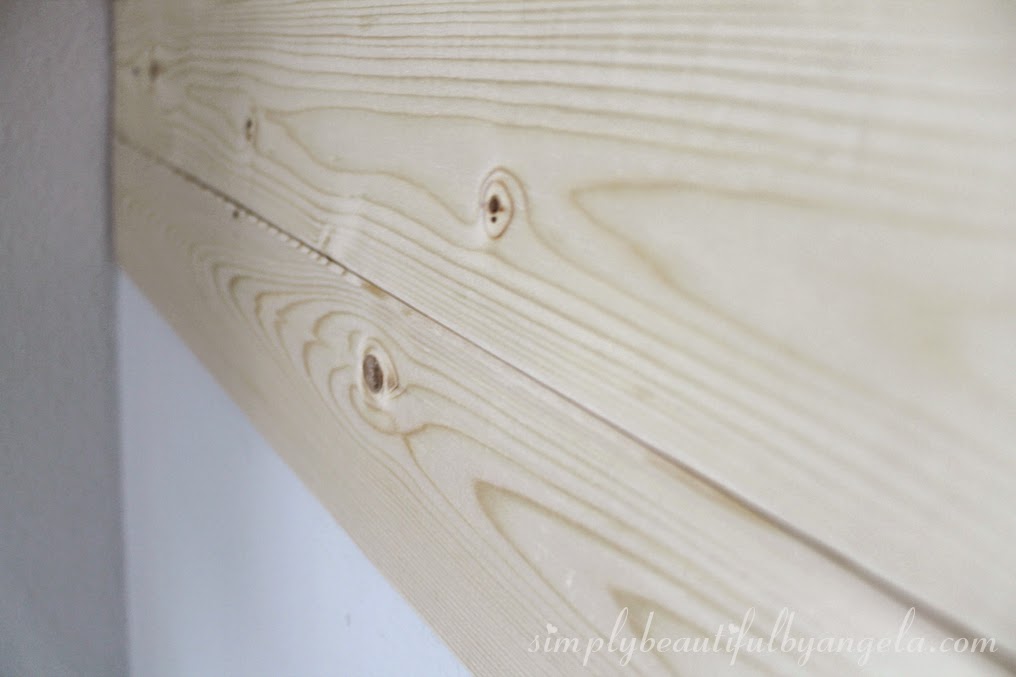
Once I did that, I started moving much quicker. The V-groove planks are really easy to install. One side has a small piece that sticks out and it just glides into the V groove of the next piece.
Some of the boards are kind of warped so you have to struggle with them a little to get them to fit. I found it was easiest when I got the whole board locked and held in place first, then securced the first nail in the middle before putting a nail in each side.
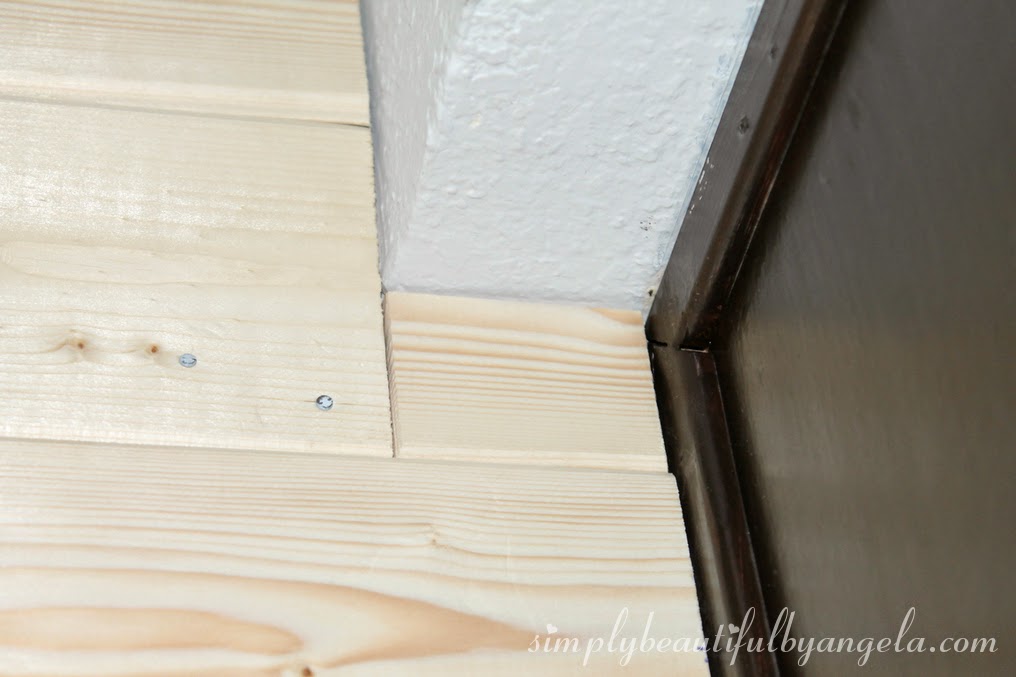
There were some awkward spots that I ran into and I just cut out small pieces to fill them.
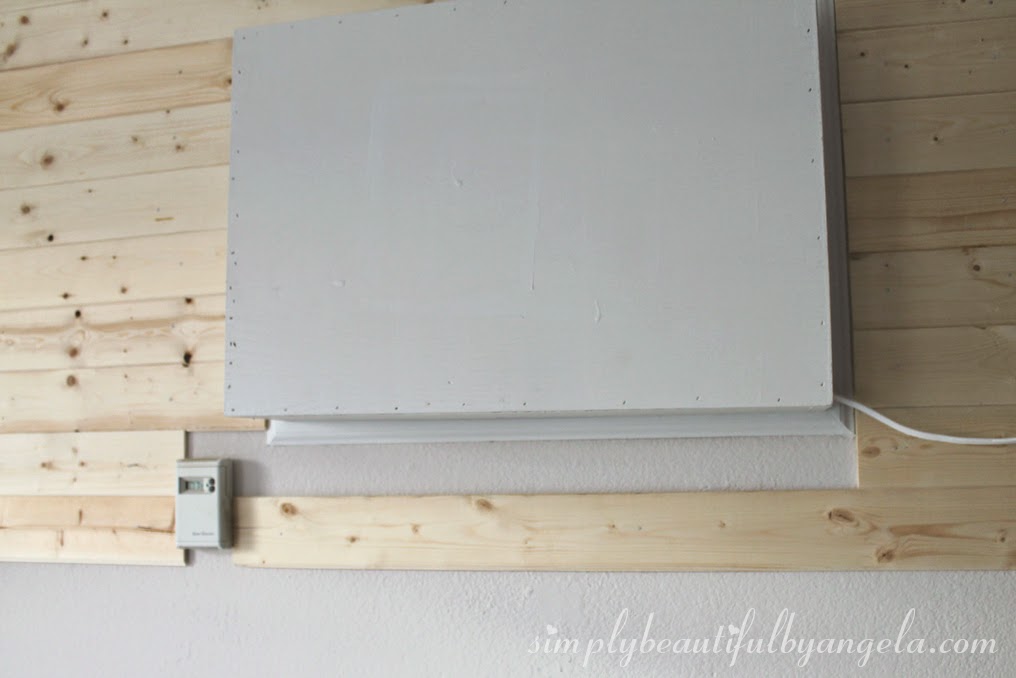
The area around the swamp cooler was probably the most awkward. This area and the last row were the only ones I wasn’t able to use my miter box on so I had to have the hubby use a table saw.
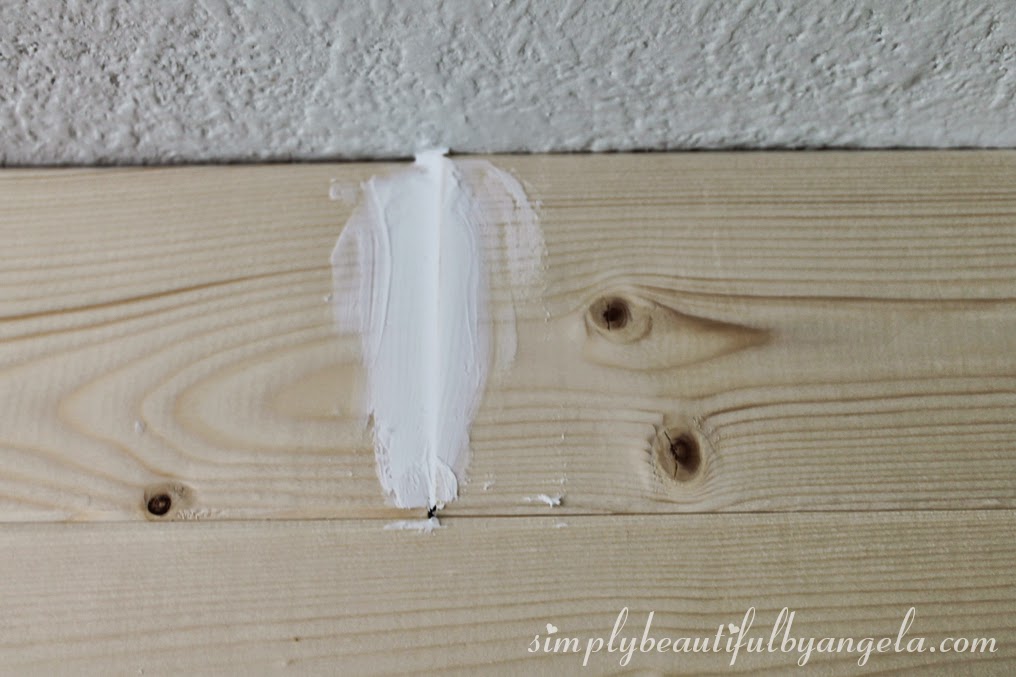
I finally got all of the boards up and I went back over all of the seams with caulk.
Now I just need to finish caulking (I ran out!) and go back to fill the nail holes. Oh and prime and paint of course 🙂
I also saw this post by Jenna Sue and I really like how she added the vertical pieces to make it board and batten like. Hmmmm…
Stay tuned for the finishing details and the big reveal!
