One day I was shopping the 50% off sale at the Goodwill for some clothes for my son when I saw a chair that the lady in front of me in line had picked up.
It wasn’t in the best shape but I thought, hmmmm I bet I could really revamp that chair.
So I got out of line (which isn’t easy to do during a Saturday 50% off sale!!) and went to see if they had any more.
They didn’t have any more of that one, but I found one even better!

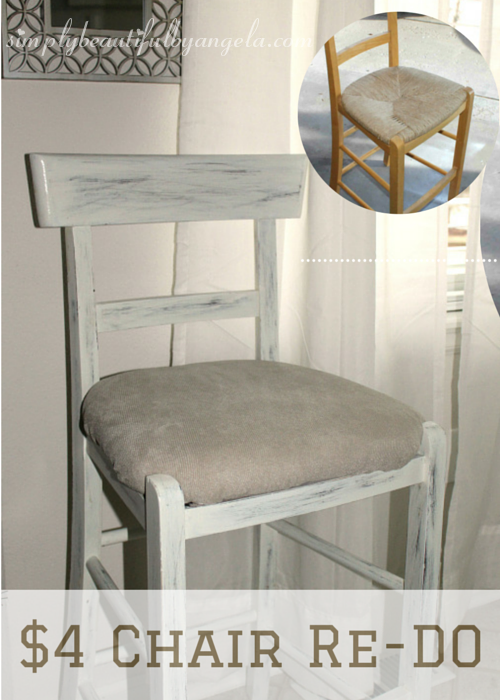
It was marked at $7.99, but because of the sale I loaded this baby in my truck for only 4 bucks!
I started by flipping it over and unscrewing the seat.

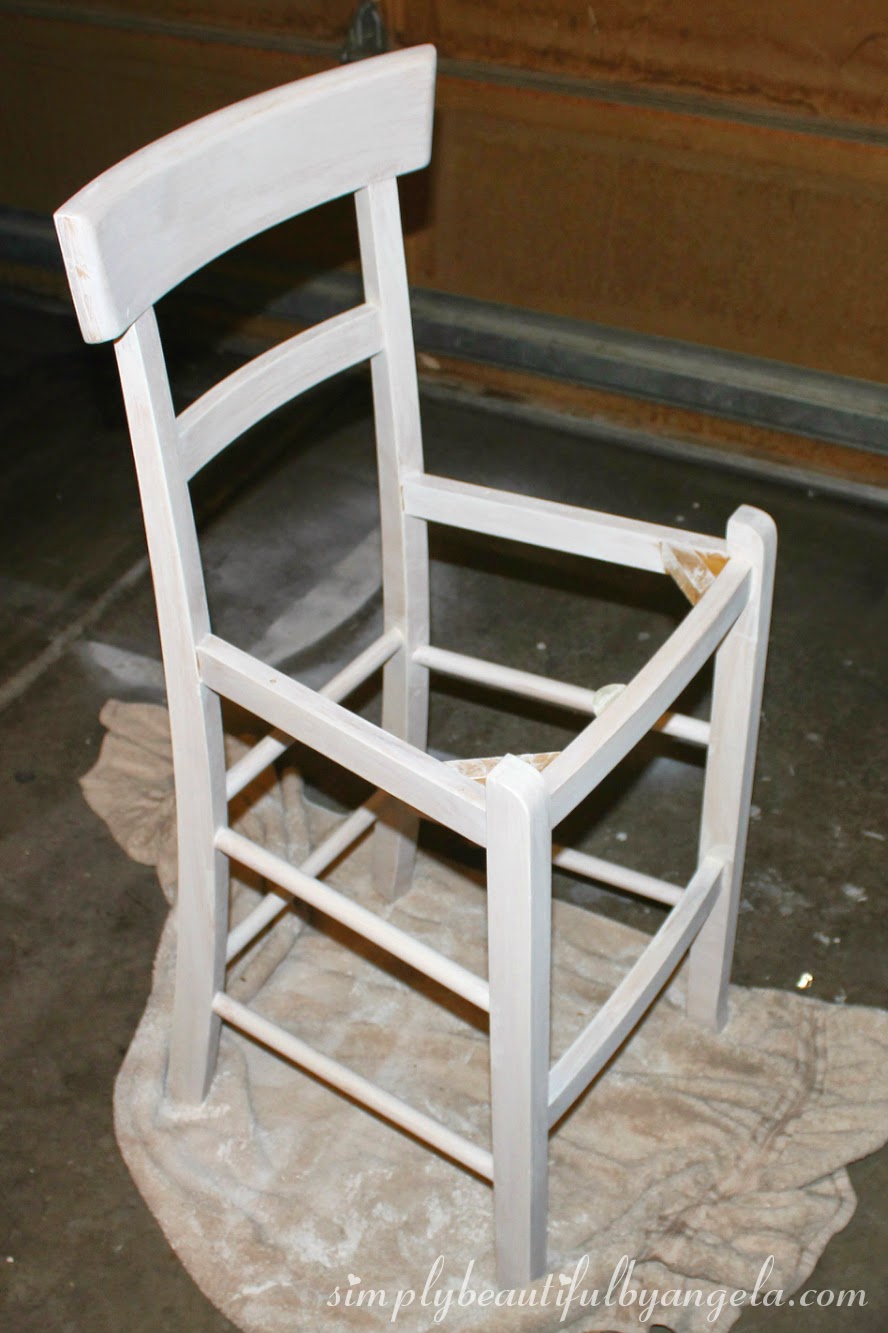
I then ran a quick sand over the entire chair. One thing I’m awful at is doing a really thourough sanding job.
I usually just aim to get the gloss off, unless it is a high traffic piece that get used a lot.


I’m not sure if the dry time between coats is fully necessary, but that’s how it worked out for me since I was doing this project during the week after my little bean’s bedtime.
In areas that I wanted more brown to show through, I applied more pressure.

I finished it up by applying a coat of polycrylic.
Word of caution on this! I think I was slopping this on too thick because I ended up with yellow residue in some areas.
I didn’t run into this issue when I used this same can for my kitchen chairs and an entertainment center, so I’m not sure if I just got careless or maybe this stuff isn’t good as it gets old.
If this does happen to you, you can just lightly sand it off.

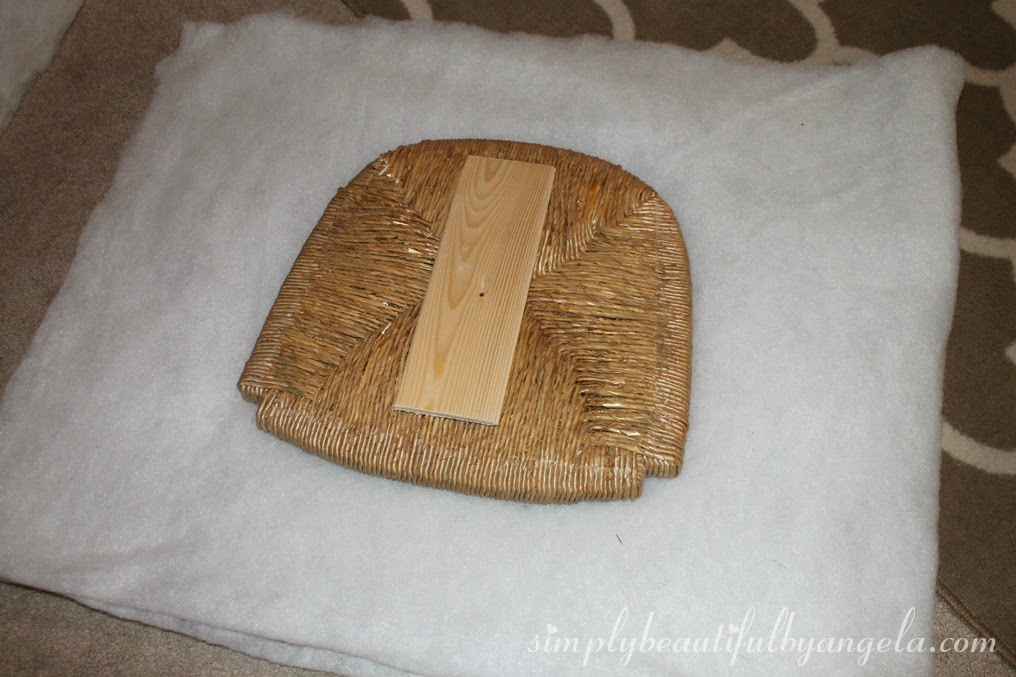
To recover the seat, I began by applying a piece of wood to the bottom so that the staple gun would have something to latch on to.
I used a left over plank from my planked wall project, but you could also use a couple of paint sticks.
I used hot glue but it didn’t hold really well. The first time I sat on the finished chair I heard it fall off! It’s still held together just fine since it’s already screwed on to the chair, but I would recommend using a stronger adhesive such as GOOP or liquid nails.

I then laid the seat on about 4 layers of batting, folded it up and stapled it to the wooden plank.

I did the same thing with the material.
Then I just popped the screws back in to finish it up.
I’ll let the pictures do the rest of the talking 🙂

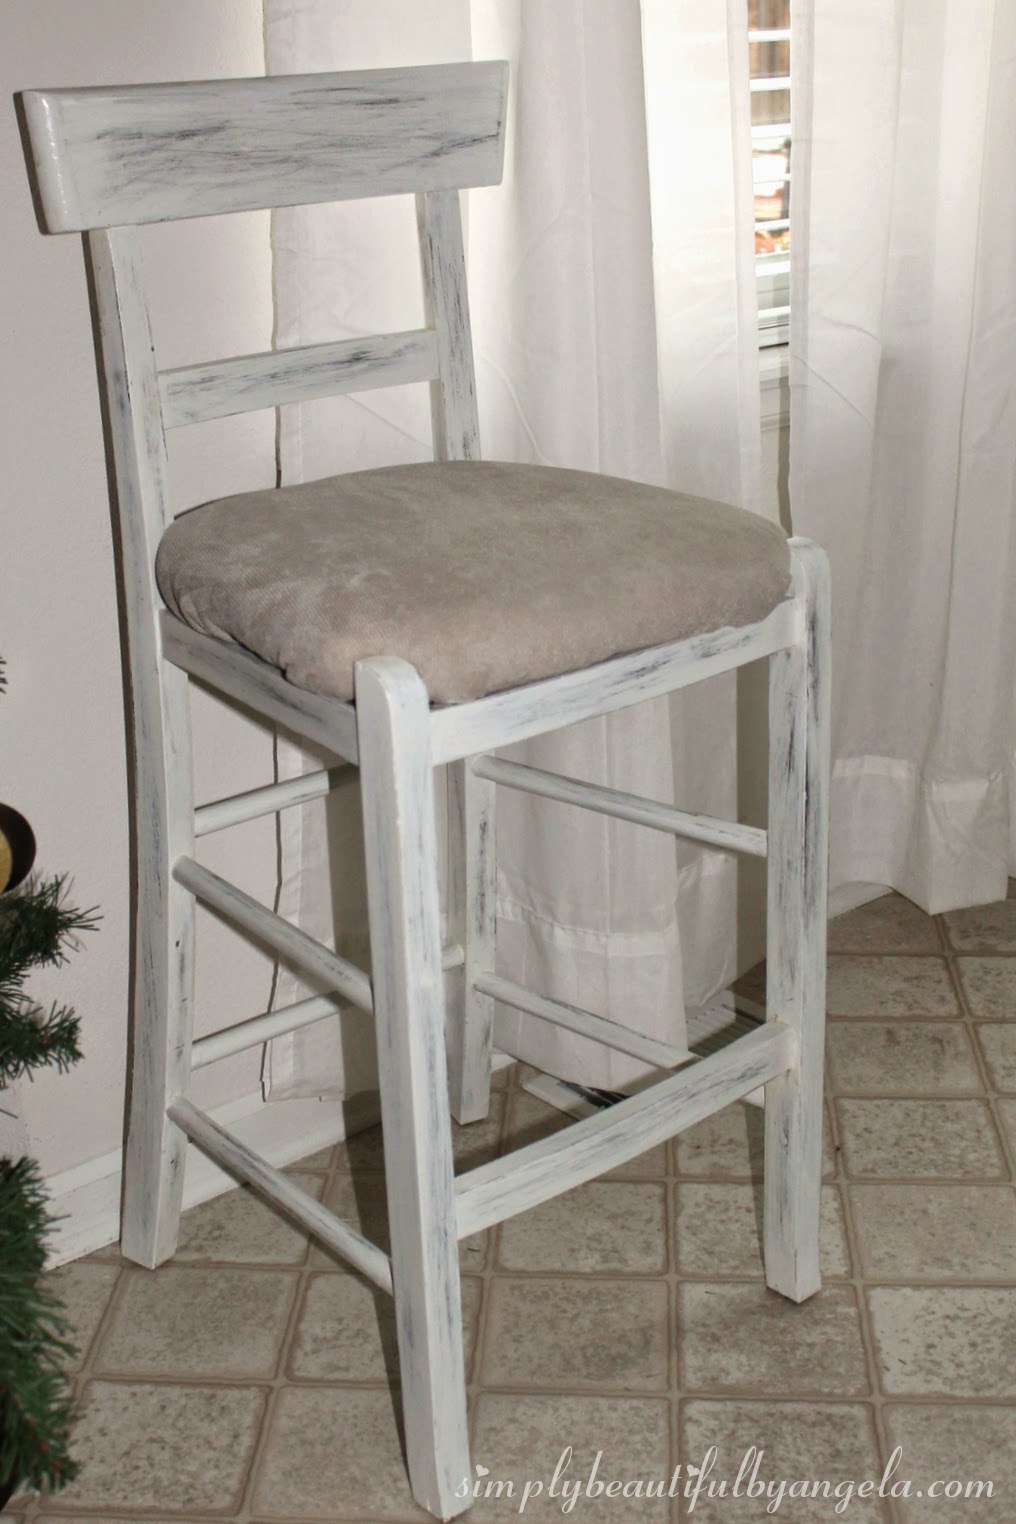
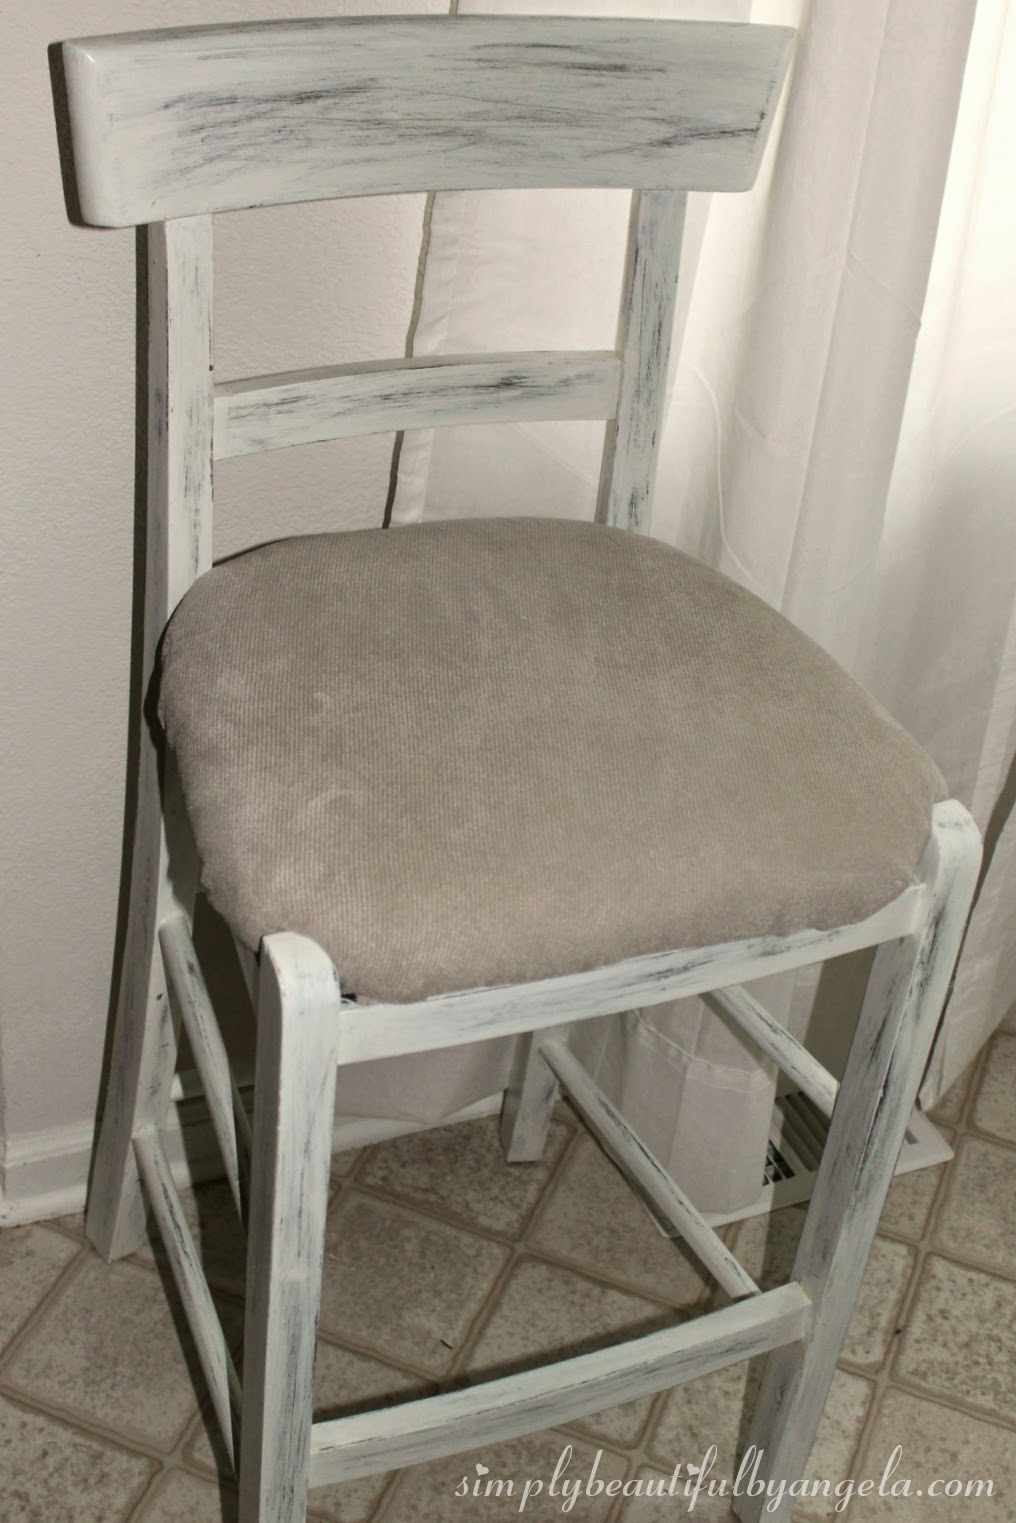


The material looks like high end upholstery, you would never guess I found it at Walmart for $4 a yard.

I hope everyone has a very very Merry Christmas–I’ll be back next week!
Linking up to these awesome parties!
This post was featured on Off the Hook Monday Link Party! Click on the image below to take you to the feature post.
|


It's amazing the difference a coat of paint makes! Great makeover! Thanks for linking up to our Creative Spark party last week! We hope to see you again this week! http://twopurplecouches.com/2014/12/creative-spark-link-party-35/
Thank you Emily!
What a difference a coat of paint makes! Great work… Thanks for linking up at Daisy Cottage Designs' Off the Hook!
Thanks for sharing the information. Success for the website, as well as the previously asked permission to visit here
Delhi Wedding Planners
I love love LOVE your chair makeover! Great job:-)
Katie @ Fun Home Things
Thanks Katie! 🙂