I first went over my original plans and thoughts in this post here . Even though I was pretty convinced that I wanted to do vertical planks at the time, I ultimately decided on horizontal and I couldn’t be happier with my choice!
Last week I showed you the beginnings of this project in this post here. As I mentioned, I don’t have any power tools so this was all done completely by hand (minus a few cuts that the hubby did on his father’s table saw).
I left off with applying the caulk to seams and holes in the wood. Next, I applied two coats of primer by rolling on first and going back to the seams between planks with a brush.
For the paint I used a basic white in eggshell finish. This time I used a brush to get in between the planks first, and then went back over with a roller. This seemed to give me a much better coverage.
After the first coat of paint though, I still had little gaps between the planks like this:

…and they were driving me nuts! For the second coat I made sure to gop (not sure if that’s a word??) the paint in those seams to make them pretty and smooth like this:

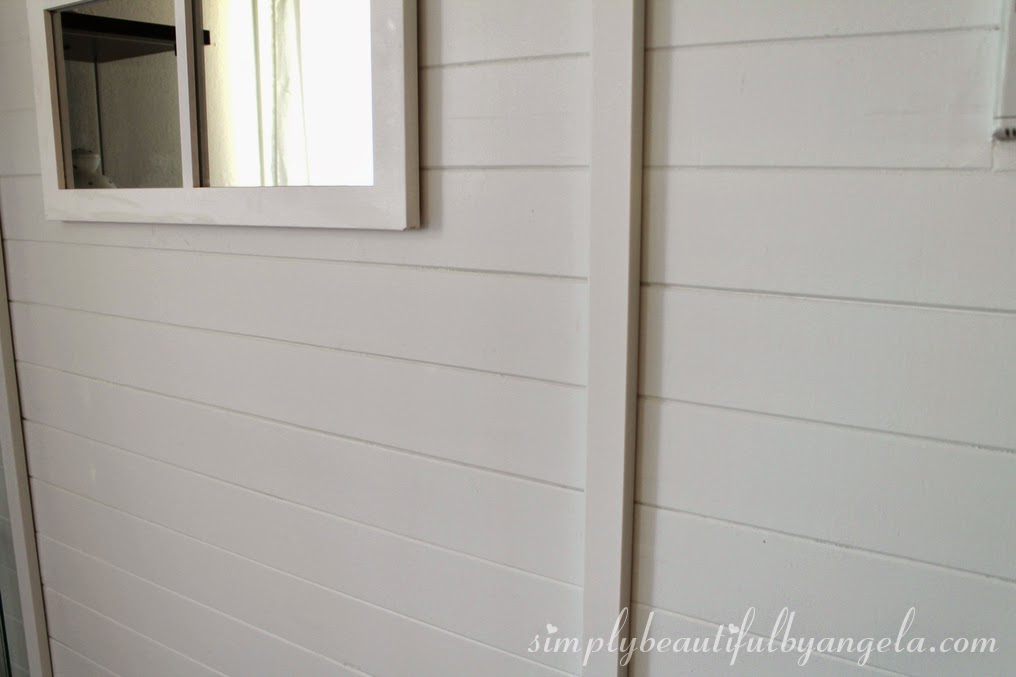
You can see in the picture below that some spots still had gaps that took one or two more coats to seal up. You may also notice that I magically have thicker baseboard molding now too! haha

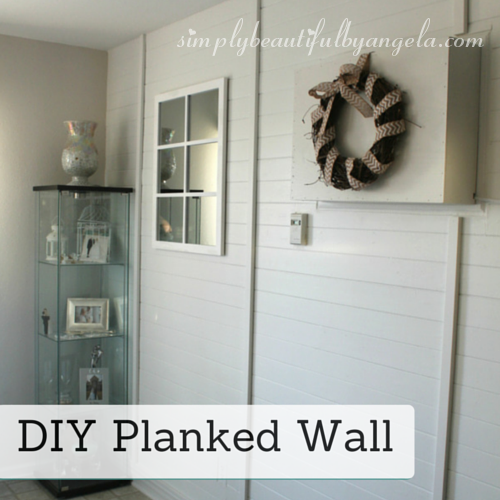
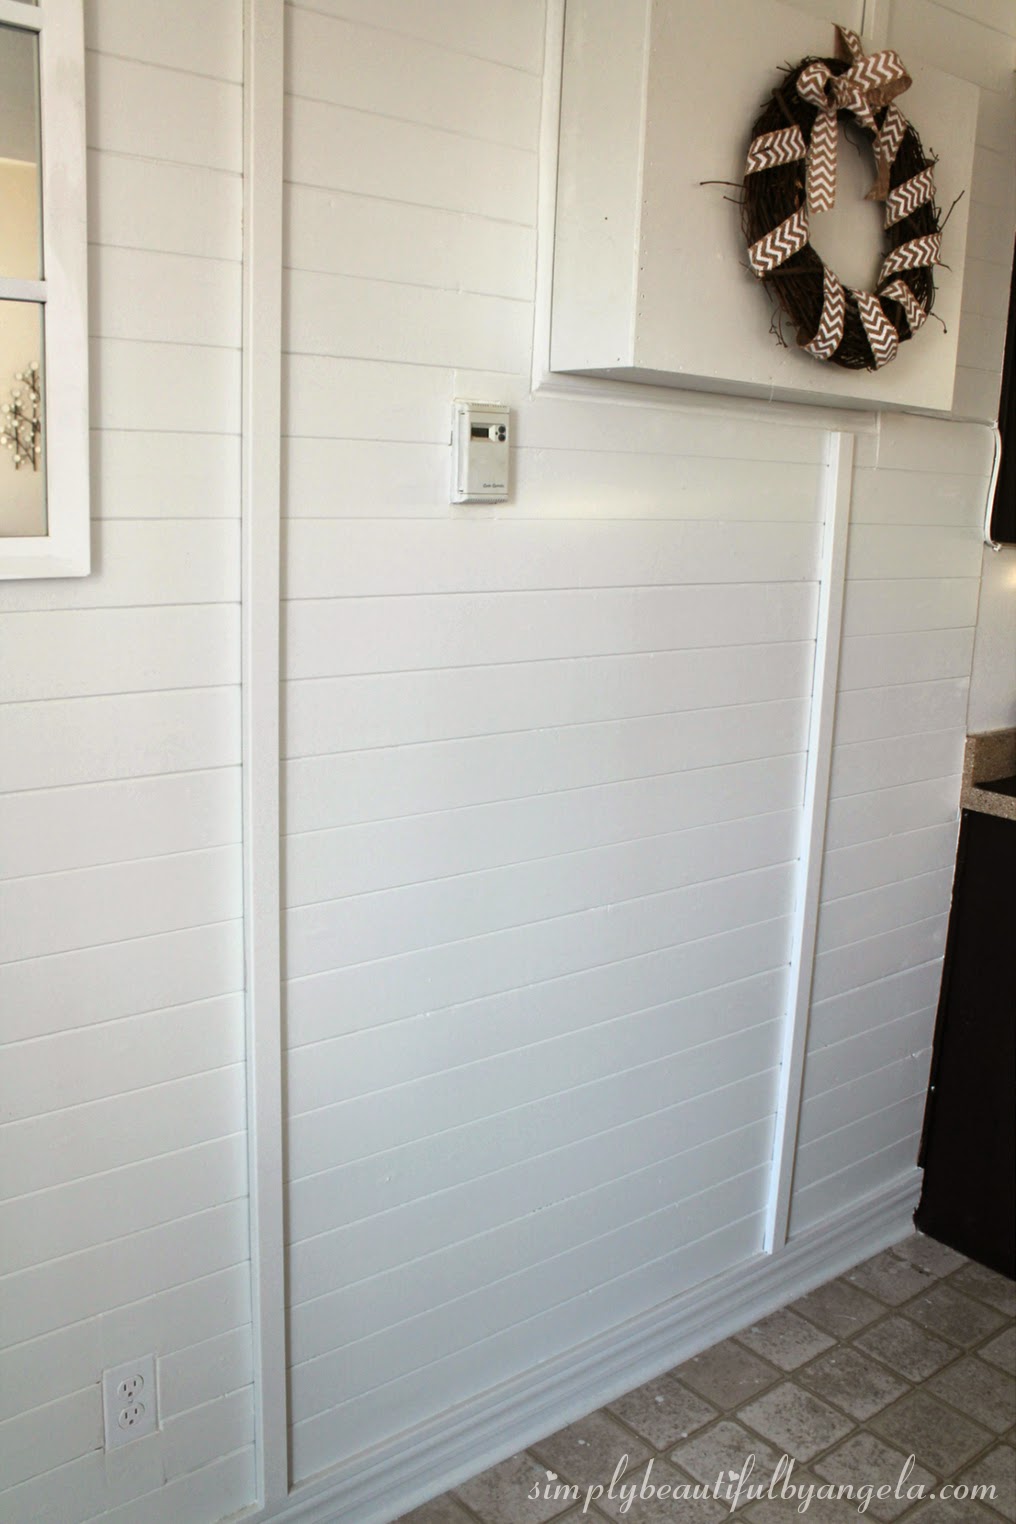
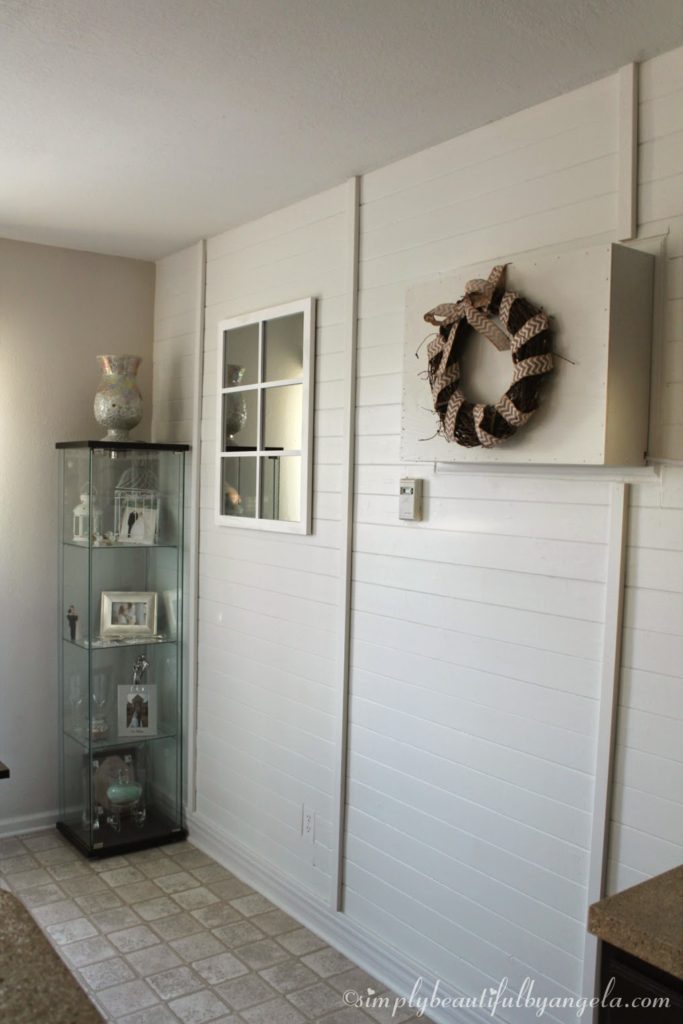
I decided that I wanted to add a few vertical 1×2 boards, mainly to cover a few seams that I couldn’t hide but also to make the wall more interesting. I was worried that after all was said and done it would just look like a flat white wall.
I didn’t want them hanging over the top of the molding though, so I bought some molding and flipped it upside down so that the 1x2s would sit flush on top (ignore the dirty floor!)

I ran some caulking along the top and a coat of paint over both the new and old molding so now it just looks like I have really chunky molding at the bottom.
I plan on doing board and batten along the rest of the room using this same method, so eventually the extra molding will get added to the other walls too. But even as of now it doesn’t really look out of place just being on that one wall.

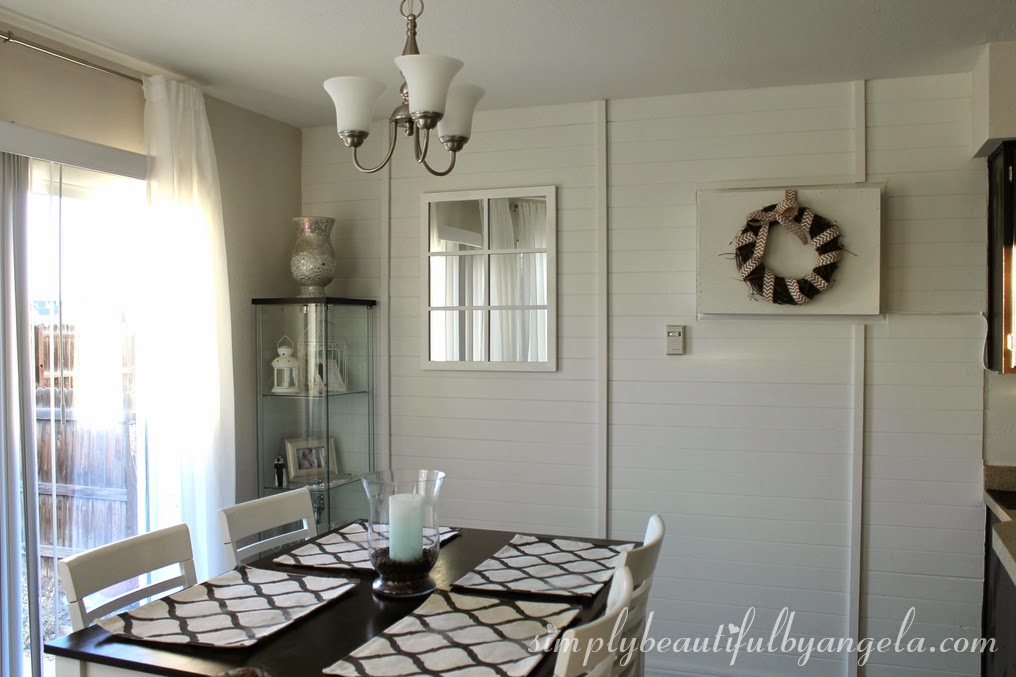
After a few final touch ups (and cleaning all of the debris off the yucky floors) here is our beautiful wall!
I think that the 1x2s totally make it. They were $3.80 each at Lowes and were white painted MDF so they only needed one quick coat of paint to match the planks.

I’m debating whether or not my mirror needs to be painted a contrasting color (maybe the same color I used for my DIY entry table?) or if the white-on-white looks nice and clean.
I also made a super simple year-round wreath to make the swamp cooler look a little less awkward. Although as much as I like to change things up, I doubt this wreath will make it a whole year haha…
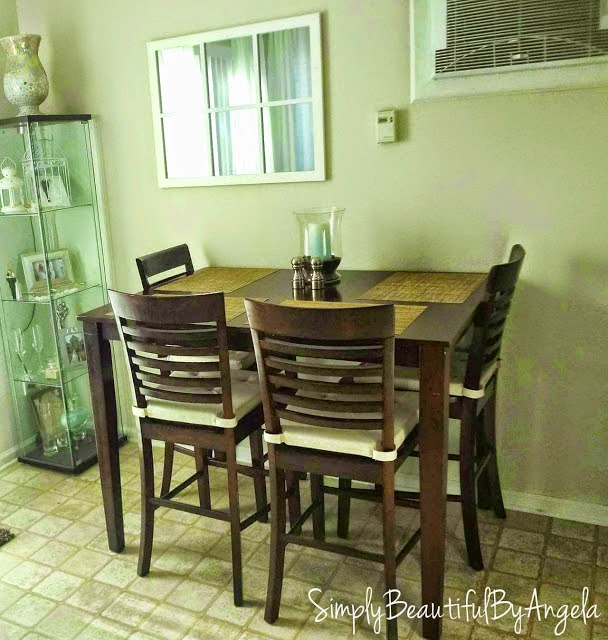
Ahhh I smile every single time I walk by! As a reminder, here is a reeeeally old (and awful!) picture of what this wall used to look like:
And here it is today 🙂
Linking up to these awesome parties!
This post was featured on City of Links! Click on the image below to take you to the feature post.
|


This looks just beautiful!
Tania
This looks so good! What a great change at a small price. I'm so jealous!
Thank you! It was a lot of work but it was totally worth it 🙂
Wow, it made such a difference. The space is just beautiful now!
Love this feature wall! I have a wall that I am wanting to do this on as well…..it just gives such a country/farmhouse/cottage kinda feel to your room and I think it is a great improvement on the space! Great job!