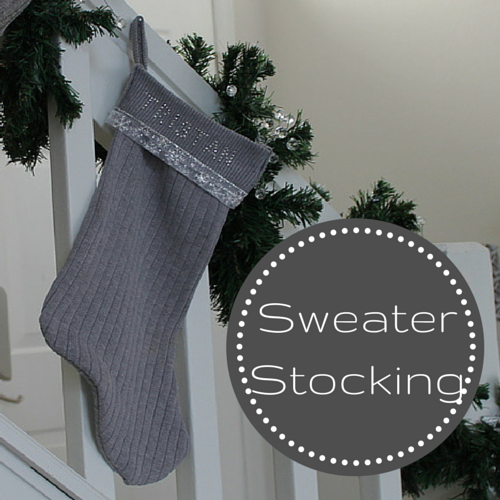
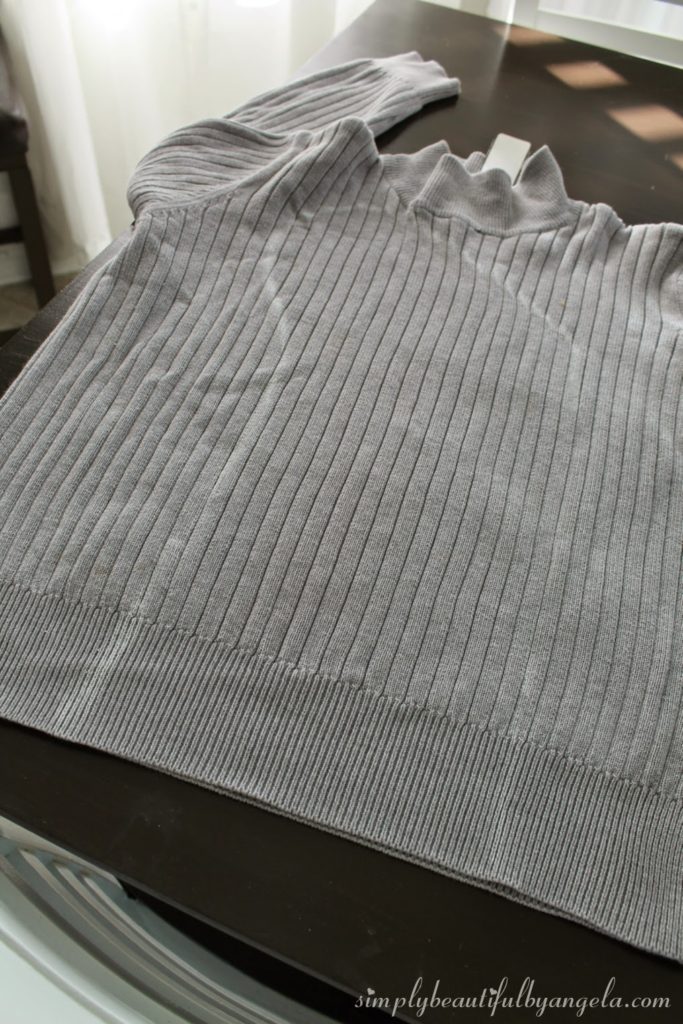
I’ve seen a lot of sweater stockings in stores and nearly pass out when I look at the price tags! They’re usually anywhere from $15 to $40–can you believe that??
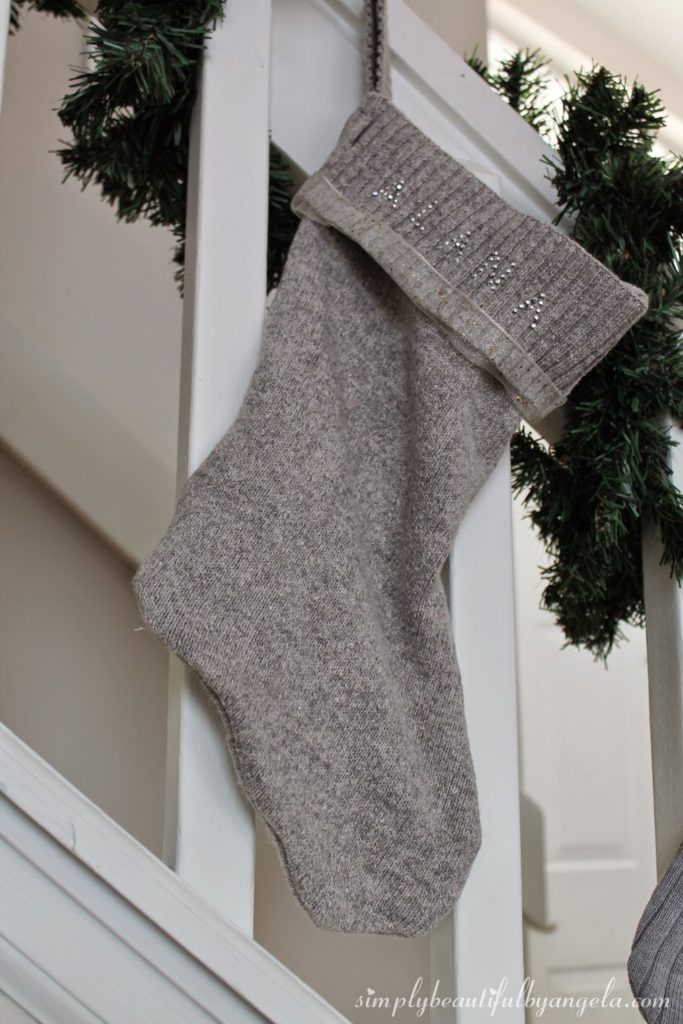
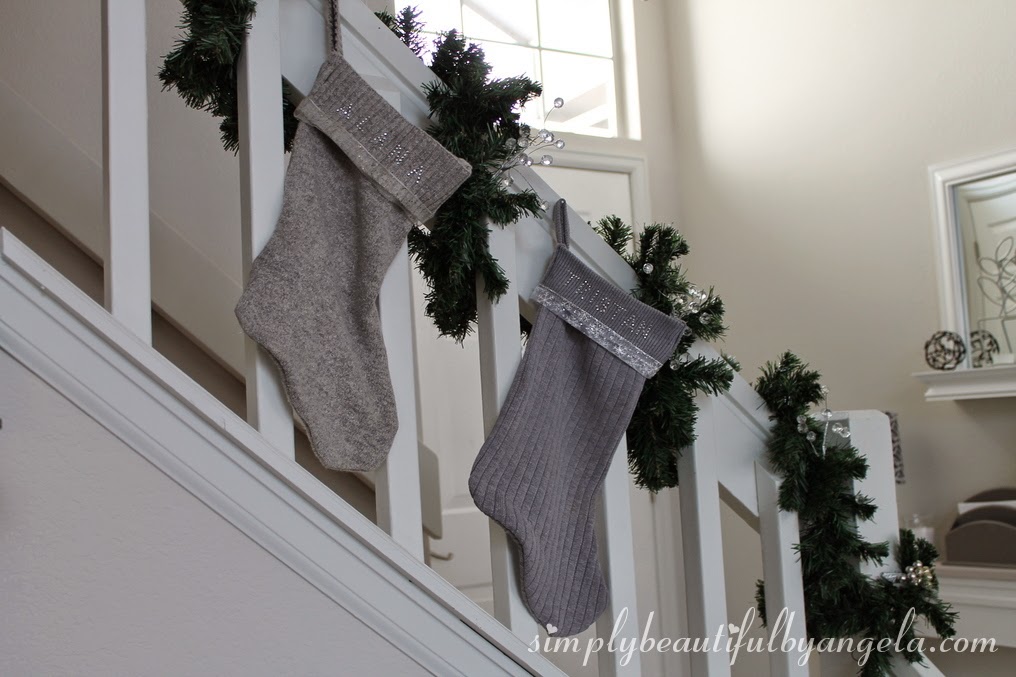
I picked out a nice gray one for my son since I thought it was somewhat boyish and a pretty soft brown one for my step daughter.
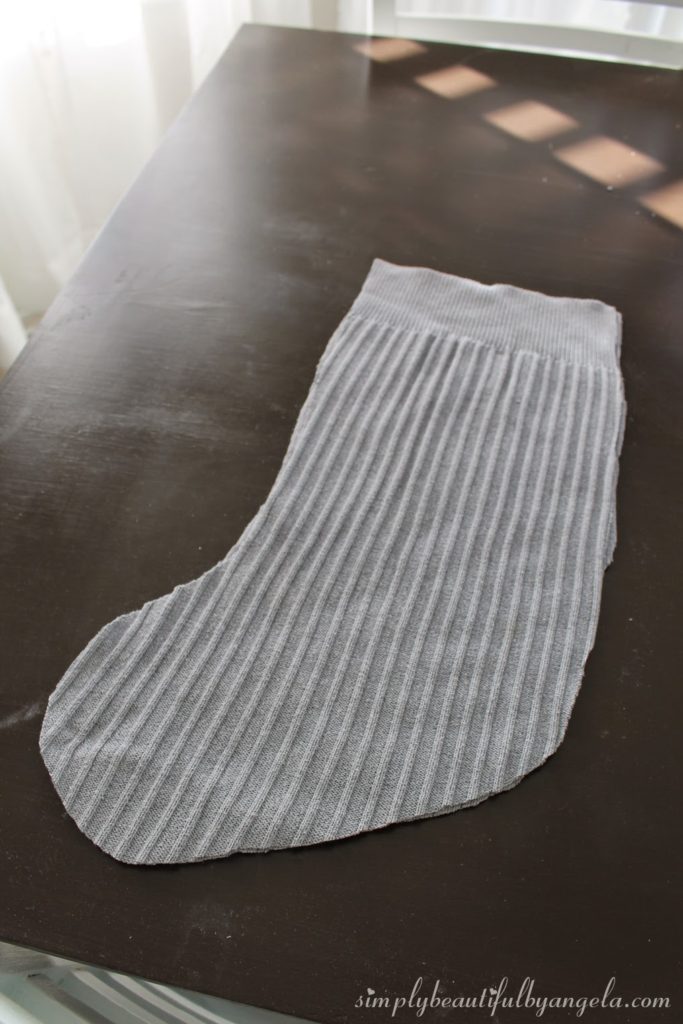
I began by using an old stocking as a pattern. If you don’t have an old
stocking laying around, you could probably find a free pattern online and print it out or even freehand one.
If your sweater has a nice cuff at the waist it’s nice to use that as the top of your stocking.
I used chalk to trace the outline of the stocking.
You could also pin the pattern to the sweater and just cut directly around it. I couldn’t find my pins–I just bought like 2000 of them they have all magically gone missing!
When you are cutting your pattern out, keep the seam allowance in mind. So if you want your stocking to be the same size as your pattern, cut out 1/2″ to 1″ from the perimeter.
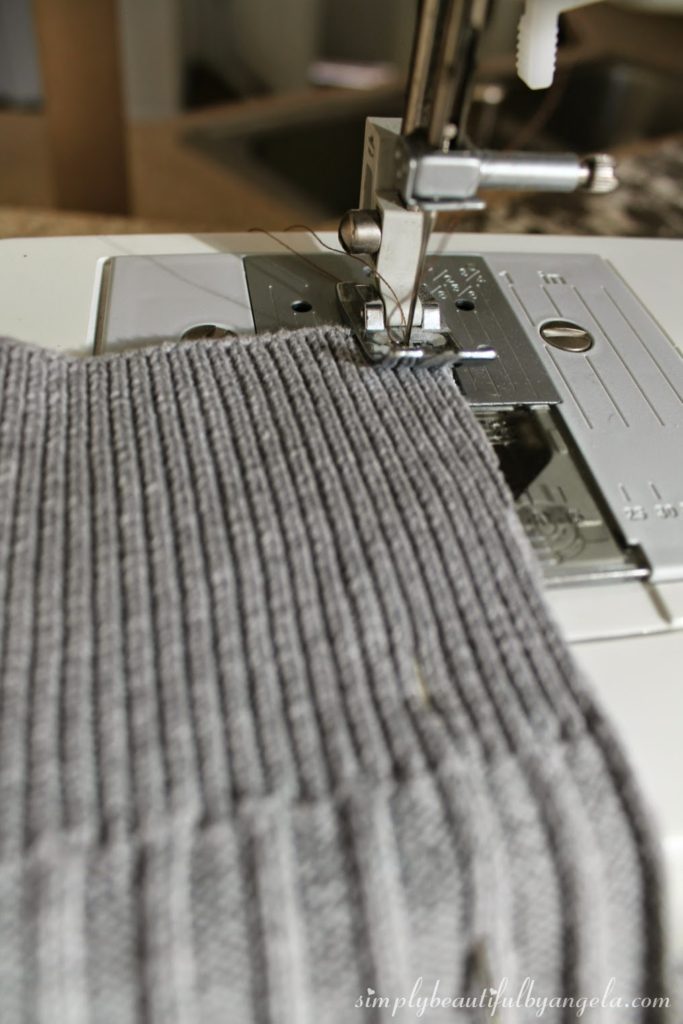
Once you have your material cut out, make sure that the right sides are facing each other, leaving the inside facing out.
I had a little trouble getting the material fed through the sewing machine at first since it was so thick, but once I got the first part fed through it was pretty smooth.
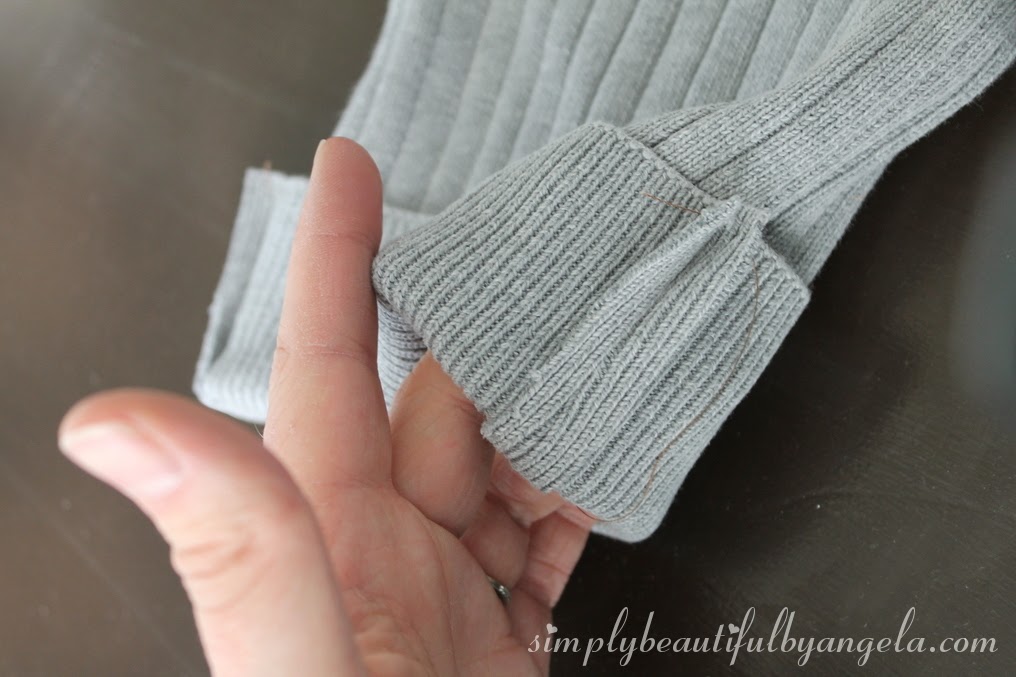
Once your pieces are sewn together, flip it right-side-out. You can either leave the top the way it is or fold it down to make a cuff.
If you fold it down, you will have the seam showing on the sides like this:
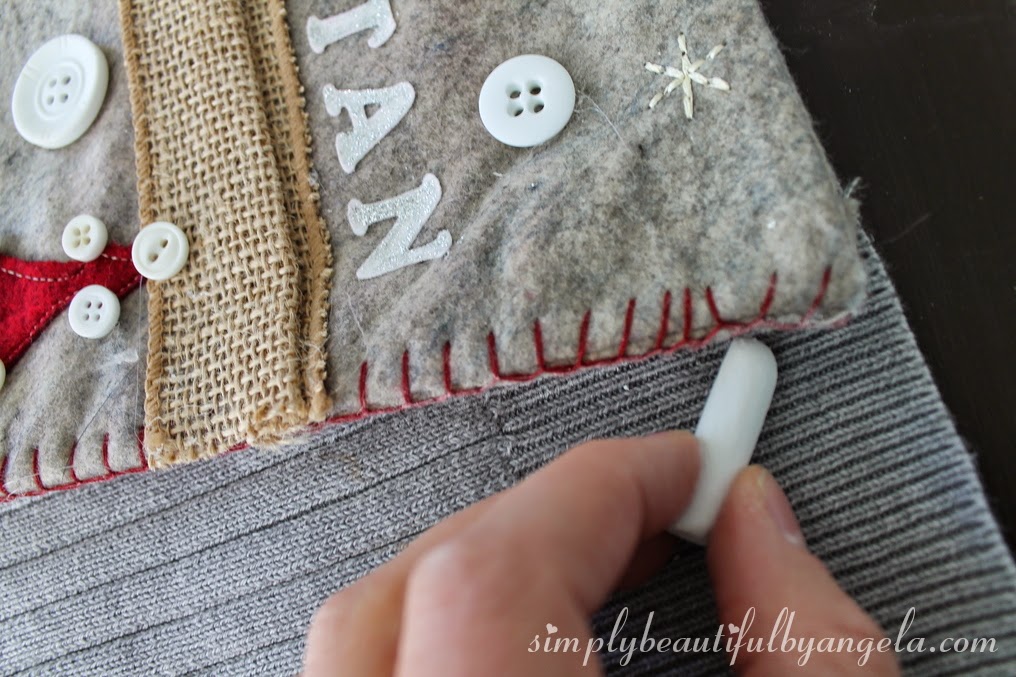
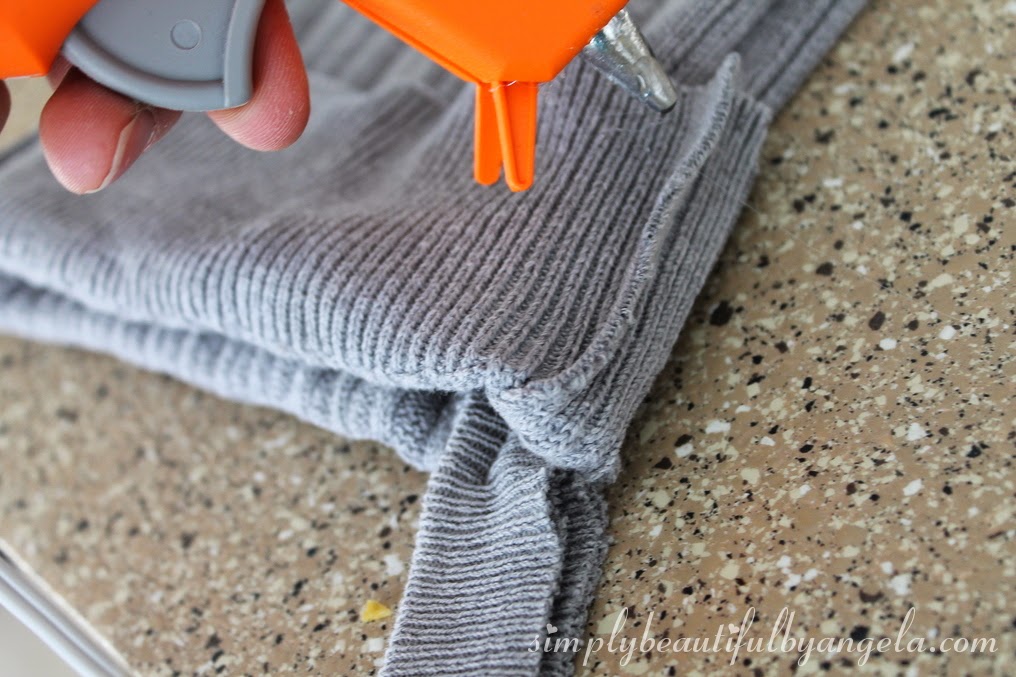
I just took a glue gun and carefully applied a small line of glue to lay the edges down.
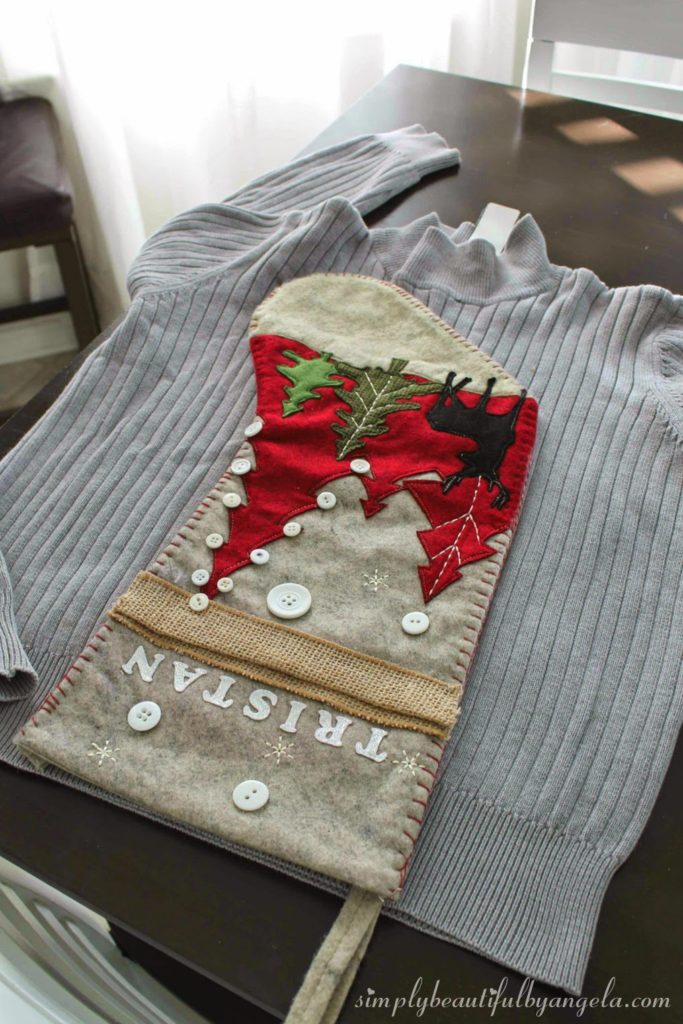
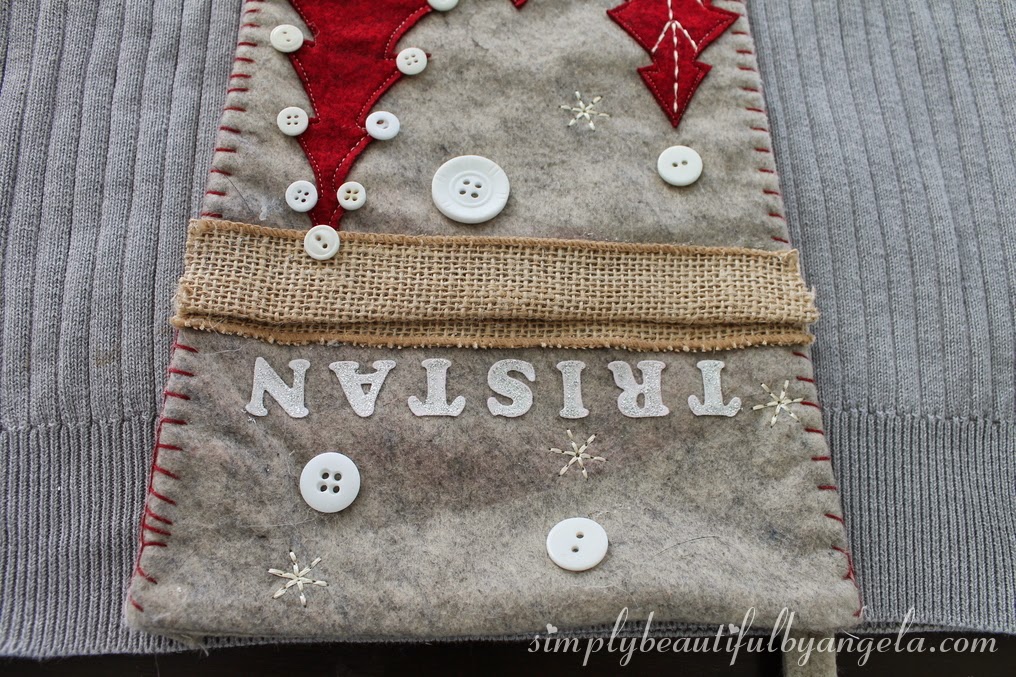
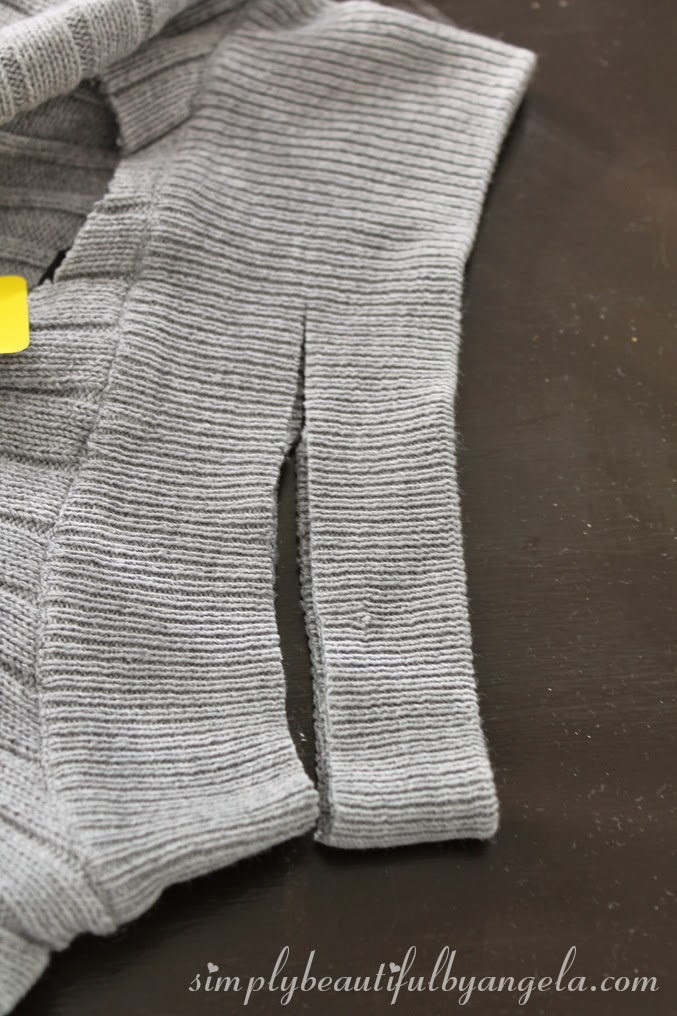
To make the hanger I cut a piece from the sweater neckline and glued it so that there were no unfinished edges.
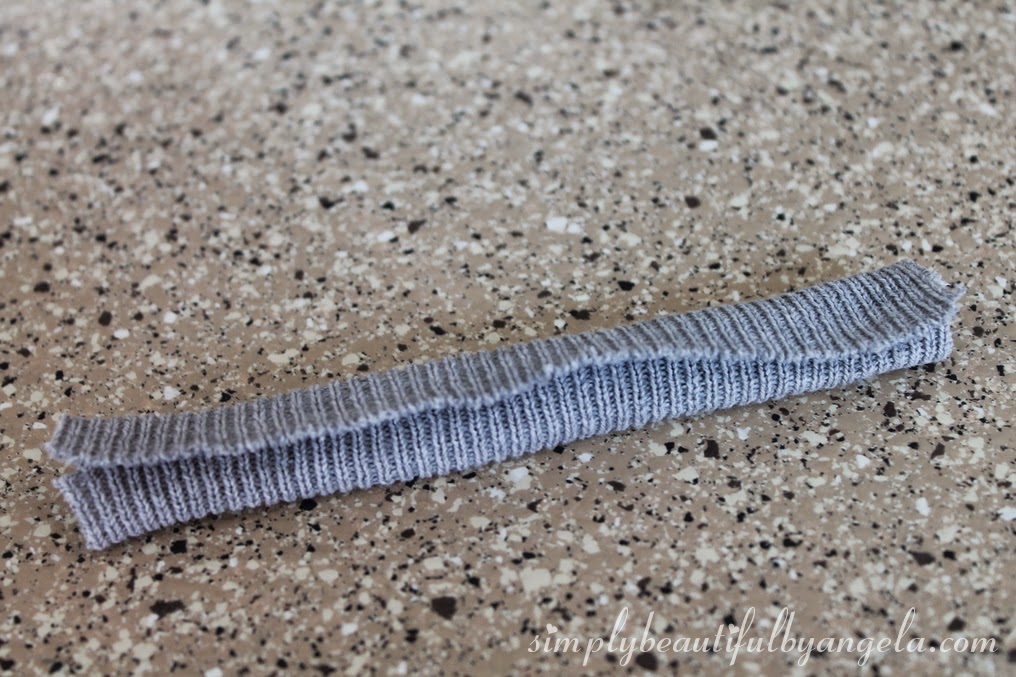
I handstitched it into the back of the cuff and voila!
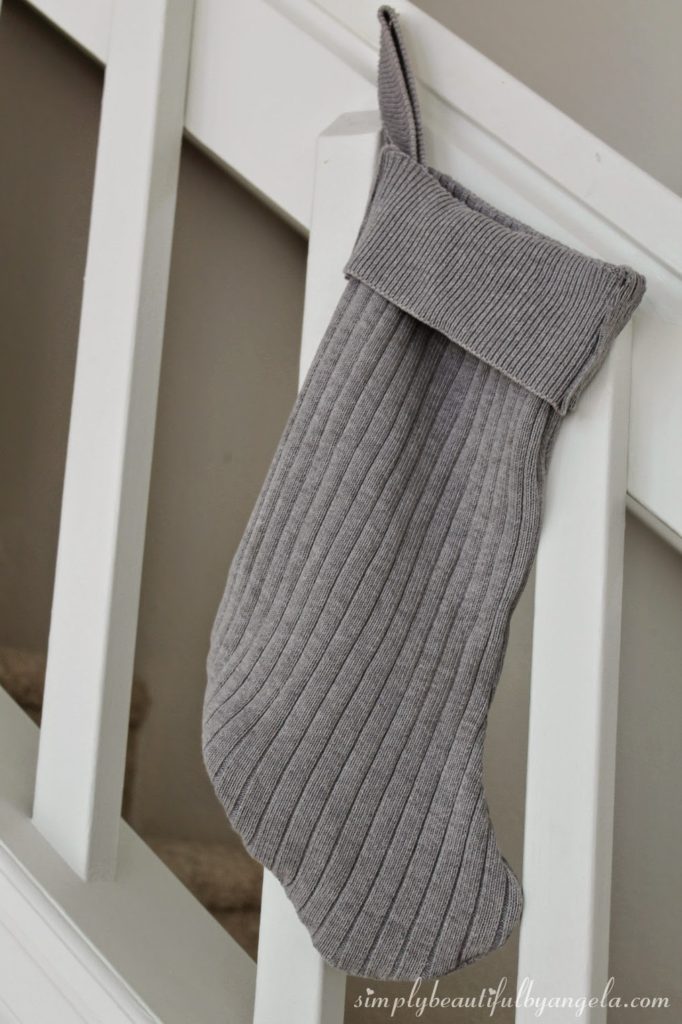
It was looking a little plain so I glued some fancy ribbon around the edge of the cuff and applied some iron on glitzy letters.
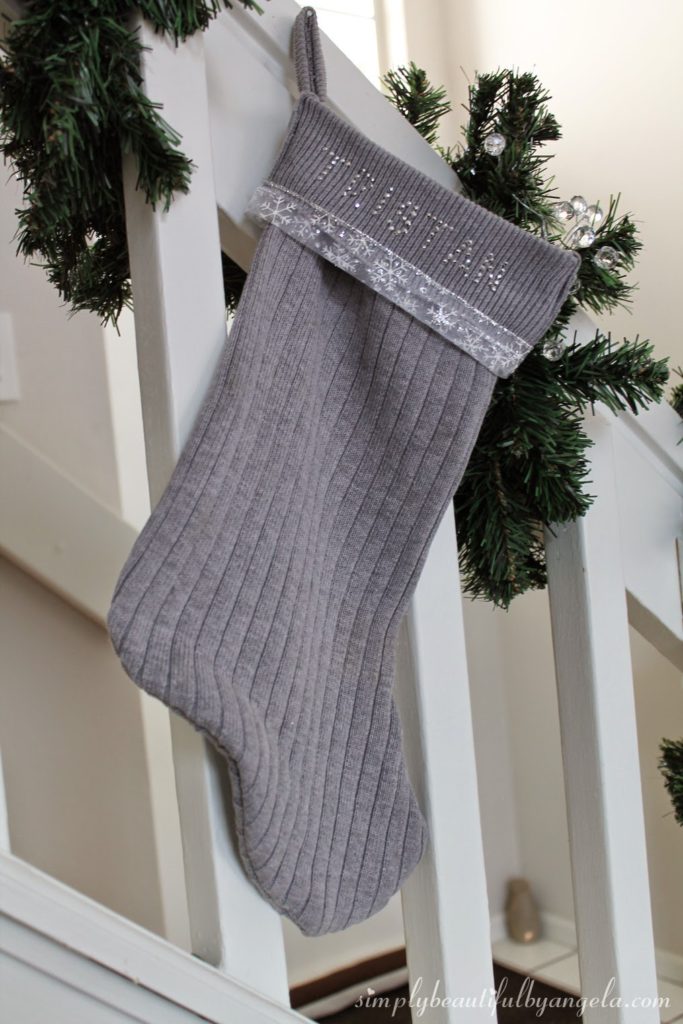
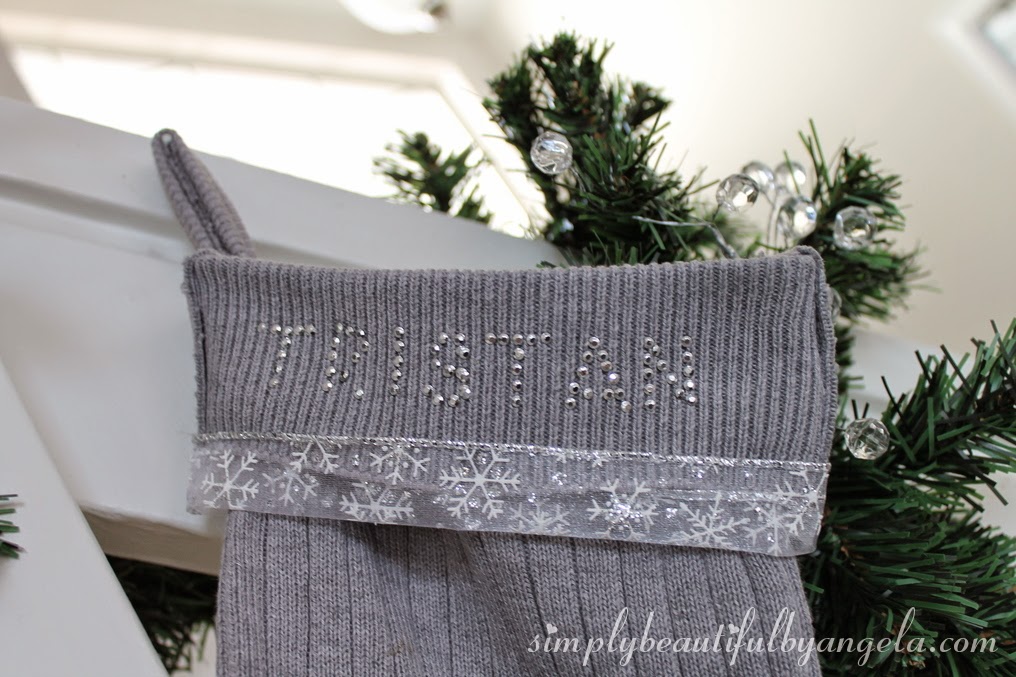
The letters show up pretty good on the gray, but you can barely see them on my step daughters so I may re-do them with something else.
I still felt like they were missing something so I sewed on some buttons later that night.

They still don’t feel complete though–I think they’re too flimsy so I I’m going to sew some liners for them so that they hold their shape a little better.
I have a very hard time leaving things alone–I’m always thinking of how to improve things! I drive myself crazy sometimes… 🙂
Linking up to these awesome parties!
This post was featured on Inpire me Wednesday! Click on the image below to take you to the feature post.
|


I, too, LOVE sweater stockings, but have passed them up due to the price. I've never thought to make my own, but since you've shown me how, I might just have to . Thanks so much for the post. Pinning to my Christmas board. Wishing you and yours a very Merry Christmas.
Thanks Heather! I'm glad I could help–I adore them too 🙂
Awesome job! I love it! These would definitely make cute Christmas gifts. Thanks for sharing!
What a great way to up-cycle! A perfect craft job for this time of year. I've been making a start on my Xmas crafts too, I always like to try and include something handmade each year:
http://printsregent.blogspot.co.uk/2014/12/its-beginning-to-look-lot-like-christmas.html
Thanks Christie and Rachel!
So pretty! Love your letters<3 Pinned Happy Holidays
So pretty! And I love how you made the sparkly letters. Thanks so much for sharing at Inspire Me Wednesday. Featuring you in this week's issue.
LOVE them sooo much! the buttons and letters are the perfect addition! pinning ox (thanks for linking to Twirl and Take a Bow xo)
Thanks ladies! I didn't like the letters at first since but they're starting to grow on me. Who ever said that all stockings need to have the names written so you can read them from across the room anyways, right? haha
Fantastic! I have got to make myself a few of these.
Good stuffs from this blog I got very interesting points in this article