
I finally finished up the board and batten on the breakfast bar this weekend, can you believe it?! If it took me this long to finish two little walls I wonder how long the rest of the areas I plan to do will take 😮 haha. This project wasn’t that time consuming, I just really spread it out.
If you recall, when I completed the stool makeovers I mentioned that I wanted to put board and batten on these two walls to brighten the space up. Here’s what it looked like before (I apologize in advance for how my pictures turned out in this post–I just noticed that they are all really poor).

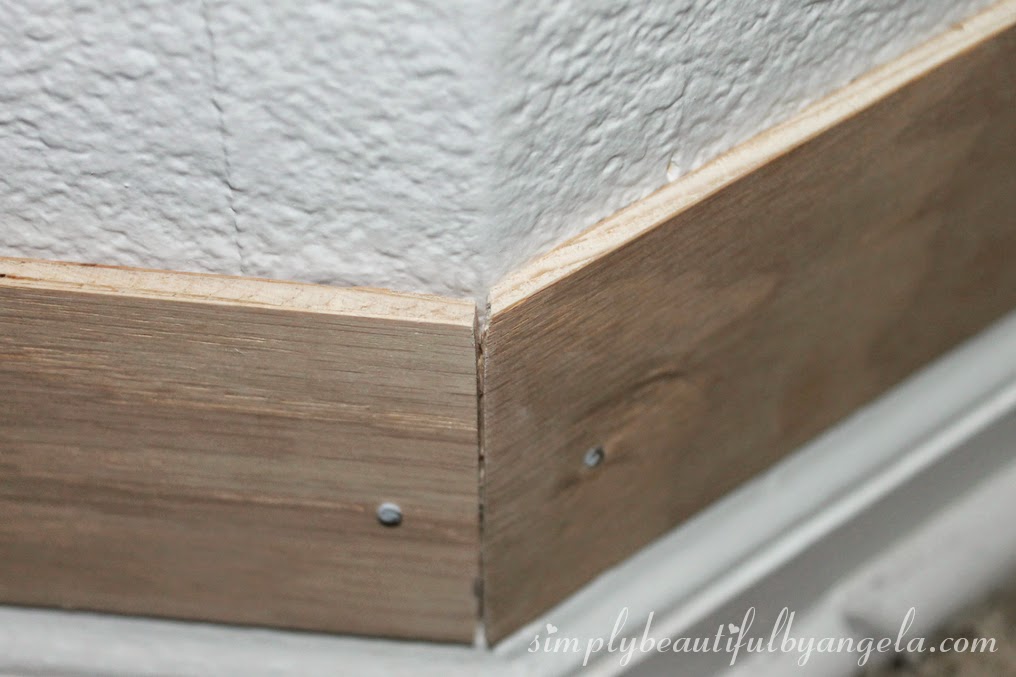
As I mentioned in my great debate about this project, I chose a 1/4″ plywood to make my battens so that I didn’t have to deal with any overhang on the baseboards.
I applied two coats of white paint to the walls first.
For the battens, I started with the bottom and top boards first. The angle of the walls required me to cut one piece at 45 degrees on my miter box.

I also had to cut a special width to fit under the vents.

The next part was tricky, and I’m sure I had a picture but I can’t find it! Ugh typical Monday, right?
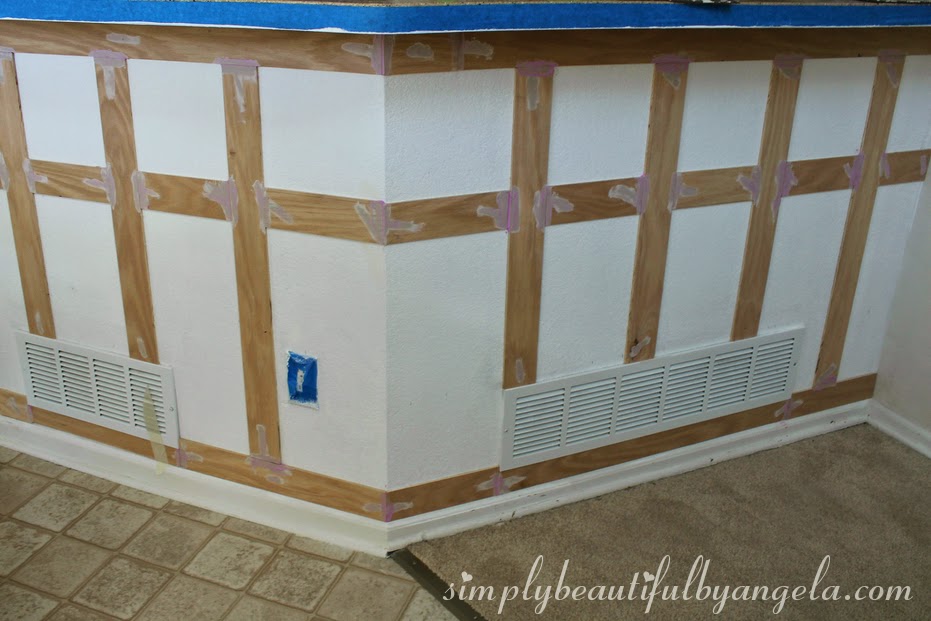
I wanted the battens to be spaced so that I didn’t have any funny cut outs around the vents, light switch or outlet. I cut 3″ strips of masking tape to play around with different spacing.
It took me probably over an hour but I finally decided that my battens would be 8.5″ apart, except for at the corner. Those would be 9.5″ away from the corner edge because of where the vent was located. In the end I really can’t tell and I think it looks much better.
I measured out where each batten would go and used a level to make sure it was straight before nailing them in.

For the horizontal pieces, I measured down 8.5″ so that I would end up with a perfect square. Again, I made sure that they were level before nailing them in.

When I get around to doing this in the rest of the house I may invest in a nail gun because this next step was a pain, literally!
Because I was just using a hammer the nail heads stuck out. I used a large nail and the hammer to “tap” them all the way into the wood.
This wasn’t as easy as it sounds though! It was really hard to get the large nail to stay put and not slip off the nail head.
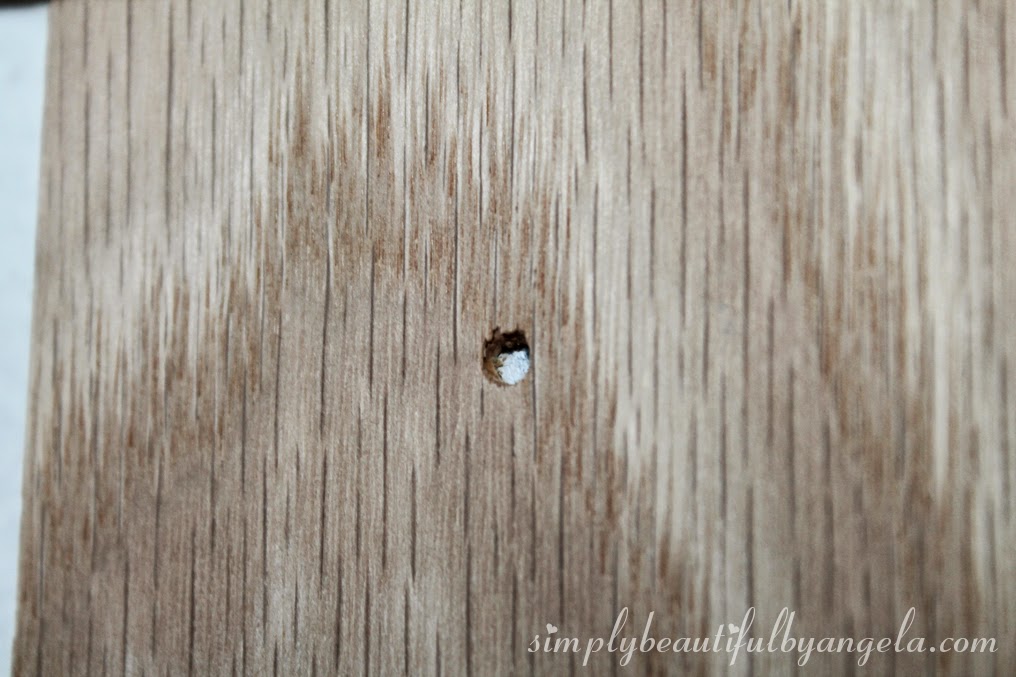
I then went around and applied spackle to all of the nail holes and the seams where two pieces of wood met.
The most time consuming step was applying caulk to all of the edges where the boards met the wall.
Again, I had pictures of this step–what in the world did I do with them??
After all of the spackle was sanded and the edges and seams were caulked, I applied a little bit of extra molding to the top and painted.
And here we are today!

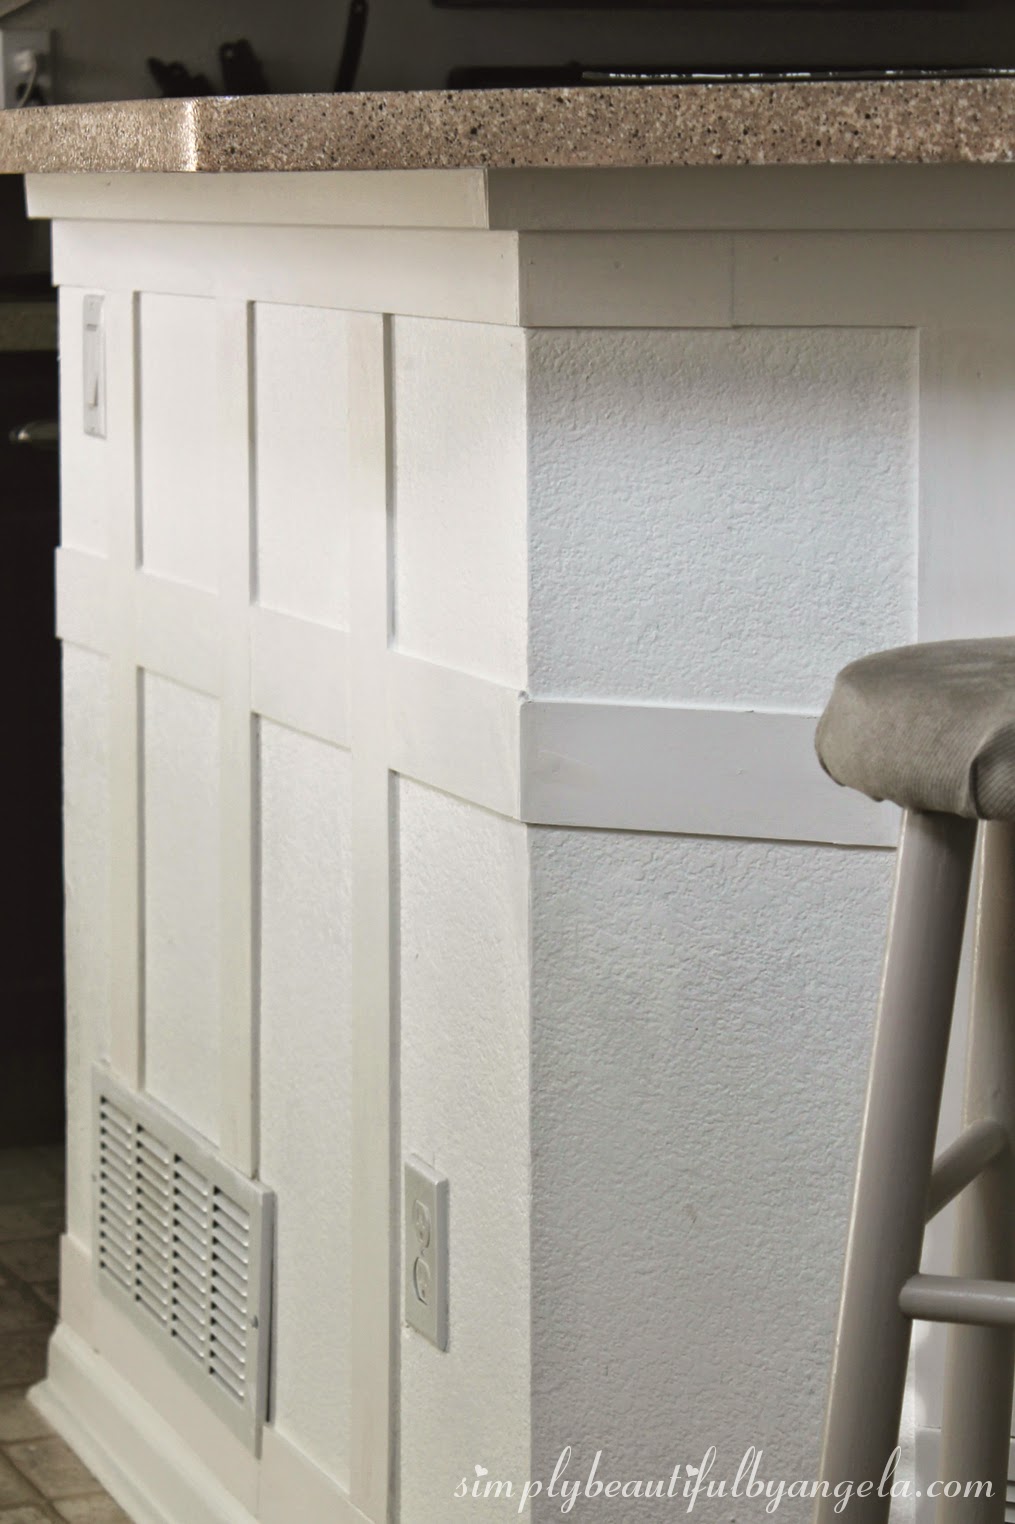

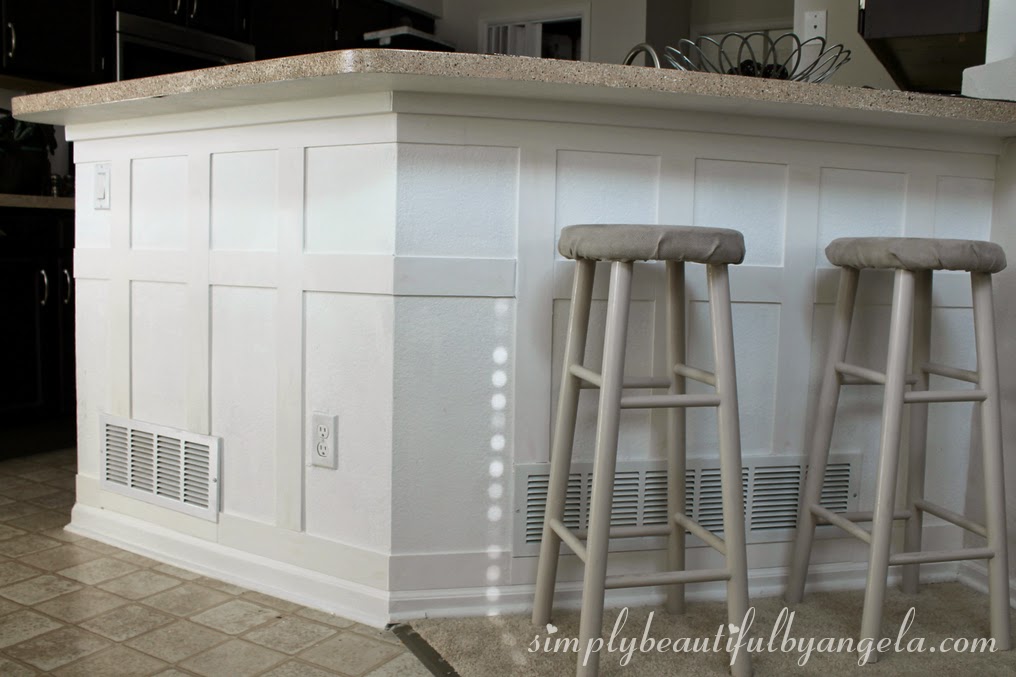

Ideally I could probably still use one more coat of paint. I’m still trying to get through my cheapo can that I bought a couple of weeks ago so the coverage is awful.
I’m so happy with how much it has brightened up the space though. 🙂
Linking up to these awesome parties!

This turned out so cute! I love the new look of the space, you did a great job!
This looks so nice….. we have batten board on the outside of our house and I don't really care for it… but I love it inside like this. 🙂
I love board & batten – thanks for the idea
Thank you for the lovely comments 🙂
Looks beautiful! I love board and batten, someday I will actually do some in my home!
What a great tutorial and it really looks so great! One day we will own our own home and I will come right back to this page to figure out how to do this to our walls! Thanks for the tips
That is a super cute idea!! Thanks for sharing on My 2 Favorite Things on Thursday!! I have Pinned this too!! Don't forget to come back next week and share some more!! I love having you!
Angela,
I am thrilled to give you great news. You have been chosen by me (the guest host) to be pinned on the Creative Spark Link Party Pinterest Board. You are also included as one of m selections on the Week #40 blog tomorrow. Please link up again soon. I am a DIY and Thrifty gal too. Great to have found you.
Happy Creating,
Karen Marie
Dragonfly & Lily Pads
This makes such a difference! Thanks so much for linking up at Creative Spark Link Party. You were featured not once but twice! First by our guest host Karen and second on Weekend Craft! Hope you stop by today to link up again http://bit.ly/1LLuOfT
It's awesome that you did this so inexpensively!! I've been wanting to do this on an accent wall and I love how yours turned out. Thanks for sharing at our All Things Thursday link up party!