Simply Beautiful By Angela

creating simple beauty on a budget

  • Home Tours
  • Projects
  • Legal
  • Link Parties
  • Let’s Chat!
  • About Me

DIY Rustic Mason Jars

January 6, 2015

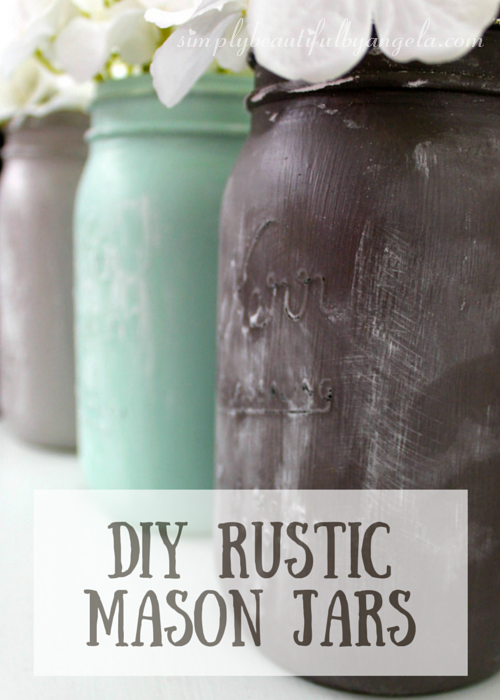
For those of you that don’t already know, let me start by saying that mason jars are awwwwwesome! They are super cheap, and a few quick minutes on Pinterest will show you endless possibilities of the things you can do with them.

You can find them at craft stores, Walmart or even for $1 at DollarTree!

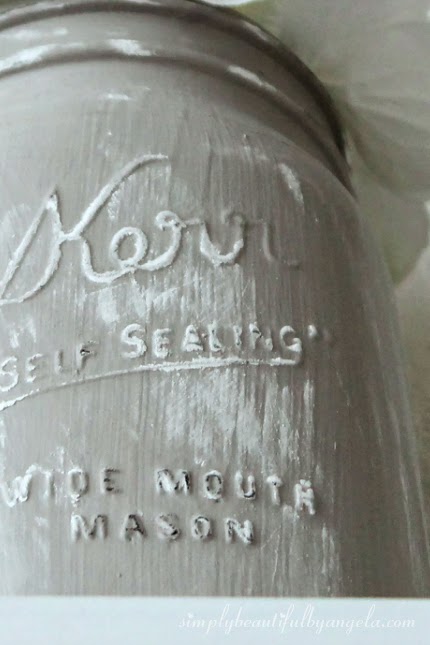
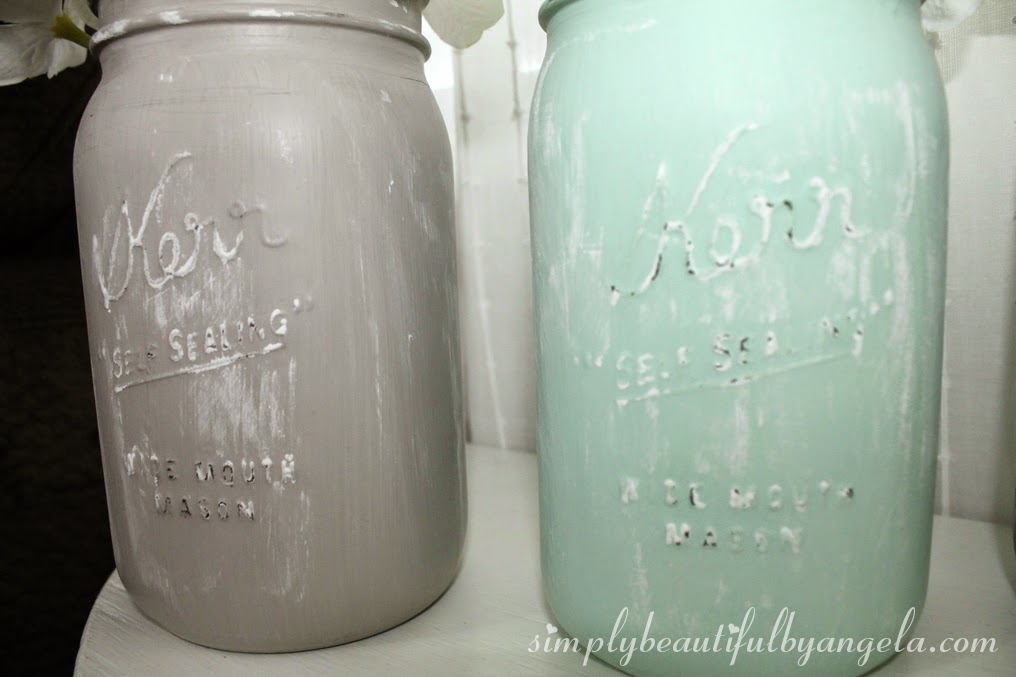
For this project, I knew that I wanted raised letters so I purchased some Kerrs from Michaels.
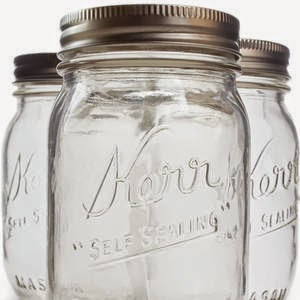
(source)
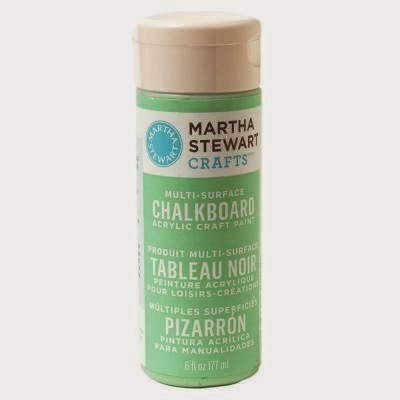
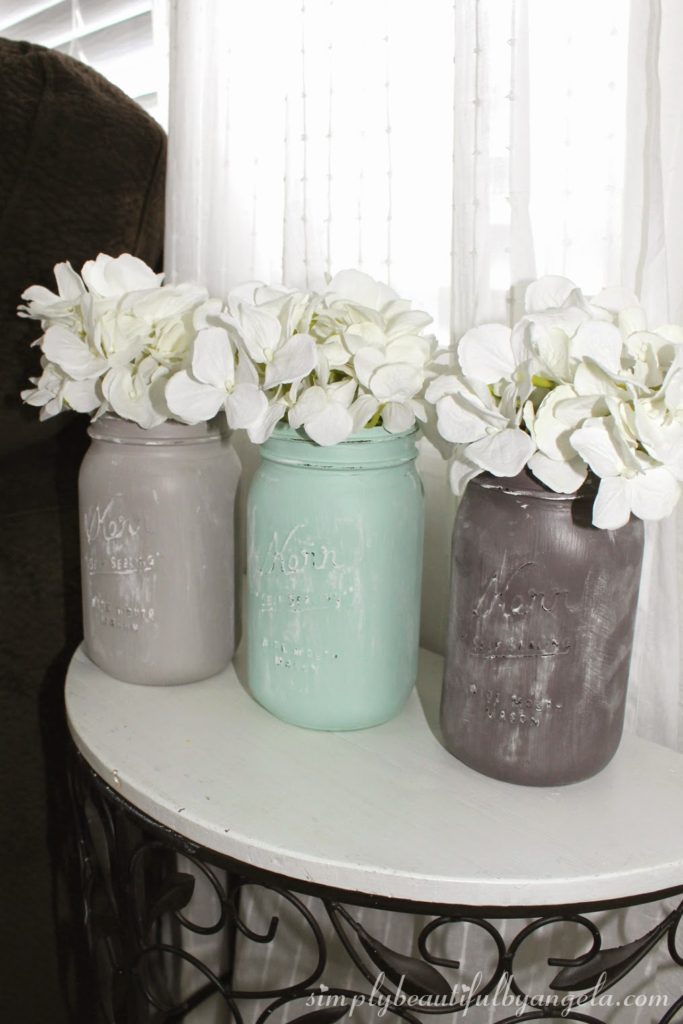
I also picked up some Martha Stewart chalkboard paint from Michaels. I got a bottle of green and a bottle of brown and did a little bit of color mixing at home to achieve the shades that I wanted.  More on that in a minute.

(source)

I made these before I started blogging so I don’t have pictures of the process, but it’s so easy that you don’t need any!

Step 1.
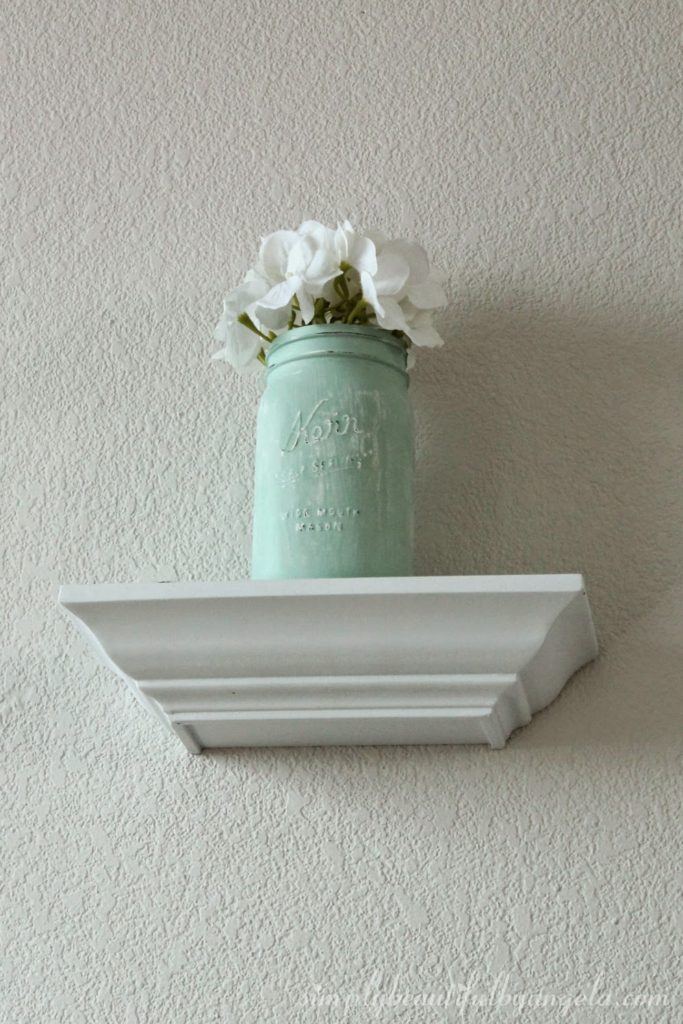
Use a foam brush to apply your first coat of chalkboard paint to the jar. I put my hand inside to hold it upright then carefully set it down to dry for about 30 minutes before applying a second coat.

Step 2.
After the second coat has dried, take some sand paper and scuff up a few spots.

Step 3.
Rub a piece of chalk over the jar as much or as little as you want.

It’s that easy! 🙂

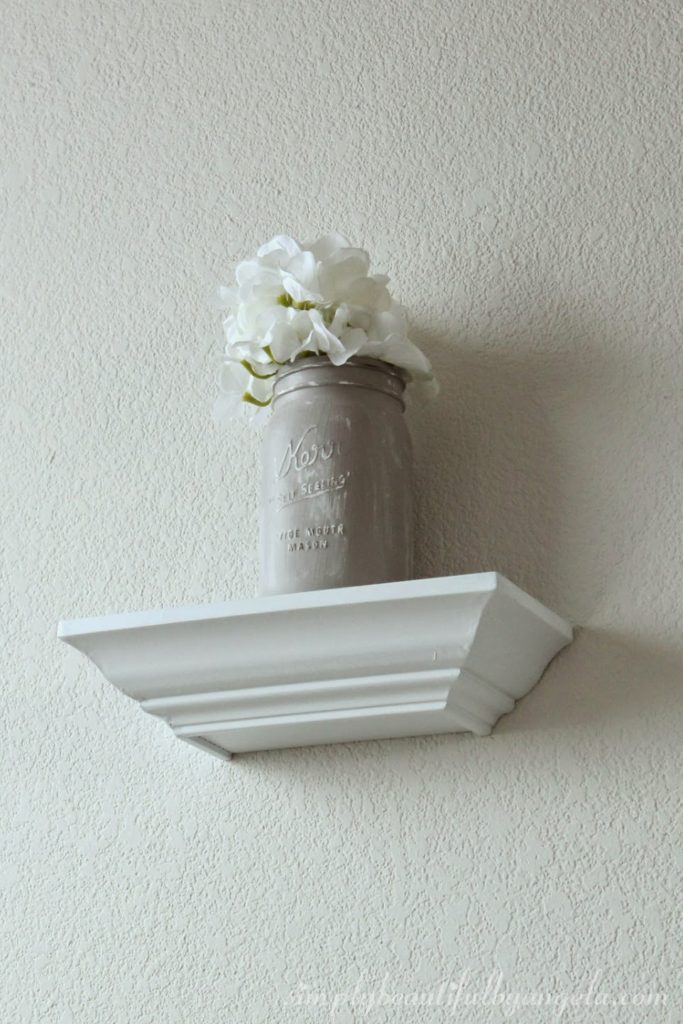
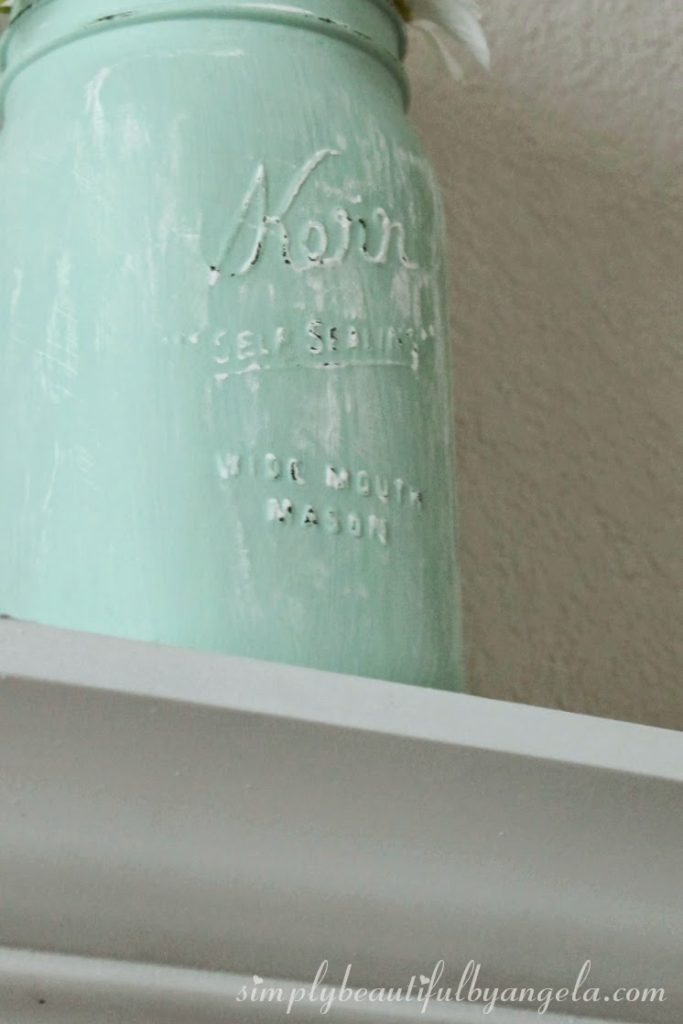
For the green one, I lightened it up by mixing the chalkboard paint with a little bit of plain white wall paint.

I did the same thing with the brown chalkboard paint to lighten up the brown.

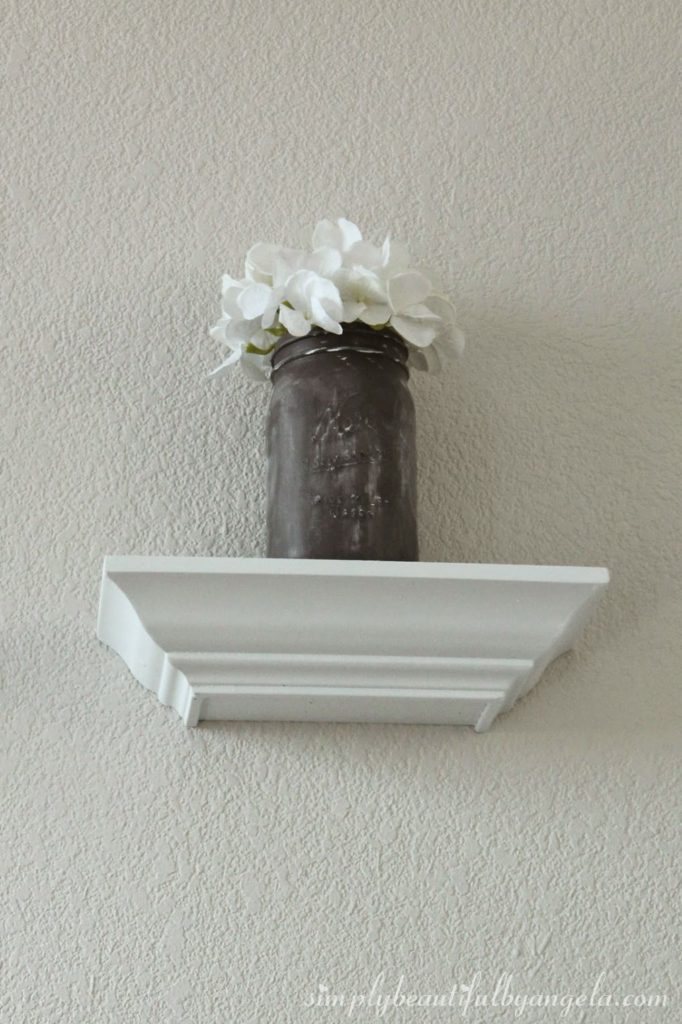
I used some espresso paint that I had left over from painting the cabinets and mixed it with the brown chalkboard paint to get a darker brown.

The chalk still goes on just fine as long as the majority of the mix is chalkboard paint. I loved that I was able to get the exact shades that I was looking for by doing this.
I applied extra chalk to the lettering on the jars because I really wanted them to pop.

I’m totally in love with the soft rustic feel that these have!
I filled each one with a hydrangea blossom and perched them on some little shelves that I found at Ross for $6 and spray painted white.  
This wall used to just have the large painting and the sconces but it felt like it something was missing every time I looked at it. These added a nice sense of depth and I couldn’t be happier with how they look!
Oh mason jars, you have my heart. 🙂

Linking up to these awesome parties!

This post was featured on Creative Ways Link Party! Click on the image below to take you to the feature post.

 Creative Ways Link Party” border=
(DIY Rustic Mason Jars)

· Labels: Uncategorized

Comments

  1. Aimee says

    January 6, 2015 at 5:51 pm

    These look great, and I LOVE the neutrals with just a little pop of color!

  2. AnnMarie aka Vintage Junkie aka NaNa says

    January 6, 2015 at 11:53 pm

    Great idea and so easy! Pinned!

  3. Angela says

    January 7, 2015 at 4:00 am

    Thank you Aimee, I love how these colors look together too! And thanks AnnMarie 🙂

  4. Little Vintage Cottage says

    January 9, 2015 at 2:59 am

    I love the colors you chose, they look awesome!

    Tania

  5. Sami Bookout says

    January 10, 2015 at 2:54 pm

    Cute! I love the colors you chose. These are so whimsical, I just love 'em.

  6. Nici @ Posed Perfection says

    January 14, 2015 at 1:37 pm

    Love the colors you chose to do these mason jars! Adorable! Thanks for sharing at my Creative Ways Link Party!
    Blessings,
    Nici

  7. Emily @ Two Purple Couches says

    January 16, 2015 at 2:07 am

    Love the effect the chalk gives to the lettering on your jars! Thanks for linking up to our Creative Spark party last week! We'd love to have you join us again this week 🙂

Hello, I am so happy that you're here! My name is Angela and I love to create simple beauty in our home on a budget. Here you will find DIY decor and home projects, furniture flips and other home inspiration!

Never Miss a Post!


Diagonally Fluted Nightstands

Diagonally Fluted Nightstands

Hello! I’m really enjoying the extra daylight and the fact that it’s been paired with warm sunny weather this week has been icing on the cake. I’m trying to soak it all in before the next snowstorm! Today’s flip was from about a year ago and is still one of my favorite sets of nightstands…

Read More »

How to Update a Dresser with a Missing Drawer

How to Update a Dresser with a Missing Drawer

Hey friends, happy March! Even though I know we still have quite a bit of cold weather coming our way here in Colorado, it’s exciting to see these warmer days sprinkled in here and there. This week I am sharing how I saved an old IKEA dresser from ending up at the landfill! Supplies Used:(Affiliate…

Read More »

Vintage Ice Box Style Nightstands Makeover

Vintage Ice Box Style Nightstands Makeover

Hello friends! We just got back from our annual trip to the Great Wolf Lodge and it was fun times as always! Today I am sharing how I updated these fun vintage ice box style nightstands that I found on Marketplace! Supplies Used:(Affiliate links may be provided for convenience.  For more info, see my full disclosure here.) …

Read More »

Never Miss a Post!


GOOGLE 2

GOOGLE 3

GOOGLE 4

GOOGLE 5

GOOGLE 6

GOOGLE 7

Theme by 17th Avenue · Powered by WordPress & Genesis