
In December I shared the makeover I gave on a $4 chair from Goodwill that you can read about in this post .
I mentioned that the coat of polycrylic that I put on clumped/ yellowed in a lot of spots, and the wood on the bottom of the seat that I secured the fabric to fell off the first time I sat on it. Both things bothered me, but I just lived with it.
When I did my barstool makeover I decided that the fabric from this chair would be a perfect match, so I stripped the poor thing and it sat like that in the garage for weeks.
Well I finally got the motivation to fix it back up. It was very happy 🙂
As a reminder, this is what it looked like when I brought it home. Not bad, but not me.

This is what it looked like during the first makeover. Again, not bad but I still wasn’t 100% happy with it.

I started by putting another coat of white paint on to hide the nasty poly that looked like tree sap, and did another sanding to distress it.
I just left it topcoatless for now. It doesn’t get a lot of use and if it does start to need one, I’ll be a little more careful when I apply it.
This time I used liquid nails to attach my scrap pieces to the bottom of the chair. A much better choice than hot glue peeps. Not sure what I was thinking before…(oh right it was the holidays and I was a little scatter brained!)

I also used a piece on each edge, as opposed to just one in the center. It makes more sense since all of the butt weight goes straight to the center.
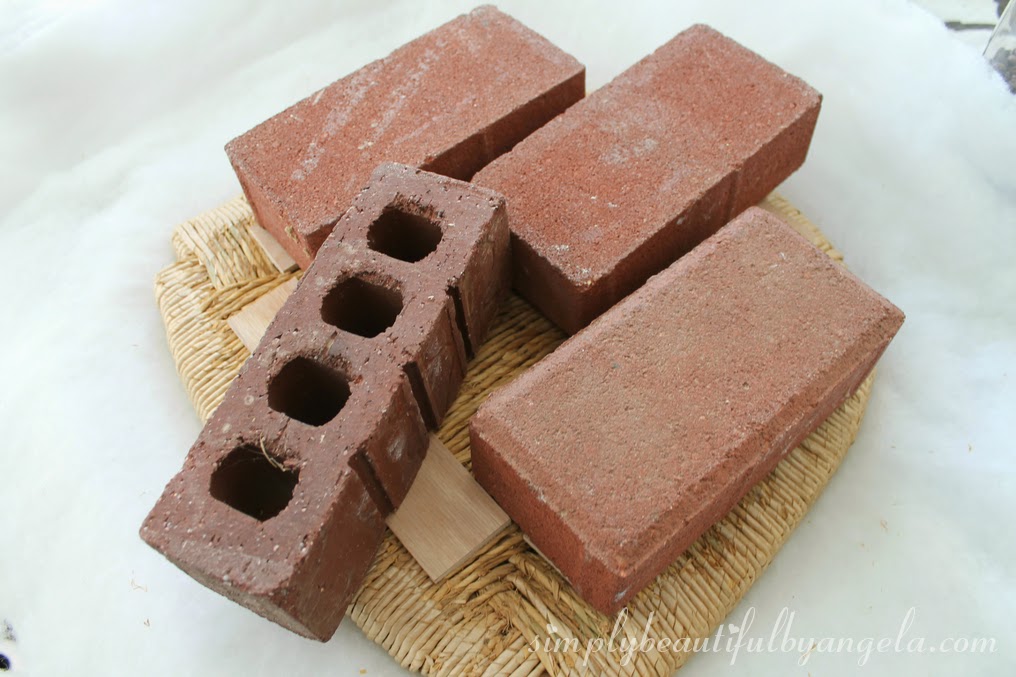
I put some bricks on while they were drying.
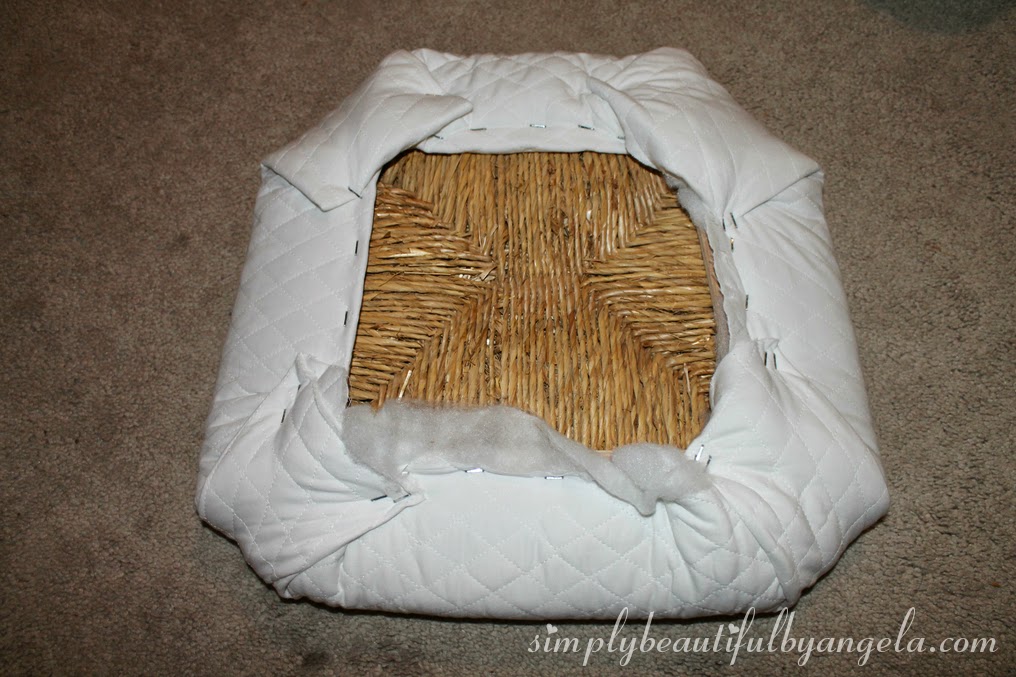
I also cut my batting to the same shape of the seat this time. It’s amazing how much you learn when you re-do a project!
As you can see, there was a lot less excess.

I did the same for the new material (which I love!!)
And here it is now–SO much better! I still haven’t screwed it back on yet, I’ve been a little lazy lately 🙂

The new fabric is a white quilting material that I found at Joann’s for super cheap. It’s different but I think it looks awesome.


I think I’m finally happy now. Sometimes it takes a couple of rounds before I’m totally happy with a project, but that’s ok!
How about you? Have you ever had to re-do a project because it was driving you insane or am I alone haha?

Linking up to these awesome parties!
This post was featured on City of Links! Click on the image below to take you to the feature post.
|


What an awesome DIY project! Inspires me to go and find an ugly chair and turn it into a pretty chair! Pinning it!
Thank you! It's so much fun (and somewhat addicting)!
What a difference. I love how it turned out the second time. Do you want to come and do my chairs too?
Thank you! Haha I would love too–I'm sort of in love with chair makeovers…
You're not the only, trust me! You definitely got your chair re-do right! Thanks for sharing at the This Is How We Roll Link Party on Organized 31.
Super cute!! Thanks for sharing on My 2 Favorite Things on Thursday!! Hope you come back tomorrow and share some more stuff!! Pinned!!
http://www.cookinandcraftin.com/my-2-favorite-things-on-thursday-link-party8/