
We finally finished the floating shelves this weekend! Last Monday I shared how we started building these beauties (click here).
As promised, here is a full supply list that we used to make 3 29″ shelves. The total cost was about $30. Not bad considering that’s the price of one store bought one!
- Two 2x3s @8″
- Three 1x4s @6″
- One 1×10 @ 8″
- 4″x4″ sheet of 1/4″ thick plywood
- 3″ wood screws
- Nails
- Drill
- Stud Finder
- Wood Filler
- FrogTape
- Minwax Wood Stain in Provincial
- White paint
- Polycrylic Satin
I mentioned that we wanted to have the shelves completely built before securing them to the wall, but we ran into one teensie issue. With the front trim piece on, we weren’t able to use the drill! So the hubby tried attaching the first one to the studs with a screwdriver.

But it was tough. And it didn’t seem as secure as I wanted. So we took the front piece off of each so that we could use the drill. We also put two screws in each stud as opposed to the one that you see in the picture above.
Once that part was up, we attached a 1/4″ of plywood to the bottom with screws.


I taped off the wall with Frog Tape before I started to stain.

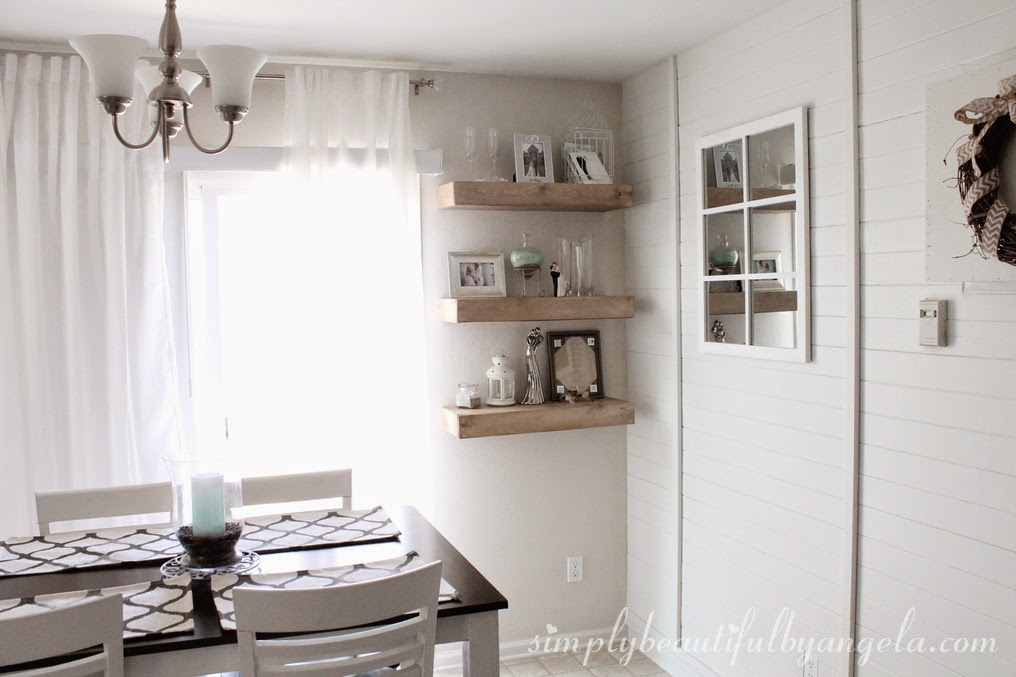
I went back and forth trying to decide if they should be white (like everything else in my house!) or if I wanted to add a little contrast. As you can see, I went with the contrast 😉


To accomplish the weathered wood look, I used the same method that I used on my IKEA dresser hack.

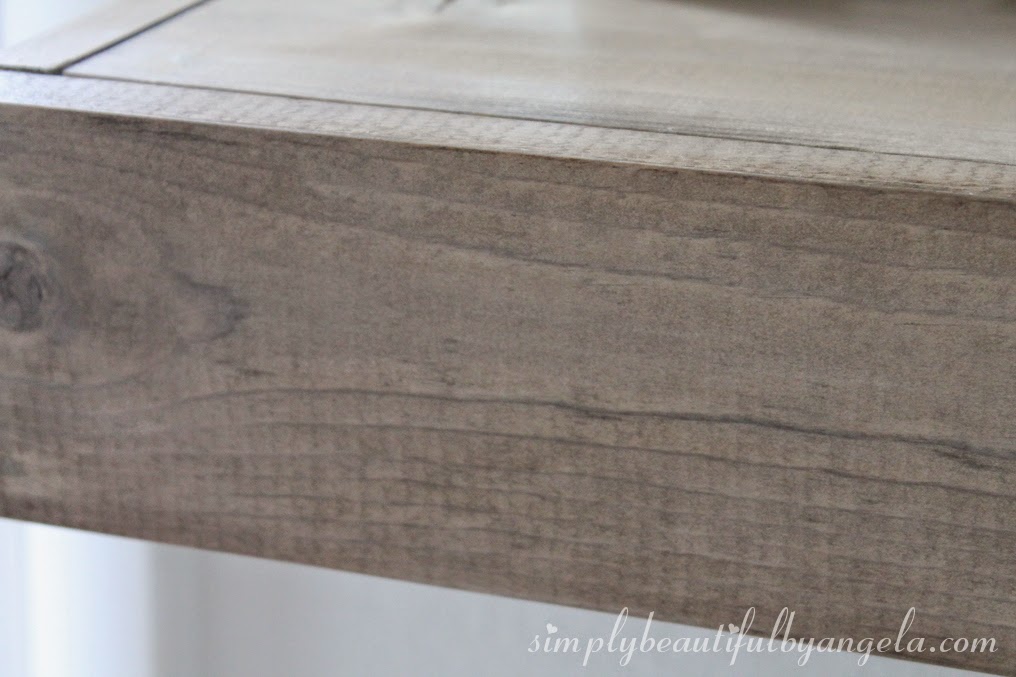
I love the soft grayish brown color, don’t you? 🙂

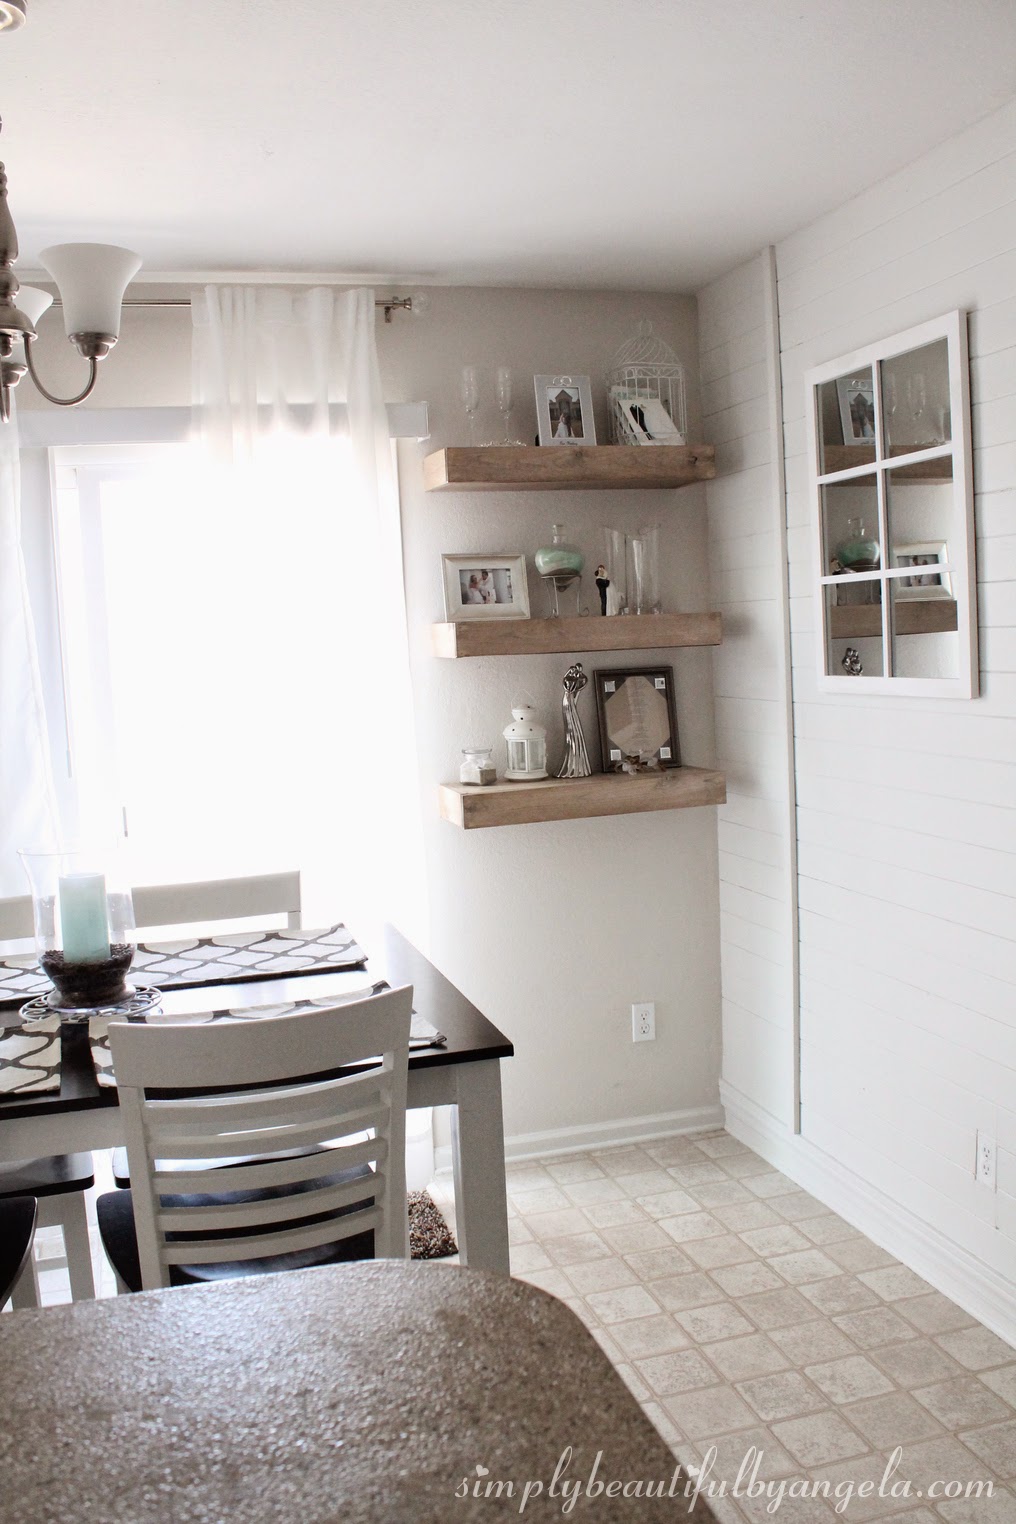
I decorated them with our wedding stuff that used to be in the glass display cabinet. I think it’s nice to have this stuff out to look at every day instead of being tucked away in a box.


I love the added interest that they add to this corner, but I really think we need some sort of table or cabinet underneath. I’ll be waiting patiently until I find the perfect piece. More than likely it will be a Goodwill makeover.

Okay so here is a (somewhat scary) reminder of what this area used to look like prior to the shelves and the planked wall.

And here we are today!

What a difference, right? That’s one of the reasons I love blogging, not only does it encourage me to take risks and try things I never thought I would be able to accomplish, but it also makes me look back at old pictures to see what a difference small changes can make (and also make me say what was I thinking?? haha)
Well there’s one project out of 30 down! I think I’m going to tackle the kitchen cabinets next. I keep debating between doing those or the backsplash first, but I’m also absolutely terrified nervous about my first tiling project!
Have a happy Monday peeps, I hope you’re enjoying some nice warmer weather like we are this week 🙂
Linking up to these awesome parties!
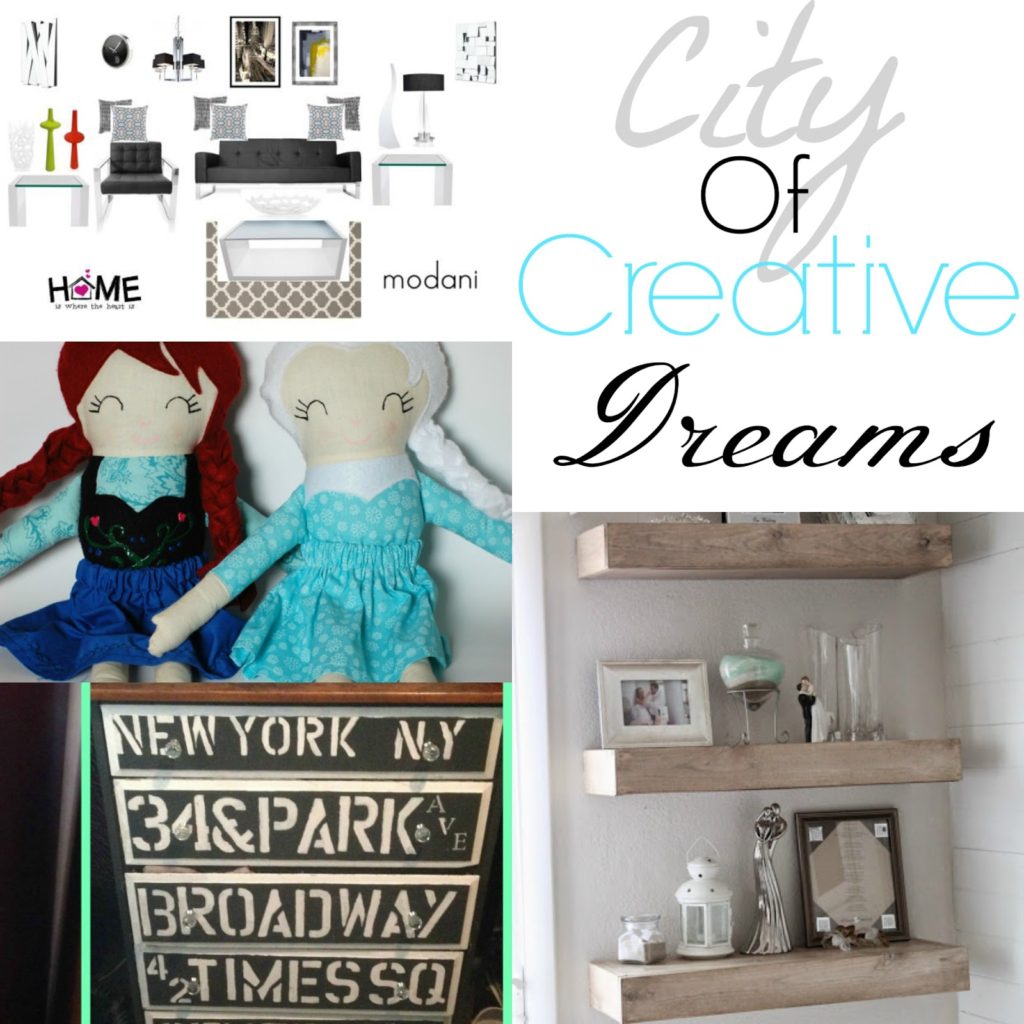
This post was featured on All Things Thursday, Creative Ways Link Party, This is How We Roll, Frugal Fridays and City of Links! Click on the images below to take you to the feature posts.
|

|

|

|

|

I love how these turned out! I especially love the weathered finish!
Thank you! And thanks for stopping by 🙂
Going for the contrasting color was a good move, Angela.
The shelves complement the white wall, but still stand out on their own. Nice job all around.
Thanks Mark! It was hard for me to take a break from white but I'm glad I did haha 🙂
Angela, these are stunning! What an amazing DIY!
I would love for you to stop by my blog and join our link party Something to Talk About!
Have a great day!
Karen
Thanks Karen! I just added your party to my list, I look forward to joining you each week 🙂
Looks beautiful love how easy it seems and the wood color, thanks for a great share Angela 🙂
Thanks Mari! 🙂
Saw this on Do Tell Tuesday! I needed a good tutorial..I want to put some up in my dining room. Thanks for sharing!
They are a great dining room addition! Especially if you display some pretty dishes and glasses 🙂 Thanks for stopping by!
These are adorable! Thanks for sharing.
Visiting from the Totally Terrific Tuesday Link up!
Thank you! 🙂
I've pinned these for when I finally get around to making the shelves I've been thinking about for the last *ahem* years.
Awesome! They're really simple 🙂 Thanks for stopping by!
Love floating shelves! I'm planning to put some on the wall in my living room.
Thanks for the tutorial 🙂
xx
Mila
milaslittlethings.com
milawayable@gmail.com
Thanks for stopping by Mila! I'm sure these will look great in your living room 🙂
Your dining room is lovely-and the floating shelves are a perfect addition! I LOVE the weathered look! Thank you so much for sharing at The Wonderful Wednesday Blog Hop! I'm definitely pinning this to our favorites board!!
Thanks, I really appreciate it! 🙂
Thanks so much for sharing on Something to Talk About! I can't wait to see what you have for this week!
Karen
Thanks Karen! And thanks for hosting a great party 🙂
Love these shelves! And the stain was a great choice – definitely stands out more than white would! 🙂
Thanks so much Shelby! I'm happy with the stain too 🙂
these are fantastic. as an alternative to another piece of furniture, a fourth, low shelf would also look lovely, even if you'd have to hold off decorating it with breakables for a while 🙂
wilma
sdsa
i am thank ful to you for best stud finder 2018
Amphawa Floating Market – Amphawa is situated in the Amphawa County, Samut Songkhram Province and lies only 90-km southwest of Bangkok. caibe floating market
So nice and peaceful area