Hello hello! I hope everyone had a great weekend. We had a super busy Saturday planned, and since I was too impatient to wait until Sunday to get the grout in, I begged convinced the hubby to get it done on Friday night.
So today I’m going to share the third (and probably most fun) step of installing our kitchen backsplash, which is grouting.
In case you missed the first two steps, you can catch up by clicking on these links:
Again, this tutorial is from the perspective of a total novice, so if there are any professional tile installers out there, try not to cringe too much haha!
I was actually terrified of grouting. To me, it seemed like it was going to be the most difficult part of installing our own subway tile backsplash. But in reality, it was really as simple as spreading it on and sponging it off.
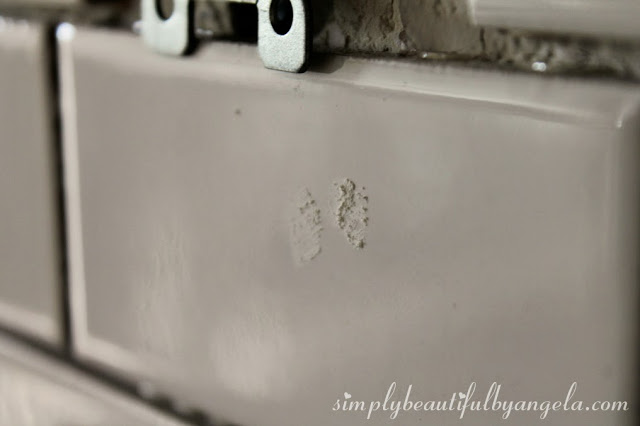
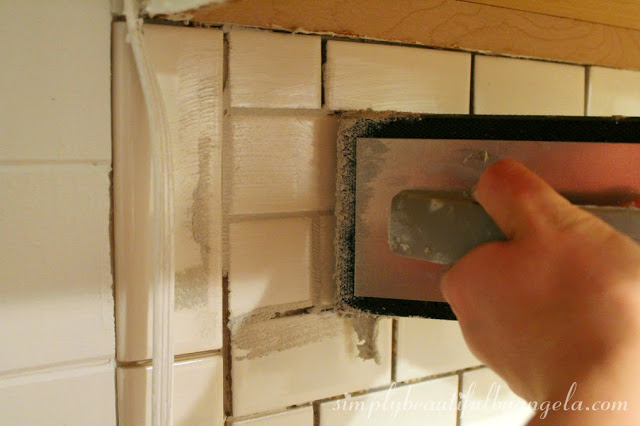
Before you begin grouting, it’s very important that you remove any traces of tile adhesive that may have found its way on the tiles. As you’re setting the tiles, it’s best that you try to wipe it off right away. Even though I tried to be as careful as possible during this step, I still ended up with a few areas like this.
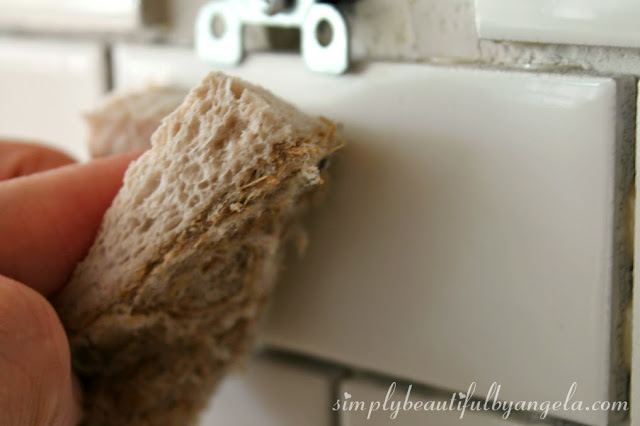
I just went around and wiped the tiles down with my scrubby sponge and it came right off.
Even if you don’t have any visible areas of residue, I would still recommend going over with a scrubby because from what I read online, once you grout it will turn any residue (seen or unseen) the color of the grout.
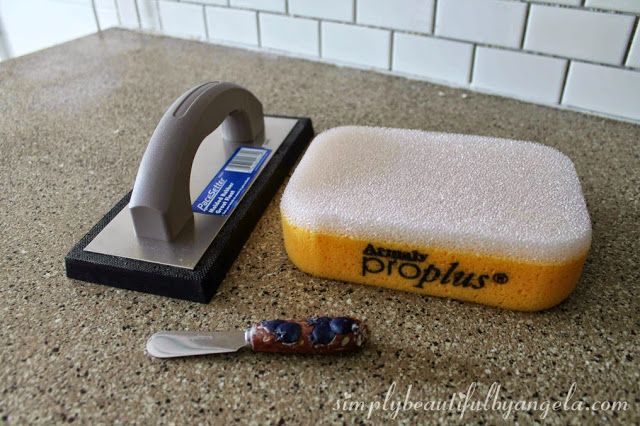
Once I cleaned the tiles we were ready to begin grouting. Only three tools are needed for this step.
- Rubber grout float
- Sponge (we used one specially made for grouting that we picked up in the tile aisle)
- Putty knife (we improvised with a butter spreader) to get any grout that ends up between the bottom tile and the countertop
Just a warning, since we did this at night the pictures are terrible! So you’ll have to bear with the harsh lighting, hopefully you’ll still get the idea. 🙂
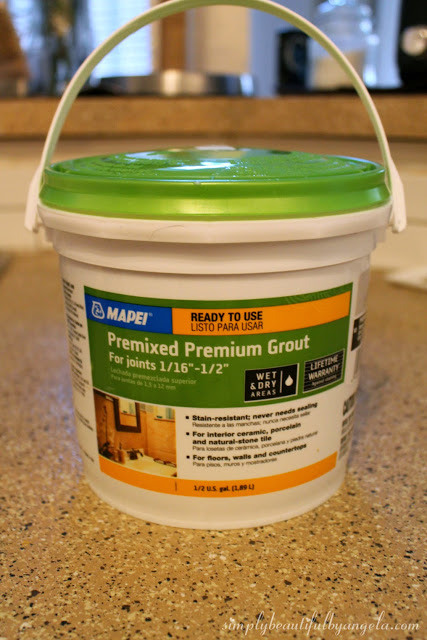
You may remember that we originally purchased a 25 pound bag of unmixed grout. But when I began looking for a sealant to use, I ran across this magical stuff.
It’s the same brand and color (warm gray) as the unmixed bag we bought, but it’s premixed, stain-resistant and doesn’t need a separate sealant. Sold!!
Especially after I read horror stories about some sealants messing up the grout color. It was $25 as opposed to the $15 unmixed version, but well worth it in my opinion. Since we were only doing 25 square feet we ended up only using about 2/3 of this 6 pound container.
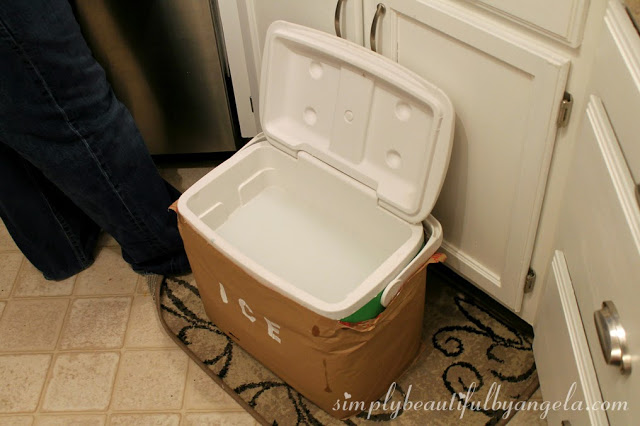
Here’s another important step that you experienced grouters may get a giggle out of. You should rinse your sponge in a bucket as opposed to a sink to avoid grout building up in your plumbing. Thank goodness the hubby had his thinking cap on because I’m not positive I would have thought about that.
Since we didn’t have a bucket we improvised again with a cooler.
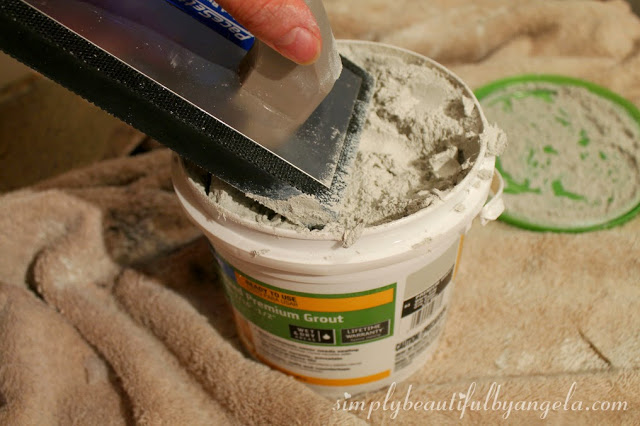
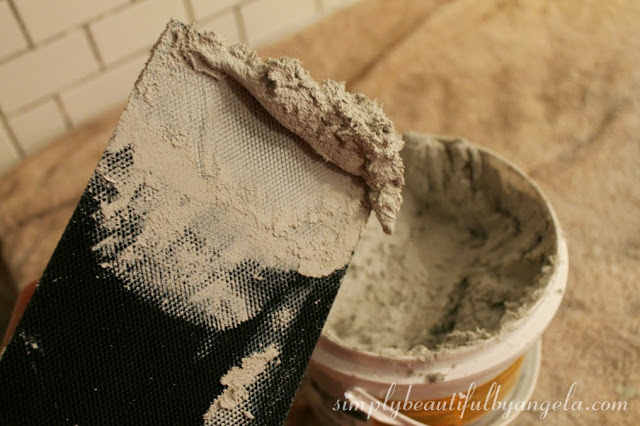
You’ll begin by grabbing a good amount of grout on your float. This stuff had a consistency almost identical to whipped cream cheese. Seriously, it made me want a bagel. 🙂
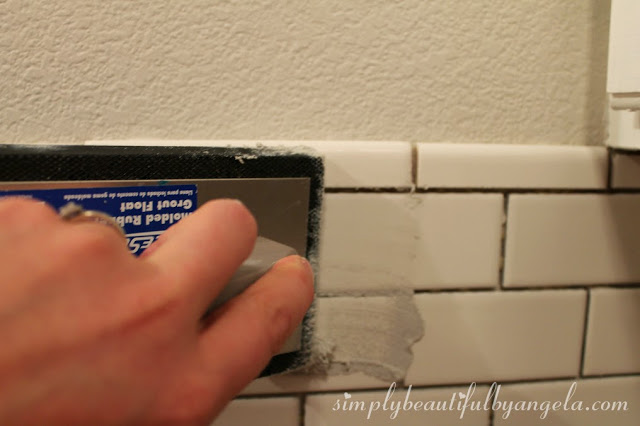
The instructions say to spread it on at a 45 degree angle, but I found it really difficult to get the grout in the lines that way. I ended up pushing it in with the float flat against the tile, then went back over at 45 degrees to pull up as much from the tile as I could.
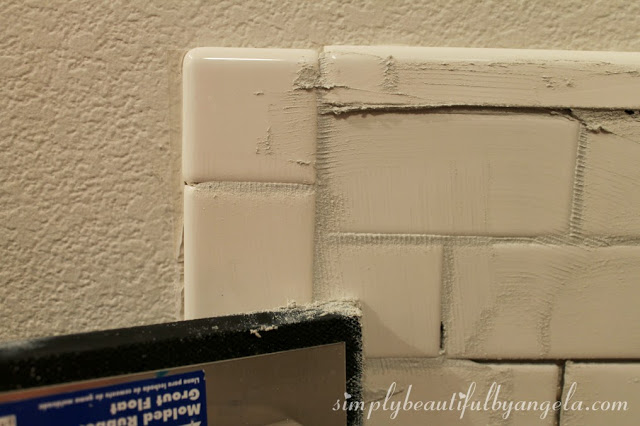
There were also a few tight spots that I used my fingers to push the grout in. Oh and you see those little ridges in the grout that the float left behind? Those freaked me out at first. But when you go back over with the sponge they totally smooth out.
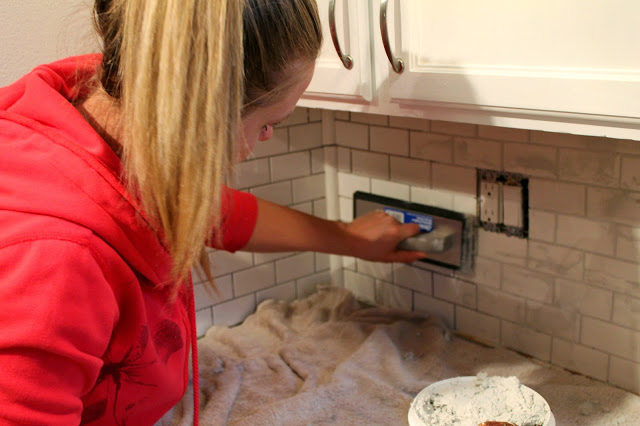
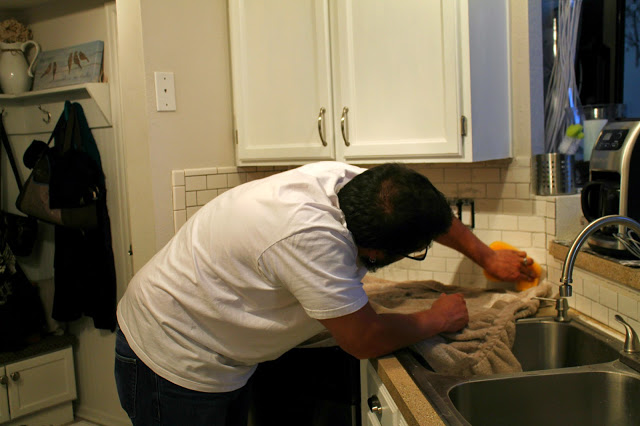
I think the hubby is tired of constantly being a model in my blog posts, so he grabbed the camera and started snapping a few of me. Here I am in my Friday night glory concentrating super hard haha…
Once the grout was in for 10 minutes, we went back over with the sponge to get as much grout off as we could.
We worked in small sections. I applied the grout and the hubby went back over it with the sponge as I worked on the next section. The whole process didn’t take very long, I think we were done in 1-1.5 hours?
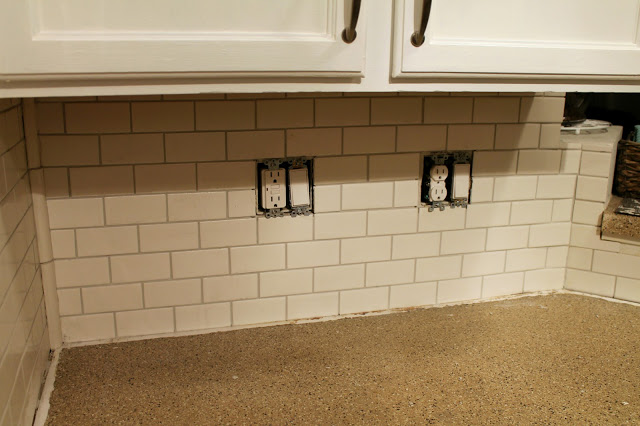
Here’s one section done. So purdy!
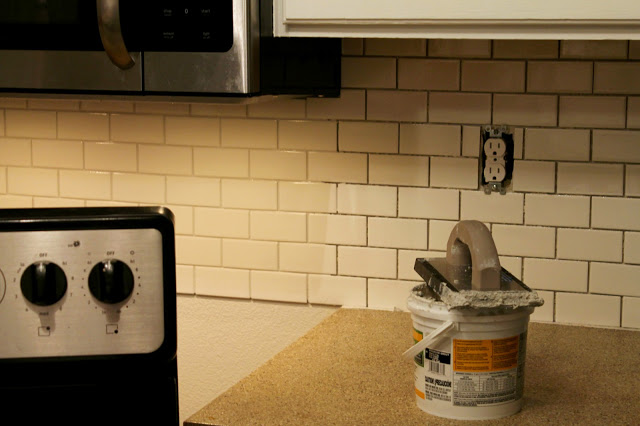
It’s amazing how much the grout finishes it up and hides imperfections. In this picture, the left side is grouted and the right isn’t. What a difference, right?
Once you’ve made it through your first tiling project without killing your tile buddy, it’s time for the most important step: to step back and admire your handiwork with a refreshing drink in hand (please ignore my glamorous yoga pants and pajama tee…)!
Yesterday we went back over with one of those green scrubbies to get any remaining grout and grout haze.
I still need to fix the edge of the countertop that was left exposed after removing the laminate backsplash, so no pretty reveal pictures just yet! Stay tuned 🙂
Linking up to these awesome parties!


looks great! what color grout is that? i like the light look.
enjoy!
b
Thank you! The color is called "warm gray" by MAPEI, I found it at Lowes. I wanted a little bit of contrast but not too much, so I'm very happy with how this color turned out! Thanks for stopping by 🙂
That turned out great! Thanks for sharing at Idea Box!
Thanks Danielle! And thanks for stopping by 🙂
Nonetheless, any forms of tile won't decorate the internal unless you go with its color and also pattern using your internal. Therefore, with the model of the internal best tile saw on the market design is definitely an essential thing to do just before deciding on a a number of style of tile.
I am a regular reader of your post.I appreciate with you. Thanks for sharing the post and always keep it.The group connected with expensive tile saws may cost up to help many hundred funds or even quite possibly more.
Well done! Nice post! This really helps me to find the answers to my question. Hoping, that you will continue posting articles having lots of useful information. Thanks a lot! sigma tile cutters