
Hello! Today I’m sharing a project re-do. If you’ve been around awhile you’ve probably noticed that this is a common thing for me to do. I’ll finish a project and find things that I’m not 100% happy with, then end up doing a take two down the road.
When I finished my IKEA Lack coffee table hack, I wasn’t totally sold on the gray stain. Don’t get me wrong, it was very pretty but it just didn’t “fit” in our living room. But it was more than just aesthetics. I used liquid nails to attach my boards, and with a rambunctious toddler that climbs on top, it didn’t hold up very well.
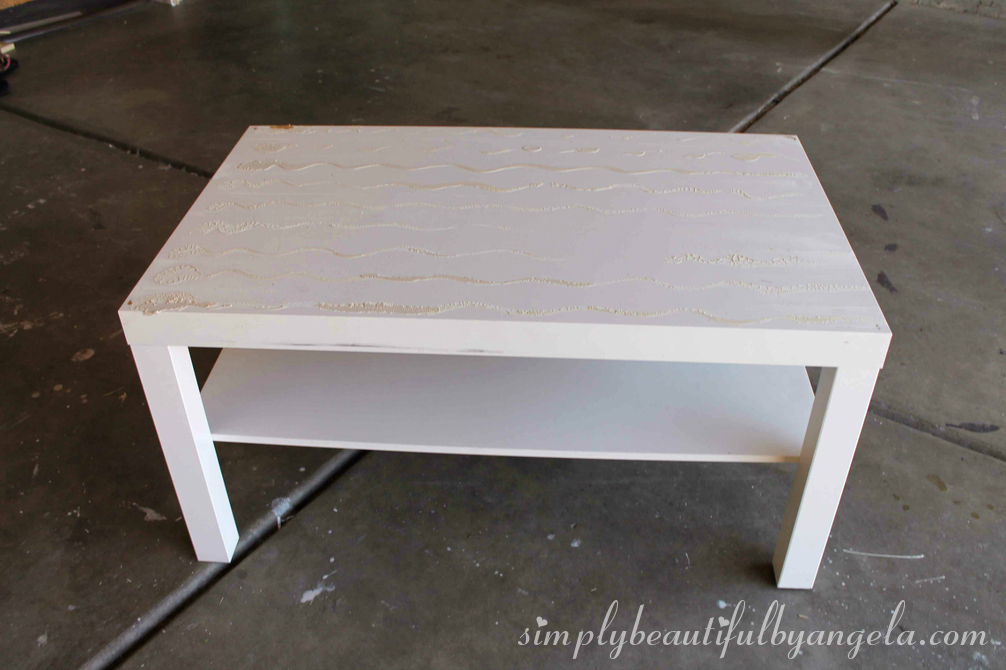
After reattaching the sides for the second (or third?) time I decided to rip them all off and start over.
Previously I cut my boards by hand, but since I’m pregnant this go-around and it was close to 100 degrees outside, I enlisted the hubby to use the power saw to make my cuts. Sooooo much quicker!

Once my boards were cut I applied them with liquid nails, but this time I went back over each with a nail once they were dry.
Little man had fun playing with chalk while I did this, and found the nail step extremely interesting.


I tapped each nail in by using a screwdriver so that I could cover them up with wood filler.


The green is my glove, I wear latex gloves to touch any products since I’m preggos. 🙂
Once all the boards were set, I nailed in the sides. This time I chose to avoid mitered corners. It was much easier and still looks great! Tip: the first board I attached by myself and one of the nails went in crooked. It was much easier to have the hubby hold while I nailed them in.

I put some wood filler where the sides meet as well.

After the wood filler dried I sanded, sanded and sanded some more. I wanted my edges and corners super smooth to avoid kiddo boo-boos.
To weather the wood, I used the same technique that I used on my IKEA dresser hack. I topped it with two coats of polycrylic.
Oh a couple of other tips! I wore a face mask with a rag wrapped on top of it while I was staining, and I also worked outside. These are good ideas even if you aren’t pregnant to avoid exposure to the fumes. Also, some splattered onto the legs of the table and I was able to use a soapy scrubby sponge to remove it before it dried too much.
And now, my favorite part–the pictures!


Doesn’t it just fit better now? I think the warm rustic look goes with everything else in the room so much better than the cool gray.


Over the last year I’ve been struggling to find out what my style really is. I’ve started to notice that a lot of my favorite pins are rustic. And a lot of things in our home I’ve designed with a rustic flare. This table is just further proof that I’m more of a rustic kind of girl. 😉


If you’re interested in making one of these yourself, you can find the full tutorial from my first post here. The table is $20 at IKEA and the wood cost about $15.


This post was featured on Rustic Farmhouse DIYs hosted by Modern Pilgrim, Inspire me Wednesday hosted by Adventures of Mel, Wordless Wednesday hosted by Oh My Heartsie Girls, The Idea Box hosted by Mia’s Little Things, Weekend Retreat Link Party hosted by AKA Design, Craft Friday Frenzy hosted by Craft Dictator and the Pin Junkie! Click on the images below to take you to the feature posts.
|

|

|

|

|

|

|

Linking up to these awesome parties!

I LOVE it! I loved it before, but I like this even better! The wood really warms up the space!
Thanks Samantha! I agree, it feels so warm and cozy now. I can't wait to dress it up for fall 🙂
Wow! You did an absolutely beautiful job! Thank you for sharing at #OMHGWW! Have a fabulous week!
Thank you so much Christine!
This turned out great! I did something similar with wood on top of an ikea kallax! I am needing new nightstands for my guestroom and I think this would look great on top of those small end tables from IKEA! Thanks for the inspiration!
That's a great idea, I bet that would turn out so cute! I would really like to see that. Thanks for stopping by! 🙂
This is super cute! I have a huge coffee table that is in desperate need of a new top. Giving me inspiration!
Thanks Michelle! It's super easy and is much more affordable than getting a new table 🙂
Stopping over from a link up party-and I'm so happy I did! I have just such a table-and I've been contemplating on putting a rustic wood top on it-but just haven't done it! Thank you so much for the inspiration and tutorial! Your table looks AWESOME!!
Thank you, I'm glad I could help inspire you! And thanks for stopping by 🙂
You did a great job on this table – what a nice makeover!
Thanks Patti, I really appreciate it!
Looks great, and a very easy to follow tutorial — thanks for sharing!
Thank you! I appreciate you stopping by 🙂
Very nice upcycle, and yes, it does look so much better than the grey!
Thanks Mary K, I'm so glad you agree!
I have the same table and I have been considering getting rid of it but your post made me want to keep it and give it a makeover. Thanks for sharing!
Don't get rid of it Marite!! I promise you'll be happy with it after the update 🙂
I have been looking into buying an Ikea Lack table just so I can make it over! You had me sold on the gray, now I am sold on the rustic look! Can't wait to try it! What size table did you purchase – there are two sizes on the site? 46 1/2×30 3/4 or 35x22x18 This looks amazing!
Thanks Lauren, I am so glad I could help! I used the smaller size (35x22x18).
Perfect! Thank you SO much. Can't wait to order and get started 🙂
Hi Angela, I just wanted to let you know, that your fabulous transformation is my favourite pick for our Wordless Wednesday link party and is featured this week. Come and grab a button! xx http://fromevijawithlove.com/linky/wordless-wednesday-link-party-august-1/
Thank you so much, I really appreciate it! 🙂
Brilliant! And I love that rug. we have a similar one in our new house 🙂
XO Ellen from Ask Away
http://www.askawayblog.com
Thanks Ellen! I love our rug! The lighter color is really nice but is kind of hard to keep clean. At least you can't tell in pictures 😉
This is a gorgeous table makeover. I love the wood top on the table; so pretty! Thank you for sharing at Inspire Me Wednesday. Featuring you in this week's issue.
Thanks Mel, I really appreciate it!
I love how this turned out. So much better than the original!
Thank Amy, I have to agree with you! 🙂
That is a great update for your table and affordable too. I found my way here from the feature at Maison de Pax I have been considering adding planks to end tables for our family room and the way you have capped them off is the solution I have been looking for. Thanks for sharing.
Thank you for stopping by! I bet your end tables will look fantastic with this update! 🙂
LOVE THIS I have wanted to do this with our living room table for some time! Thanks for the steps and tips! Stopping by from Weekend Retreat Link Party.
Thank you Jeannine! You should, I'm sure you will be happy with the results 🙂
Thank you so much for sharing this at Totally Terrific Tuesday! I love love love it and will be featuring it tonight 🙂 Cant wait to see what you link up tonight!!
Jess
LiveRandomlySimple
Thank you so much Jessica! 🙂
I just threw away an old ikea coffee table, and now I could kick myself, haha! Great job!
Oh no!! Thank you and thanks for stopping by Adeline 🙂
Hi there! I was wondering, what color stain/stains did you use? I love it and can't wait to try it out!!
I first did two coats of whitewash which is just a cup of water with about a tablespoon of white paint. Then I did a coat of Miniwax Provincial but only let it sit there for a quick second before wiping it off 🙂
How did you attach the sides with the over hang? Did you nail/glue directly into the overhang or cut that bit off? Thanks! Hoping to accomplish this project!
Hi Ashley! I'm not sure what you mean by the over hang, the boards on top were attached to be flush at the edge, and the side pieces were just nailed directly into the edges of those. I hope that helps! 🙂
Hello! Your table looks beautiful! What type of boards did you use? I'm looking to do something like this to my ikea dining table rather than go out and buy a whole new one!
Thank you! I just used 1×3 pine boards from Lowes 🙂
beautiful. so you used how many 1×3 boards to complete this? Does your Lowes cut the boards for you?What dimesnsions did you have them cut? Im a Lowes newbie so I would like to go in and have the right shopping list. lol thanks!
Hi Lesley! The link below will take you to the original post with the shopping list and cut measurements. Lowes will do cuts for you but they aren't very precise so I recommend doing them yourself. I used a miter box (they're only like $7) also purchased at Lowes. Hope that helps, let me know if you have any other questions! 🙂
http://www.simplybeautifulbyangela.com/2015/03/ikea-lack-coffee-table-hack.html?m=1