Hello there!! I’m still busy-busy working on little man’s dinosaur room but it’s all starting to all come together. Even if it is randomly spread out in pieces in his closet…
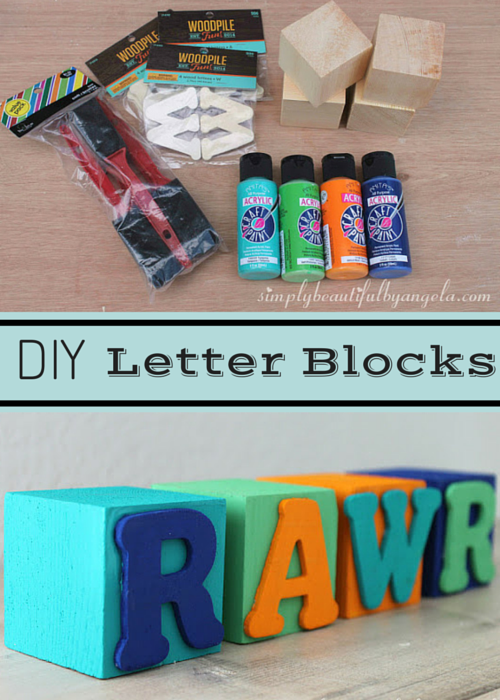
Today I wanted to share a super quick and easy project that I think is going to really add to the room. Creating toddler friendly décor isn’t easy, but these blocks are both pretty and temper tantrum safe. 🙂
Oh! Want a sneak peek of what the bedding looks like?

source
Isn’t it adorable? I just love the colors and have had so much fun making things to match.

To make the blocks, I picked up my supplies at Hobby Lobby:
Four wooden blocks (you could also make some by cutting down a 2×2)
Wooden letters ($0.99 for a 4 pack so it’s a plus when you have a word that uses one letter twice!)
Acrylic paint (in colors to match the bedding of course!)
Pack of foam brushes
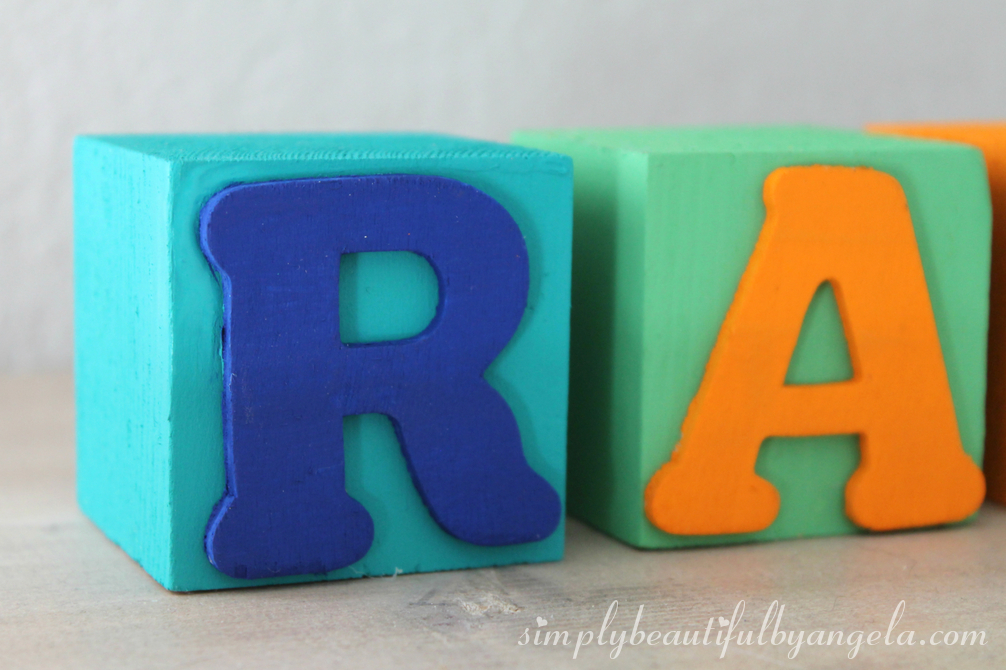
I first applied two quick coats of acrylic paint to each block. I also thought about using scrapbook paper and mod podge–it would look super cute if you did that on every other one. But I’m going the simpler route these days…

I also applied two coats to each letter, making sure to dab the edges. (Geez I’m a messy painter!)

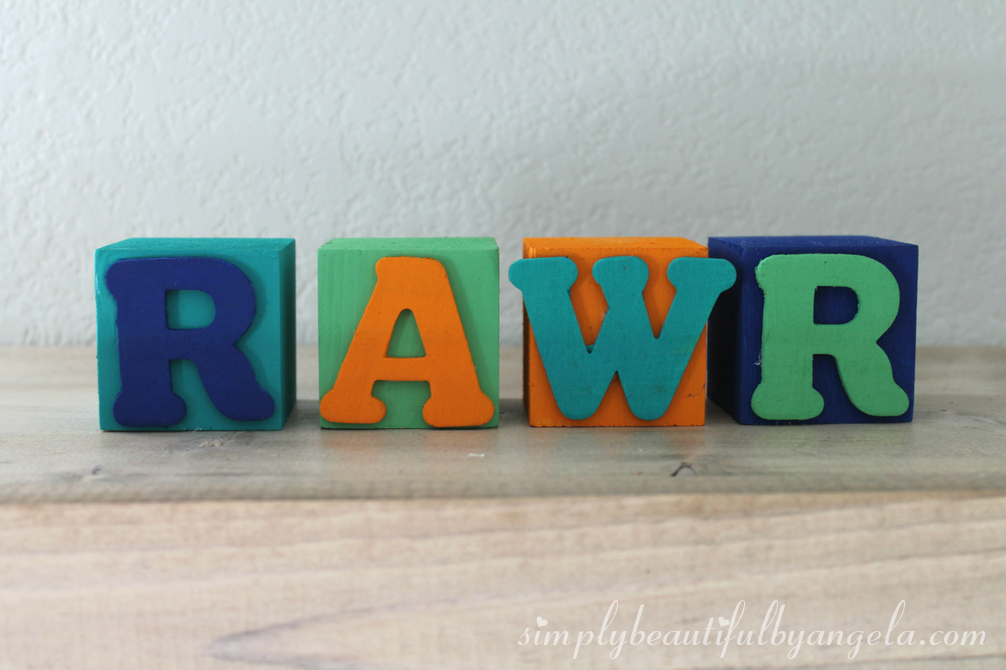
Once both were dry, I hot glued the letters on to the blocks. I spent some time playing around with the combo and the order of each, but I’m really happy with how they turned out.

Tristan squealed with glee when he saw these. Then he threw them, you know because he’s in that fun “throw everything” phase.

After making these I got to thinking how fun these would be in other rooms of the house. Like spelling out our last name or something inspirational and placing them on a shelf.
I’m almost done with the dresser for his room where these cuties will eventually sit. The hubby has been bugging me to get it done and out of his parking spot in the garage haha. I just keep running into bumps and decisions, but I think I’m in the final stretch now. Stay tuned for that hopefully next week. 🙂

Linking up to these awesome parties!
These are SO cute! Love the bright bold colors! Not that long ago, my kids loved for me to tell them RAWR meant I loved you in Dinosaur! Thank you for sharing at #OMHGWW! Looking forward to seeing you next week! Have a beautiful day!
Thank you Christine! That's so cute, that would make cute DIY art, hmmmm…. 🙂
Too stinking cute! Love these! (Also, loving how the 'W' extends past the block. Gives it a little something more.)
Thank you!! It wasn't intentional but I too was happy with how it came out like that 🙂
Colourful and cute!
Thank you!! 🙂
These are so cute!!! I love the color choice also! Great idea!!
http://www.thenannysaga.wordpress.com
Thanks! I'm really happy how well the colors ended up together 🙂
These are so cute!!! I love the color choice also! Great idea!!
How cute are these?! I love how the blocks turned out, Angela. Great idea!
Katie@funhomethings
Thank you Katie, I really appreciate it! And thanks for stopping by 🙂