Hello and happy Monday! As promised last week, I am finally going to start to share Tristan’s big boy room! Can you believe it??
Since a lot of DIY projects were involved I decided that I am going to share each one in a separate post (otherwise it could turn into the longest post in blog history!!) Once I’m through, I’ll put them all together and show you the room as a whole, including a price and source list.
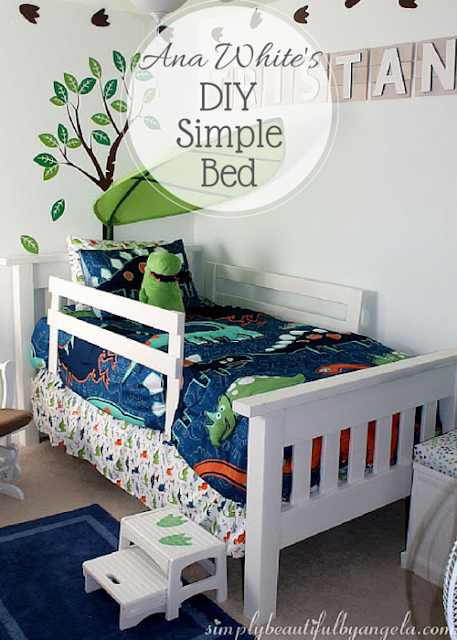
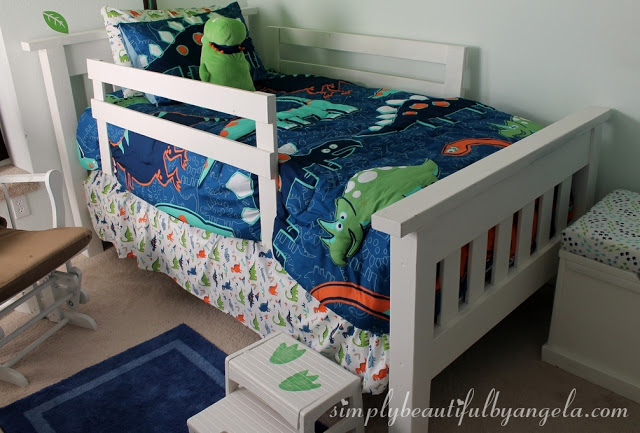
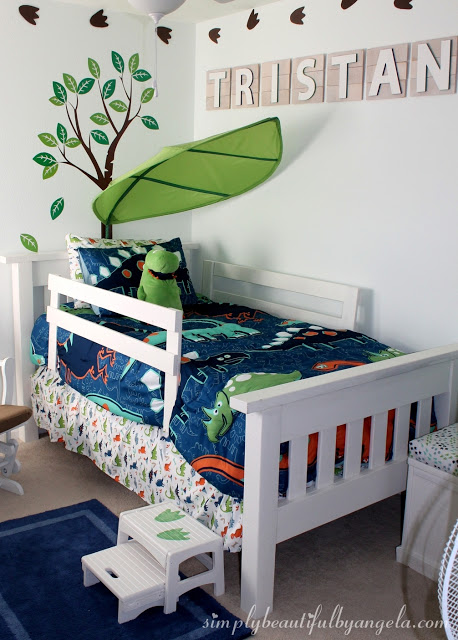
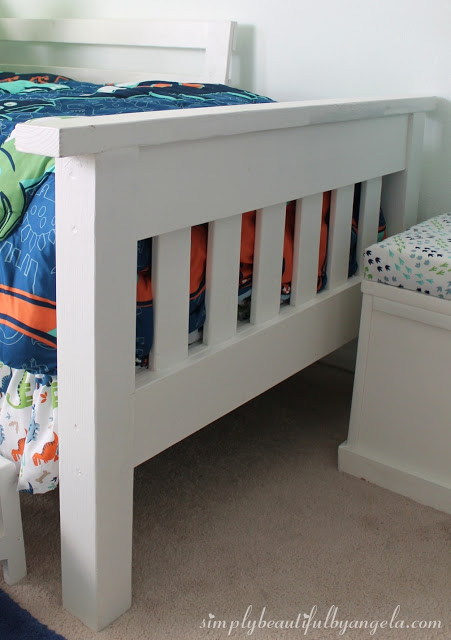
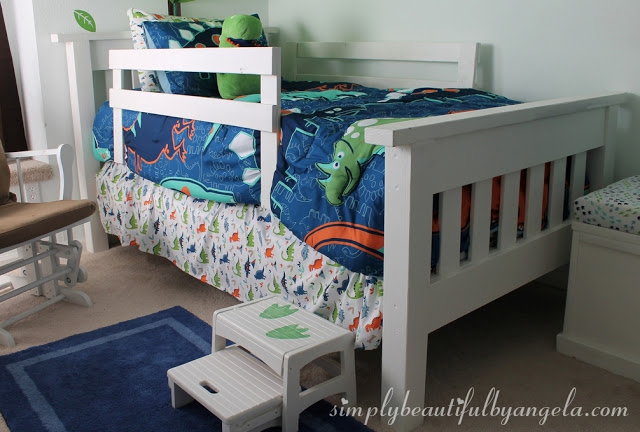
Today I’m going to share the biggest and most functional piece in the room, the bed!
When I first started laying out plans in this post I mentioned that I was having trouble deciding if we were going to go the toddler bed or the twin bed route. Ultimately I decided that since he’s a pretty big kid, we might as well just skip straight to the twin bed. (Oh and as you’ll see, I ended up with a dinosaur theme instead of trains since cute train bedding was impossible to find and I feel like bedding makes an entire room!)
So I began searching prices on twin bed frames and experienced major sticker shock! If I wanted to avoid metal or laminate I was looking at paying a pretty penny. I wanted something solid and money left over to spend on décor. Sure, I could have waited around to find something on Craigslist or in a thrift store, but patience is not something I’m good with (and I wonder where my son gets it from…).
So of course I decided that the best option was to DIY one. While searching for tutorials I ran across this amazing one from the one and only Ana White which you can find here .
It was exactly the look I was going for and it looked simple and affordable.
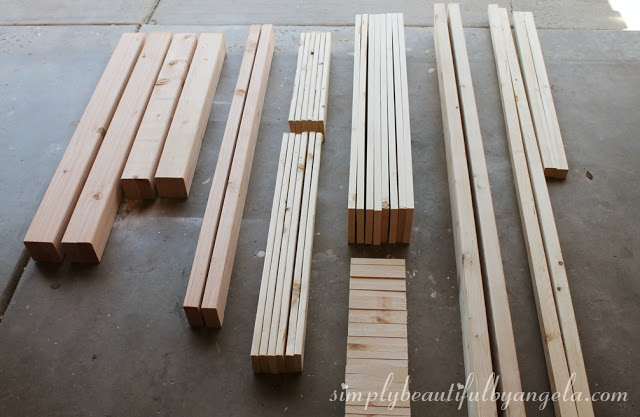
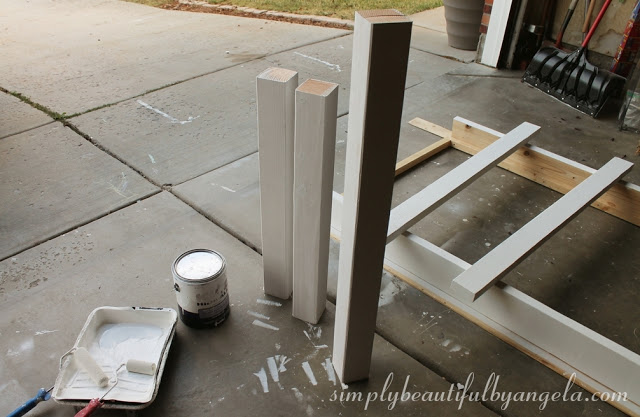
I began by buying all of the lumber and making the cuts. The nice thing that Ana does in her tutorials is that she provides you with both a shopping and a cut list which is super helpful. I bought the most affordable types of wood I could find so I only spent about $70.
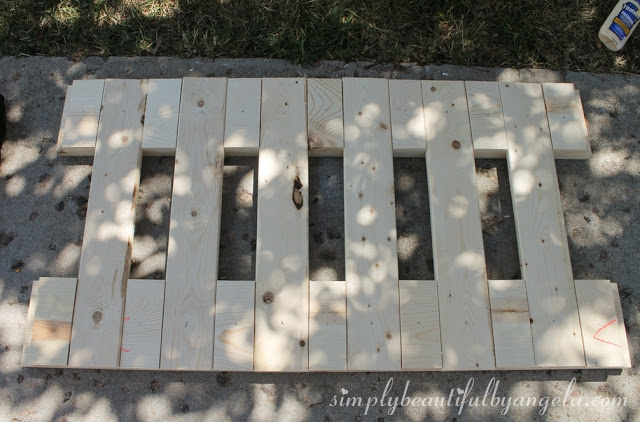
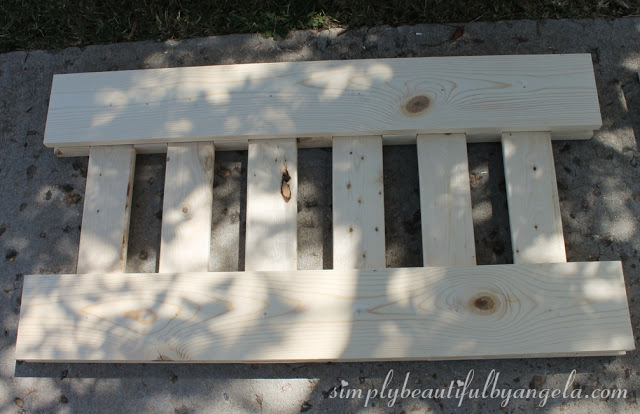
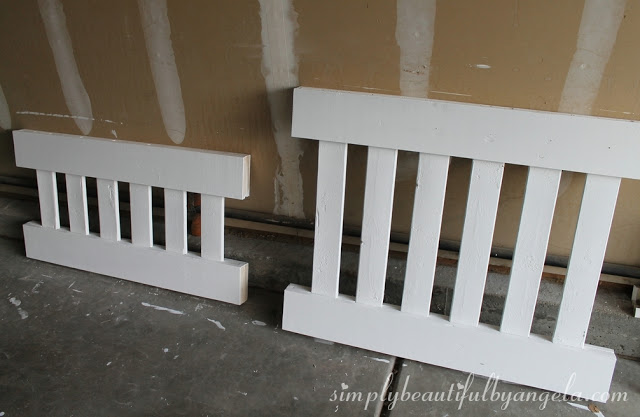
I began putting the headboard and footboard together.
For those of you wondering with how he did with the transition out of the crib–he actually did great! I was really nervous about it but he did so well. We kept his bedtime routine exactly the same (bath, brush teeth, read stories in his chair and sing). When I left the room he immediately went to the door, but I went back and tucked him in and he seemed to understand that it was time to go to sleep.
I think it helps that we got him really excited by talking about his bed a lot beforehand and he helped put the bedding on. In fact, he was so excited that he was treating it like a gym and I was worried he might be too excited to actually sleep in it!
So to sum it up, there are just a few things to keep in mind that I found helpful:
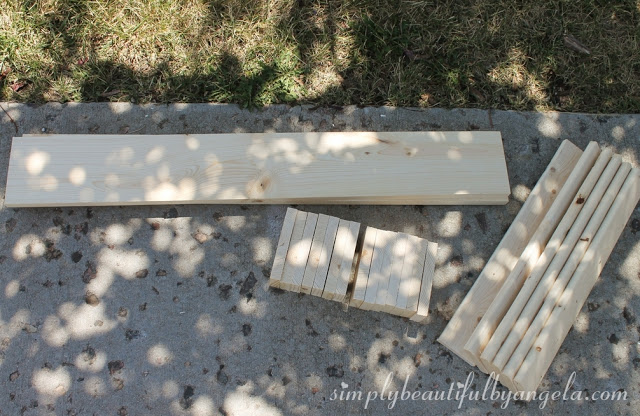
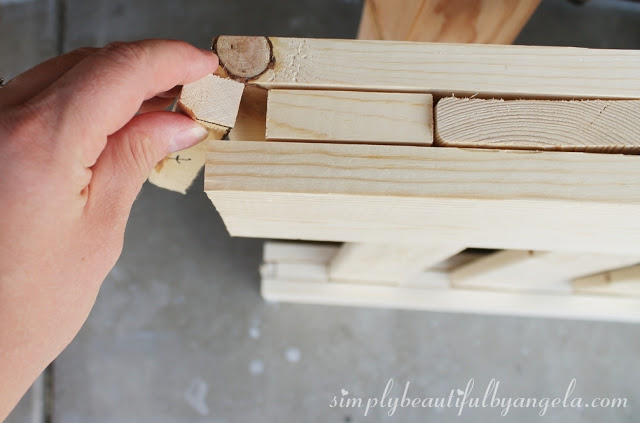
- If you want to avoid needing filler pieces for the headboard and footboard like we did, splurge on the actual 1x4s instead of the furring strips. One way to tell them apart is that the furring strips have somewhat rounded edges while the others are perfectly squared. This may also make it easier when it comes time to attach your 4x4s.
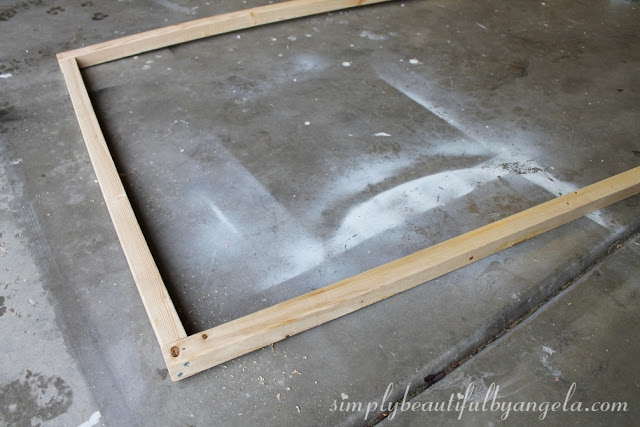
- To make the frame more secure, we attached L brackets on top of the 2x2s in each corner.
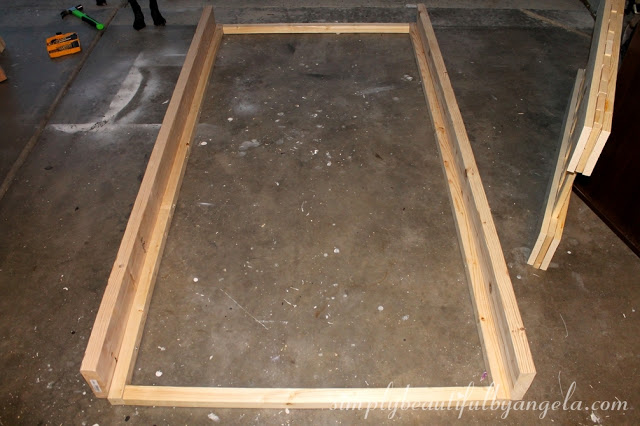
- We also attached an L bracket underneath the frame where it meets the 4×4. Besides adding stability, it made it easier when attaching the frame to the 4x4s because it had these to sit on.
- After the terror of drilling into the 4x4s we were hesitant whether or not we needed to screw the frame to them diagonally as Ana recommended. In the end it wasn’t as difficult as we thought and it really does add extra stability.
Whew!!! It was a lot of work but I’m really happy with how it turned out.
Have a great day everyone!
Linking up to these awesome parties!

What a great big boy bed! Pinned this to my Kids Rooms board 🙂
Thank you Sinea! Once we got past our hurdles it was actually really simple!
This turned out really nicely. I absolutely adore the way you did his name in wood on the wall.
Thank you Jessica! I had a hard time trying to decide how to do his name, but I think it came out great 🙂
It turns out that it is very simple and easy to make such a comfortable, practical and very delicate bed with your own hands.