Simply Beautiful By Angela

creating simple beauty on a budget

  • Home Tours
  • Projects
  • Legal
  • Link Parties
  • Let’s Chat!
  • About Me

DIY Dinosaur Plank Art and How to Paint Letters on Wood

October 26, 2015

 
 Happy Monday!  This week I’ll be sharing more tutorials of the DIY items in Tristan’s big boy room, and should hopefully wrap them up later next week before sharing the big reveal! 
 
I had a big empty wall that I needed to fill, which of course isn’t easy on a tight budget.  So I tried to think of the most affordable way to create a big piece of art and what came to mind was plank art!
 
I started by purchasing a 2′ x 4′ sheet of 1/4″ birch plywood at Lowes (about $10) and the hubby cut it into 3″ strips.  I didn’t use all of the strips, just enough to make the size that I wanted. I think I had like 4 or 5 left over.  I then laid them out as evenly spaced as possible.
 

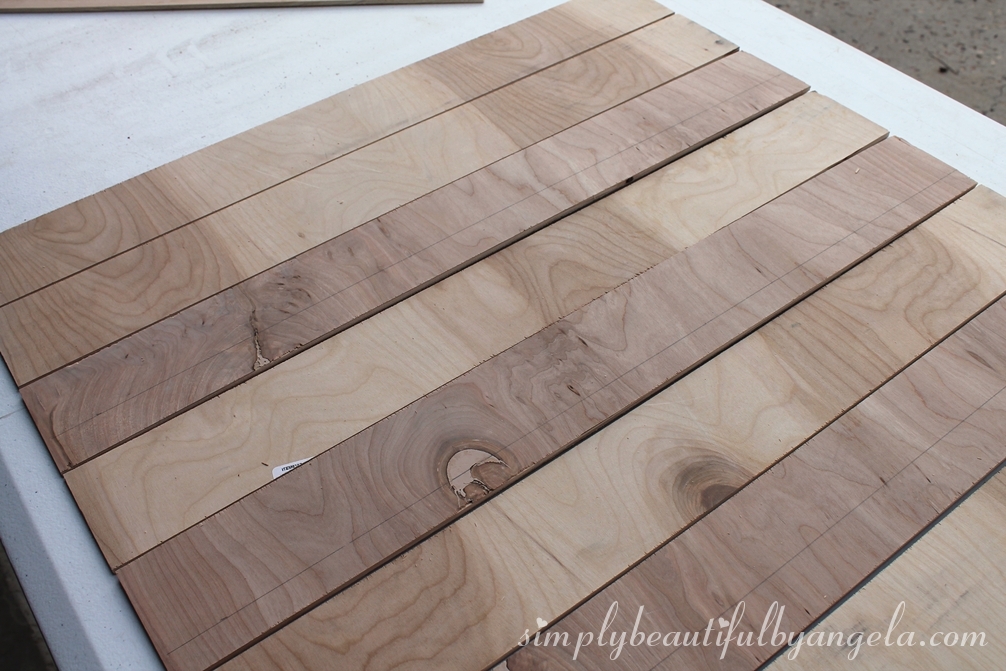
Next, I applied a smear of liquid nails to the ends of each.

I had more 1/4″ plywood in my scrap pile that I cut down to fit the length of my planks and pressed it on to the liquid nails. 

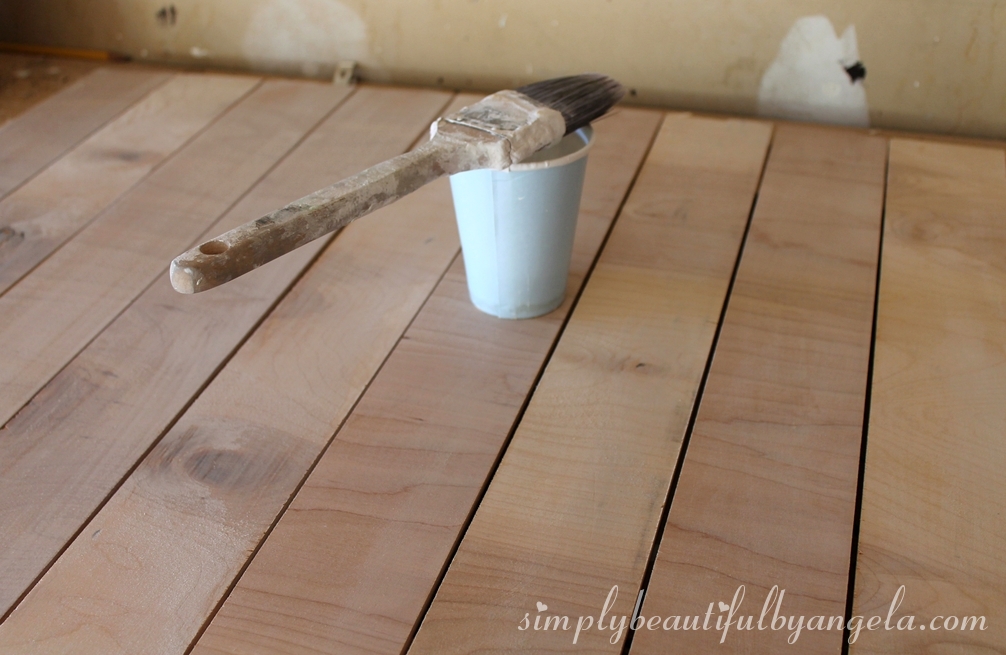
I left it overnight to dry and the next morning I gave the front a whitewash look. To do this, I mixed a small amount of paint with some water and applied two coats (let the first coat dry before applying the second).

I found a font that I liked in Microsoft Word and printed out a cute phrase that I saw online. The dinosaur was a clip art and the stars and moon were created using shapes in Microsoft Word.

 
I used a ball point pen to firmly trace each letter.  This created a nice indentation of the letters in the wood.
 

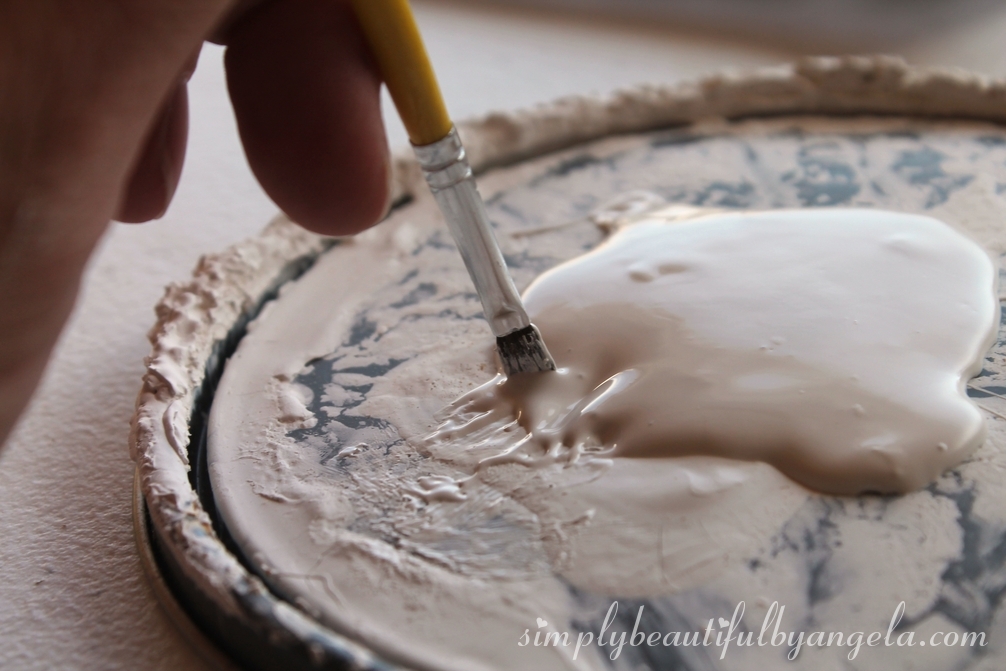
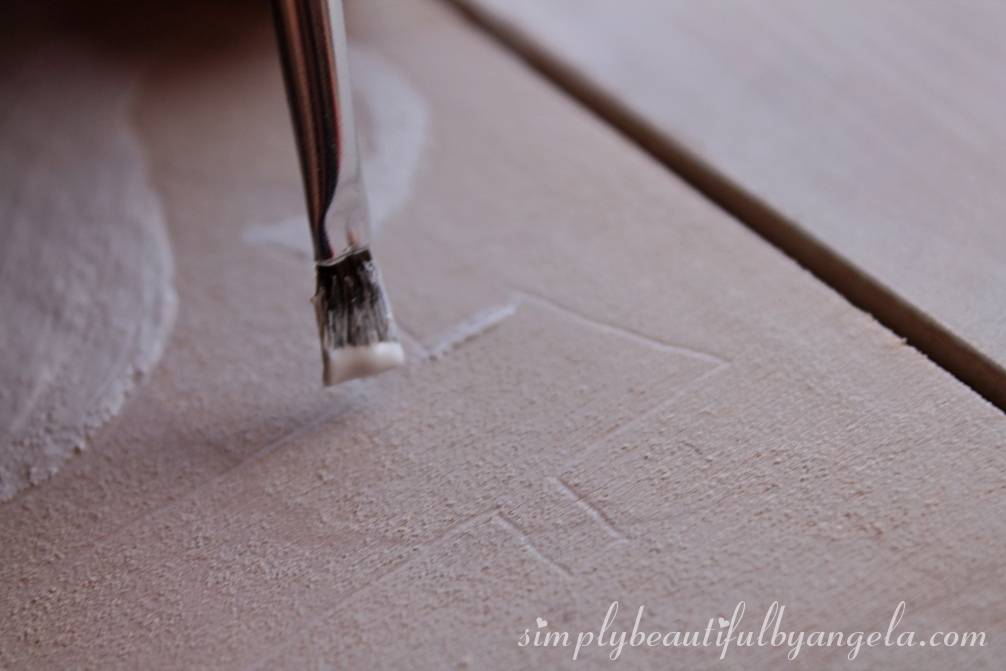
This next step was tricky, and you can definitely tell that this was my first time doing this!  Using a small paintbrush I first flattened it, then dipped the edge in the paint.

 
I then carefully filled in my outlined letters.
It was a lot more difficult than I thought it would be!  I think I needed a smaller brush.  To clean my edges up I ended up using a silver paint pen to outline everything once the paint dried.  I’m now thinking that it would have been a lot easier to just use paint pens on the entire thing!


After half a day working on this (literally!)  this is what I was left with.  After I stood back I realized that it was waaaay off centered!!

 
Luckily I’ve become pretty good at fixing mistakes and making them look like they were meant to be.  In this case, I made random brushstrokes with white paint on the left side.  And guess what?  I actually ended up liking this better than my original idea! 

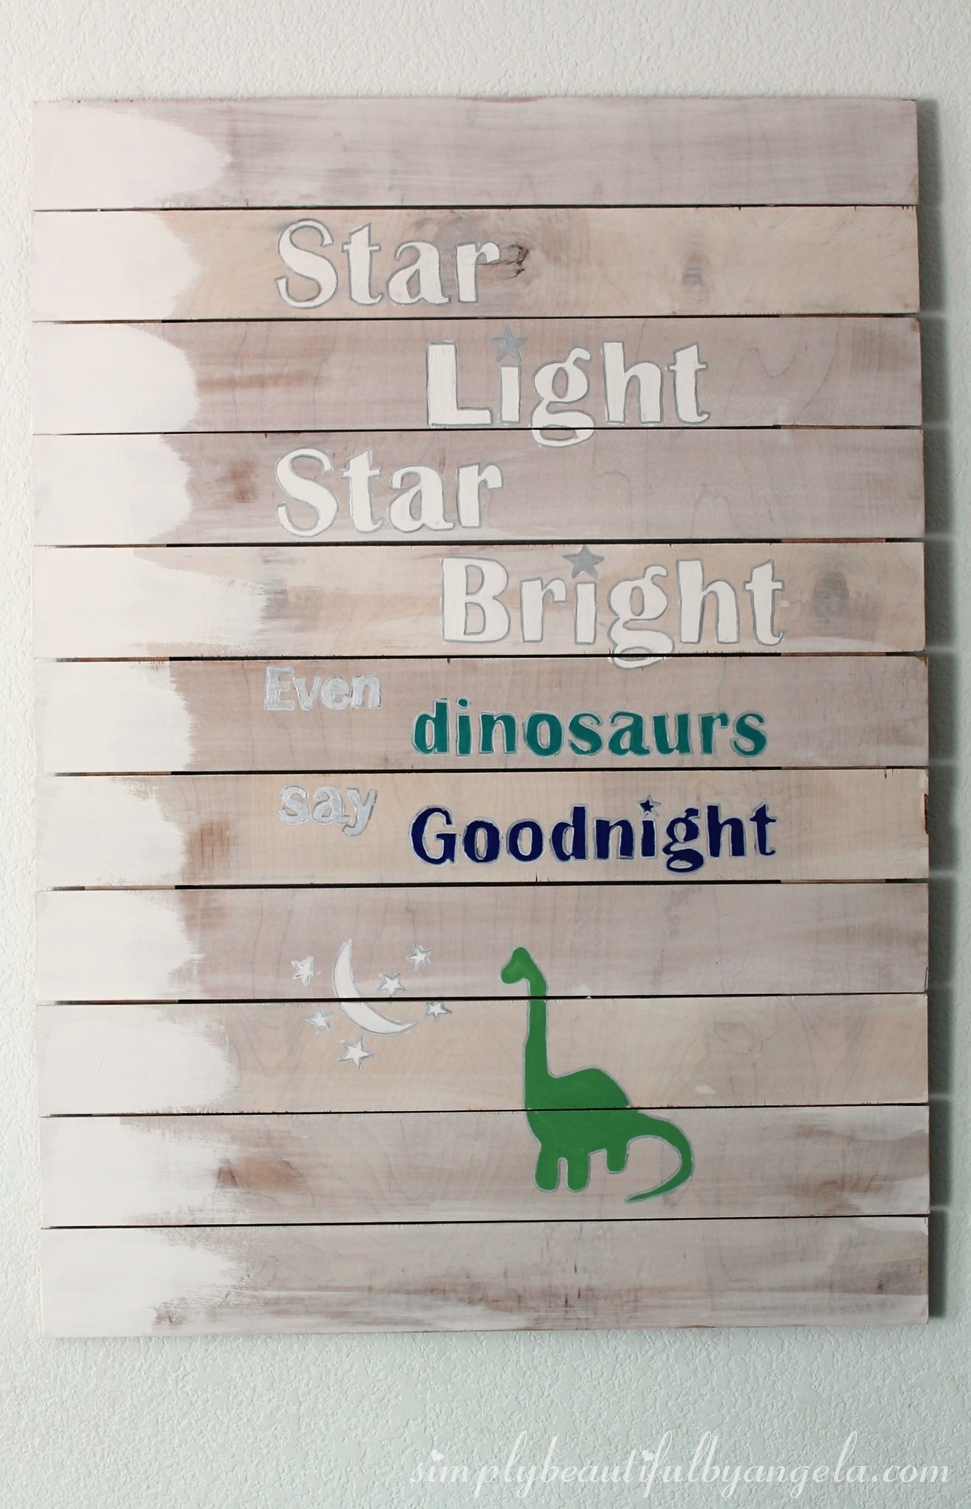
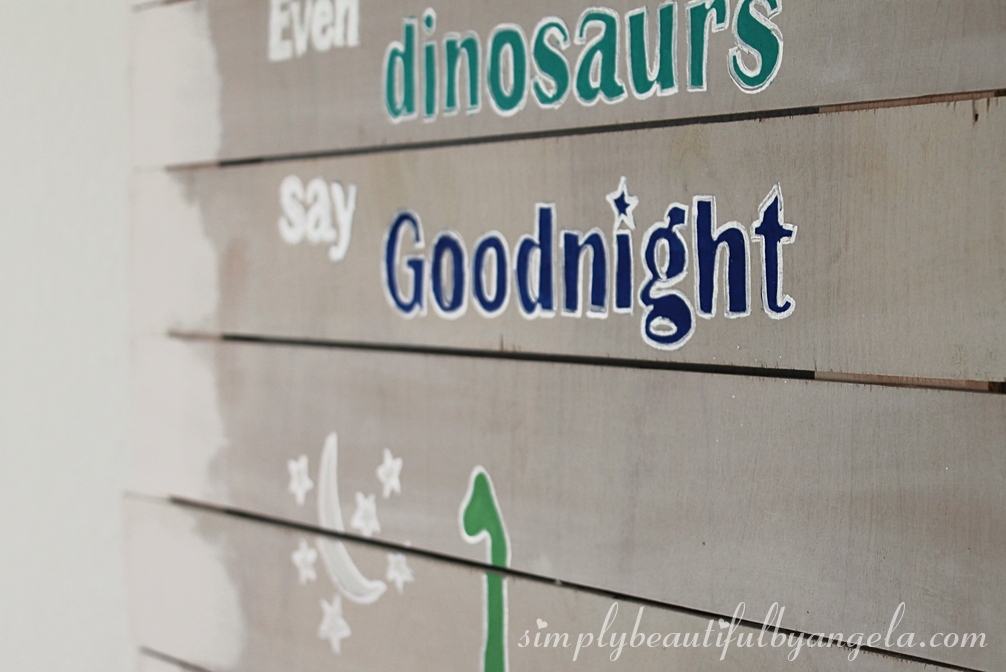
If you look up close you can definitely see my flaws, but I don’t think my 2 year old really cares!

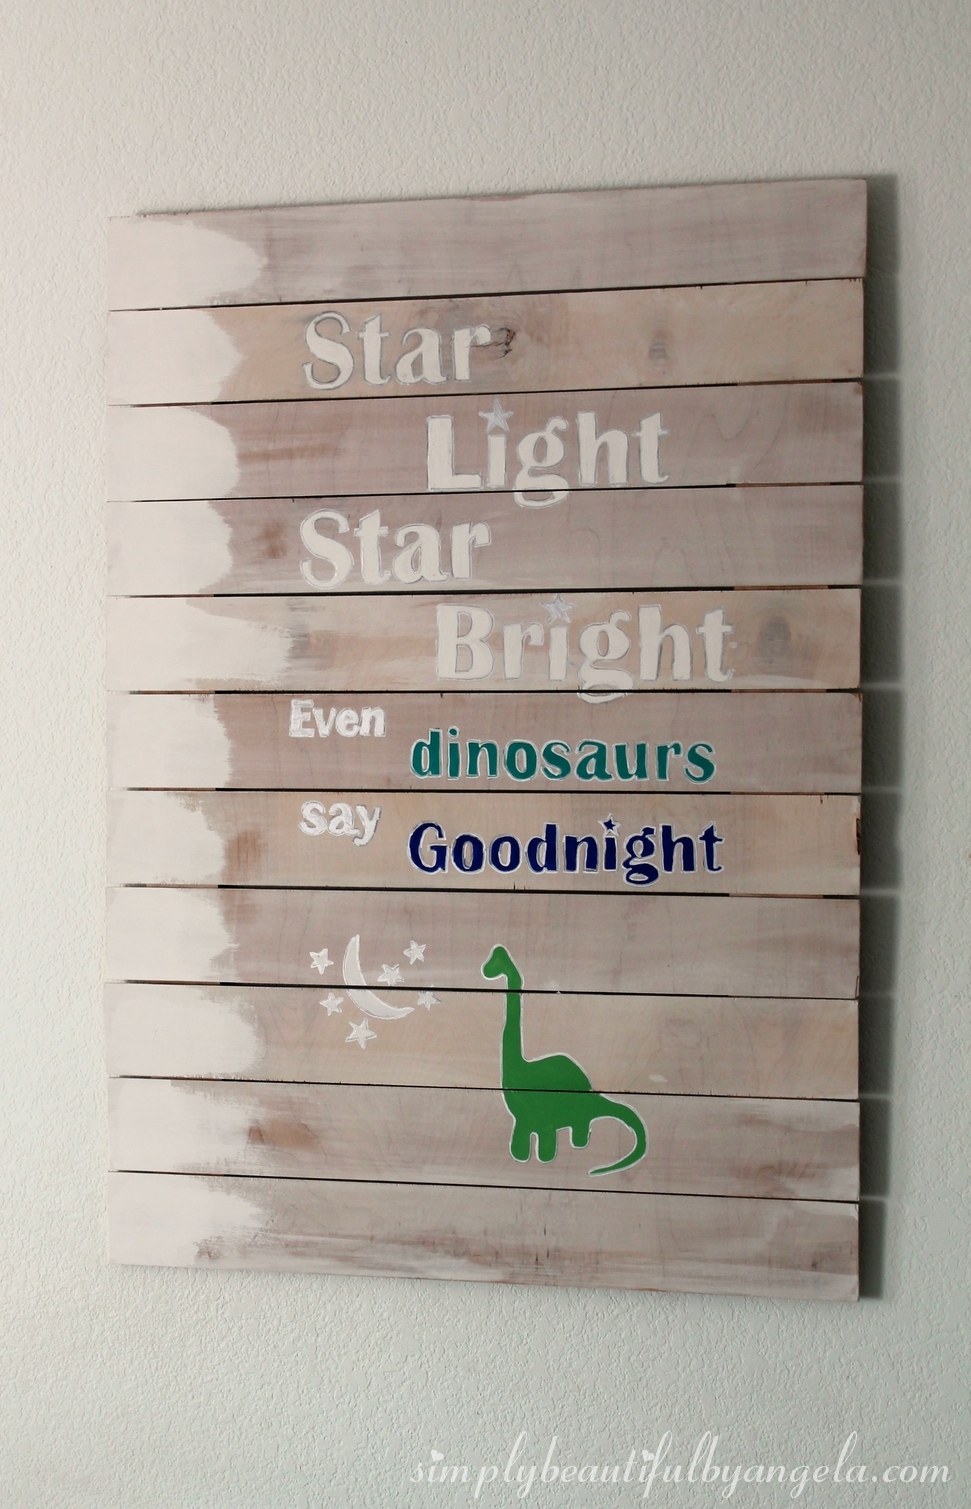
The silver paint pen ended up being another one of those fixes that I ended up liking better than my original plan.  It really makes the letters pop!

 
I’m pretty happy with how it turned out and I’m going to make something similar for the new baby.  I only spent about  $12 on this project since I only needed the plywood and the hanging hardware.  Not bad for art this big, right?
 
Here is a breakdown of the supplies that I used:
  • 2′ x 4′ 1/4″ plywood sheet
  • Saw tooth hangers for the back (I attached them to the vertical planks that hold the horizontal ones together)
  • Printed letters and/or pictures
  • Acrylic paint (already had)
  • Paint pen (already had)
  • Liquid nails (already had)
I hope you all have a great start to the week, I’ll be back on Wednesday! 🙂
 

Linking up to these awesome parties!

This post was featured on the PIN-spiration Link Party hosted by the Stitch Mommy! Click on the image below to take you to the feature post.

The Stitch Mommy

· Labels: Uncategorized

Comments

  1. The Auburn Fox says

    October 27, 2015 at 12:24 pm

    What a cute project! I love the saying. Great job.

    • Angela says

      October 27, 2015 at 2:01 pm

      Thank you very much! I think the saying fits perfectly in a toddler dinosaur room 🙂

  2. Heidi says

    October 28, 2015 at 6:50 pm

    This is adorable! I love how it turned out.

    • Angela says

      November 2, 2015 at 6:19 pm

      Thanks Heidi, and thanks for stopping by! 🙂

  3. Kelsie Kleinmeyer says

    November 2, 2015 at 3:31 pm

    Super cute again- love the wood look!

    • Angela says

      November 2, 2015 at 6:20 pm

      Thank you Kelsie, it's amazing how much the wood look has grown on me in the past year!

  4. Danice says

    June 30, 2016 at 7:35 am

    So cute. My great nephew is 4, and loves dinosaurs. Your blog is so creative.

  5. Anonymous says

    April 1, 2018 at 6:58 pm

    What font is this?!

    • Angela says

      April 2, 2018 at 7:10 pm

      I'm so sorry I wish I could remember! It's been so many years, I just remember that I found it on Microsoft Word

Hello, I am so happy that you're here! My name is Angela and I love to create simple beauty in our home on a budget. Here you will find DIY decor and home projects, furniture flips and other home inspiration!

Never Miss a Post!


Diagonally Fluted Nightstands

Diagonally Fluted Nightstands

Hello! I’m really enjoying the extra daylight and the fact that it’s been paired with warm sunny weather this week has been icing on the cake. I’m trying to soak it all in before the next snowstorm! Today’s flip was from about a year ago and is still one of my favorite sets of nightstands…

Read More »

How to Update a Dresser with a Missing Drawer

How to Update a Dresser with a Missing Drawer

Hey friends, happy March! Even though I know we still have quite a bit of cold weather coming our way here in Colorado, it’s exciting to see these warmer days sprinkled in here and there. This week I am sharing how I saved an old IKEA dresser from ending up at the landfill! Supplies Used:(Affiliate…

Read More »

Vintage Ice Box Style Nightstands Makeover

Vintage Ice Box Style Nightstands Makeover

Hello friends! We just got back from our annual trip to the Great Wolf Lodge and it was fun times as always! Today I am sharing how I updated these fun vintage ice box style nightstands that I found on Marketplace! Supplies Used:(Affiliate links may be provided for convenience.  For more info, see my full disclosure here.) …

Read More »

Never Miss a Post!


GOOGLE 2

GOOGLE 3

GOOGLE 4

GOOGLE 5

GOOGLE 6

GOOGLE 7

Theme by 17th Avenue · Powered by WordPress & Genesis