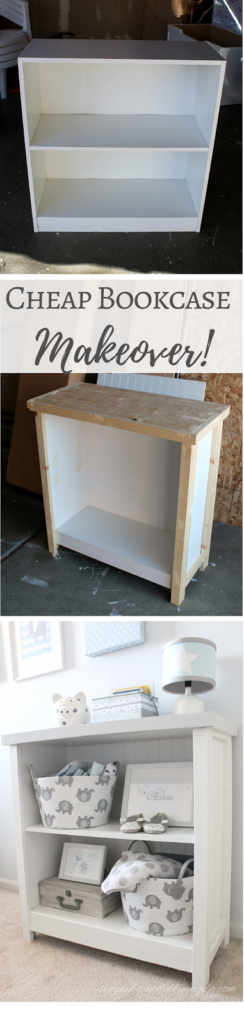
Hello friends! I can’t believe we have already arrived at the week of Thanksgiving!
While most other bloggers are beginning to share exciting holiday stuff, I’m going to be a little different over here and am going to start sharing the new baby’s space! Just like Tristan’s room, I will start by showing you the different DIYs that went into it before doing the big reveal and breakdown.
Today’s post will be about a couple of mini furniture makeovers. I say mini because they were super simple and only required a little bit of wood and some paint.
Supplies Used: (Affiliate links may be provided for convenience. I only share products that I use and love. For more info, see my full disclosure here.)
- Cheap Bookcase
(mine is old but this is the closest I could find)
- 1x2s
- 1x4s
- Liquid Nails
- Finishing nails
- Beadboard sheet
- Wood Filler
- Primer
- Paint
- Caulk
- Minwax Satin Polycrylic
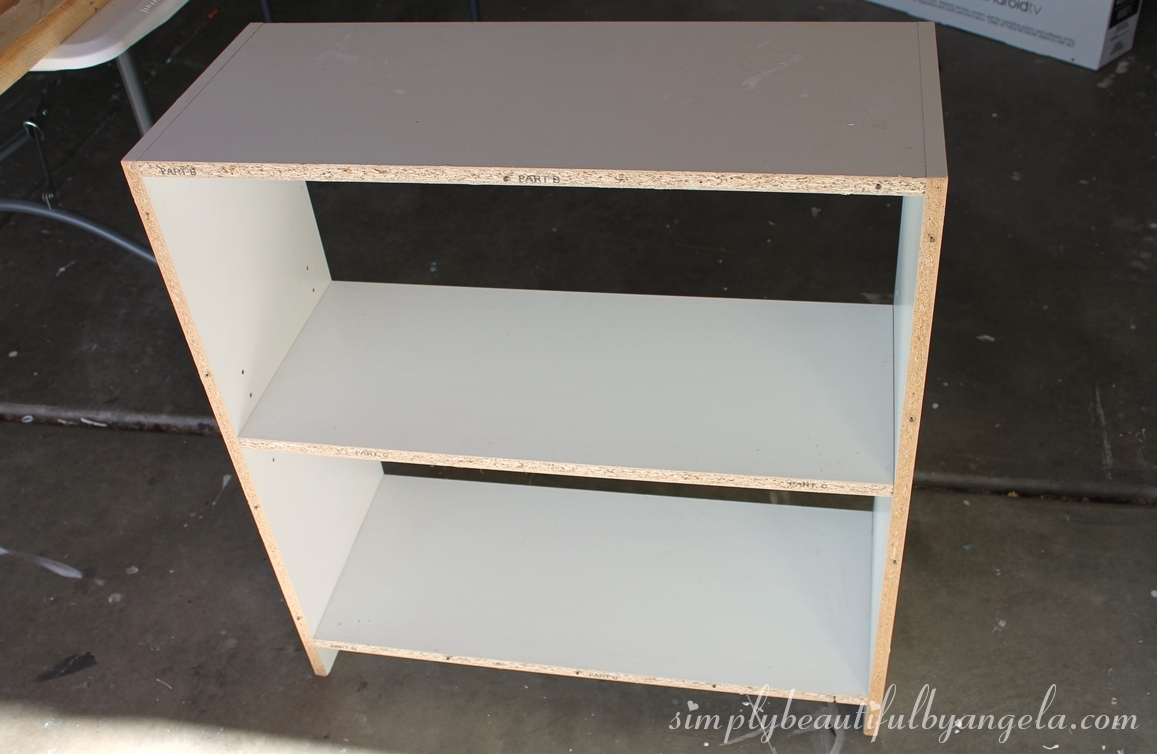
So I’ve had this bookcase since I was about 10, can you believe it?! Even though it has held up surprisingly well for being 18 years old, I knew that I wanted to dress it up a little to use as a cute spot to put baby essentials.
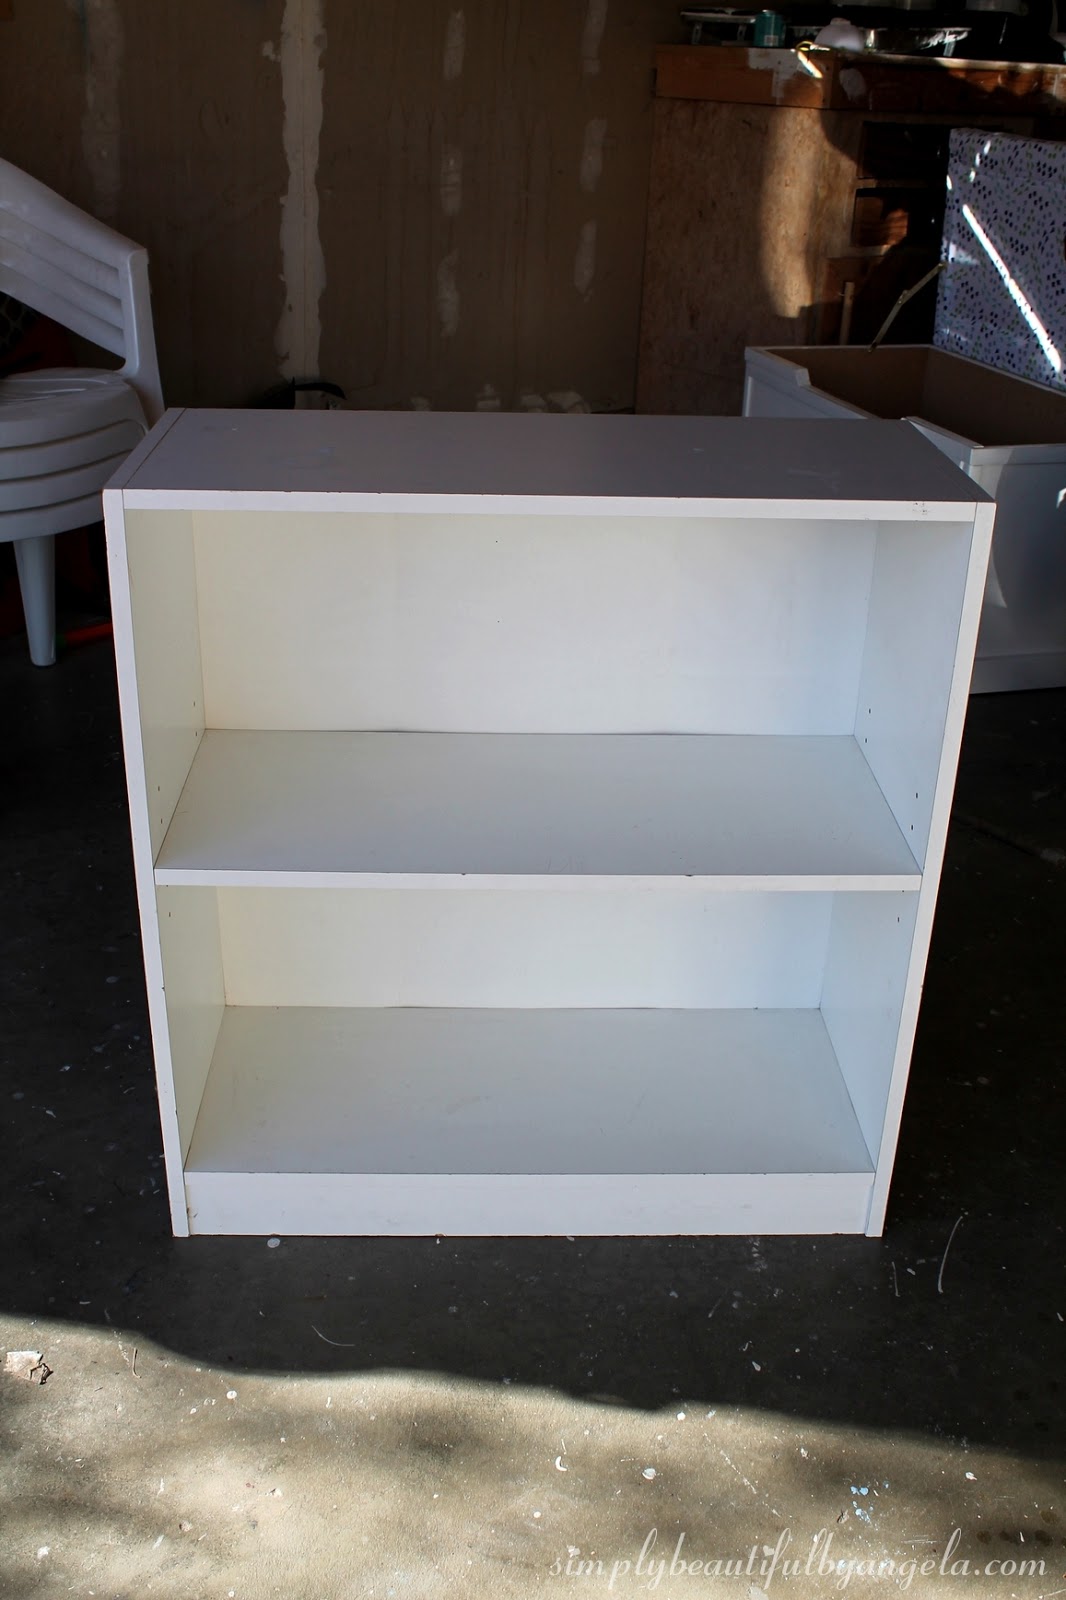
I began by tearing off the cardboard back since I was going to replace it with beadboard.
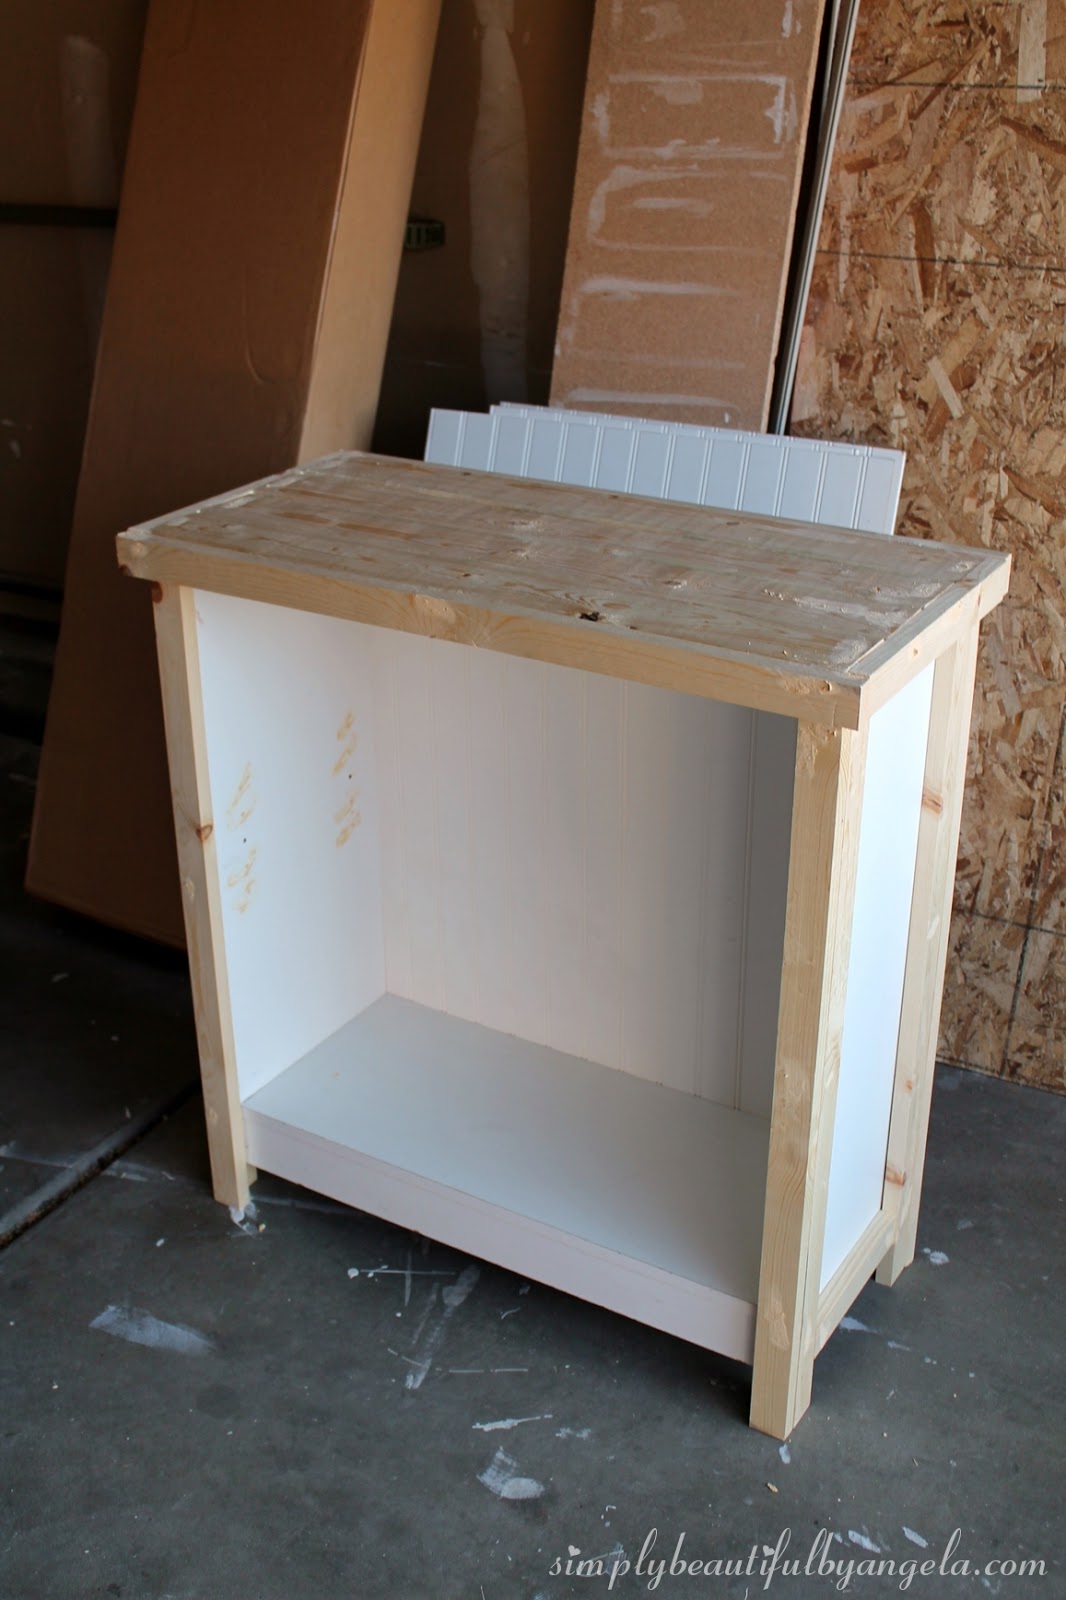
Next, I cut some legs out of a 1×2 by measuring the height of the bookcase plus 2.5″. Each leg was composed of two pieces, one that attached to the side and one that attached to that. I used liquid nails and then went back over each with a couple of finishing nails for extra stability.

The lighting in the above picture is terrible, but hopefully this one gives you a better idea! This is the back of the bookcase and you can see that I left a small gap to fit the beadboard back. Ideally it would be easier to attach the beadboard first, but I needed the hubby to do that part and was too anxious to get started!

Once all legs were attached, I cut another piece out of 1×2 to use as trim for the top and bottom of the sides (the masking tape was what I used to hold the liquid nails as it was drying before I put in the finishing nails).

Next, I cut planks out of 1x4s and attached them to the top, again with liquid nails reinforced by actual nails.

I then framed the planked top with 1x2s.

Finally my piece of beadboard was cut and ready to nail to the back. My measurement on the gap that I left was a little off but I still made it work 🙂

Looking good so far! I went around and filled all of my nail holes and the preset holes for the shelf with wood filler. Buuuuuut it was still missing something. I realized that I needed some trim on the bottom so I cut that from a 1×4.
There. That’s better!

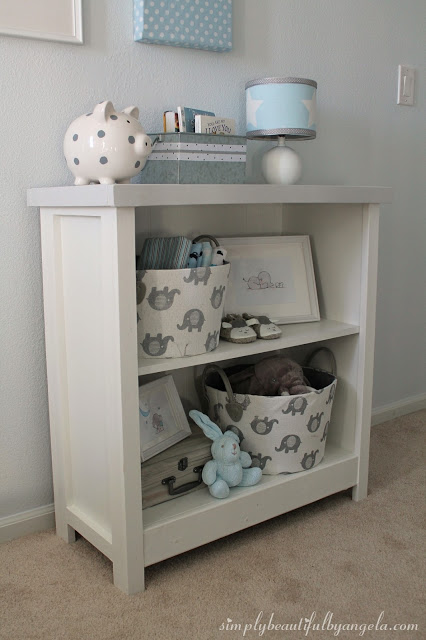
I gave the entire thing a coat of primer and painted the bottom white and the top a very light gray. After caulking and a coat of polycrylic, this is what I ended up with.


I love how the beadboard back turned out, it looks absolutely gorgeous. I tried not to overdecorate so that it can still be seen!


I gave the exact same treatment to my childhood nightstand. I think this thing is even older than the bookcase.


I found the star knob at Hobby Lobby and it fits the room perfectly.


The difference isn’t huge but overall I feel like they look more like actual pieces of furniture instead of just cheap laminate. It was a nice cheap fix and was a much better option than shelling out more money for brand new furniture. 🙂
And wouldn’t you know it, the day that I was working on these, one of our neighbors put out three– yes THREE similar bookcases for free on the curb! I was so tempted to snatch them all up, but I knew that they would probably end up taking up room in the garage for months until I got around to them. So as painful as it was, I passed haha.
Linking up to these awesome parties!

This post was featured on Be Inspired hosted by Elizabeth & Co and Fall into Fall hosted by DIY by Design. Click on the images below to take you the feature posts!
|

|
Very nicely done Angela. It adds so much character to the bookcase. It looks like it was made from solid wood! Great job. And the little side table is very nice too.
Thank you Mary, I really appreciate that you think it looks like solid wood! 🙂
That transformation is amazing! I love, love, love how it turned out!
Thank you so much Shantel! 🙂
Wow! You did an amazing job classing up those shelves. The star pull is adorable, I"m a sucker for stars.
Thanks Audra, I am as well so I was pretty excited to decorate this room with stars 🙂
Wonderful job!!
Thank you so much Cheryl!
This makeover is amazing, Angela! I love to start with plain furniture to make something different and unique.
Thanks for sharing with us at Two Uses Tuesday! Pinning it and sharing!
Happy Thanksgiving!
Thanks Pili! It's an amazing feeling isn't it? 🙂
Extremely well transformed! Always enjoy reading the process of such beautiful furniture makeover;).
Thank you, I appreciate it!!
Extremely well transformed! Always enjoy reading the process of such beautiful furniture makeover;).
This looks like a whole new bookcase! What a transformation! Thanks for linking up at You're Gonna Love It! Pining!
Thanks! I'm so glad to hear that 🙂
love your bookcase and nightstand makeovers Angela. Like the colour you painted them too. No-one would guess how they started out. 🙂
love your bookcase and nightstand makeovers Angela. Like the colour you painted them too. No-one would guess how they started out. 🙂
Thank you Mogsy! I'm really glad they dressed up so nicely 🙂
Wow you did an awesome job with that bookcase. Just beautiful. I will be featuring this tonight at my Fall into Fall party that opens at 8pm EST. Please stop by and pick up an I've Been Featured button. Thanks. http://diybydesign.blogspot.com
Thank you so much, I really appreciate that! I'll see you there 🙂
Love the new upscale look! Featured at Be Inspired this morning. Thanks so much for sharing!
Thanks Elizabeth, I truly appreciate it! And thanks for hosting a great party 🙂
GREAT transformation! Really easy to follow tutorial, as well! I can't tell you how many of these bookcases I've seen at garage sales — will definitely attempt this project. Thanks for sharing! Cynthia
Thank you so much! It was a really simple project you should definitely try tackling it sometime! 🙂
These are great! Thanks so much for sharing how you did everything. The changes made really dress them up!!
Thank you so much Kristi I really appreciate that!
I totally would have snatched up the freebies! Especially after seeing these incredible transformations!
I know it was a real struggle not to haha! If only my garage were bigger 🙂
Angela, wow!!! I can't believe this furniture is laminate!!! You did such a beautiful job!! You have inspired me to spruce up the laminate bookcase in my daughters' room. I love the star knob on the nightstand, such a sweet touch!!
Thanks Keri! It was such an inexpensive solution and I absolutely hate throwing things away 🙂
Love these…I am so inspired!!!! So, what exactly do you use the "calking" for?
Thank you so much Debbie! I used caulk on the seams where the wood pieces sat on the bookcase so that you couldn't see any gaps. 🙂
Hi Angela, I am about to pay you a big compliment by copying this adorable bookcase! 🙂 I just bought a bookcase at Good Will for 7.00 and since my husband is a big diy-er, we have everything in our basement ready for me to use to complete this project. I am so excited to finish it! I think my favorite part is going to be the top. Thanks for posting! Mary
Hi again Angela! I loved your makeover so much I chose it as the Best of Best from 2016 at Two Uses Tuesday, congratulations and have a very Merry Christmas!
The fact is that most people who sell fakes Breitling – no matter how shady they may appear – are very open with the fact that their goods are fake. Why? Because they are catering to people looking for Breitling watches are not difficult to find if you are looking for them. More and more search engines are being pressured to remove or reduce the relevancy of websites that offer Valentino handbags in favor of legitimate retailers. I've also personally seen a welcome reduction in the amount of spam e-mail I've received trying sell me Replica Valentino Handbags (which again were clearly labeled as such).
To provide you with the best way of waxing, need the best sharpener that affords you appropriately. Nevertheless, it's difficult to choose the best one from various kinds and sorts or even sharpener on the market. Here You will get complete best chainsaw thought Chainsaw Sharpeners
Chainsaw Sharpener