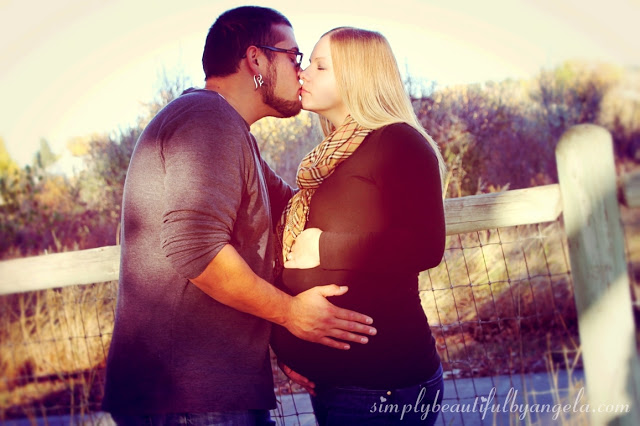
Happy Friday everyone! Today I wanted to take a break from the normal DIY talk and show off our maternity pictures. I’ll share some tips for creating your own photo shoot when you’re on a budget like we are.
The main reason I didn’t hire a photographer to do our maternity photos was cost. Most will charge a sitting fee that’s usually around a couple hundred dollars and then additional for prints/CD. After purchasing furniture, diapers, clothes, bottles and all the other little things that you need to prepare for a new little one, it can seem quite painful to fork over that much cash!
But that’s not the only reason. I am extremely picky about pictures of myself. I do not consider myself photogenic at all and working with photographers in the past hasn’t gone very well for me. By having a close friend take the pictures I was able to really get them to listen to me about what poses I don’t like and was able to view the pictures right away to see if anything needed to be changed up. Doing my own editing of course helps too 🙂
So if you are thinking about doing your own photo session here are some good tips to keep in mind!
1. Research
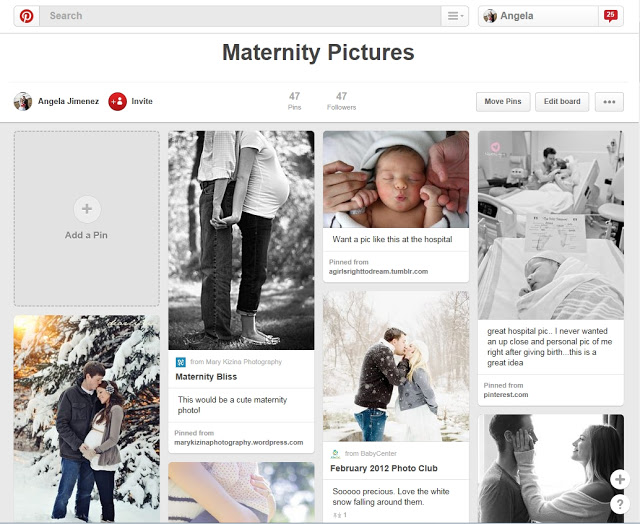
Start by looking at pictures of possible poses to get an idea of what you are looking for. The best place to do this is Pinterest, but Google image search is a good resource as well. Once you have your examples all picked out, you can either print them out seperately, collage them in Word or simply print out your Pinterest board to bring with you to your photo session.
I created a board on my personal Pinterest to store my “must have” shots. You can see that we replicated the one on the top left pretty well 🙂
2. Location, Location, Location
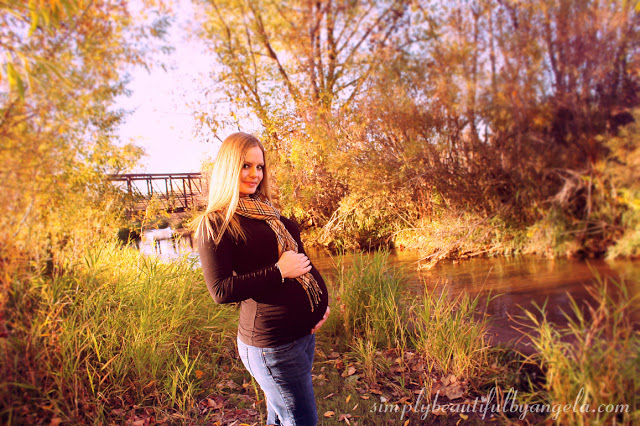
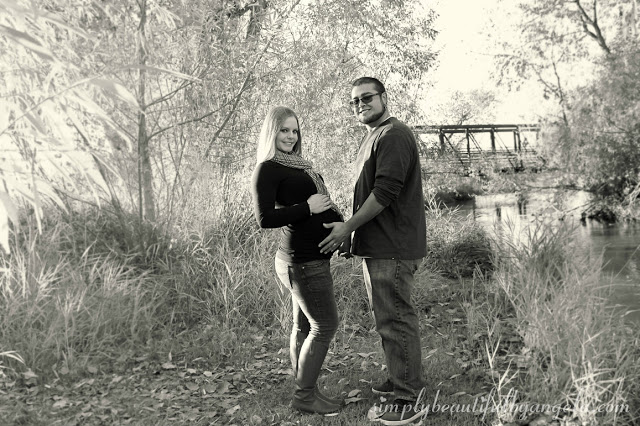
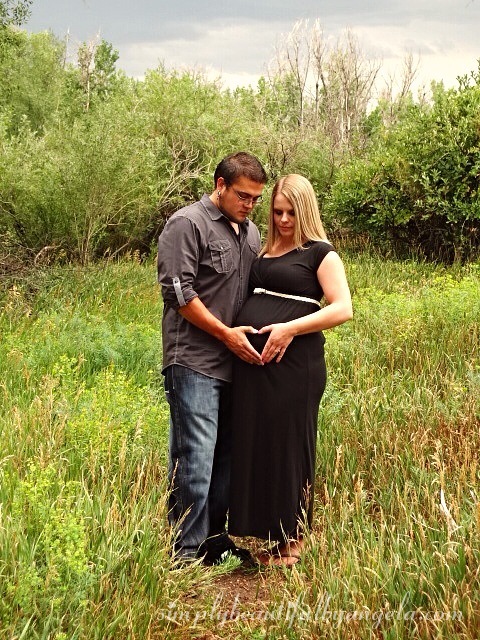
Picking a good location is key. Parks are typically the most convienant, which is what we chose. This park by our house is filled with a lot of cottonwood trees and has an awesome creek that runs through it which made for a really pretty background.
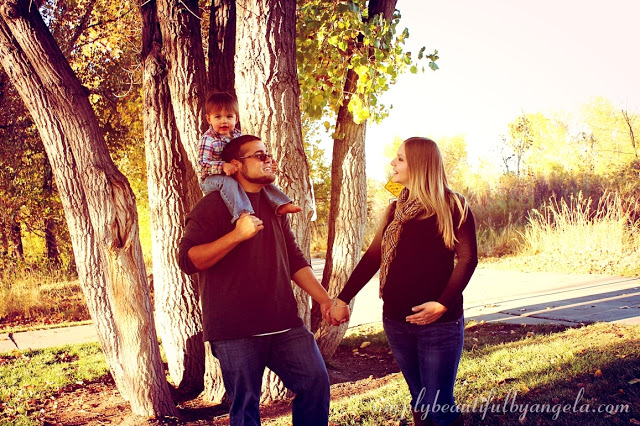
You probably want to avoid soccer games going on in the background, or other distractions and keep it strictly nature. Don’t worry if you get a random person or dog in the background, cropping is a magical tool! You would never guess that there was originally a biker towards the left of this cute family shot.
3. Time of Day
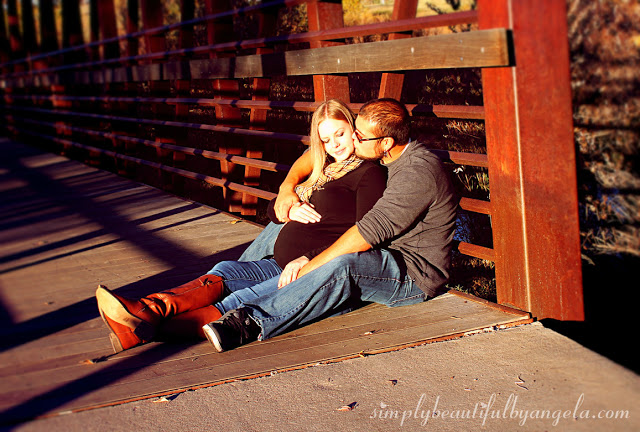
The time of day that you choose to go is extremly important. Before starting an interest in photography I used to think that the best time to take pictures was in the middle of the day when the sun was strong and at it’s brightest. Wrong. Early morning (shortly after sunrise) and early evening (just before sunset) actually capture the best lighting. We took our photos around 5-6 PM and the sunset was at 6:30 PM.
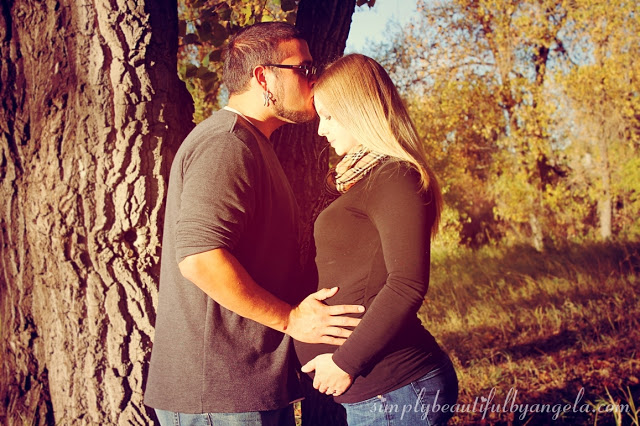
I like finding shady areas where the sunlight just barely filters through like in this shot.
4. Mix it up Between Candid and Posed
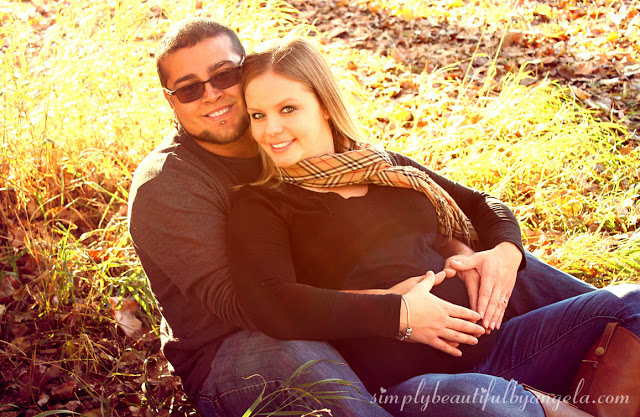
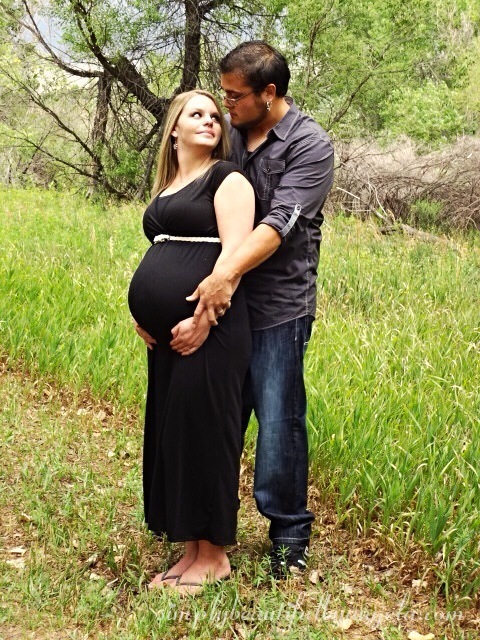
You may notice while while researching poses that most sessions are usually filled with both candid and posed shots. The candid can be either cute and silly or serious dependig on your style.
4. Props!
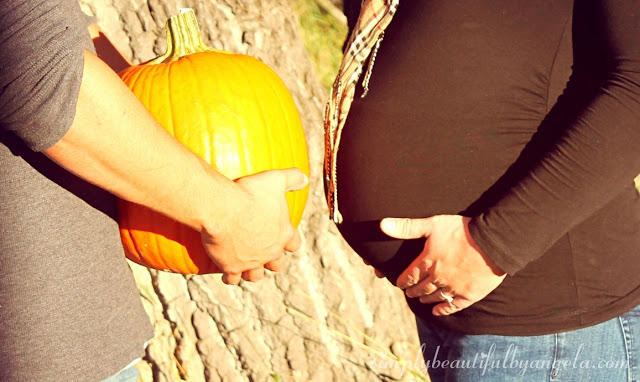
Props are always fun to use and you’ll see a lot of creative ideas on Pinterest from balloons and signs to ribbons around the tummy. Since it was fall I thought it would be cute to use a pumpkin in a few of ours. This one is one of my favorites!
5. Editing
After you’ve gotten all of your poses plus some that you make up on the spot, it’s time to look at your masterpieces! Editing is key in creating nice looking photos. There wasn’t one single photo that I didn’t edit in some way.
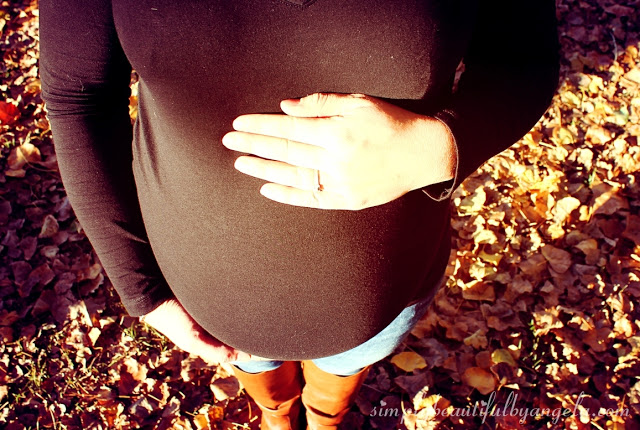
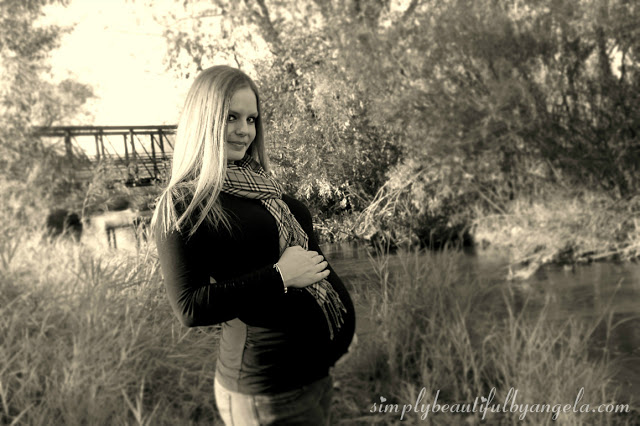
My favorite editing program is Fotor. It’s free and really simple to use. Typically I will first crop and rotate the photo until I get what I want in the frame. Then I will turn up the brightness, contrast, saturation, detail, temperature and highlights. I also used an effect filter on these since I wanted a really warm, vintagey fall feel (I used the one called “Mini Oven”).
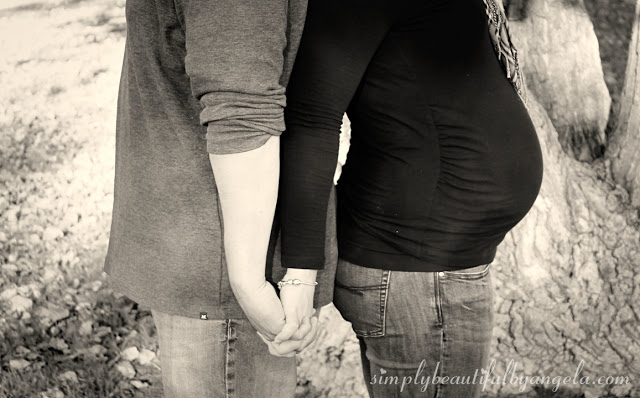
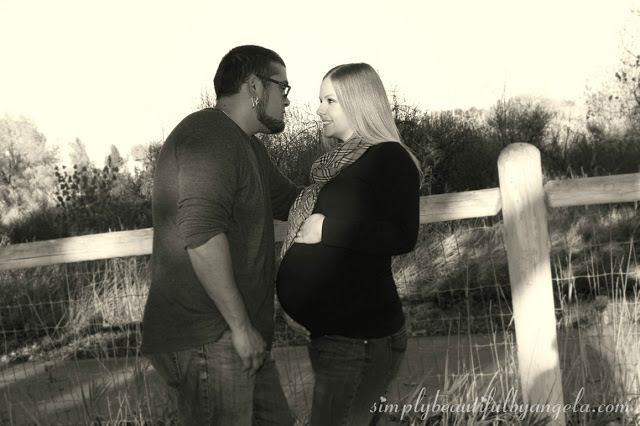
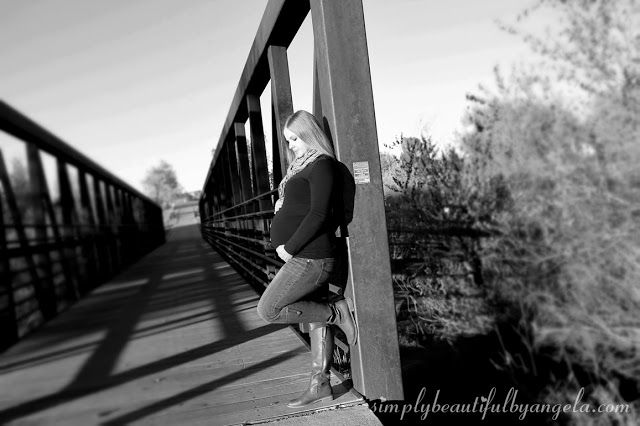
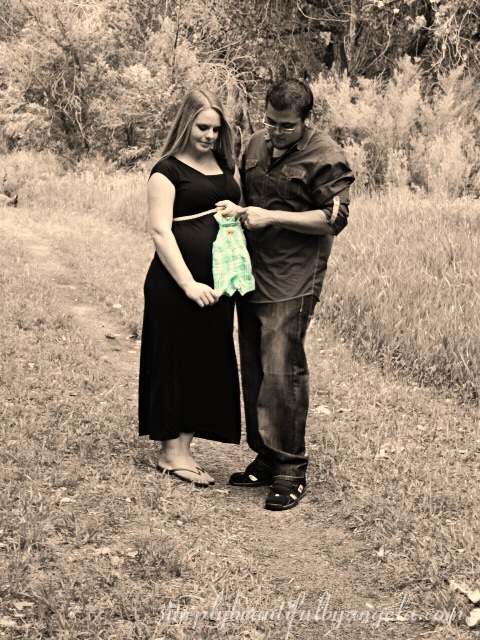
I also enjoy making some of them black and white by turning the saturation all the way down. It just makes the photo feel so artistic–doesn’t it? This is also my secret weapon when I can’t get the lighting right on a photo. I’ve made some of the most washed out photos look beautiful by using this trick!
There’s also an option on the downloaded version (it may be on the web version too but I can’t find it) called Tile Shift that will allow you to blur out the background and put the focus on the subject.
I’m really happy with how they turned out! I used my Canon Rebel DSLR for this session, but you don’t really need a fancy camera to take great pictures! Don’t believe me? These were from my maternity session when I was pregnant with Tristan and we just used a click and shoot Sony digital.
This is another editing feature in Fotor called Color Splash. It allows you to make everything black and white except for the item you’re focusing on which was his take home outfit in this one.
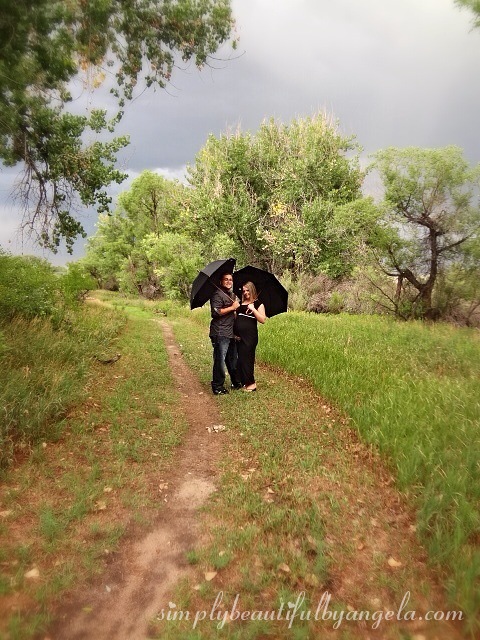
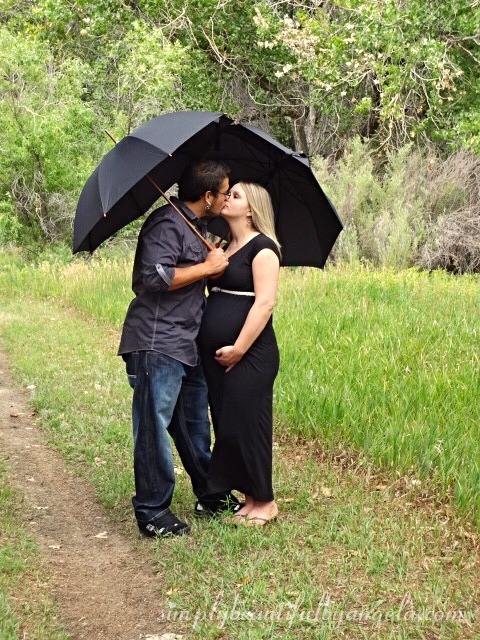
For this session, it had rained for four weekends straight and I just wanted to get the pictures done, so we ventured out with umbrellas one day and took them in the rain. Surprisingly, they actually turned out pretty cool. Looking back we joke that the uncooperative weather was perfect foreshadowing for our difficult and stubborn little Tristan!
So there you have it! Not as scary as you may have thought right? Sure they aren’t perfect but I think I captured my pregnancies exactly they way that I wanted to and they will be treasures that I will get to look back on for many years.
Linking up to these awesome parties!


Great post!!! Pinned<3 The B&W's are my favorites!
Thank you Michele! I'm pretty fond of those ones as well 🙂