
Happy Friday everyone! We are finally all done with our Christmas shopping, so I hope to spend the weekend doing fun activities with the family and doing a little more nesting before Lucas makes his grand appearance!
On Wednesday I promised that I would share my favorite piece of DIY art that I made for Lucas. I used the same concept of the Dinosaur Plank Art that I made for Tristan’s room, only this time I was able to learn from my previous mistakes.
I started out by gluing my plywood strips together just like I did last time. Then, I printed out my clip art and wording from the computer and placed them out where I wanted them to go.

Next, I traced each one using a ballpoint pen, pressing as firmly as I could without ripping the paper. This part is really tiring on the hand so I would trace one piece and paint it before moving on to the next.

Once it was traced, it left a nice indentation in the wood. When I did the dinosaur one, I just used this as my guide to paint and it was reeeeally hard to see. This time, I held my phone flashlight up to it and traced it with the pen. It made it SO much easier to paint!
Oh see that little mark by his foot? The nice thing about working with wood is that you can just sand little oopsies like these off 🙂

I also purchased smaller paintbrushes–the smallest I could find for cheap. This also helped me acheive nice clean lines.

Here is how it turned out!

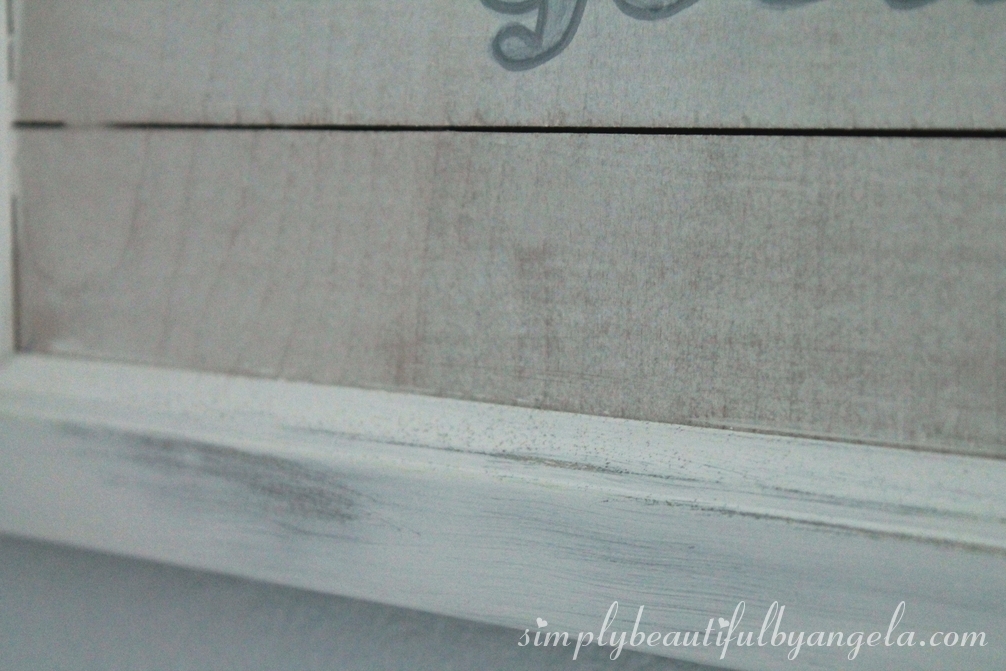
I added some inexpensive molding around the edges to create a frame for it. I decided that the white was too boring, so I added gray acrylic paint, let it dry and topped it off with white paint. Once the white was dry I went back over it with sandpaper to pull out the gray paint.
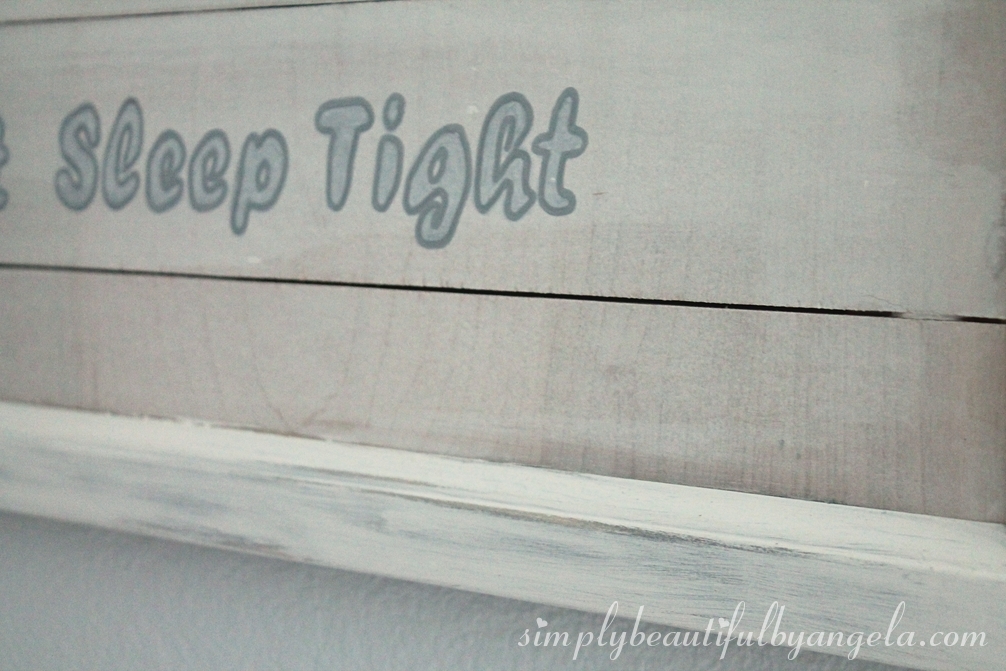
White washing the planks was a real struggle but I finally got it to turn out. When I originally painted my clip art and wording on, I only had one coat of white wash (water with a little bit of white paint). When I stood back to look at the finished piece, I felt like it didn’t fit in the room at all because the wood was too orange.
So I went back over the entire piece a couple of times until I got it just right. Some areas like the fence and some of the stars got too washed out so I had to use a tiny piece of sandpaper to get them to come out again.

It was a very frugal way to fill up the big wall space above the crib. I only ended up spending about $14 ($10 for the plywood and $4 for the molding). It looks small in the picture for some reason but in the room it fits perfectly.


I ended up outlining the letters with a silver paint pen not necesarrily because the lines weren’t clean like with the dinosaur one, but really to just to make them stand out a little. I also used it on a few of the stars.

I couldn’t be happier with how this turned out! I see a lot more plank art in my future–I just love it so much and it’s so cheap to make.
Have a great weekend everyone, I’ll be back next week with one more tutorial and the room reveal!
Linking up to these awesome parties!

I love this…. the muted colors, the texture of the wood!
Thank you so much Elise! I do love how the white wash muted the colors, it added more whimsy to it 🙂
I love the clam this room emanates! and that sign is perfect!
Thank you so much Shantel, I really appreciate that!
oh so sweet! love the fluffy sheep! What a great way to create a family heirloom!
I would love to purchase one of these. If you would be wiling to make another, let me know 🙂
Go ahead and send me an email at angelajimenez0428@gmail.com and I would be happy to discuss details on what you're looking for 🙂