
Hello and welcome to a new week! This week I’m getting back to sharing some of the projects that I did for baby Lucas. I hope to finish up by next week for the big room reveal. It’s crazy to think that he will be here in just a few short weeks!
Decorating walls can be expensive. When it comes to the boys I like to make wall art myself because I know that their rooms will undergo several makeovers as they grow older, which means that I don’t want to spend too much. Plus it’s really easy to customize colors and themes to get exactly what I want.
Today’s tutorial is probably one of the easiest DIY wall art ideas that you’ll ever see, no joke! And it’s cheap too!
Here is what I used to make 4 of these lovelies:
- 3 8ft 1x2s
- 1/2 yd fabric for each (so 2 yards total)
- Liquid nails
- Staple gun
I began by cutting down my 1x2s. I can’t remember the exact size I went with, but I wanted them to be just slightly smaller than the pictures I was hanging them next to which you’ll see in a bit!

Using liquid nails I assembles the frames and used bricks as they dried.

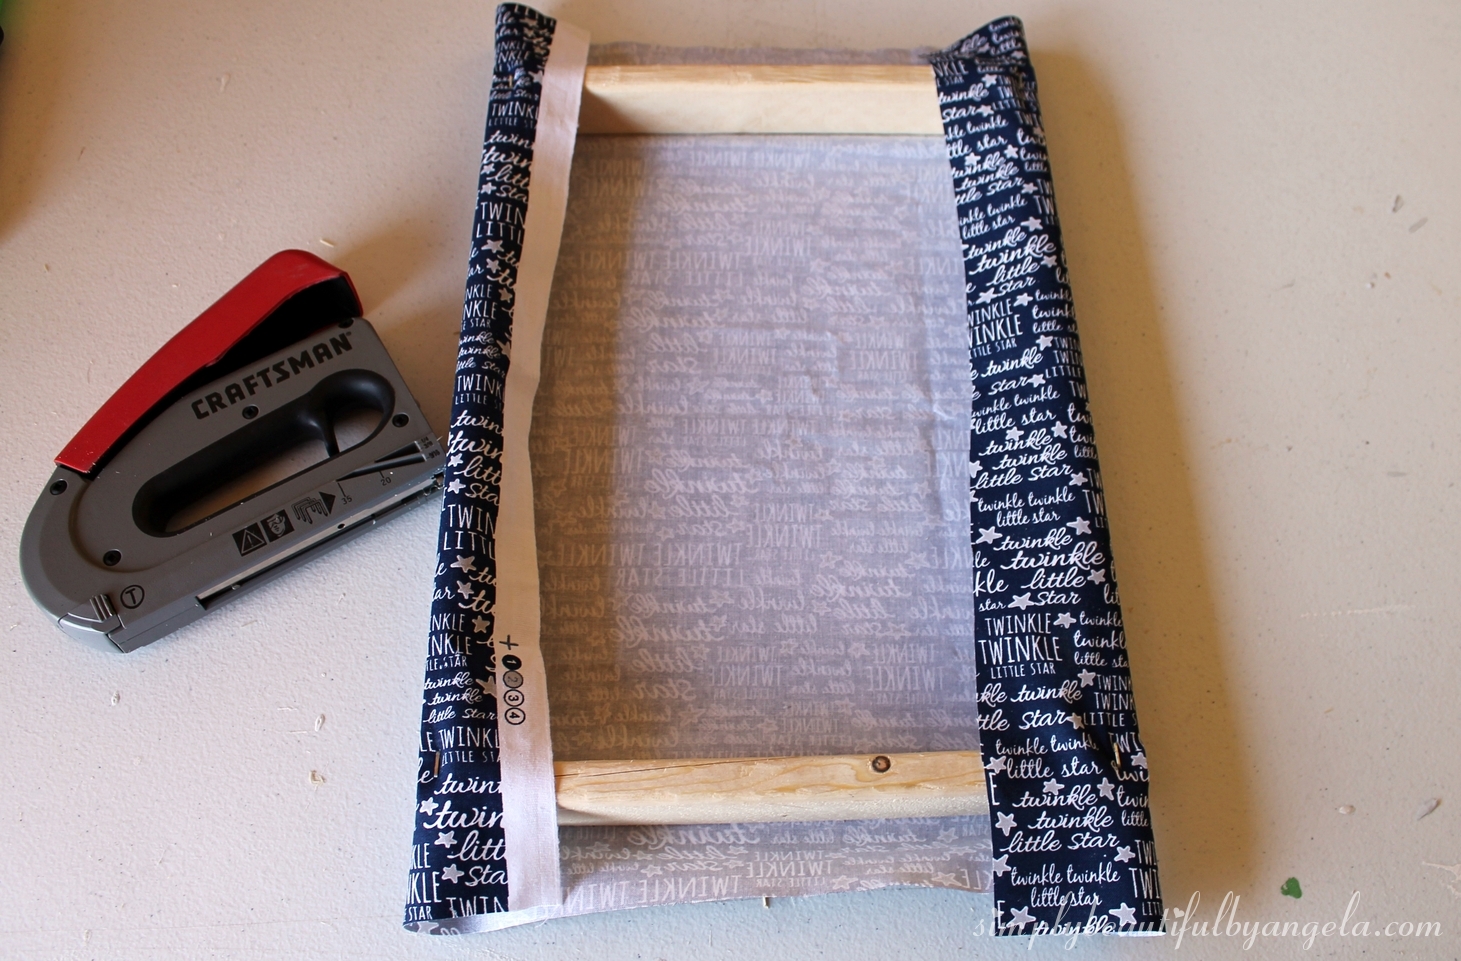
Once they were dry, I cut out my fabric and laid the frame down. Side note–you should probably iron your fabric before this step to get the creases out. This totally skipped by mind but I don’t think Lucas will mind too much 😉

Using a staple gun I attached the two long sides first, making sure to pull the fabric as tightly as possible. If the fabric has a specific design or wording, try to get it on as straight as possible. I trimmed the excess after each side was attached.
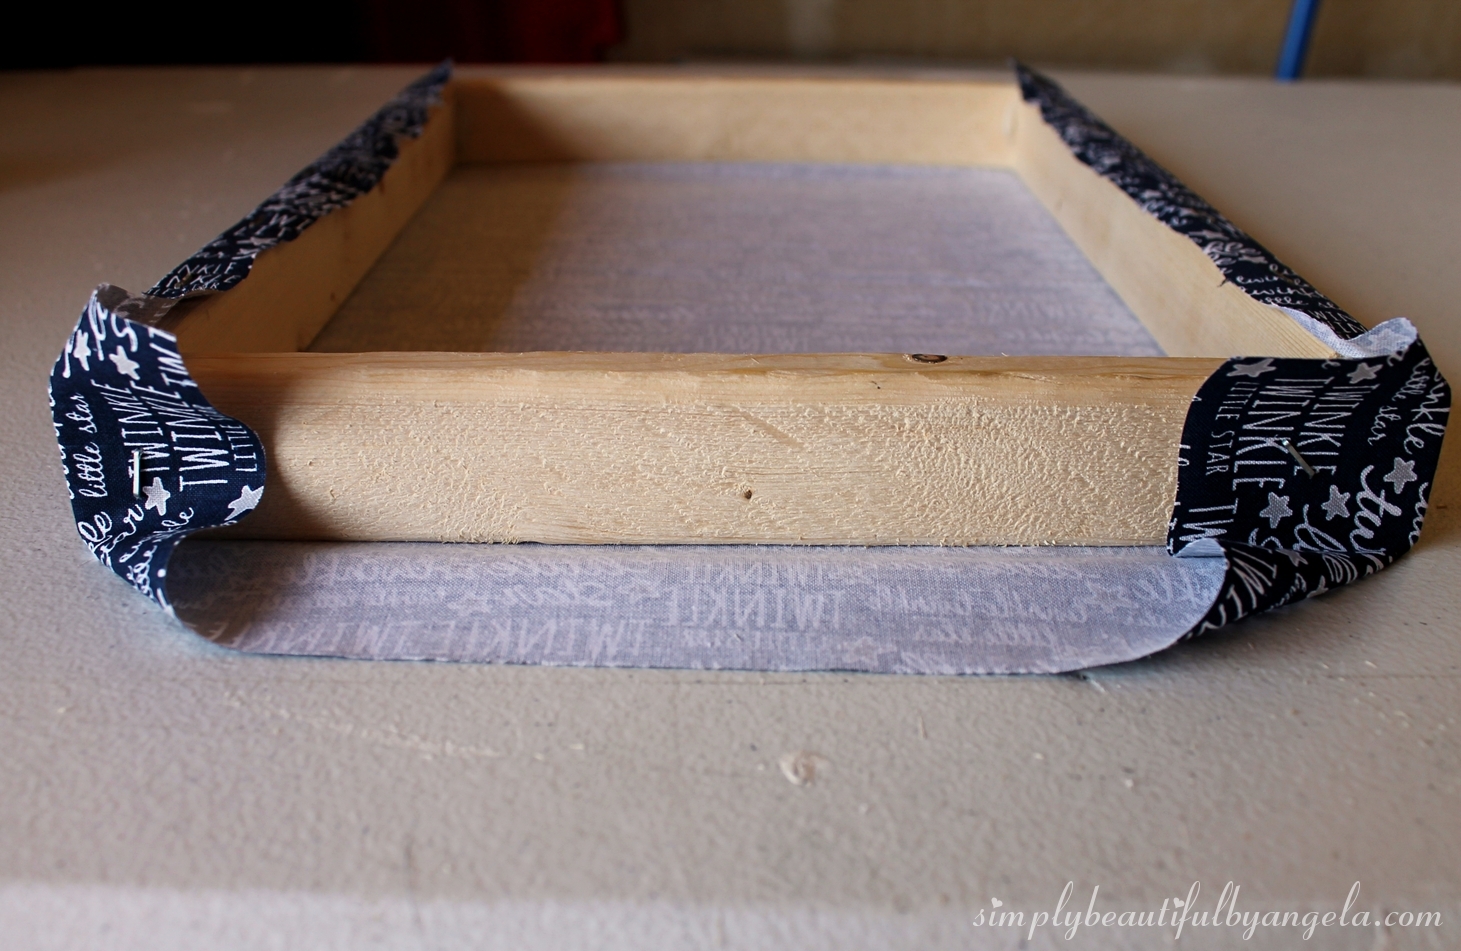
Then, I secured the two short ends just like I was folding a present. I put in a staple at each step to get tighter fit.
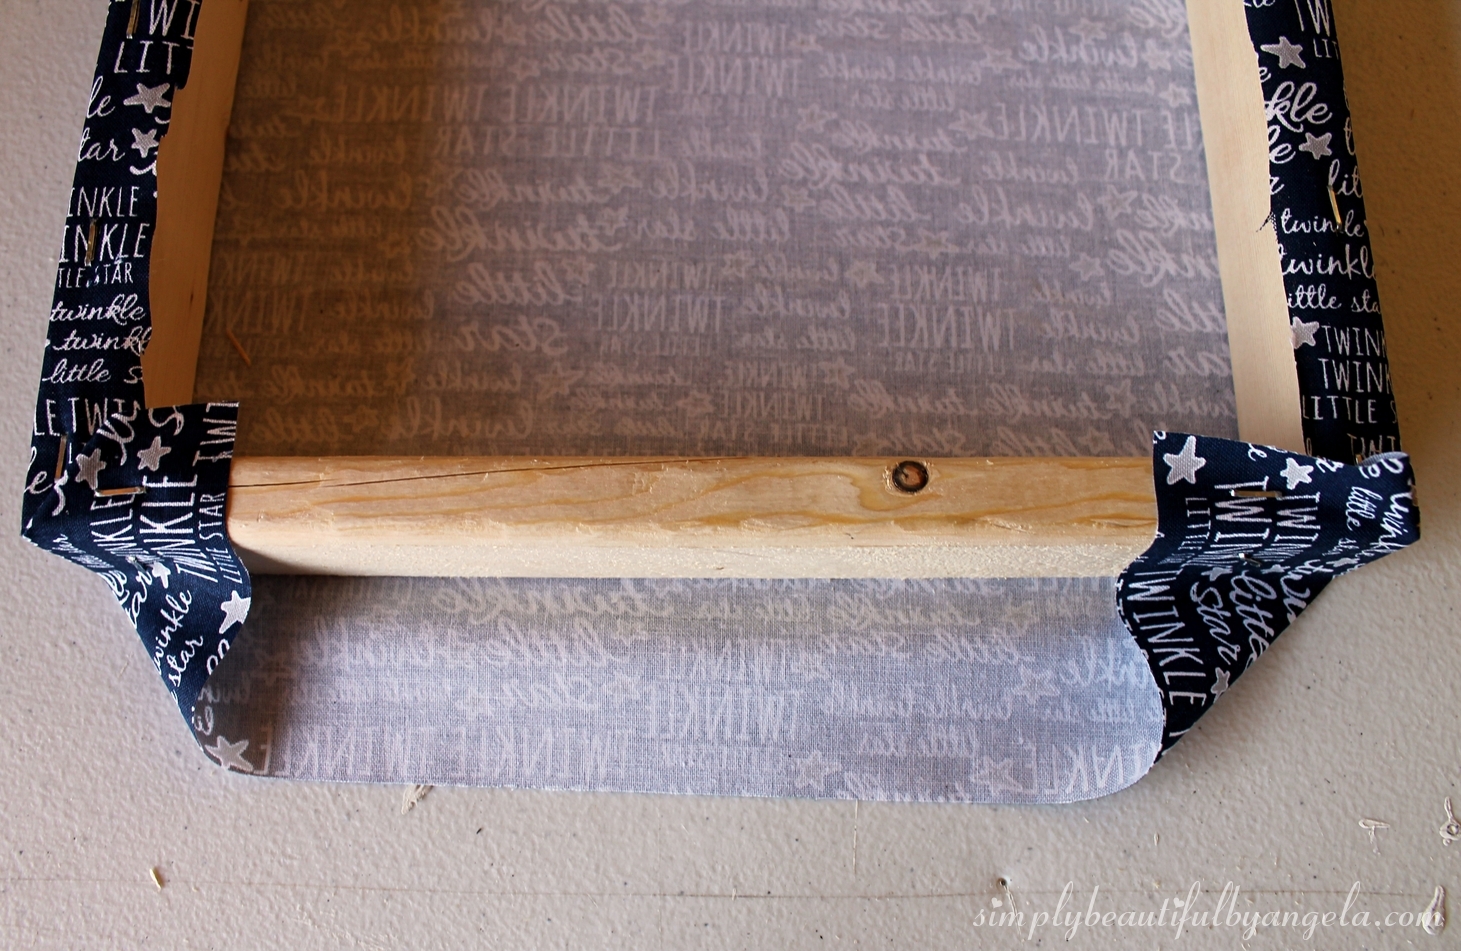

To hang them I just measured the distance between the two corners on the back and that’s where I put the nails on the wall.

They fit with my framed art perfectly. The framed art was created by me in my favorite program Canva. I printed them out and put them in some cheap IKEA frames and you would never guess I didn’t find them at some fancy store 🙂
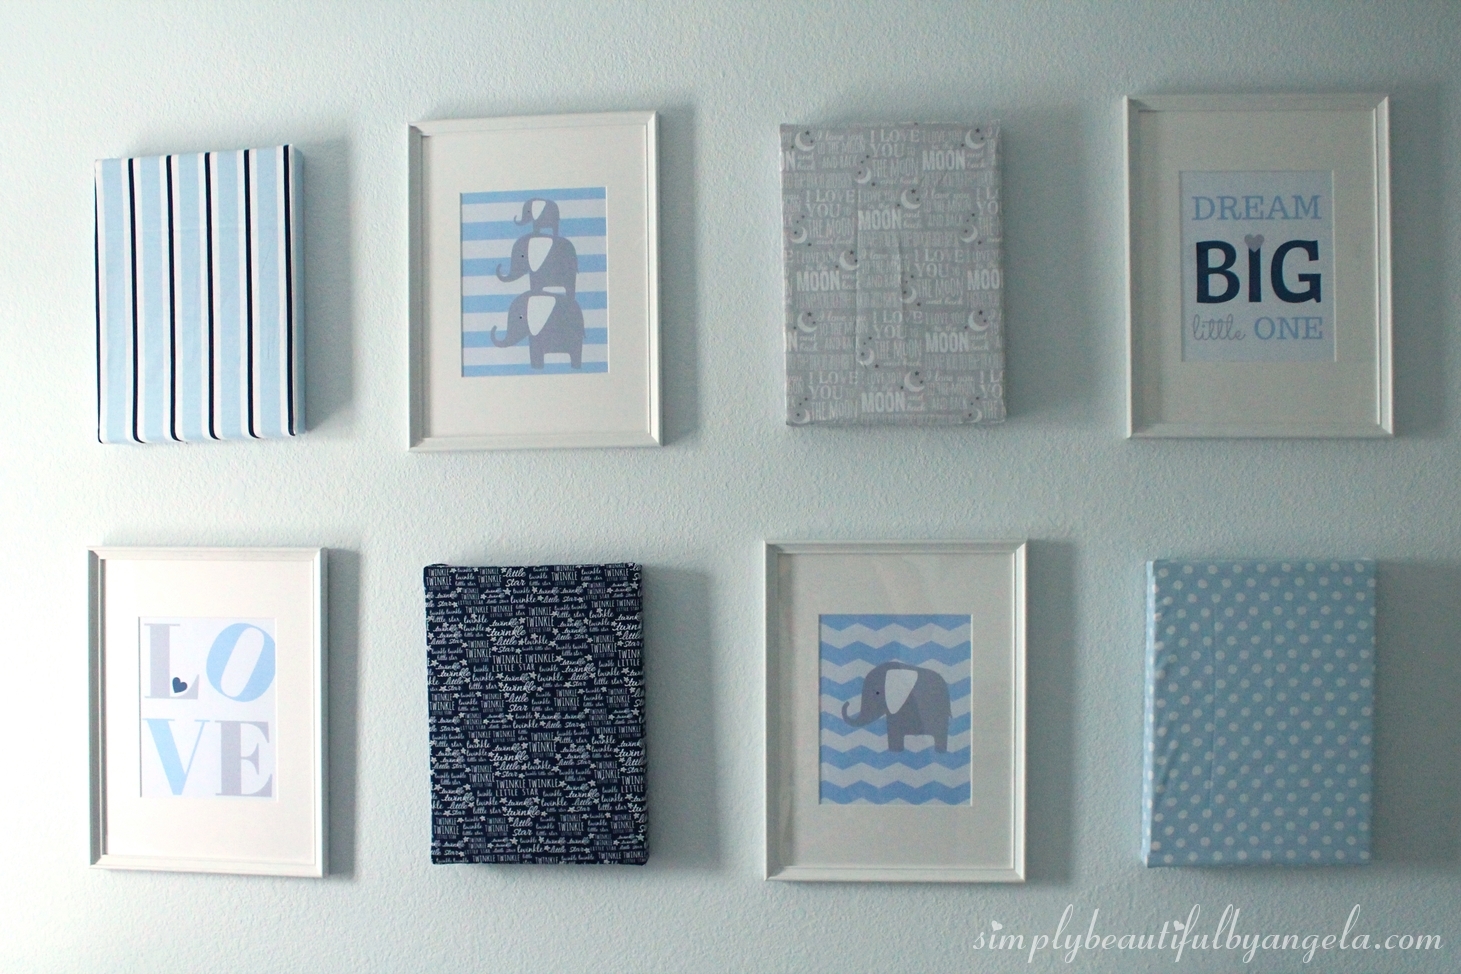
The fabric was all found in the nursey section at Joanns. They have such a great selection and it’s super affordable. I paid about $1.50 for each fabric so $6 total.


Since the fabric was really thin I actually had to go back over each with a second layer. Luckily, I only used about 1/4 yard on the first one so I didn’t have to buy more fabric.

These were so simple and affordable and I really feel like they make the wall. The total cost for all 4 was about $12. Not bad considering that’s usually the low end price of one framed art from the store.
Have a happy day everyone, I’ll be back on Wednesday!
Linking up to these awesome parties!

Angela, this wall art looks so cute!! You did a wonderful job on each piece!! I'm so excited for you and your soon to be new arrival!!! Yay!!
Thank you Keri I really appreciate that! 🙂
totally neat! What a great (and inexpensive) way to add art to any room!
Thank you, I have to agree 🙂
Amazing! I just moved into a new place and so far have nothing on the walls. Thank you so much for an easy idea!
Thanks Renee! This would be a great way to start filling those blank walls 🙂
Ah, I love these! So simple, yet they add so much character to a wall! 🙂
This is so awesome and creative! Thanks for the tips, I may actually be able to do this for my son's room!
You should come link up at our Bloggers Spotlight party tonight, we pin everything to our group board and have two separate link-ups, one for posts and one devoted to pins so you get even more exposure!
http://www.raisingfairiesandknights.com/category/bloggers-spotlight/
I love how easy you've made it for me to create my own fabric art. Congrats, you're featured this week at the #ThisIsHowWeRoll Link Party on Organized 31.