Simply Beautiful By Angela

creating simple beauty on a budget

  • Home Tours
  • Projects
  • Legal
  • Link Parties
  • Let’s Chat!
  • About Me

Upcycled Milkbox

August 12, 2016

Hello and happy Friday everyone! Can you believe that I’m actually back for the second time this week?!  Shocking, I know!  I feel like it’s been ages since I’ve been able to post more than one post a week.
I have projects that I’ve been piling up and holding out on because I keep thinking “well, I’m not quite done with that yet because I still have more that I want to do to it…”
Well folks, I decided that I’m just going to start sharing things as-is because as my to-do list keeps getting longer and longer, I’m honestly not sure when I will start being “done” with things haha.
I’ll begin by telling you how this old milkbox came to live at our house.
I’ve mentioned before that the hubby usually laughs at me when I pickup curbside “treasures.”  I don’t think he fully gets the thrill that I get from picking something up that was about to head to the landfill and being able to give it new life. 
 
But you’ll be surprised to learn that this one was actually discovered by him!  He said he just saw it sitting by the trashcan at the gas station (kind of random–right?) and instantly thought of me.  
Such a romantic haha! To me, this is ten times better than getting roses.
I knew that I wanted to frame it out in some chunky trim, but that’s about as far as my plans went.  Everything else was thought up along the way.  
 
I began by cutting some scrap 1x4s and secured them to the sides using wood glue and nails. 

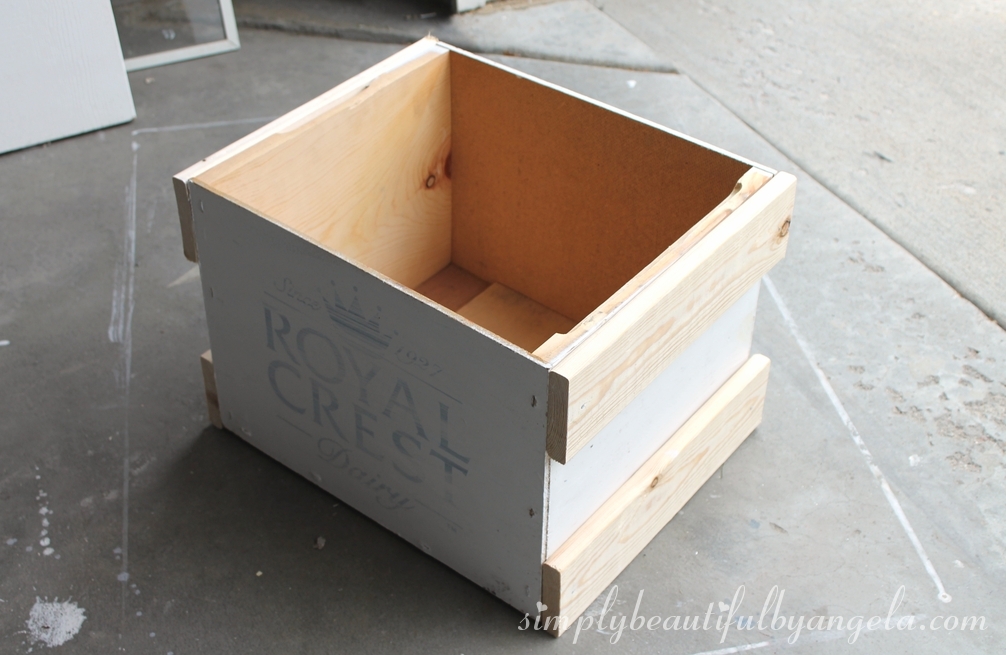
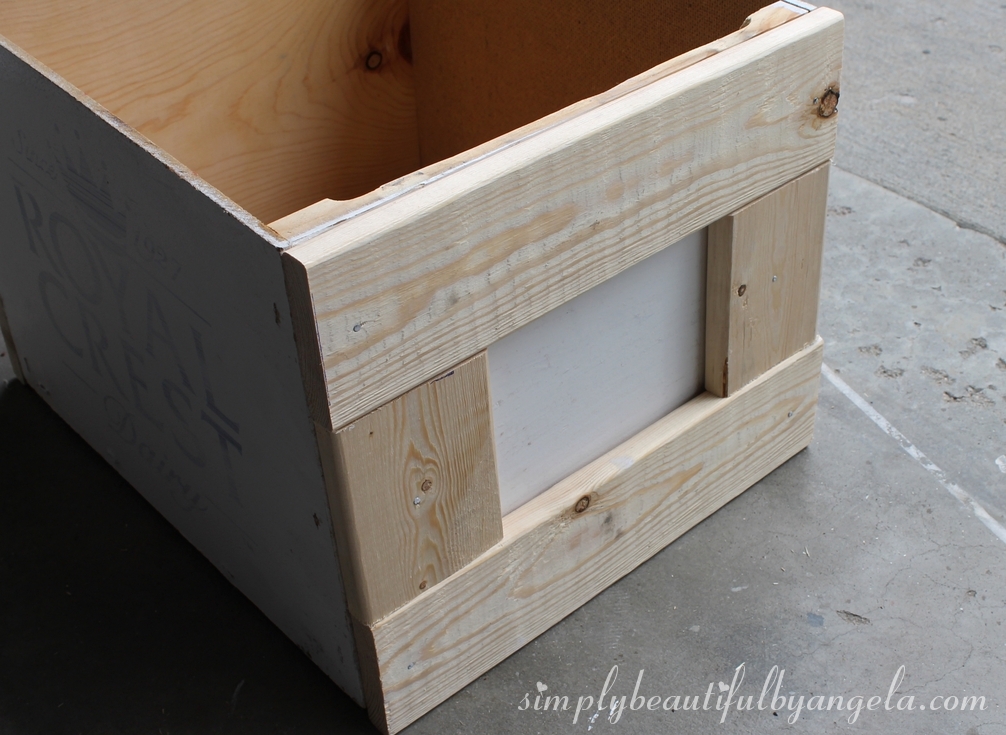
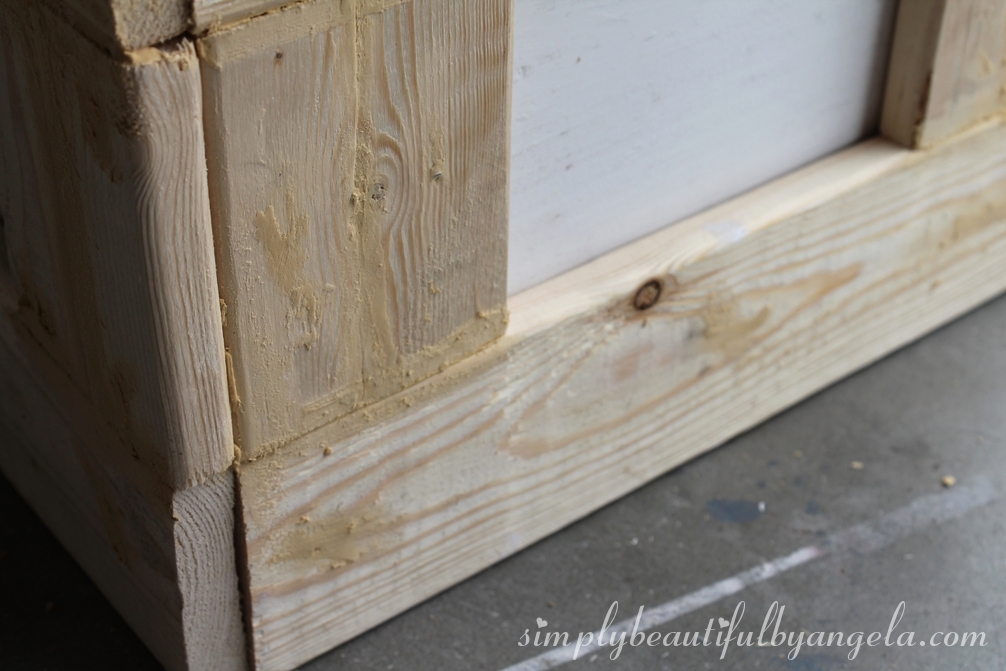
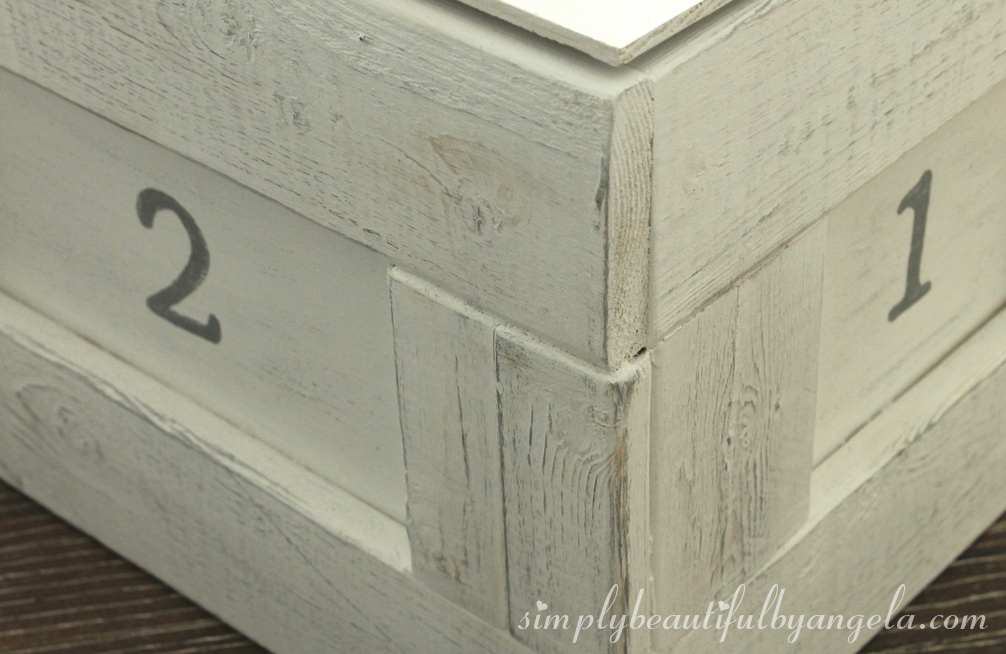
I framed each of the four sides this way, and then used some wood filler to fill in the small gaps. You’ll notice that the pieces don’t line up perfectly, which was fine with me since I wanted it to feel sort of industrial.  If you want a more finished look I recommend using more expensive wood instead of furring strips.

Because I added the trim, the old lid was too small. 

 (I also spray painted the hinges as you can see)


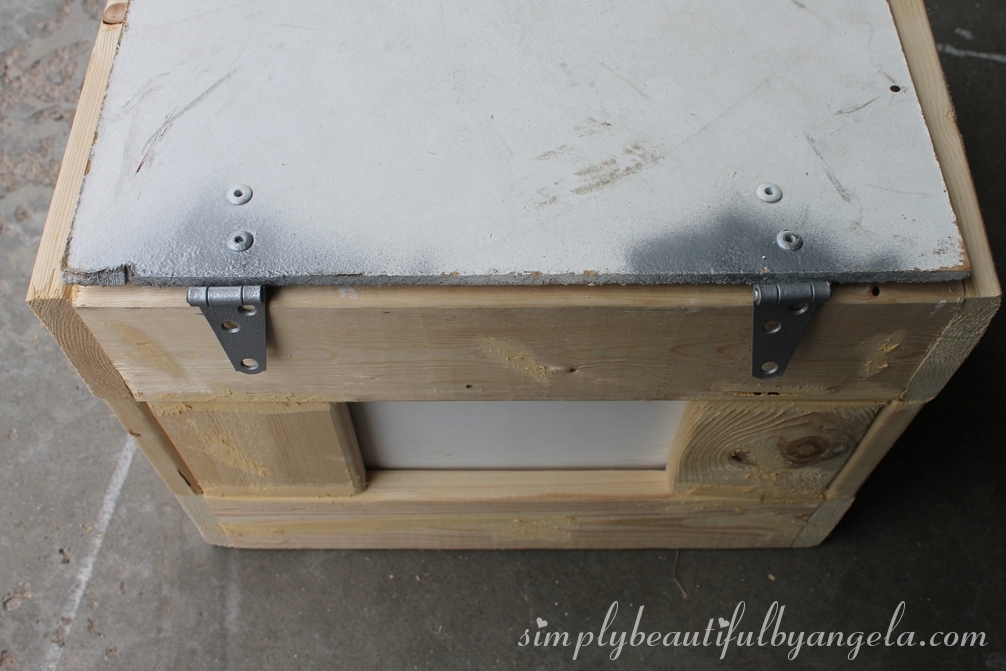
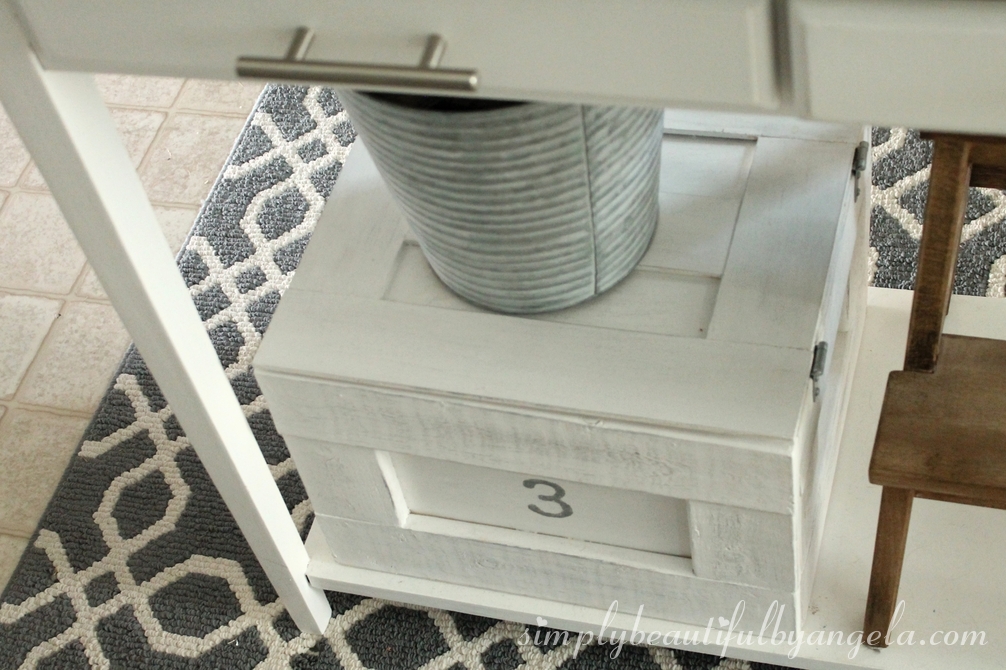
To fix this, I took some scrap plywood strips and used wood glue to frame the lid and make it match the size of the box.

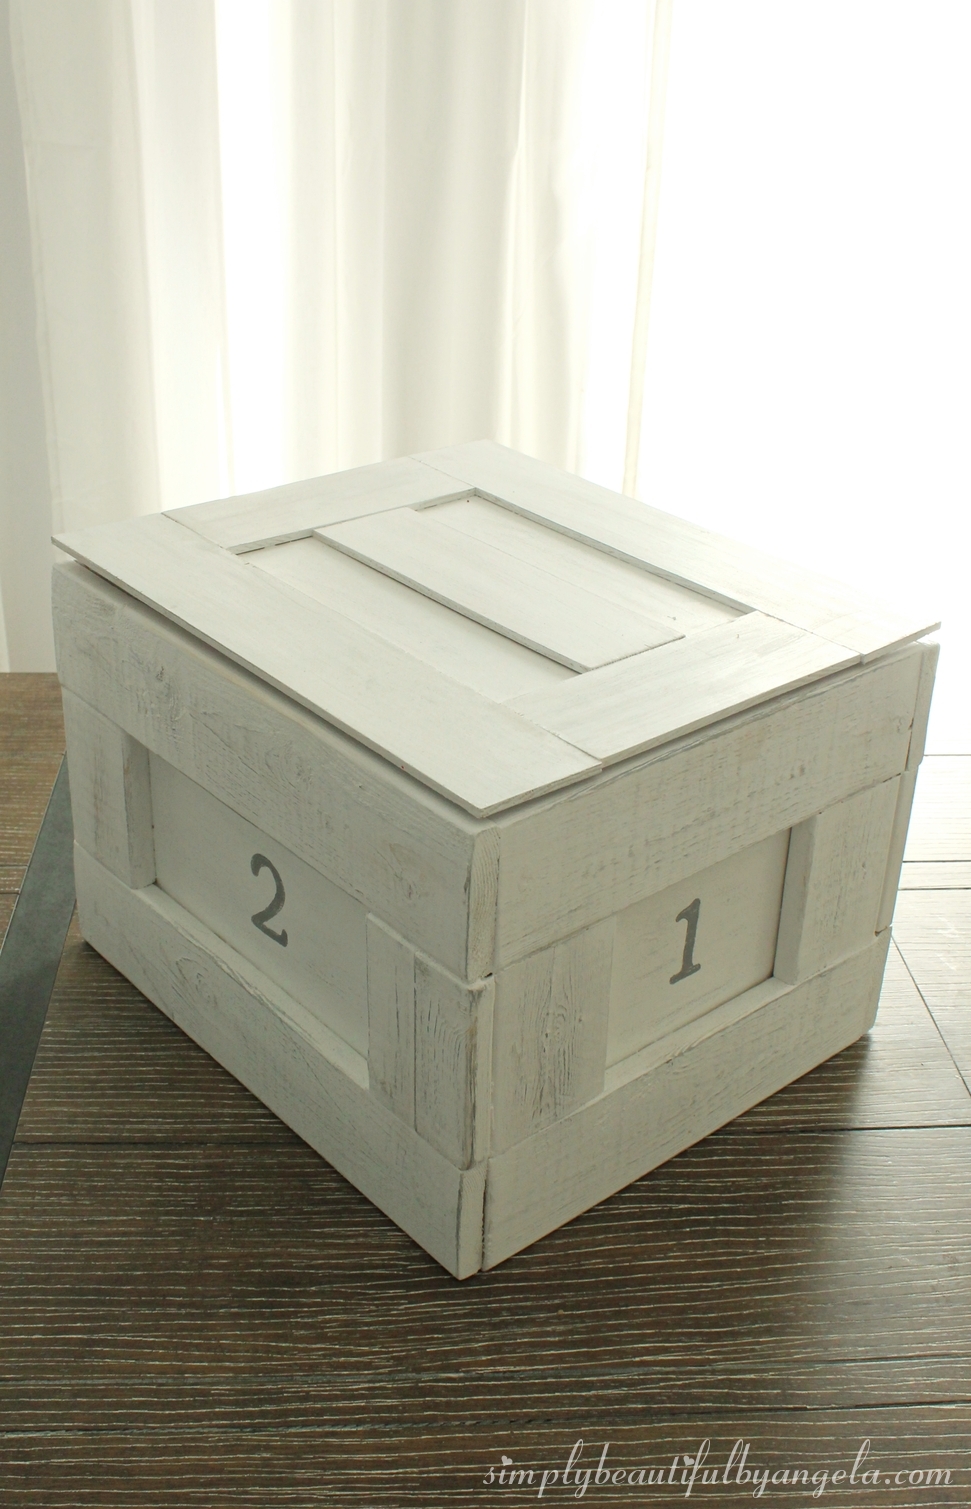
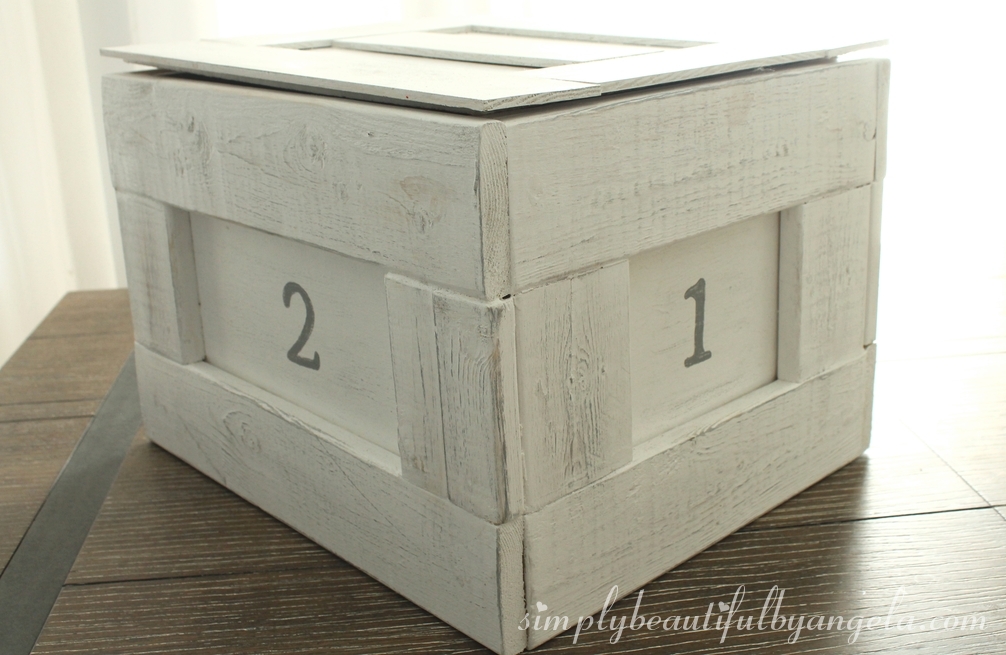
After sanding and a few coats of white paint this is what it looked like.  It was nice…but it was still missing something.

I took some sandpaper to distress it a little and was pleasantly surprised when I realized that the gray paint from a previous project that was on the sandpaper actually transferred over and I absolutely loved the look!

I also added one more piece of plywood to the lid.

 
And I couldn’t resist adding some numbers to the sides.  I used the same image transfer method that I used for my Industrial Stool.

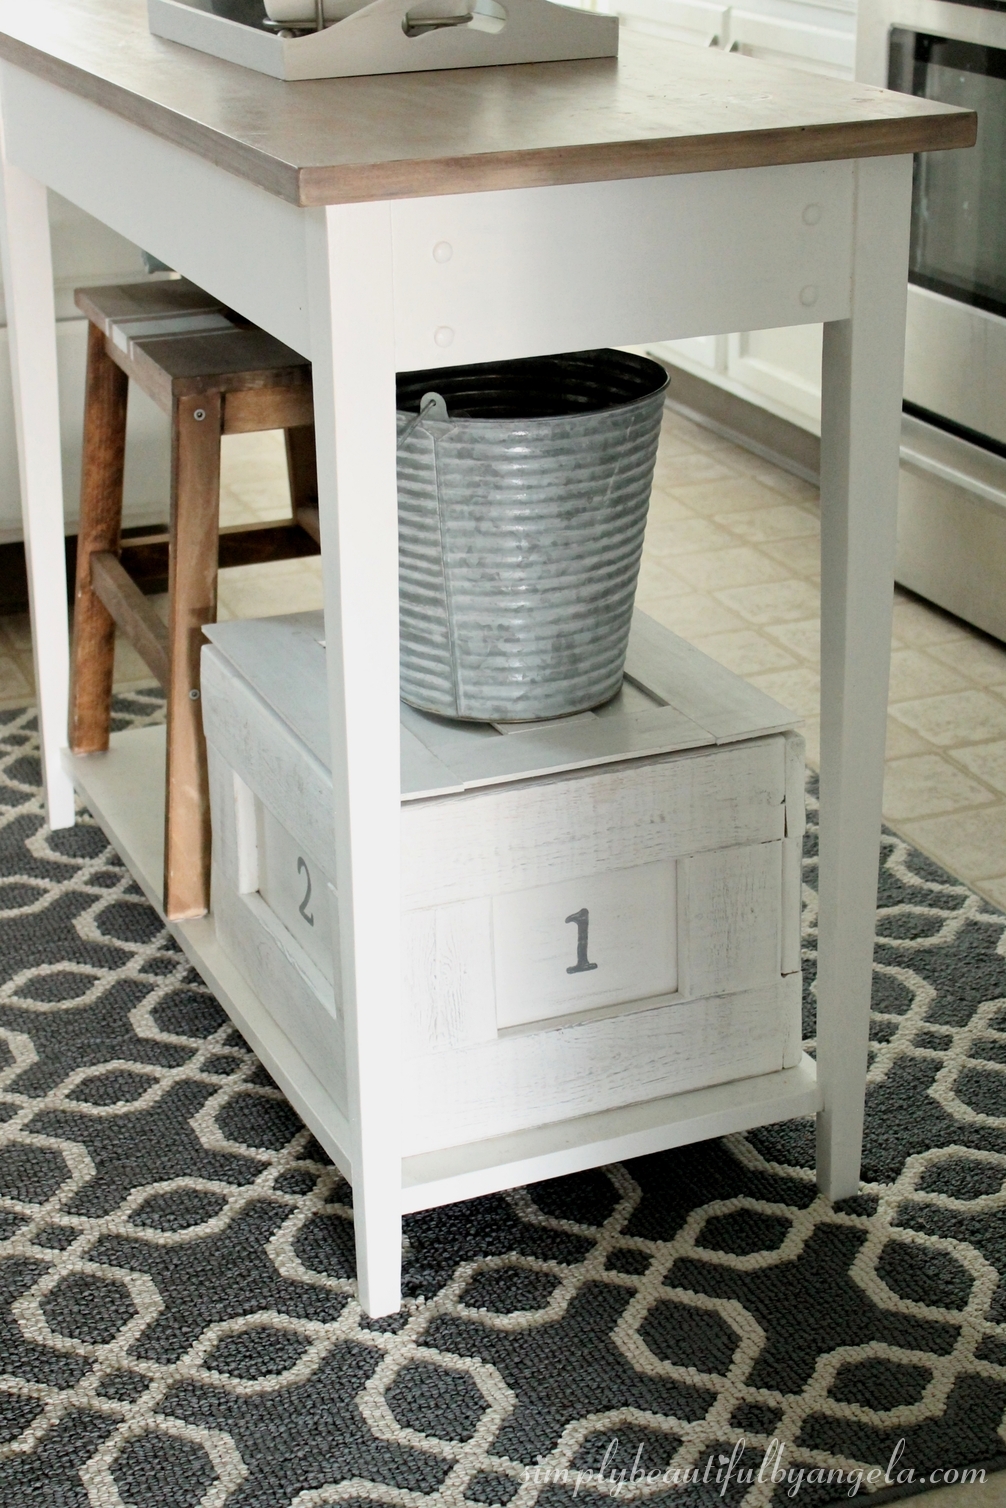
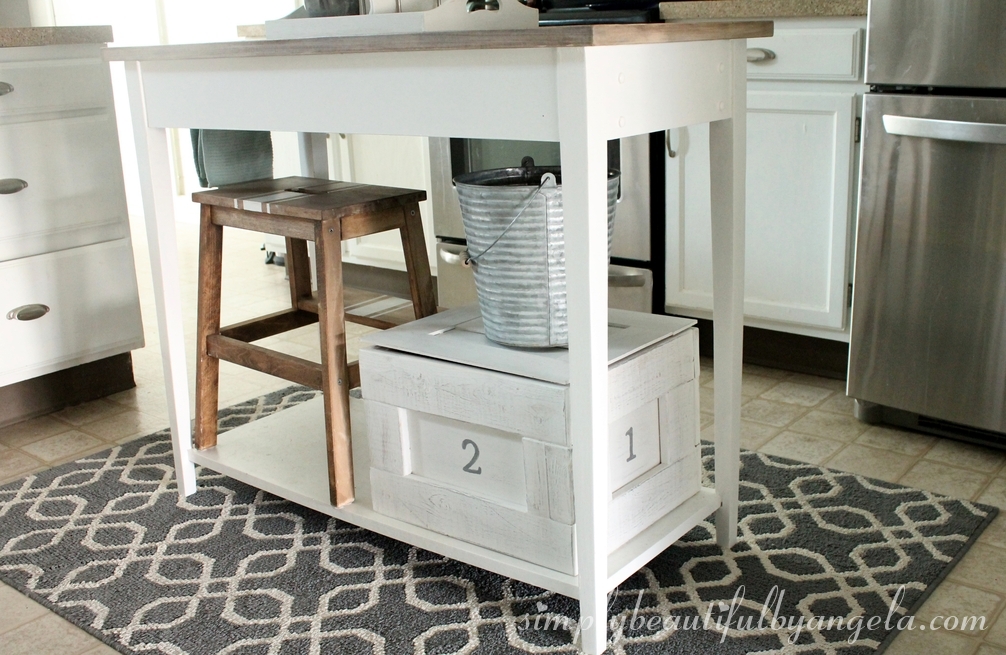
It fits perfectly under our table turned kitchen island.  I use it to store random appliances that we don’t use on a regular basis which is nice because it frees up more counter space.

 
Remember how I said that I have a lot of projects that I’m not quite done with?  Well with this one, I’ve been meaning to add some L-brackets to the sides and a chest hinge to dress it up a little.  After looking at it in these pictures I realize even more how much it’s screaming for some hardware!
 
I hope you all have a fantastic weekend.  I’ll be back next week to share not just one, but two new pieces of furniture that I’ve added to the basement!  🙂

Linking up to these awesome parties!

· Labels: Uncategorized

Comments

  1. Melanie - Bellenza says

    August 16, 2016 at 3:23 pm

    Looks great in the kitchen! Makes a nice homemade wedding gift!

  2. Vanessa says

    August 22, 2016 at 4:57 pm

    This is the sweetest and so glad you picked up that treasure from the curb. I do it all the time. LOL, I love this project and looks amazing in your kitchen. I would love it if you could share this awesome project at a link party I am co-hosting. I hope to see you. Have a great week. http://diy180site.blogspot.com/2016/08/dishing-it-and-digging-it-link-party-110.html

  3. Nicole B. says

    August 23, 2016 at 4:08 am

    I love the story behind how you got this box. It looks awesome. I love rustic decor. Thank you for sharing your upcycled milkbox diy at the #HomeMattersParty

Hello, I am so happy that you're here! My name is Angela and I love to create simple beauty in our home on a budget. Here you will find DIY decor and home projects, furniture flips and other home inspiration!

Never Miss a Post!


Diagonally Fluted Nightstands

Diagonally Fluted Nightstands

Hello! I’m really enjoying the extra daylight and the fact that it’s been paired with warm sunny weather this week has been icing on the cake. I’m trying to soak it all in before the next snowstorm! Today’s flip was from about a year ago and is still one of my favorite sets of nightstands…

Read More »

How to Update a Dresser with a Missing Drawer

How to Update a Dresser with a Missing Drawer

Hey friends, happy March! Even though I know we still have quite a bit of cold weather coming our way here in Colorado, it’s exciting to see these warmer days sprinkled in here and there. This week I am sharing how I saved an old IKEA dresser from ending up at the landfill! Supplies Used:(Affiliate…

Read More »

Vintage Ice Box Style Nightstands Makeover

Vintage Ice Box Style Nightstands Makeover

Hello friends! We just got back from our annual trip to the Great Wolf Lodge and it was fun times as always! Today I am sharing how I updated these fun vintage ice box style nightstands that I found on Marketplace! Supplies Used:(Affiliate links may be provided for convenience.  For more info, see my full disclosure here.) …

Read More »

Never Miss a Post!


GOOGLE 2

GOOGLE 3

GOOGLE 4

GOOGLE 5

GOOGLE 6

GOOGLE 7

Theme by 17th Avenue · Powered by WordPress & Genesis