Simply Beautiful By Angela

creating simple beauty on a budget

  • Home Tours
  • Projects
  • Legal
  • Link Parties
  • Let’s Chat!
  • About Me

Farmhouse Chairs Transformed from Curbside Trash

September 22, 2016

Hello everyone, I hope you are all having a great week!  This is weekend will be the first in OVER a month that we haven’t been jam packed with plans.  It will be nice to hang around the house and have time to work on an exciting project that I’ve been tackling.  (I’ll keep what it is a surprise until the big reveal…)

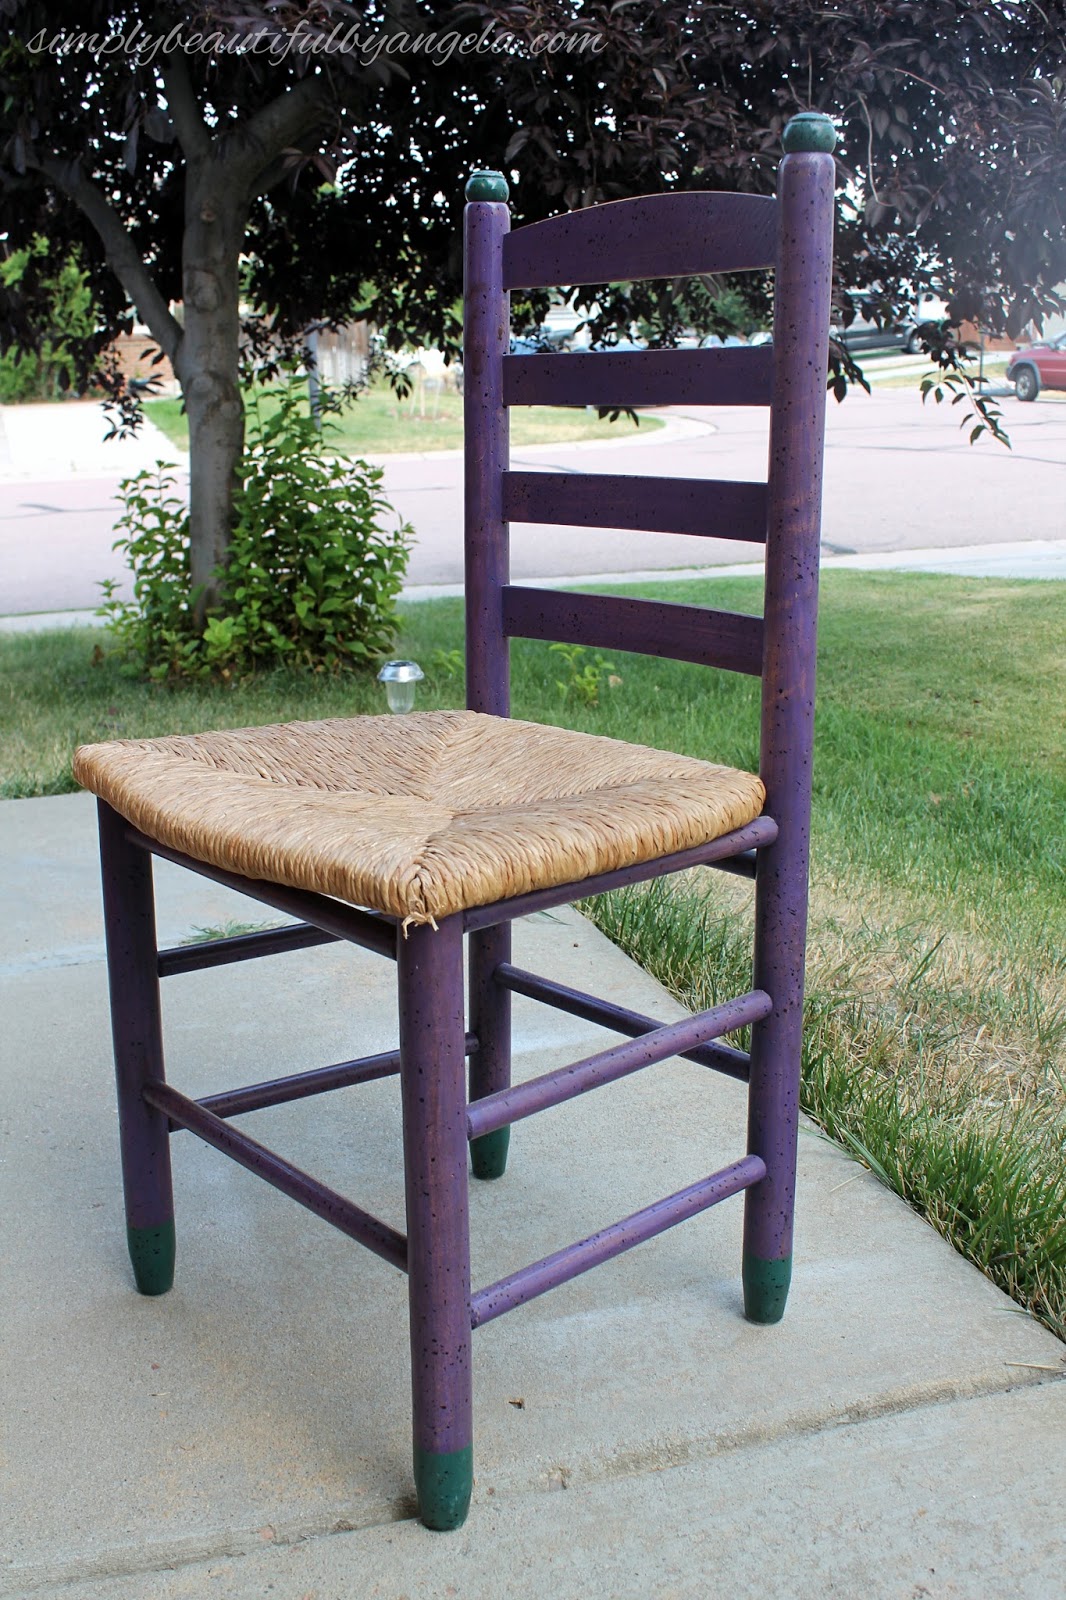
At the beginning of the year my neighbor put these chairs out on the curb.  I’ve mentioned before that anytime I see any furniture on the curb I immediately start envisioning what it would look like after giving it new life.  But I also have a hard time putting valuable time and effort into anything that we won’t be able to use. So at the time I thought, “we certainly don’t have room for 3 more chairs!”

So basically I want to save ALL the furniture but also don’t have as much time on my hands or space as I would like. It’s a real internal struggle for me peeps! 

But a friend that was over at the time said that he would take them and we stored them in our garage until he could come back with a truck to pick them up.

They ended up sitting in our garage for months.  By this time we realized the friend had no interest in coming to get them and I was ready to get them out.  So I tried posting them on a few Facebook groups but sadly had no takers.

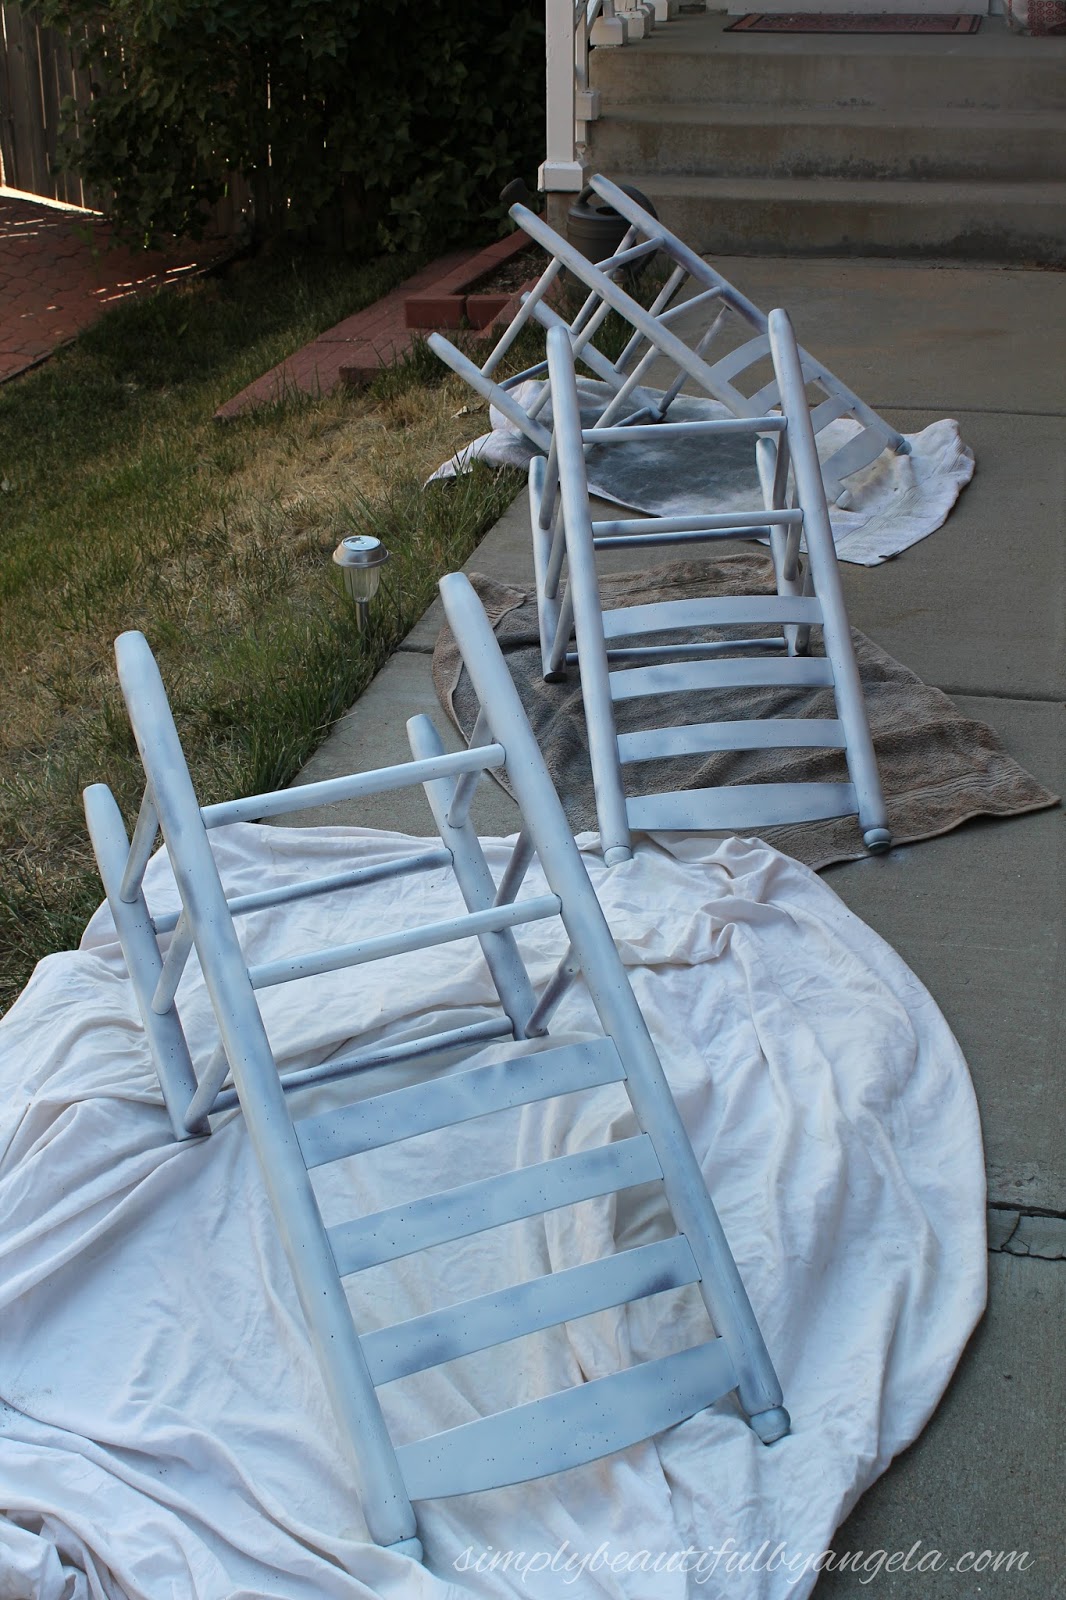
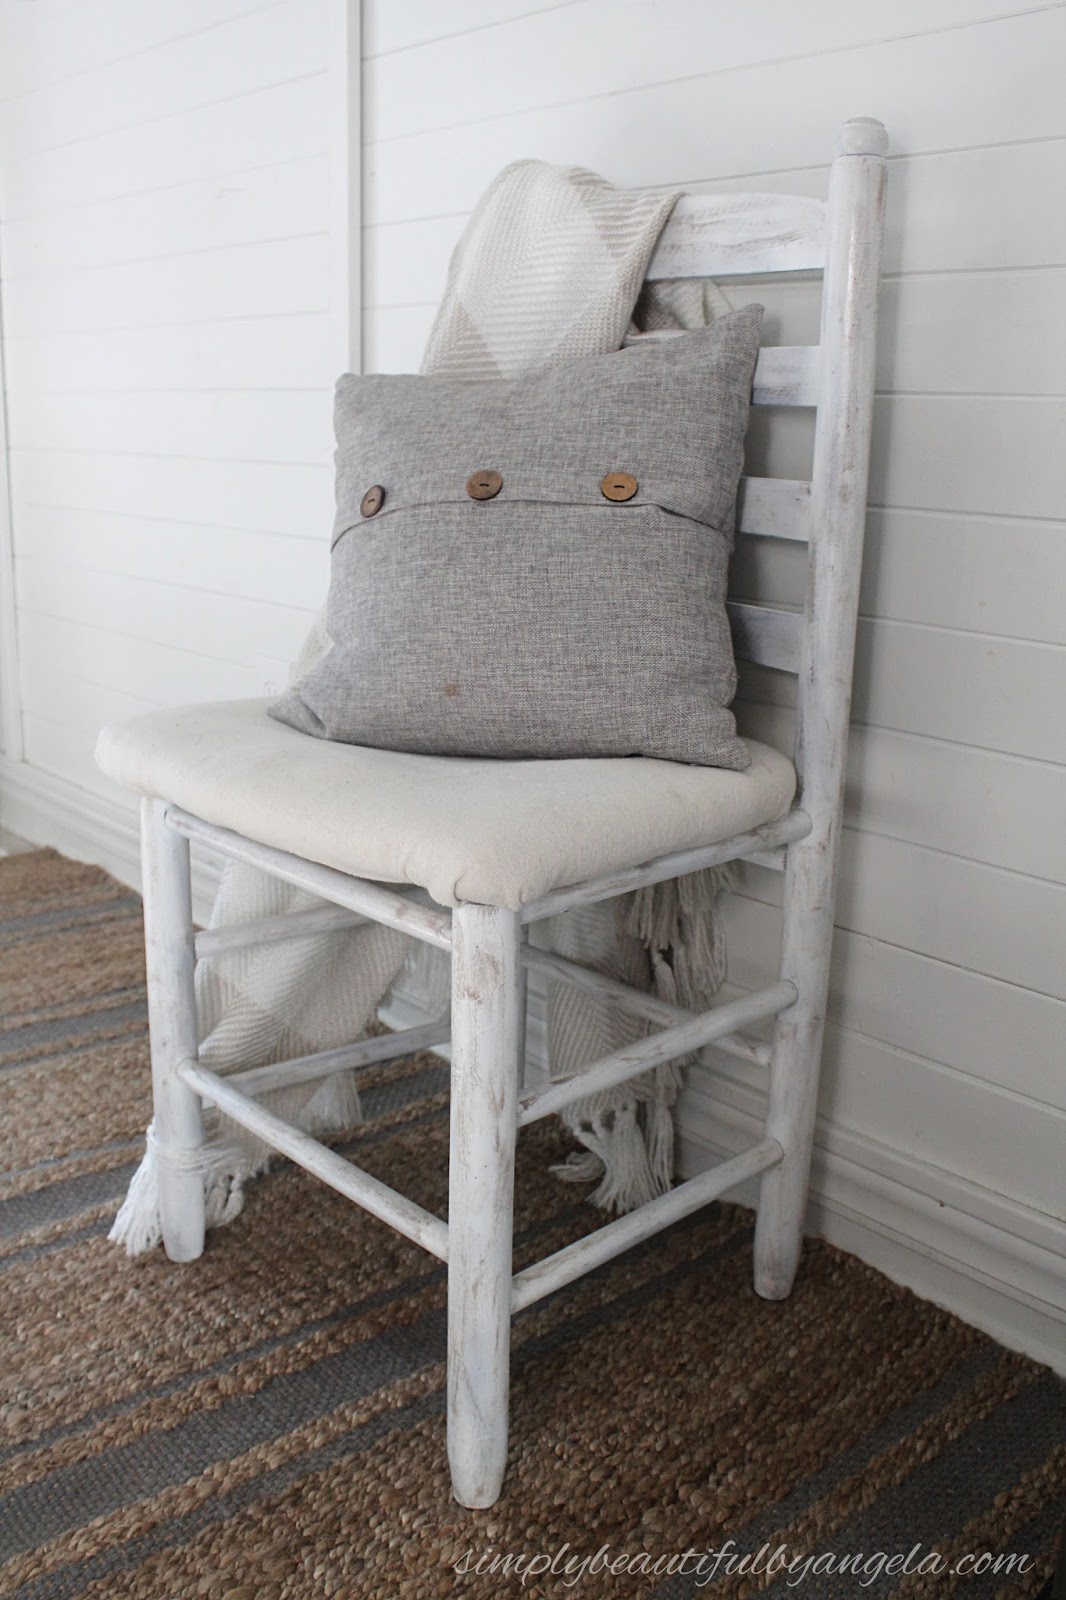
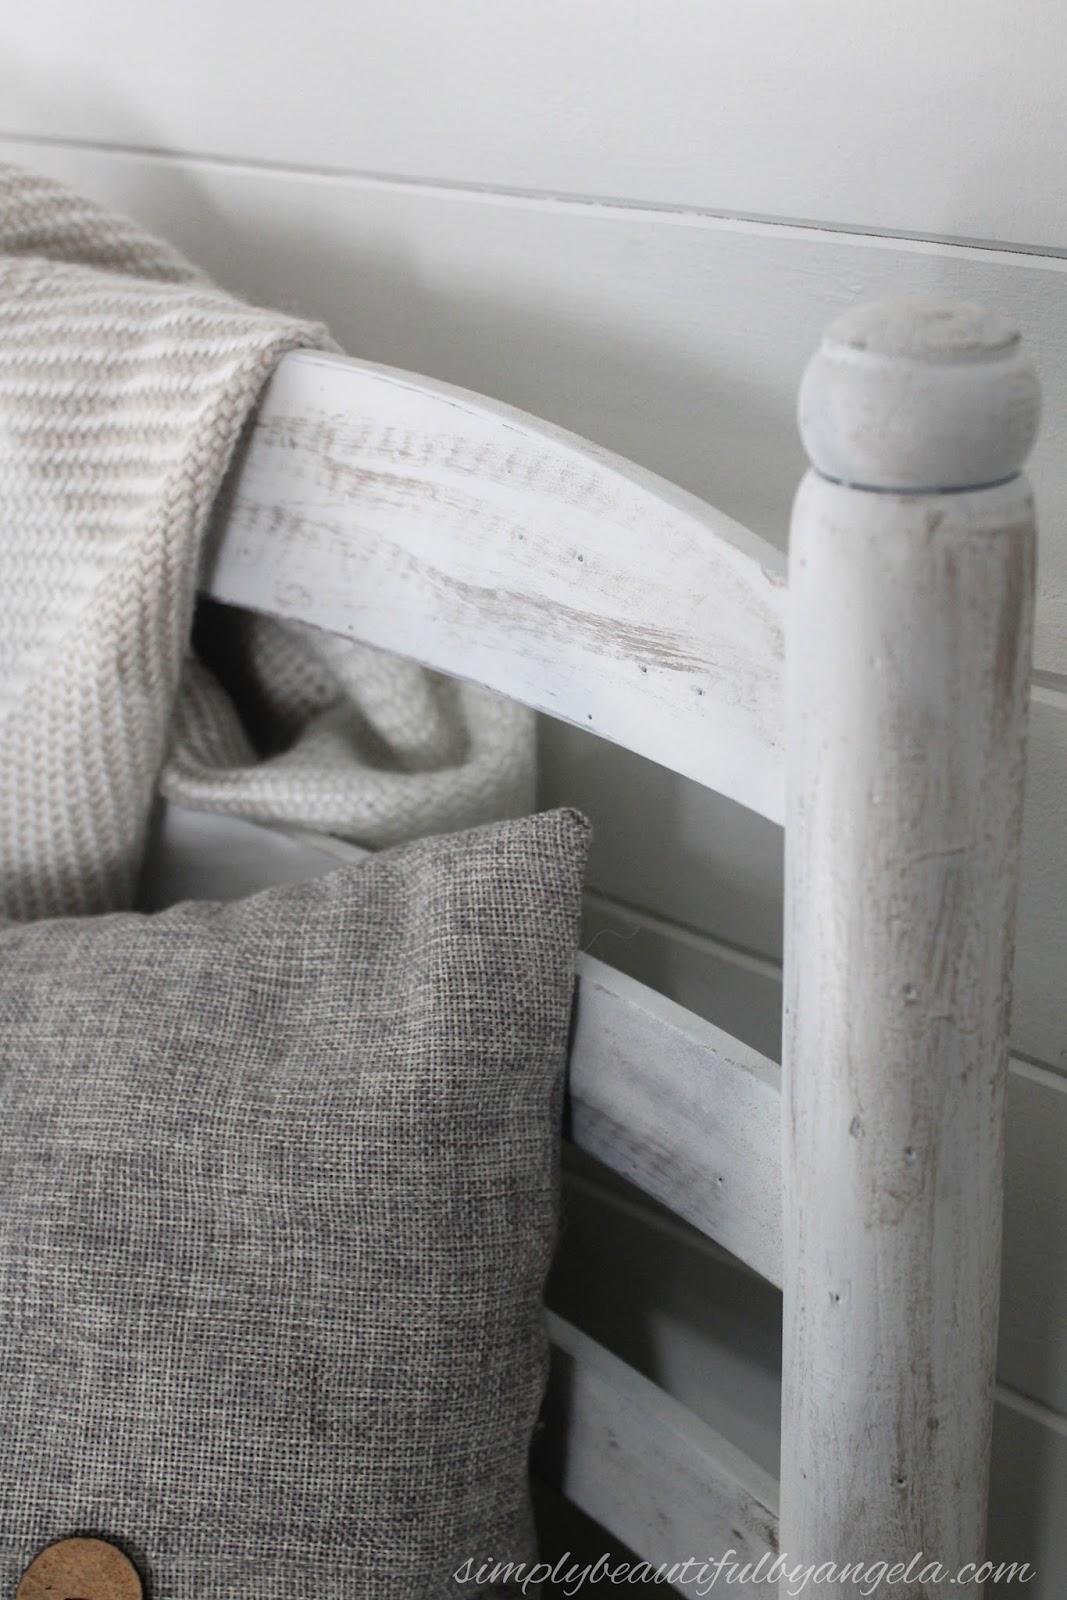
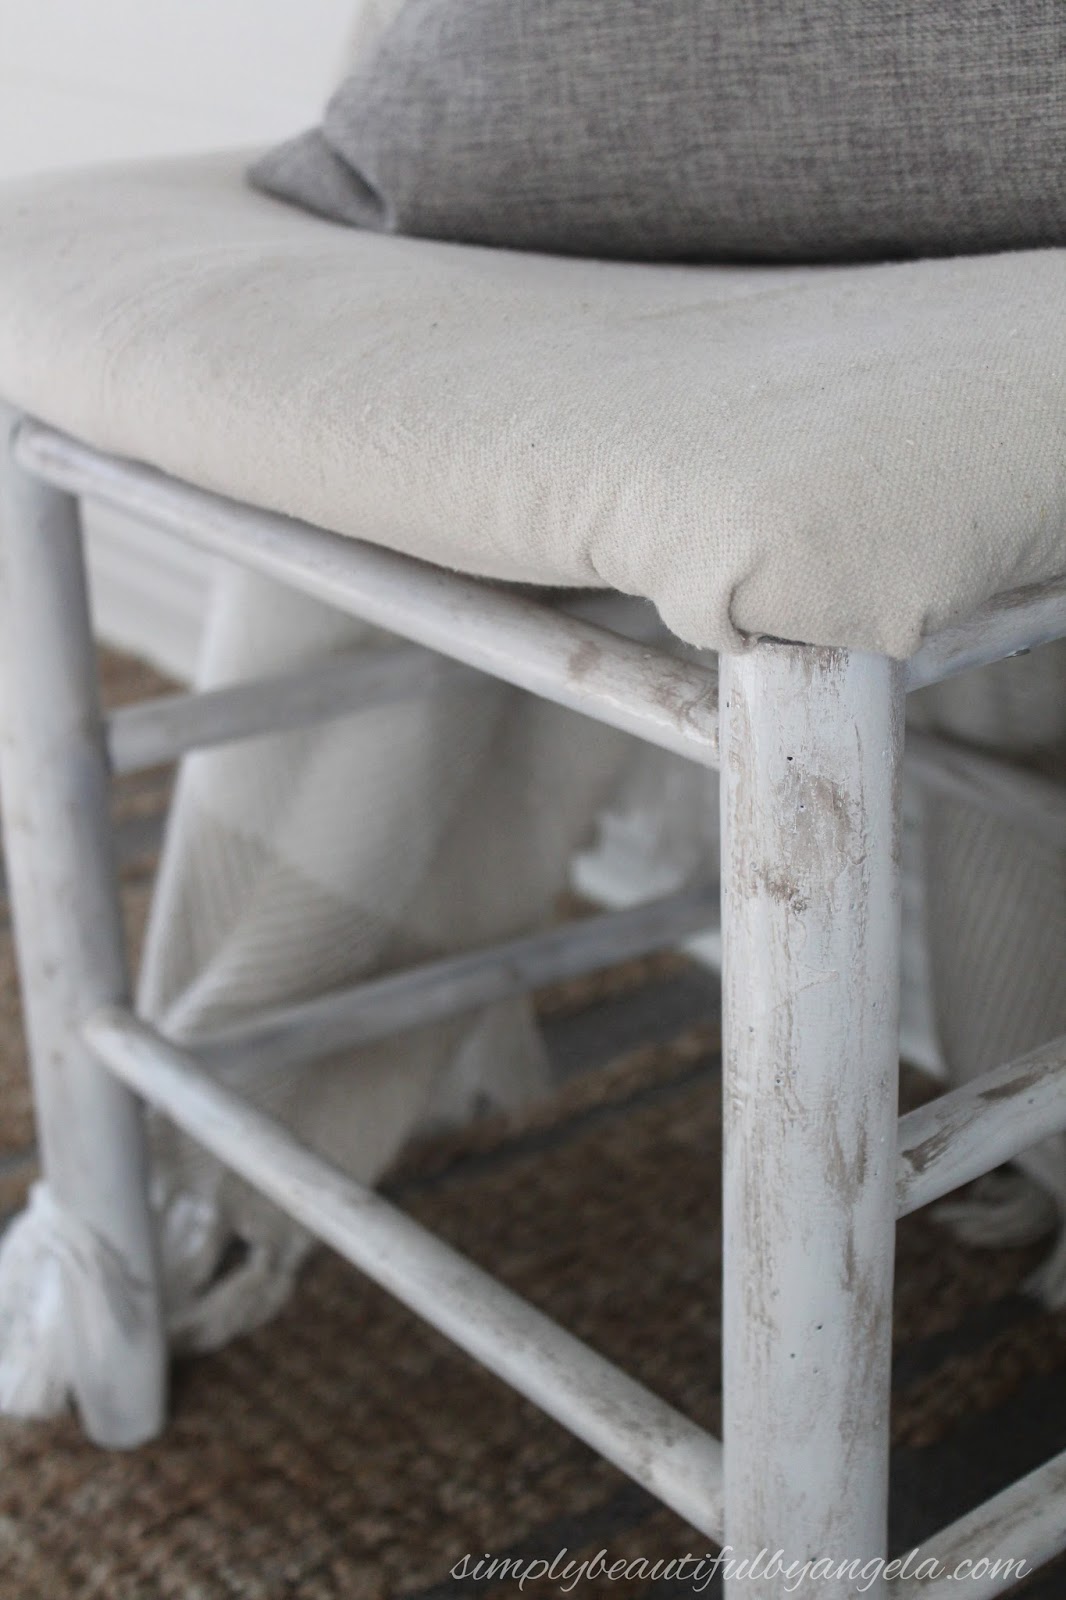
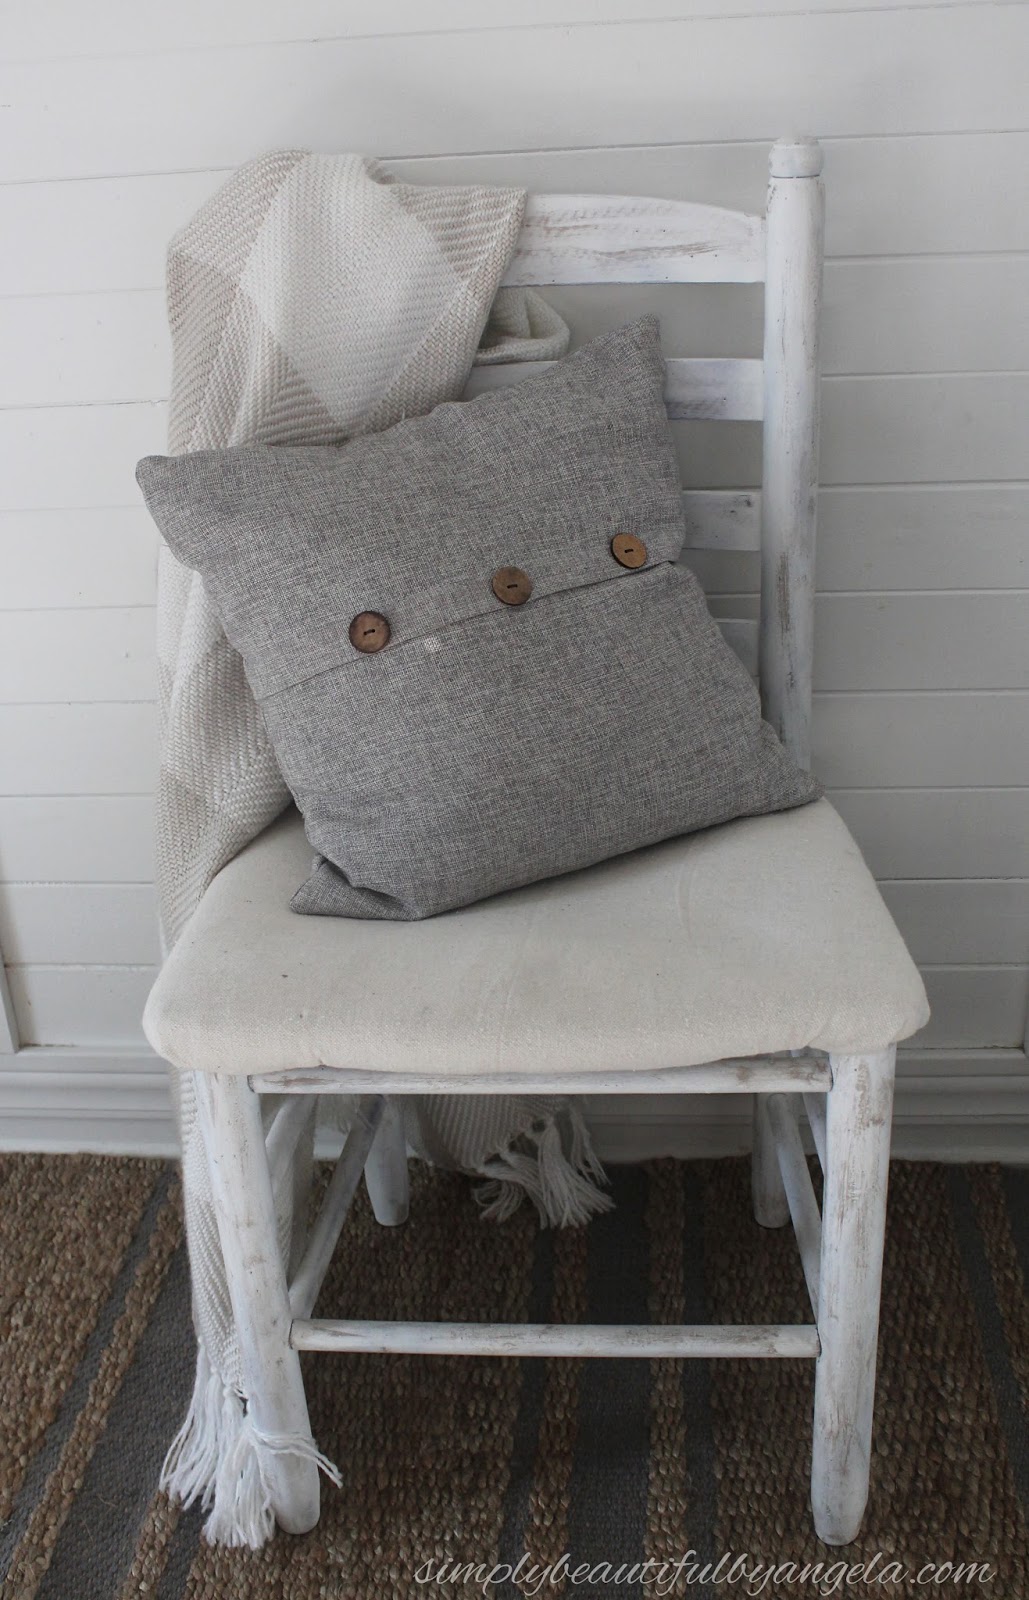
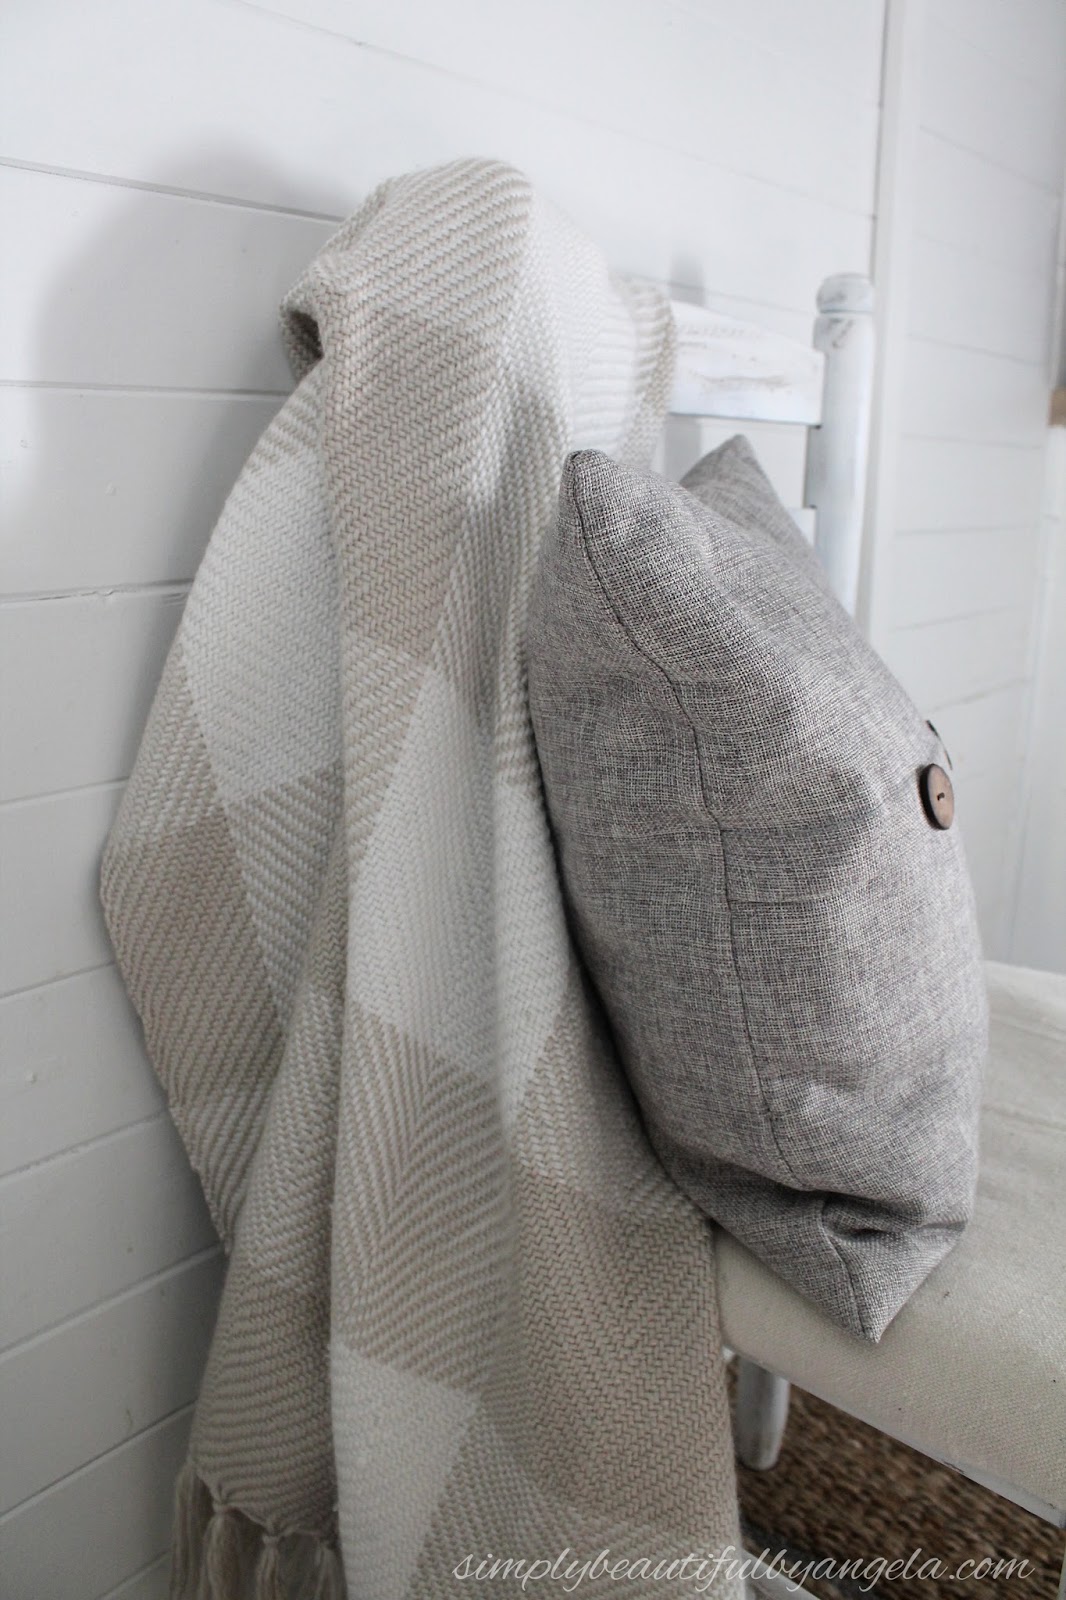
By this time I started noticing that we kept bringing them in the house for occasions that we were short on seating.  And that’s when I decided that we should just keep these guys after all and give them a quick makeover!

Supplies Used: (Affiliate links may be provided for convenience.  For more info, see my full disclosure here.) 
  • Rust-Oleum Spray Paint in Satin White (3 cans)
  • Sandpaper–Very Fine
  • Martha Stewart Chalkboard Paint
  •  Small artist’s brush
  • Polyester Batting
  • Canvas Drop Cloth
So there is something that I must admit to you guys.  Painting chairs by hand is absolutely no fun. Like at all.  Every time I’ve done so, it’s taken a huge amount of time getting around all of the rails and in all of the little nooks and crannies and I always end up with ugly drip marks no matter how careful I try to be. 
To save a little time and to try to avoid the drips, I went the spray paint route with these.
Spray painting turned out to be a little better, but not much.  For one, my wrists got extremely tired of holding the nozzle.  They hurt for days!  And two, for how far the paint stretched it’s not exactly the cheapest option!  I used about a can on each. That equates to what I spend on a gallon of paint that I would have only used a little bit of and could have saved for another project.
Because of the reasons listed above, I have my eye on this Wagner Sprayer because it would make painting big project pieces sooo much easier and cheaper!  (Hubby if you’re reading this–hint, hint for Christmas maybe?)
So anyways, three cans of spray paint later and you could still see some of that princess pretty purple showing through.  It was so frustrating!
I thought that dry brushing might help disguise the purple, so I decided to give it a shot.  And hey, if it didn’t turn out these were just occasional extra seating chairs anyway–right?
I took a small artist’s brush and put just a tiny bit of the Martha Stewart Chalkboard Paint on it.
I then wiped off as much as I could onto a rag.
Finally I drug my brush across the surface.  I kept repeating this, keeping my brush as dry as possible.  I also pressed and feathered the brush which gave it kind of a neat effect.  If I ever got too much paint on I just went back over with some sandpaper and rubbed some of it away.
It sounds tedious but it I actually did this on all three chairs pretty quickly. I went back over with some fine sandpaper to smooth out some rough spots that the spray paint left behind and to blend my dry brushing a little bit.  I had to be very careful so that the purple didn’t come back through!
Since I was happy with how they were looking I decided to throw in some more effort and recover the seats.  I didn’t get any pictures of the process, but I basically just stapled on some batting and some scrap canvas drop cloth.
After re-attaching my new seats I was left with this!
It looks like a totally different chair, right? 
Now they fit with the rest of our farmhouse décor instead of looking like they belong in a Mexican Cantina.
We keep them stashed in the garage and bring them in anytime we need extra seating.
I love that they look old and worn like they just came out of a real farmhouse.
Since the chairs were free and I had everything on hand except the spray paint I only spent about $11.  Not bad!
Have a great rest of the week and a happy weekend everyone 🙂
Linking up to these awesome parties!

· Labels: Uncategorized

Comments

  1. Tarahlynn says

    September 23, 2016 at 7:04 pm

    I love how these turned out! We would be really excited to have you at our link party called To grandma's house we go!

  2. New York Commercial Roofing says

    September 24, 2016 at 5:22 am

    Truly an amazing chair makeover. This is so simple and an easy work to do. Your chaie has turned out beautiful.

Hello, I am so happy that you're here! My name is Angela and I love to create simple beauty in our home on a budget. Here you will find DIY decor and home projects, furniture flips and other home inspiration!

Never Miss a Post!


Diagonally Fluted Nightstands

Diagonally Fluted Nightstands

Hello! I’m really enjoying the extra daylight and the fact that it’s been paired with warm sunny weather this week has been icing on the cake. I’m trying to soak it all in before the next snowstorm! Today’s flip was from about a year ago and is still one of my favorite sets of nightstands…

Read More »

How to Update a Dresser with a Missing Drawer

How to Update a Dresser with a Missing Drawer

Hey friends, happy March! Even though I know we still have quite a bit of cold weather coming our way here in Colorado, it’s exciting to see these warmer days sprinkled in here and there. This week I am sharing how I saved an old IKEA dresser from ending up at the landfill! Supplies Used:(Affiliate…

Read More »

Vintage Ice Box Style Nightstands Makeover

Vintage Ice Box Style Nightstands Makeover

Hello friends! We just got back from our annual trip to the Great Wolf Lodge and it was fun times as always! Today I am sharing how I updated these fun vintage ice box style nightstands that I found on Marketplace! Supplies Used:(Affiliate links may be provided for convenience.  For more info, see my full disclosure here.) …

Read More »

Never Miss a Post!


GOOGLE 2

GOOGLE 3

GOOGLE 4

GOOGLE 5

GOOGLE 6

GOOGLE 7

Theme by 17th Avenue · Powered by WordPress & Genesis