Hello friends! Let me start off by saying that I am sooooo excited to finally be able to share this project with you all!
Last week I mentioned in my One Room Challenge update that I was having a serious struggle with my DIY upholstered headboard. At one point I was seriously ready to throw in the towel and just buy one. It was that bad. BUT–with a little encouragement from my advisor/mentor (AKA my amazing hubby) I decided to completely start over. And I’m glad I did because it turned out beautifully!
So at last, here is the tutorial on how I made our headboard along with some very helpful tips on what not to do (that I wish I head read about somewhere before tackling this)!
- 1/2″ Particle Board
- Jig Saw
- Drill
- Foam (I ended up using this 2″ king size foam topper from Target and this 1.25″ queen size from Walmart)
- Tacky Adhesive Spray
- Extra-Loft Batting
- Staple Gun
- Fabric
- 1.5″ Cover Buttons
- Upholstery Needle
- Waxed Thread
- Upholstery Nailhead Trim in Silver
- Hangman French Cleat Picture Hanger Kit
I measured our mattress and found out that it was 76″ wide so I had Home Depot cut my 4′ x 8′ particle board down to 76″ x 42″ because I didn’t want any overhang to be visible on the sides.
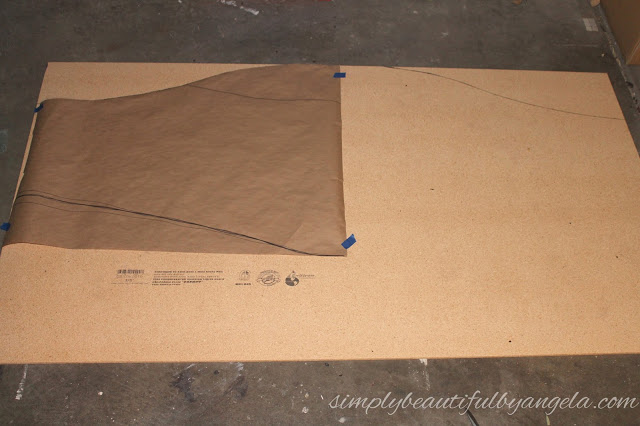
I freehanded the shape that I wanted for the headboard on some craft paper and cut it out to use as a stencil. I flipped it over to the other half so that I got a perfect mirror image.
(as you can see there were multiple attempts made on the craft paper before I got a shape that I was happy with!)
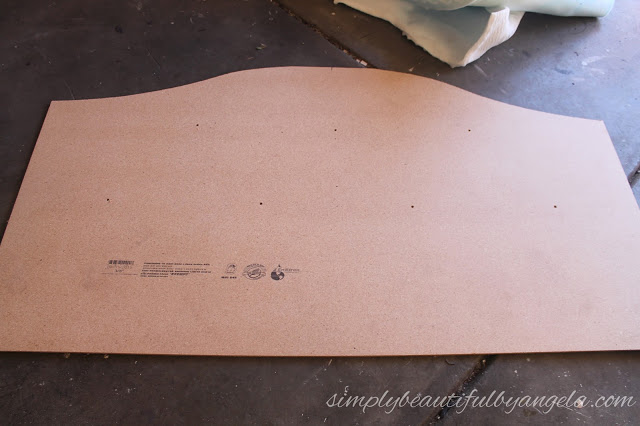
The hubby then cut along these lines with the jigsaw. I also marked out where I wanted my buttons for the tufting and had him use the drill to make the holes. This could also be done later on if you forget!
I knew that I wanted to keep it pretty simple so I went with three on the top row and four on the bottom. I measured out my center point and spaced them 18″ apart.
This was all going so smoothly that I thought–“wow I will probably be done with this by tonight!”
Then I made the most crucial error that a DIY-headboard-maker could make…
I originally planned on just using my 2″ foam topper. But I decided that I wanted to try to make it extra plush. So I cut it in half and used spray tacky to put down one half, and then doubled it up and laid the other half on top.
I then purchased a twin size 1.25″ pad from Walmart to cut up and fill in the area that it didn’t cover.
But there were two problems with this.
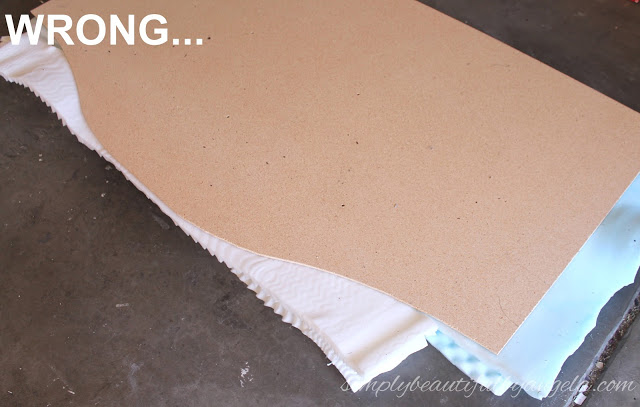
First, I did the cutting in at the top–where it was most visible. Had I done the cutting in at the bottom it wouldn’t have been as bad since that part is going behind the mattress and isn’t really seen.
Second, although it looked okay in darker lighting, the blue foam showed through my fabric when placed in our super sunny room.
This is what it ended up looking like:
Oh sad day! I tried to disguise the foam lines by moving my tufting up but it obviously made it kind of worse.
This was the point that I started pricing upholstered headboards online. But the hubby and I both agreed that we liked my design so much better and we should just try to fix it.
So I spent that entire afternoon taking it back down to the bones by taking out each and every single staple with needle nose pliers. So not fun.
Even though it was painful to have to purchase more supplies, I was determined to do it right.
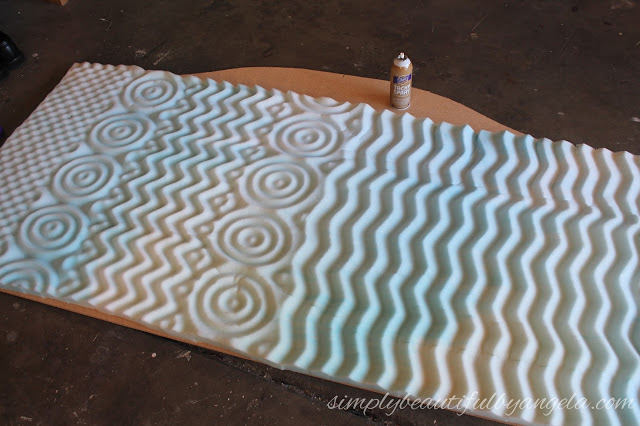
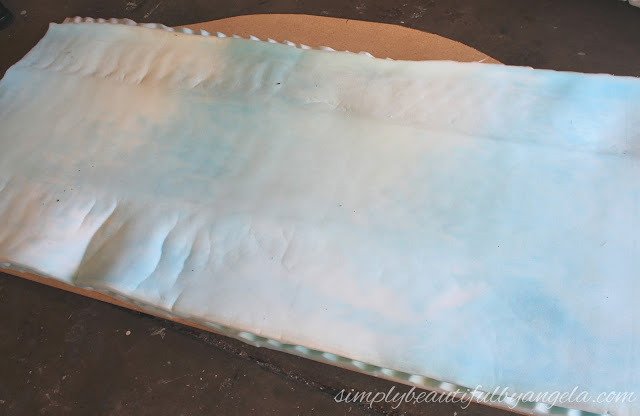
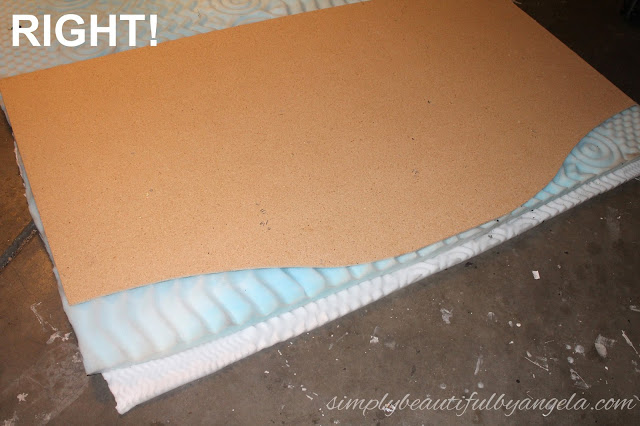
I laid out my blue 2″ foam in a single layer (with the seam from where I cut it at the bottom) Then, I got a queen size topper from Walmart and laid that over the top. This added a little extra thickness and made it so that the blue foam wouldn’t show through like before.
This is what it look liked after I spray glued it down and flipped it over.
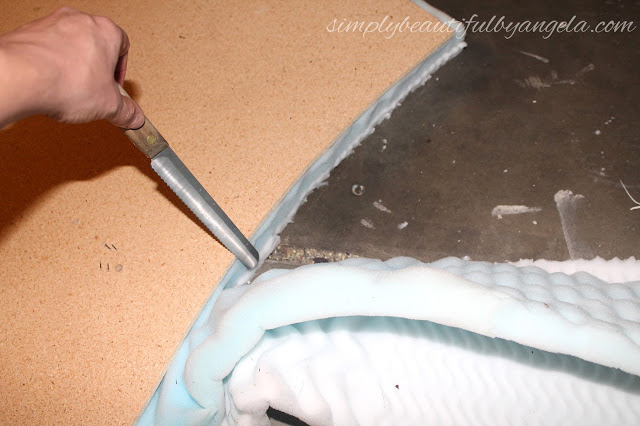
The other issue I had before was that my foam was super jagged from cutting with scissors. So this time I used a bread knife to get a little bit cleaner cut. I also pressed down on the particle board to make it as flat as possible which made it easier to cut.
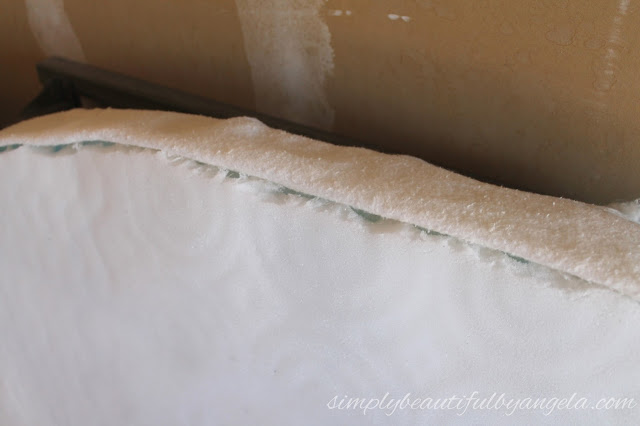
To help hide the crappy foam edges a little more I put on a folded layer of some batting along the edges. I used spray glue to make it stick and then stapled in the back.
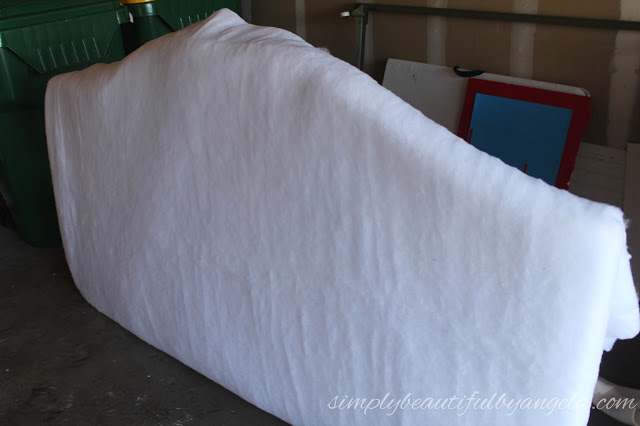
Since I destroyed my batting in the process of deconstructing it I had to purchase some more. But it’s a good thing. I had used a low-loft batting previously because I thought it would make for a smoother look. However I found that the Extra-Loft Batting that I got for round two made such a difference! The puffy “Santa Clause beard” material both hide imperfections and added extra thickness. It was also big enough to double up which was great!
I started by stapling the sides and the bottom while still on the ground. Then I stood it up so that I could pull it really taut before stapling the top.
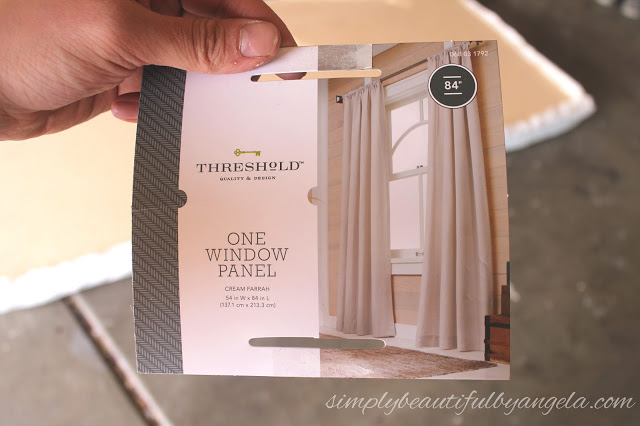
Now for the fabric. I spotted this linen curtain at Target and really liked the color. After searching different fabric aisles high and low I couldn’t find anything I loved quite as much. We ironed our fabric before putting it on over the batting.
I didn’t get a picture of the process of getting the fabric on, but I basically pulled and smoothed while I had the hubby staple. This is definitely easier as a two person job! Just like the batting, we did the sides and bottom first and then stood it up to smooth the front before doing the top.
Next it was time for the tufting! This was actually pretty easy.
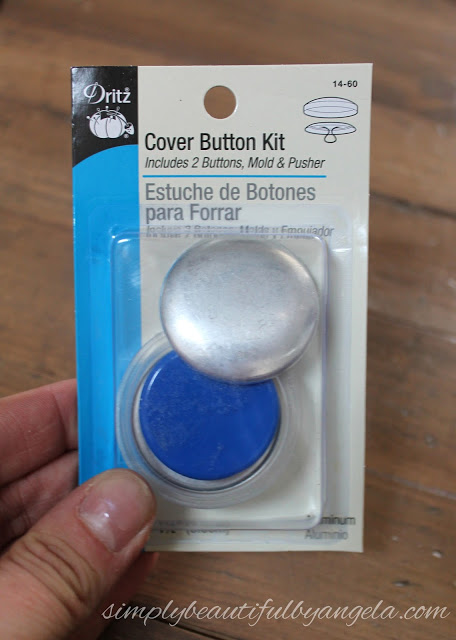
I got these Button Cover Kits that looked complicated but were super simple (and even kind of fun!).
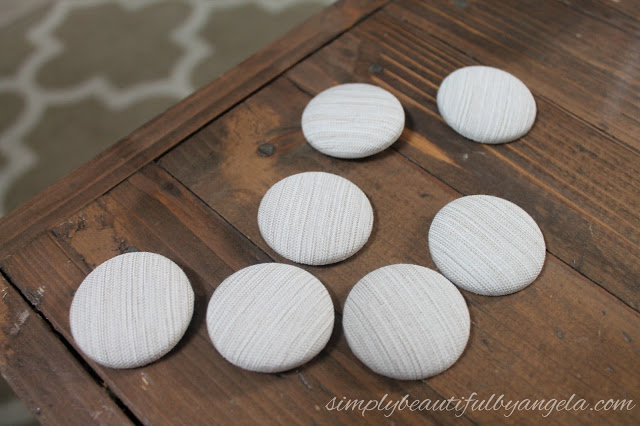
Using some scrap material I made 7 buttons.
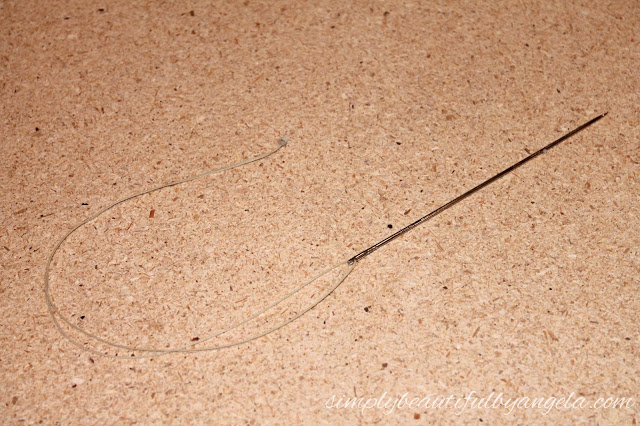
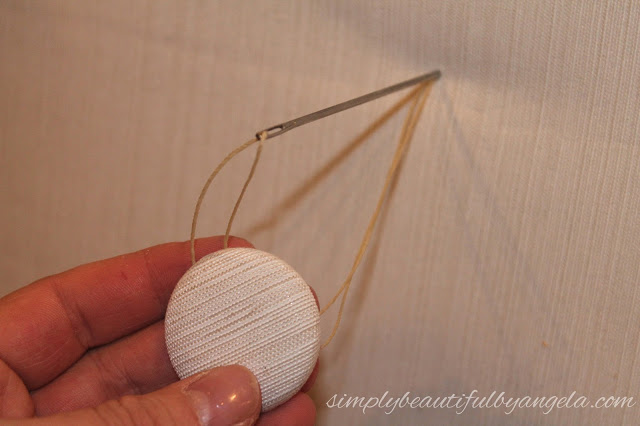
I then double threaded my upholstery needle with the wax thread.
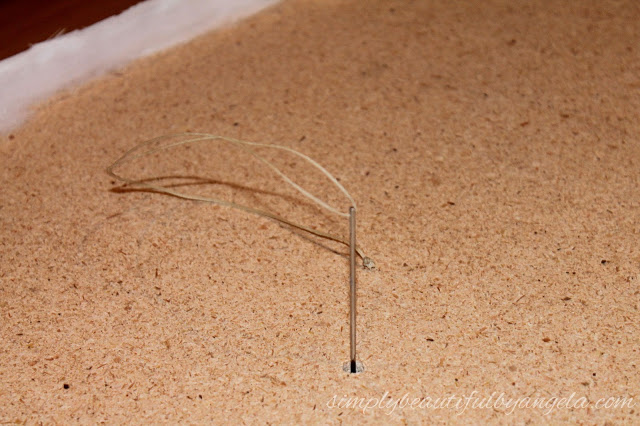
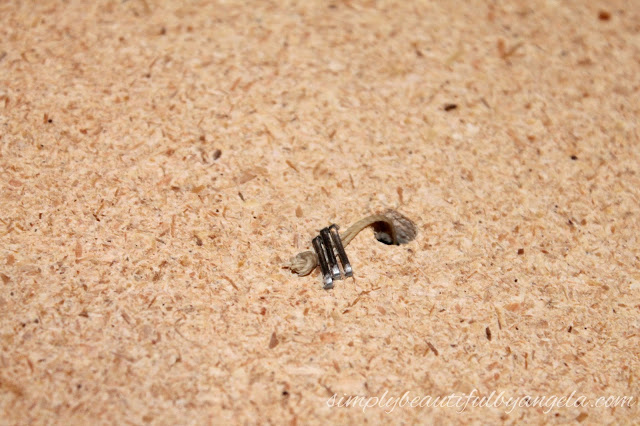
I fed the needle straight through the back where we drilled the hole and stopped just short of pulling the knot through to staple it down.
I put three staples in and hammered them down really good so that little sucker isn’t going anywhere!
I then fed my needle through the back of the button before feeding the needle right back through and pulling it tight to create the tufting.
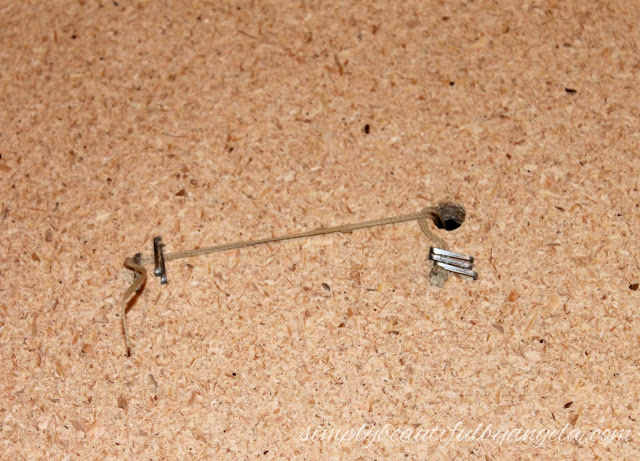
Once the needle was fed back through I cut, knotted and stapled that part down too.
As you can see, it was kind of wrinkled so I smoothed the fabric down and then stapled the excess at the bottom.
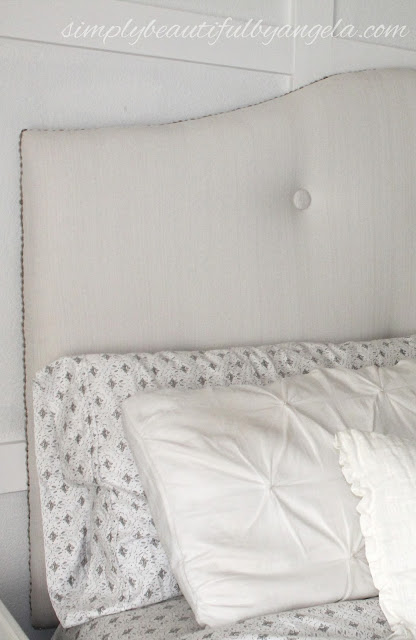
Finally I was ready to add the finishing touch–the nail head trim.
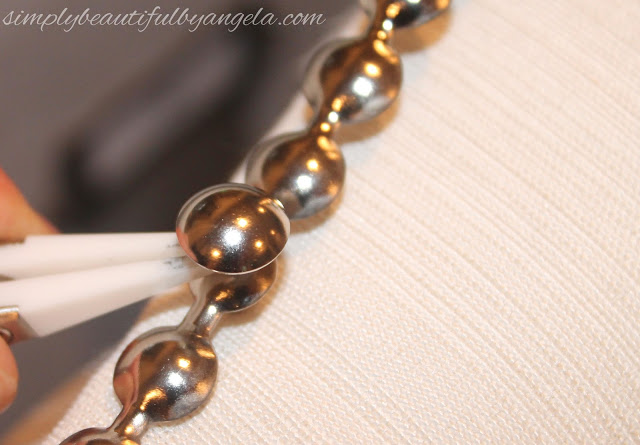
Instead of doing individual nail heads I got some Upholstery Nailhead Trim in Silver. This is amazing because it goes on quickly and straight.
You only need to nail in every 5th one since the rest is just trim. I find that it’s easiest to hold on to it with some tweezers as you hammer.
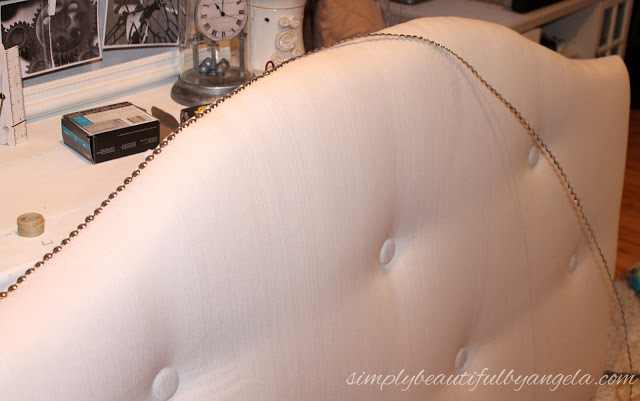
I went back and forth on whether or not to add this since I knew it wouldn’t be that visible unless looking at it from the side, but I am so glad I did. Not only does it add that little bit of interest to it, but it also smoothed out the curves along the edge perfectly.
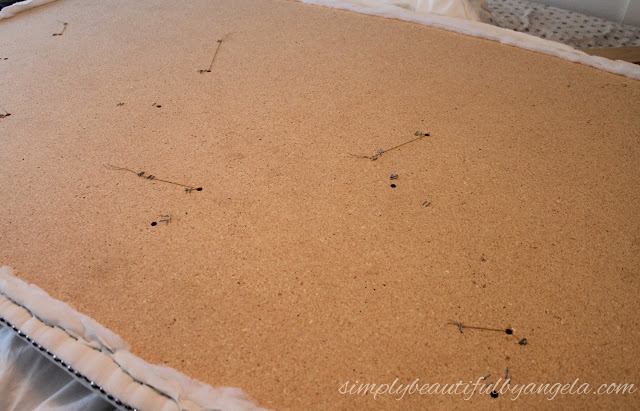
By then end the back isn’t very pretty but it doesn’t matter since it goes on the wall.
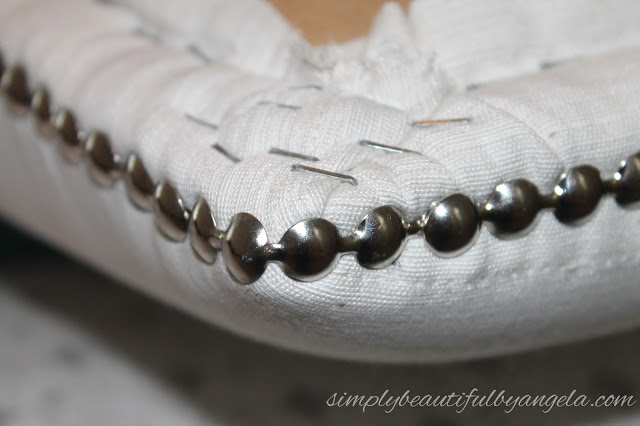
I also wanted to show you how I did the corners. I have read a lot of tutorials where they fold them like packages, but for the life of me I could not get it to look pretty. So I basically tugged and pulled and stapled as much as I could so that there were no folds and it was all just folded in the back.
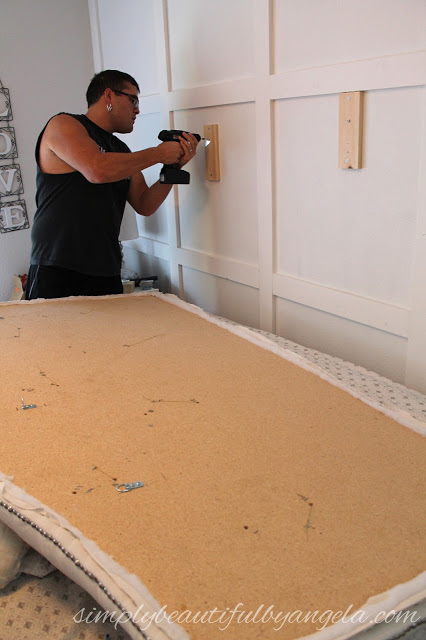
Hanging it on the wall as actually not as simple as I thought it was going to be. Since we have the board and batten on the wall, the hubby attached some scrap 1×4 pieces to the studs. We then tried to mark where these were on the back of the headboard and attached D-rings in these spots. But we found it so difficult to get these matched up and on straight that we decided to just use a Hangman French Cleat Picture Hanger Kit in the center instead.
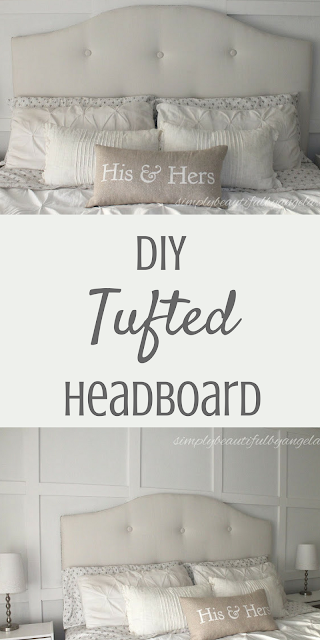
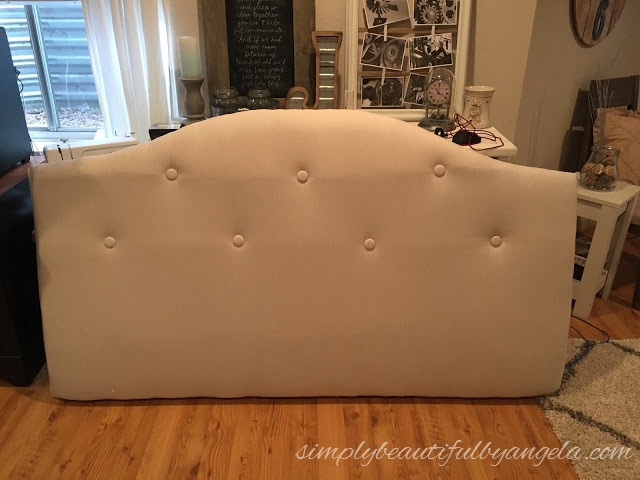
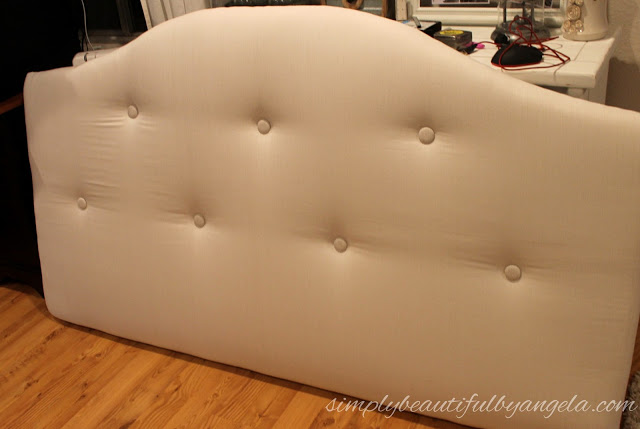
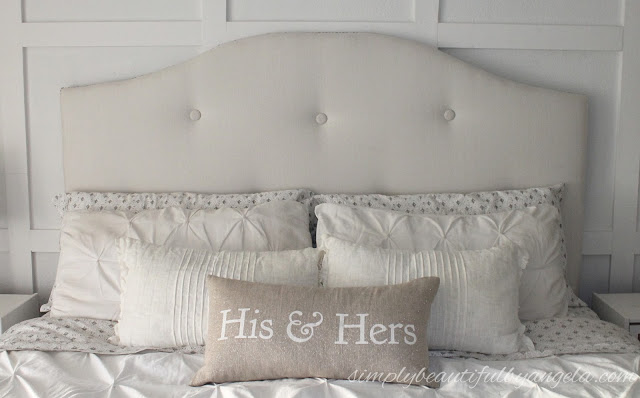
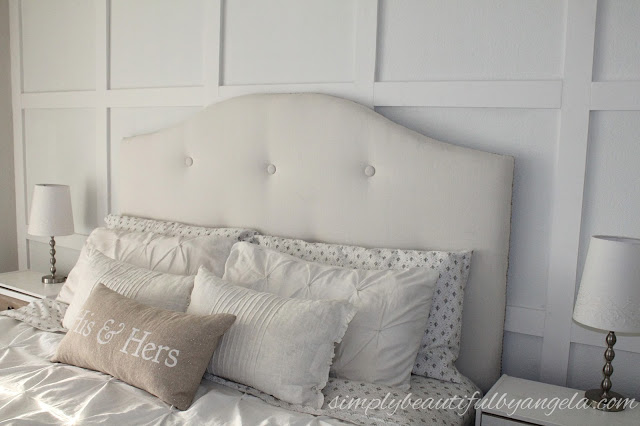
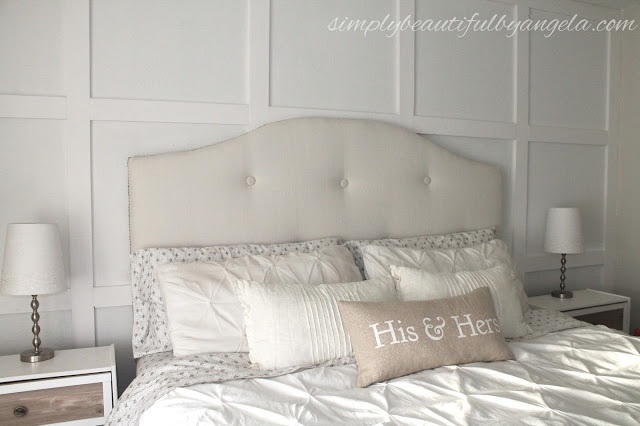
And here it is!
I can’t wait to see it with the new bedding! Eeeek!! I’ve already picked it out and will show it off during the One Room Challenge reveal.
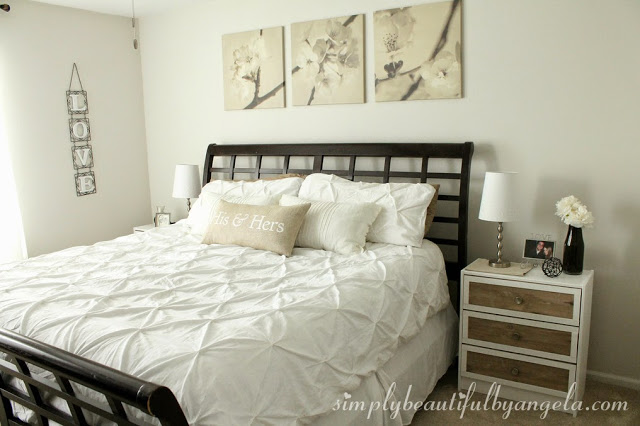
Even though our old sleigh bed was nice….
It was a beast and took up so much room. I am loving how much extra space we have now. You will see what I mean when I share a full room reveal at how much room there is at the end of the bed now!
Be sure to hop on by this Thursday to see another big change that happened in this space last weekend. See you all then!


Oh so pretty. What a great job you did on the headboard. Thanks for the tutorial also. The room looks awesome.
Thank you so much Danice!
I love to learn new things and ideas about home improvement. This bed is really beautifully decorated. I'll definitely try to make this headboard at home. Please continue the great work.
Thanks Lindsey!
You did a great job. I want an upholstered headboard for our guest room. Maybe I will try to DIY one. I will be featuring this tonight at my Fall into Fall party. The party opens at 8pm EST. Please stop by and pick up an I've Been Featured button. Thanks. http://diybydesign.blogspot.com
Thank you so much! I really appreciate the feature and I say give it a shot I'm sure one would look great in your guest room
That turned out just gorgeous! Thanks for the good tutorial, too.
Thank you so much!
Nice job. I'm sure you meant "taut"…
Great post thanks for sharing such an interesting and informative informative. Very informative post.
dmv construction