Hello and happy Tuesday friends! Or semi-Monday if you had yesterday off…
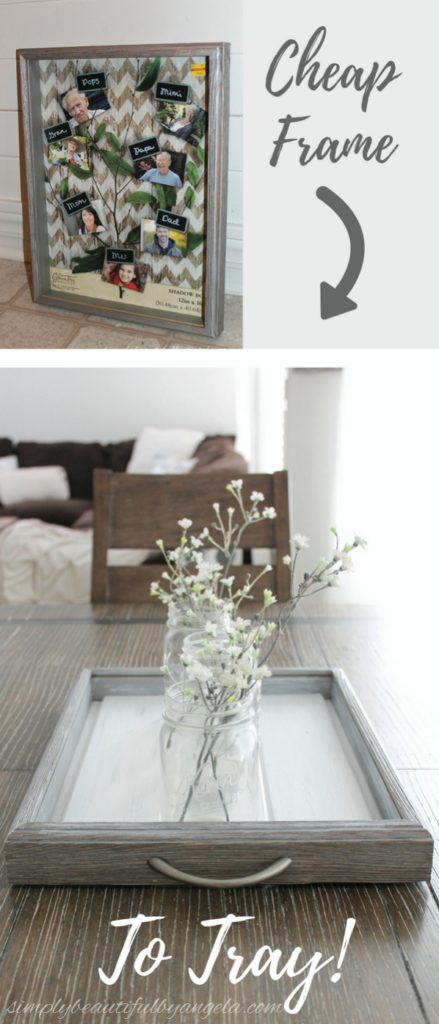
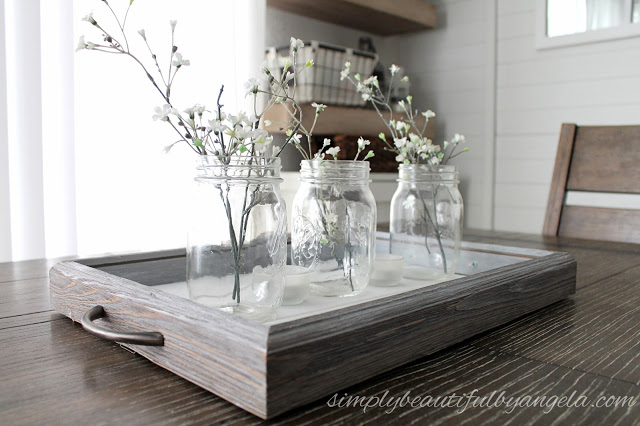
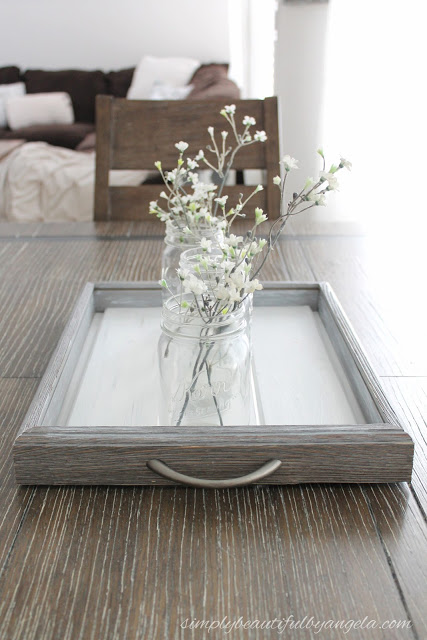
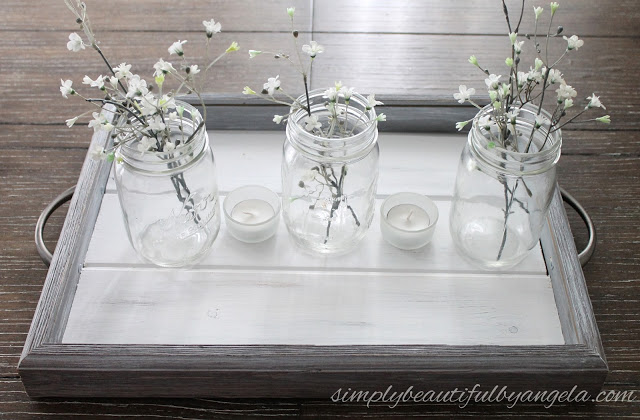
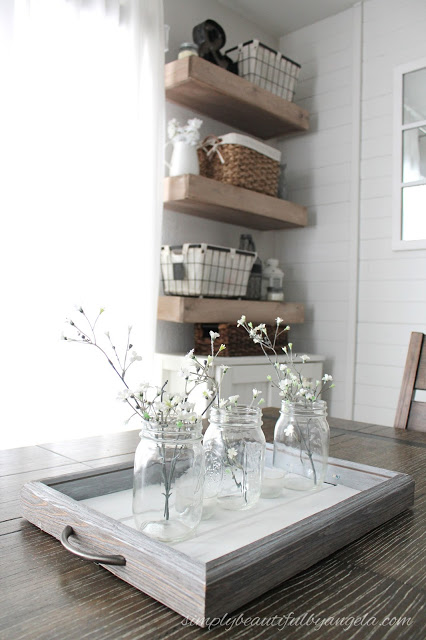
I hope you all had a nice long weekend. Ours was pretty low key and we spent most of our time just relaxing. I did however make this cute little tray for our dining room table.
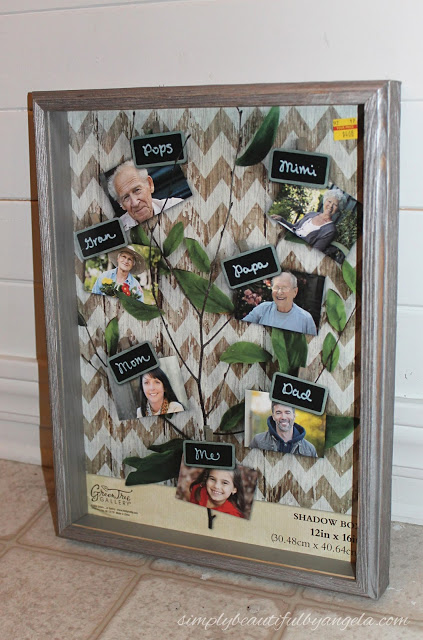
It all started when I had a couple of returns to make at Hobby Lobby. Because it is absolutely impossible for me to just walk in that store without walking around, I found myself in the clearance aisle eyeing this pretty wood shadow box frame that was missing its glass.
At first I thought about turning it into a chalkboard but as the hubby would remind me, the last thing I need around here is another chalkboard. So I set it back on the shelf and went on my way.
But I couldn’t stop thinking about it. And since it was only a couple of bucks it had to have some purpose for me, right?! Then suddenly I spotted a cute little tray and it served as the perfect inspiration.
- Shadow Box Frame
(mine was from Hobby Lobby clearance but I linked a similar one. I also see shadow boxes at the thrift store pretty frequently)
- V-groove planks (or thin plywood)
- Liquid Nails
- Paint
- Medium Grit Sandpaper
- Pulls (I used these ones from Hobby Lobby while pulls were 50% off)
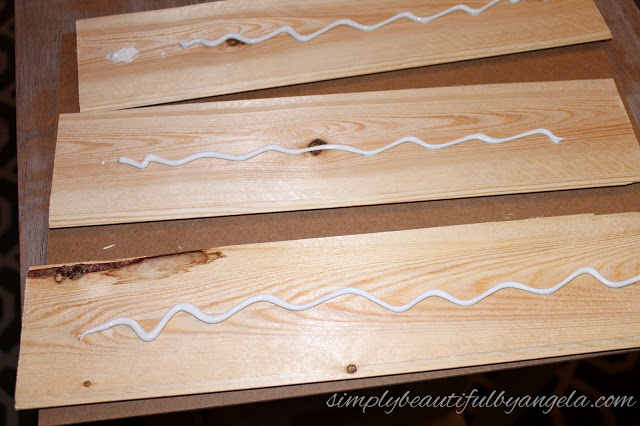
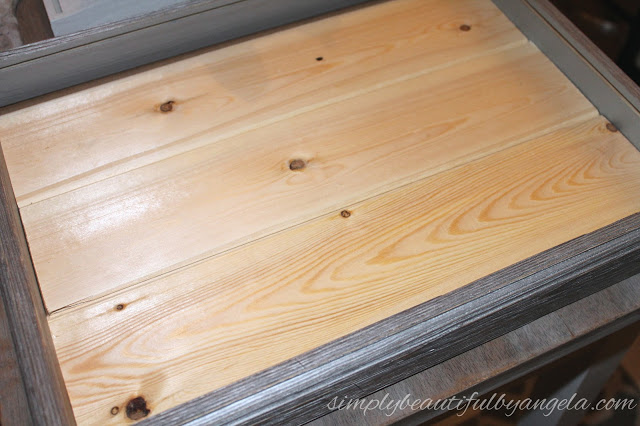
I cut down a V-groove plank from my scrap pile and adhered the pieces to the shadow box backing with liquid nails.
It’s important to note that I measured the space inside the shadow box frame instead of the backing itself so that it would be able to fit inside the frame. (I say this is important because I almost forgot!)
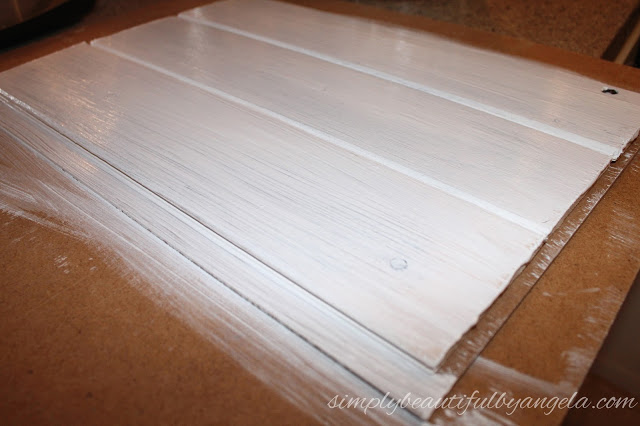
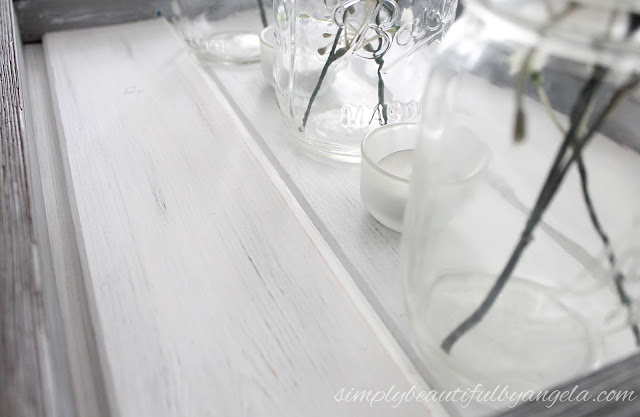
I then gave the planks my favorite finish which is a coat of brown paint followed by 2 coats of white paint. Once dry, I lightly distressed it with some sandpaper.
As you can see, the 3 planks didn’t fill out the backing completely so I made sure to paint those parts as well since they would be showing.
With the hubby’s help I attached a pull on each side of the frame and voilà!
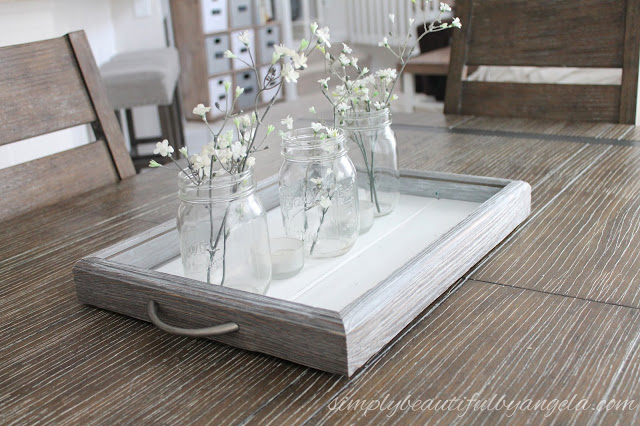
I wouldn’t necessarily trust it to carry a gallon sized pitcher of lemonade, but for displaying mason jars on our table it works perfectly!
It was a super quick and cheap project that I find myself admiring every time I walk by.
If you don’t have supplies on hand to do planking you could just paint the bottom or attach some pretty fabric.
I love how much attention trays are getting lately but some of the prices I’ve seen them going for in the stores is insane! This is the perfect way to get one for less than half of the cost. I spent a little over $8 on this project.

I have a shadow box I purchased and its the wrong size so I never used it. This is the perfect makeover. I love trays of all kinds style and colours. Pinning this simple makeover. Love it.
Thanks Leanna! That's awesome that you already have one–projects using what you already have are the best! 🙂
The depth of shadow boxes make them perfect to use as a tray – love this idea!
Thank you Marie! I know, right! It was such a lucky moment that I spotted this frame and a tray at the same time or else I don't know if I ever would have thought of it haha
I really like that finish and that pull was a great choice!
Thanks for sharing at Funtastic Friday!
Thanks Kim! Me too, I felt like they were just made for each other 🙂
Thanks for joining us at the Inspiration Spotlight party. This is an awesome DIY. Pinned & sharing.
Thank you so much Theresa!
This is a really great use for a shadow box! I see them quite often when I'm thrifting so next time, I'll pick one up and put all those handles I have to good use! Pinning & sharing 🙂
Thank you! I've seen them a lot too but inspiration didn't hit until I saw a similar tray at Hobby Lobby! Here's to never buying an overpriced tray again haha 🙂