
Hello everyone! I hope you are all having an awesome week so far. I can’t believe that we are already almost through the month of August! Whew.
This month has been so busy for us that I haven’t had time to finish any projects. It’s been pure madness, you guys!
However! The good thing about having a lack of new stuff to show you guys is that I’ve been able to use these last couple of weeks to write about the projects that never made it to the blog! Like my DIY Chalkboard Organizer and the makeover that I gave a Thrifted Vintage Clock.


Today I am going to check another old project off the list and I’m really excited to share this one with you guys So let’s get to it!
Supplies Used: (Affiliate links may be provided for convenience. For more info, see my full disclosure here.)
- Beadboard Panel
- Various Acrylic Paints
- Painters Masking Tape
- Paintbrush
- Medium Grit Sandpaper
- 2-1x4s
- Minwax Weathered Oak
- Wood Glue
- Staple Gun
- White paint
- White Latex Caulk
- Upholstery Nails
- Rust-Oleum Hammered Metal Finish Spray Paint
- Brad nails
- Flat Corner Braces
- Sawtooth Hangers
The list is long but I luckily had all of these items on hand so this project cost me zero dollars!
When I was doing Lucas’ nursery I gave a cheap bookcase a makeover and I had purchased a large sheet of beadboard to replace the cardboard backing. I was left with this scrap piece after I was done and I knew that I just had to find a way to use it so I kept it.

Fast forward a couple of months and there I was trying to figure out a cheap wall art option for the basement. My wheels got to turning and I decided to turn this guy into some awesome art!
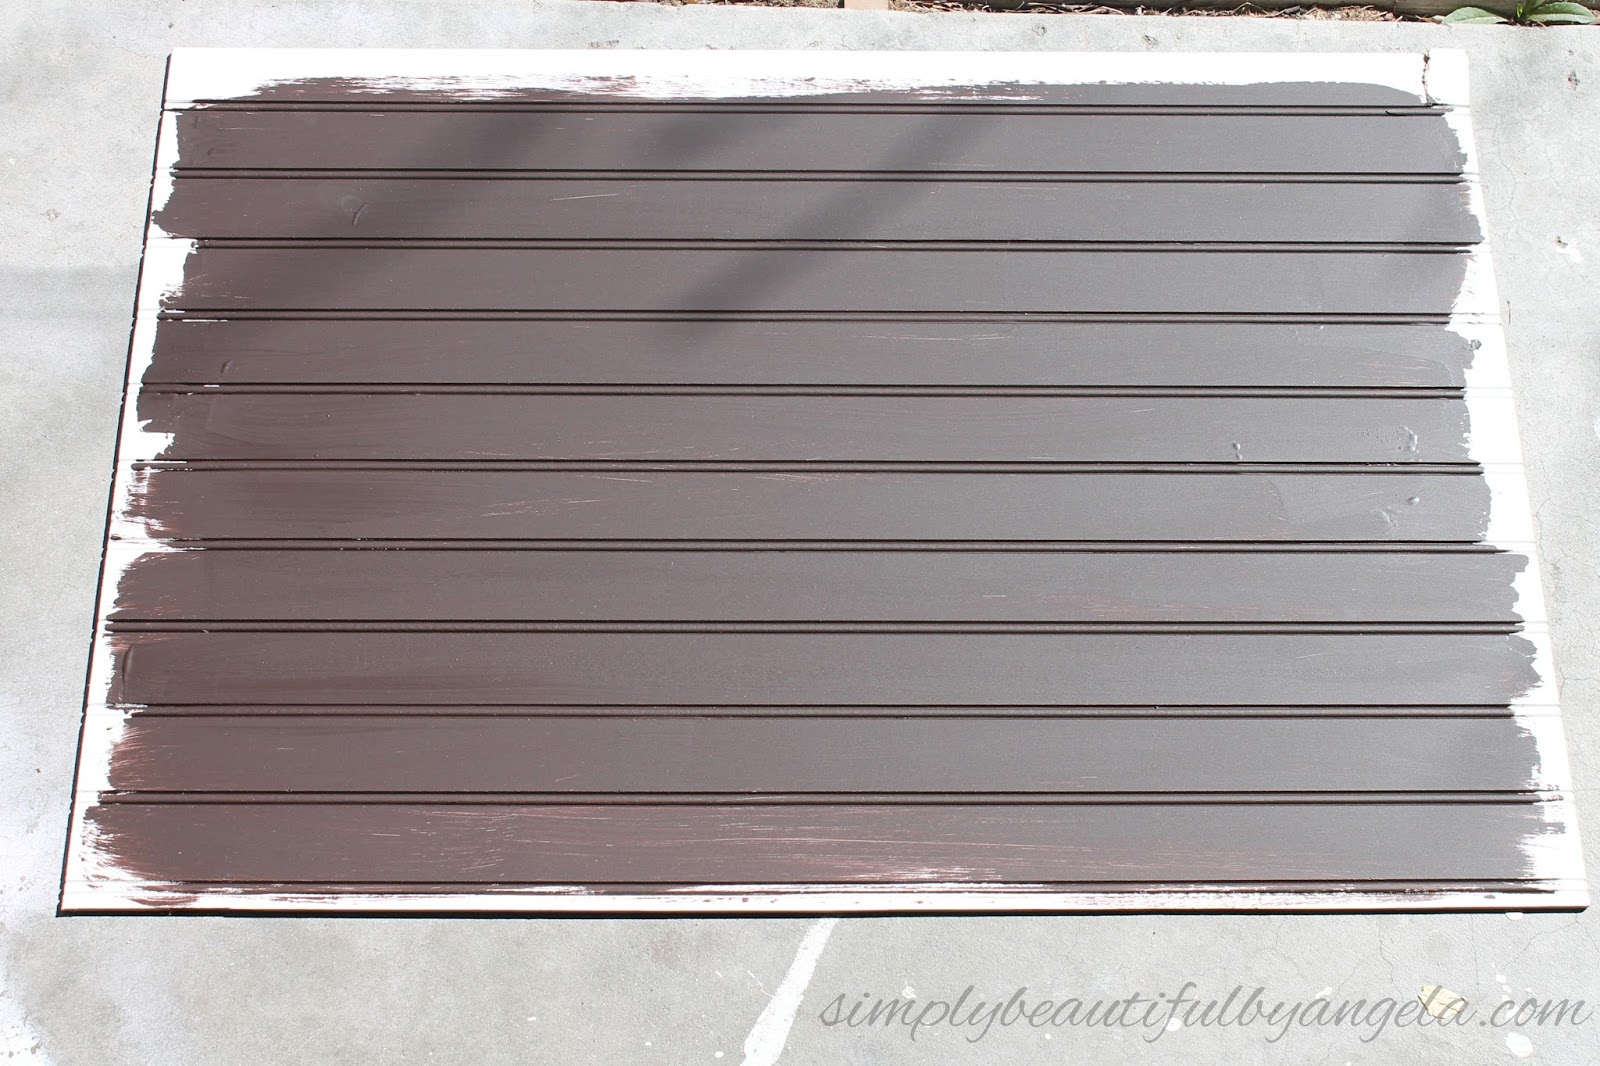
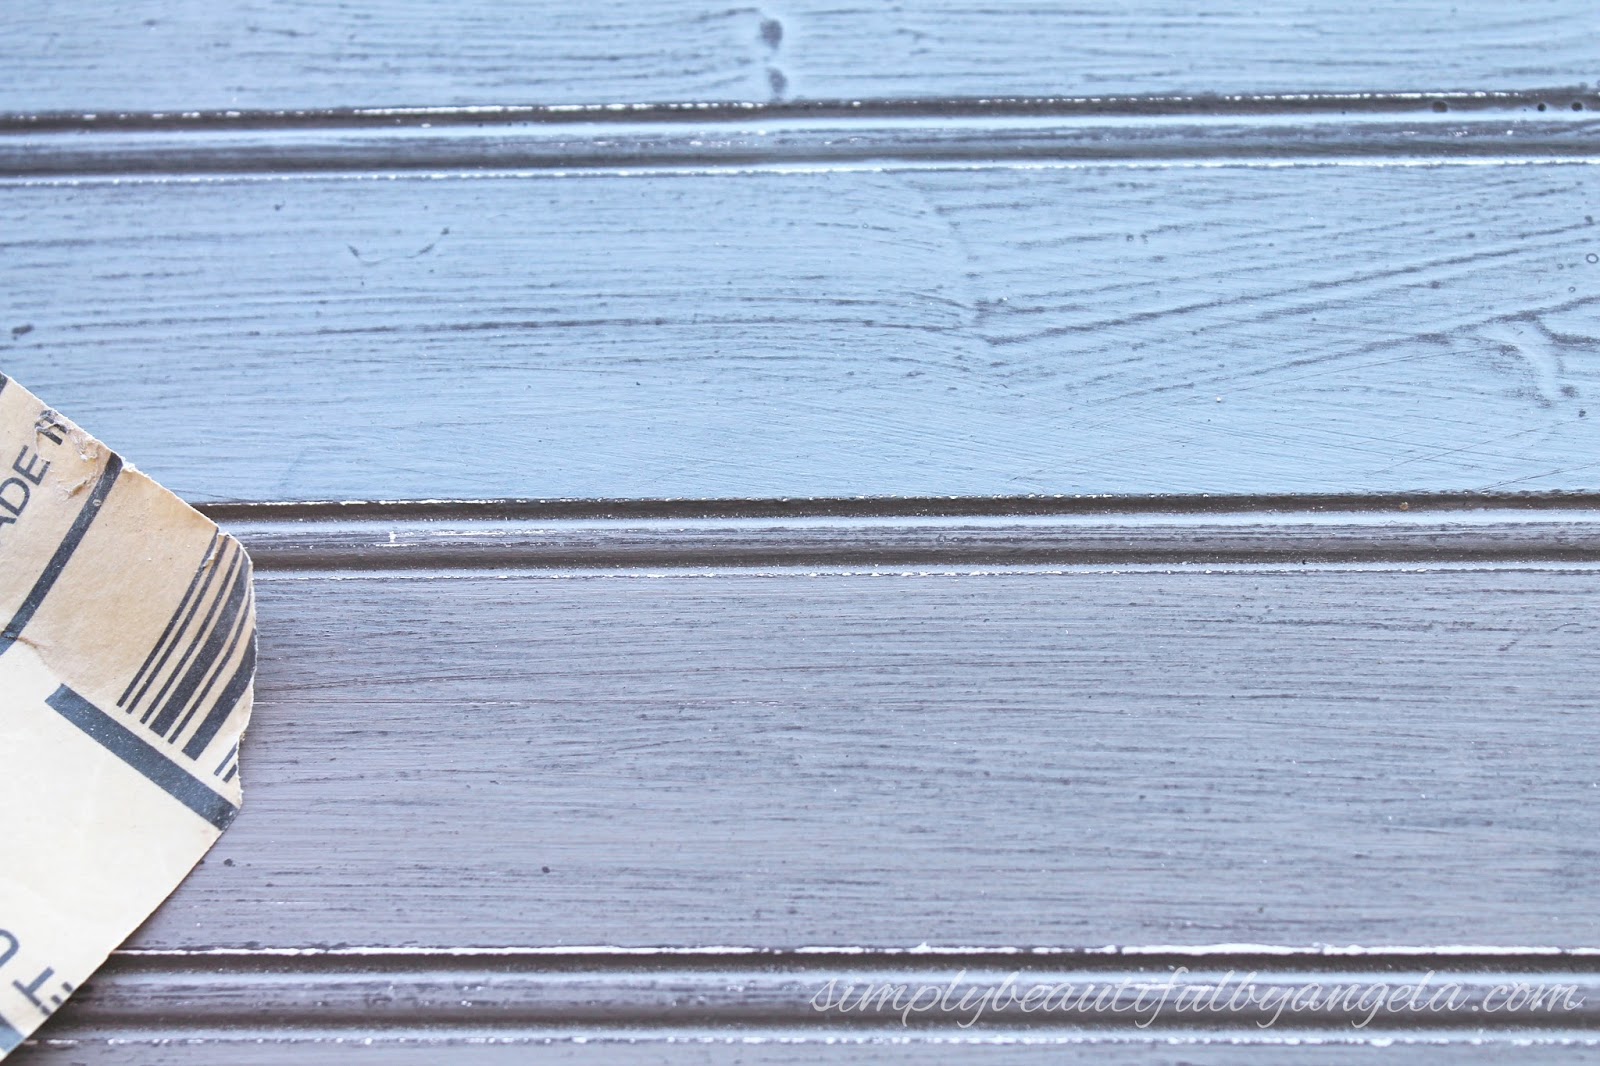
I began by painting the beadboard with a dark brown paint. I didn’t go all the way to the edges since it was going to be framed later on.
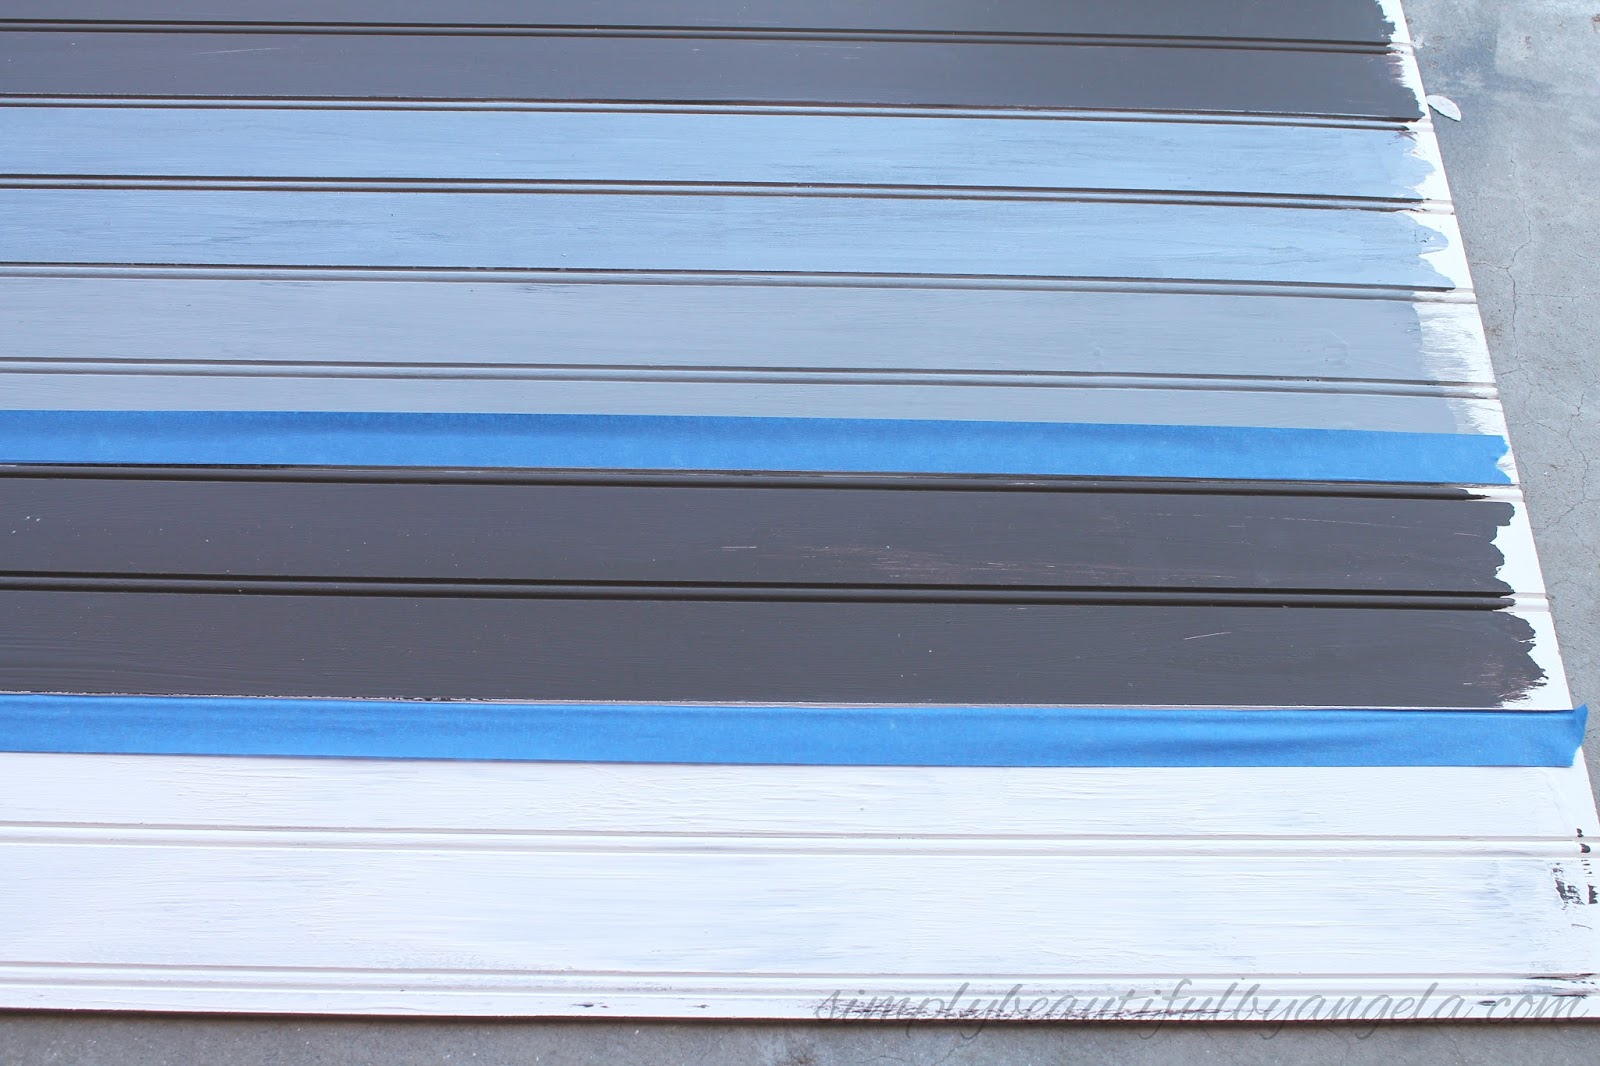
I knew that I wanted to use a total of 5 colors. My grandma always taught me to decorate in odd numbers and 3 didn’t seem like enough, so 5 it was! I measured the width of my board and then divided it by 5 to determine how big each stripe of color should be.
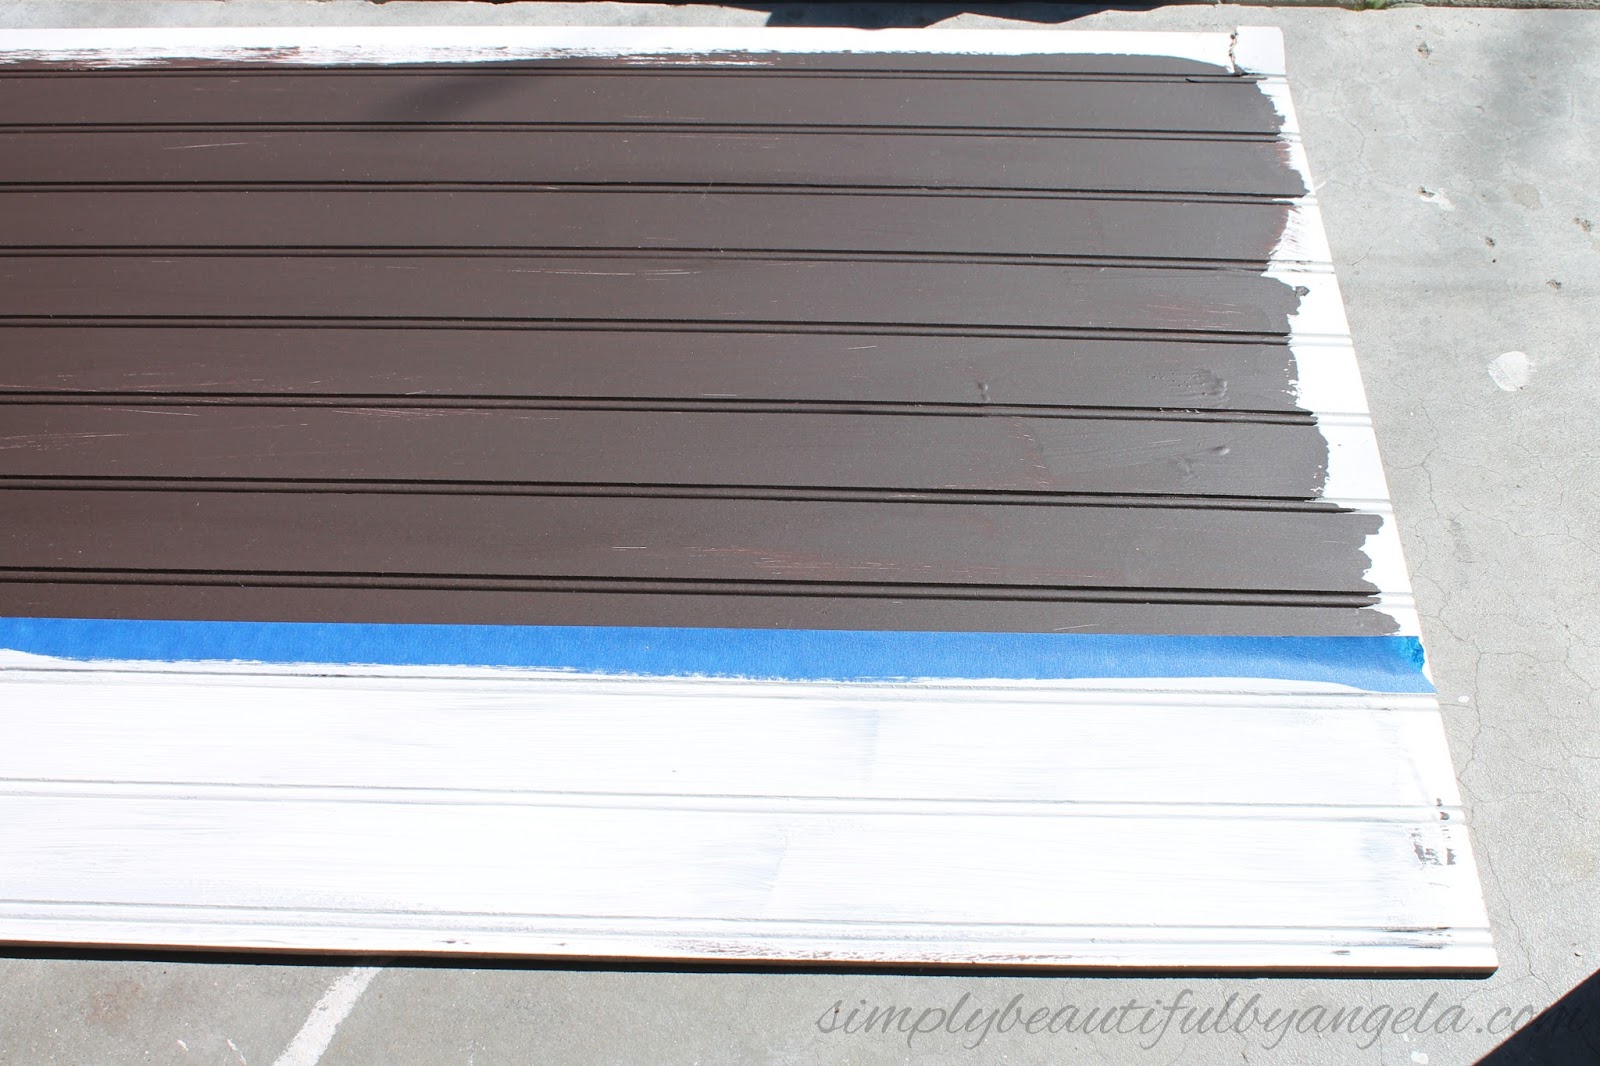
I continued taping off the other sections off as the ones next to it would dry.
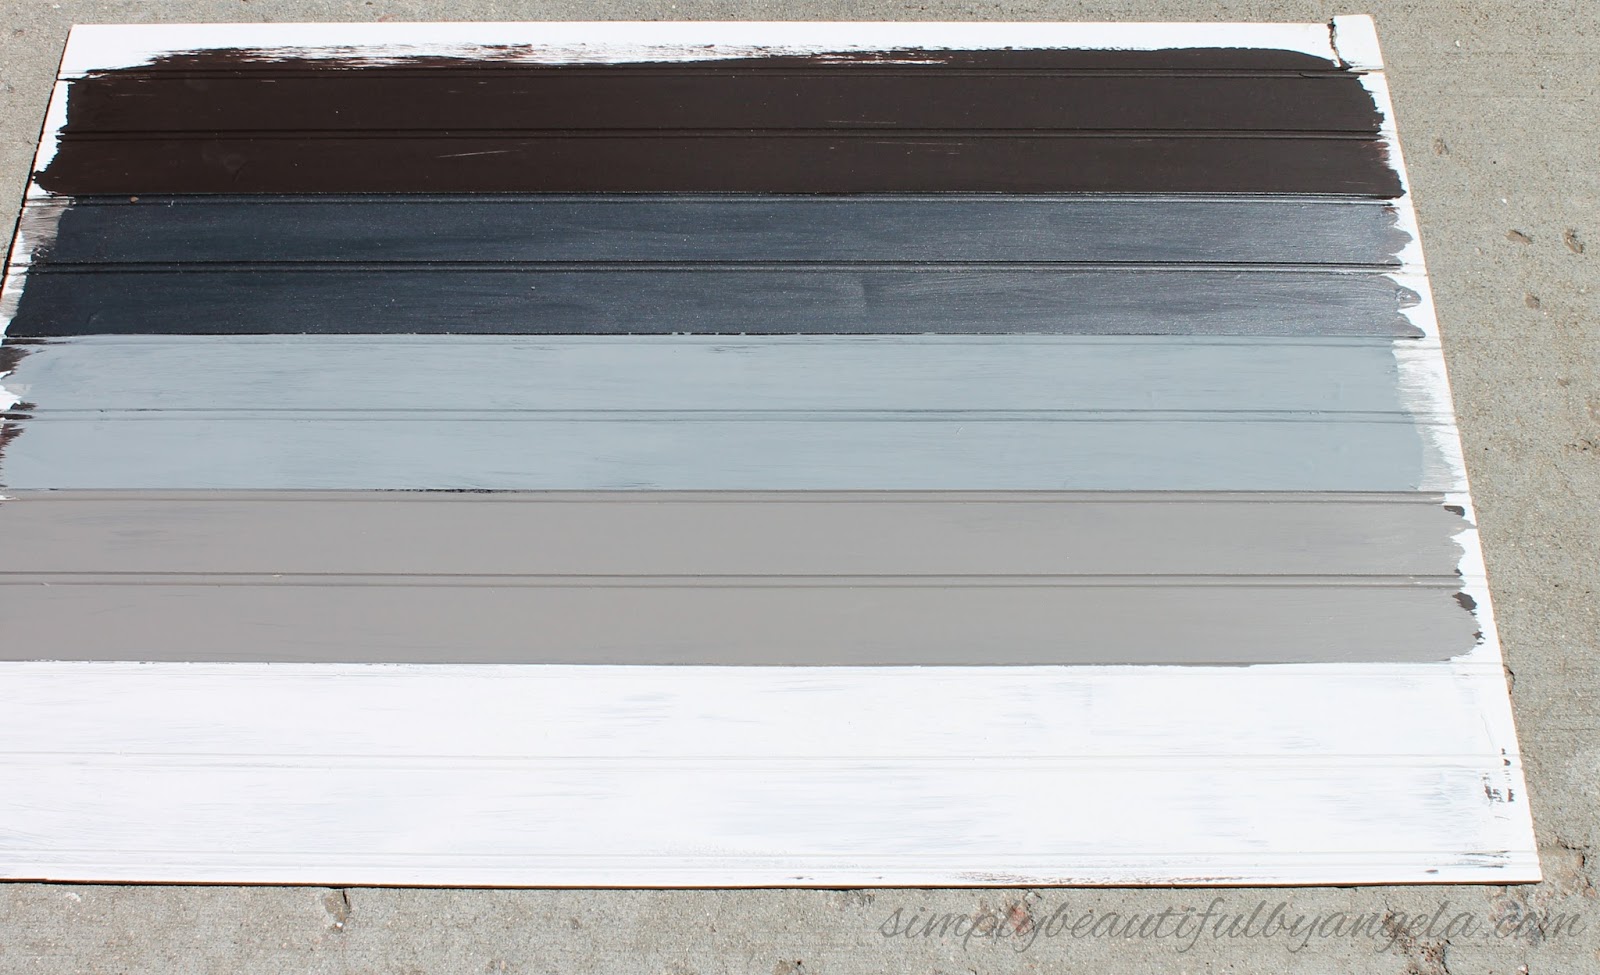
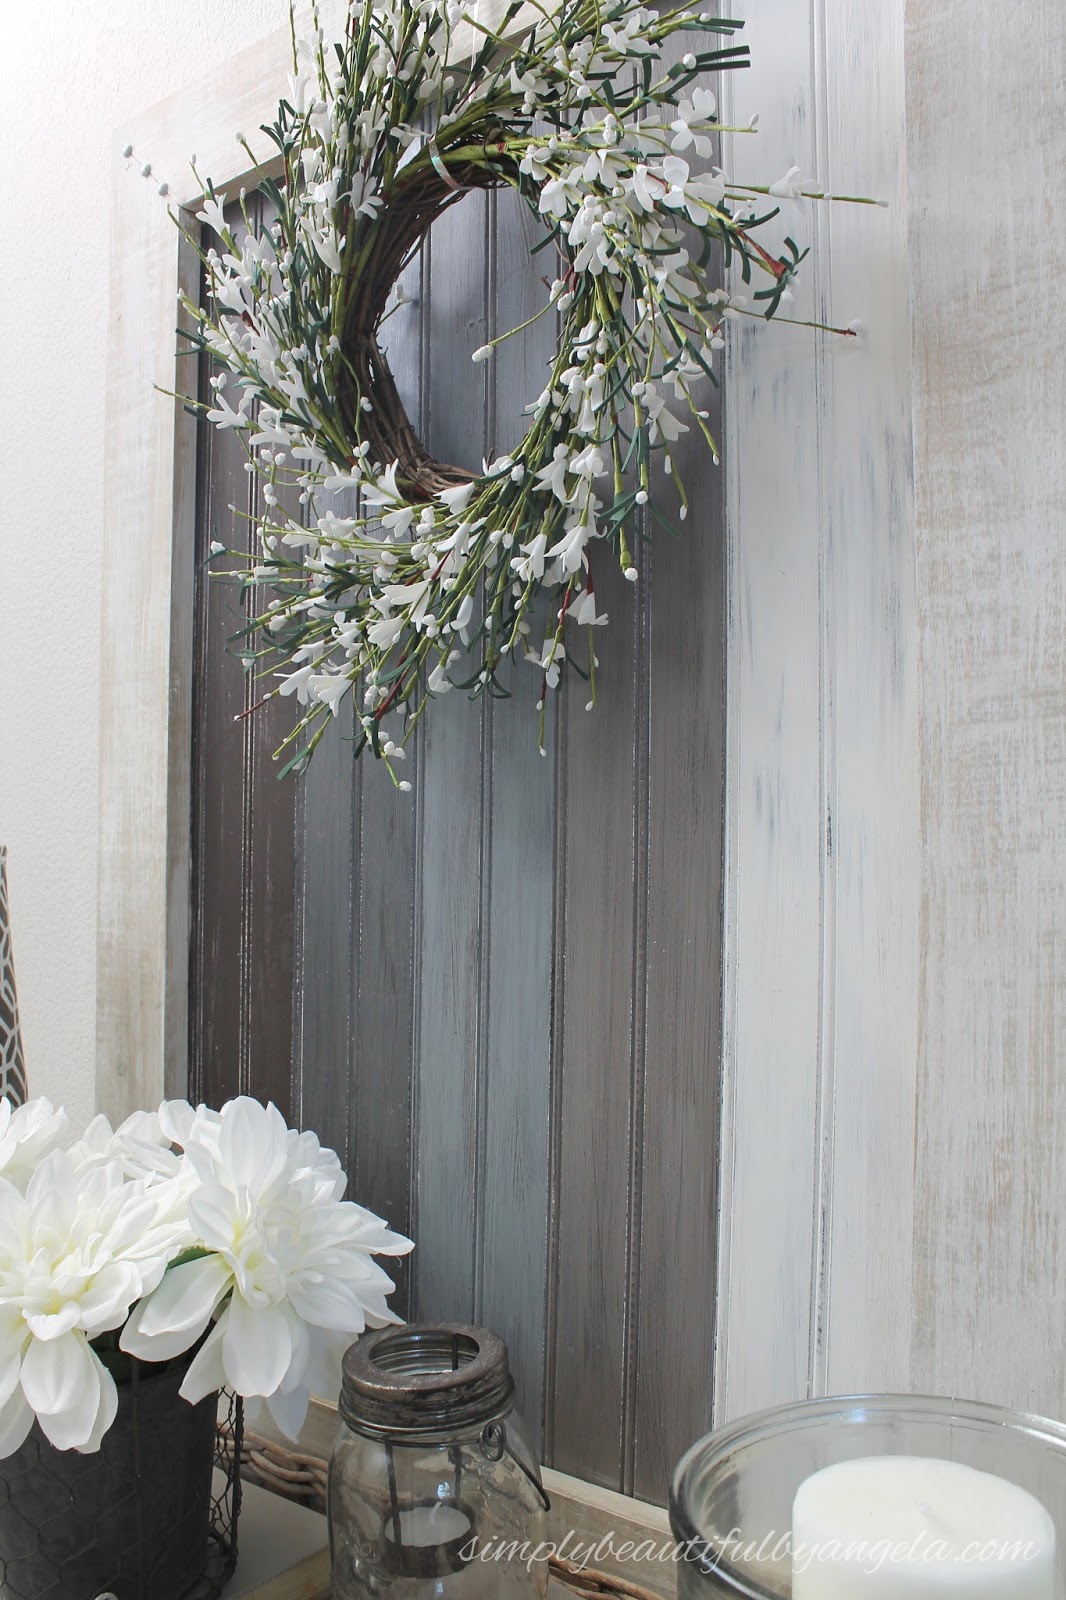
I used some sandpaper to distress it a little bit. It pulled out the dark brown paint in some spots and the white beadboard in others which I think adds awesome interest.
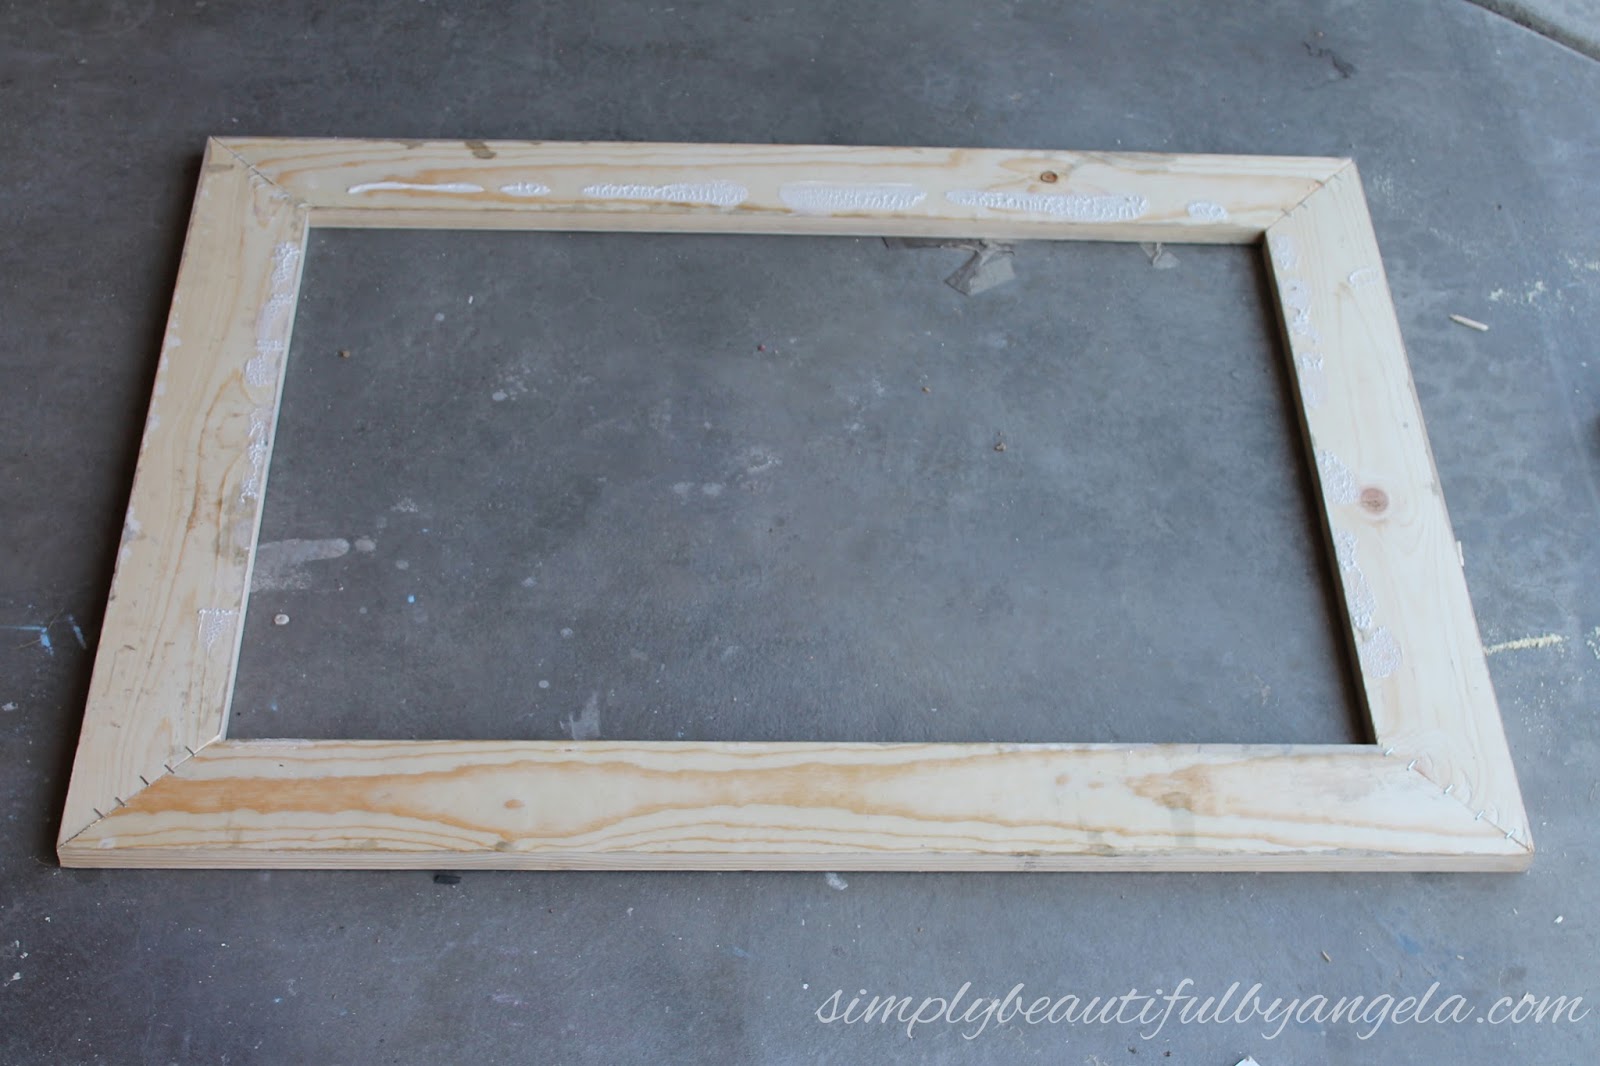
Once that was done I was ready to build the frame. At first I tried to just use liquid nails to attach the 1x4s to the beadboard and let’s just say that it did NOT go well…
So instead I used the same method that I used for my DIY Chalkboard Organizer to cut the wood and glue it together before securing the joints with a staple gun.

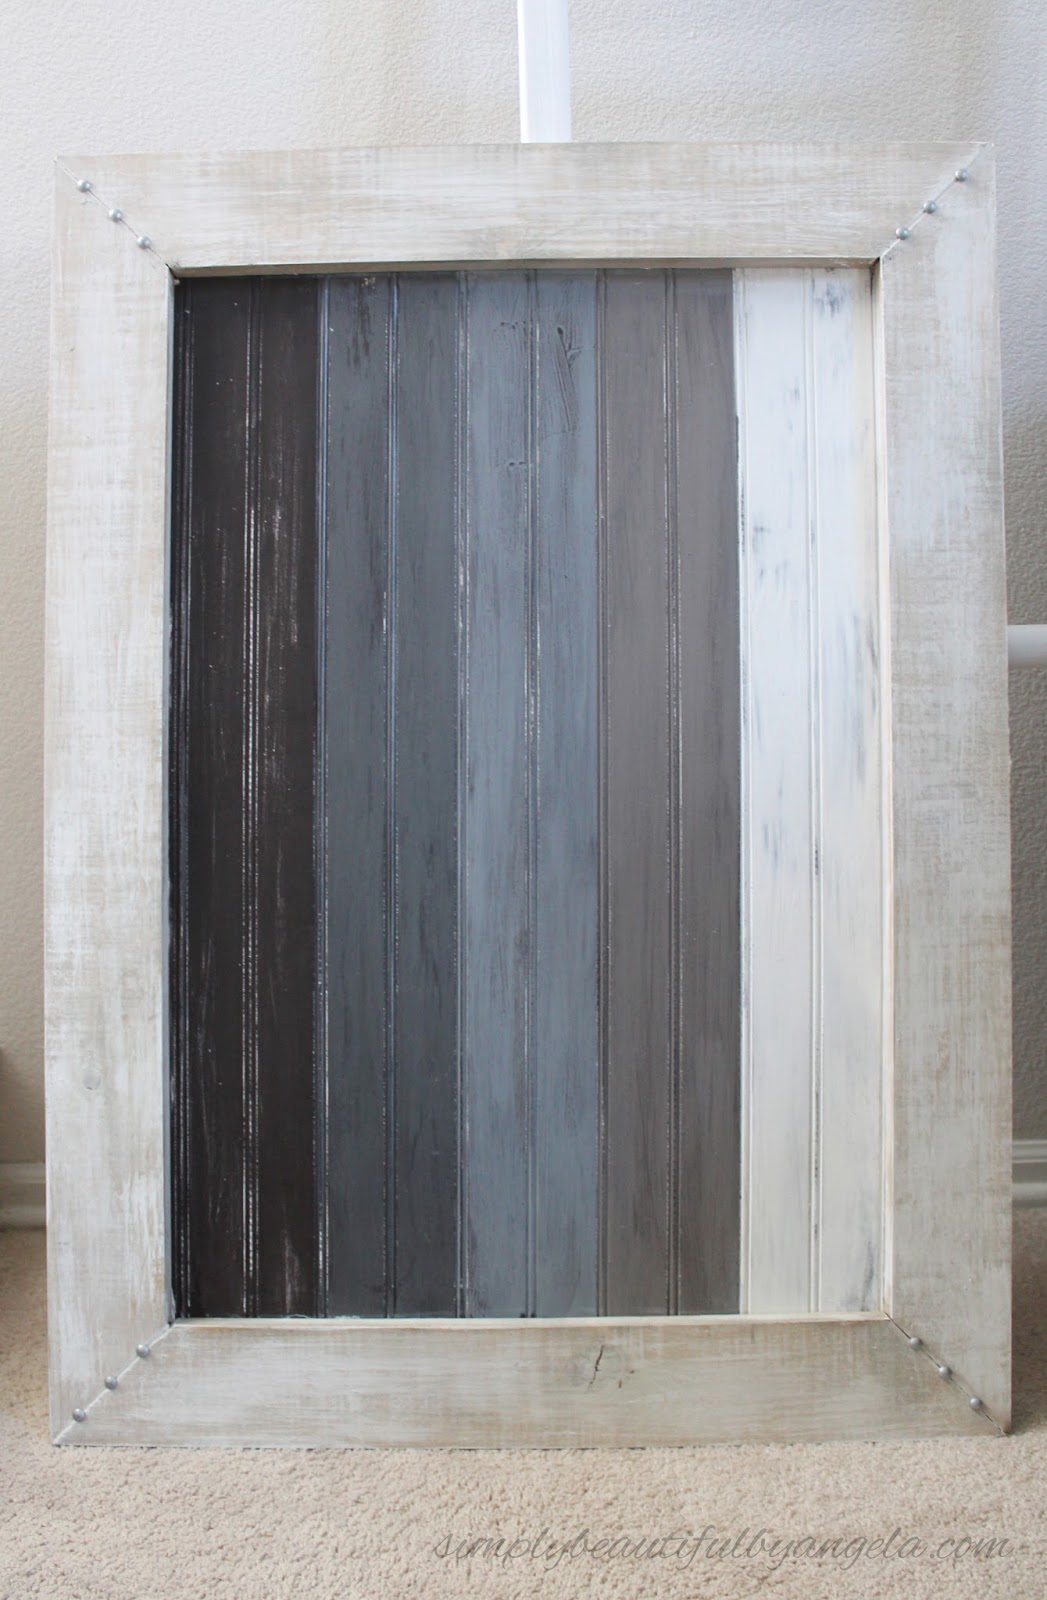
Once it was dry I flipped it over and stained it with Minwax Weathered Oak. I decided that it was just too blah so I used some white paint to do a very heavy drybrush over it and I love the result! (I didn’t get a picture but you’ll see in a minute!)
I also added some white caulk in the mitered corners to hide the small gaps. Once it was dry I popped in 3 nail heads that I had spray painted with Rust-Oleum Hammered Metal Finish Spray Paint in each corner. Also no picture of this step–bad blogger here!
I placed my beadboard face down on the back of the frame and attached it using small brad nails. I made sure to use one every couple of inches to make it nice and secure.

When I picked it up, the frame was a little bit shaky–this thing is heavy! I added a flat corner brace on the back of each corner and it was the perfect fix.

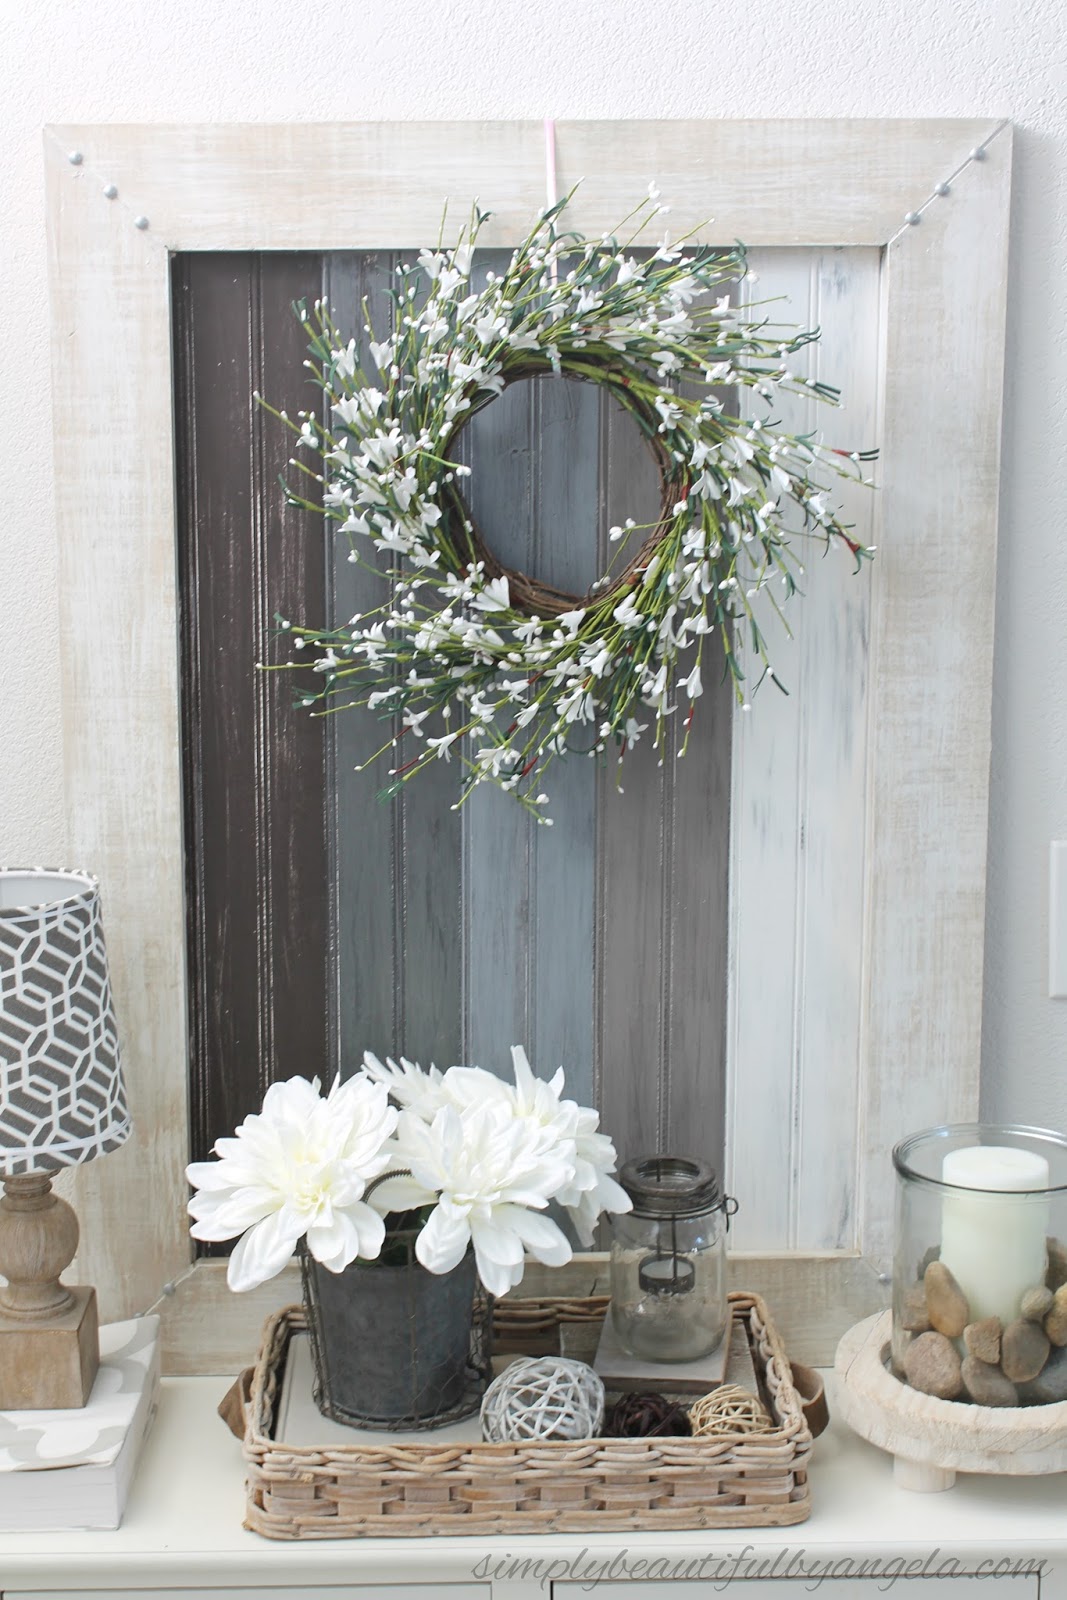
This is the how it looks all put together!
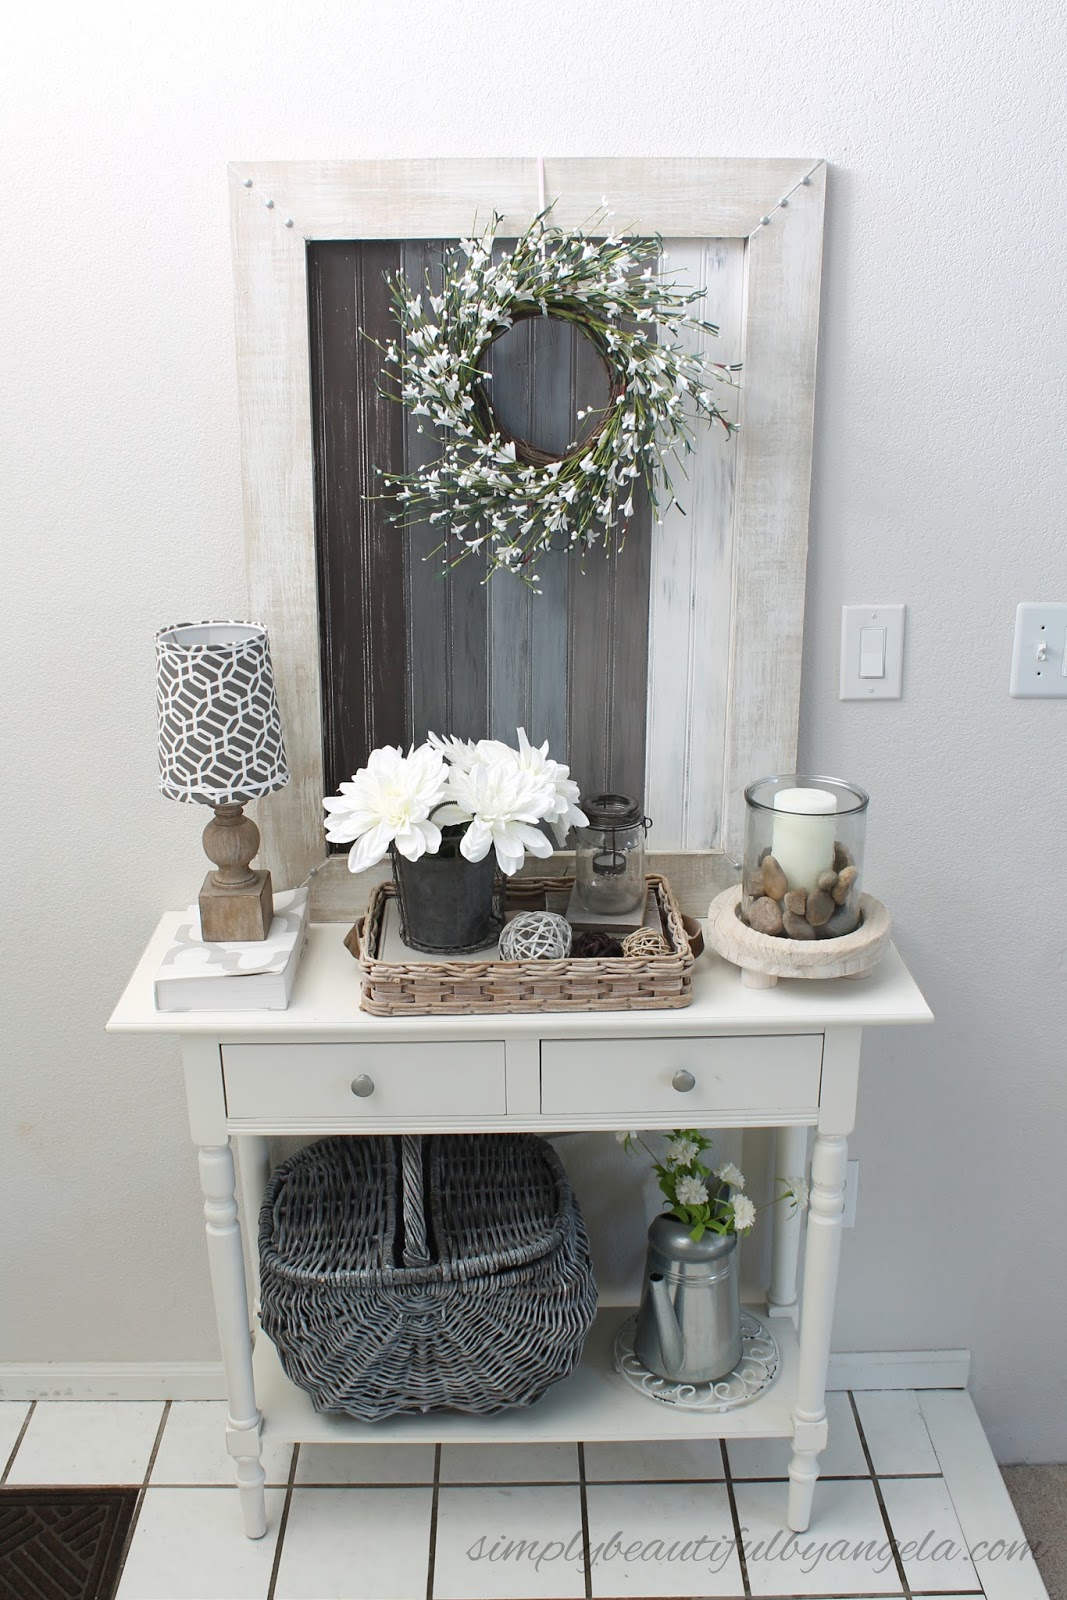
It actually hangs on the wall above the couch in our basement but I hate taking pictures down there because of the lack of natural light so I brought it up and rested it on our entry table to take these pictures so that you could really appreciate it’s beauty!
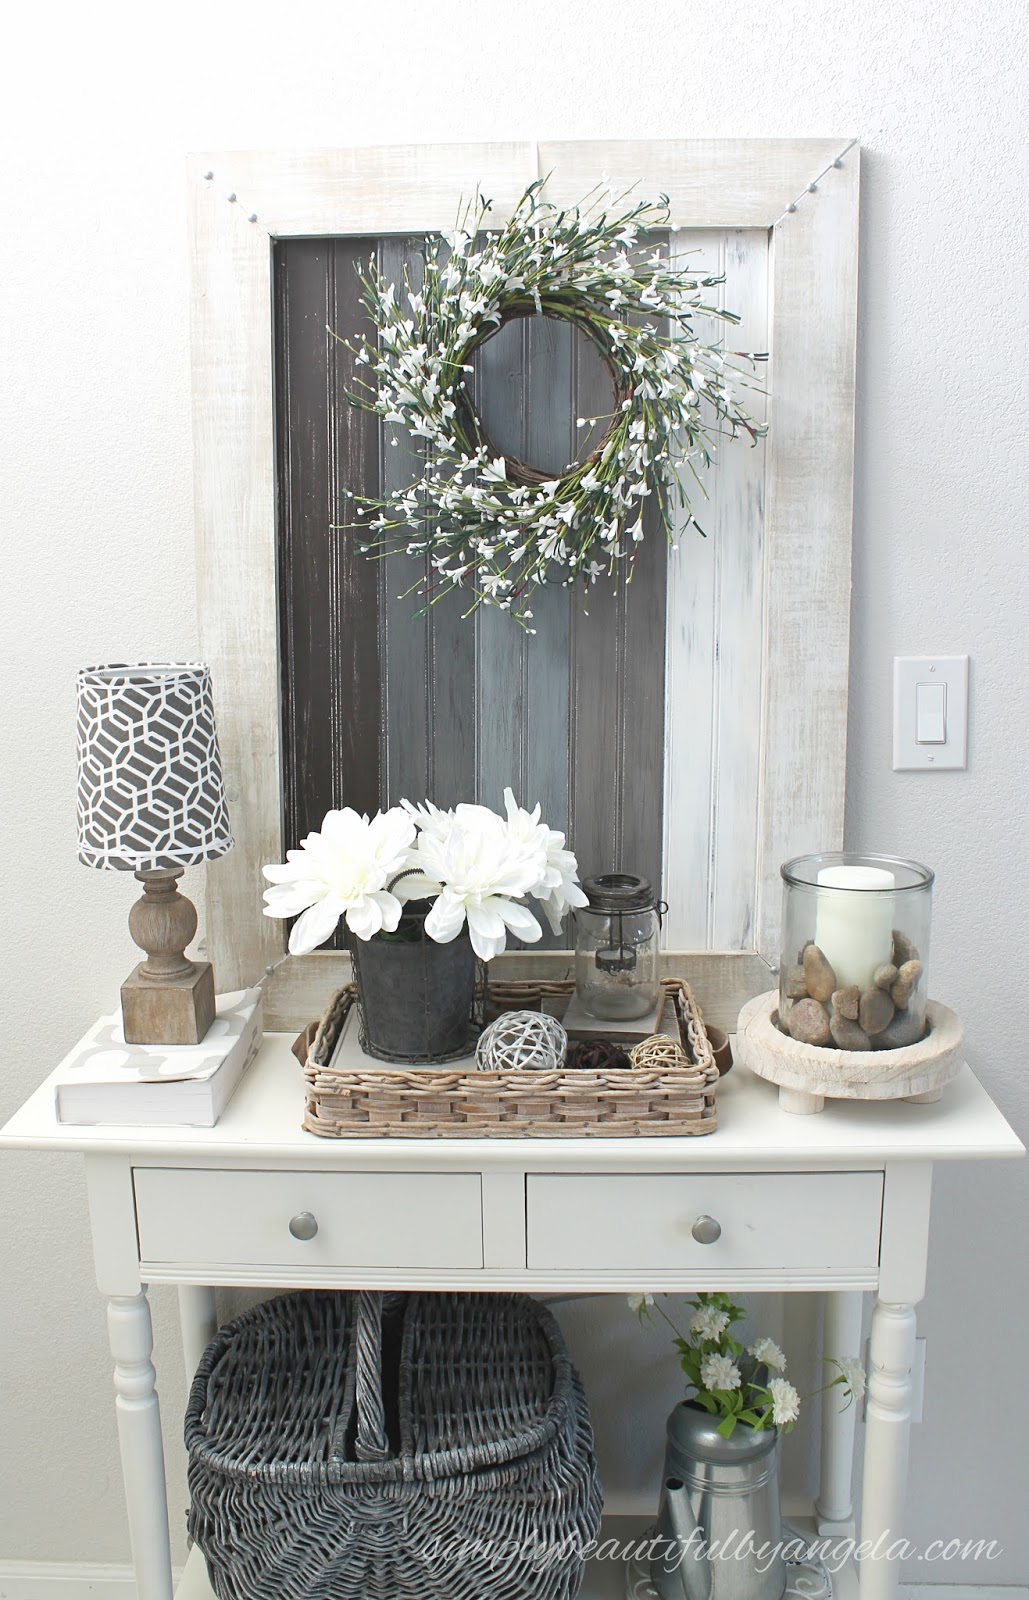

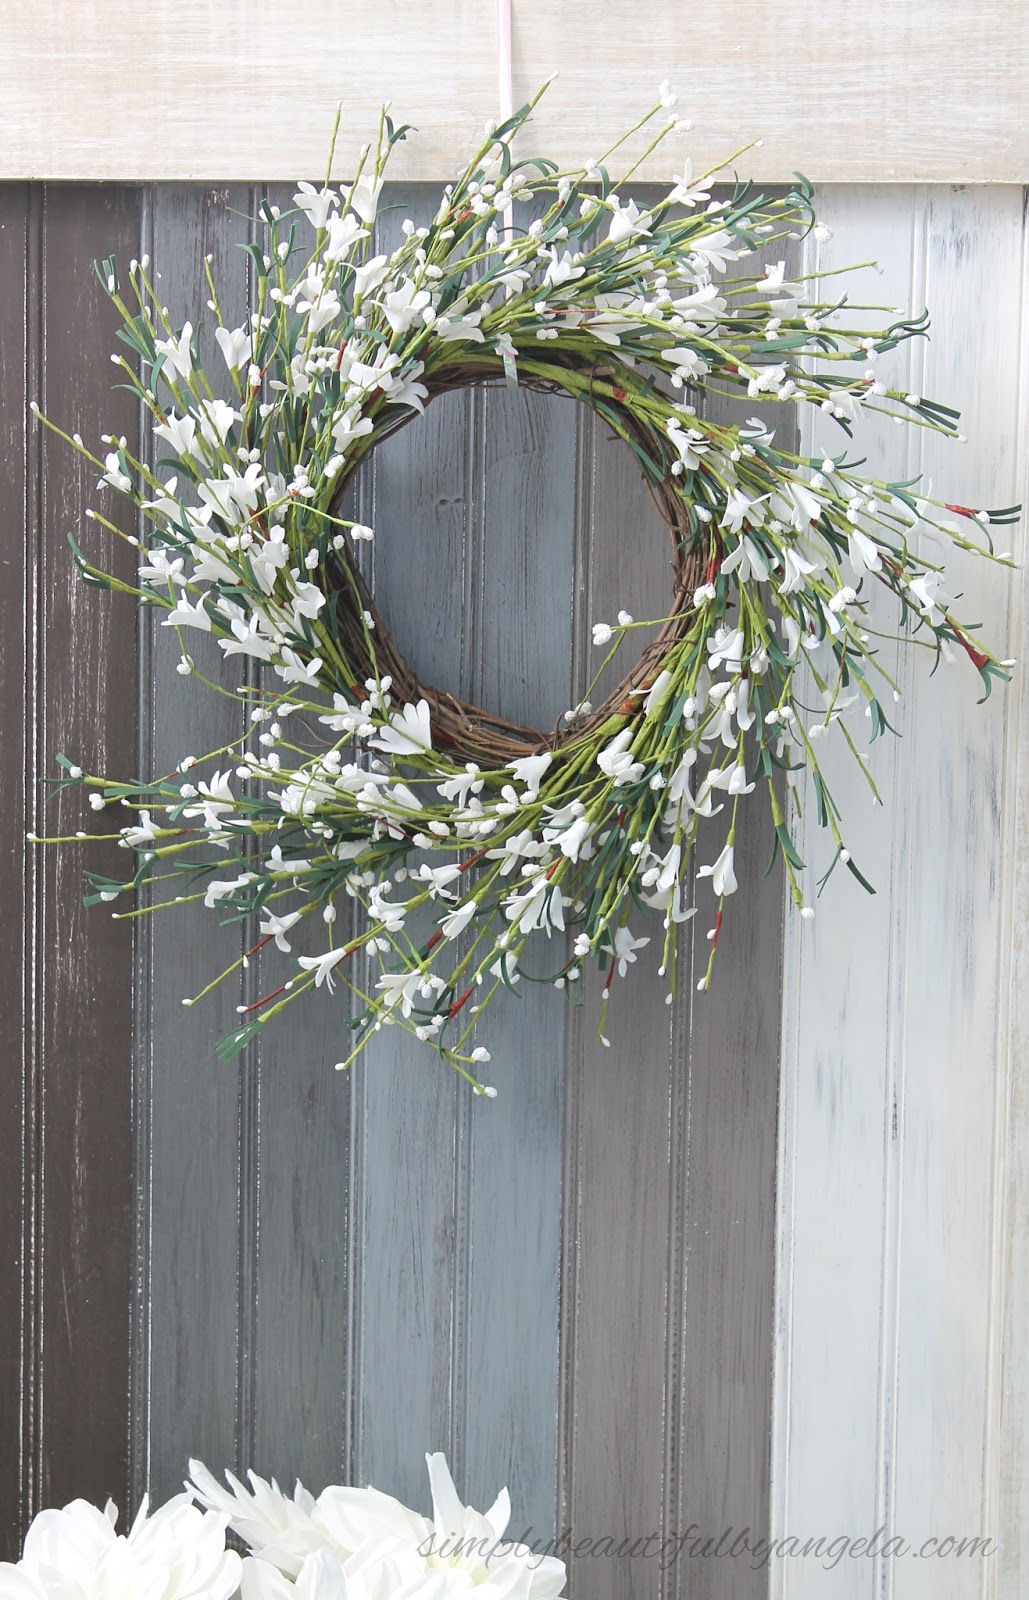
I really like how it looks with a small wreath hanging from the top but it would also look really nice hanging solo on the wall.
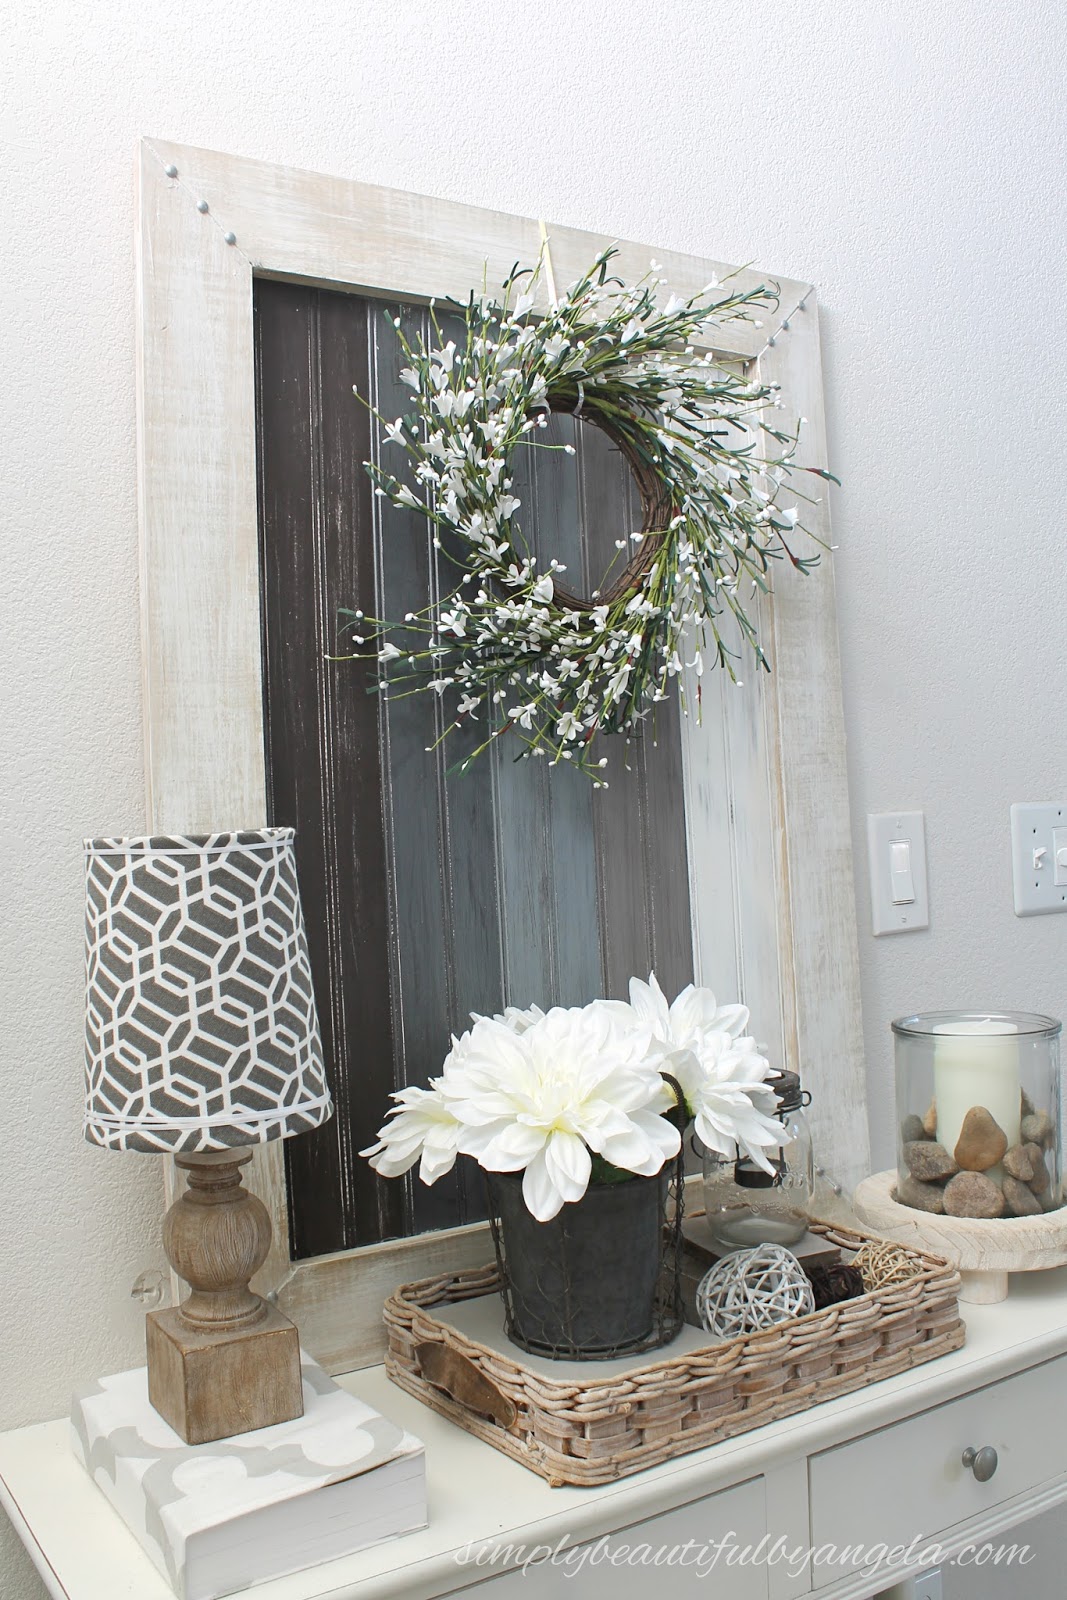
I am really happy with how well the colors that I picked all work together.


It’s too bad I’m already happy with my mirror that I usually keep here because this looks pretty stinking cute on this table!


This looks amazing. Thank you for sharing.
Blessings,
Patti
Thank you so much Patricia!
I love it! You did a wonderful job and it's just my style. Thank you for sharing it at Party in Your PJs! Pinned and shared.
This is such a great project! I like how you used the different colors and reused something you already had to make a great piece of art. Thanks for sharing at #HomeMattersParty
Thank you Donna! Using things that I already have are the most gratifying projects 🙂
I love it! What a great idea to do with leftover beadboard, and I happen to have some too. Thanks for sharing your beautiful idea!
Thank you Mary! You should totally try it I promise you will love how easy it is 🙂
So pretty. I'd love to try this sometime. Thanks for sharing at the Inspiration Spotlight party. Sharing. See you again soon.
Thank you Theresa!!
Hi Angela, I've featured this wonderful project on this weeks Party in Your PJs! Than you for linking up! Teresa
Thank you so very much Teresa!!
Hi Angela, I just wanted top pop over and make sure you knew i was featuring your awesome beadboard on Shoestring Elegance's What to do Weekend party! Congratulations, nice job. 🙂
Hugs!
Theresa
https://shoestringelagance.blogspot.com/2017/09/what-to-do-weekends-242-happy-september.html