Hello everyone and happy Friday!
Sorry for the late post this week guys. I’ve been going through some emotional turmoil for the past couple of days regarding a tragedy that happened to my sweet friend’s little boy.
We will be headed out of town for the weekend for a wedding in Wisconsin so even though it will be tough leaving my boys behind at a time that I feel like holding them and never letting them go, I think a little time away with the hubby will be good for me mentally.
I also think that the best thing for me to do right now is try to get back to my normal routine and to try to focus on positive happy thoughts. Which includes a little bit of DIY!
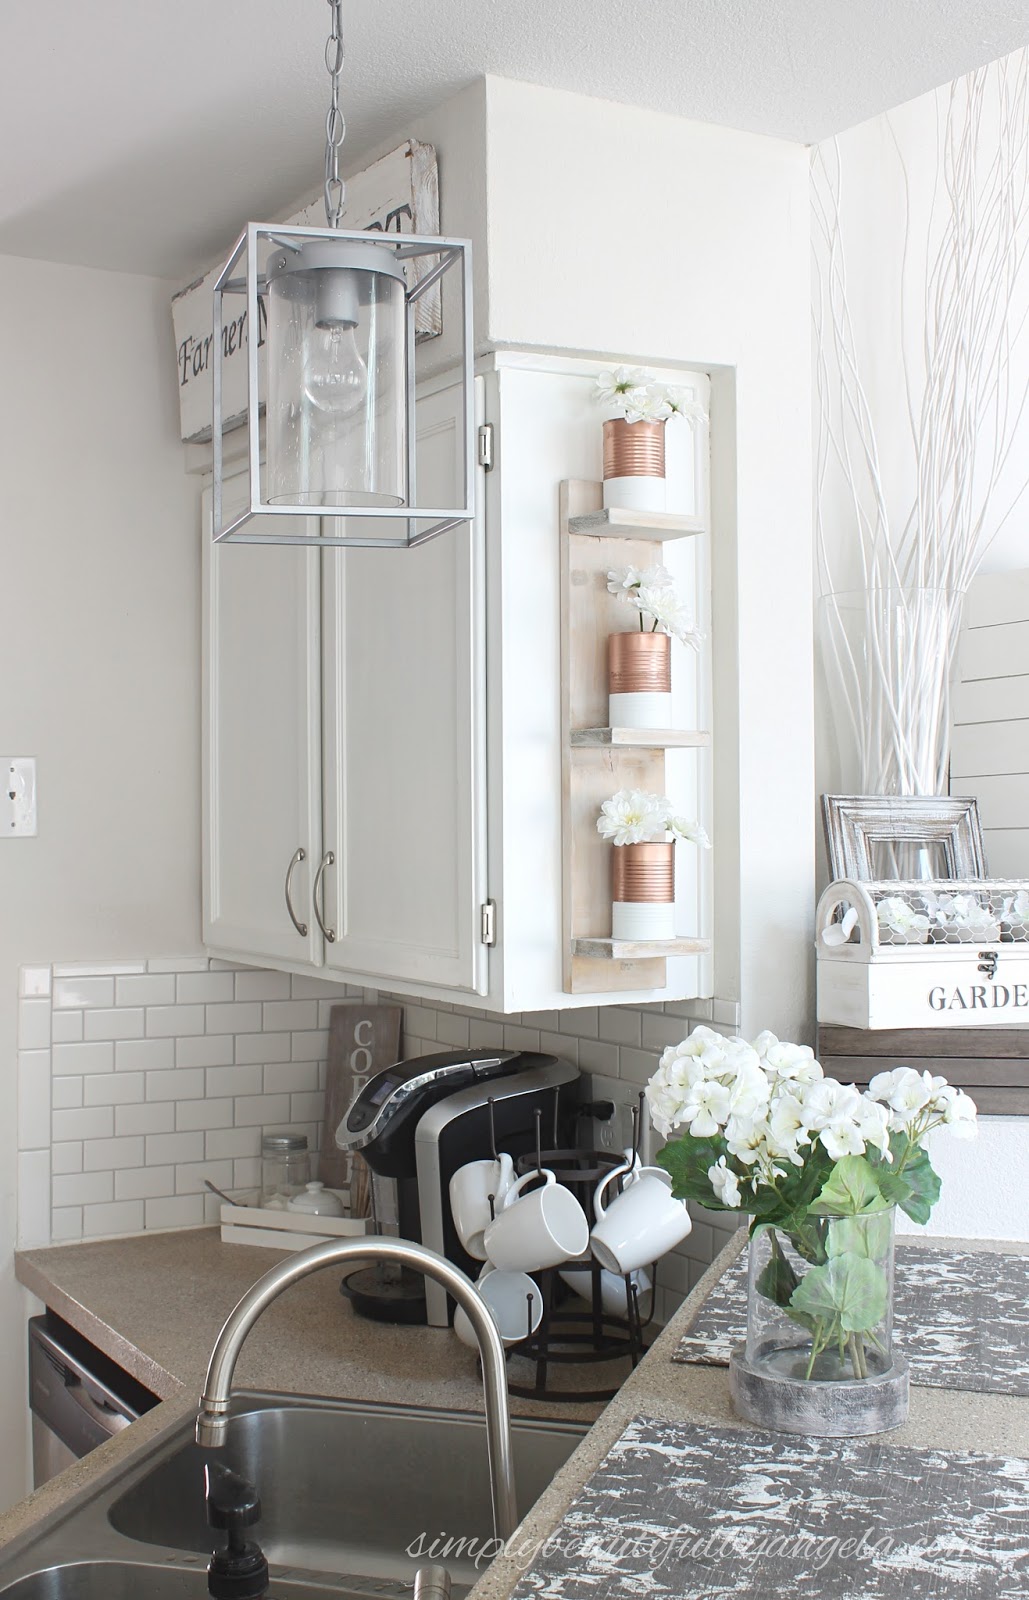
So this spot in our kitchen has always been a big thorn in my side. I reeeeally want to rip the cabinets out and replace them with some pretty shelves but the hubby is totally not on board with that idea.
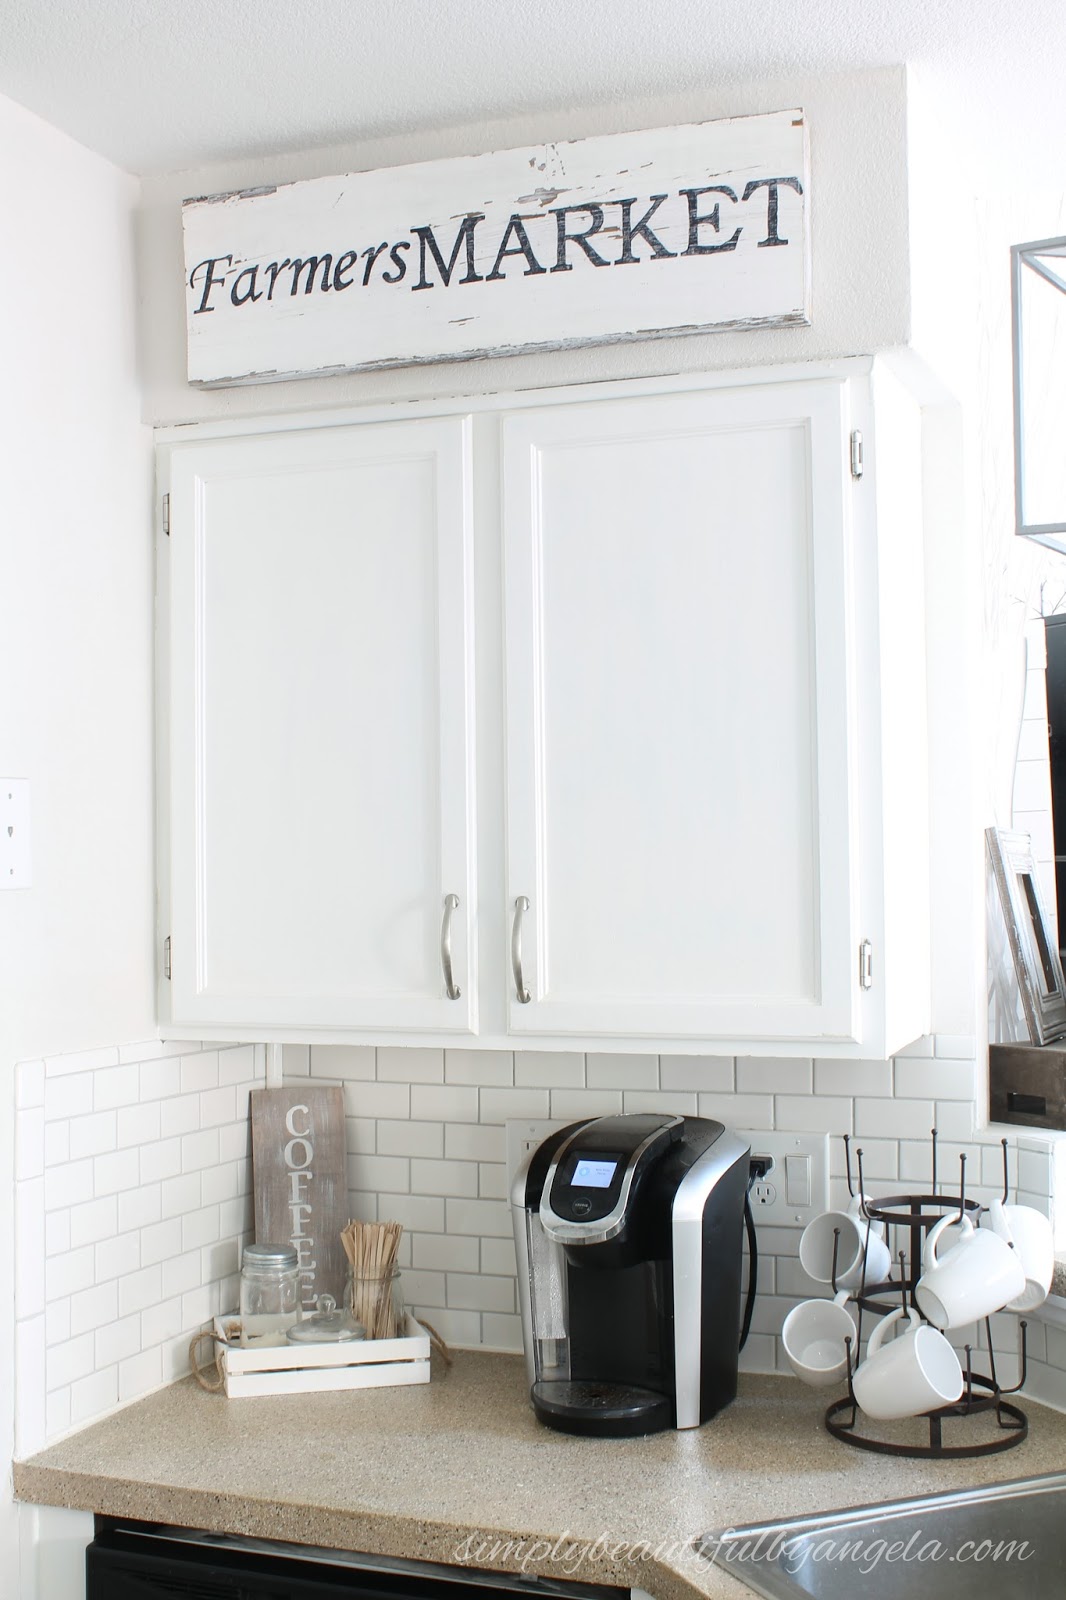
So until I can convince/beg him to do it I came up with the idea to put some little shelves on the side to make it not look so darn plain!
Supplies Used: (Affiliate links may be provided for convenience. For more info, see my full disclosure here.)
- 1×6 cut at 24.25″
- 3-1x4s piece cut at 5.5″
- Medium Grit Sandpaper
- Liquid Nails
- 2″ Wood Screws
- Minwax Wood Stain in Special Walnut
- White Paint
- Command Picture Frame Hanging Strips (Large)
Tin cans
- Krylon White Copper Spray-paint
- FrogTape
I started by cutting down three pieces of a 1×4 to 5.5″ which is the width of the 1×6. I used some sandpaper to smooth out the corners and edges.
Let me tell you guys–I had a terrible time measuring out where to place the shelves! So much so that what you see in these pictures is actually not what I ended up with at the end because I had to re-do it.
Lucas really enjoyed helping me measure and it is SO freaking cute watching how serious he gets!

I ended up placing the top and bottom ones 2″ inches in and the middle one 9″ in from those.

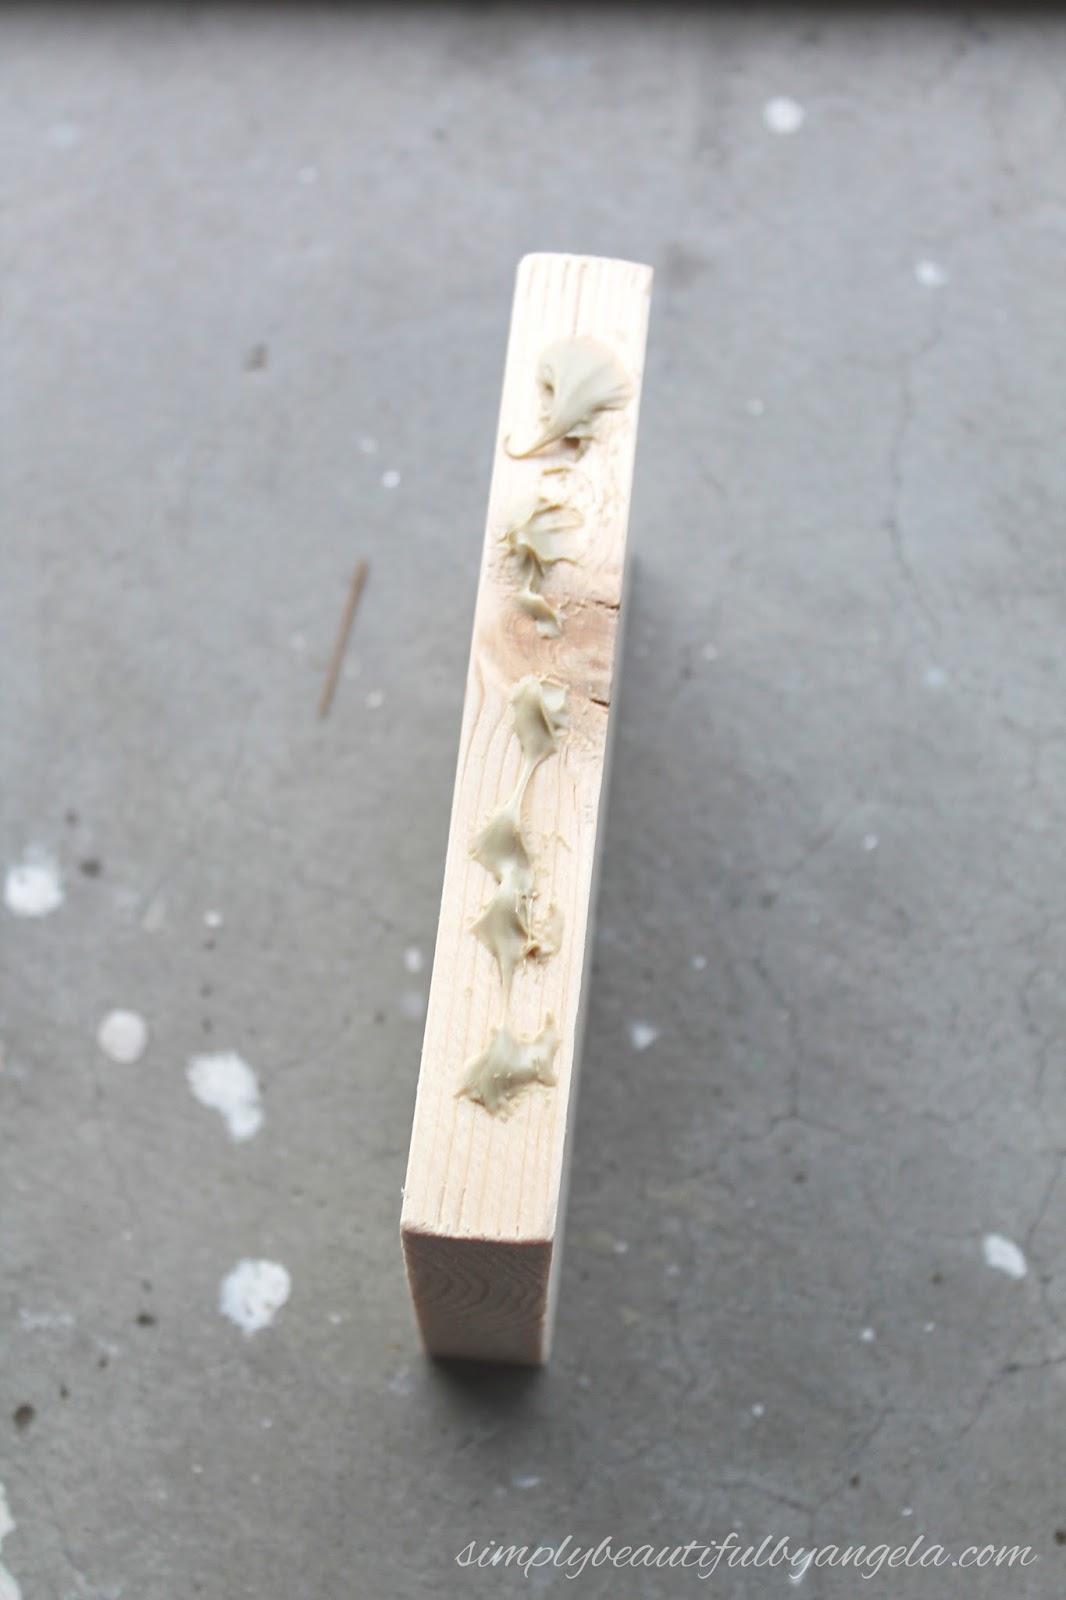
I used a little bit of liquid nails on each and let them dry to make it easier to screw them together.

As you may have noticed my go to wood stain is usually Provincial but a couple of weeks ago I accidentally kicked over an almost brand new can. When I went to the store to grab a new can the Special Walnut
caught my eye so I decided to try it out.
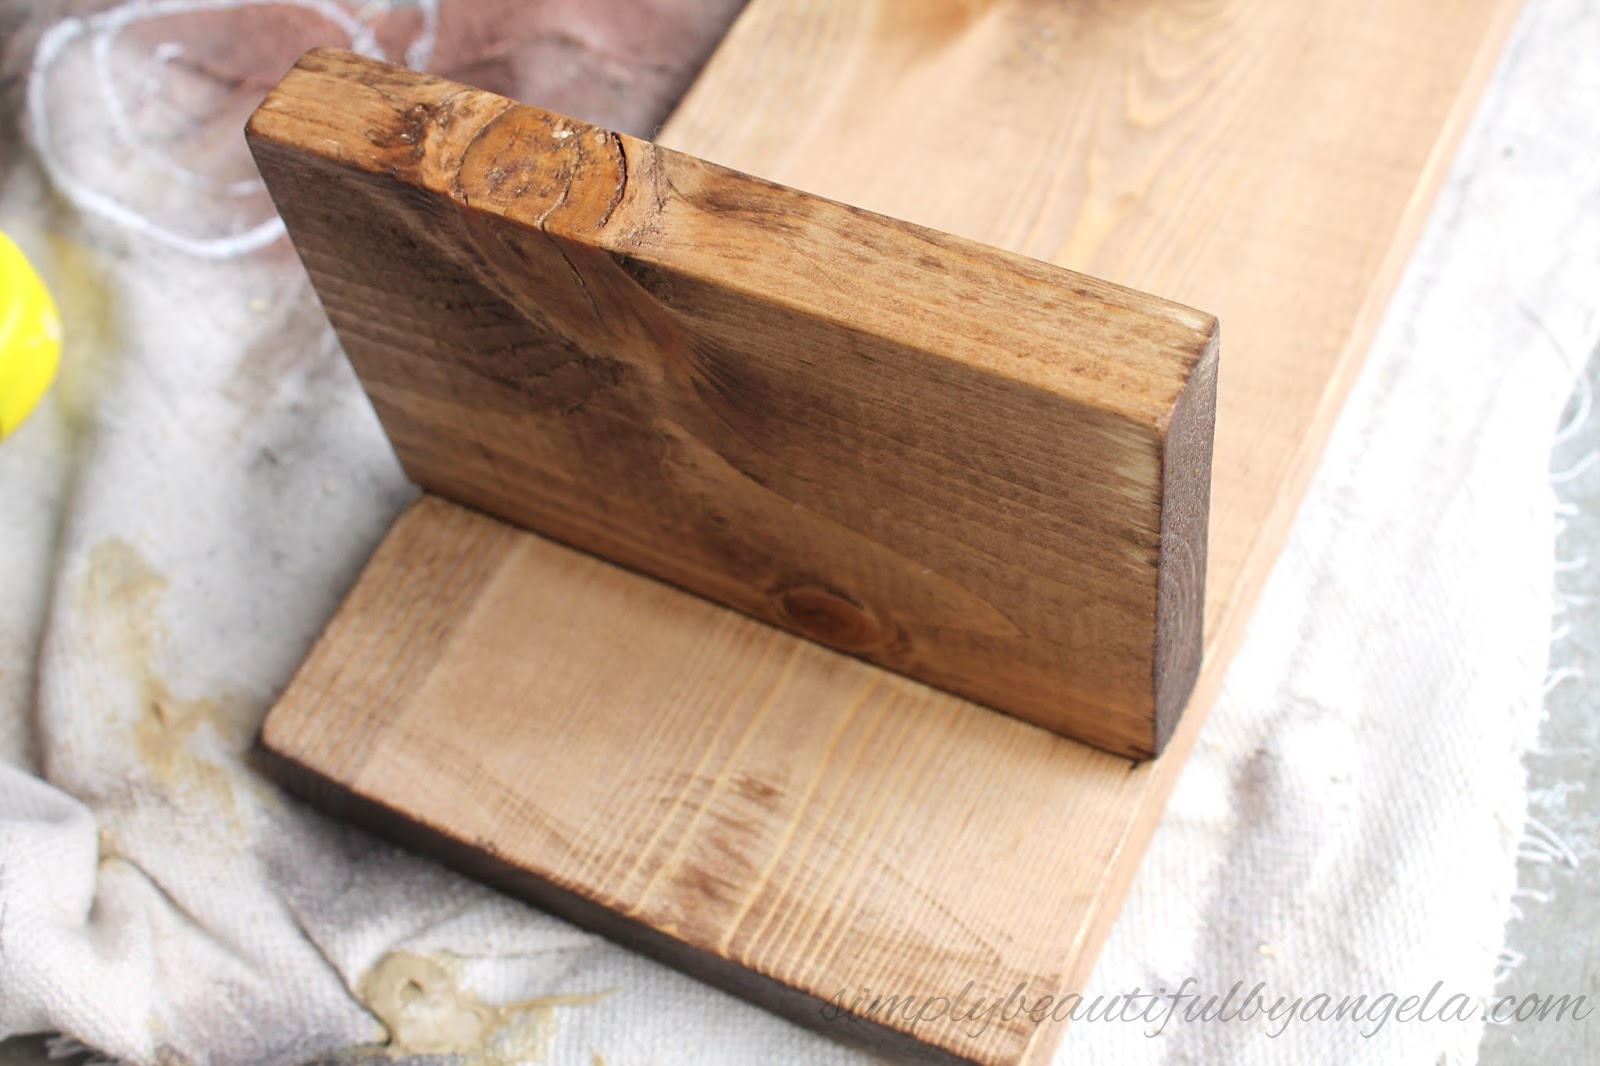
I must say, I am impressed!
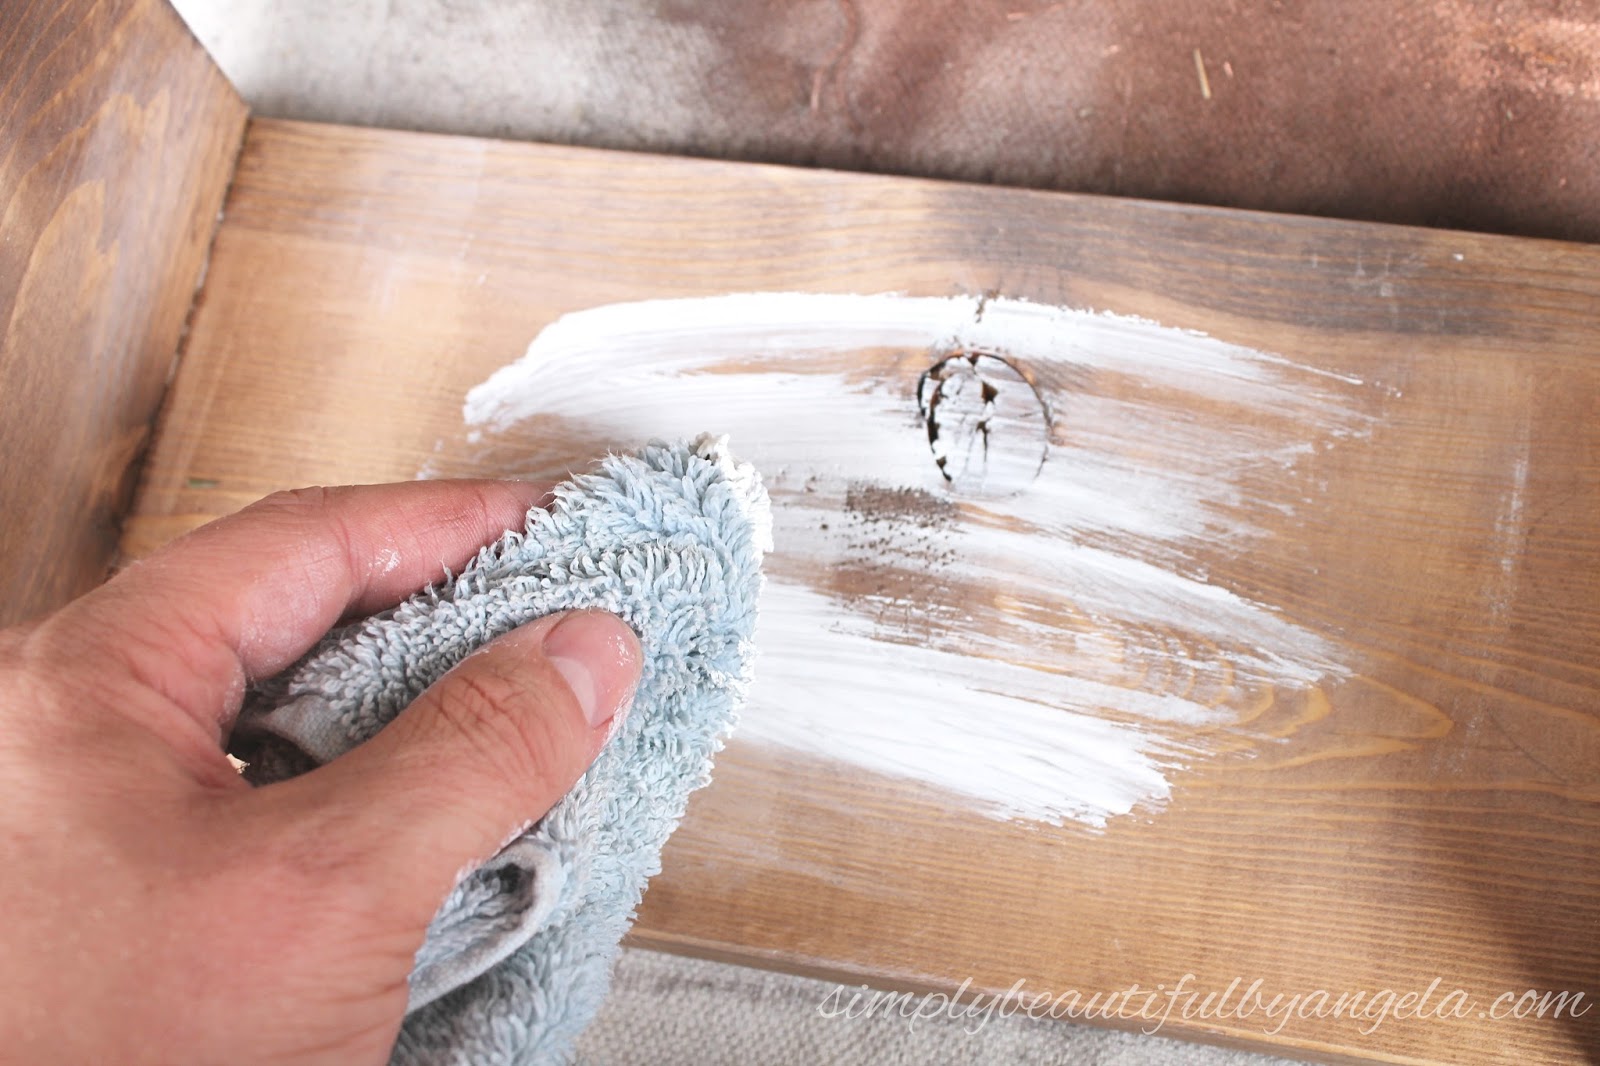
I wanted to make it look a little weathered so I added a little bit of white paint and then rubbed it in with a rag.
I used 3 pairs of Command strips on the back to hang it up on the side of the cabinet. The package says that each pair holds 4 pounds and thing definitely doesn’t way more than 12!
Now that it was up it was time to decorate it with something fun.
A few weeks ago at Michaels I saw this awesome white copper spray paint and had been itching to use it on something.

Since I wanted something cheap I decided to use something that I already had plenty of–tin cans!

I first washed them with some dish soap and then used a little bit of acetone to remove the residue from the label.

I’ll be 100% honest with you guys I was working quick so I didn’t get all of the label off and I just ended up putting that side at the back once they were on the shelf!
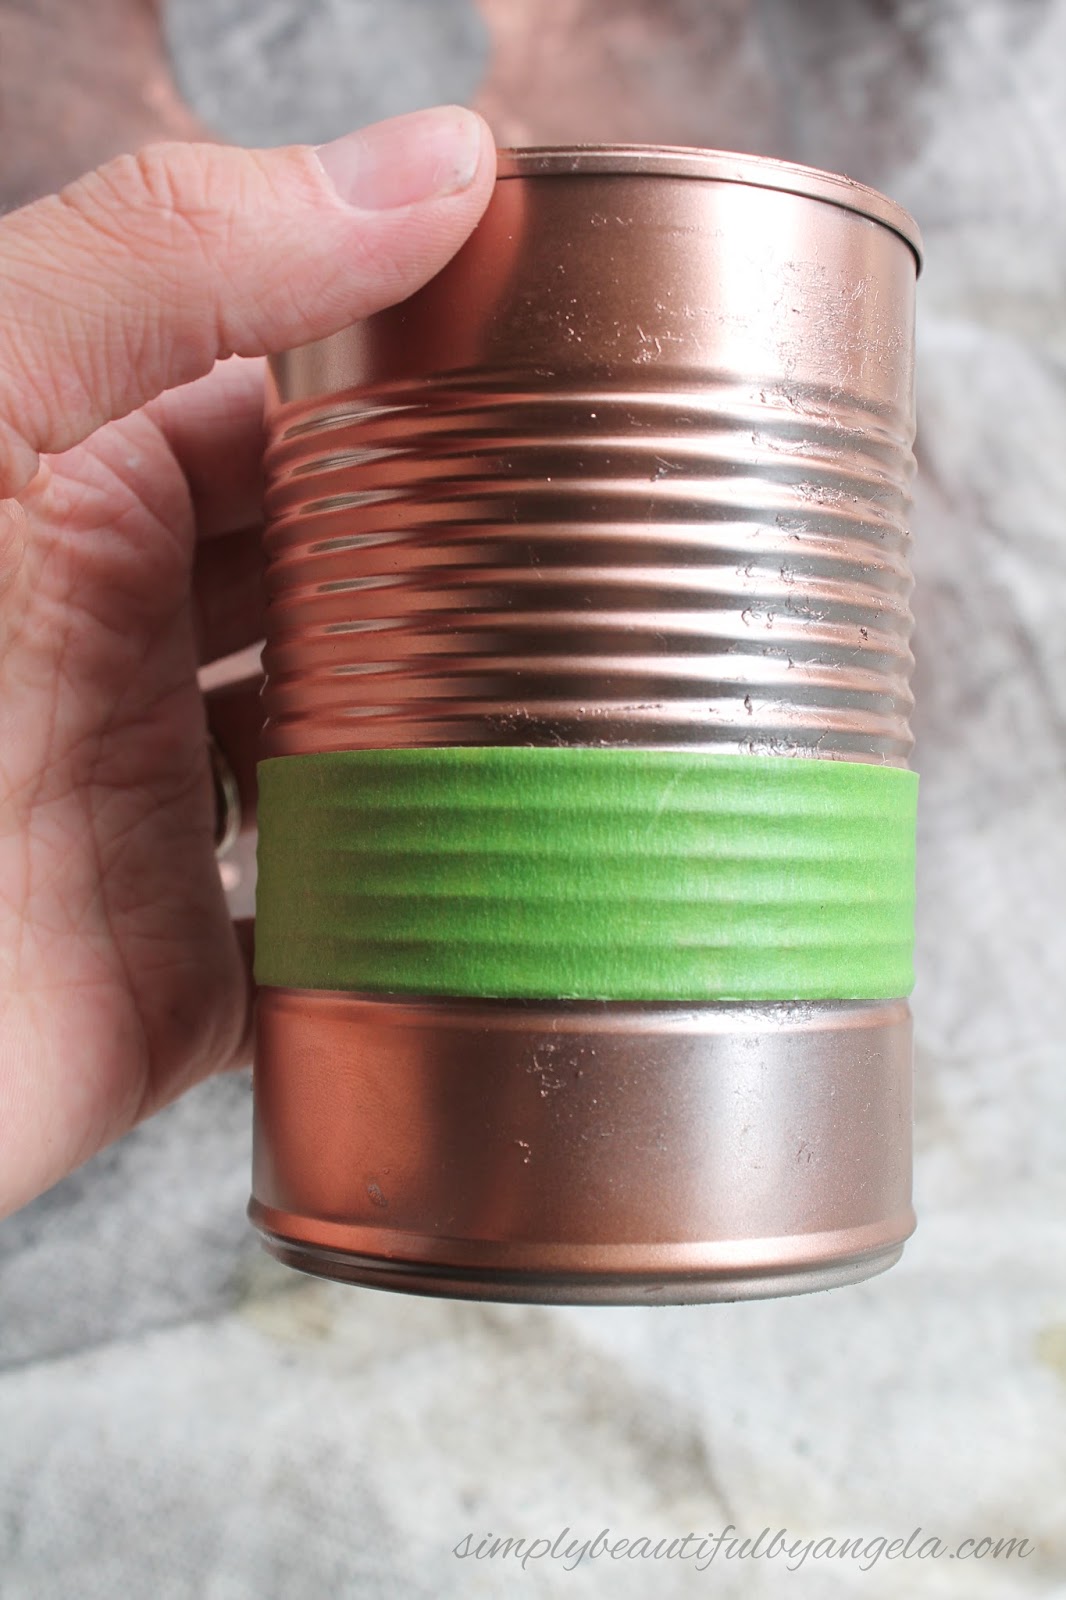
I applied the first coat of spray paint while the cans were upright so that I could get the rim as well as the top part of the inside. Once they were dry I flipped them upside down to get bottom side of the ridges.
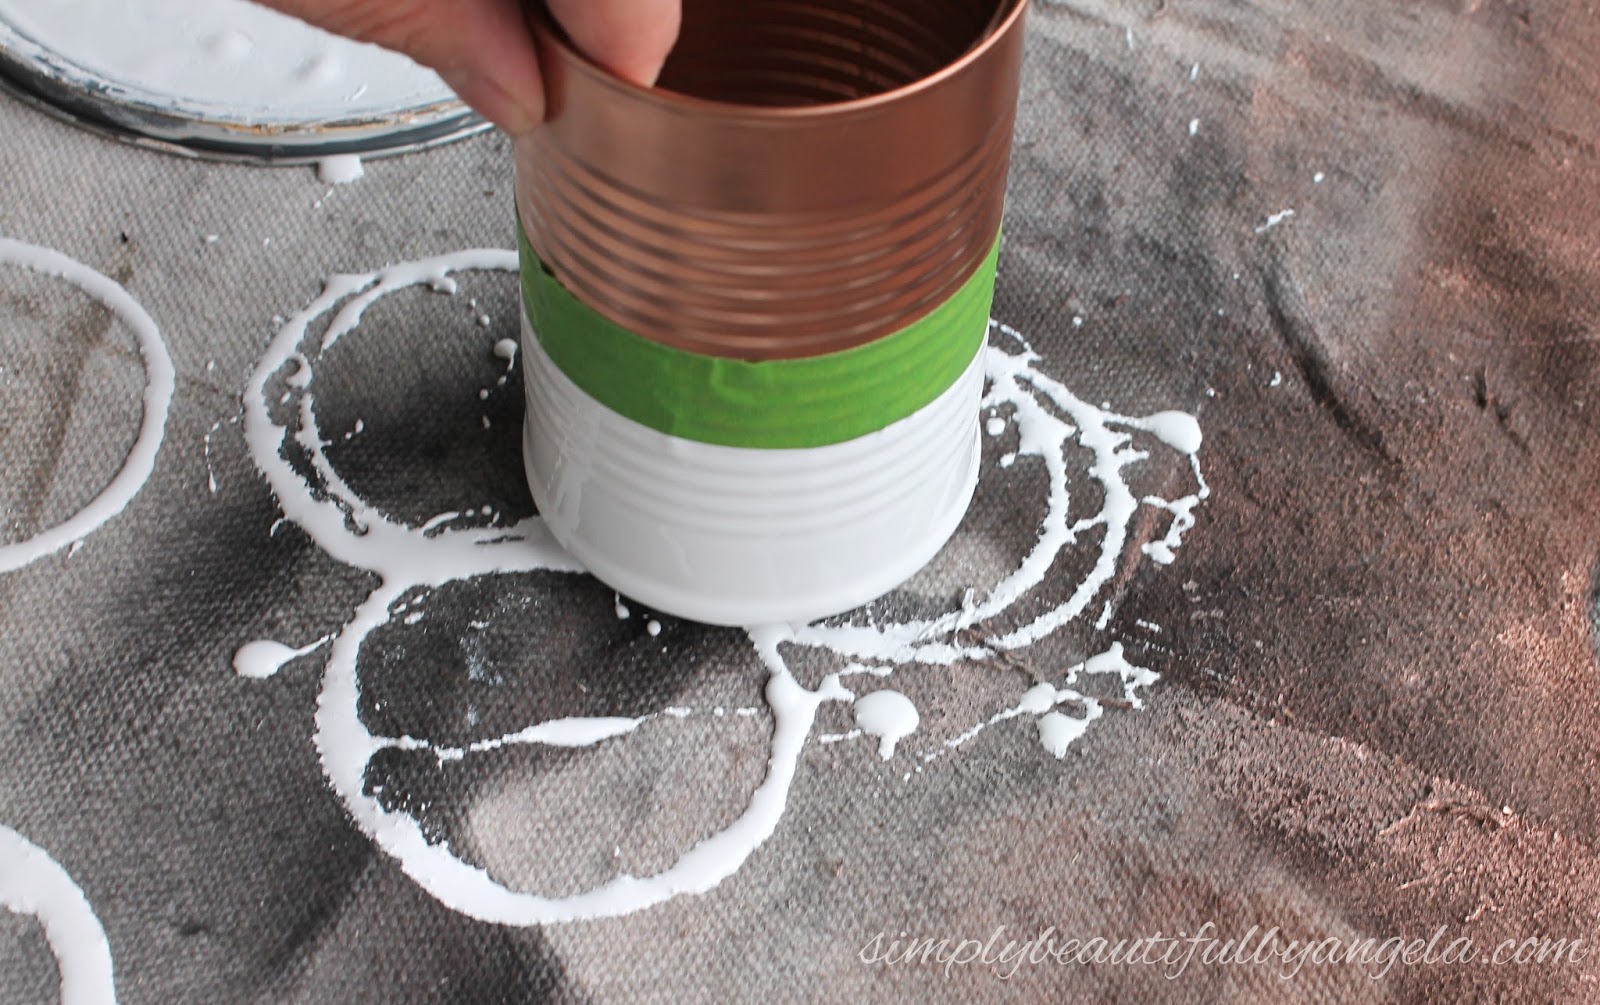
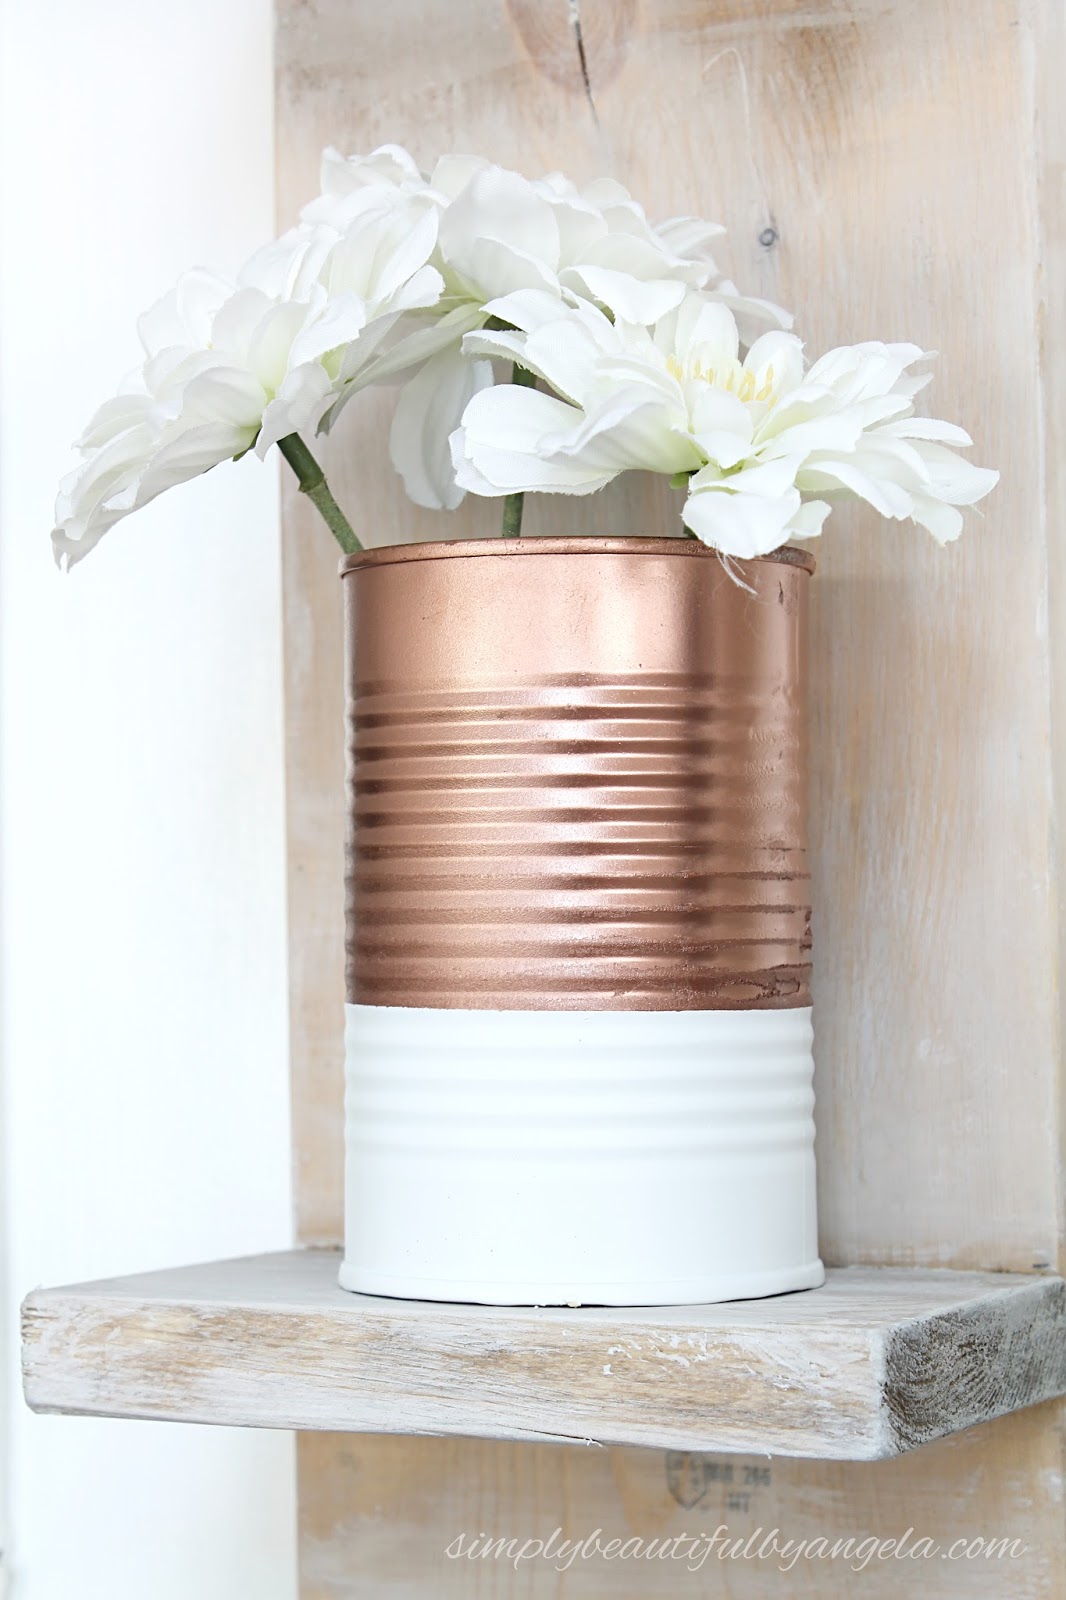
Although they were looking mighty pretty as is, I really like the dipped look so I decided to use a little bit of painters tape to tape of the bottom of the can off and then dipped them in a gallon of paint.

I dabbed the bottoms of them on a drop cloth to get the excess paint off and then placed each one on a piece of scrap wood to dry.

I originally put the “dip level” different on each one but as you’ll soon see I later changed my mind and re-did them all to match.
I also found out that it’s best to carefully remove the paint while it’s wet otherwise it can peel up the white paint.
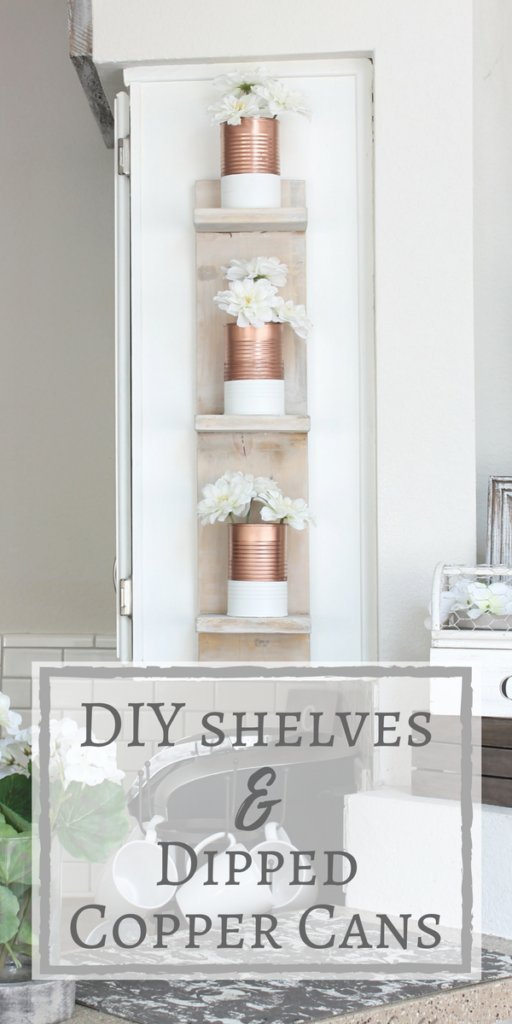
Don’t they look great against the wood?!
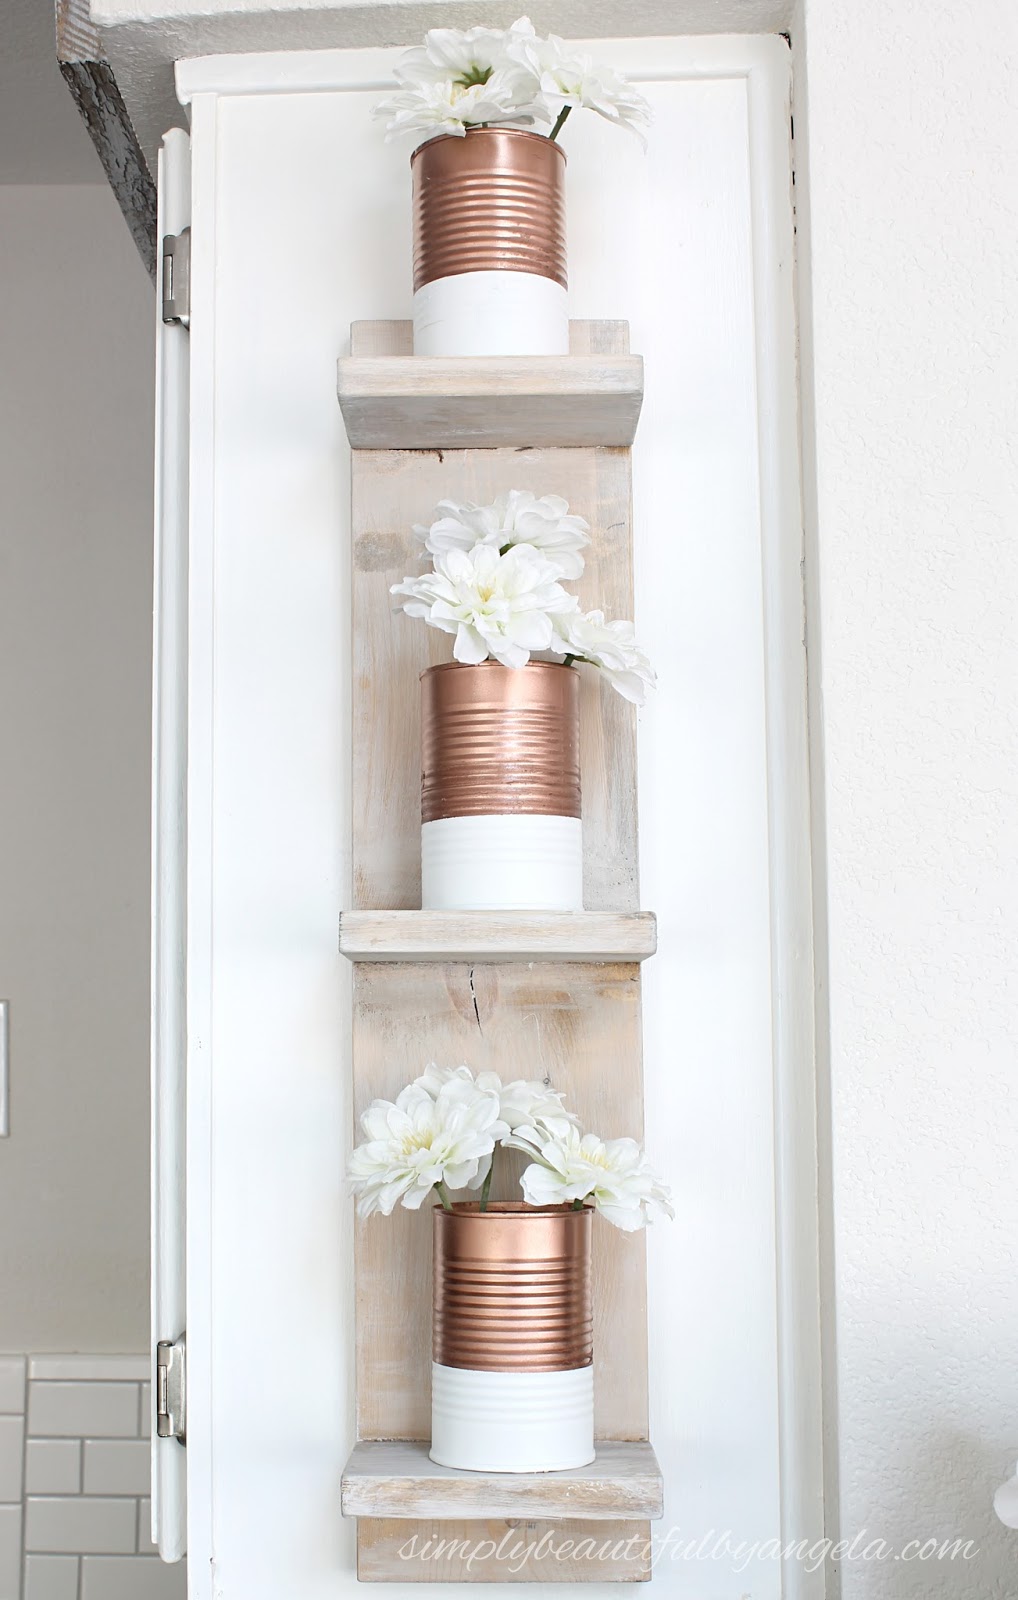

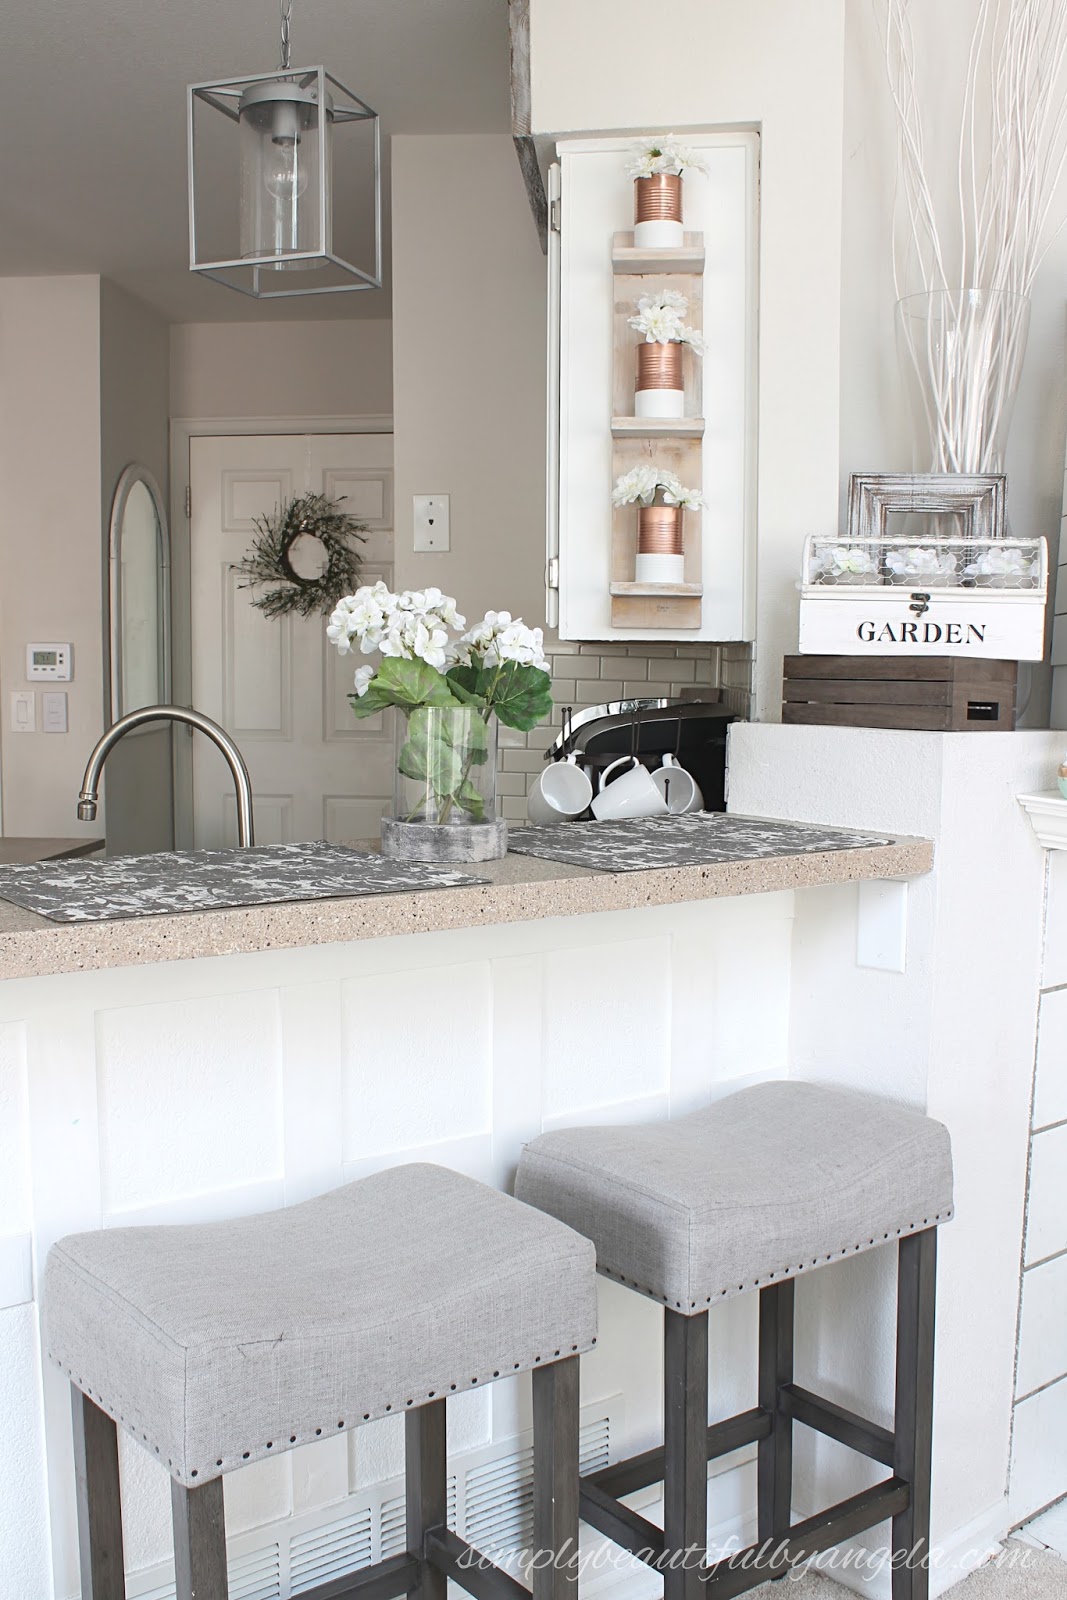
I think this whole thing adds the perfect amount of interest to this spot.


I’m loving the copper for late summer but I think it’s going to work well for fall too!

Okay my friends, thank you so much for stopping by today. I hope you all have an amazing weekend!

Great idea – I can see me using this as a centerpiece for events! Please share at Reader Tip Tuesday: http://www.jodiefitz.com/2017/08/08/reader-tip-tuesday-food-craft-party/
Hope to see you at the party xo
Thank you so much Jodie! I just popped over and posted 🙂
Very cute idea! It looks great!
Thank you Melissa!
This is a gorgeous piece of decor! It looks beautiful in your kitchen and is a fantastic way to add some decor to an otherwise unused spot. Thanks for the awesome tutorial!
Thank you! I'll be honest I wasn't sure if it was going to look funny putting something on the side of the cabinet since I've never seen it done before but I am pleasantly surprised at how nice it turned out!
nicely done, love the great look made from little to nothing, empty cans is the best as most of us have them
come see us at http://shopannies.blogspot.com
Thanks Angie! Aren't projects with items that you already own the greatest?!
LOVE these cans!!! Thank you so much for sharing at reader tip tuesday.
Hope to see you at this week's party xo
http://www.jodiefitz.com/2017/08/15/reader-tip-tuesday-craft-recipe-party/