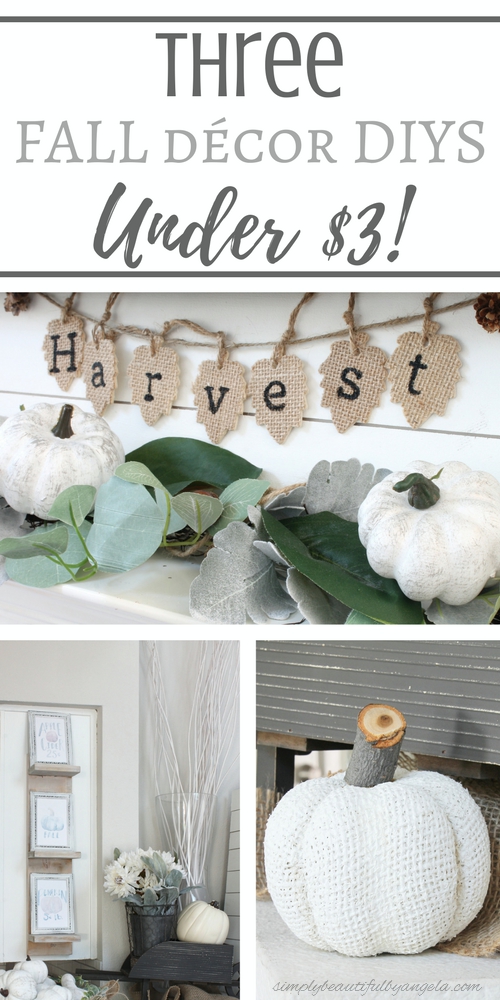
Happy Friday!! For the first time since I can remember we have absolutely NO plans this weekend. I am going to be totally real with myself and admit that I probably won’t be able to just sit around. I know that inevitably I will find something to do. But still! Going into a weekend with no plans is pretty darn exciting for me.
Over the last couple of weeks I have been busy decorating for fall and it’s been somewhat challenging to switch up from my normal orange pallet to all an neutral one on a budget. I ended up with a couple of small splurges here and there, but for the most part I painted what I already owned. I also came up with some cheap DIYs that helped a lot too!
Since all of them were super simple to do I figured that I would share them all in one post so that you can see how easy (and budget friendly) it can be to decorate for fall! I spent less than $3 for each one because I already had some of the supplies on hand, and many of you may too!
(Affiliate links may be provided for convenience. For more info, see my full disclosure here.)
1. Hanging Burlap Leaves
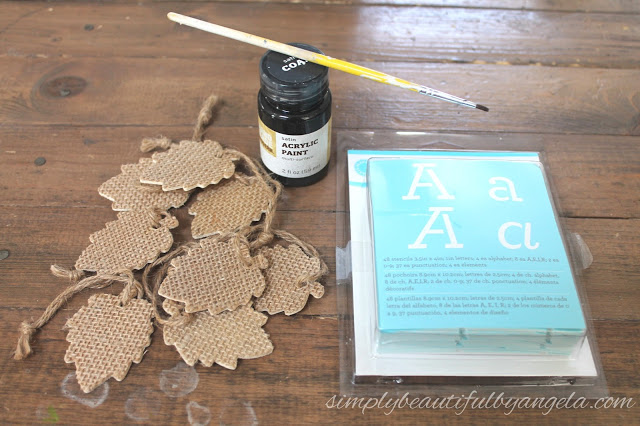
- Hanging Wooden Leaves
- Stencils
- Acrylic Paint
- Paintbrush
- Jute Twine
- Small Pinecones
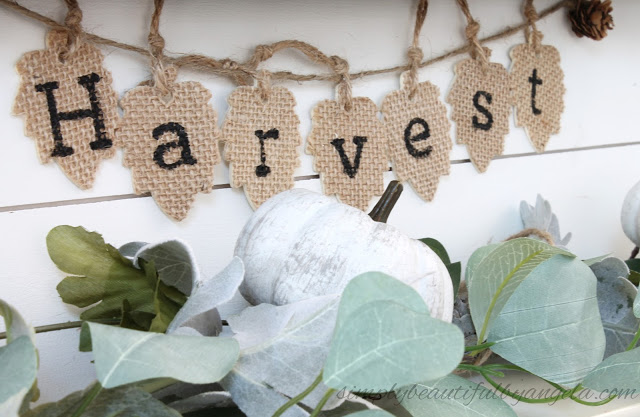
I found some awesome burlap covered wood leaves at Hobby Lobby. (I can’t find a link to them on the website but the closest that I could find were these on Amazon. You could always glue burlap to the front of them!)
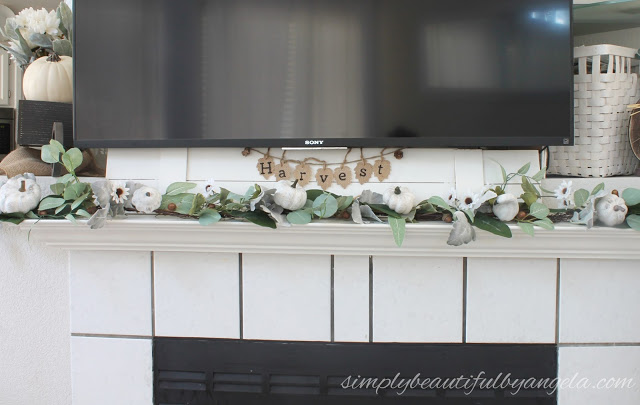
I actually picked them up not having a clue what I was going to do with them. That happens a lot actually! I played around with them on my Neutral Fall Wreath but they just didn’t look right. Then finally it dawned on me that our mantle was looking kind of empty.
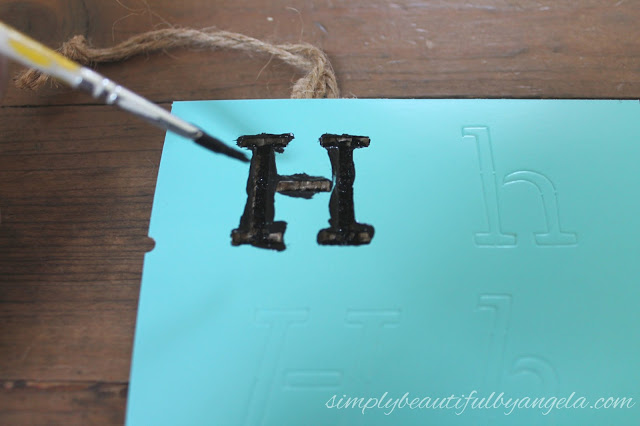
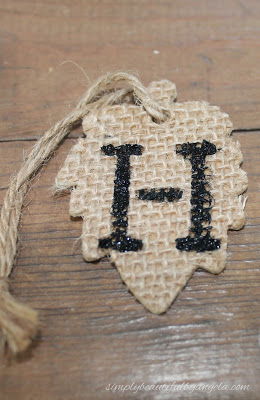
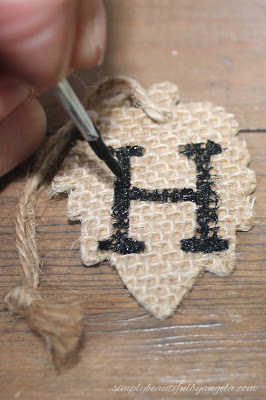
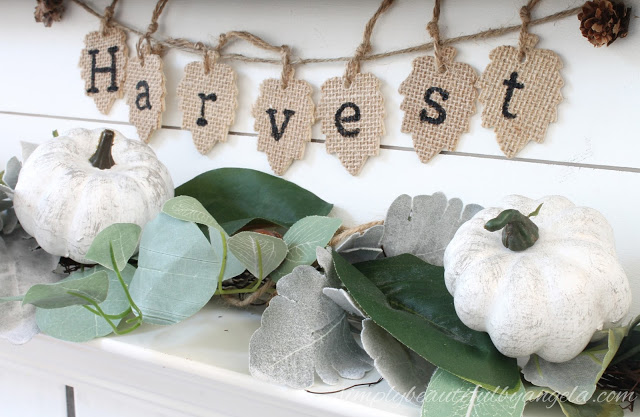
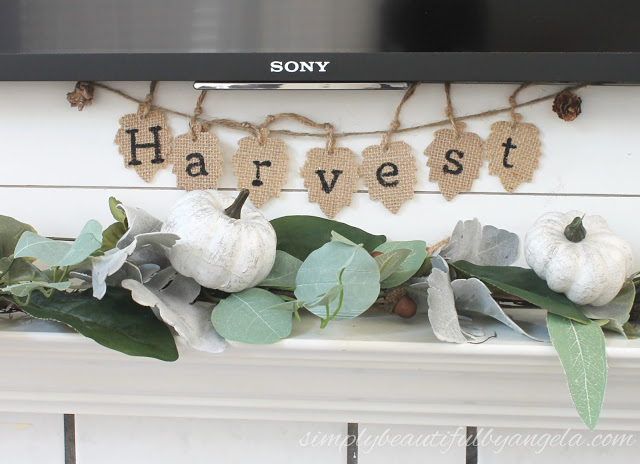
I liked the idea of spelling the word “harvest” since it was longer than the word “fall.” So using my new stencil set (that I absolutely adore) I simply placed the letters over the center of each leaf and used a small paintbrush to fill them in with some black acrylic paint.
I decided that I wanted the letters to be more fluid and less stencil like so I ended up filling in the gaps by hand.
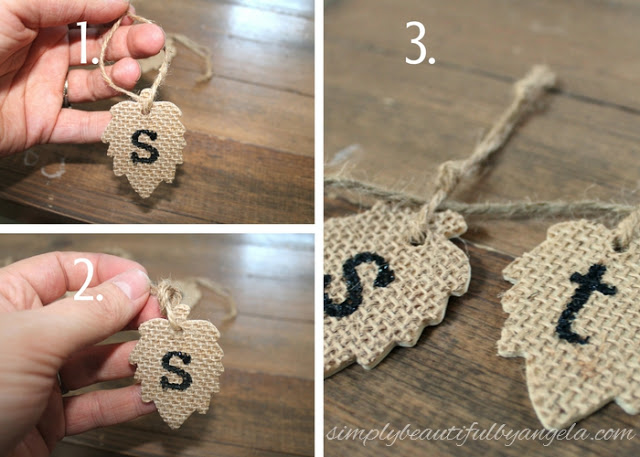
I then tied a knot in the twine hanger and then slipped a piece of twine through the knots.
This probably only took me a total of 10 minutes to make and fits perfectly on the mantle!
I also attached a couple of small pinecones to each end of the twine which I think is a fun added touch.
The only purchase for this project was the leaves which cost about $3.
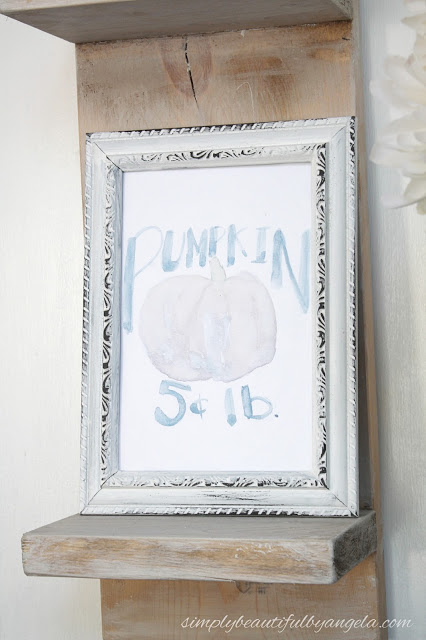
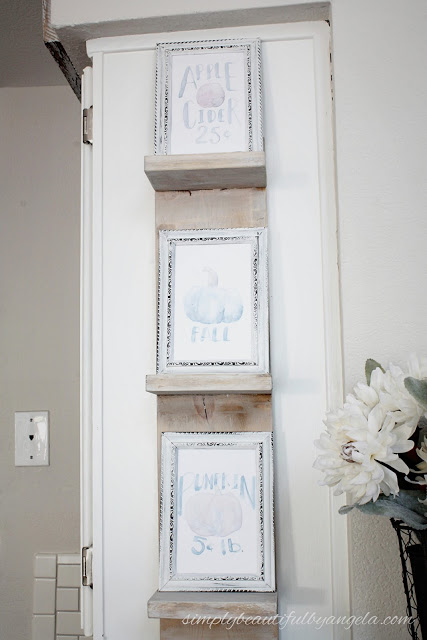
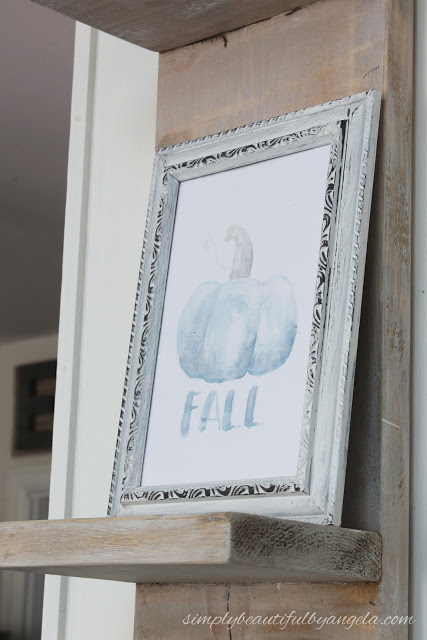
2. Faux Vintage Frames With Printables
- 4×6 Embossed Frames
- White Paint
- Paintbrush
- Medium-Grit Sandpaper
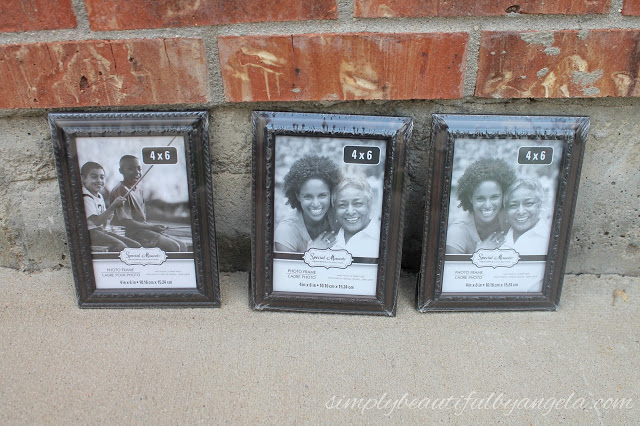
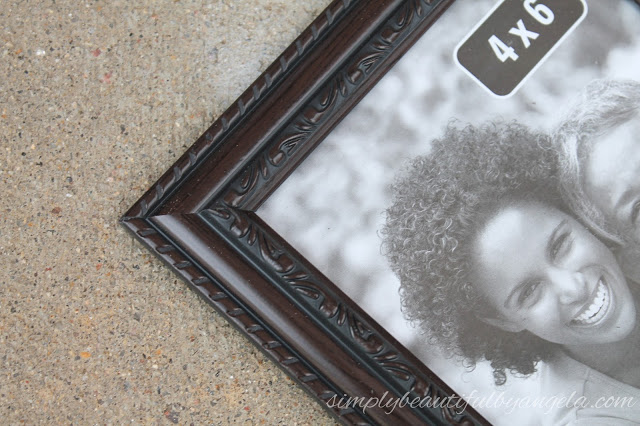
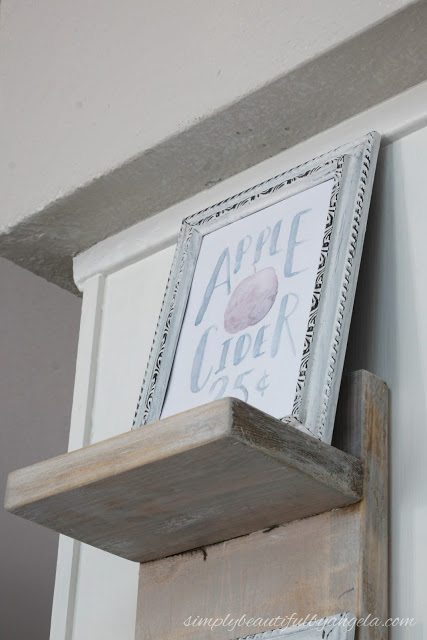
I was so surprised when I spotted these embossed pictures frames at the Dollar Tree.
The detail on them is so pretty and vintage looking and I knew they would be perfect for some fall printables.
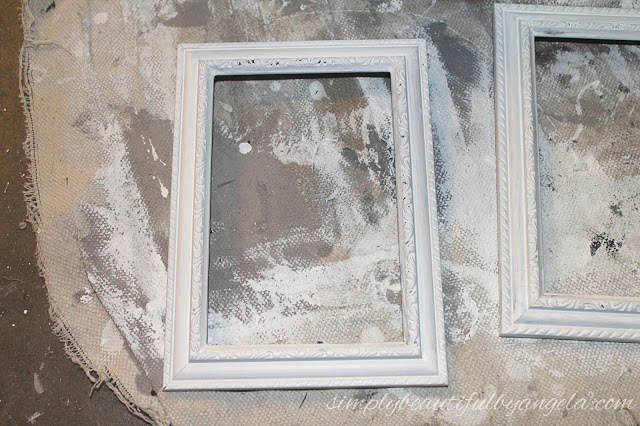
I popped the glass out of each one and gave each frame two coats of white paint.
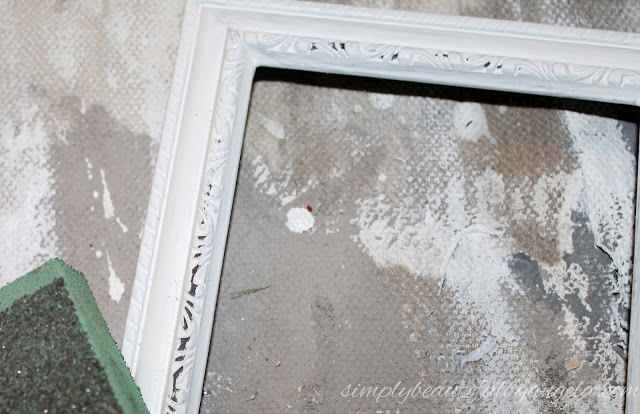
Once they were dry I went over each one with some sandpaper to distress them. I mainly focused on the embossed details and the corners.
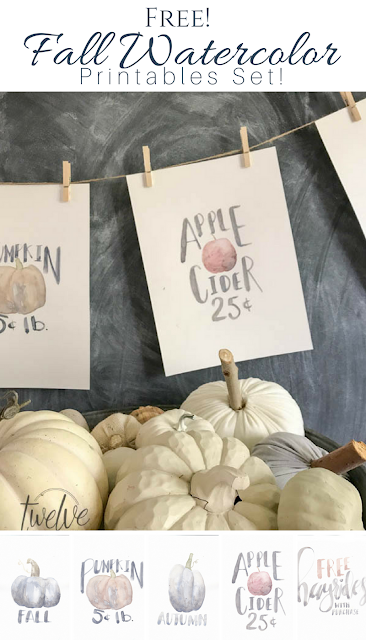
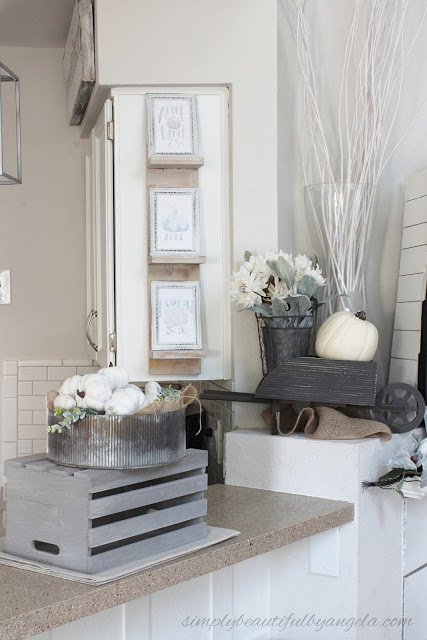
I found these beautiful watercolor printables from the amazingly talented Sara over at Twelve On Main. Aren’t they gorgeous??
I had actually planned on putting the glass back in but then I broke one. It worked out though because it turns out that I actually like them better open!
My printer is kind of crummy so I plan to eventually make it over to have these printed out at Staples.
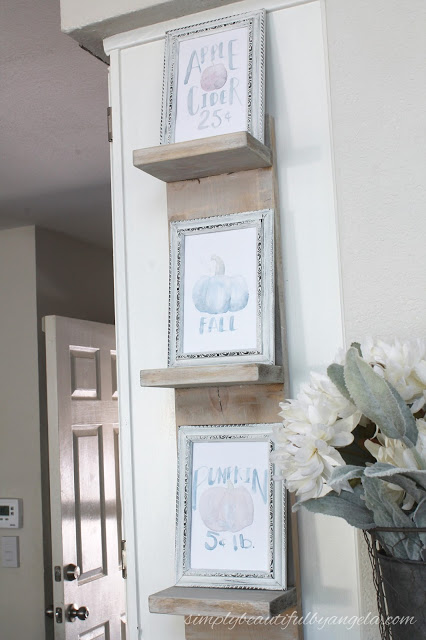
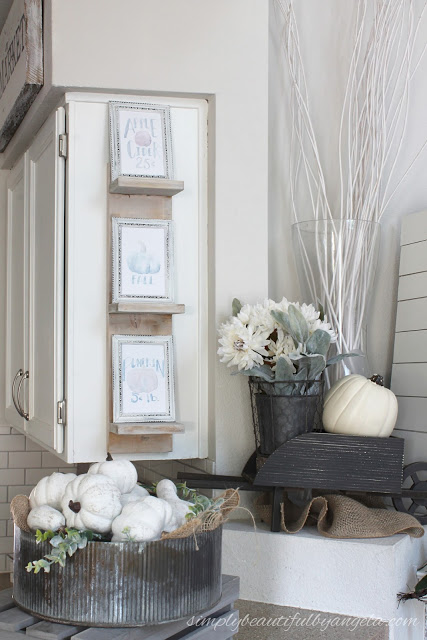
They fit perfectly on the DIY Mini Shelves that I built for the side of our cabinet awhile back!
The only cost for this was $3 for the frames.
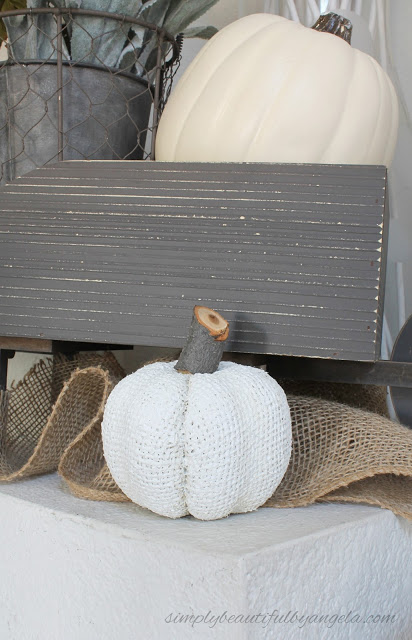
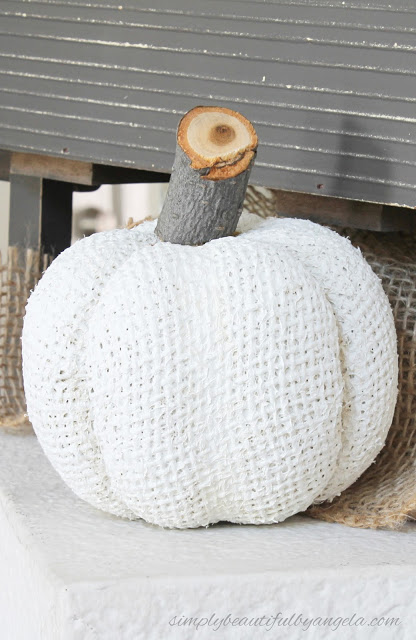
3. Painted Burlap Pumpkin
Supplies Used:
- Burlap Pumpkin
- White Paint
- Paintbrush
- Branch or Twig
- Liquid Nails
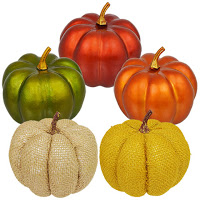
While I was at the Dollar Tree getting the frames I also picked up a burlap pumpkin. I forgot to take a before picture, but you can tell from the stock photo that the Styrofoam totally shows through so they are pretty cheap looking.
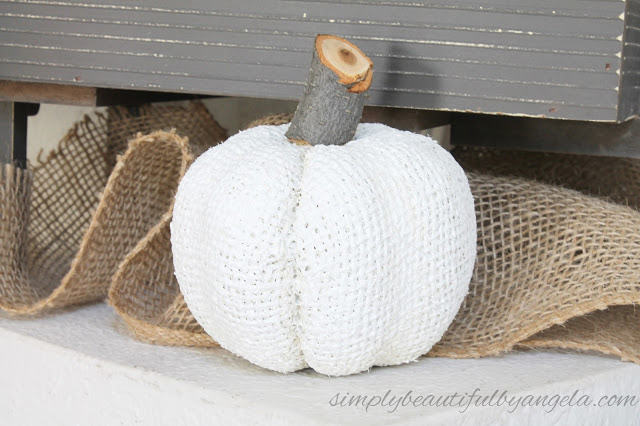
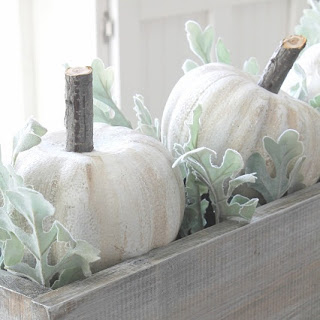
But that was a super simple fix! I took off the plastic stem and gave it a couple of heavy coats of white paint. I then cut a small piece of a branch off of our tree and attached it with a small dab of liquid nails.
So much better than the original, wouldn’t you agree?
This one only cost me $1 since I made just one, but a whole basket or tray of them would look fantastic and wouldn’t cost much!
Looking for more inspiration? I also shared these DIY fall projects that all cost very little to make so be sure to check them out!
|
|
|
Thanks for dropping by today. I hope you all have a wonderful weekend and I will see you all next week!

All three of your projects are as cute as can be and I love the fact that they were so inexpensive. Thank you for sharing them at Party in Your PJs! Pinned and shared.
The framed prints are so cute!
Great ideas! Love the garland and the pumpkin. Visiting from Thrifty Thursday party.