Hello and happy Thursday my friends! I hope you all had a great Thanksgiving. Ours was absolutely wonderful and I started putting up the Christmas decor on Friday which is always a really fun (and exhausting) process. Every year I say I’m going to simplify it for myself but of course I never do!
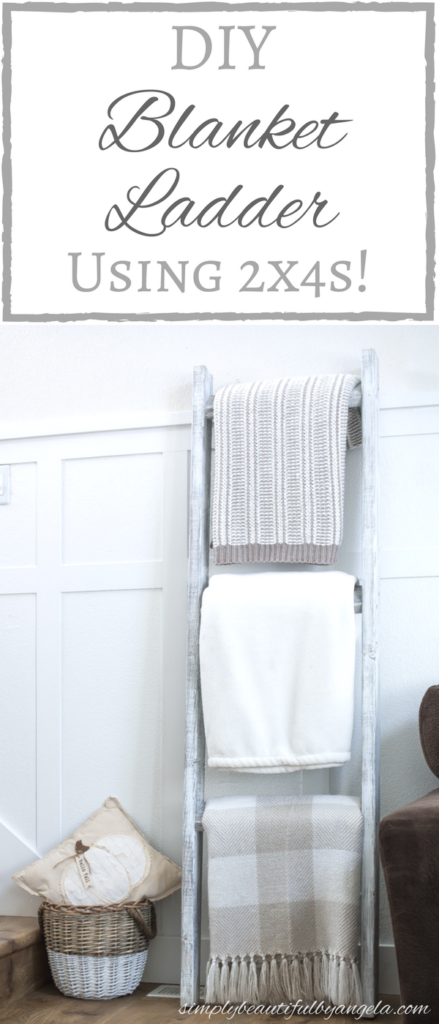
Anyways I wanted to pop in really quick today to share the tutorial on the new blanket ladder that we made for our living room.
One of my very first DIY projects was actually this ladder and it has served it’s purpose well over the years! However when I put it up against the new board and batten I decided that the white kind of got lost against the new board and batten . I’ve also always wanted one with some thicker rungs so the hubby and I teamed up to create a new one!
Supplies Used: (Affiliate links may be provided for convenience. For more info, see my full disclosure here.)
- Three 2x4s
- Orbital Sander
- Minwax Stain in Classic Gray
- Rag
- Waverly Inspirations Chalk Paint in Snow White
Chip Brush- Waverly Inspirations Varnish
- Wood Screws
- Tape Measure
- Drill
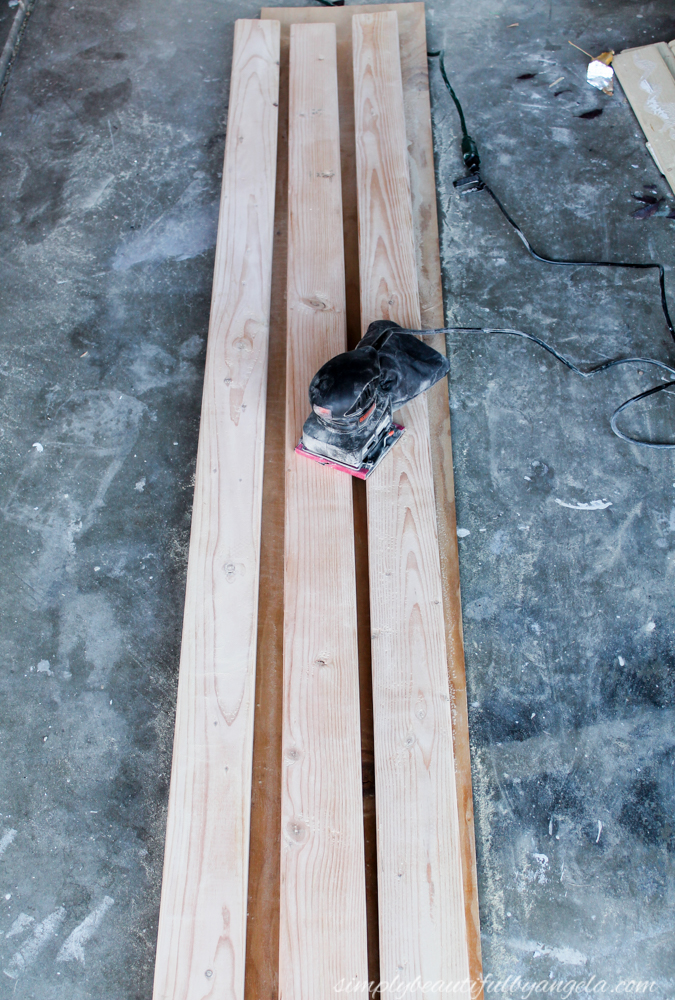
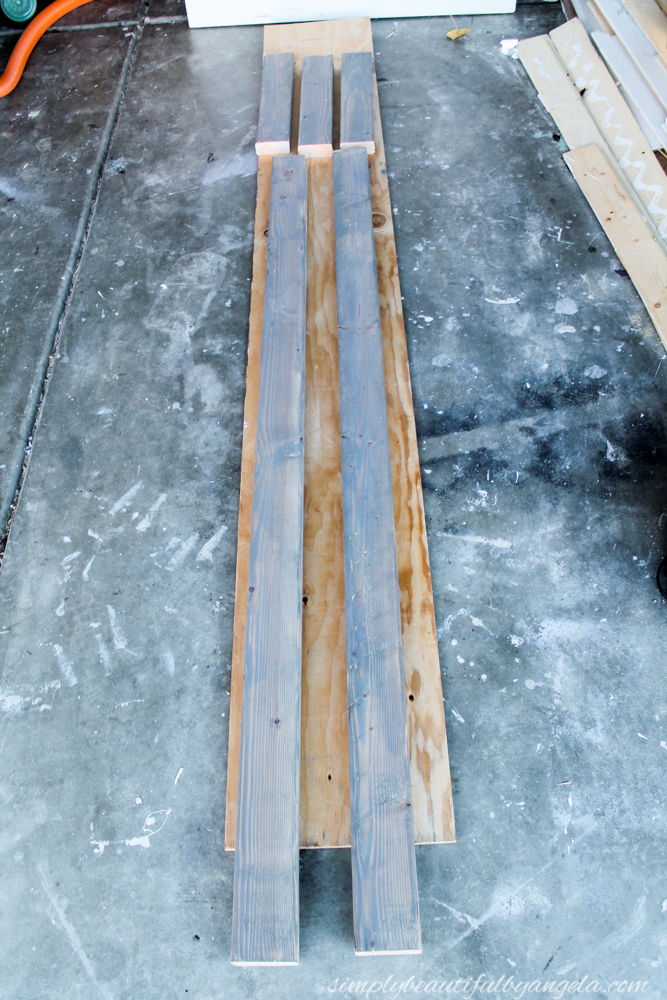
I began by purchasing three 2x4s for about 2 bucks each and used my orbital sander to smooth them out. 2x4s are usually pretty rough and have a bit of splintering on them. Although I wanted this baby to look rustic I didn’t want it to cause injuries!
Back in my hand sanding days it would have taken me 20 minutes or more to smooth these out but the sander made it less than 5! Seriously one of my best purchases ever!
For the sides of the ladder I cut down two of the boards to 6 feet and for the rungs I cut three 18″ pieces out of the third board.
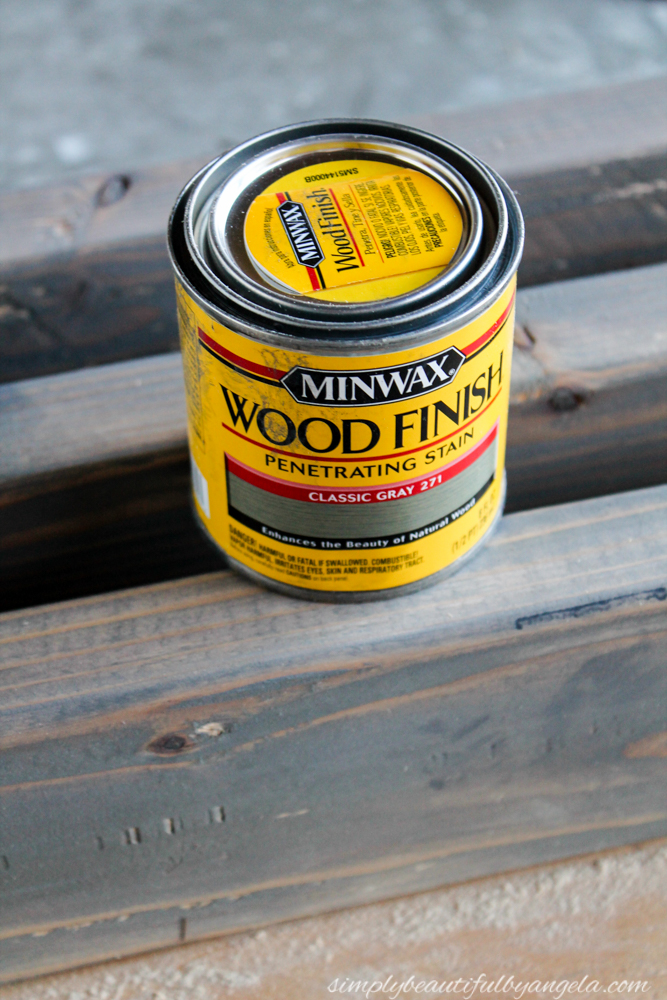
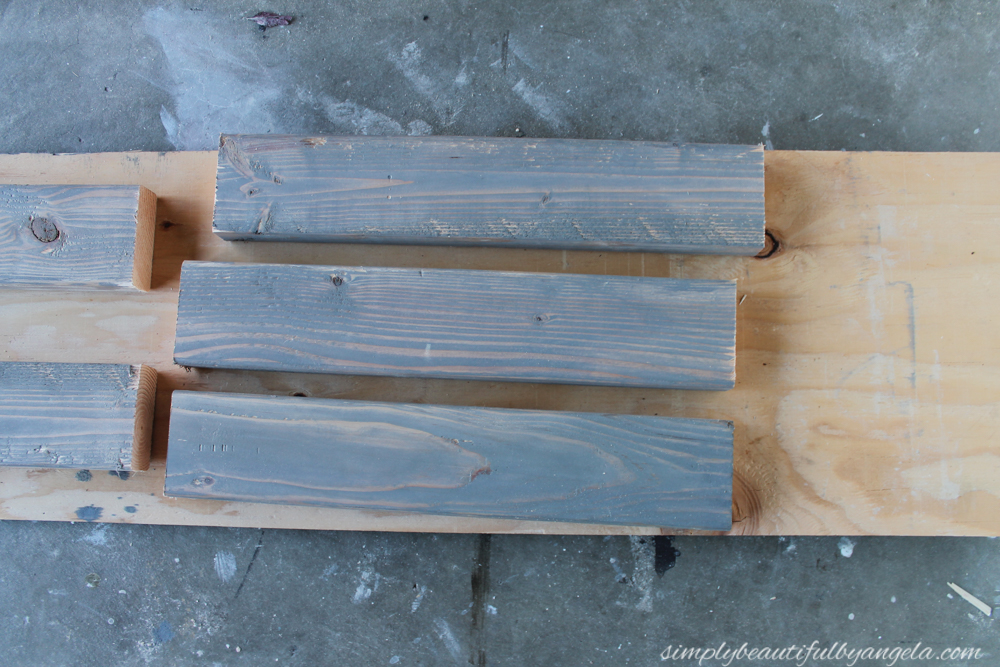
Next, I used a rag to stain the boards with a Minwax Stain in Classic Gray which is really rich and deep but still shows the wood grain through beautifully.
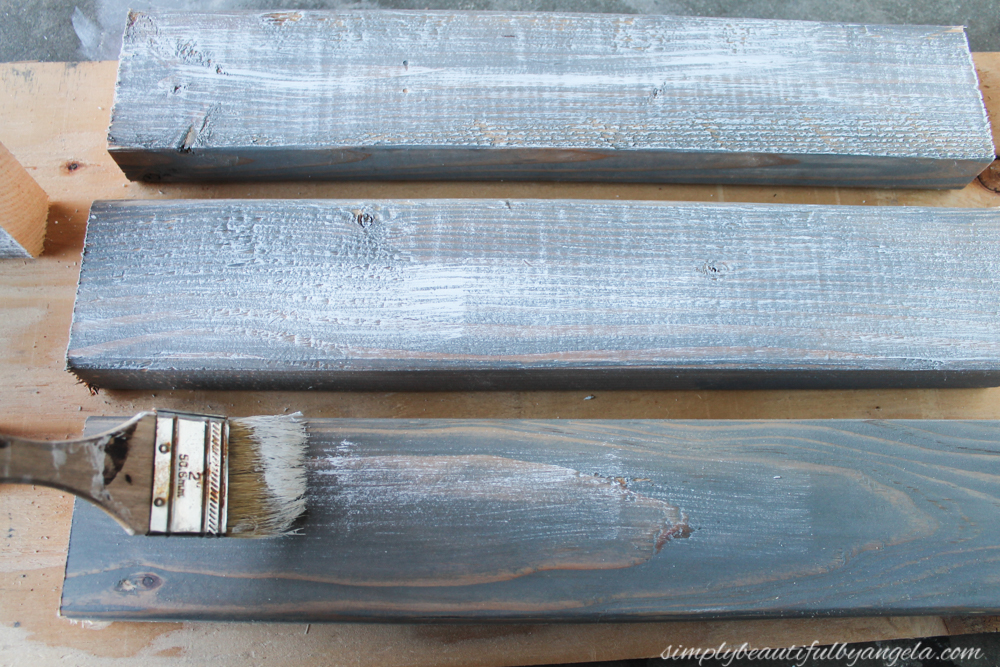
I considered leaving them like this for a hot minute but if you know me I just can’t resist weathering wood with white paint.
I simply dipped my chip brush in some white chalk paint, rubbed most of it off onto a ran and then ran the brush along the wood. I wanted to achieve a heavy white wash so I used a lot of paint
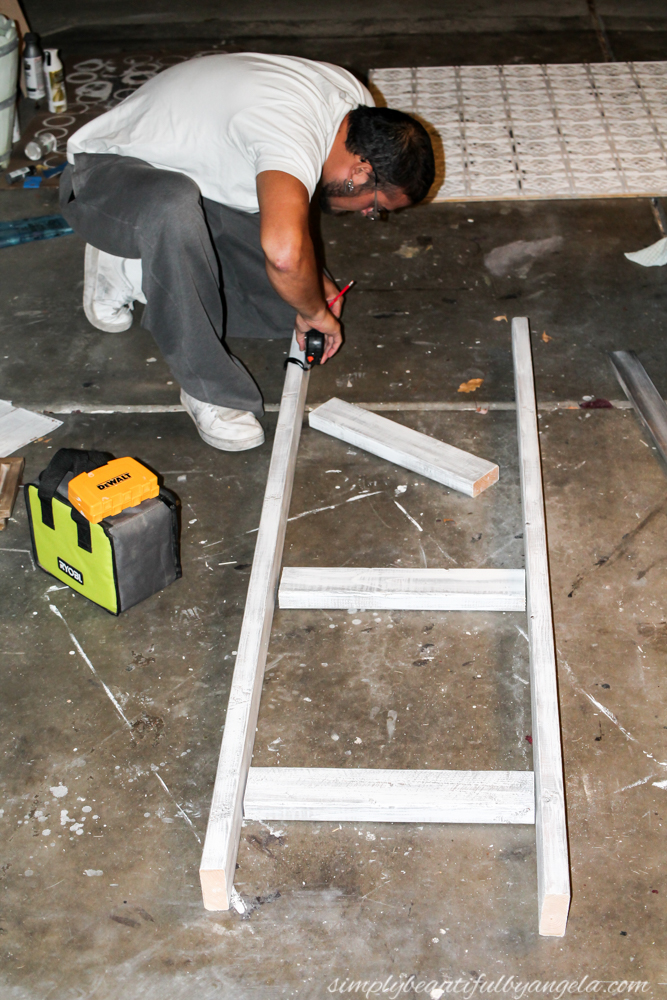
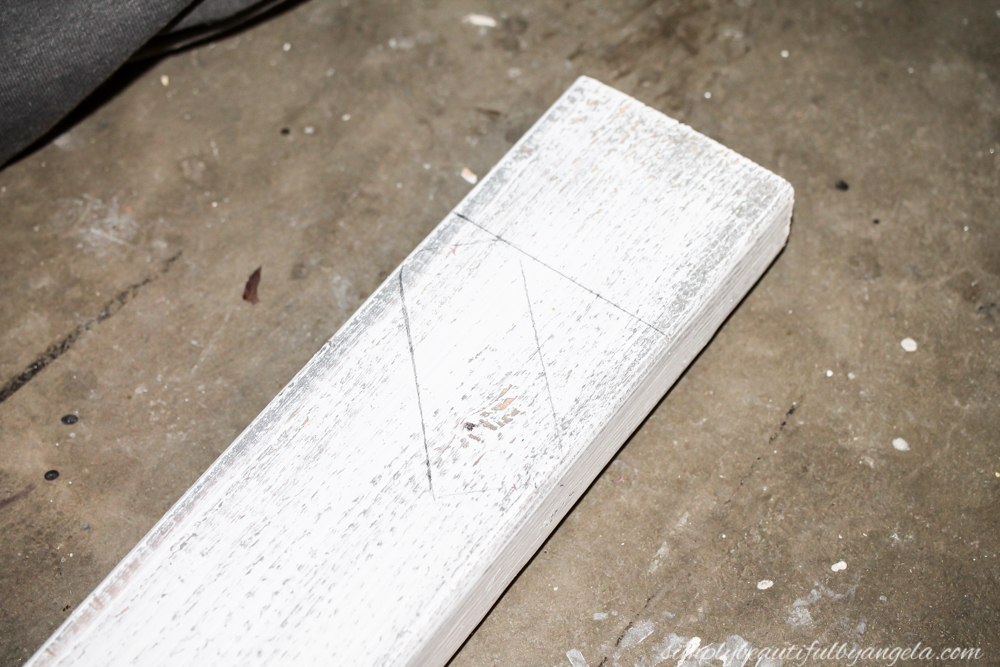
I finished it off with a coat of varnish and then let the hubby get to work on his part. He began by using a tape measure to measure 3″ down from the top of each side and drew a line.
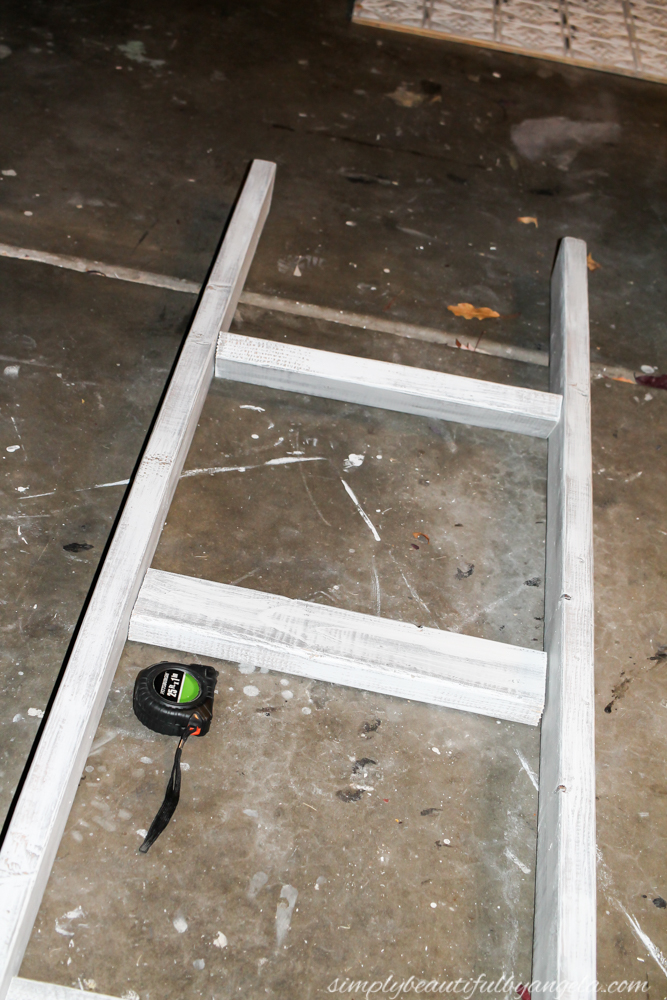
He then placed one of the rungs so that the top corner hit the line.
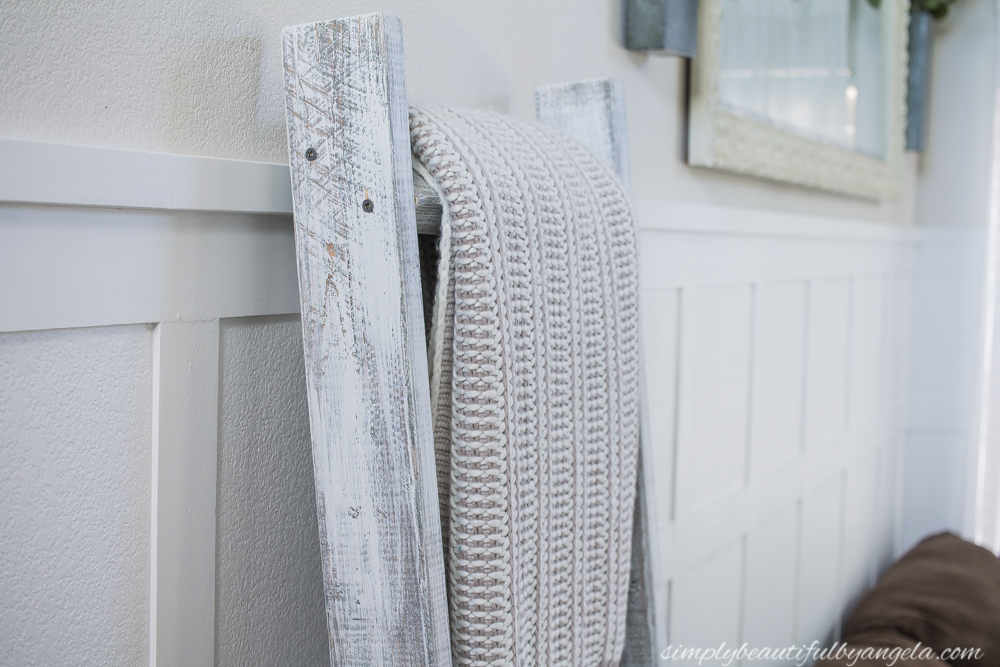
He then drilled and attached the rung with 2 wood screws from the side and did the same thing on the other side.
He spaced the other two rungs 22″ apart from each other.
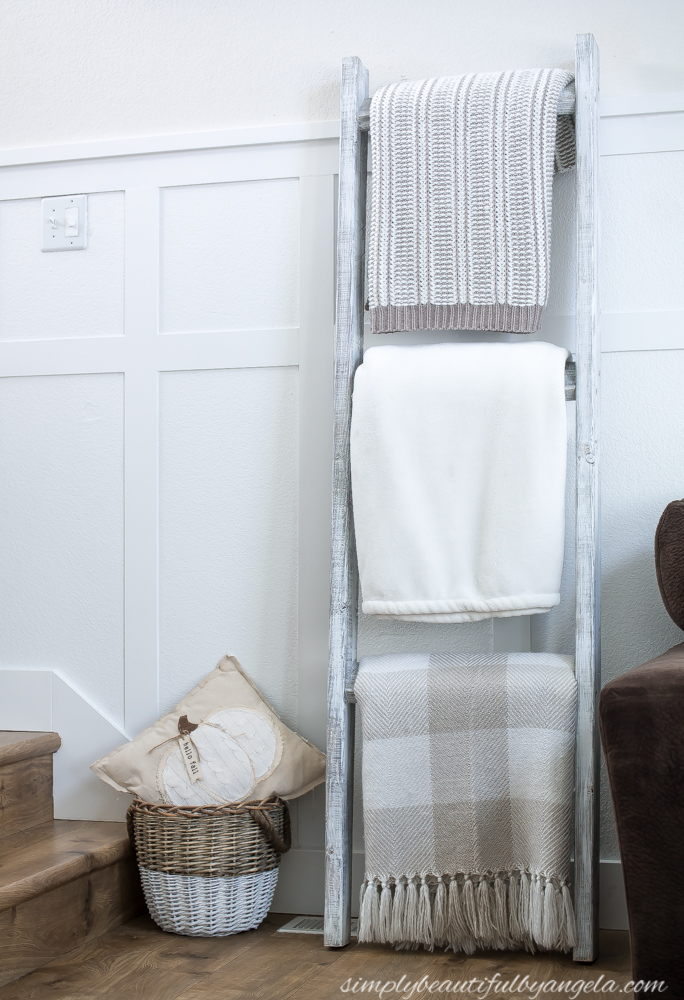
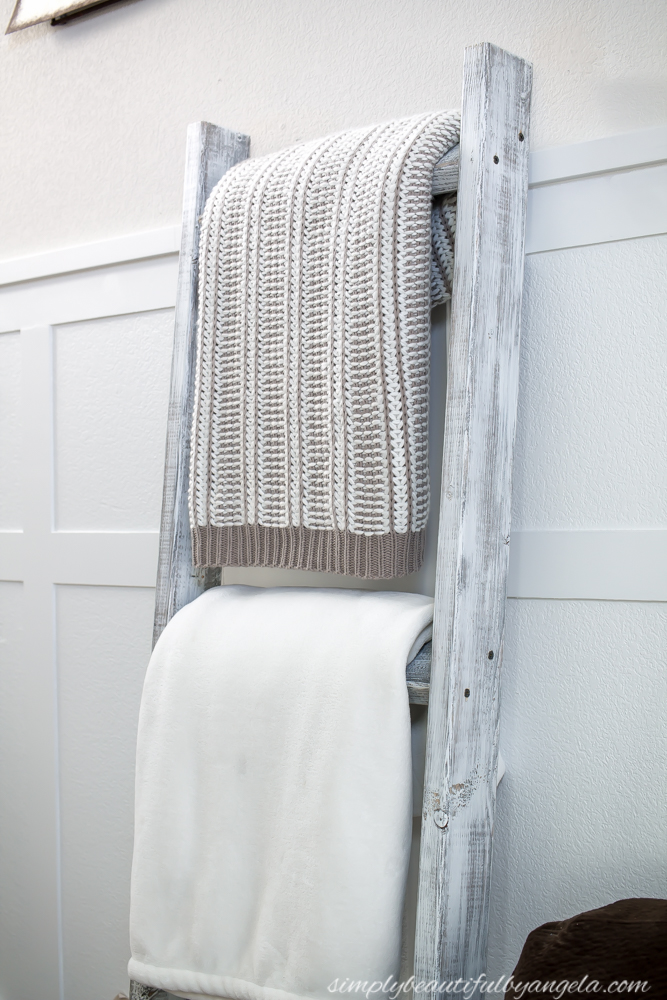
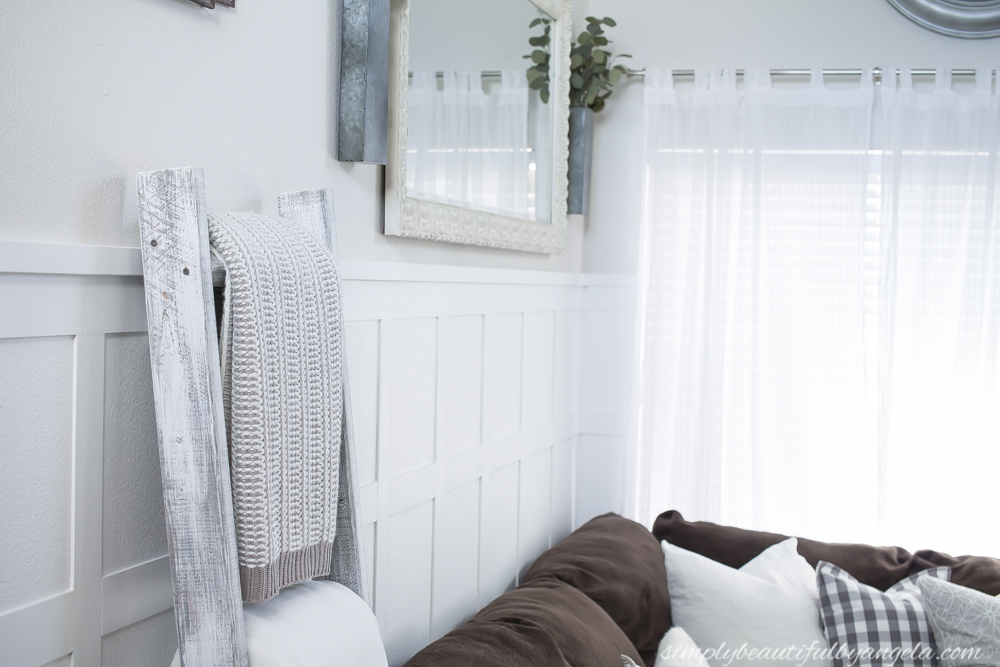
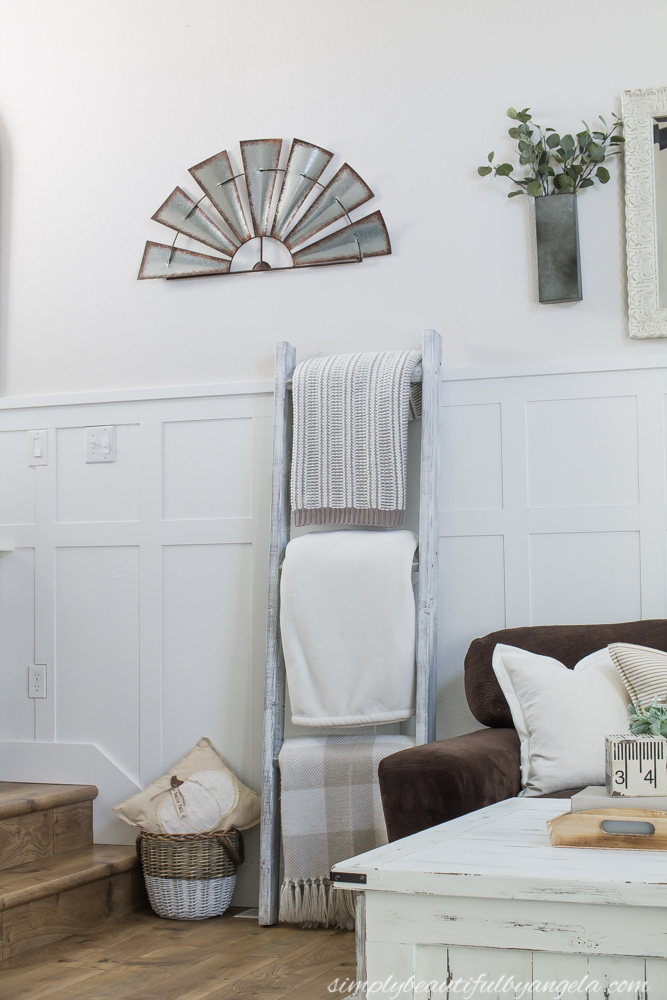
And this is how it turned out!
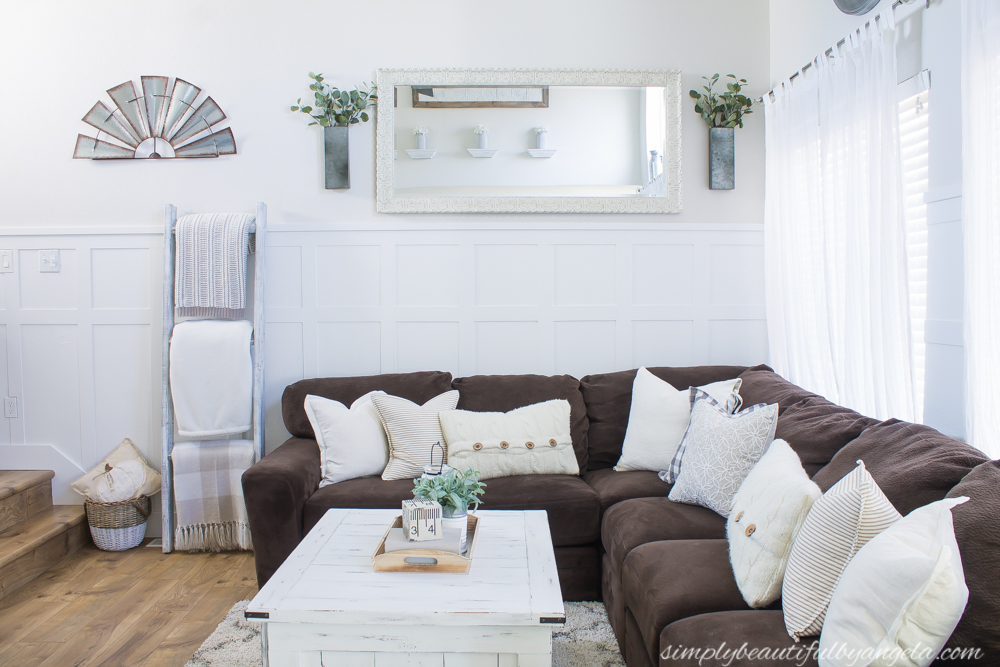

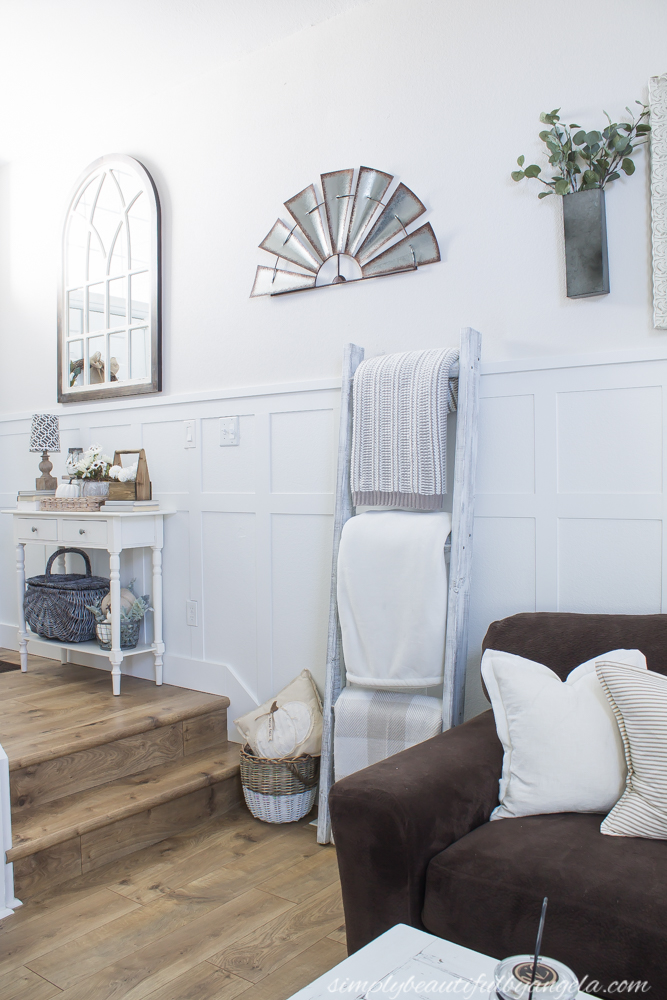
I just love how the gray stain peeks through just enough to contrast beautifully against the board and batten.
Not only does it give the space some nice visual height, it’s also so easy for a neat and tidy freak like myself to keep our blankets organized!

Thanks for stopping by today everyone! I’ll be back on Monday to share our Christmas tree along with my blogging friends for a fun blop hop. See you all then!
Linking up to these awesome parties!

I LOVE your blanket ladder! I love the look of it! These ladders are great to show off your favorite quilts or blankets. My aunt has one in her quilt room and I think it's a great idea! Thank you for the instructions on how to make a ladder yourself!
Natalie A.
Brilliant blanket ladder, they are a nice tool to show off the blankets. Keep up the good job and thanks for sharing this article. I enjoyed!
I love the gray stain too. It looks so nice in your living room. Thank you for sharing at Party in Your PJ's! I pinned to my DIY board for future reference. I see one in my future!
I love this! The color you chose looks perfect in the area too.
~ Elena
What a great idea! Really like your blanket ladder. I'm visiting from Wonderful Wednesday.
Debbie@debbiethisandthatcom
I discovered your blog site on google and check a few of your early posts. Continue to keep up the very good operate. I just additional up your RSS feed to my MSN News Reader. Seeking forward to reading more from you later on!?
mustafa game apk