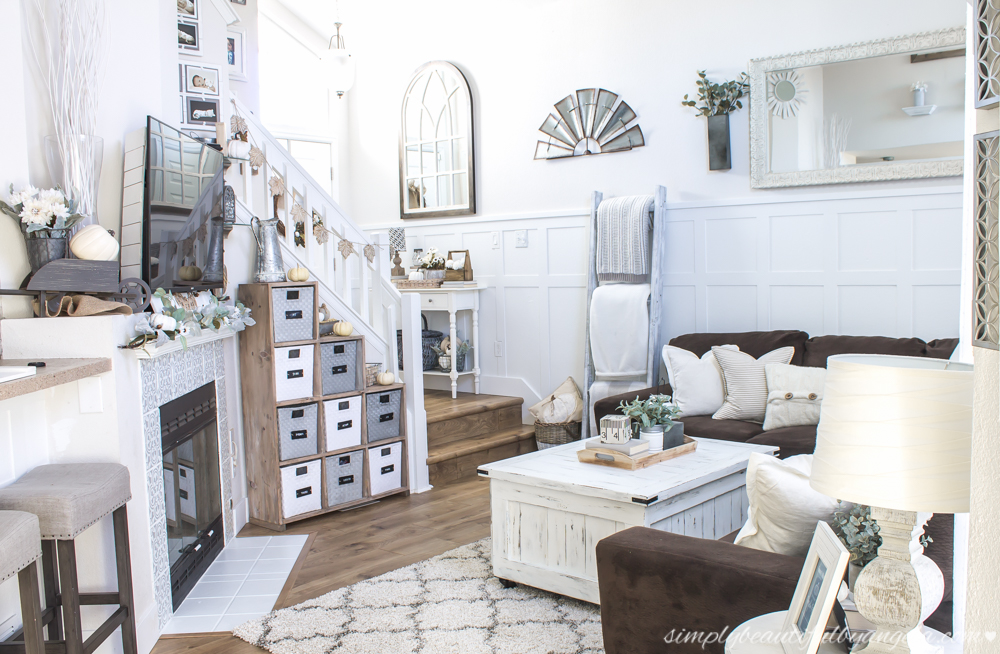
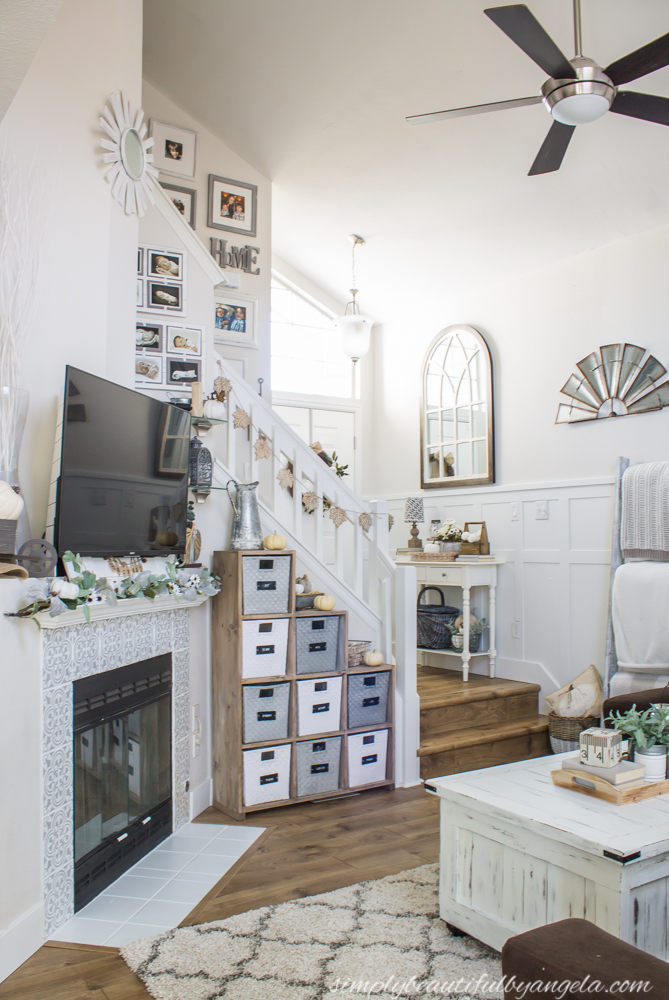
Hello my friends! Thanks for stopping by today. Did you all get a chance to check out the new living room that I tackled for this season’s One Room Challenge?
I’m still getting used to walking into the new and improved space every day. I’m also extremely excited to see how it will all look all dressed up for Christmas, which will be happening on Friday!
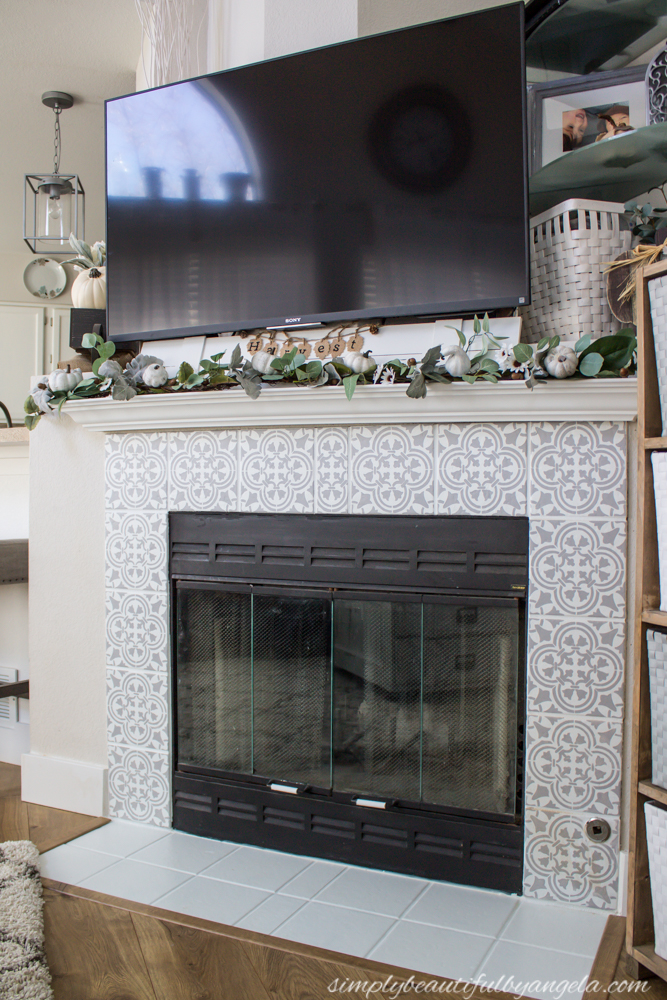
But can I let you in on a little secret about this room? Although the stenciled fireplace is one of my favorite features in here, it actually wasn’t even part of the original plan.
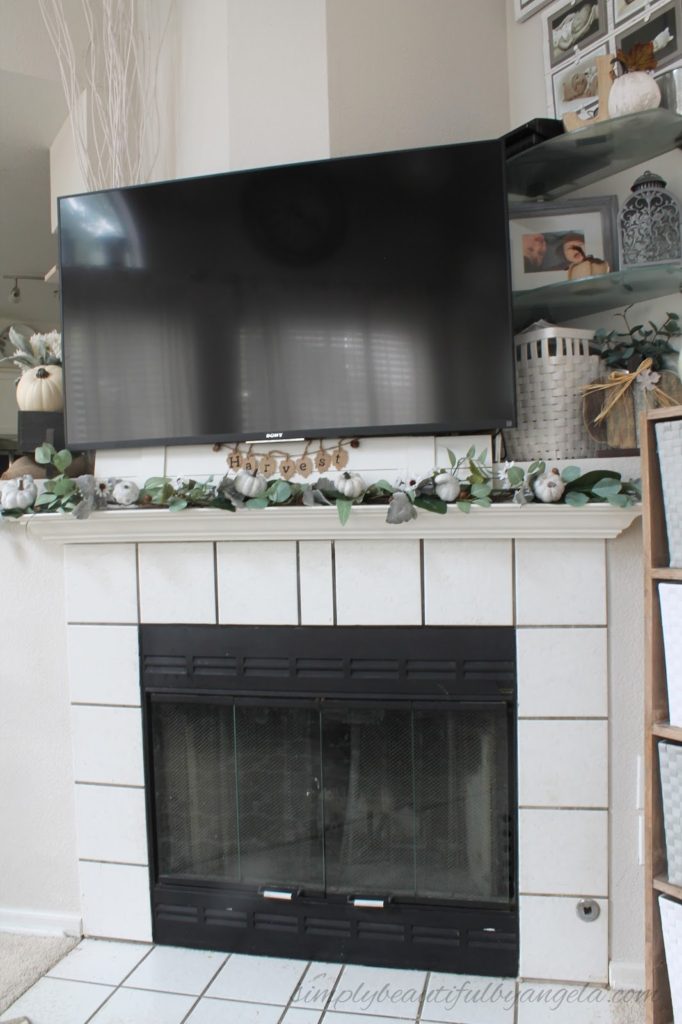
As a reminder this is how our fireplace used to look…
Just your basic white tile and dark grout. Pretty blah in my opinion. I’ve heard of grout pens so I started thinking that I could just paint the grout a lighter color. While I was researching tutorials on how to use the pens I stumbled across the idea of stenciling tile.
Pure genius if you ask me!
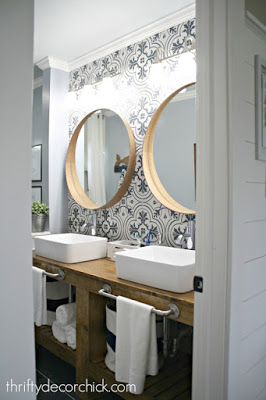
I’ve been head over heels about all of the pretty vintage tile patterns that are so “in” right now like this one that Sarah used in her recent bathroom remodel.
So I decided that stenciling the tile would be the perfect solution to make our fireplace a little more loveable!
Supplies Used: (Affiliate links may be provided for convenience. For more info, see my full disclosure here.)
- Simple Green
- Painter’s Tape
- Zinsser Primer Sealer
- Fine Finish Foam Roller
- 2″ Angled Paint Brush
- Waverly Inspirations Chalk Paint in Snow White
- Waverly Inspirations Chalk Paint in Silver Lining
Augusta Tile Stencil
- Polycrylic Satin Finish
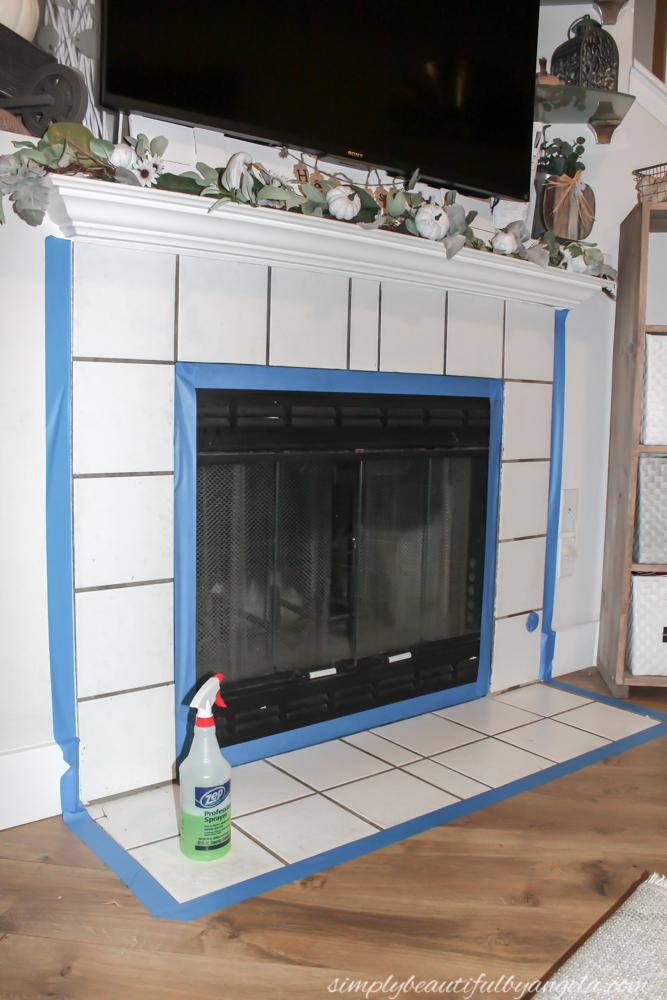
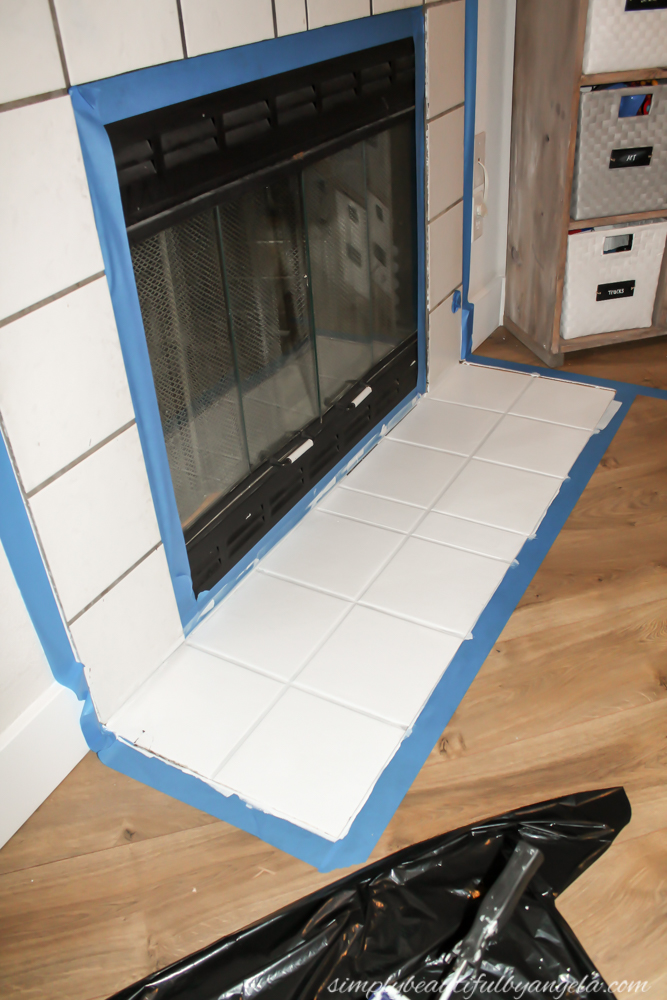
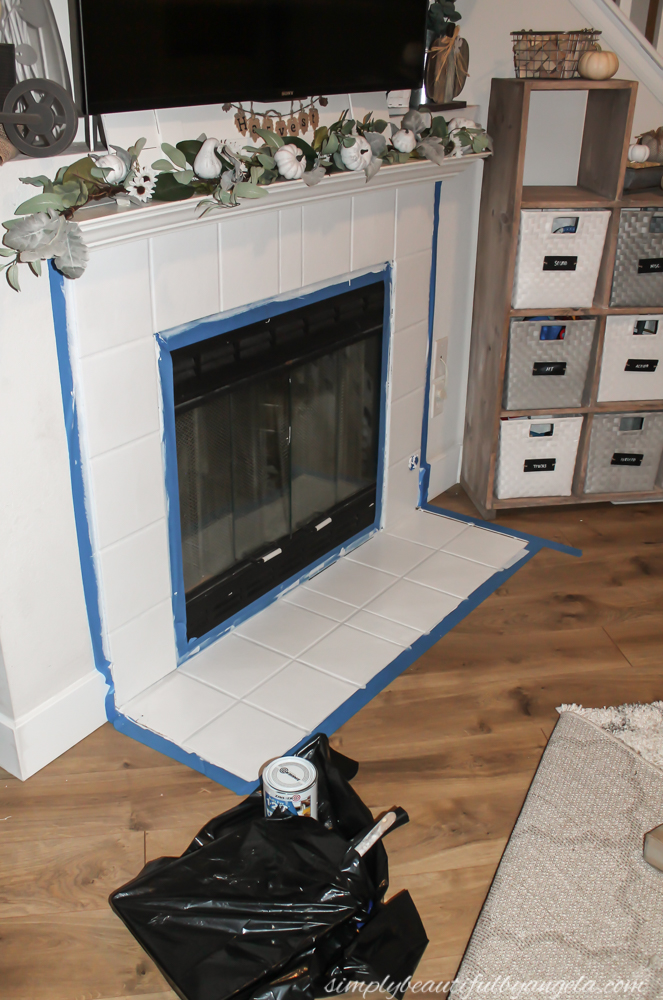
The first thing that I did was scrub down the tile really well with some Simple Green. I then taped off the wall, floor and fireplace box with some painters tape.
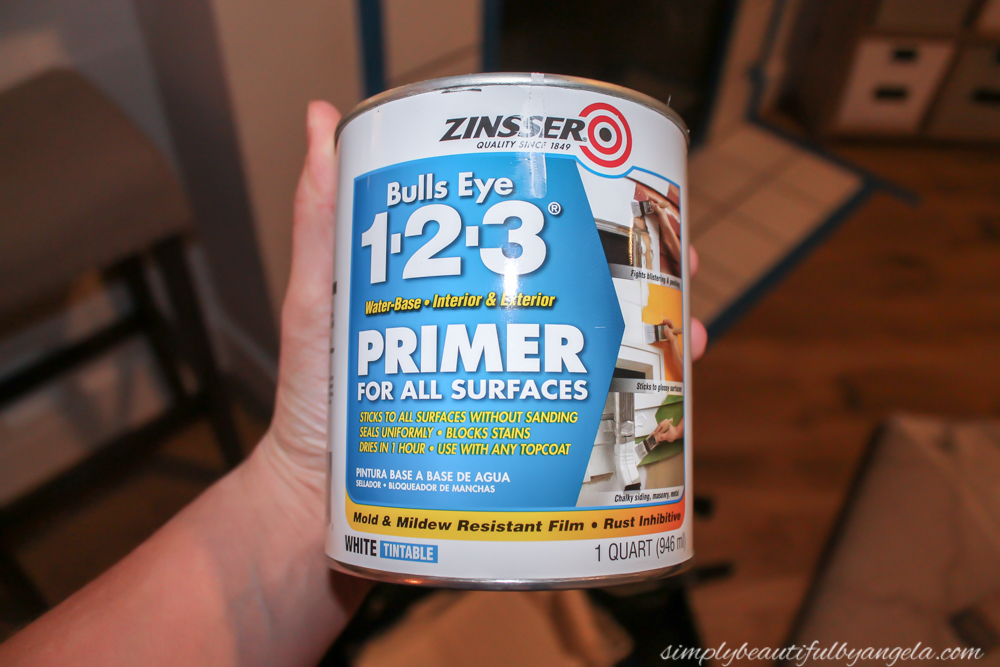
There are multiple tutorials out there that just use chalk paint for the base coat. But since we have quite a lot of foot traffic on this tile I decided to use Zinsser Primer Sealer first. The can states that it sticks to all surfaces, including tile.
It was only a little over 8 bucks on Amazon so I thought that it would be worth the added step!
I started by using my angled brush on all of the grout lines and then went over each tile with my small foam roller. After rolling I noticed that I had some drips and buildup in the grout lines so I went back over each one quickly with the brush.
I waited about 30 minutes for the first coat to dry before following up with a second coat.
The next morning I applied one coat of white chalk paint the exact same way that I did the primer.
The nice thing about chalk paint is that it dries very quickly. I only waited about 20 minutes before starting on the stencil.
I found my  Augusta Tile Stencil on Amazon and I was over the moon excited because it came in an 8″ size which is exactly what our tile is. (I believe the other two size options are 6″ and 12″ )
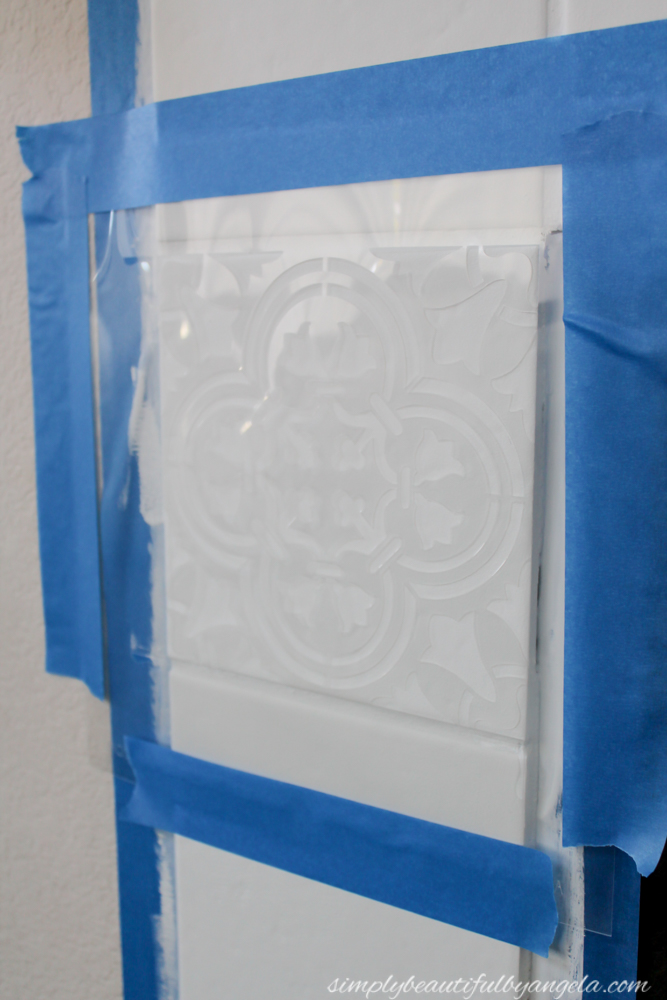
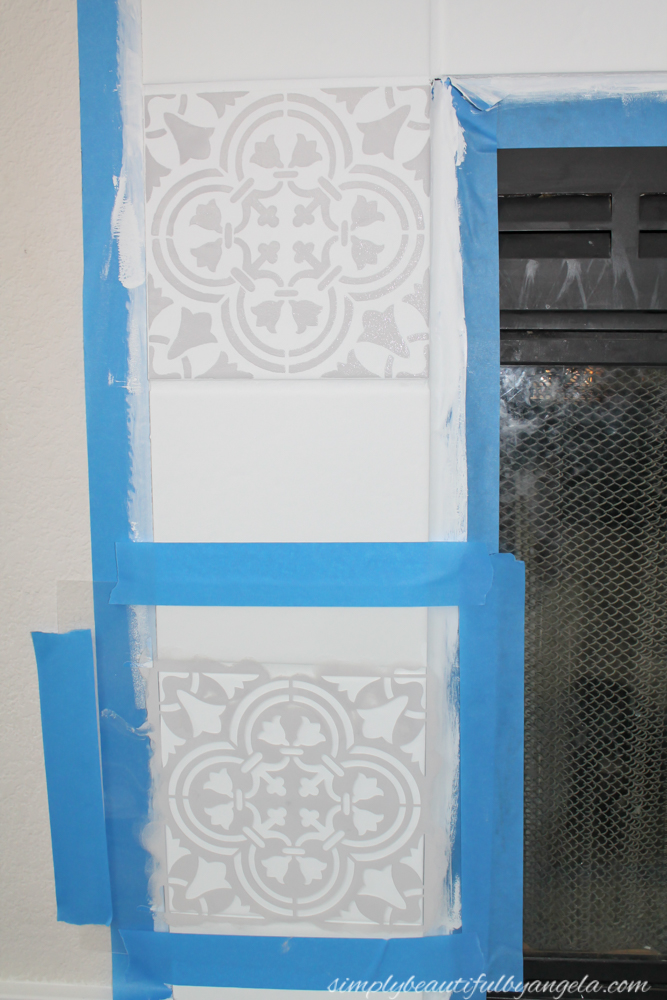
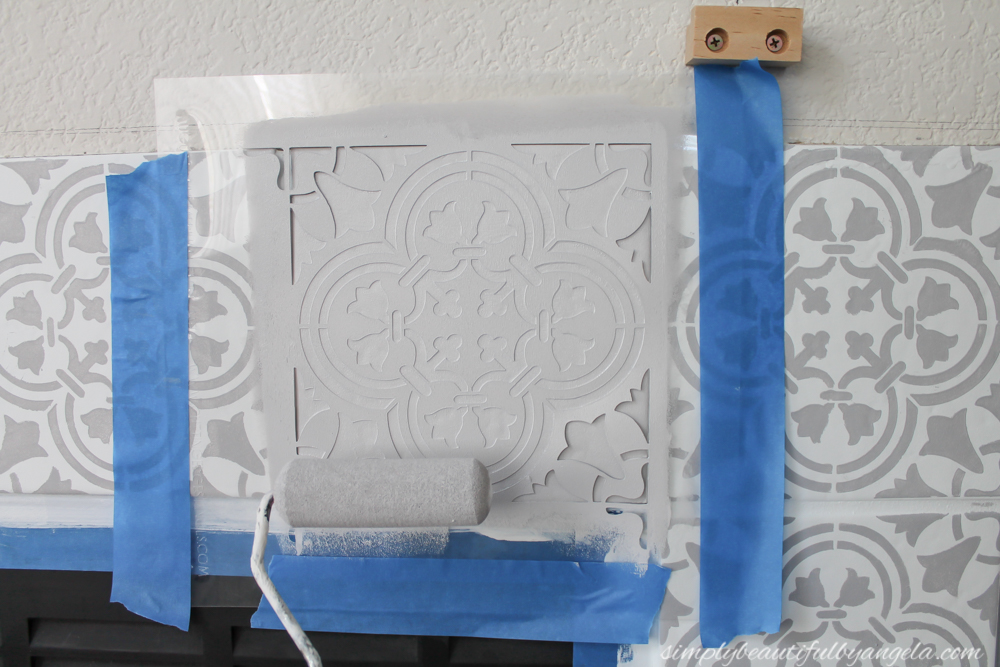
I used some painters tape to position the stencil on the tile.
You can also purchase Stencil Adhesive Spray which will keep the stencil nice and flush on the surface. I’m not going to lie, it would have come in super handy because getting the stencil to lay flat was pretty challenging.
I started out by using spouncers to apply my gray chalk paint because I liked the idea of having a lot of control. However. It took me a good 10-15 minutes just to get ONE stinking tile done using this method.
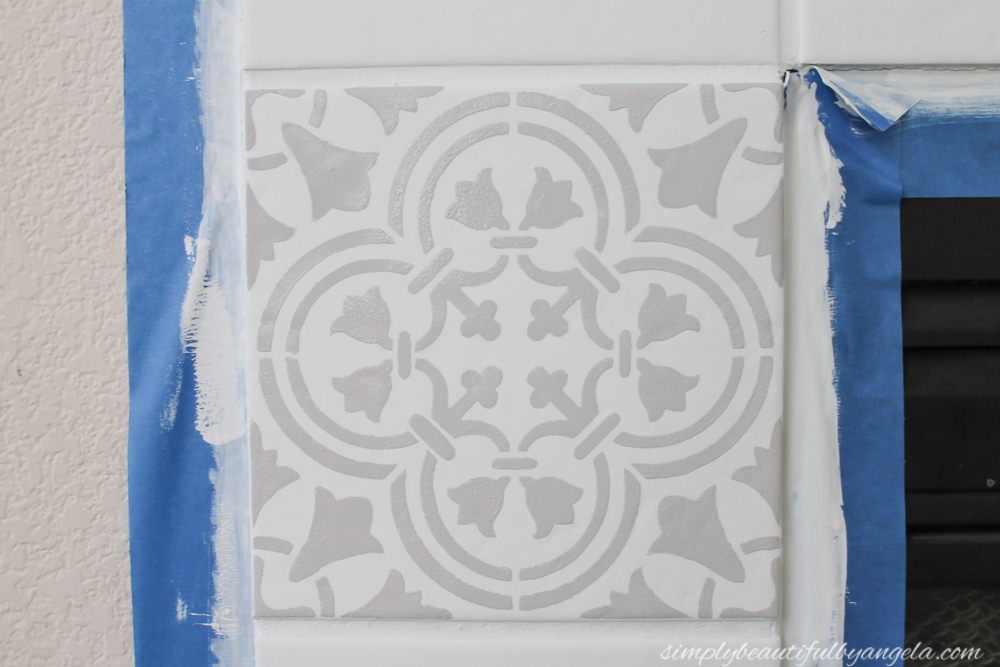
Regardless, I was so excited when I removed my stencil and saw the first one done!
I moved my stencil two tiles down so that the paint on the first tile had some time to dry. Again, since I was using chalk paint I only had to wait about 15 min (if that) before being able to work on the adjacent tile.
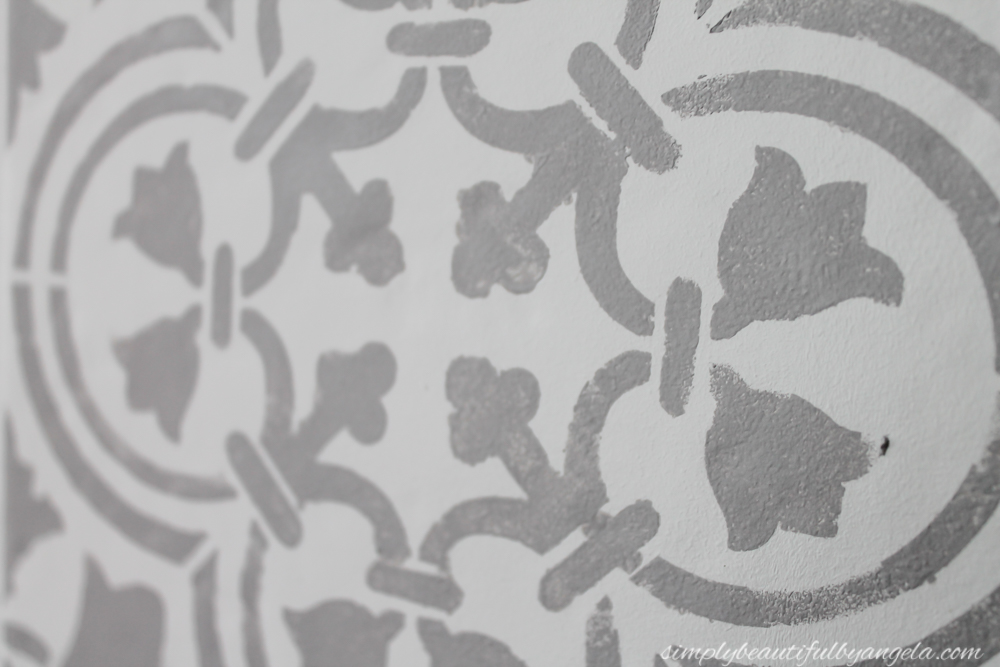
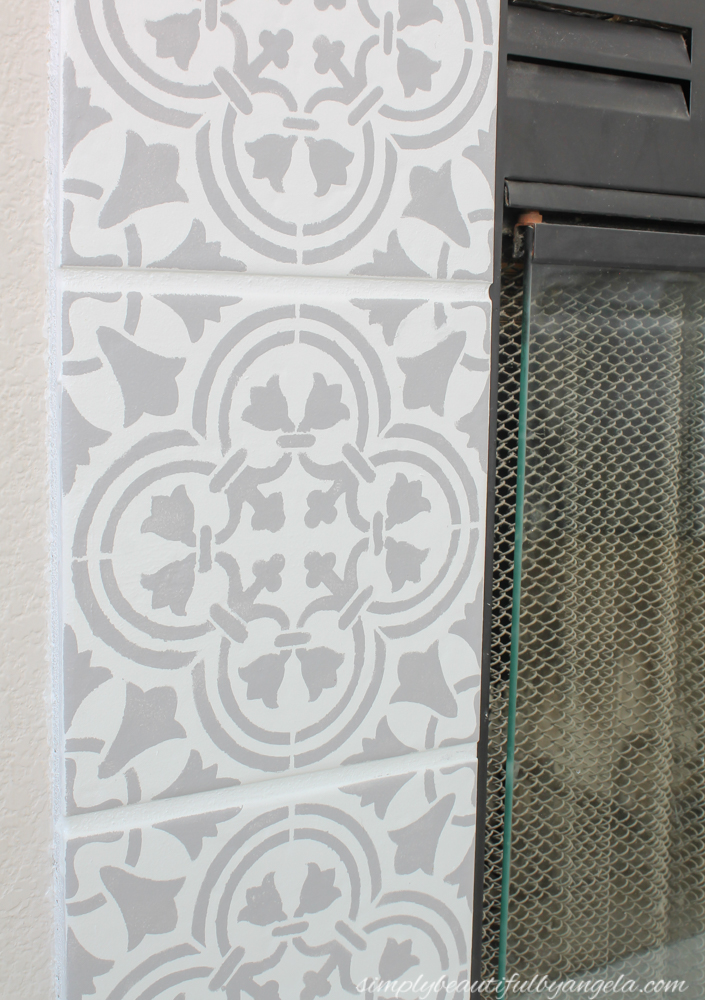
I want to note that if you look reeeeeeally close the pattern is not perfect. Even with the spouncer brush this is how it turned out. But even standing two feet away it’s not noticeable at all so don’t stress out (like I may have…) when you notice this!
About an hour later I had only 4 tiles done and was feeling pretty drained. I decided to try using the foam roller and WOW what a difference that made!
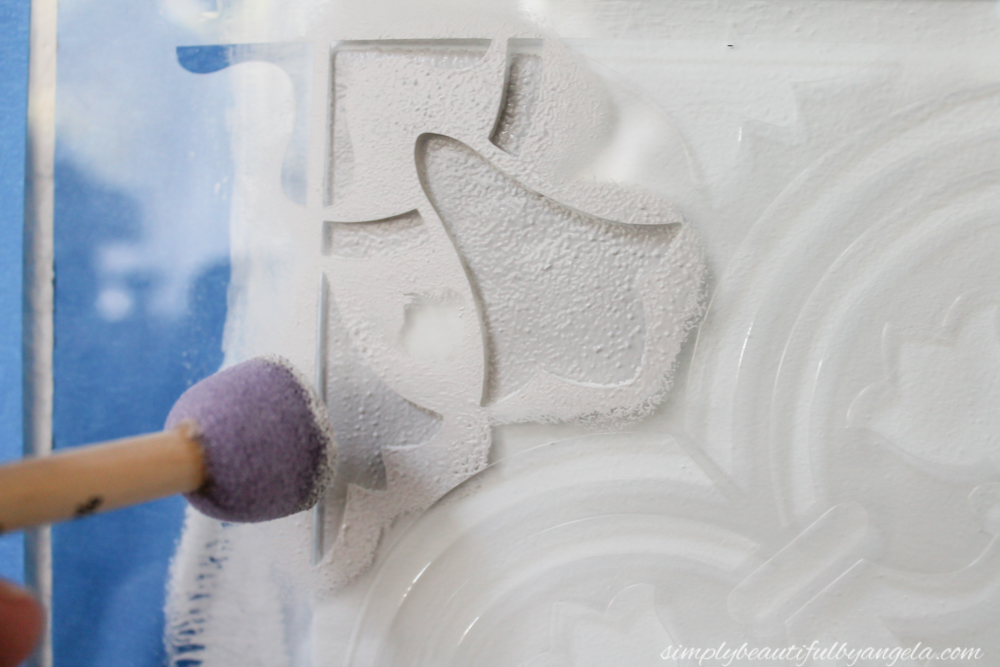
It took the time down to about 30 seconds per tile. No joke! Just be sure to roll off as much of the excess paint onto another surface first because if your roller has too much paint it will seep underneath the stencil which is no bueno! I used a trash bag but a piece of cardboard would work well too.
I rinsed off my stencil about every 4th tile. As long as you aren’t using too much paint and getting seepage underneath you should be able to reuse it at least that many times.
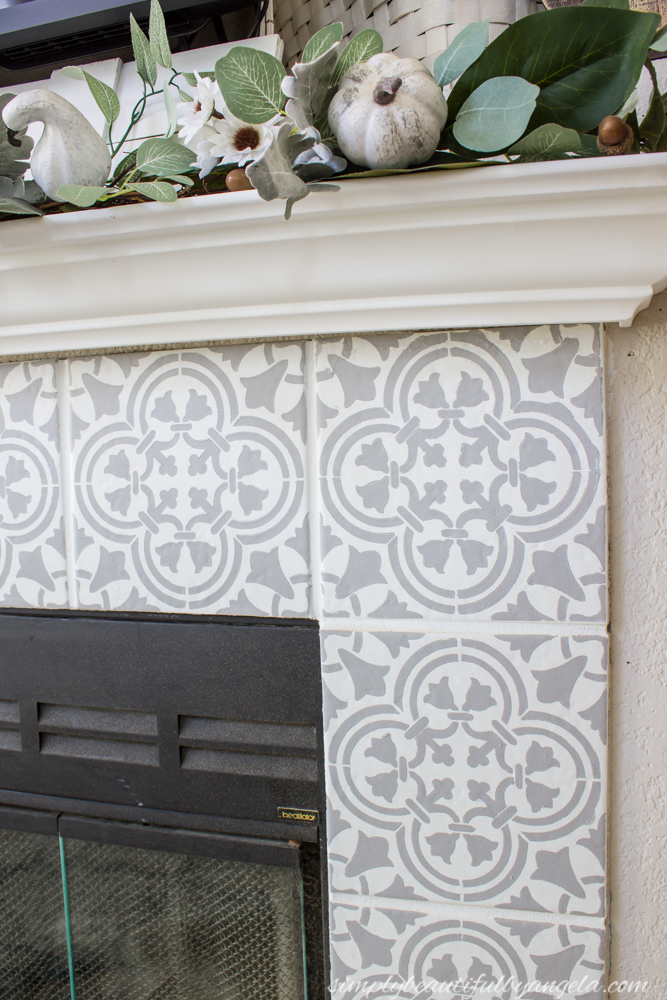
Finally, I finished it off with two coats of Polycrylic Satin Finish using the foam roller to protect my precious masterpiece!
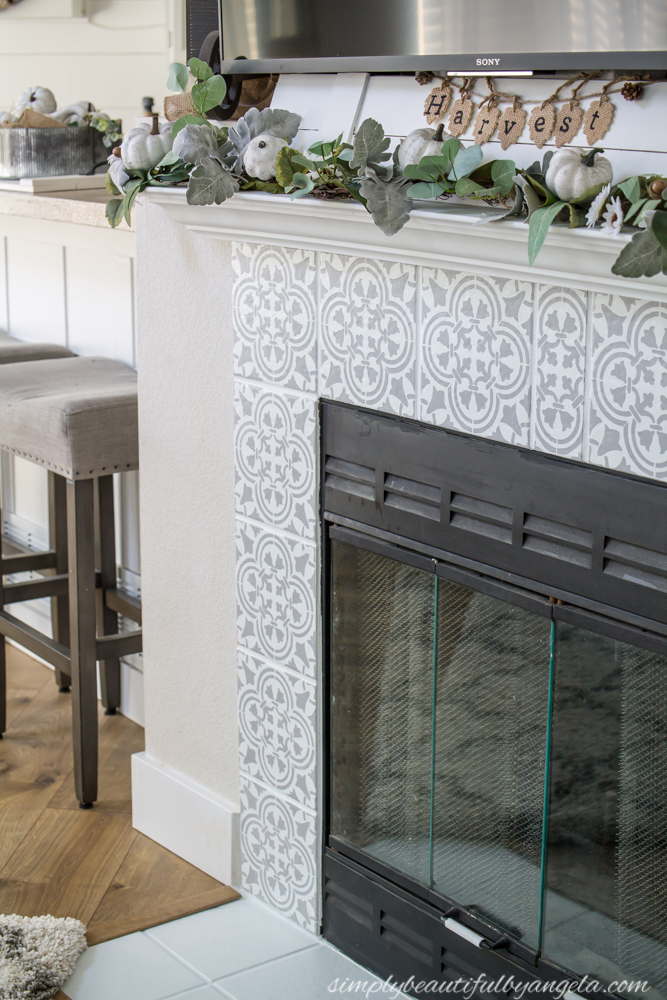
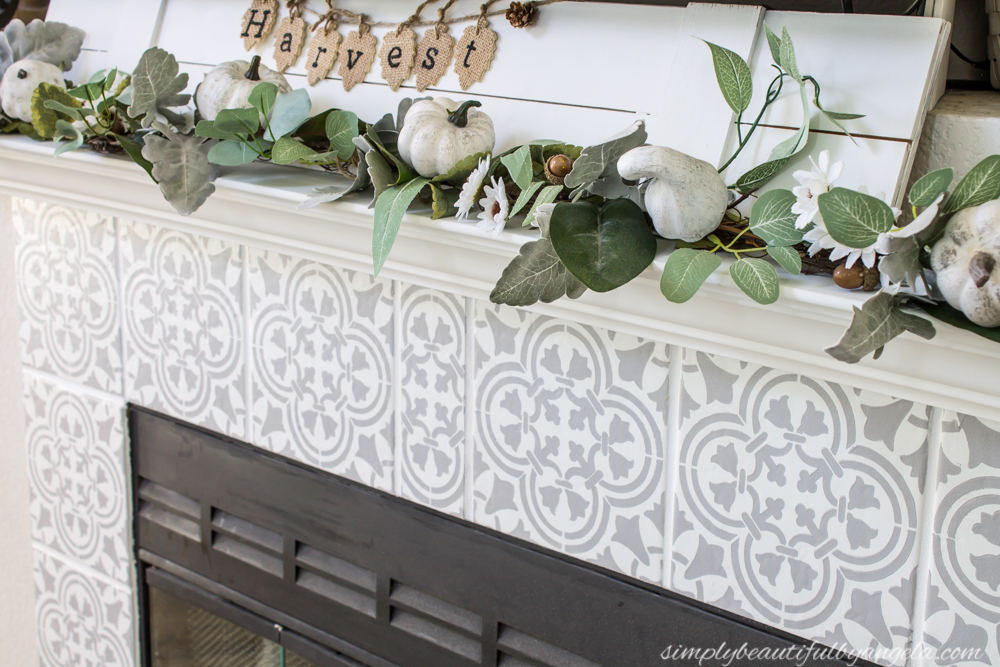
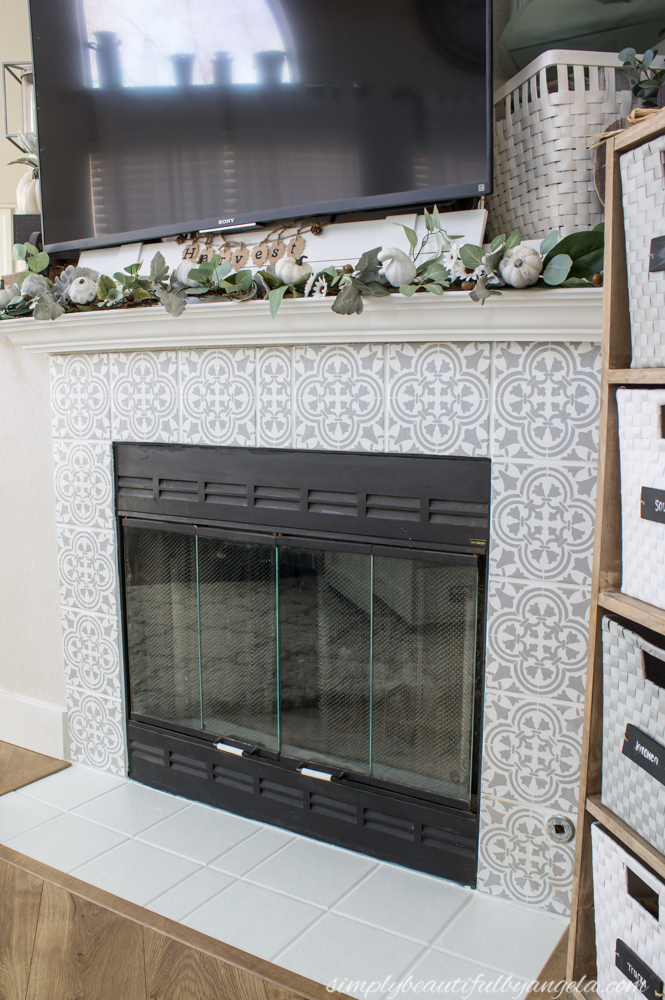
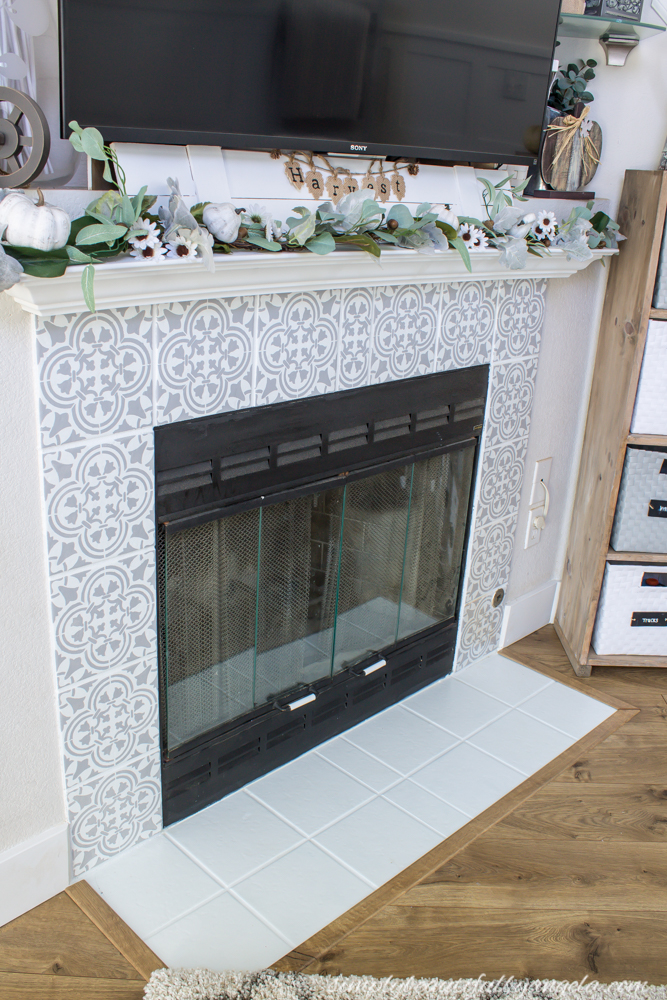
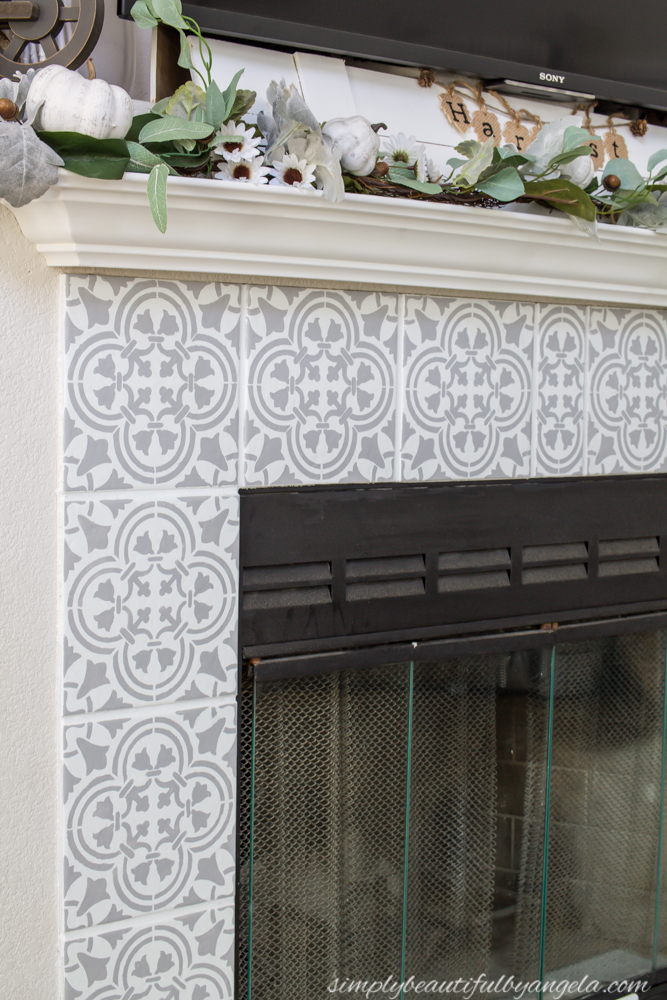
You see what I mean about the pattern looking crisp unless you really zoom in on it?
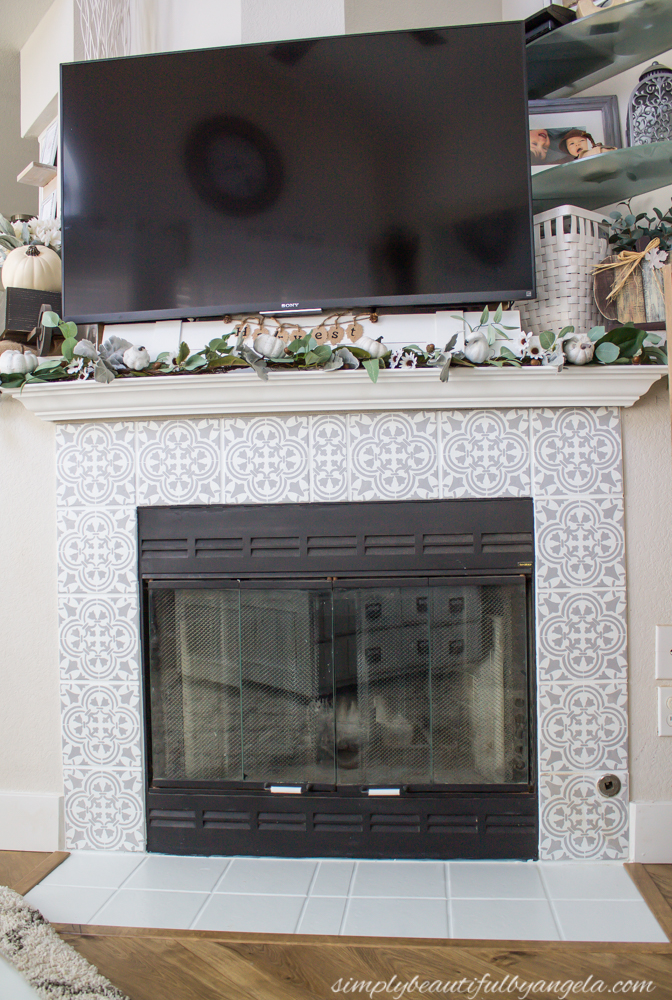
It blends so much better with the rest of the room, don’t you think?
I am so thrilled with how this turned out, I just wish I had thought of it sooner!
I hope you all have an absolutely fantastic Thanksgiving. I will be back next week, see you then!
Linking up to these awesome parties!





This diy of stenciled tile fireplay is so useful as these day we all have tiles at our places but the fireplay costs alot if we hire someone professional. So for this purpose I think this fireplay stencil is not only useful but easy on pocket as well.
that looks AMAZING! i can't believe you did that with a flippin' stencil. changed the whole look.
b
Oh, wow. This turned out so nice. I have brick I want to paint. Thanks for sharing at the Inspiration Spotlight party. Pinned & sharing.
Introducing artistic tile ground surface should be possible by anybody with great sight (or glasses), who has the physical condition required to scour, rub, bow, and curve. You'll should be sufficiently cautious to deal with a wet tile saw or utility blade. Tile Flooring
Great post! Your fireplace is very beautiful for more look Built in wall fireplaces awesome, you take the time to add some decorations or create a theme that will make it look beautiful for family and friends to see. Thanks for sharing.
Thanks for sharing with us this informative blog. If you wants to know more detailed about Ordinary Fireplace, our site an help you.
The post selected by you will provide all pertinent information regarding the wood fire, Thanks for sharing this.
Wonderful illustrated information. I thank you about that. No doubt it will be very useful for my future projects. Would like to see some other posts on the same subject! Stacked Stone Backsplash
It is imperative that we read blog post very carefully. I am already done it and find that this post is really amazing.
Elegant corner fireplaces