Simply Beautiful By Angela

creating simple beauty on a budget

  • Home Tours
  • Projects
  • Legal
  • Link Parties
  • Let’s Chat!
  • About Me

Lucas’ Sesame Street Birthday Party

January 8, 2018

***UPDATE*** The printables that I created for this party are finally available in my Etsy shop!  Click HERE to take you to the listings!***

Hello everyone and happy Tuesday! I know it’s been quiet around here the past couple of weeks.  With the hustle and bustle of the holiday season followed immediately by Lucas’ birthday it gets a little tough to keep my head above water this time of year. Thank goodness for caffeine, that’s for sure!

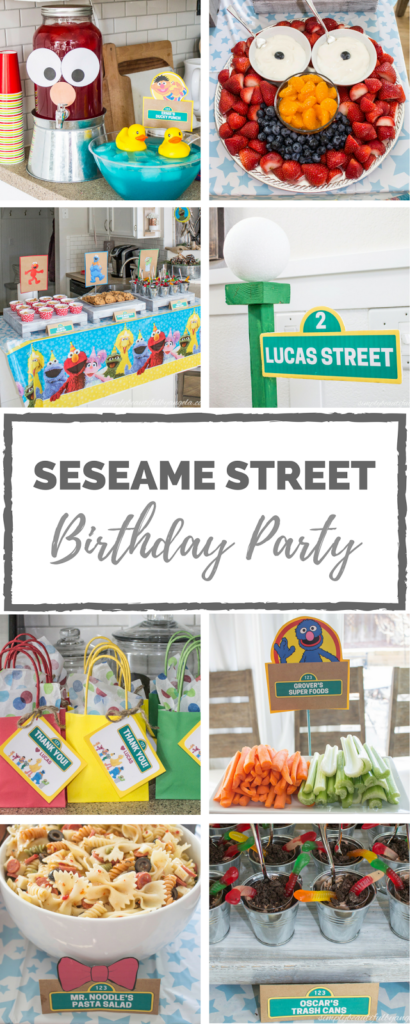
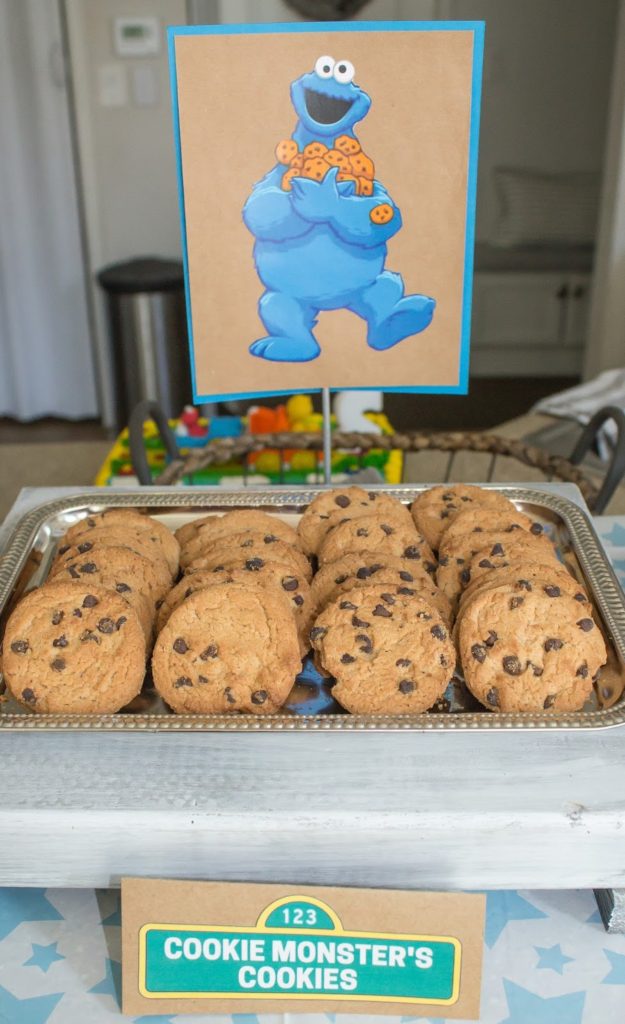
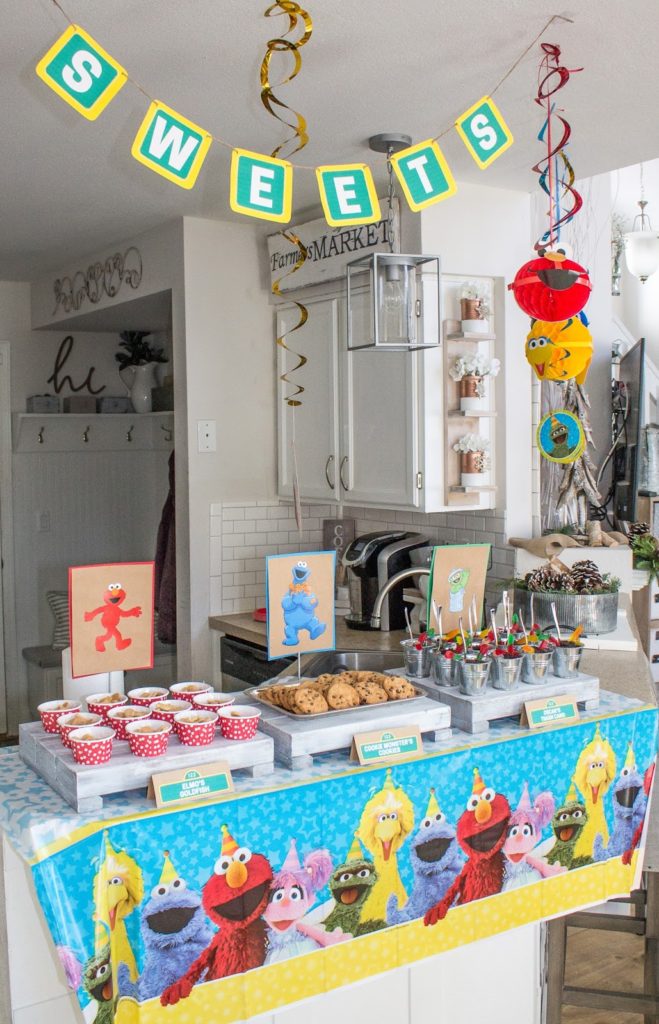
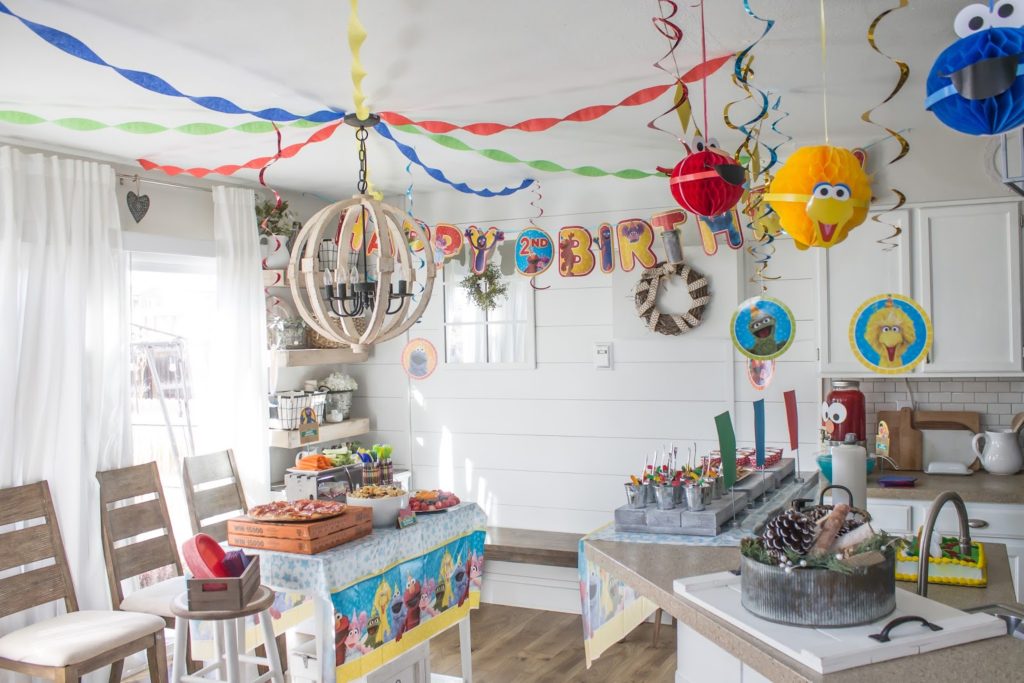
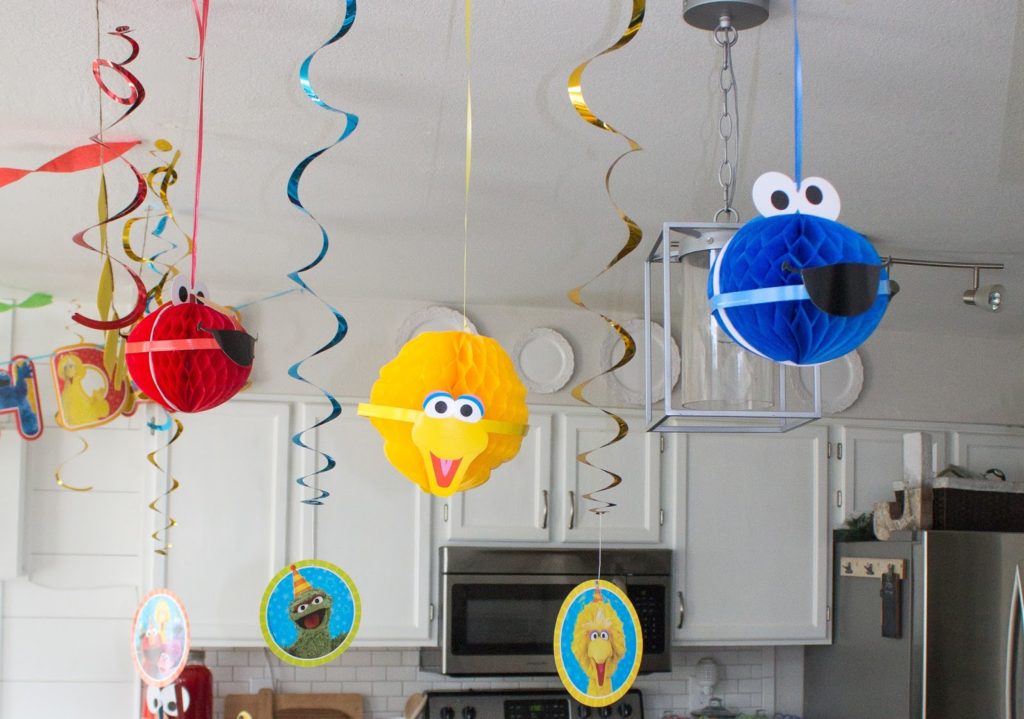
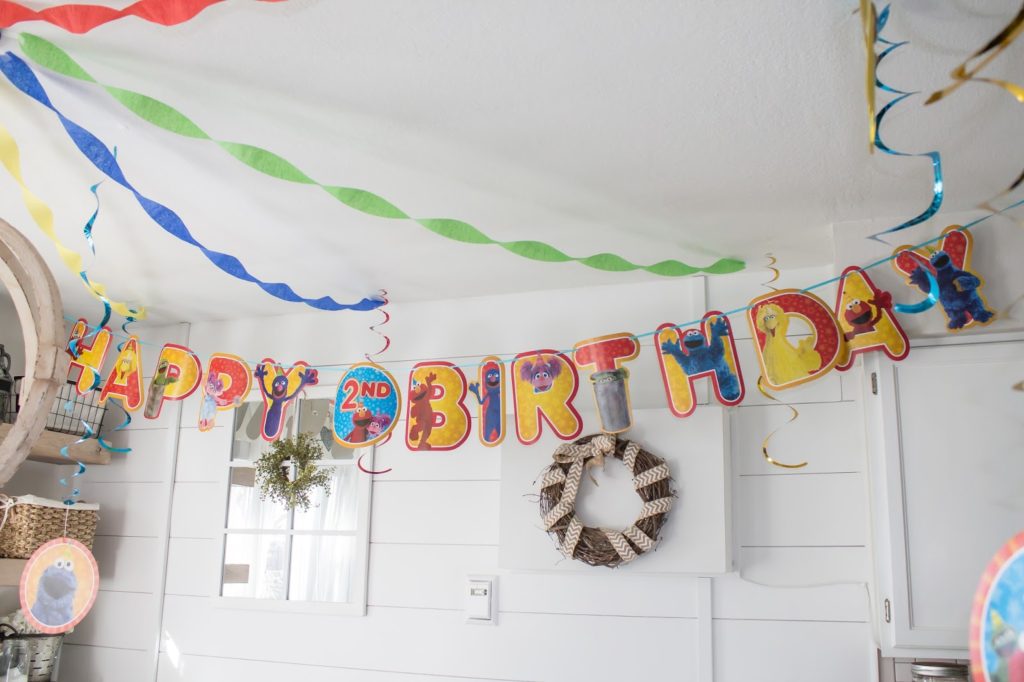
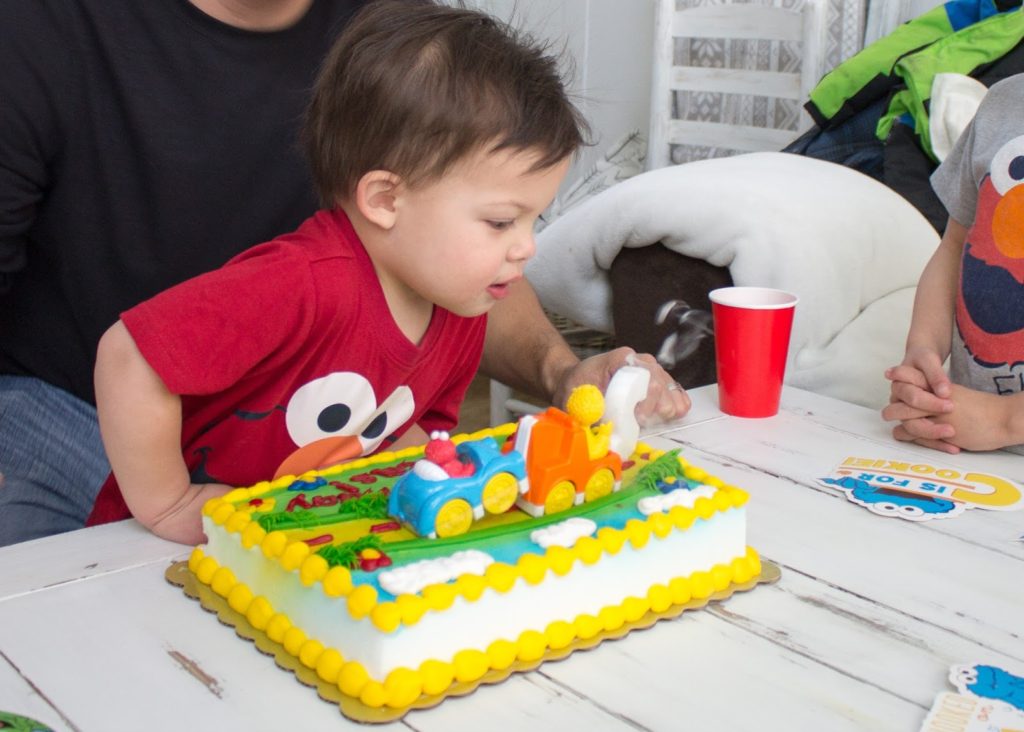
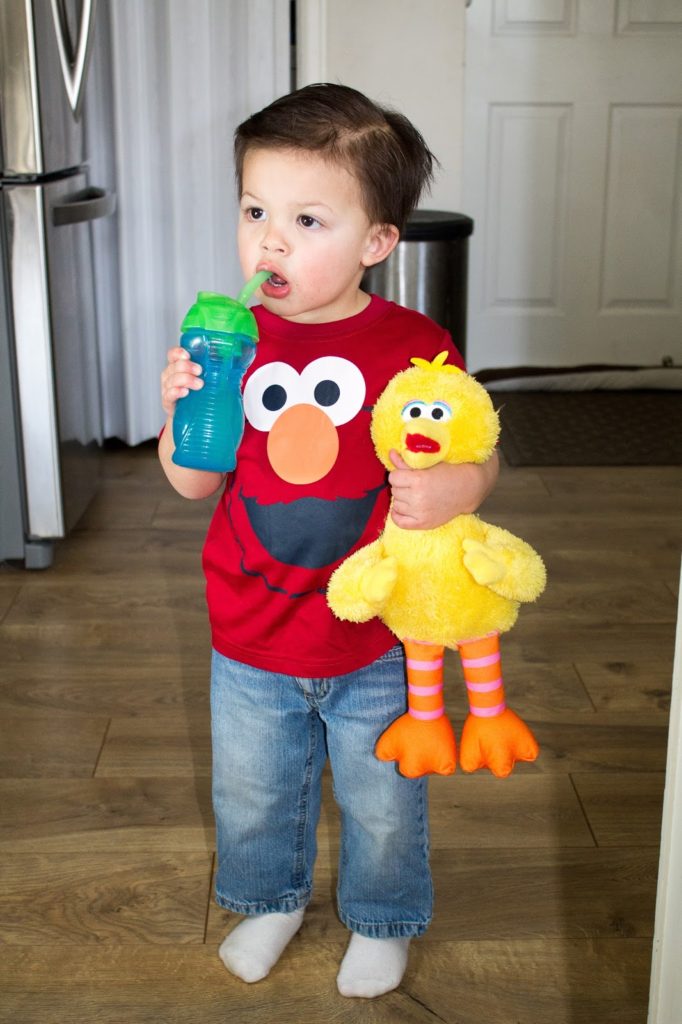
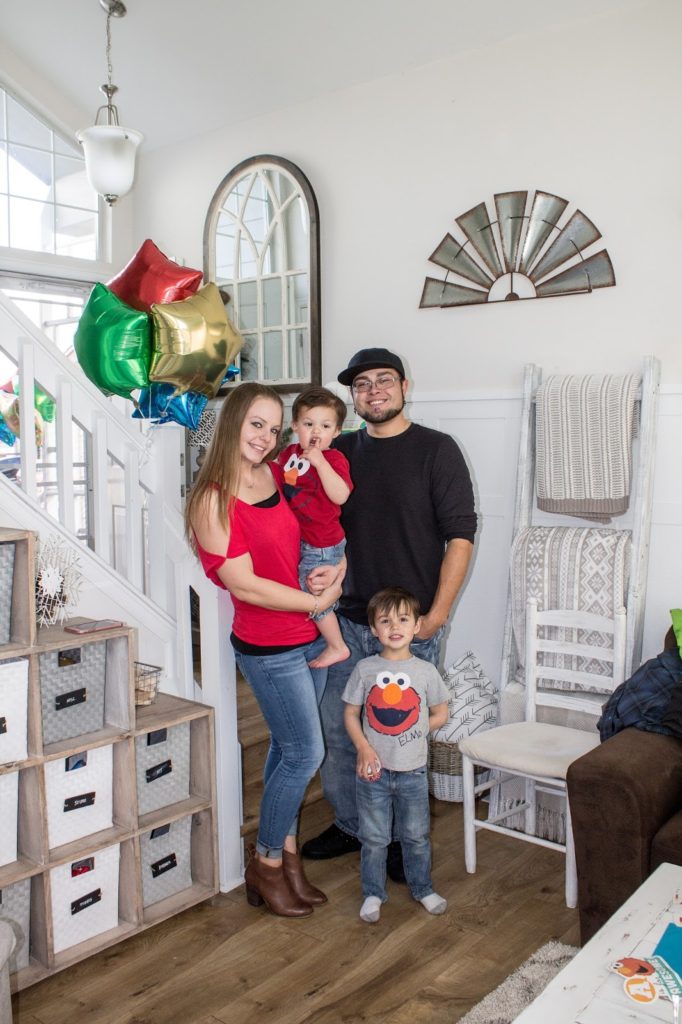
His actual birthday was on Friday and we celebrated the day at the zoo.  Then on Saturday we threw him one fantastic party!  He loves Sesame Street (Elmo especially) so it was easy to pick the theme.

My true passion of course is home decor, but party planning is a close second. They are both pretty similar if you think about it…

First there’s the planning stage where I load a Pinterest board with ideas and float random ideas in my mind throughout the day.  Then there is the budgeting step to figure out the best way to stretch my buck and still make everything look amazing.  And finally there’s the most fun part which is seeing how awesome it looks when it all comes together.  I had a lot of fun with this one and I am excited to share it with you all!

(Affiliate links may be provided for convenience.  For more info, see my full disclosure here.) 

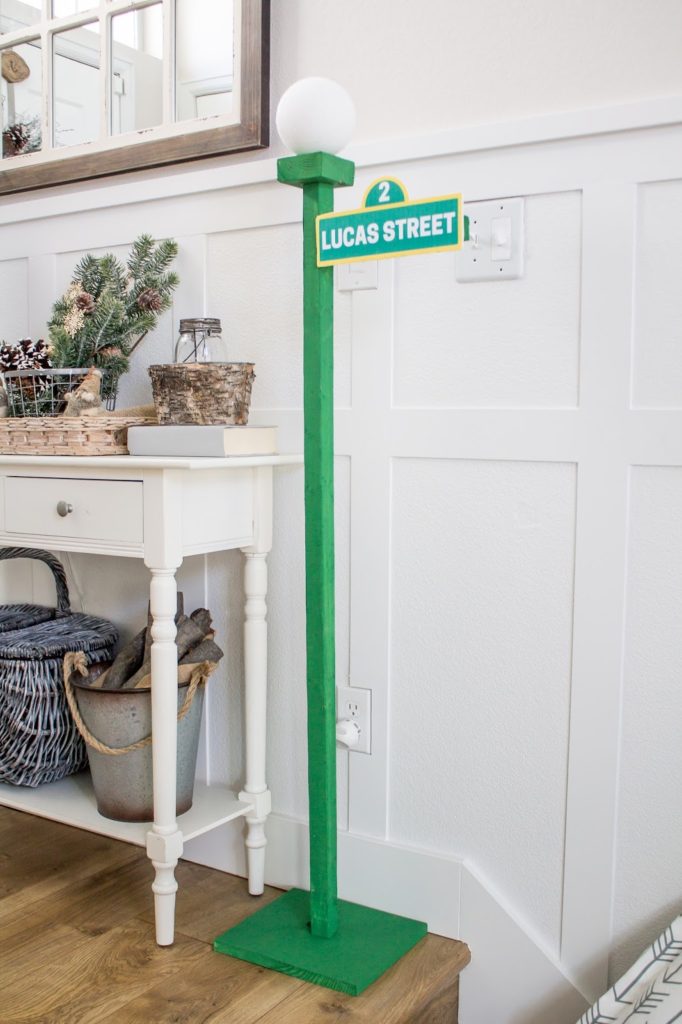
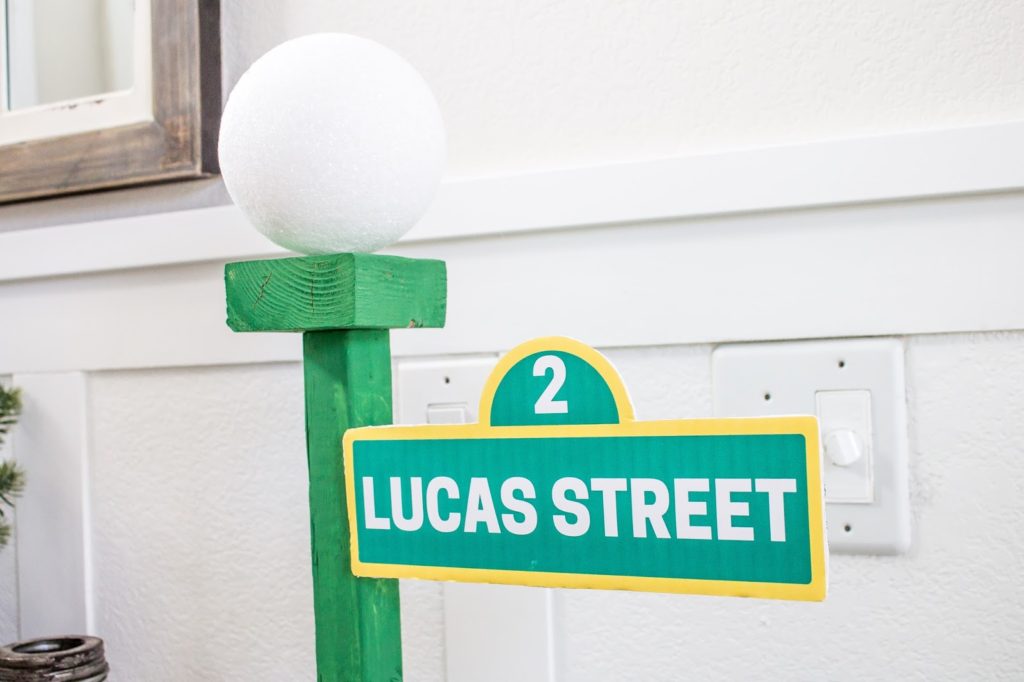
We built a simple Sesame Street sign using some scrap wood and green acrylic paint to place by the front door.

I glued a styrofoam ball on the top to act as the “light” and I made the text portion myself on Canva. After I printed it I cut it out and glued it to some foam board for stability.
I filled up my favorite drink dispenserwith some Red Hawaiian Punch and then attached some eyes and an orange nose that I whipped up on Canva to make it look like Elmo’s face.
I got a punch bowl from the Dollar Tree and filled it up with some Blue Hawaiian Punch and a couple of rubber ducks to create “Ernie’s Ducky Punch” which turned out super adorable!

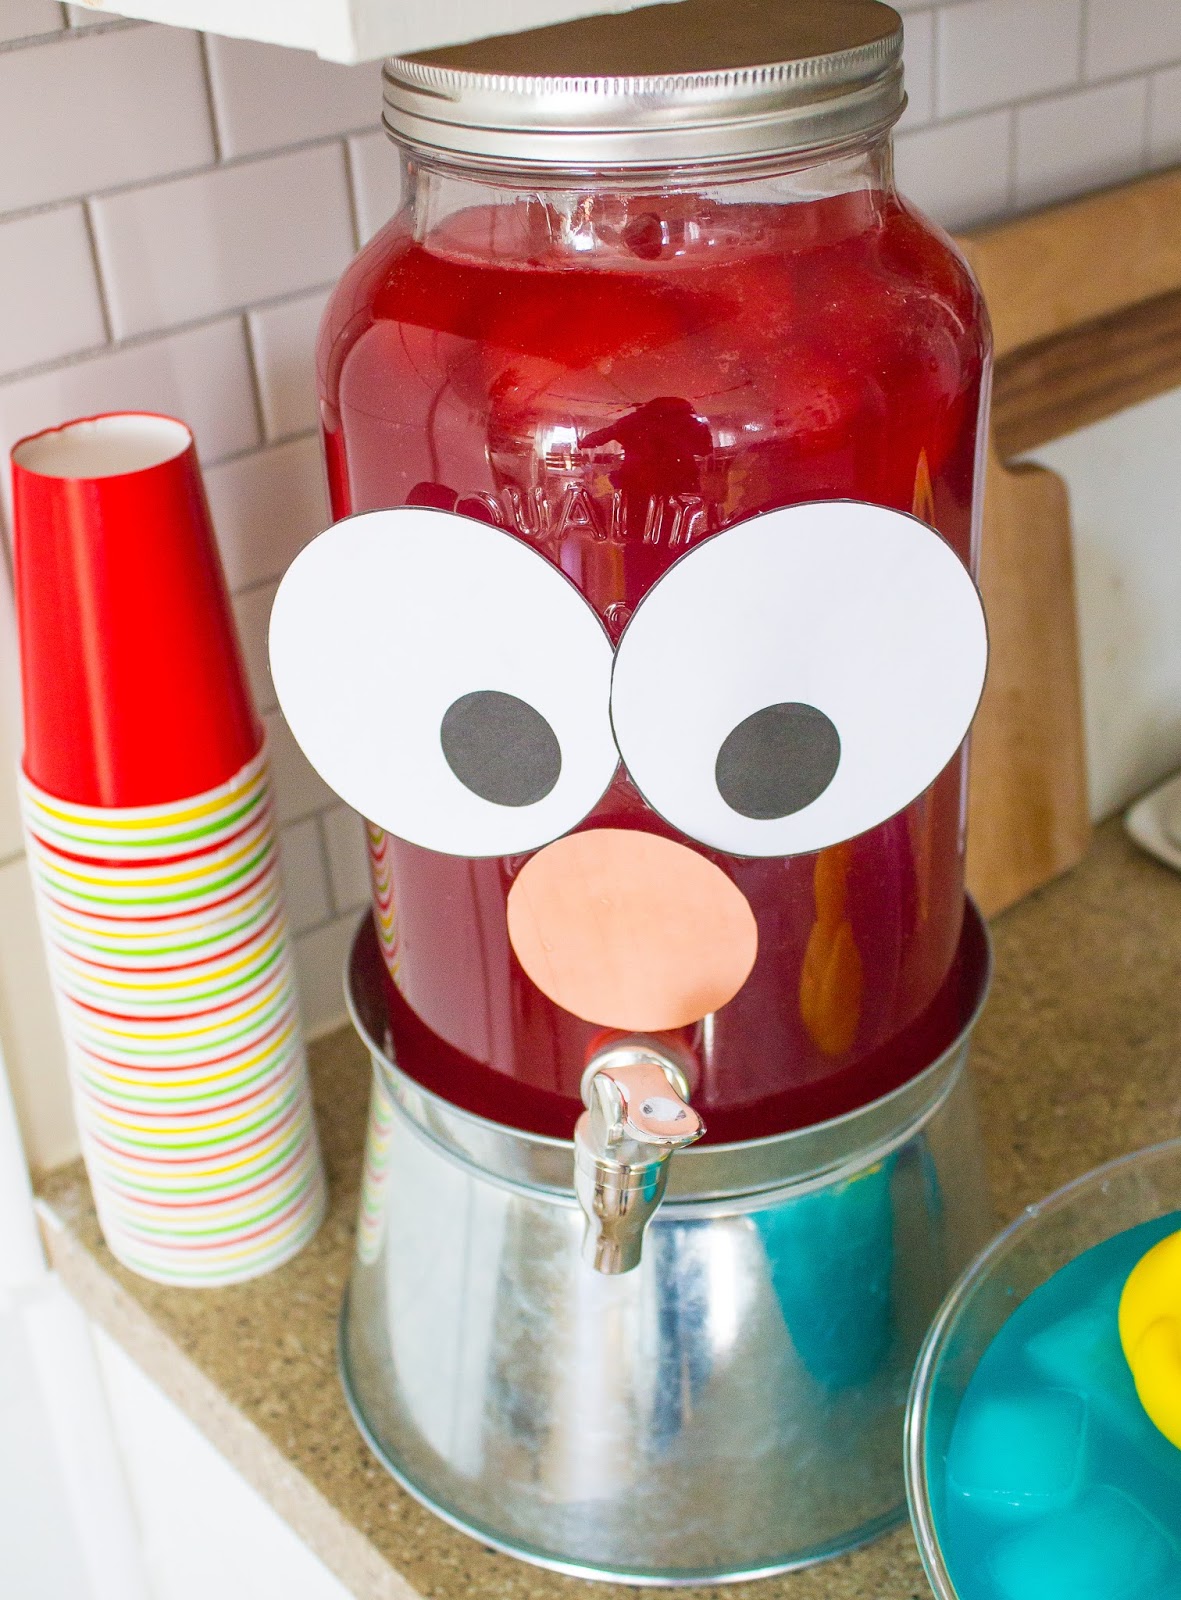
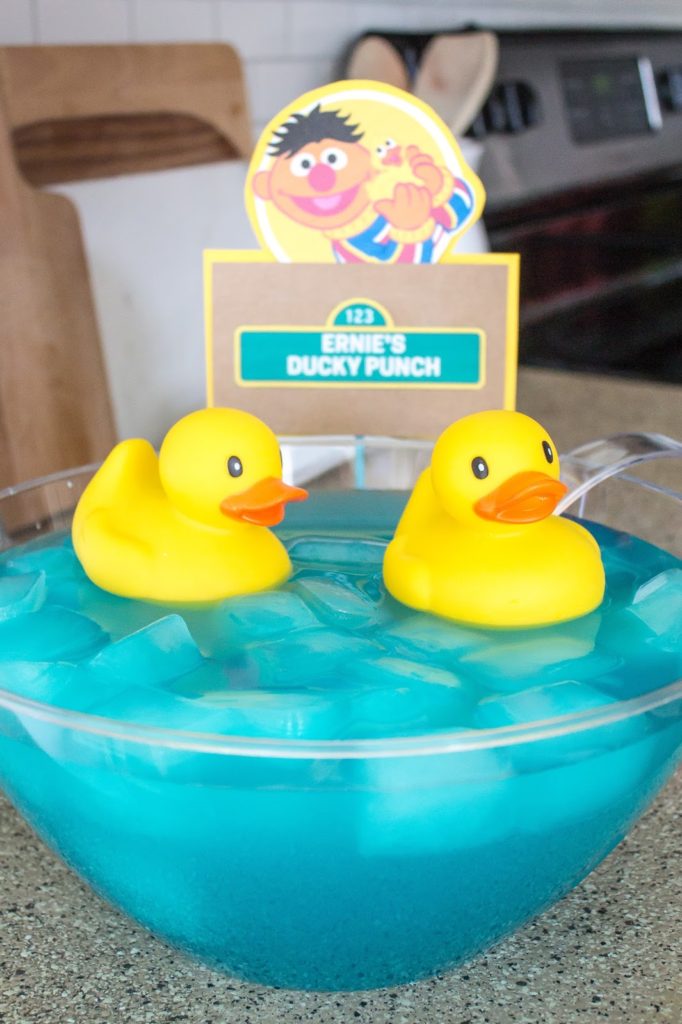
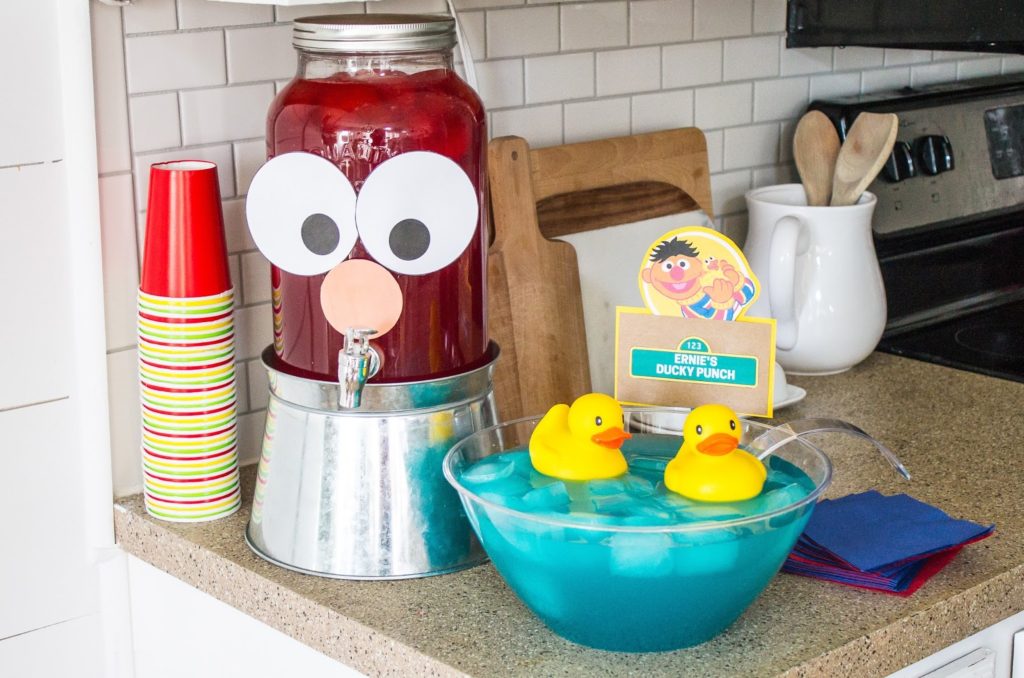
Oh and here’s good tip that I can’t believe took me this long to figure out! I’ve always hated how adding ice makes the drinks you are serving watered down by the end of the party. So I made some ice cubes using the punch and it worked perfectly. Genius!

I made a little sweets station full of fun character themed treats.
We all know how much Elmo loves his goldfish so I placed some Vanilla Cupcake Goldfishinside these polka dot snack cups.
For Cookie Monster I decided that I had enough food to prep so I went the simple route and just placed some delicious Chips Ahoy Cookieson a pretty dollar store platter. A nice serving piece can make even store bought food look fancy, right?

And finally I made some Oscar’s trash cans which were a delicious mix of chocolate instant pudding and cool whip topped with crushed up Oreos and gummy worms. These were a huge hit and I may have totally cheated on my diet and snagged one too many—but they were so dang good!
I put the pudding inside disposable shot glasses and then placed them in these mini galvanized bucketsto resemble trash cans.
The stands were made out of 2x4s connected with 1x2s and I’m really happy with how much they added to this spot.

For the main food table we had pizza and a couple of themed sides.
I made my Mom’s simple pasta salad but added in some bow tie pasta noodles to make Mr. Noodle’s pasta salad (who my husband had never heard of before…can you believe that?!)
We had carrot and celery sticks as Grover’s super foods and kept little cups of ranch inside the crate in a bowl underneath.
I put together an Elmo face out of fruit which I saw on Pinterest and thought was going to be really difficult. It was surprisingly easy to do and turned out better than I thought it would!

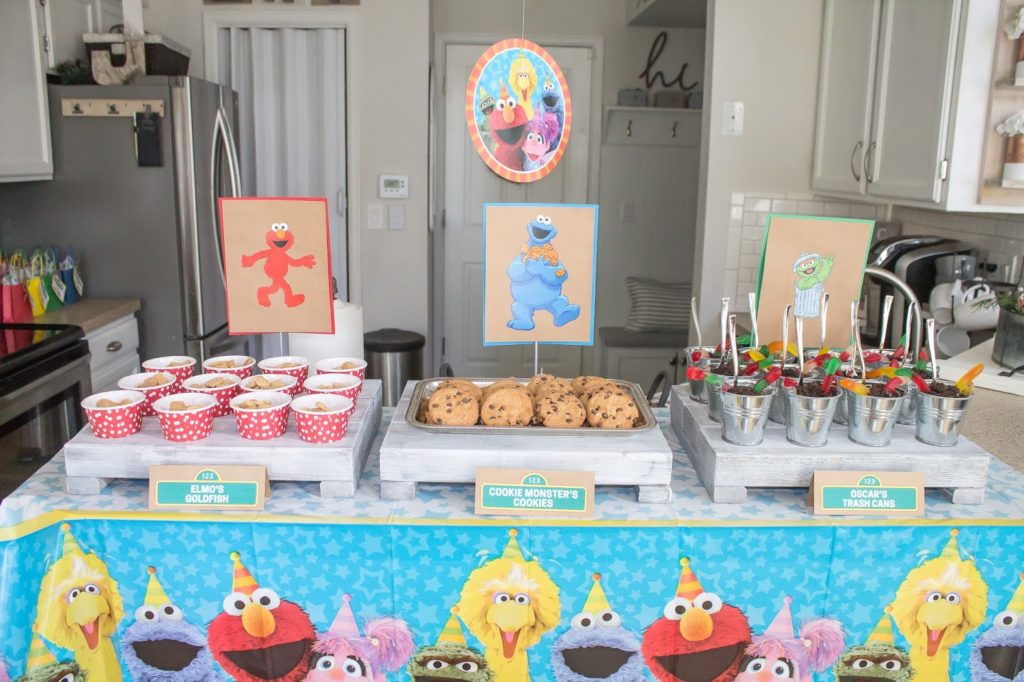
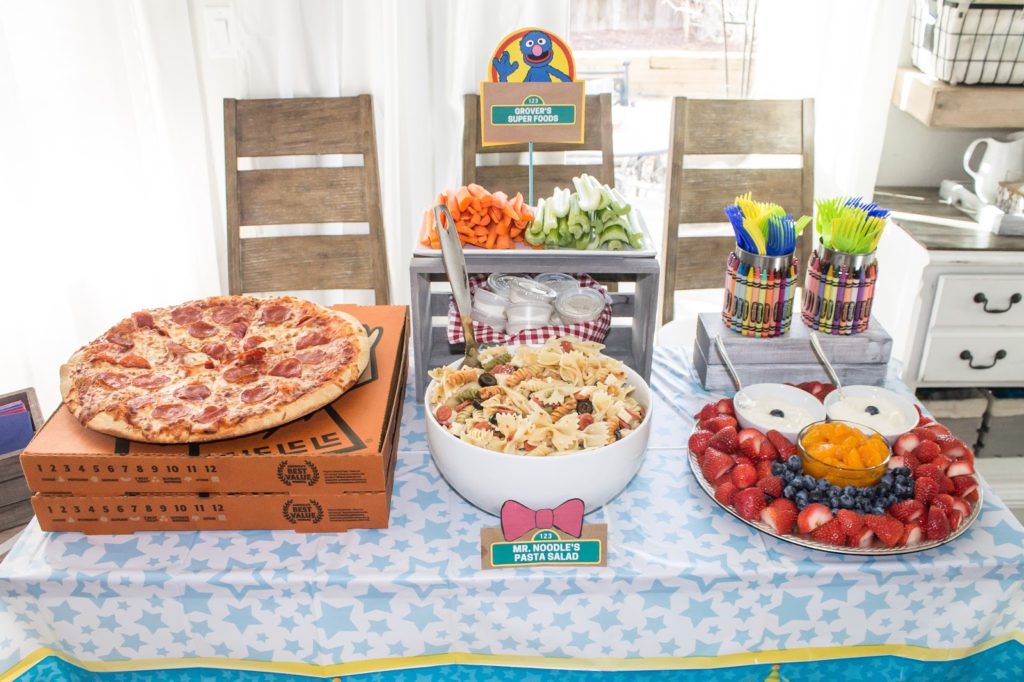
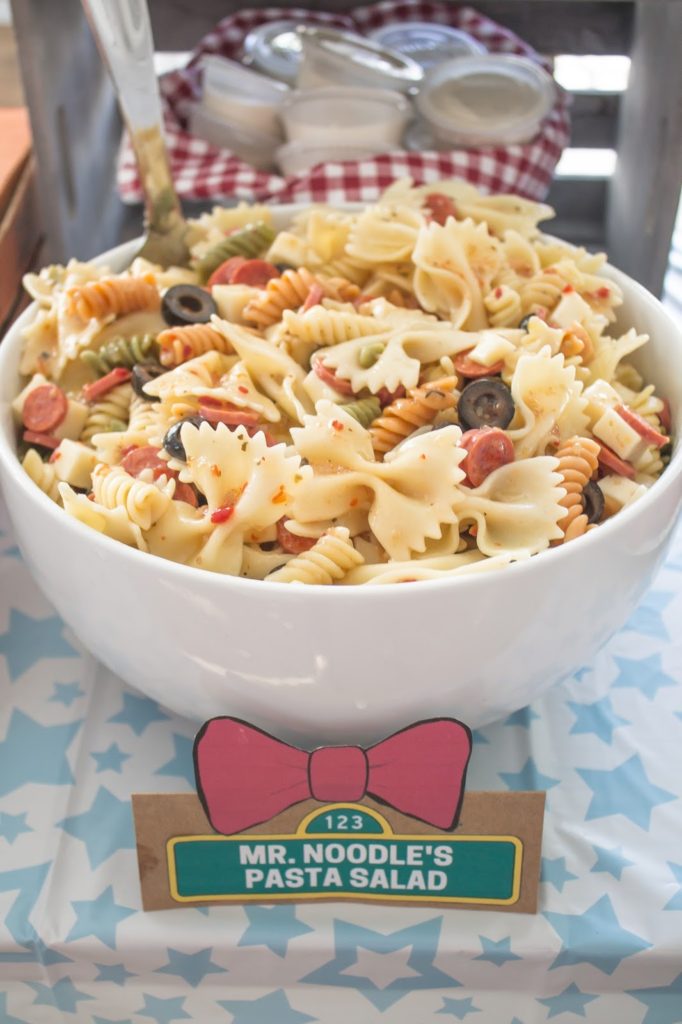
I hot glued some crayons on tin cans to hold the utensils which added a fun pop of color and fit in well with the theme.

The whole space was super bright and festive, just as a Sesame Street party should be!
For the favor bags a created a tag on Canva and then filled them up with mini candy bars and kisses.

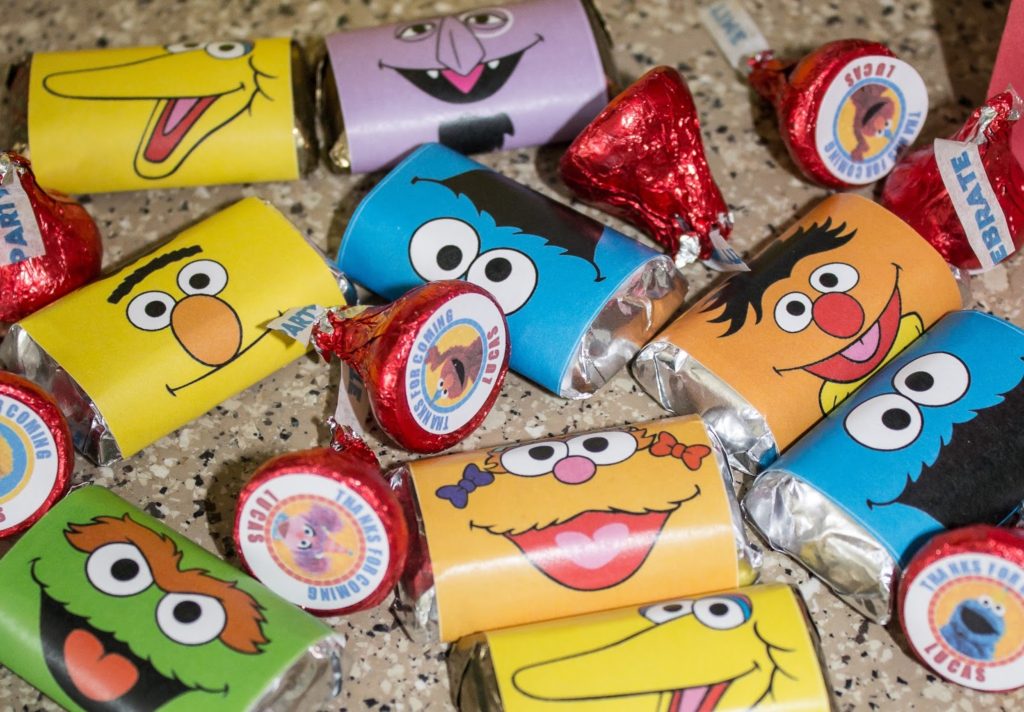
I found some cute character labels for the mini candy bars and stickers for the kisses on Etsy.

The cake decorator at King Soopers was on point when they made this cake–it turned out so beautifully!

My big two year old had such a good time. After he got over the initial shock of seeing so many people in his house after waking up from his nap of course!
His new Elmo face T-Shirt was an awesome find on Amazon and I already know that he’s going to wear this shirt to threads haha.
It was a wonderful day for a wonderful little boy!
Thanks for popping over today my friends! On Friday I will be back to share some tips on decorating for winter to make the house feel a little less bare after taking down all of those pretty Christmas decorations. See you all then!
Linking up to these awesome parties!

· Labels: Uncategorized

Comments

  1. Charles Sorensen says

    January 27, 2018 at 9:45 am

    Hello there, my tiresome effort to gain access to a worthy blog ends here! The information you did share is amazing, thanks for sharing!

    ref: thesis writing service

  2. มลิวรรณ says

    July 3, 2018 at 8:52 am

    Is cooking I eat it. I want to make my husband eat a lot. And cookies are not difficult with me. ทายนิสัย

  3. Martin Connor says

    August 3, 2018 at 2:58 am

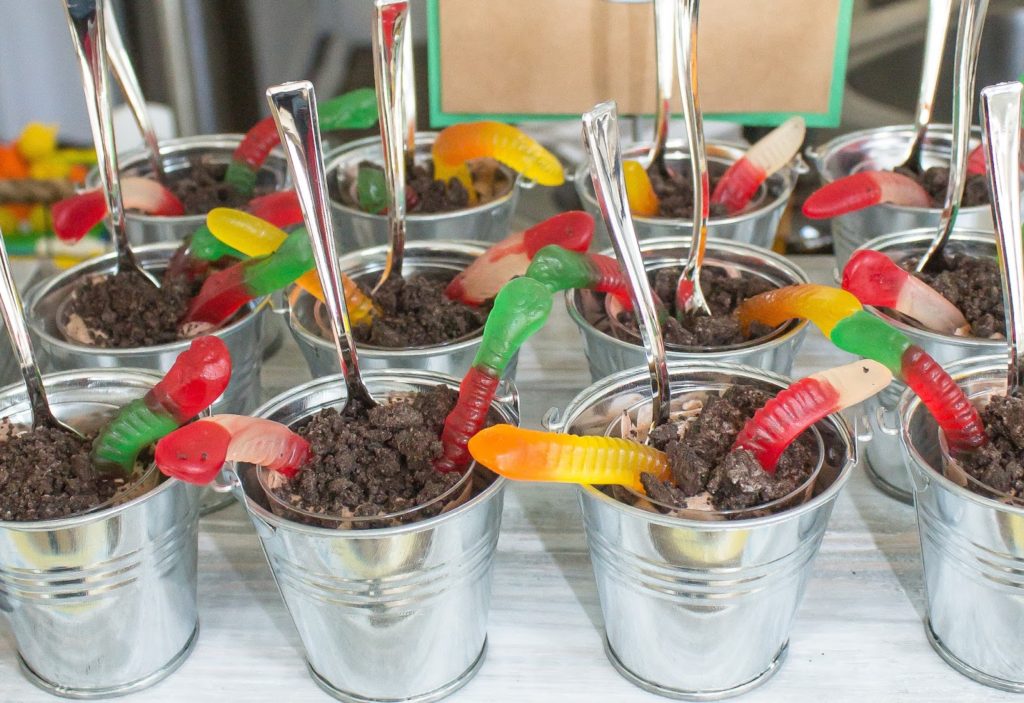
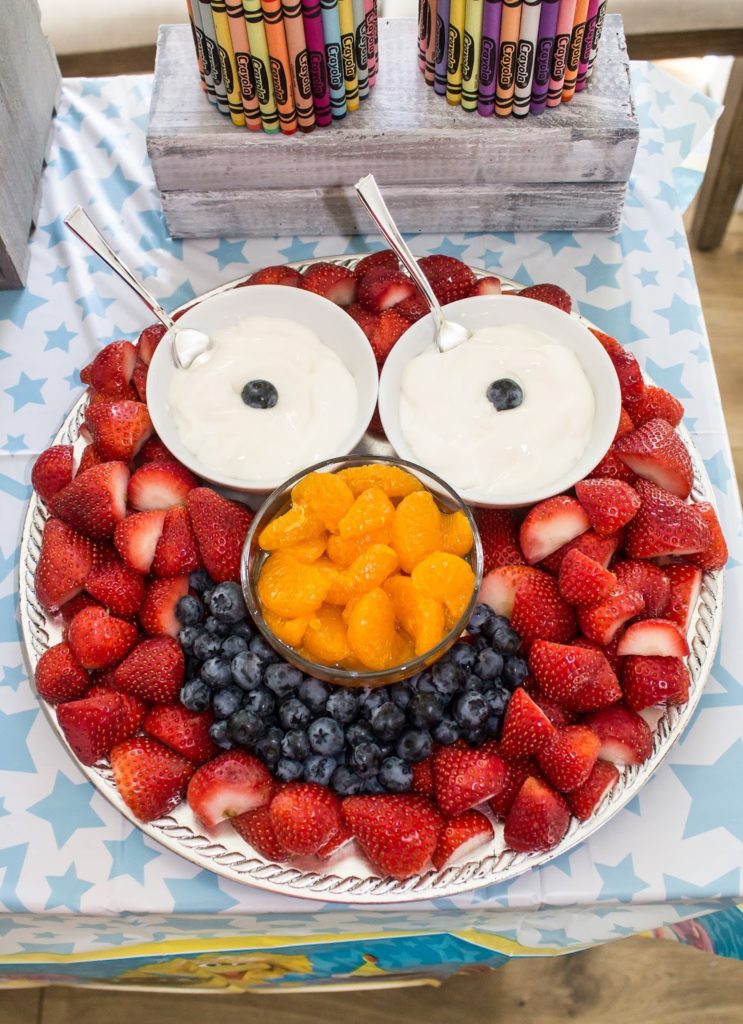
    The elmo fruit platter looks like a delicious treat. Would definitely give your trash can treat a try as it looks appetizing to me. Small gatherings like this can be made possible by an imaginative and resourceful parent but if it became too big to handle it best to have a kiddie party planner to help and guide in the process so your dream party will go smoothly.

Hello, I am so happy that you're here! My name is Angela and I love to create simple beauty in our home on a budget. Here you will find DIY decor and home projects, furniture flips and other home inspiration!

Never Miss a Post!


Diagonally Fluted Nightstands

Diagonally Fluted Nightstands

Hello! I’m really enjoying the extra daylight and the fact that it’s been paired with warm sunny weather this week has been icing on the cake. I’m trying to soak it all in before the next snowstorm! Today’s flip was from about a year ago and is still one of my favorite sets of nightstands…

Read More »

How to Update a Dresser with a Missing Drawer

How to Update a Dresser with a Missing Drawer

Hey friends, happy March! Even though I know we still have quite a bit of cold weather coming our way here in Colorado, it’s exciting to see these warmer days sprinkled in here and there. This week I am sharing how I saved an old IKEA dresser from ending up at the landfill! Supplies Used:(Affiliate…

Read More »

Vintage Ice Box Style Nightstands Makeover

Vintage Ice Box Style Nightstands Makeover

Hello friends! We just got back from our annual trip to the Great Wolf Lodge and it was fun times as always! Today I am sharing how I updated these fun vintage ice box style nightstands that I found on Marketplace! Supplies Used:(Affiliate links may be provided for convenience.  For more info, see my full disclosure here.) …

Read More »

Never Miss a Post!


GOOGLE 2

GOOGLE 3

GOOGLE 4

GOOGLE 5

GOOGLE 6

GOOGLE 7

Theme by 17th Avenue · Powered by WordPress & Genesis