
Hello my sweet friends! How has your February been treating you? This month always seems to fly by in such a flash, doesn’t it?
I know that last week I mentioned that I would be sharing something that I am making for my friend’s baby shower but plans have changed! I actually ended up running into a few issues that I’m trying to work around and it’s not quite done yet. So I hope you can forgive me and enjoy today’s tutorial instead!
After creating my Rustic Valentine’s Day art that I shared last week I’ve been wanting to dress our mantle up a little bit for the holiday as well. And since we are going to be taking our moms to the ballet to see Romeo and Juliet in a couple of weeks it got my wheels turning and I ended up making a little garland inspired by this story.
Supplies Used: (Affiliate links may be provided for convenience. For more info, see my full disclosure here.)
- Wood Hearts
(found mine at Hobby Lobby, similar ones online linked)
- Romeo and Juliet book pages
-
Scissors
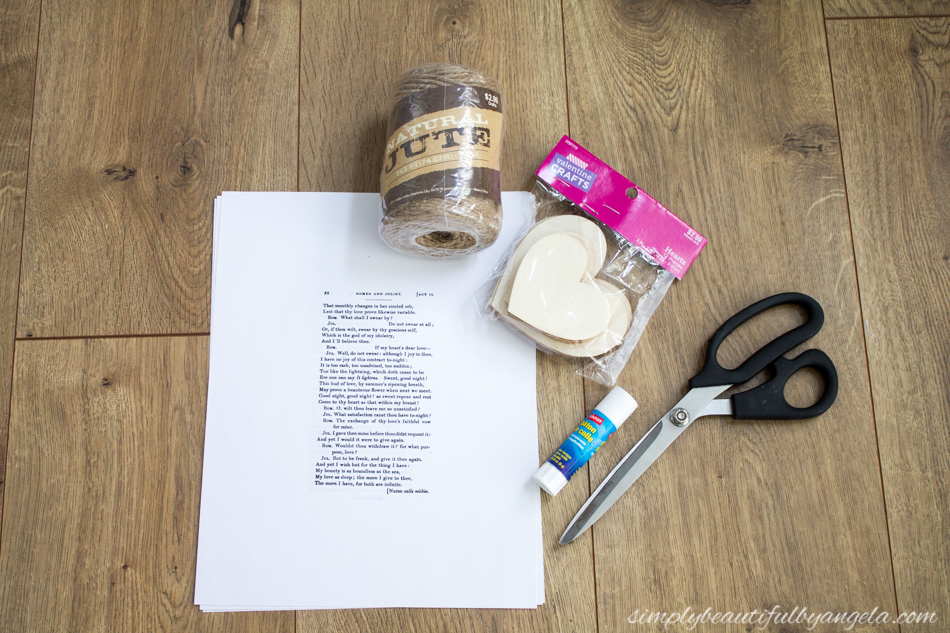
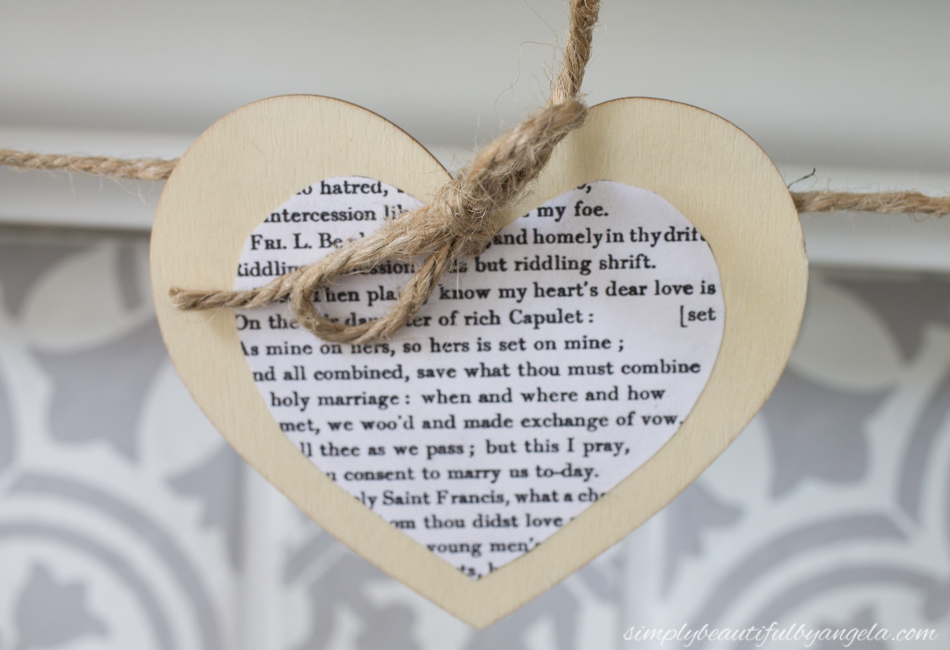
My original plan was to just print the pages out directly onto some cardstock. But when I spotted these cute little wood hearts in the Valentine’s section at Hobby Lobby I knew that they would be perfect for this project.
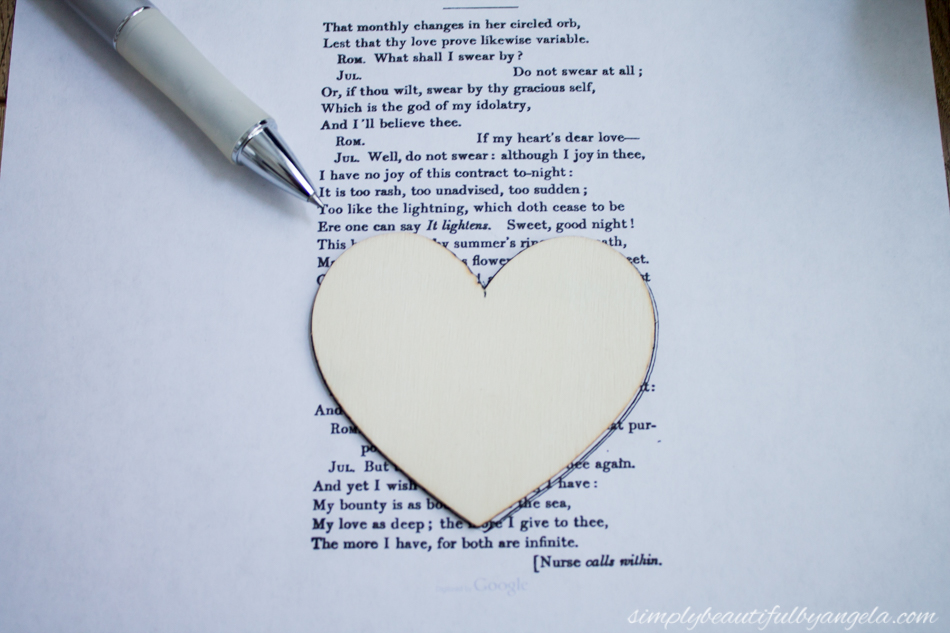
I started by downloading Romeo and Juliet which can be found for free on Google books. I then searched for my favorite parts and printed out a few pages.
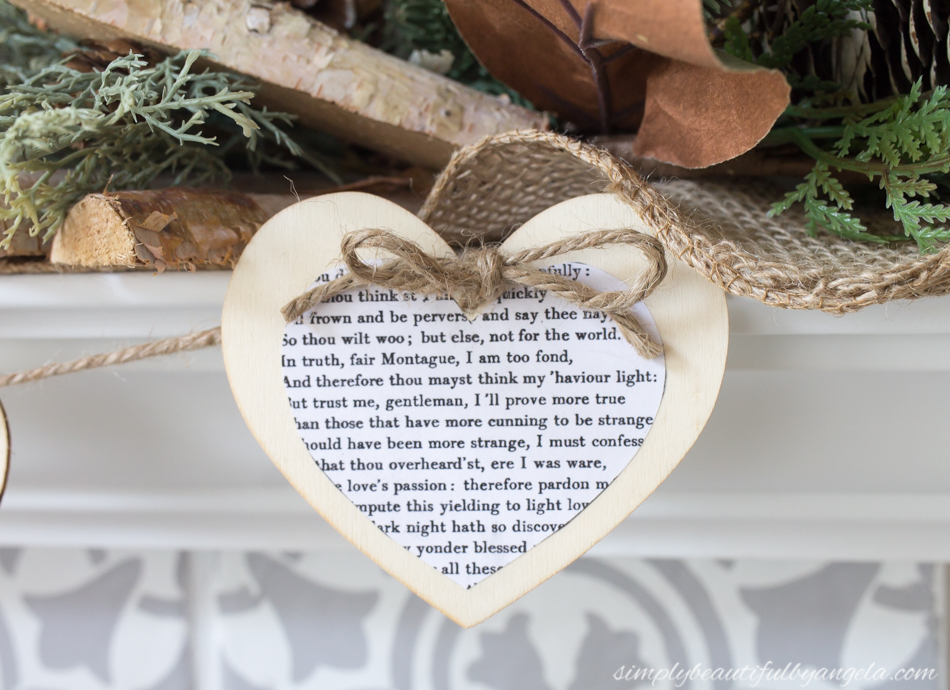
I placed one of the small hearts over my favorite quotes and then traced it.
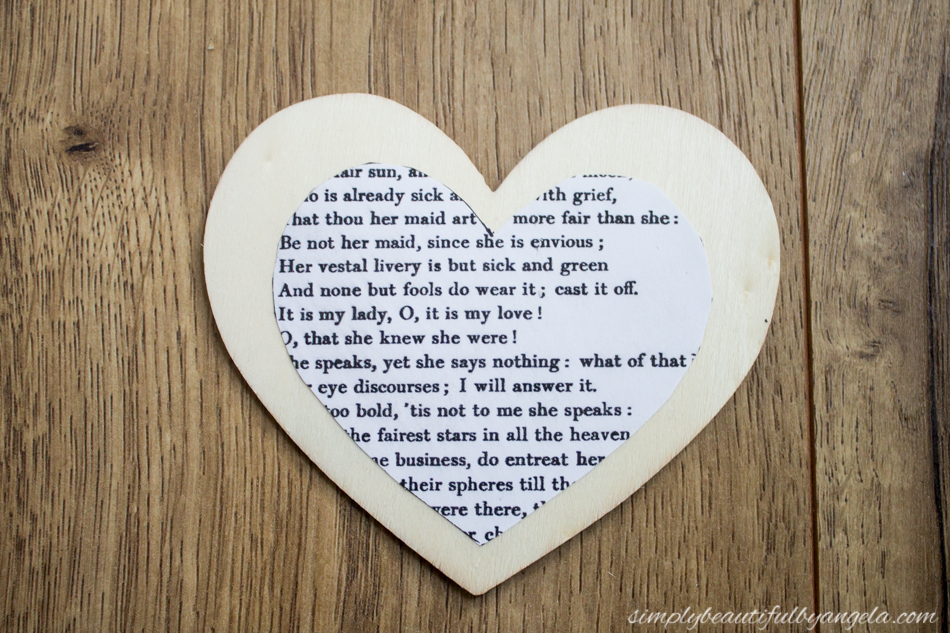
I ended up with 5–which by the way was super hard to do because there are actually a lot more than 5 pages that capture my heart in this story but my mantle is only so long!

I used a glue stick on the back of each one to attach them to the large hearts.
My sweet hubby next drilled a small hole in the top of each one so that I could feed a piece of twine through them. I also debated skipping the hole and just attaching them with a mini clothespins. But then I realized that although it would be super cute, the boys would probably be tempted to yank them off. So holes is it was!

After the string was fed through I began tying them to a long piece of twine.
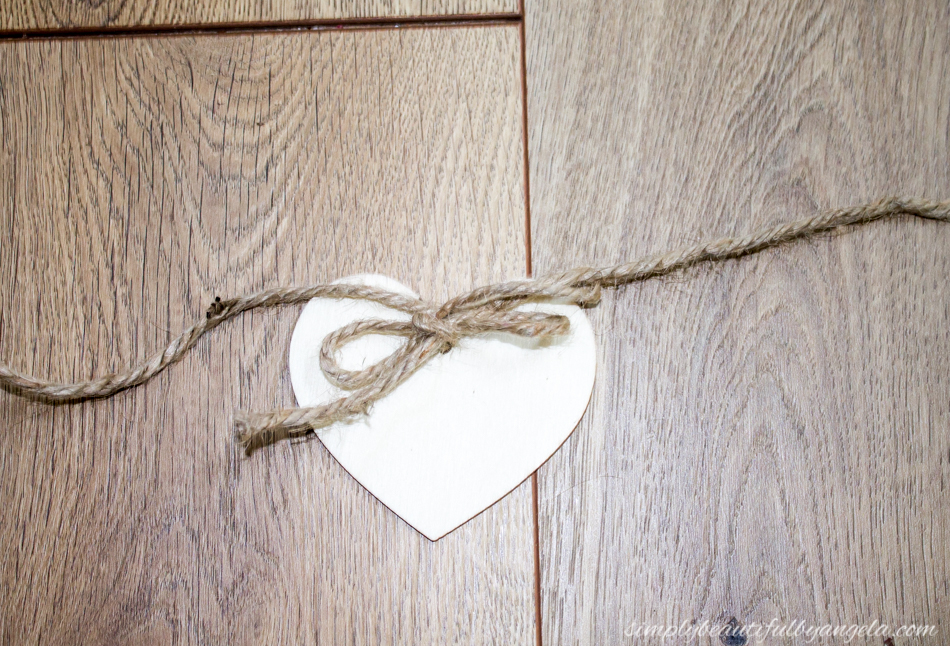
It got tricky on the floor so I ended up taping the long piece to the table and tied them on from there.

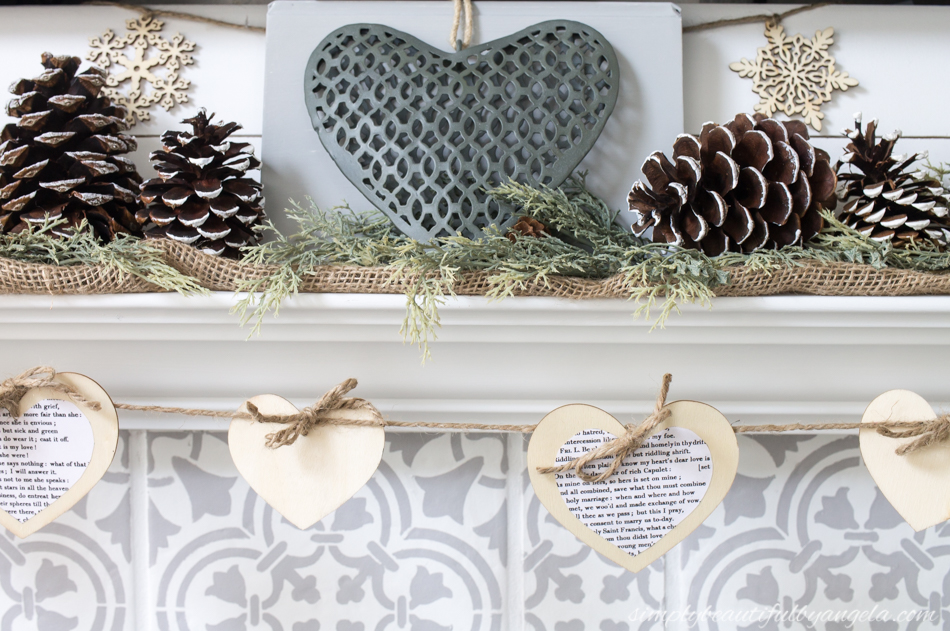
I alternated the small plain hearts with the larger ones and after I took the picture above I decided to have the twine actually run in the front of the small hearts and in the back of the large ones.
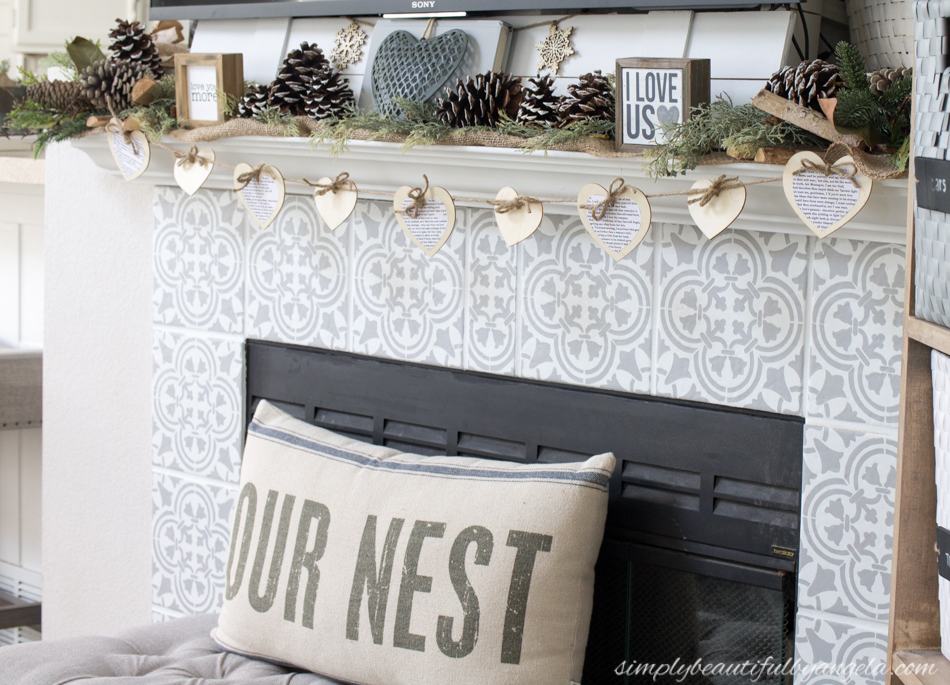
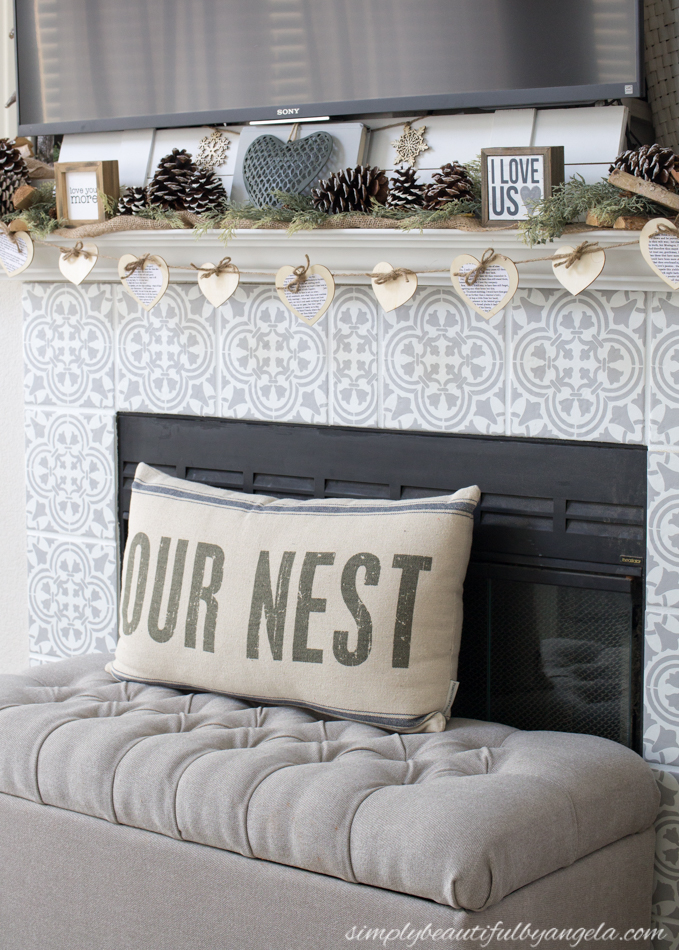
Here is how it turned out!
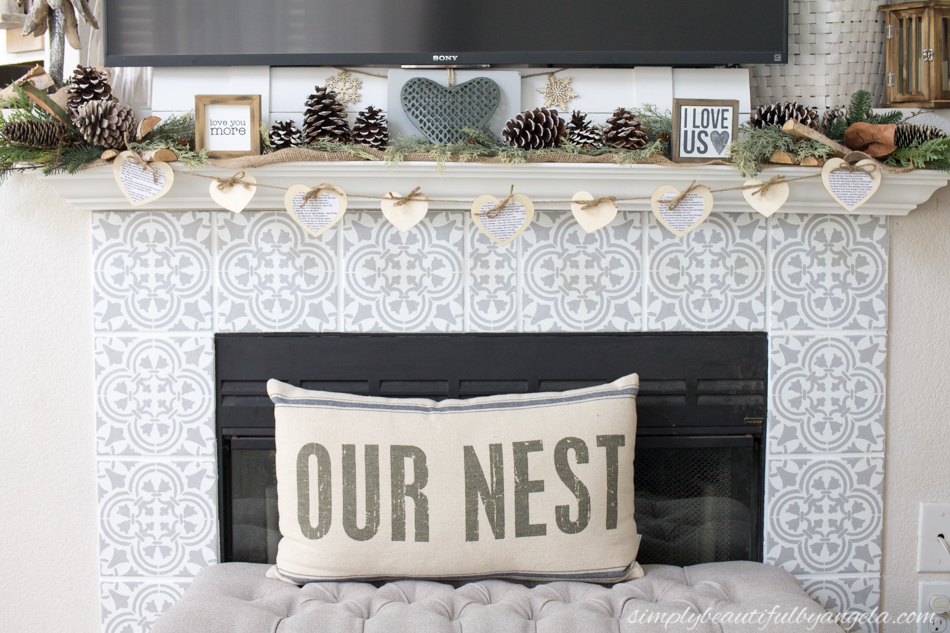

I shopped the house and also ended up adding these cute little wood signs on either side of a metal heart to add to the love theme.
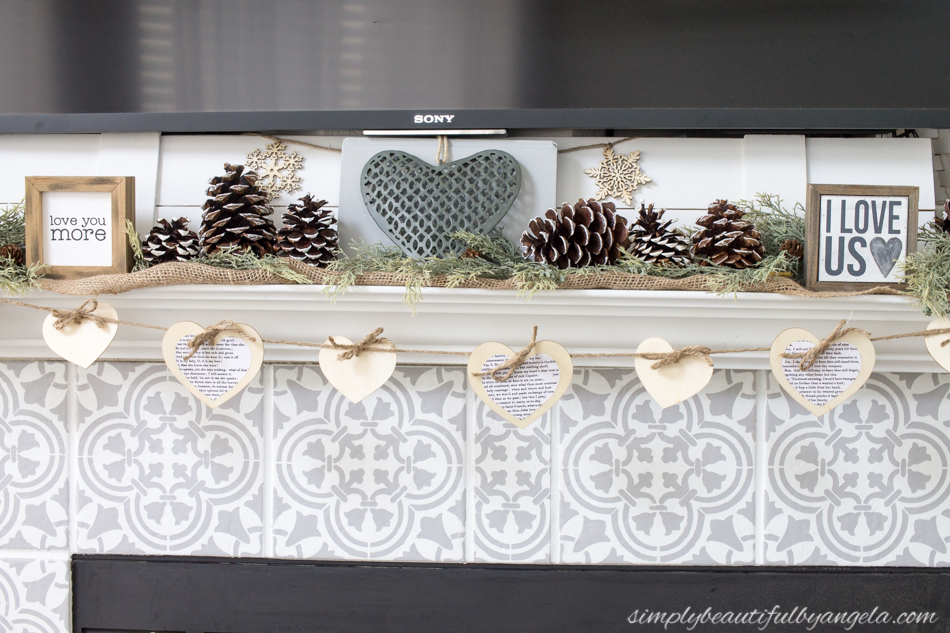
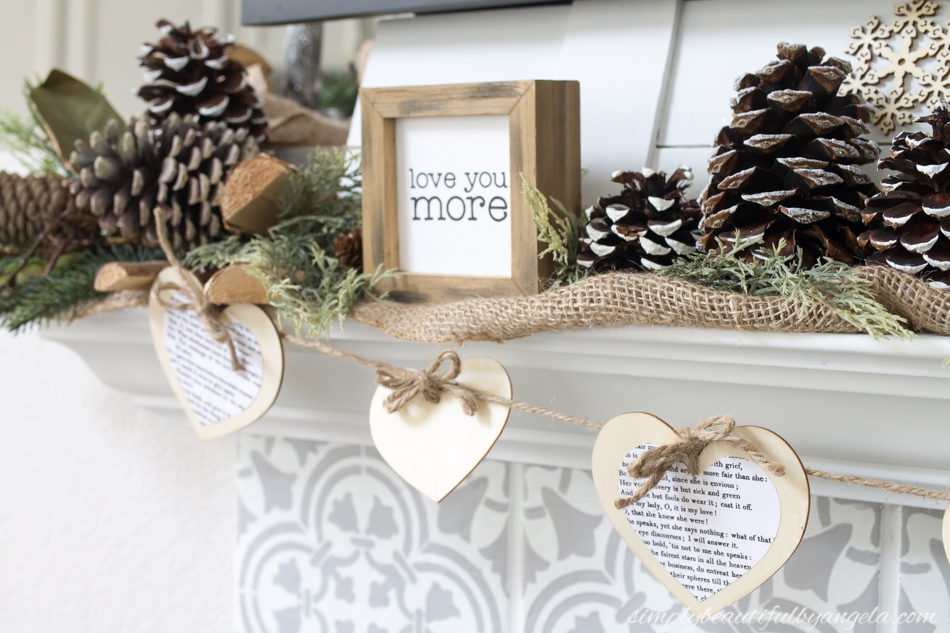

It’s super subtle but adds the perfect amount of Valentine’s Day cheer for me.
As I mentioned last week I’m all about every shade of pink there is, but for home decor neutral colors is where it’s at for me! I love that this setup is fun but still it fits with the rest of the house. It makes my heart totally happy..you see what I did there haha?
Since I had everything except the wood hearts on hand I only ended up spending about two dollars on this project. Not too bad, right?
I hope you all have a great rest of the week and weekend, I’ll see you all next week!
Linking up to these awesome parties!

Hack snapchat password and know all the updates of anyone. visit the website and access the snapchat hack tool. Thanks
Para melhorar o look invista
Savan vegas