Hello everyone and happy spring! I’m so excited that my favorite season has officially arrived. I know that we’re still pretty much guaranteed a least a couple more snow storms in the coming weeks here in Colorado, but I’m still looking forward to warmer weather and seeing leaves on the trees soon!
Today is my favorite Thursday of the month–Thrift Store Challenge day!

The Rules:
- Upcycle an item(s) from a thrift store, resale store, or garage sale into a new piece of decor.
- There’s no monthly theme.
- There’s no budget to stick to.
Meet the Hosts
Angela | Simply Beautiful by Angela – Michelle | Michelle James Designs
Molly | Just a Little Creativity – Victoria | Dazzle While Frazzled
Marie | The Inspiration Vault – Marie | DIY Adulation
Lynne | My Family Thyme – Gail | Purple Hues and Me
Jennifer | Cookies Coffee and Crafts – Ann | Duct Tape and Denim
Michelle | Our Crafty Mom – Debra | Shoppe No. 5
Denise | My Thrifty House – Florence | Vintage Southern Picks
Deborah | Salvage Sister & Mister – Yami | The Latina Next Door
Pili | My Sweet Things – Kathleen | Our Hopeful Home
Karen | Dragonfly & Lily Pads
Make sure you follow our board on Pinterest for more upcycled decor inspiration!
I have to be completely honest with you guys, I almost didn’t make it for this month’s challenge! I’ve been super swamped the past couple of weeks with planning my friend’s baby shower and decorating for spring. And then I started feeling under the weather on top of it all.
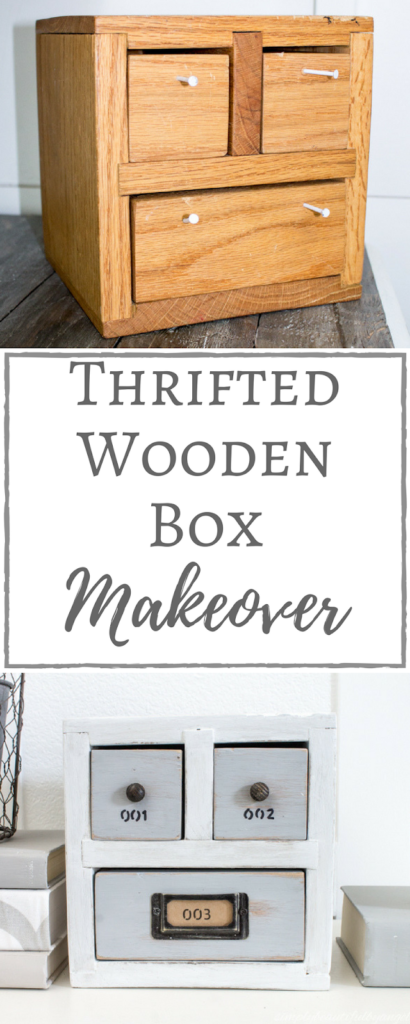
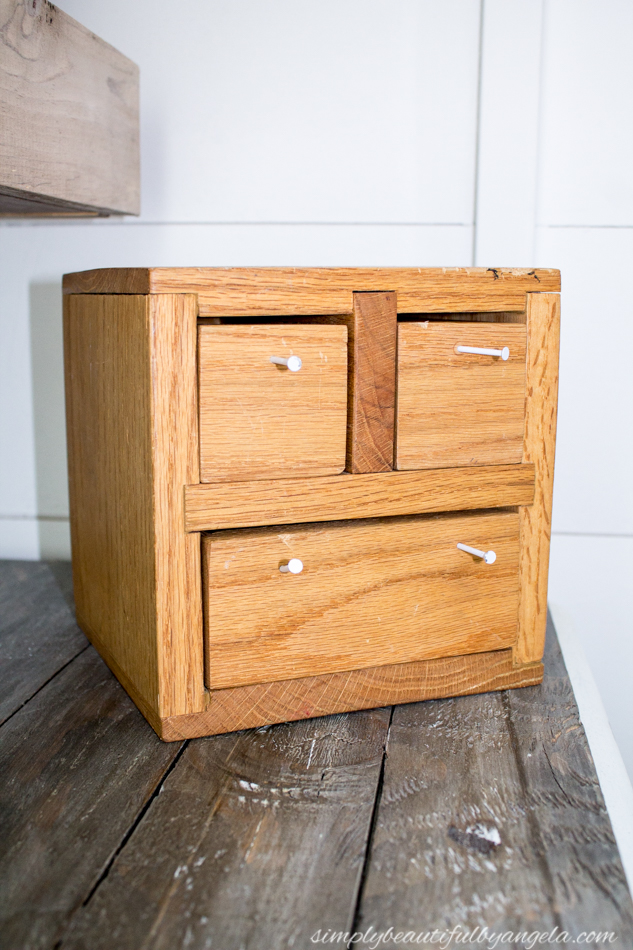
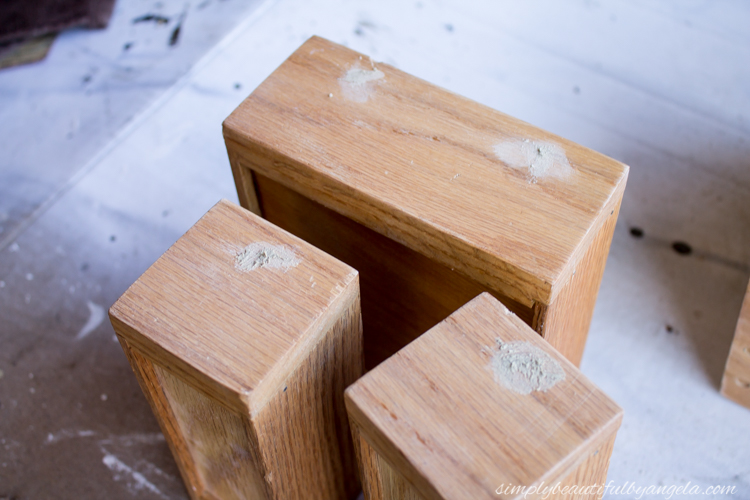
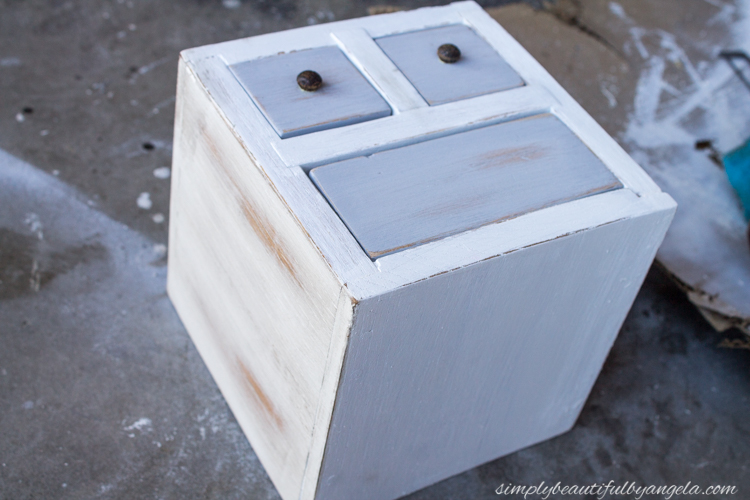
But luckily on Saturday I was finally feeling better so I decided to swing over to Goodwill to see if I could find any treasures. And low and behold I spotted this cute little wooden box hanging out on the bottom shelf for just $2.
Supplies Used: (Affiliate links may be provided for convenience. For more info, see my full disclosure here.)
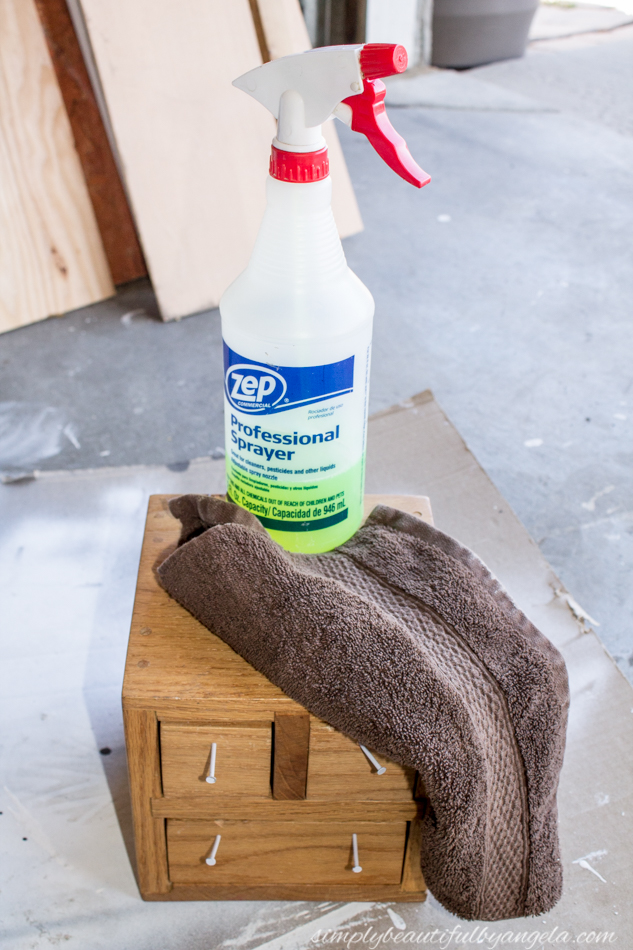
- Simple Green
- Orbital Sander
- Medium Grit Sandpaper
- White Paint
- Gray Chalk Paint
- Label Holders (
these would work too if you don’t live by a Hobby Lobby)
- disclosure here.)
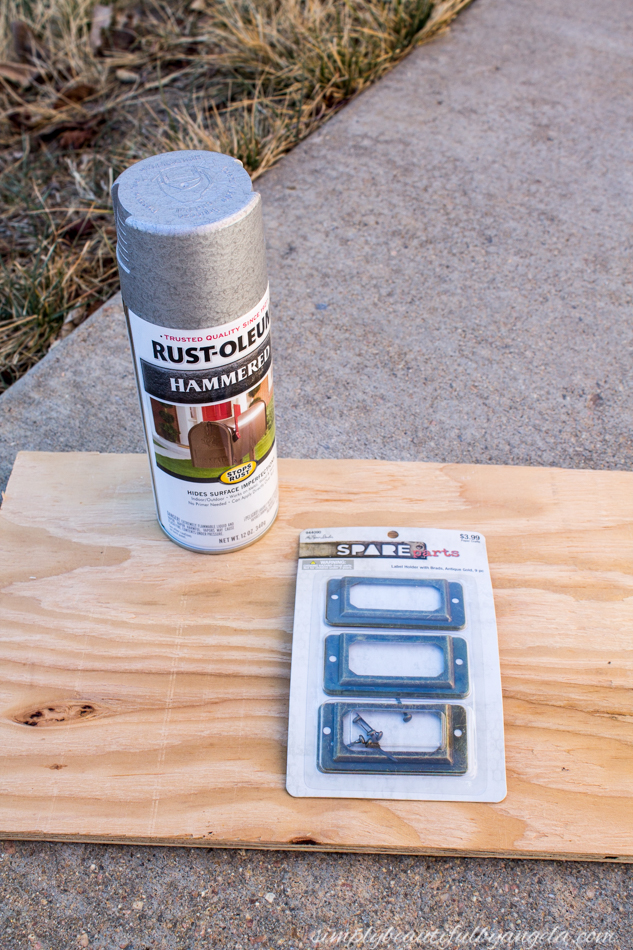
- Rust-Oleum Hammered Metal Finish Spray Paint
- Rust-Oleum Oil Rubbed Bronze Spray Paint
- Wood Filler
- Wood Rounds (not sure what they are called but this
is the closest I could find)
- Minwax Stain in Jacobean
- Liquid Nails
- Scrapbook Paper
- Scissors
- Hot Glue Gun
SHARPIE
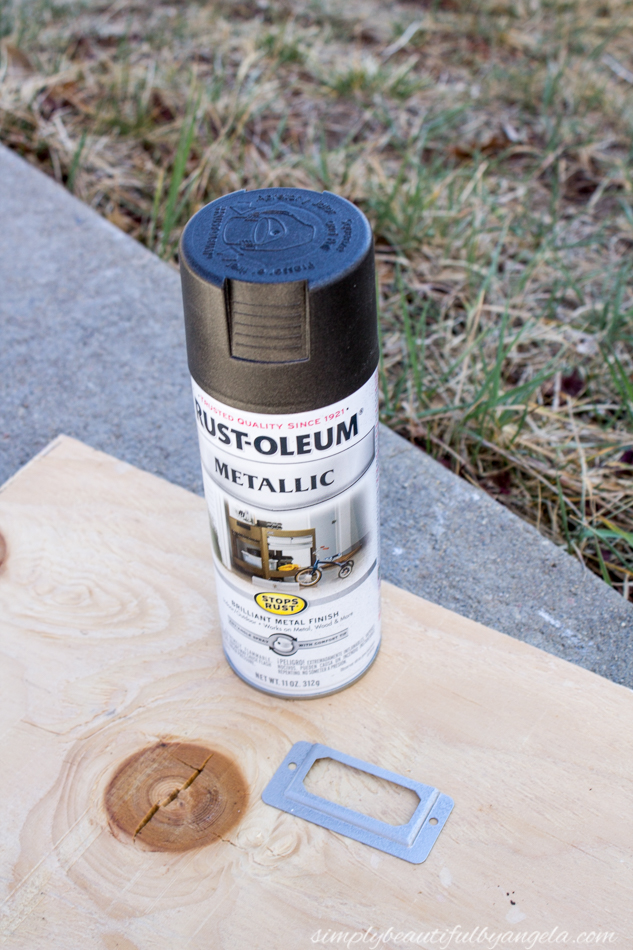
I picked up these little card holders at Hobby Lobby and gave them a quick coat of silver spray paint since that’s what I originally pictured would look best. More on that in a minute though!
While those were drying, I took the nails out of the drawers and filled the holes with some wood filler.
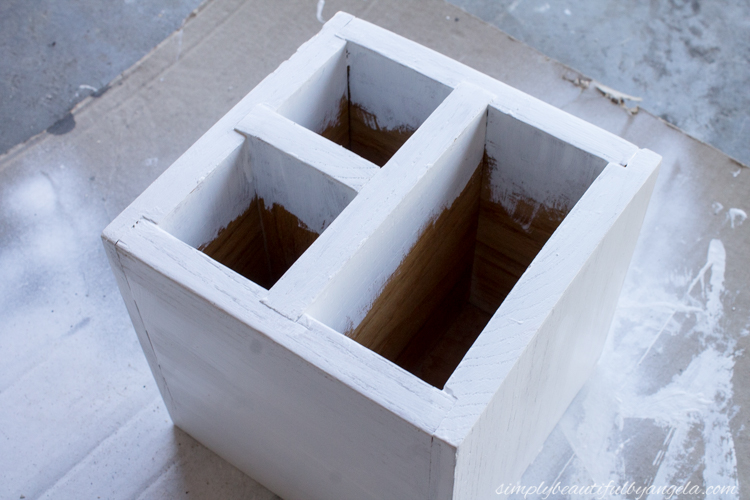
I then moved on to the box and gave it two coats of white paint. I made sure to get the edges where the drawers sat since I knew that they would still be somewhat visible once the drawers were back in.
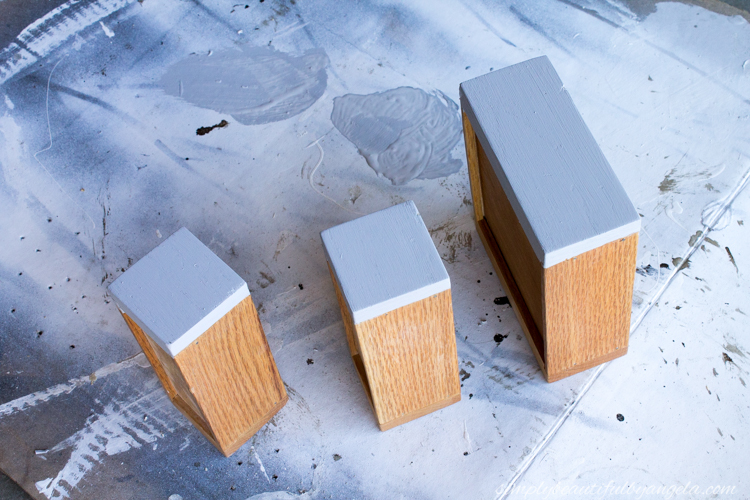
I wanted the drawers to have a little bit of contrast, so after I sanded the wood filler down I gave each one a coat of gray chalk paint.
It was all smooth sailing up to this point and then I realized that I had a couple of problems.
First, the label holders were just barely too big for the top drawers. Which made me sad!
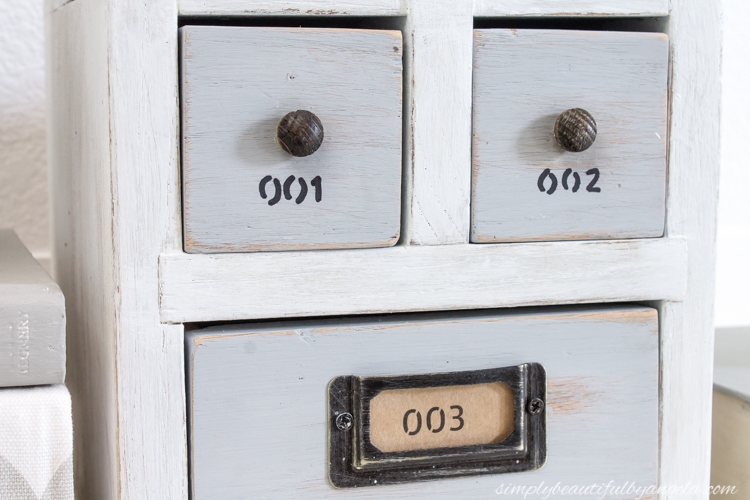
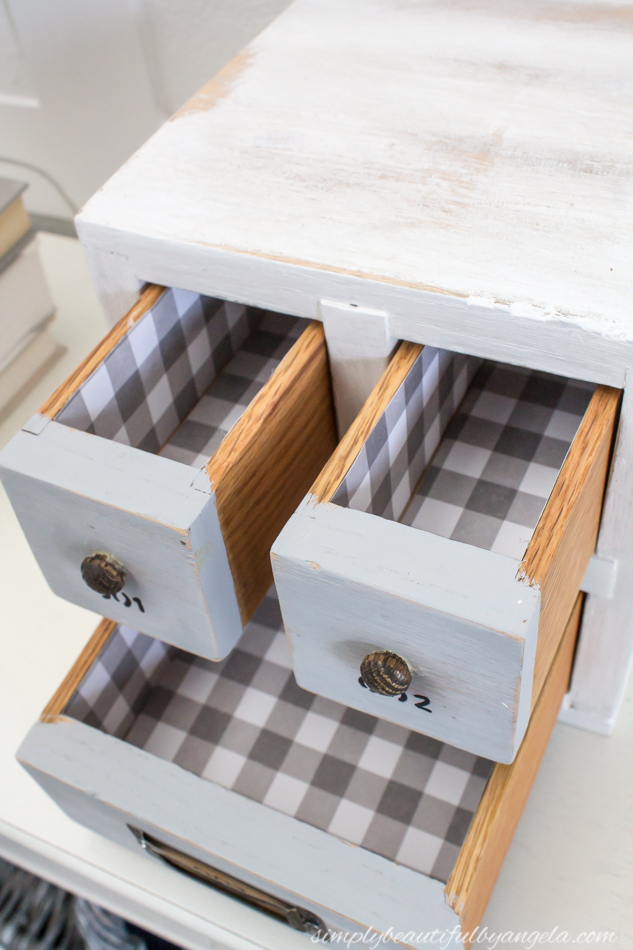
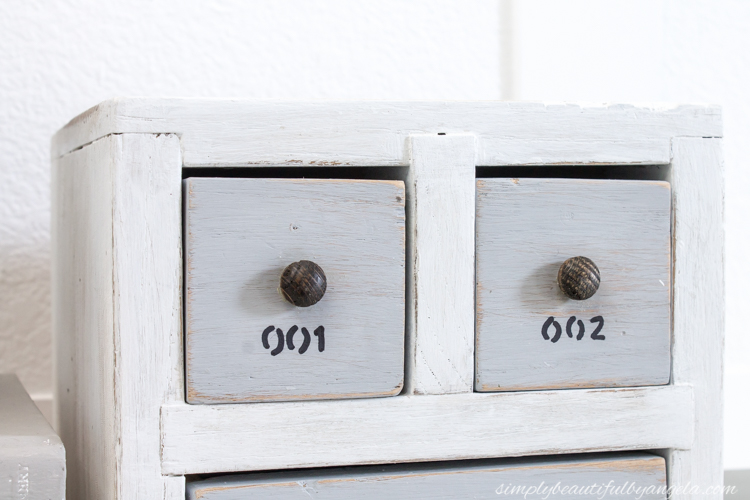
I dug around in my stash and found these little pieces of round wood that were flat on the back. They were in one of the jars that the previous owner had left on the workbench so I have no idea what they are called, but they worked perfectly as little knobs.
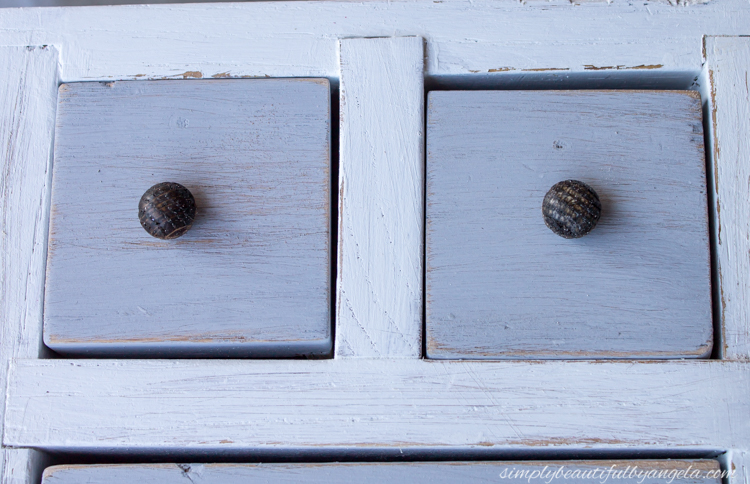
I stained them with Jacobean and used a small amount of Liquid Nails to attach them to the drawers.
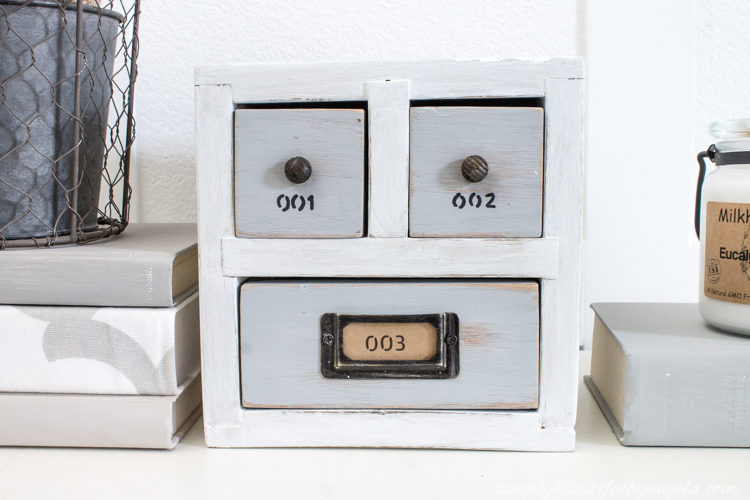
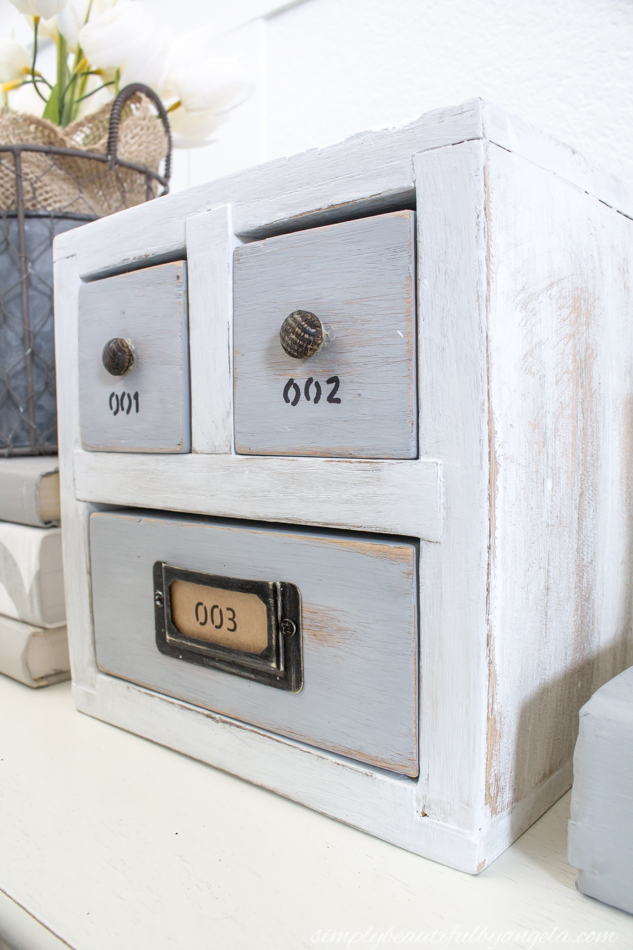
The second problem that I ran into was that the silver card holder that I still planned on using for the bottom drawer was getting lost against the gray paint. So I decided to paint it oil rubbed bronze instead.
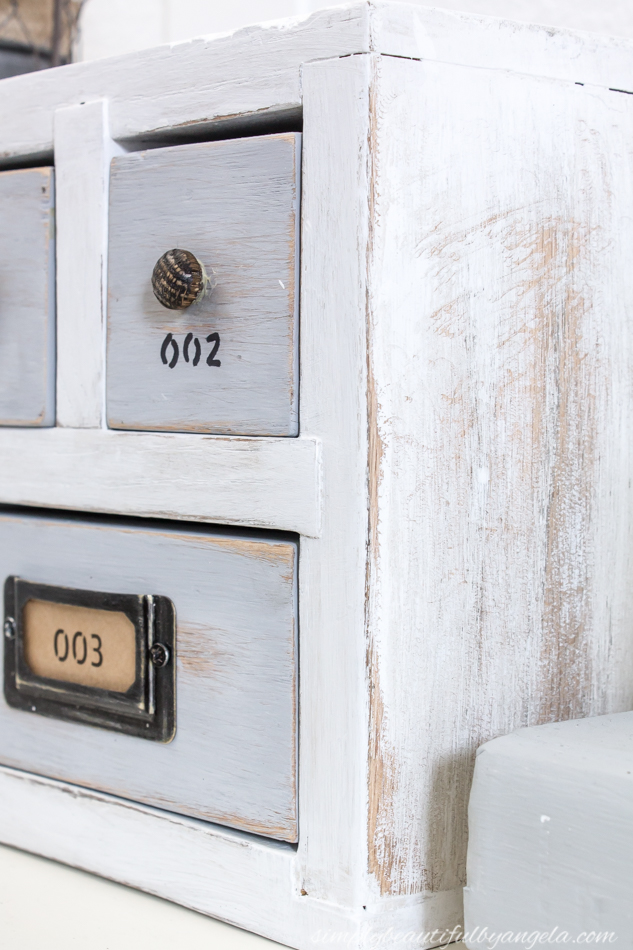
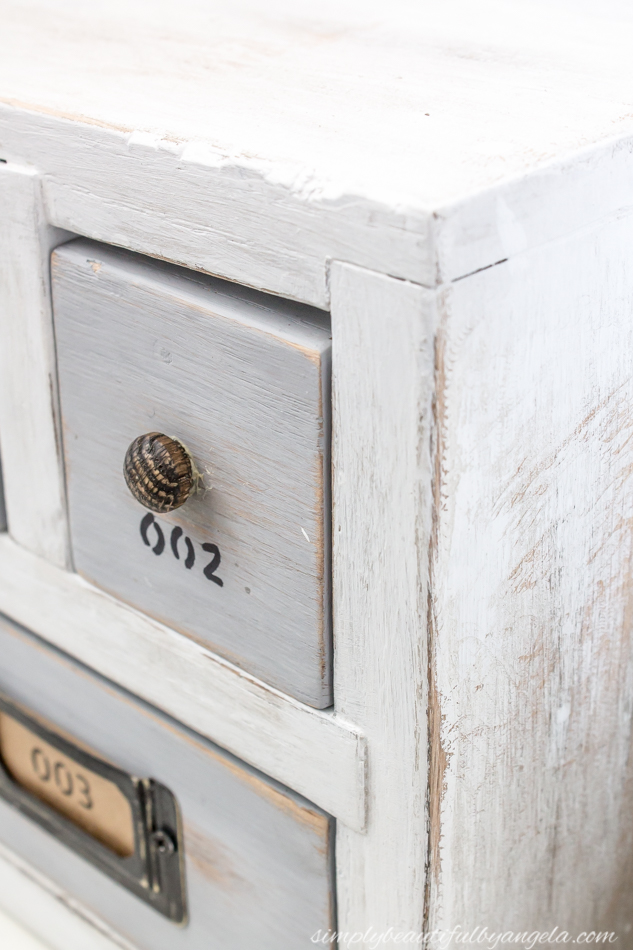
And finally after distressing the box with some sandpaper I realized that it didn’t have enough of an aged vintage vibe. To fix this I first tried wiping some Jacobean stain on and then rubbed it in with a rag.
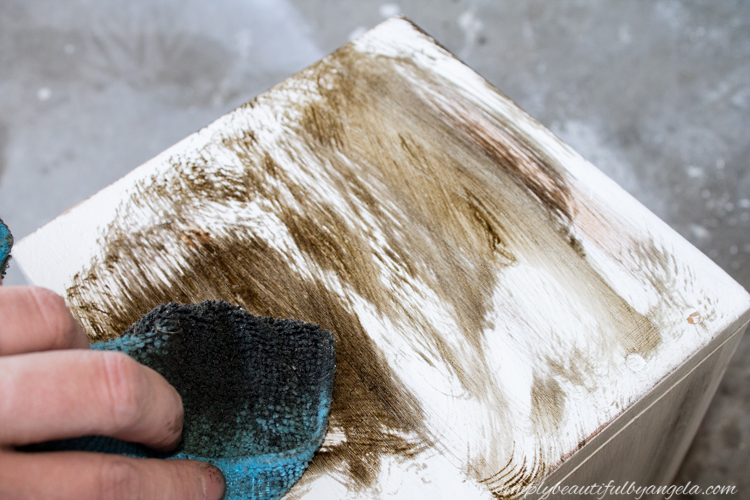
But then it just looked dirty.
So I added another coat of white paint on top and then I took the electric sander to it to super distress it. I finally achieved the look that I was going for, which you will see in a sec!
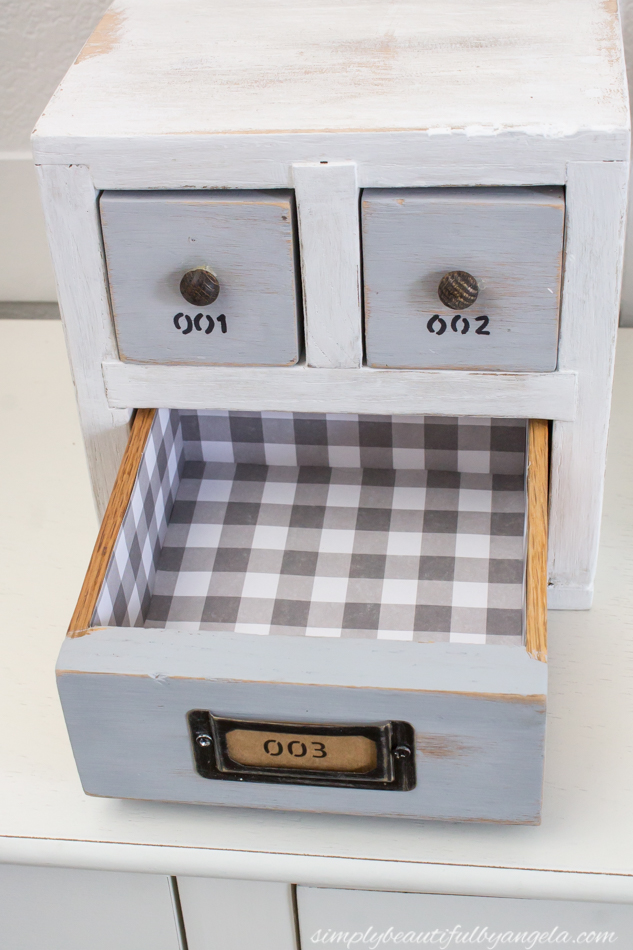
I decided to add some fun buffalo check scrapbook paper to the inside of the drawers which simply consisted of cutting pieces down to size and then hot gluing them down.

I have double sided tape pictured but it didn’t work too well which is why I switched to the hot glue.
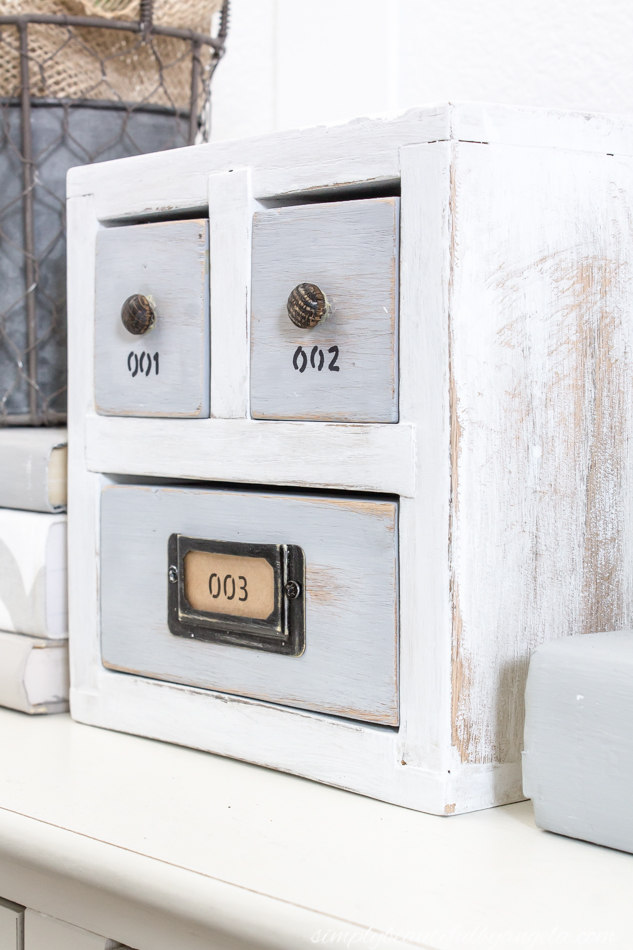
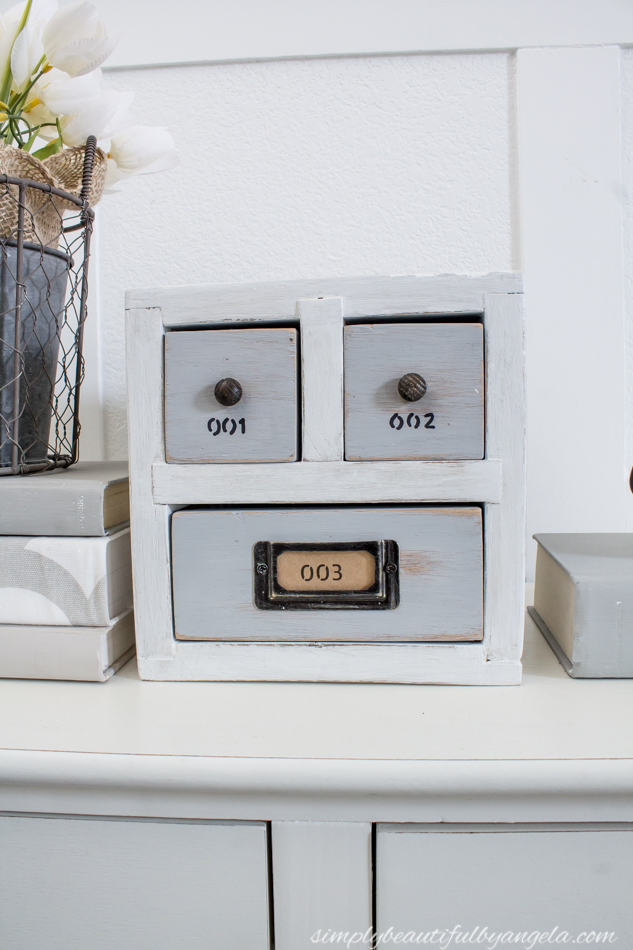
I printed out some numbers on kraft paper and popped one in the label holder and then traced the others on to the drawers with a pen to create an indentation that I used a Sharpie over.
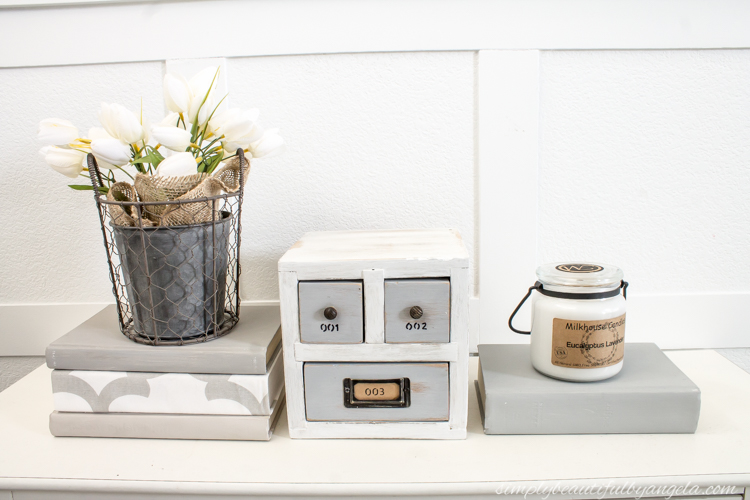
I just love how it turned out!
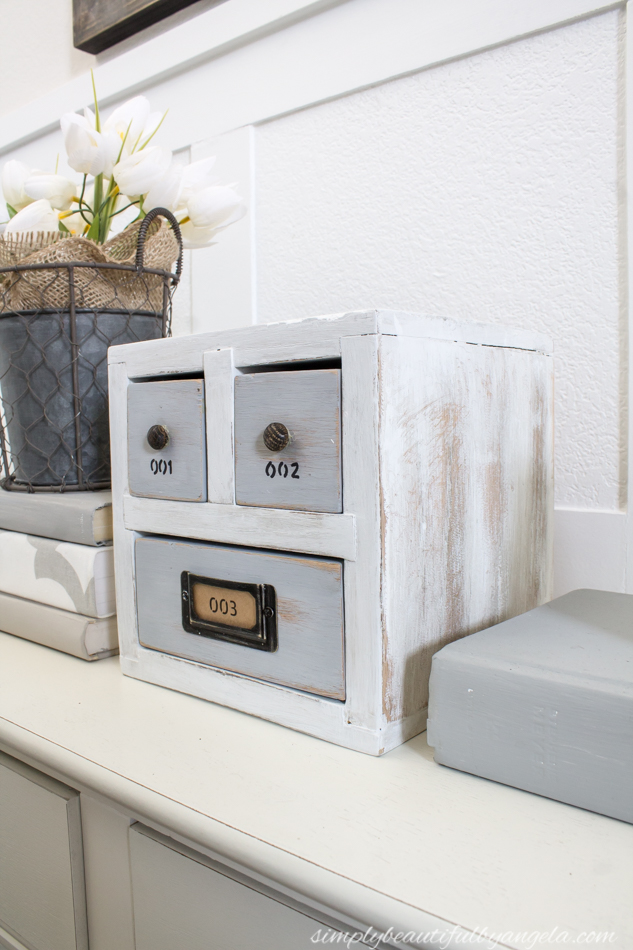
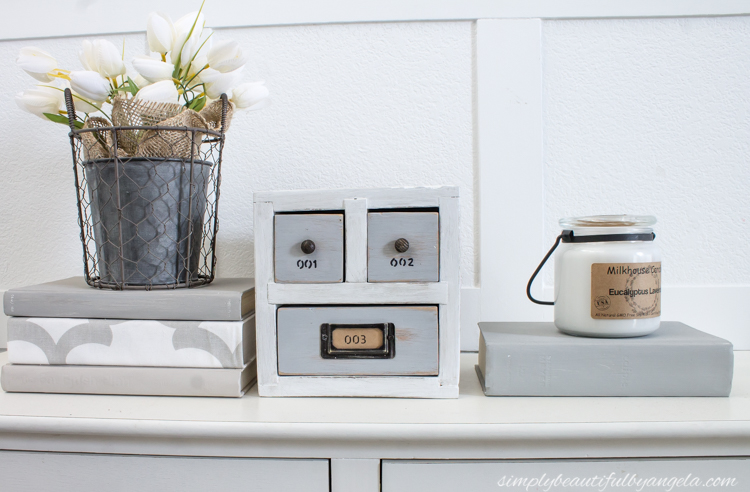
I really like the old vintage feeling that it has and it reminds me of a small card catalog.

I keep forgetting that the drawers are lined and it’s such a nice little surprise when I open them up!
Eventually I want to use some Mod Podge to seal the paper.
Not bad for a $2 find, right?! I got the labels and the paper while they were half off and since I had everything else on hand the grand total for this project was less than $5.
Alright my sweet friends, be sure to check out the awesome things that everyone else created this month! I hope you have an amazing weekend and I will see you all next week 🙂
And now for more thrifty goodness!
Check out what my fellow upcyclers created below!
This little box turned out so adorable and I love the buffalo check paper on the inside. What a sweet touch!!!!!
Thank you so much Yamilette! It was an afterthought to add it but I'm so glad that I did! 🙂
Love the vintage card catalog vibe you gave this little box and the paper lining the drawers is perfection!
Thanks Amanda! I admit I'm somewhat obsessed with the card catalog look. If I could do it on every drawer in the house I probably would haha 🙂
This is a fantastic find. What a wonderful job you did to bring it back. I bet the clerk wouldn't be laughing at this if she saw it now.
Thank so much Debra! Isn't that the truth?! Haha
Wow, great painting skills! Love the transformation and the lined cubbies. Visiting from Thrift Store Challenge.
Thank you Victoria!! 🙂
Okay, I NEED that in my life!!!!!!!
Haha thank you Deborah! 😀
This is so sweet. Looks like it wasn't too hard to do, either!
#funtasticfriday
Katelynn, hampersandhiccups.com
Thanks Katelyn! Yep it was a pretty simple makeover, I completed the whole thing during naptime 🙂
This is adorable! It looks just like a card catalog. Love how it came out!
Thank you so much Jenny!
I heartily agree with Debra; I think you should take the box back to GW and show the clerk what some imagination and hard work can do! I always called those little wooden buttons "mushrooms"; they are used to cover countersunk wood screws in furniture; perfect for tiny knobs.
Mushrooms are a perfect description for these! Thank you for helping me solve the mystery on their real purpose haha! 🙂
This is perfection! Those little nails sticking out were really funny but I love the drawer pulls and the little book plate that you found to replace them. Everything down to the paint colors really brought it all together and it looks great in your space. I love it.
Awww thank you so much Michelle!!
so lovely pretty Thank you so much for sharing.
คาสิโนออนไลน์
How adorable is that…loving it.
Thanks for sharing the post.. parents are worlds best person in each lives of individual..they need or must succeed to sustain needs of the family. wooden magnetic knife holder
The most basic being, the amount of space needed. Depending on how big your family is, you may need to have enough room that can accommodate 2-3 cars or even more.click here now