Happy Monday everyone! I hope you had a wonderful weekend. Ours was pretty productive and I feel like I made some good progress on Lucas’ big boy room which is exciting.
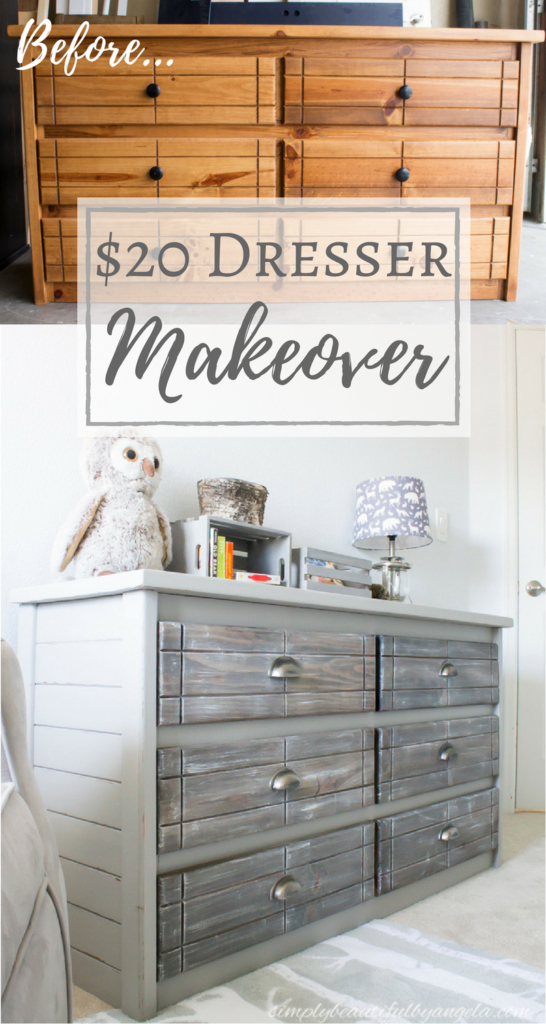
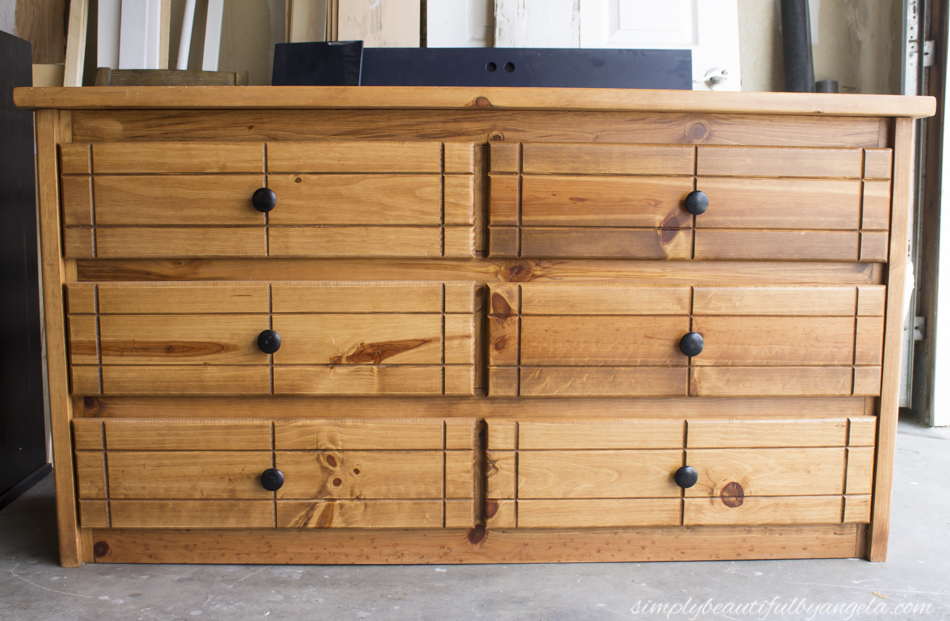
As you may recall I found this awesome dresser on Facebook Marketplace for $20 and knew right away that it would be perfect for his room to hold his growing wardrobe.
It was in really great shape but I wasn’t loving the orange toned wood. So needless to say, a makeover was in order!
Supplies Used: (Affiliate links may be provided for convenience. For more info, see my full disclosure here.)
- Simple Green
- Orbital Sander
- Medium Grit Sandpaper
- Paint (Greige by Behr)
- Plaster of Paris
- Minwax Stain in Jacobean
- White Paint (for dry brushing)
- Waverly Inspirations Varnish
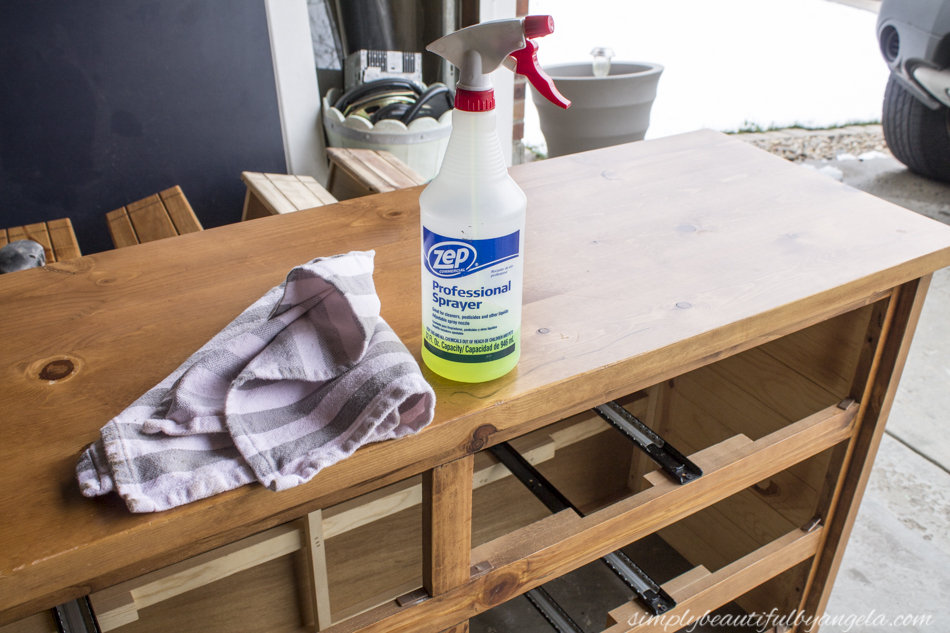
I began by wiping the whole thing down with some Simple Green to remove any dirt and crud that may have accumulated on it.
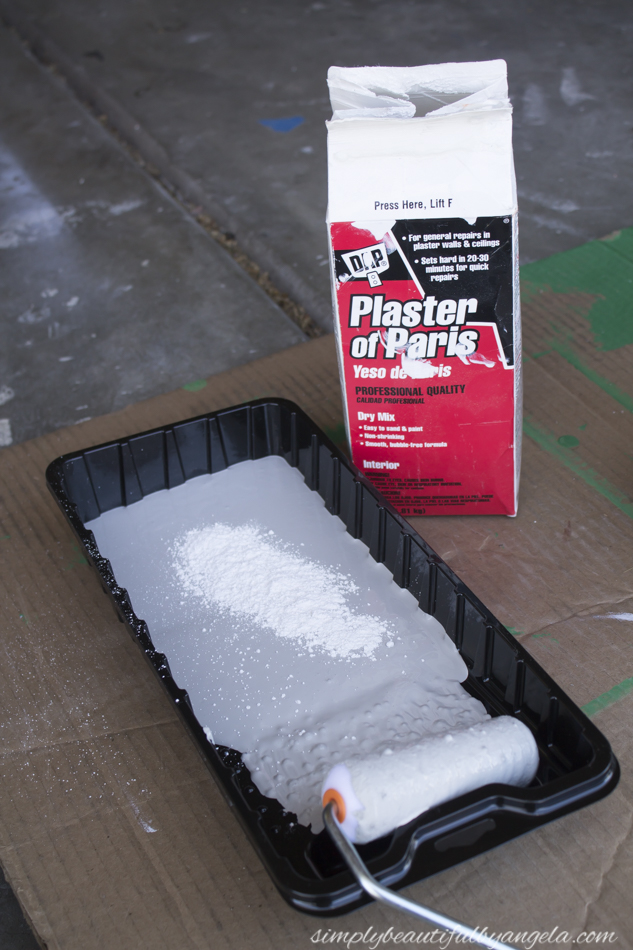
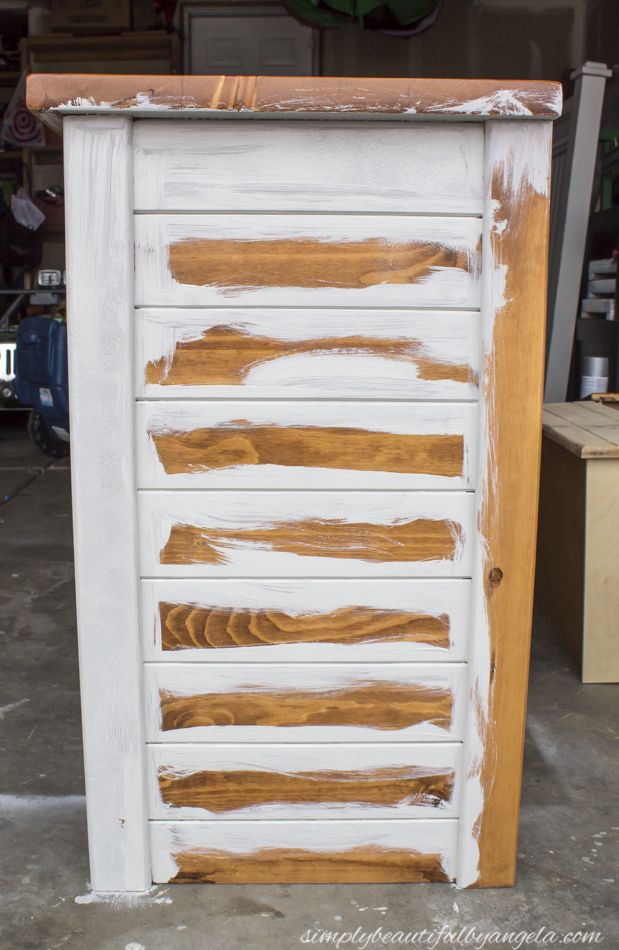
Next, I mixed up some DIY chalk paint which is done by adding a little bit of Plaster of Paris in with regular old latex paint. It gives it that chalky consistency that’s perfect for distressing and eliminates the need for sanding.
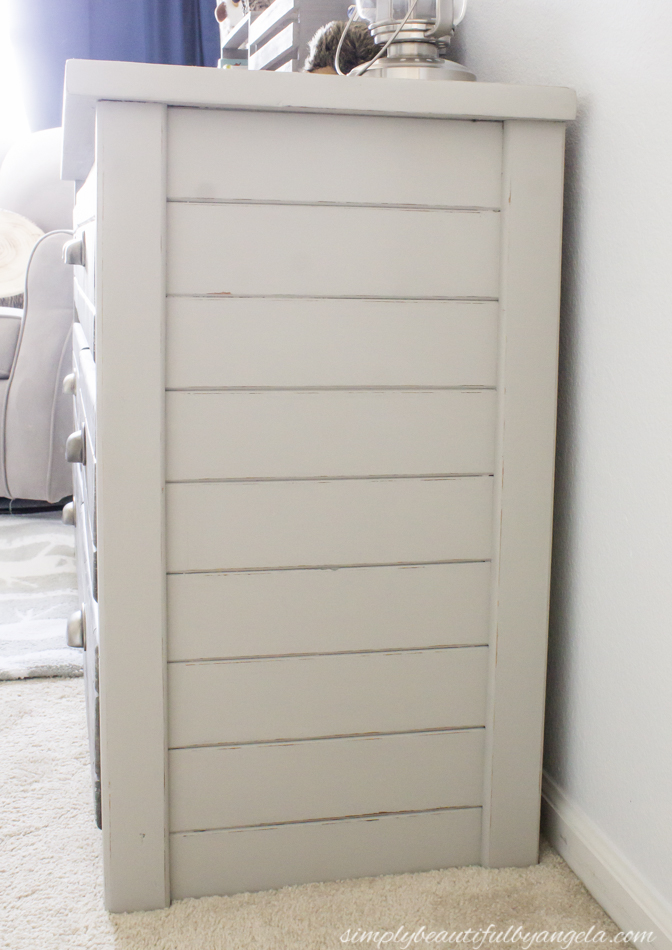
The sides of the base are planked so I had to first use a brush between the the planks since the roller wouldn’t reach.
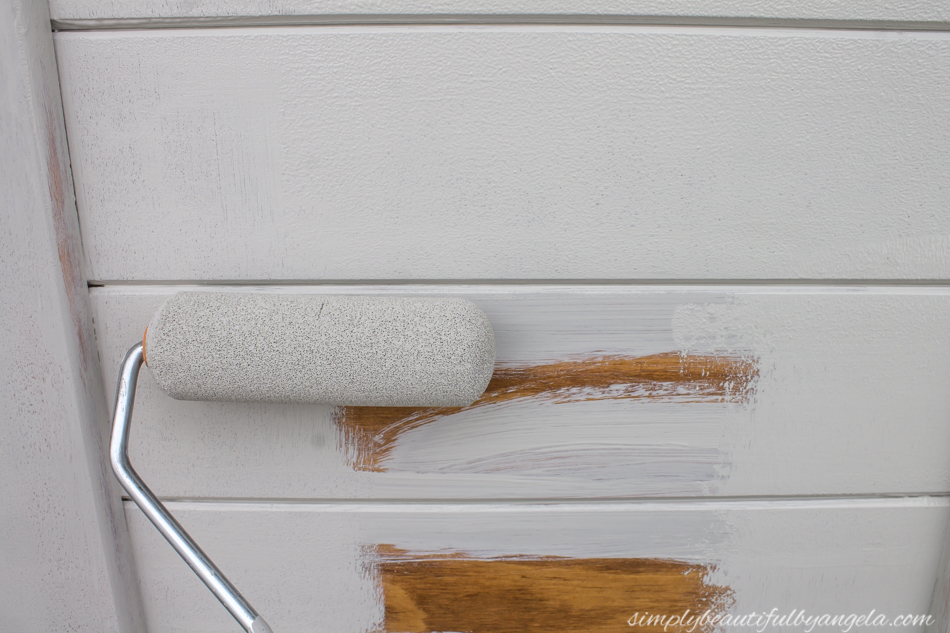
I then went over the sides and the rest of the dresser with a small foam roller.
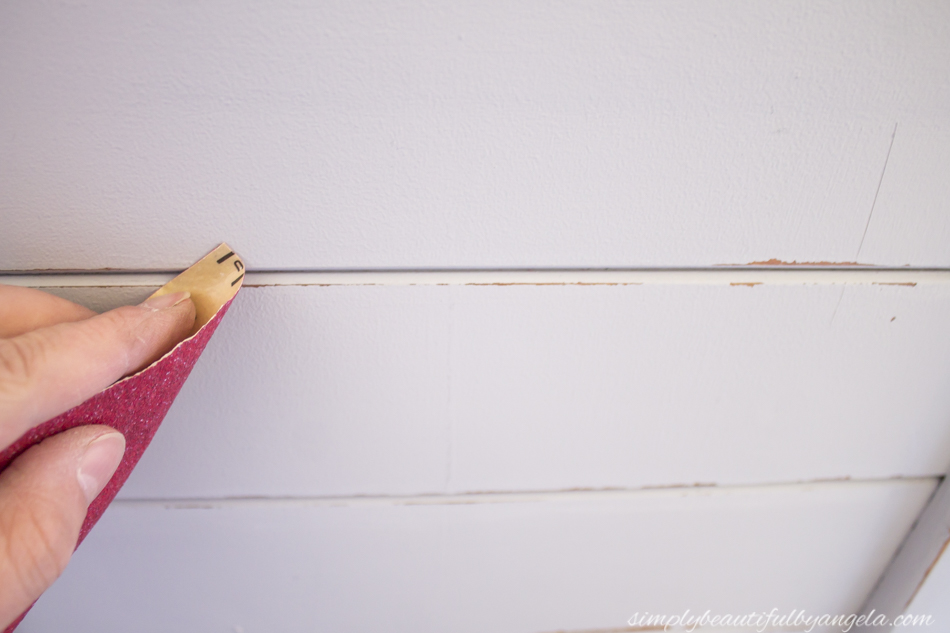
After two coats I went back over the edges with the some sandpaper to add some light distressing.
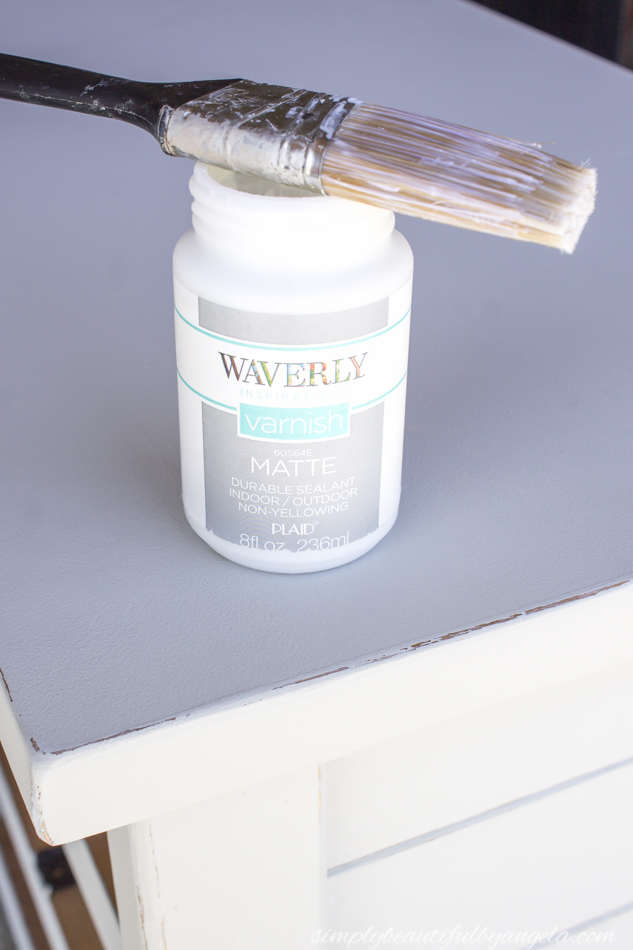
I wiped off the sanding dust and then applied a coat of varnish to finish it up.
Next it was time for the drawers. I went back and forth for awhile on whether I wanted to paint or restain them. After much debate I felt like trying something a little different so I used my orbital sander to sand them down to barewood.
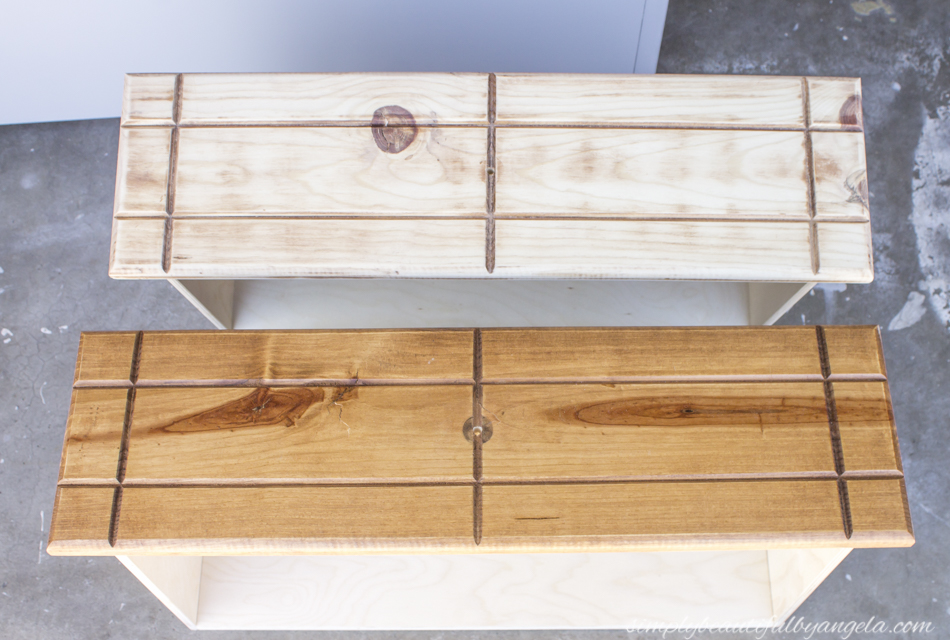
Below you can see what one looked like before sanding and what one looked like after.
I actually have to stop here and give mad props to the hubby for jumping in and taking over after I finished the first one! Even with the electric sander it’s quite labor intensive and he was sweet enough to help out. I know–I’ll be the first to admit that I’m one lucky girl!
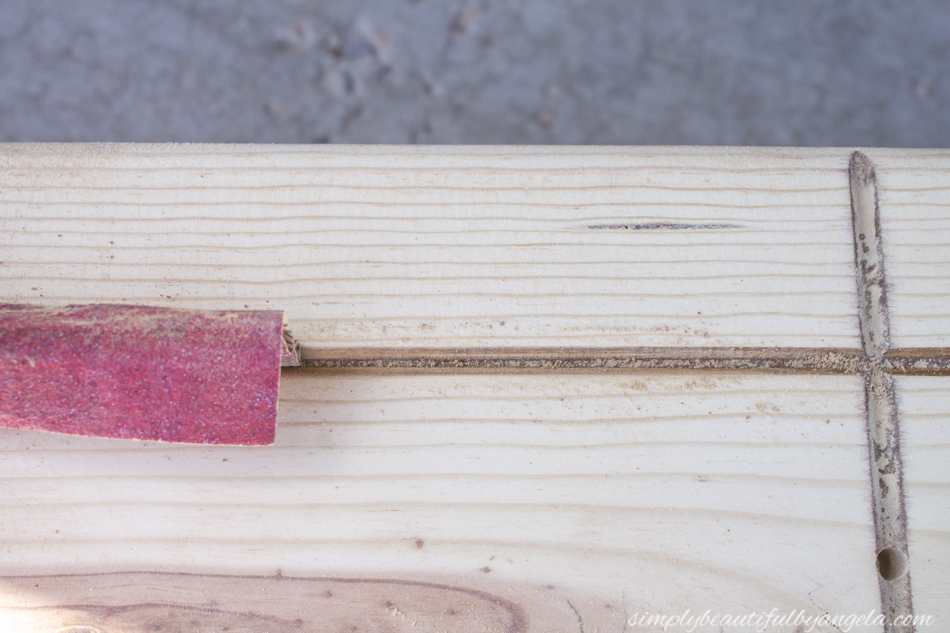
The sander obviously didn’t reach down inside the lines so I had to fold up a piece of sandpaper to get in there.
After I was done the hubby mentioned that a sanding block would have worked so much better. Ugh. Oh well!
I didn’t take any pictures of these next steps since I was experimenting and was not sure if I was going to like the outcome or not, so I apologize! But here are the steps that I took:
1. I stained each one with Miniwax Jacobean.
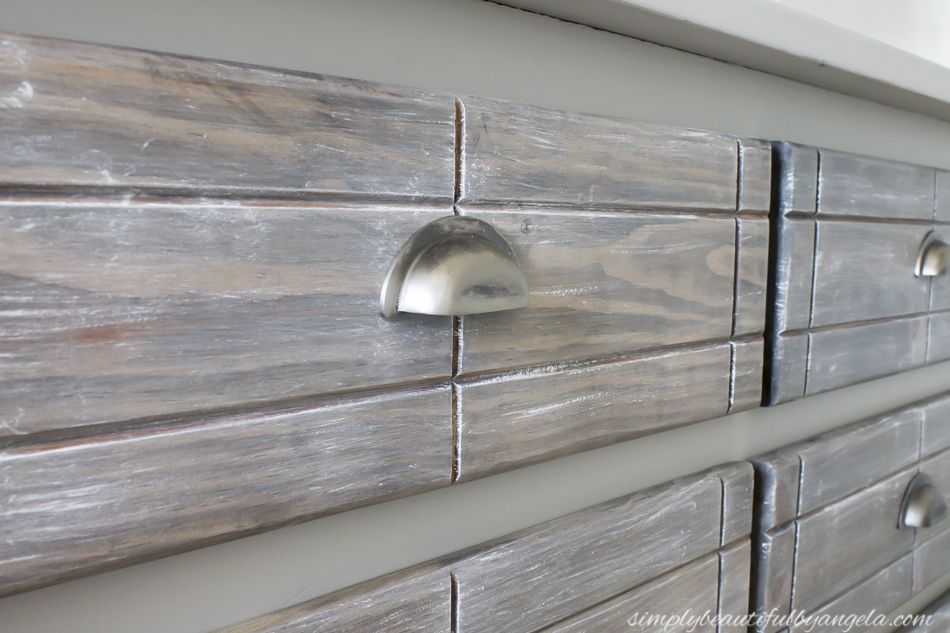
2. While the stain was still wet I watered down some white paint and brushed a small amount on before rubbing it in really well with a rag. Doing so took it from dark brown wood to more of a gray toned wood.
3. Once they were dry I went back and dry brushed on some white paint to add a weathered look.
4. Finally I added a coat of varnish.
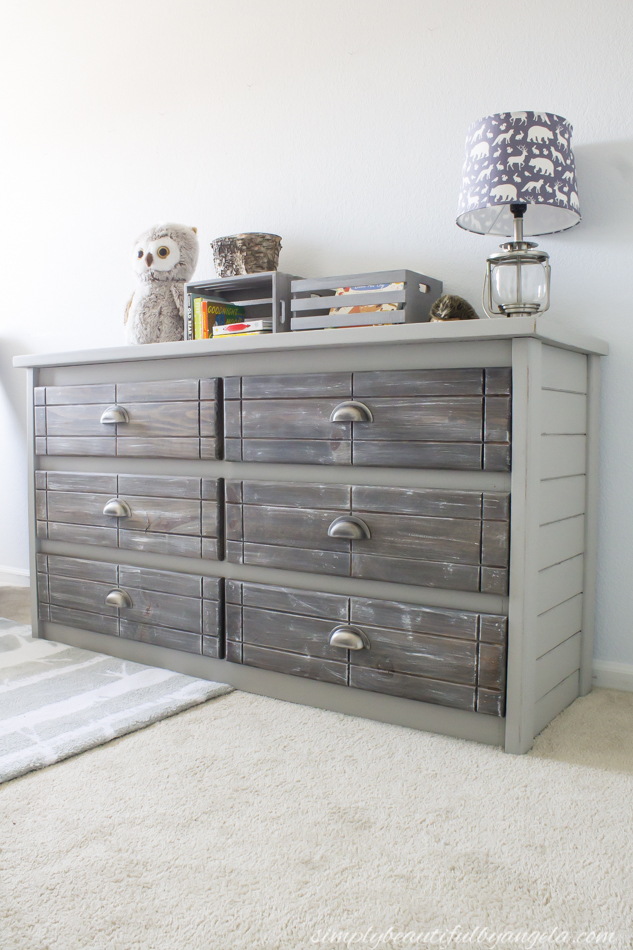
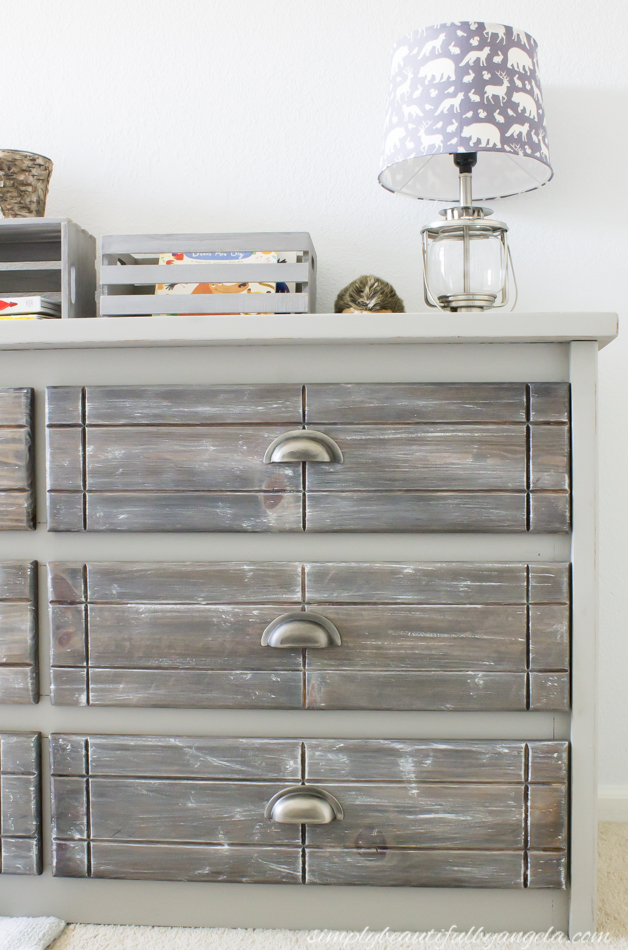
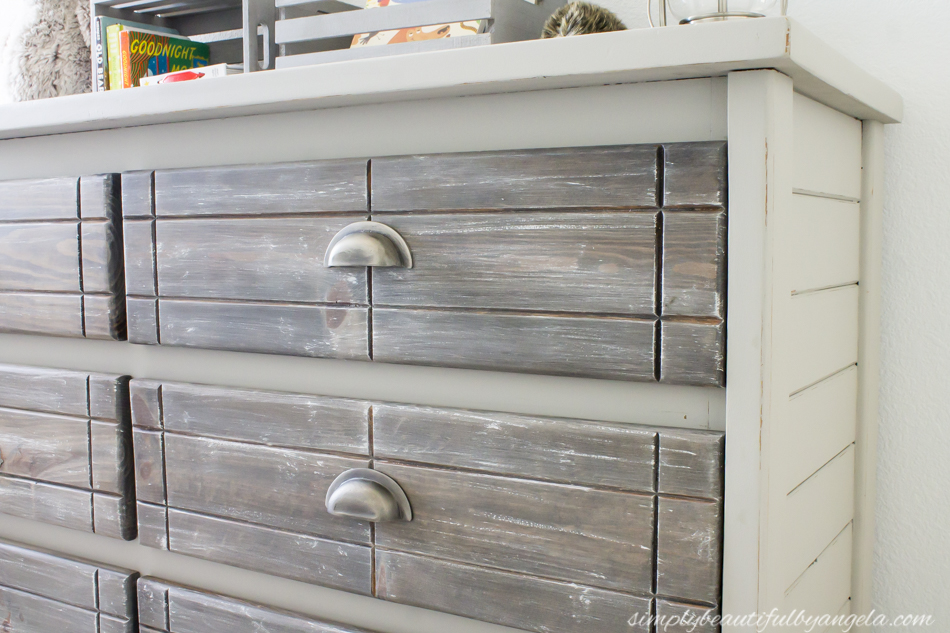
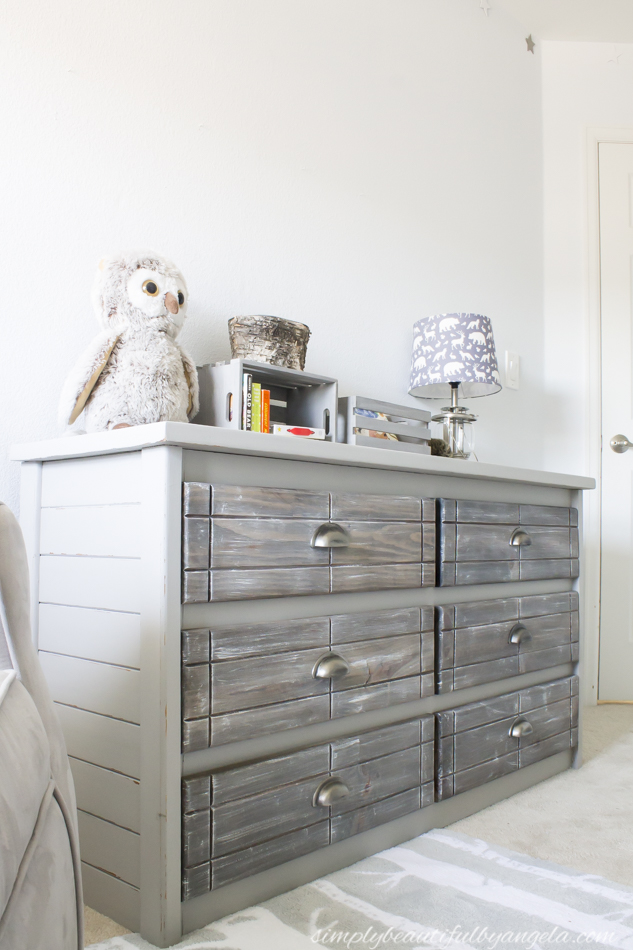
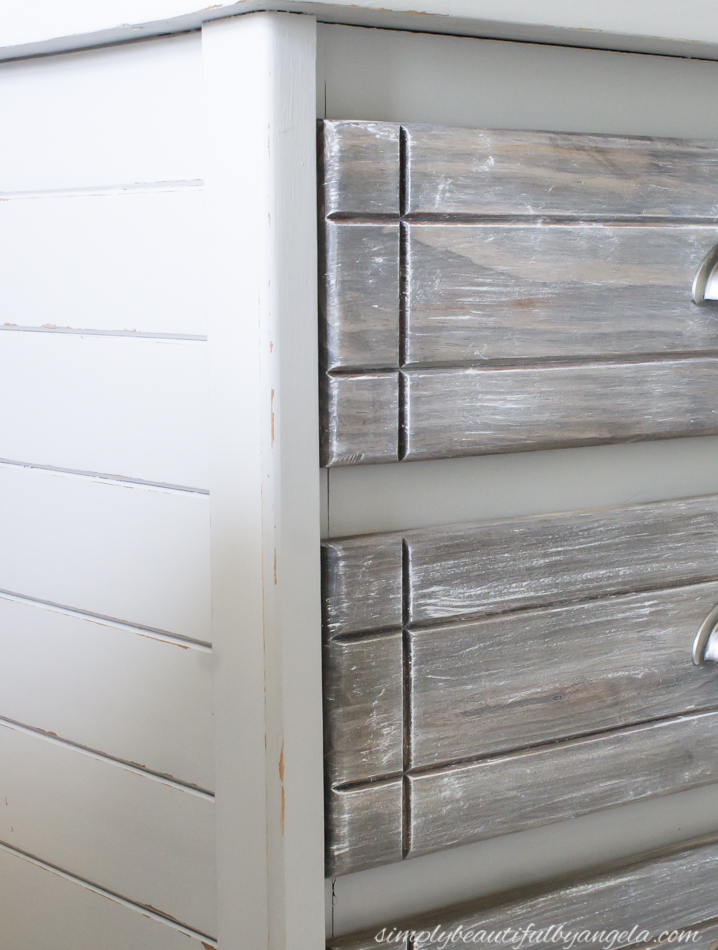
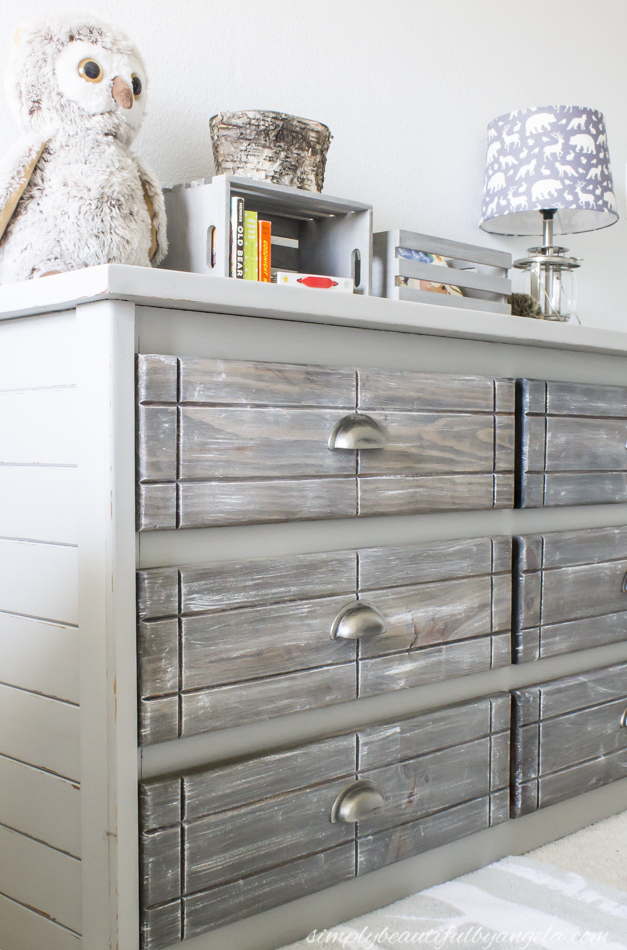
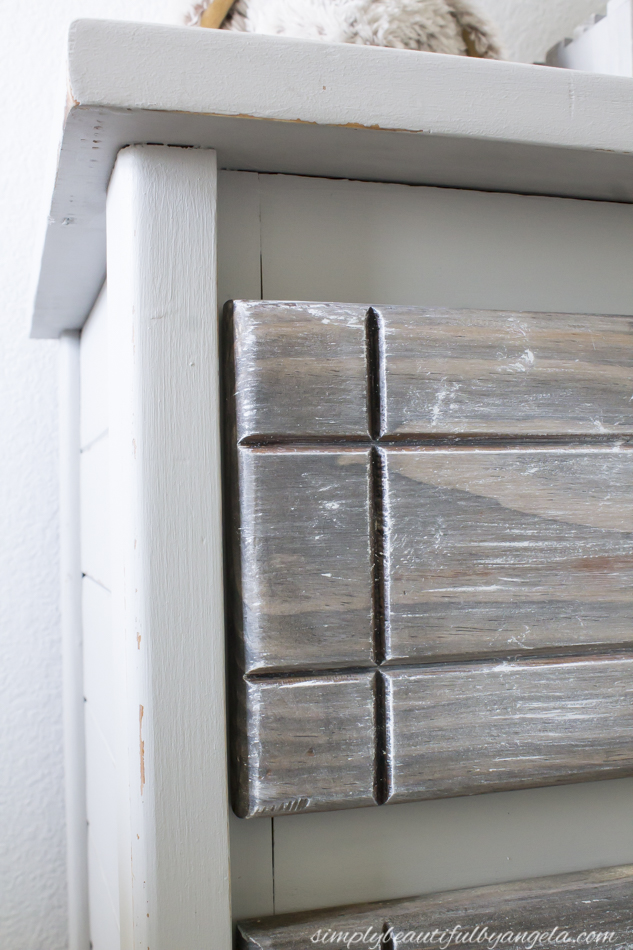
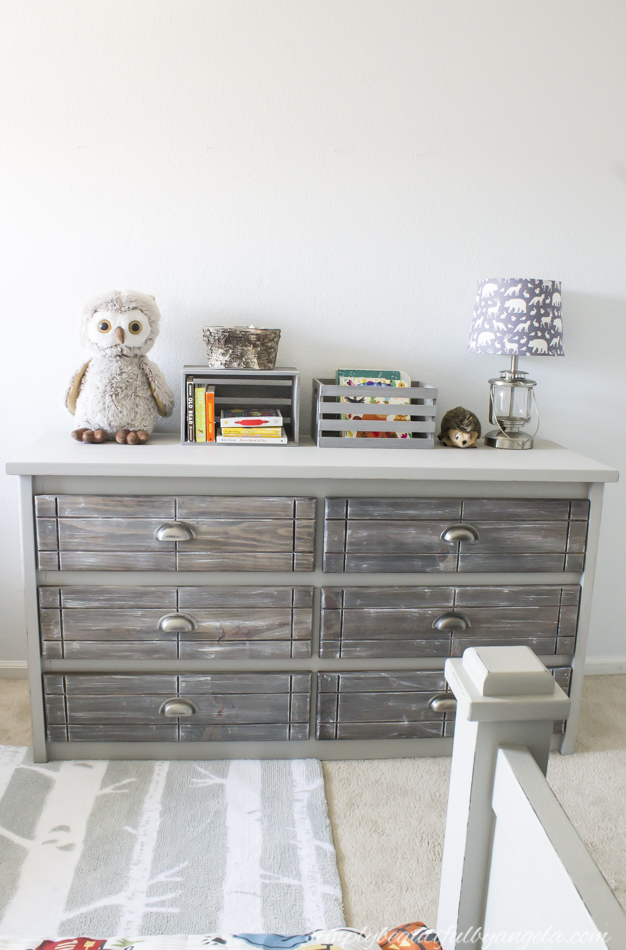
And here is how it turned out!
What do you think?? Too dark for a kid’s room? Or just right for a woodsy feel in his woodland themed room? I’m still kind of torn but after all the effort that went into sanding and staining I may shed a few tears if I end up covering them up with paint!
I was originally just planning on spraypainting the old knobs silver but I ultimately decided that these cup pulls that I found at Hobby Lobby would look better. I waited until they were 50% off which brought them down to $2.50 a piece!
Try not to focus on how I have the top styled, I’m still playing around with it. I also think it will look better once I get the gallery wall up above it.
I love that it matches the bed that you can see peeking out in the photo below but not too perfectly since I tend to lean away from matchy furniture.

Angela I really like the way it was done in the front for a perfect woodsy look for the boys room. It really makes the dresser look so much more special then if you had just painted the whole thing grey.