Hello friends! I hope you all had a nice weekend. I took the end of last week off to spend some fun time with the boys but unfortunately I came down with a nasty cold on Wednesday night. The boys still had fun on our adventures to the Children’s Museum on Thursday and our local indoor gym on Friday, but no lie–it was a little tough for this mama to power throught it. Somehow I did and luckily was feeling much better by Saturday.
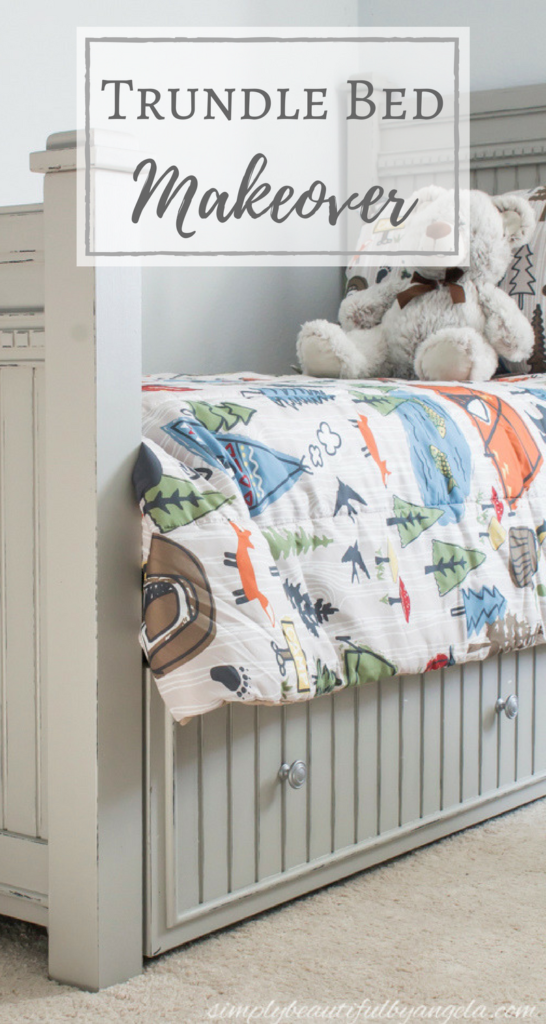
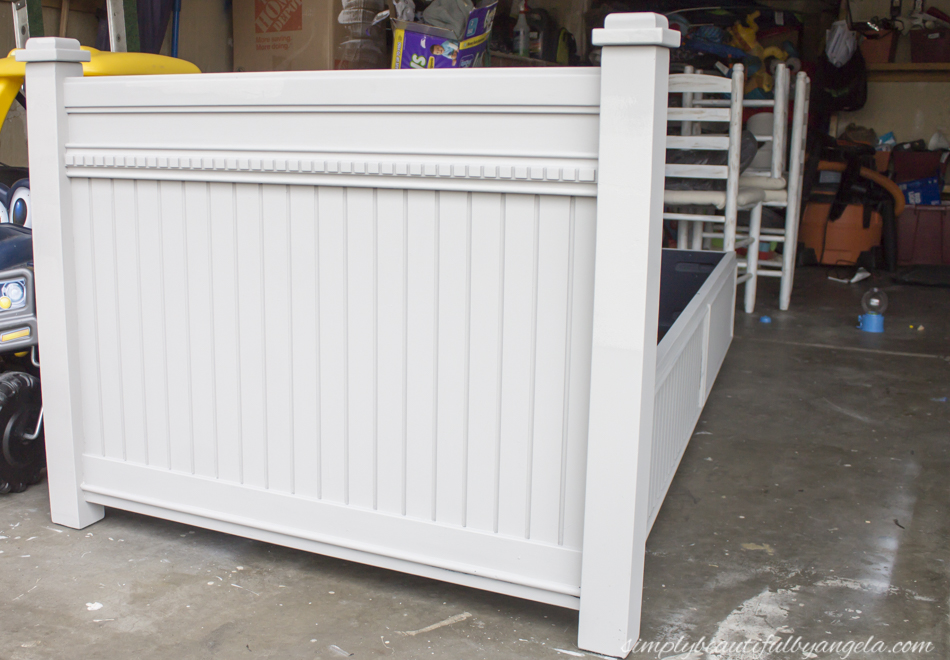
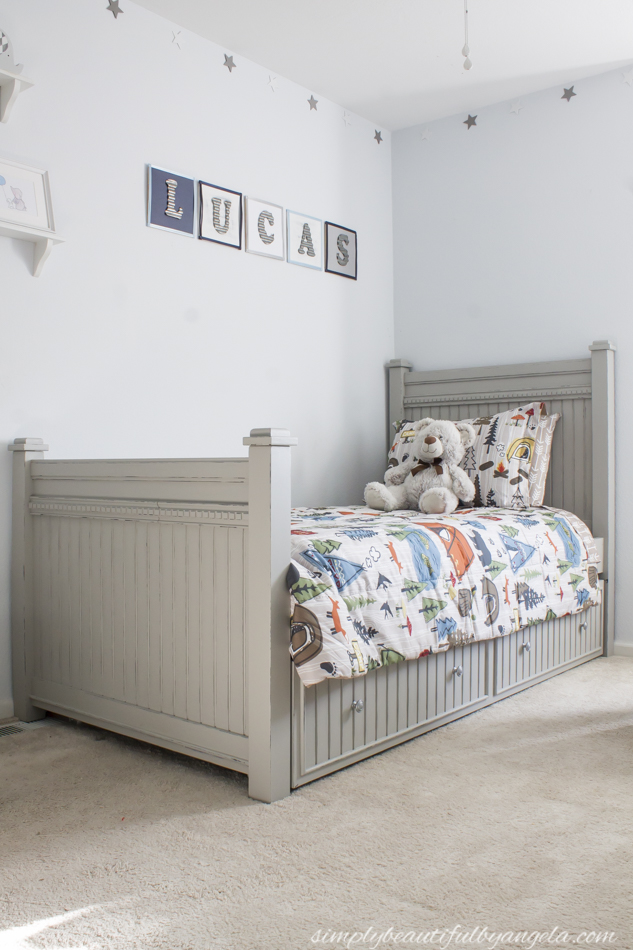
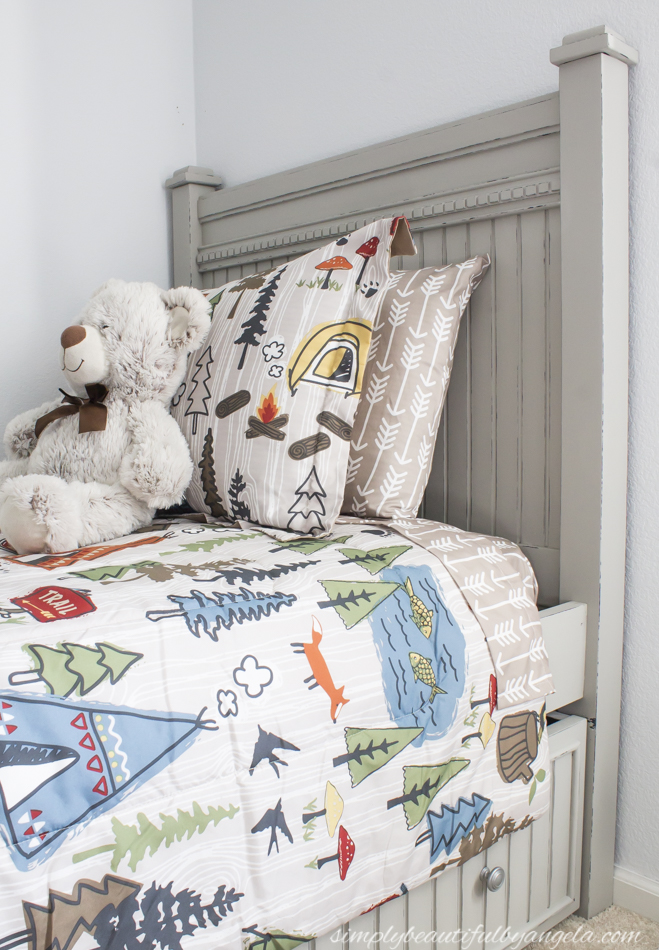
In other news I finally finished up Lucas’ big boy bed!
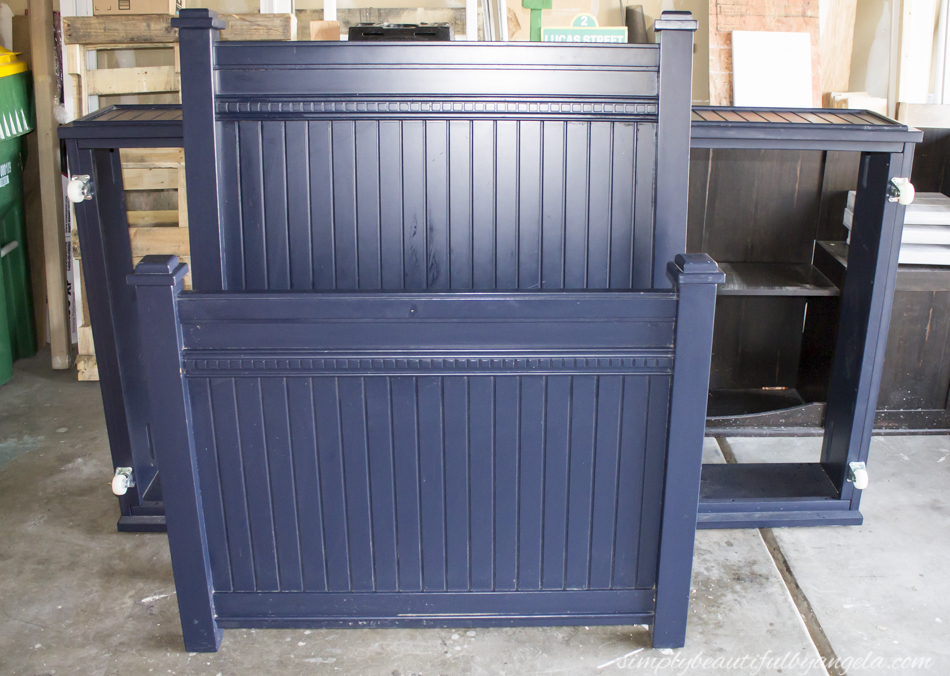
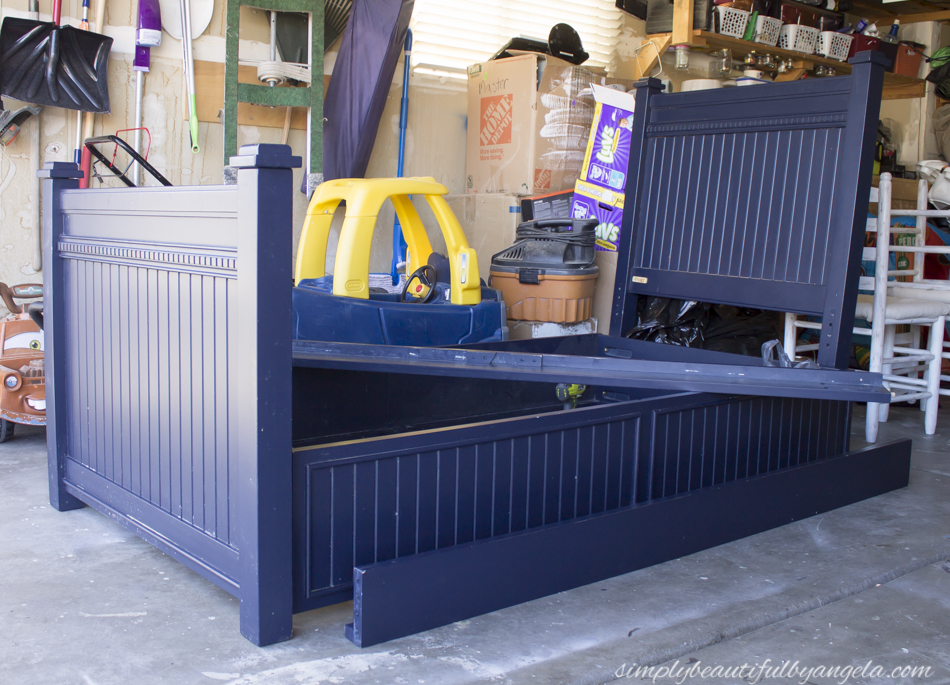
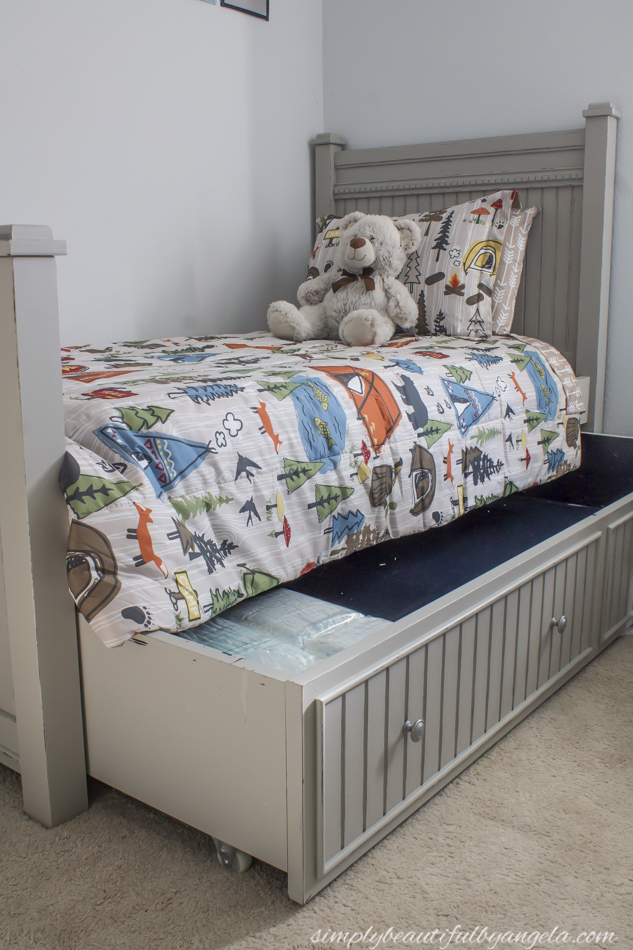
As you may recall in my One Room Challenge update post from last week I mentioned that we found this trundle bed on Facebook Marketplace last fall.
We knew right away that it would be the perfect bed for Lucas. However, since he’s our last baby I’ve been dragging my feet on letting go of his crib days. Well he started climbing out of it a couple of weeks ago so that was my cue that it was finally time to get him in his big boy bed, whether I was ready or not!
Supplies Used: (Affiliate links may be provided for convenience. For more info, see my full disclosure here.)
- Simple Green
- Paint–Greige by Behr
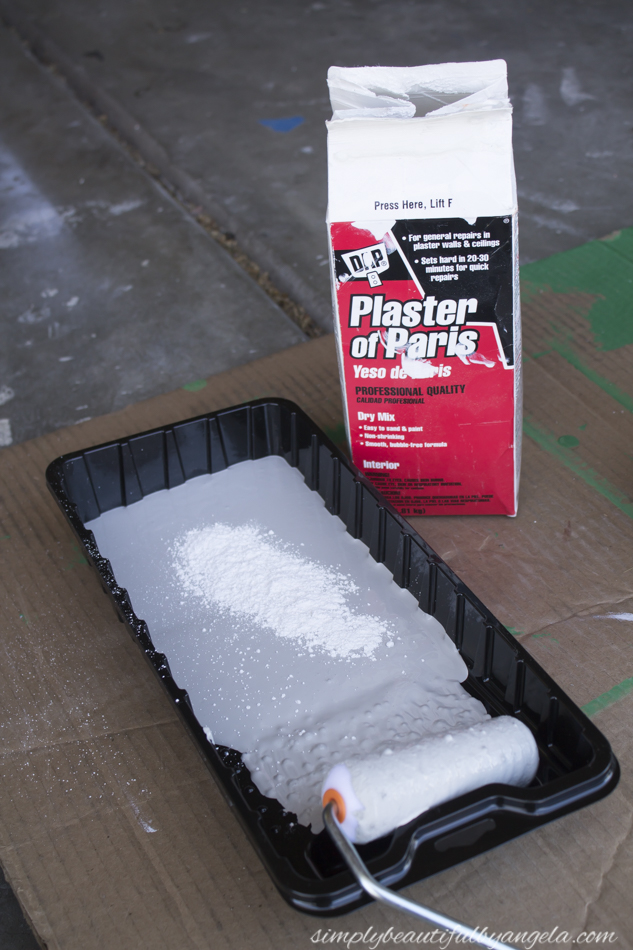
- Plaster of Paris
- 80 Grit Sandpaper
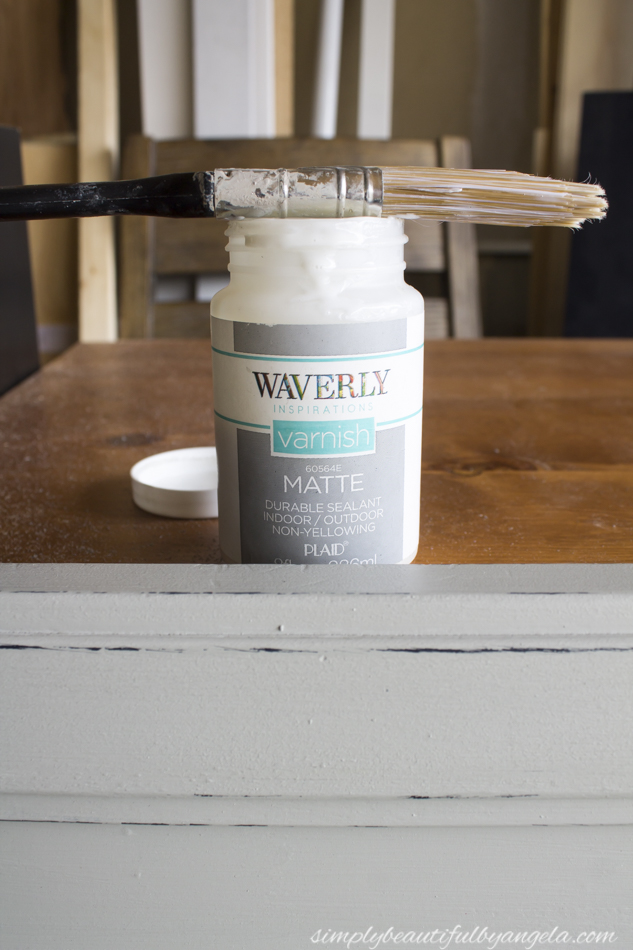
- Waverly Inspirations Varnish
I first wiped it down with some Simple Green to remove the dirt that had collected on it over the last few months.
Even though Lucas’ favorite color is blue, I felt that it was too dark for his small room so I decided to paint it light gray. Don’t worry, I’ll still be adding tons of blue accents to his new room!
I chose the color Greige by Behr which is a really warm gray and will pair nicely with the wood elements that I plan on adding to this room later.
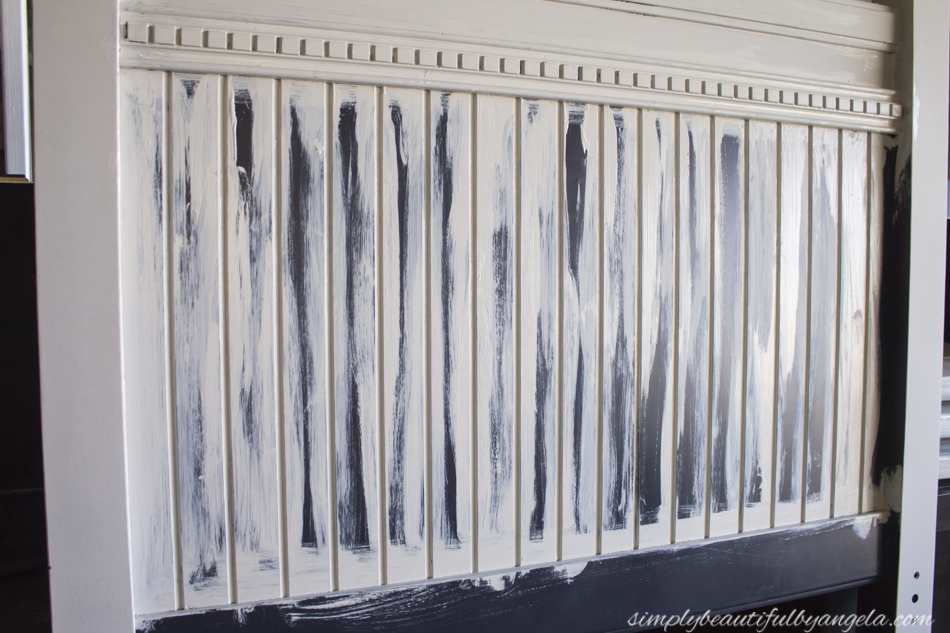
I mixed in a little bit of Plaster of Paris each time I poured the paint in the tray which turned it into chalk paint consistency.
I can’t remember where I first heard this tip but I love it because it’s so much cheaper than buying actual name brand chalk paint and I can choose any color that I want instead of being limited to the colors offered.
No sanding was necessary since I was using chalk paint which is good because there are SO many small details in this bed that it would have taken me a really long time.
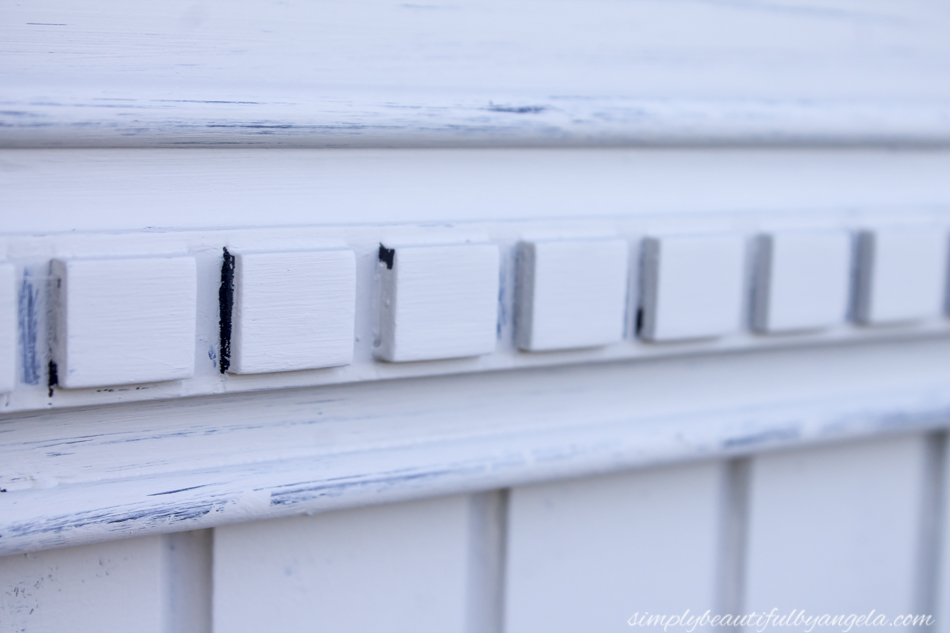
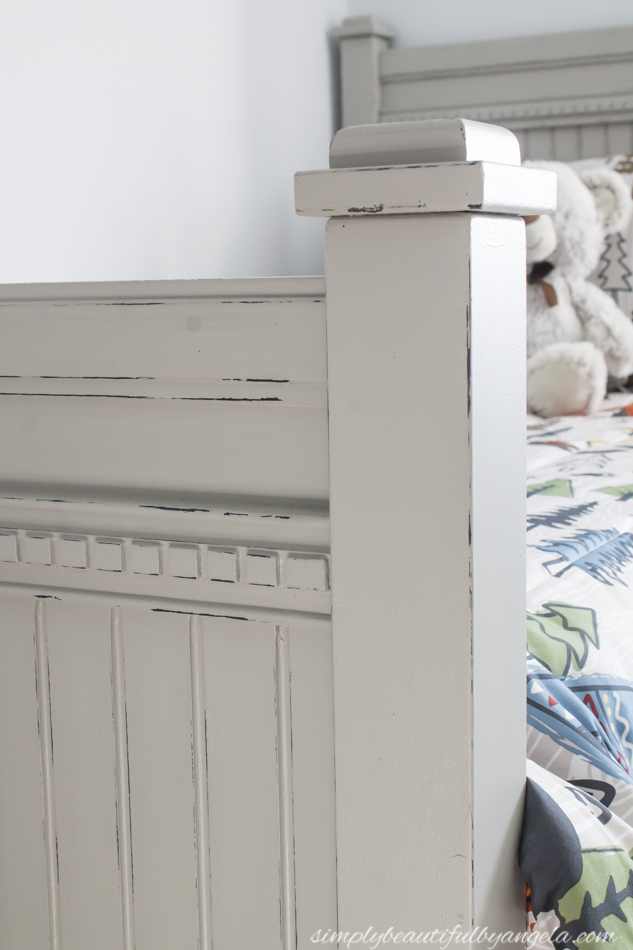
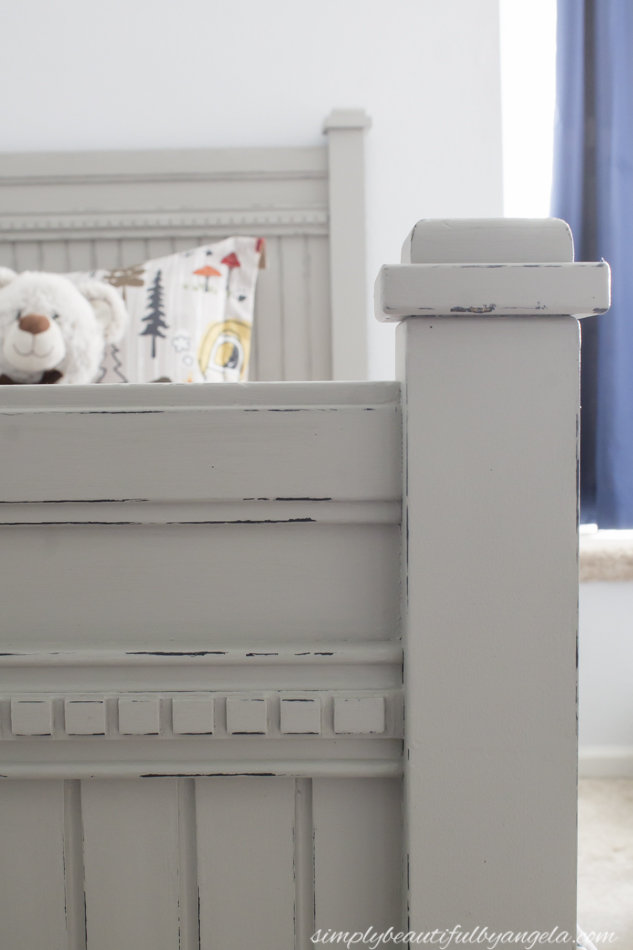
Speaking of the those details–they were an absolute pain to paint! First I had to use a small art brush to get in between those little squares.
Then I had to use a brush between each of the little grooves on the paneling since the roller wouldn’t reach them.
It only took two coats to achieve a good coverage and at this point I honestly debated on whether or not I should distress it..
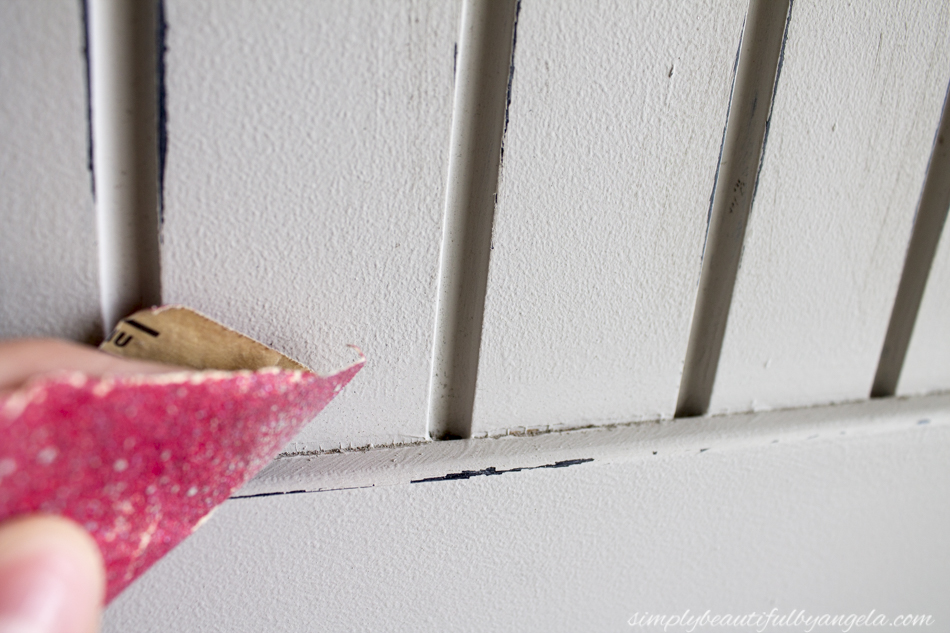
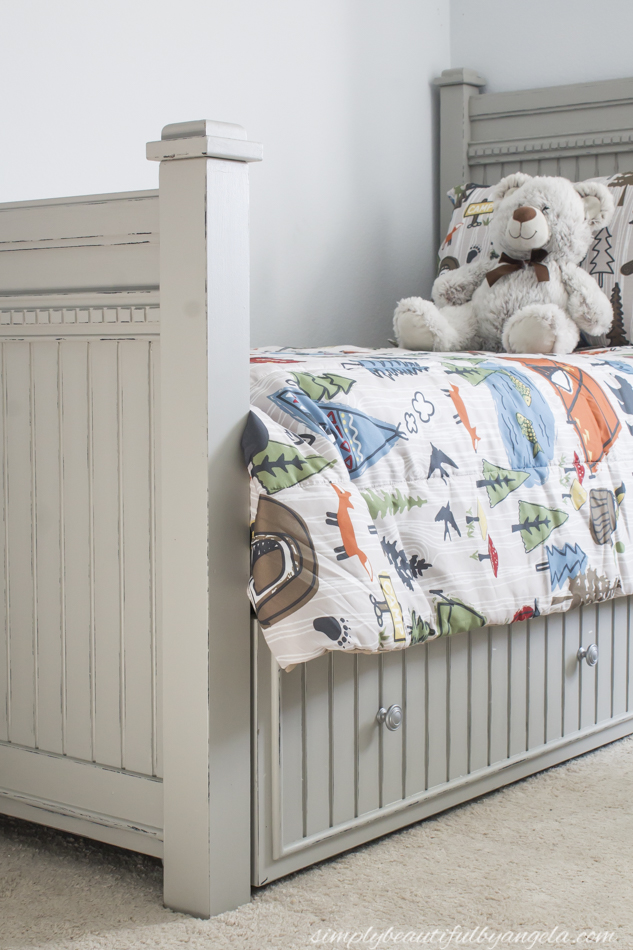
I finally decided it was destined for a few dings and scratches in a toddler’s room, and if it was already distressed I wouldn’t need to worry about it. Plus the distressed look seems fitting for a woodland theme room.
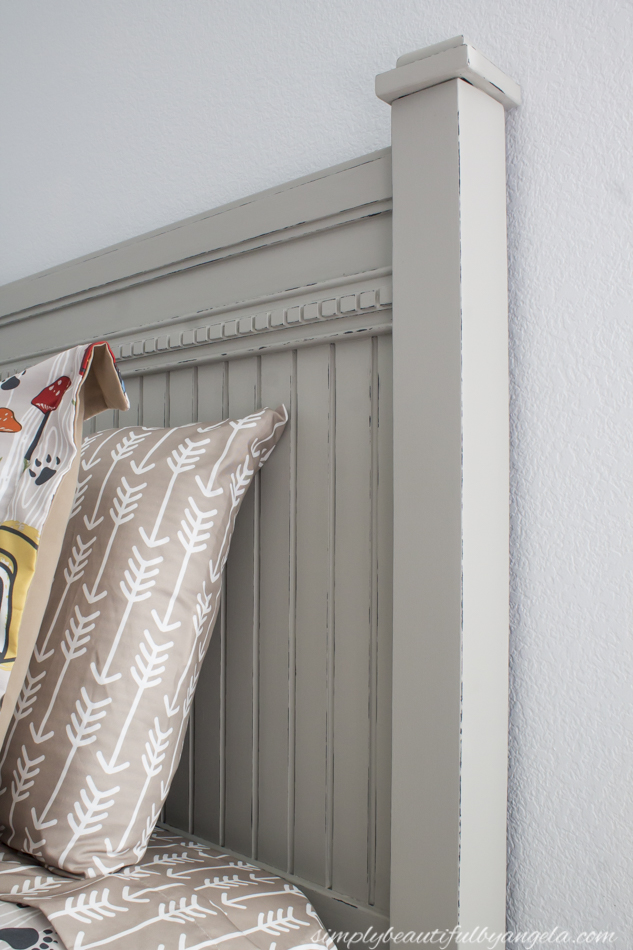
So I took some sandpaper and lightly distressed all of the edges and details. I was super pleased at how awesome it looked!
After wiping off the dust I gave the entire bed two coats of matte varnish that I found at Walmart. I used a brush since the roller would eat too much of it up. As it was I had to go back and get a second bottle a little after starting the second coat.
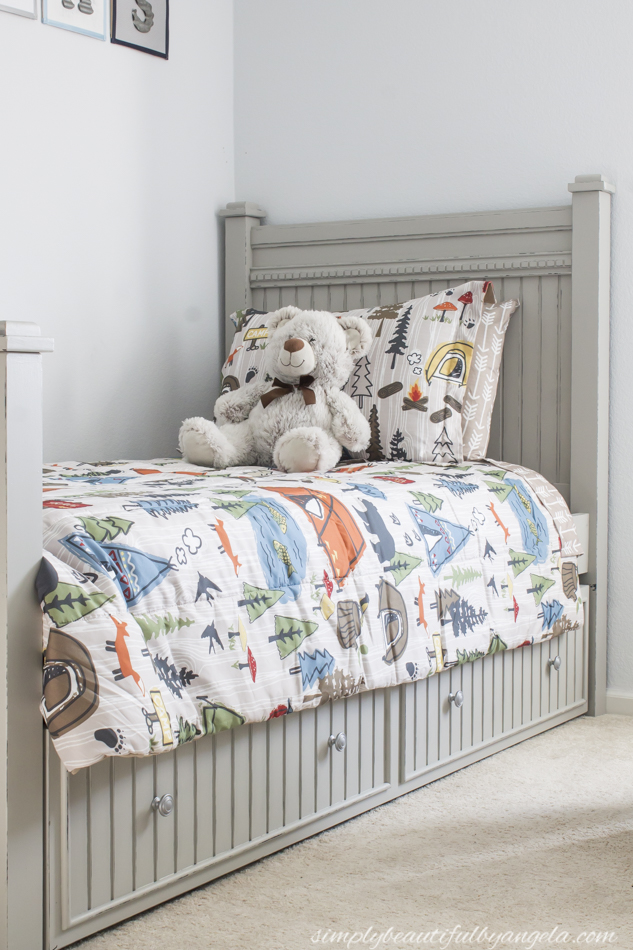
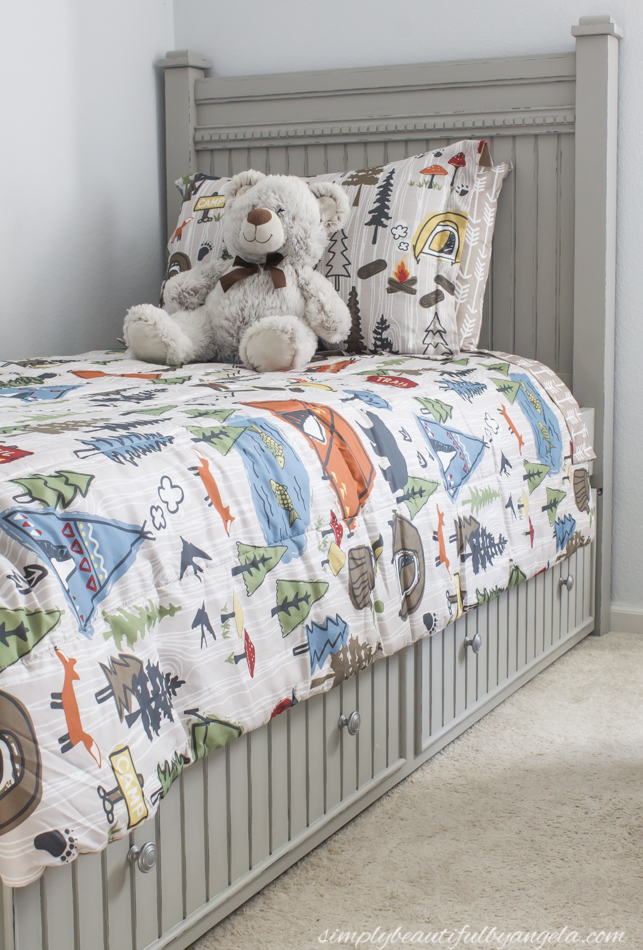
We set it up in his room on Saturday evening and I was super excited to put on the Woodland Bedding Set that I ordered.
He looked super cute and grown up when we put him to bed that night! I got uber emotional and couldn’t stop watching the video monitor haha.
He did wonderful and even slept in later than usual! He did fall out last night but it’s not very high so he didn’t even wake up. If he keeps doing it I’ll probably build him some rails.
The trundle feature is really handy and I’ve already used it for stashing extra diapers. I also plan on storing hand me down clothes from his brother in here in order to clear up more space in his closet for toys.
Now I can start working on the bed tent canopy that I plan to put up. I’m a little nervous on how it’s going to turn out so fingers crossed!
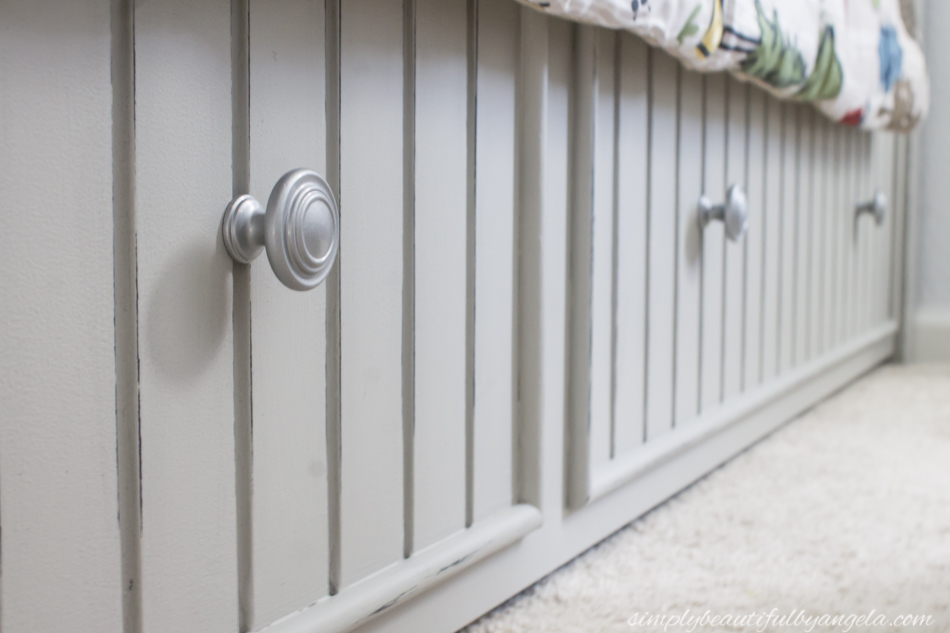
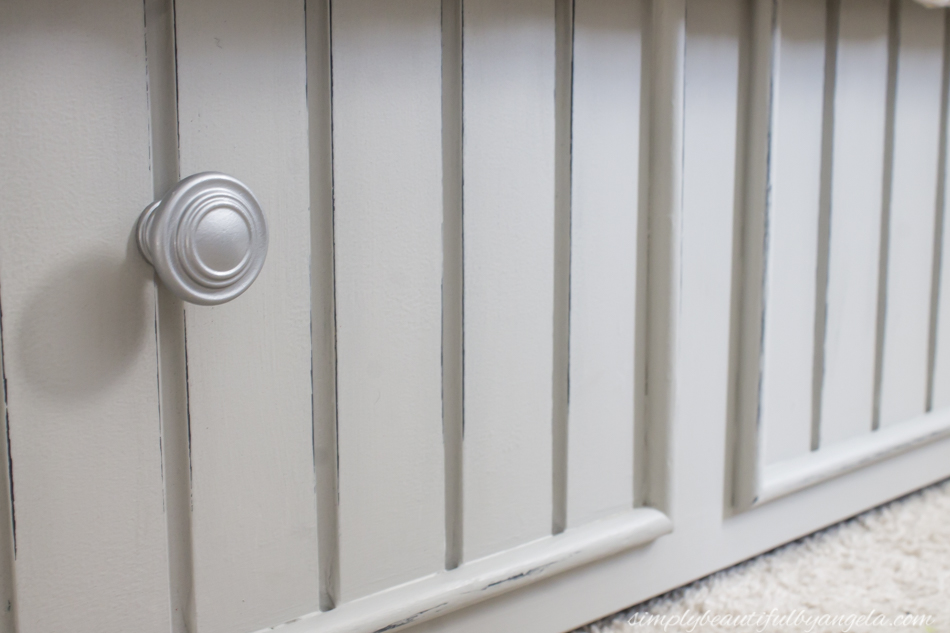
I’m debating on replacing the knobs. I kind of think that some cup pulls would look a little better. But the jury is still out on that!
Not too bad for $50 right?!
Thanks for popping over today everyone! I’ll be back on Thursday to share a couple of other fun updates for this space. See you al then!


Looks amazing – I love the chippy paint!!
Thank you Katie! I'm so glad I decided to distress it 🙂
I love the way the bed turned out! It looks fantastic. Thank you for the hint about adding plaster of paris to regular paint!
Thank you!! You're very welcome, it works surprisingly well! 🙂
Amgela this is really beautiful. I'm glad you distressed it a bit, it goes so well with the overall look of the bed and you know that the kids will only be too happy to add to the distressed look.