You guys–we did it! We finished the ceilings before move in day which was this past Saturday. We may have pushed it all the way to Friday night, but we made it and that’s all that counts!
The second we rolled that last patch of paint on the ceiling, we both about jumped for joy!
As you may recall, last week I shared the process of removing our popcorn ceilings which is an extremely messy but oh so worth it task.
As promised I am back this week to share the finishing process with you all because you can’t just leave patchy bare drywall up there until the end of time. Well, I mean you could but I wouldn’t recommend it!
Supplies Used: (Affiliate links may be provided for convenience. For more info, see my full disclosure here.)
I didn’t get many pictures since I was feeling pressed on time and slightly frazzled. I also forgot my DSLR camera at our other house so I hope that the few grainy ones that I snapped on my phone give you a little bit of an idea of what the process looked like.
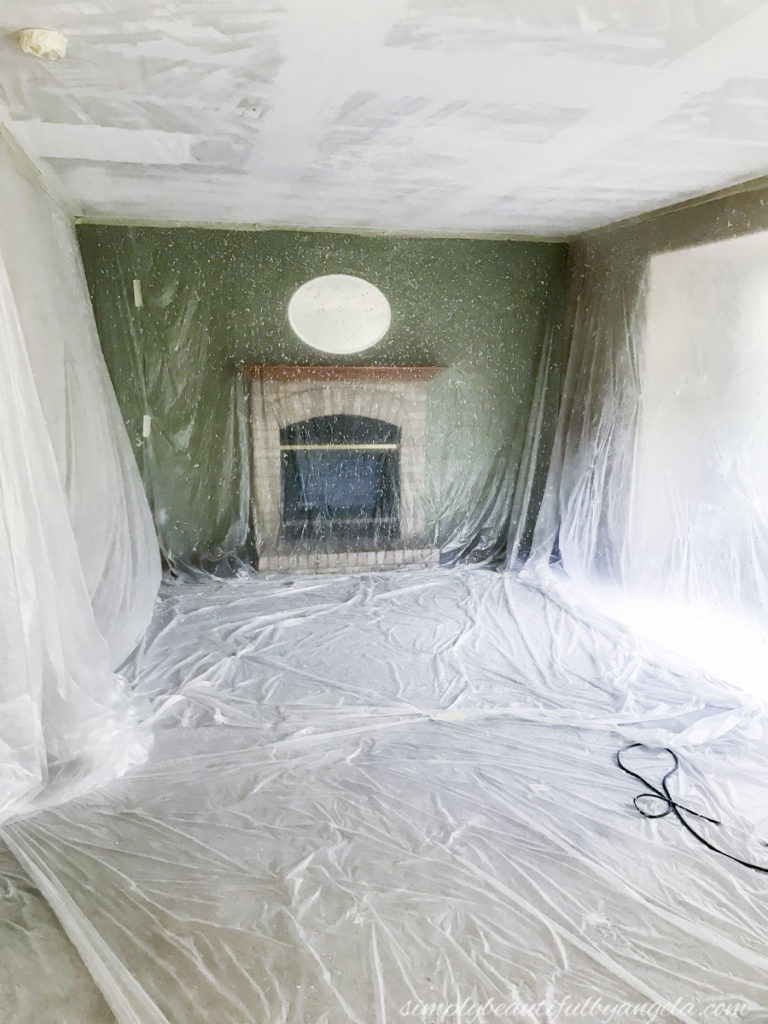
Before beginning we went around and taped off the walls and ceilings with plastic drop cloths. I also taped off the fire alarms since they are hardwired and difficult to remove.
To be completely honest, we actually got lazy and stopped taping walls off once we went to the other rooms and just flattened the oversprayed texture with the drywall knife since we plan on painting them all anyways. But if you have pretty newly painted walls I would hightly recommend keeping up with it even though it’s a pain to put up!
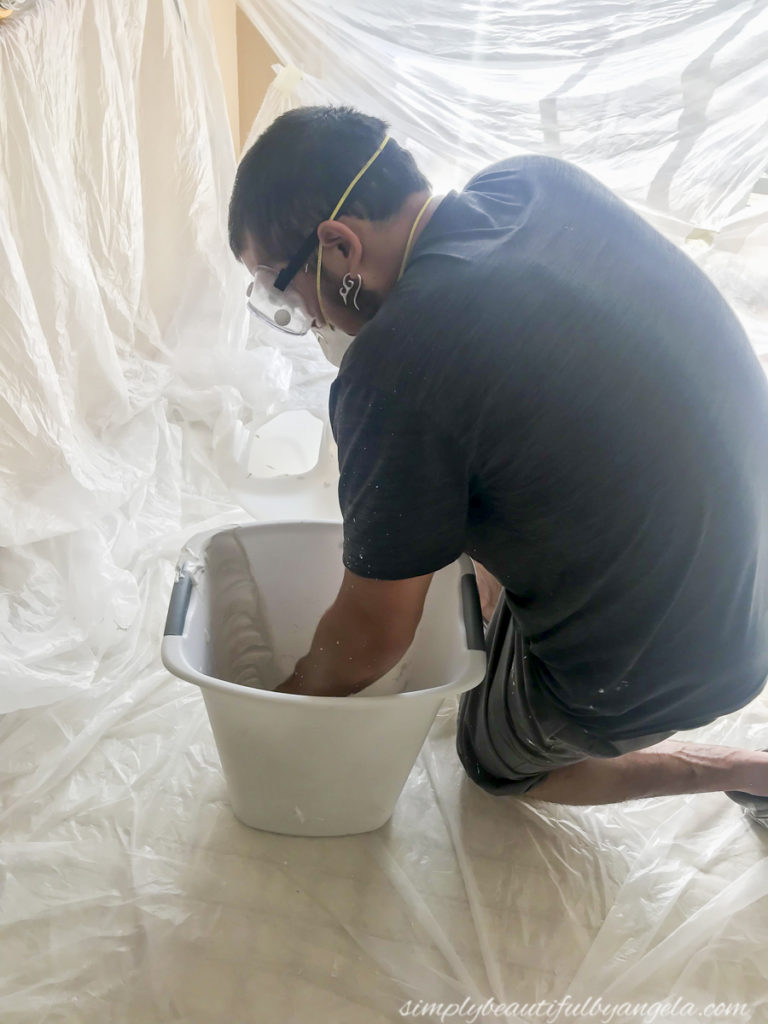
We purchased premixed joint compound and mixed in a little bit of water inside an old trashcan until it became a pancake batter consistency. This is important because if it is too thick it will clog the sprayer and you will have to disassemble it and wash it all out. We may or may not know from experience…
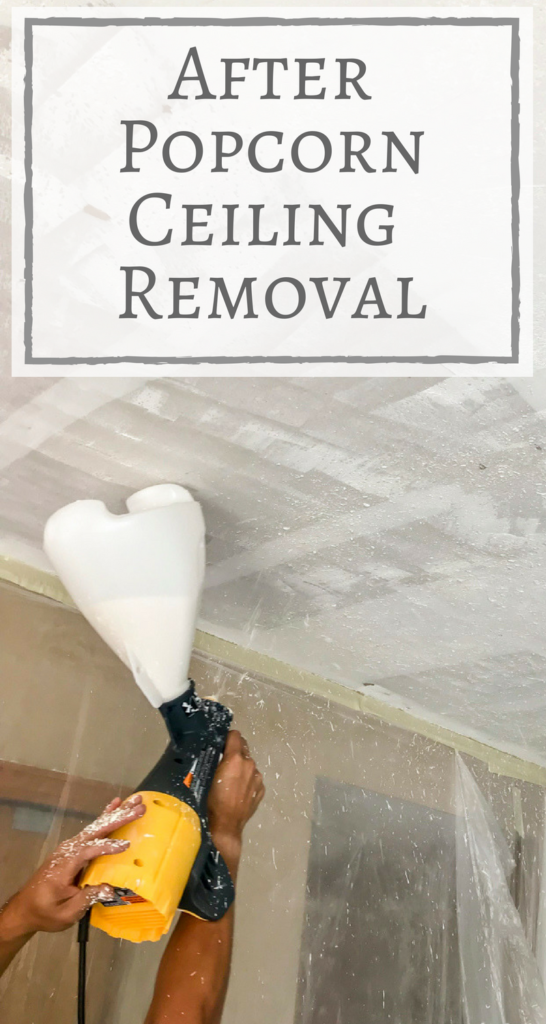
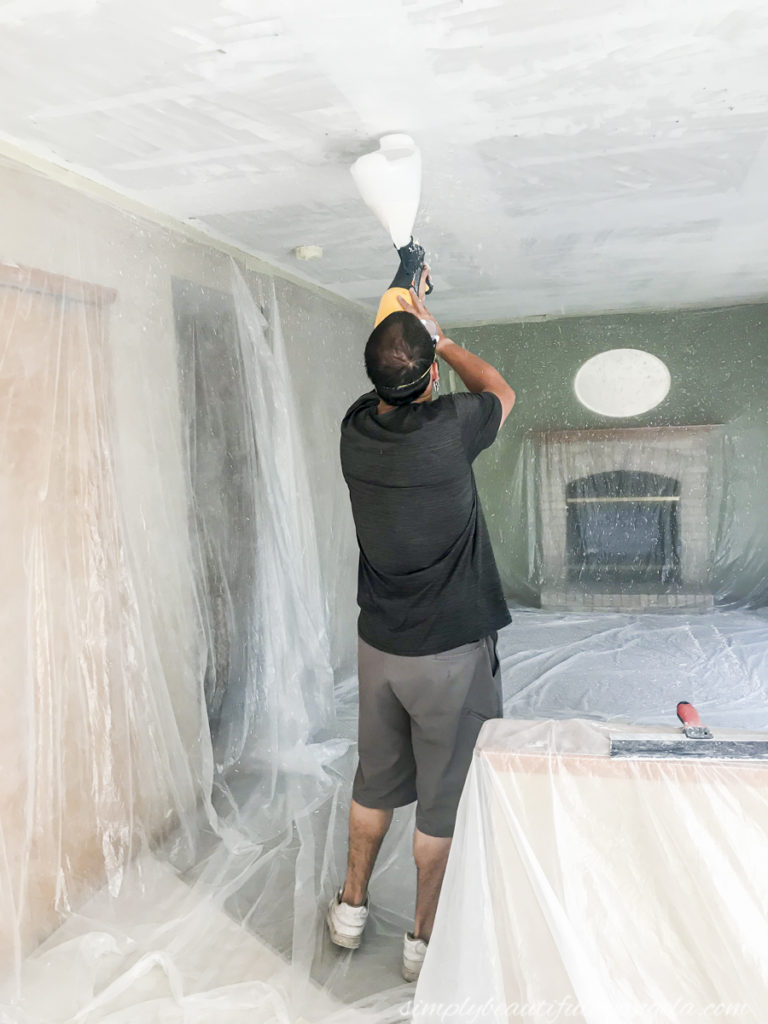
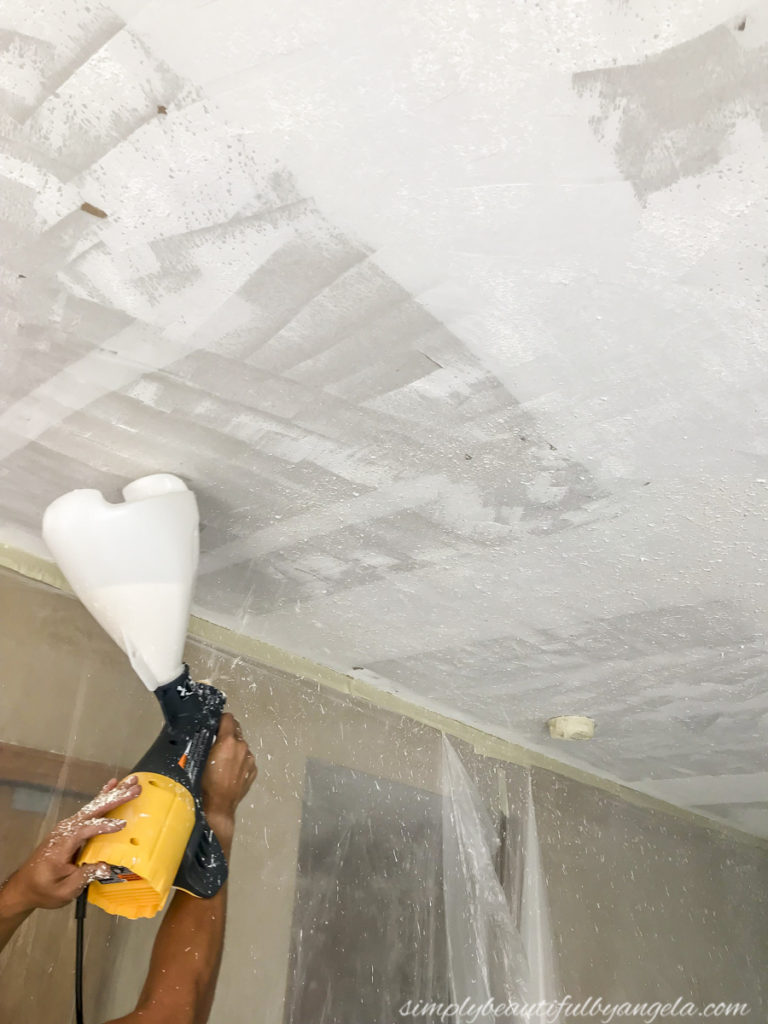
We then poured it into the hopper and began spraying!
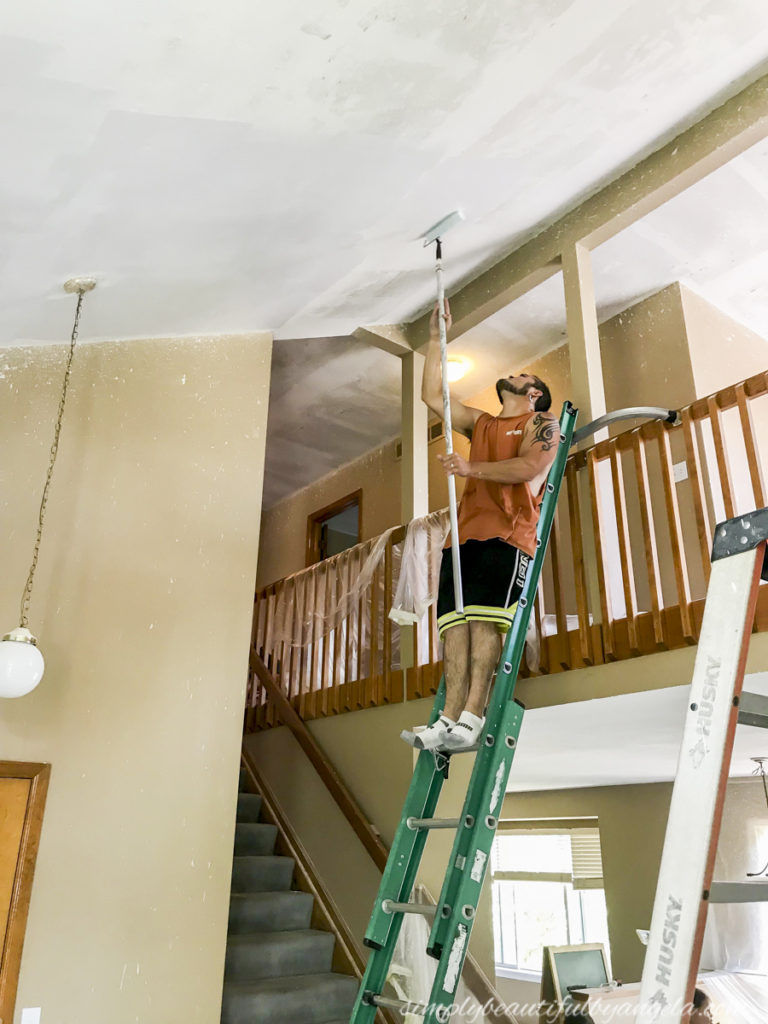
Just a fair warning–this stuff sprays everywhere. Yep, including yourself. Unfortuntely I didn’t snap a picture of the front of Anthony during this step but just imagine him covered in white polka dots from head to toe. Wearing safety glasses and a mask is crucial!
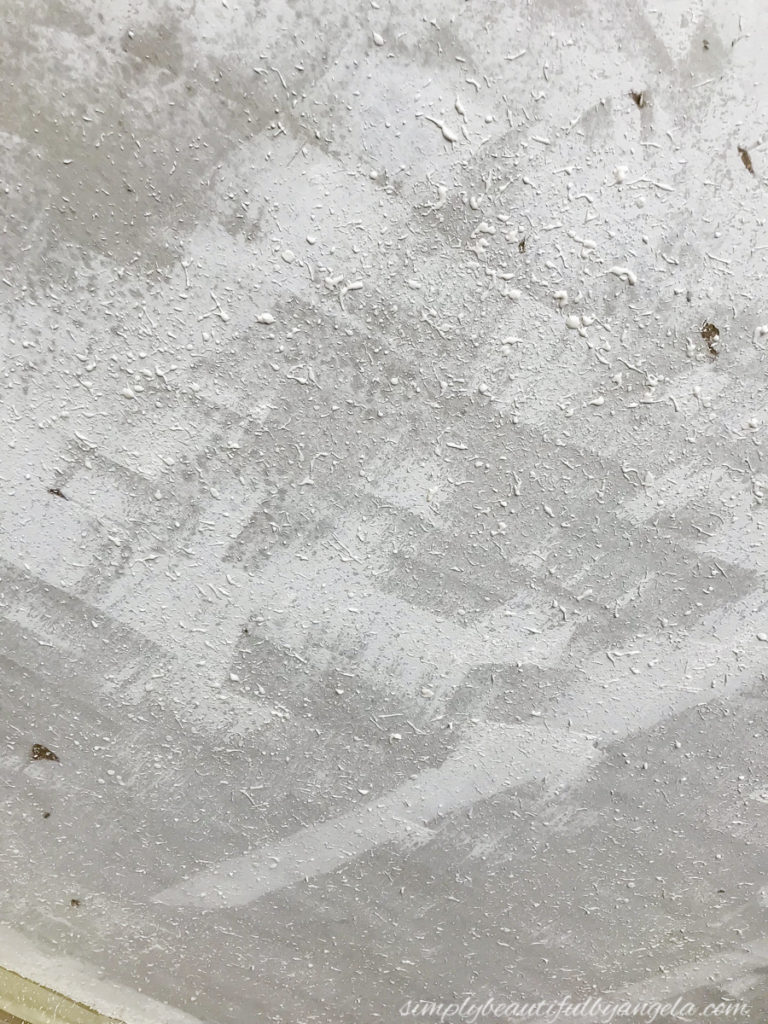
The hopper gun came with 3 different sized tips and we used the medium sized one to achieve spatter about this size.
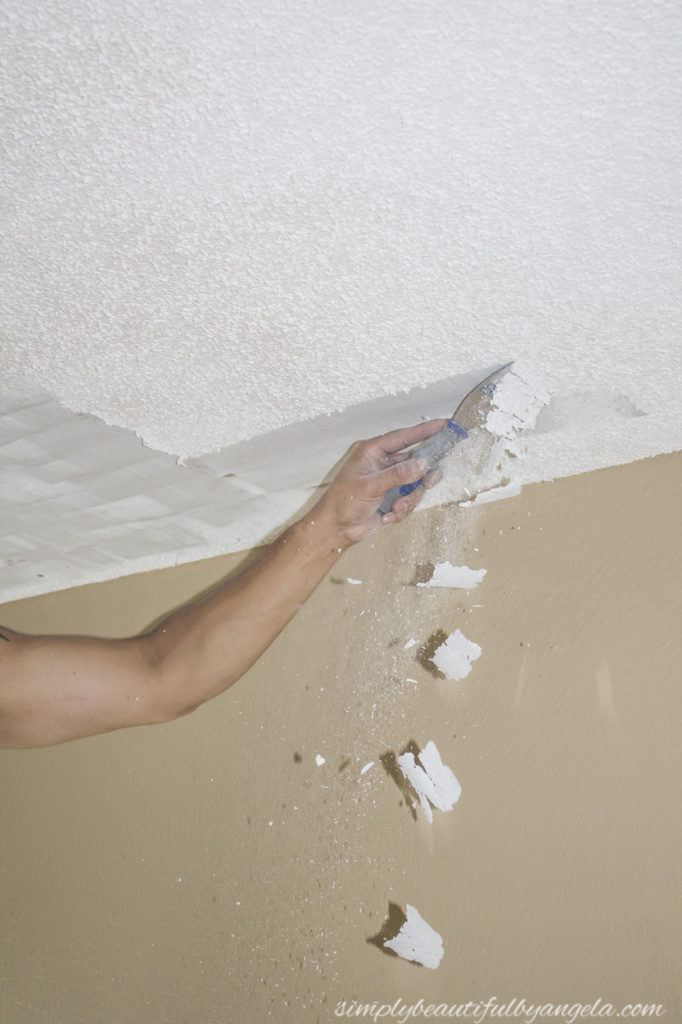
Once it sat for about 5-10 minutes I used the large drywall knife to go back and smooth it out. However I noticed that when it was super hot inside it was ready to be smoothed almost immediately.
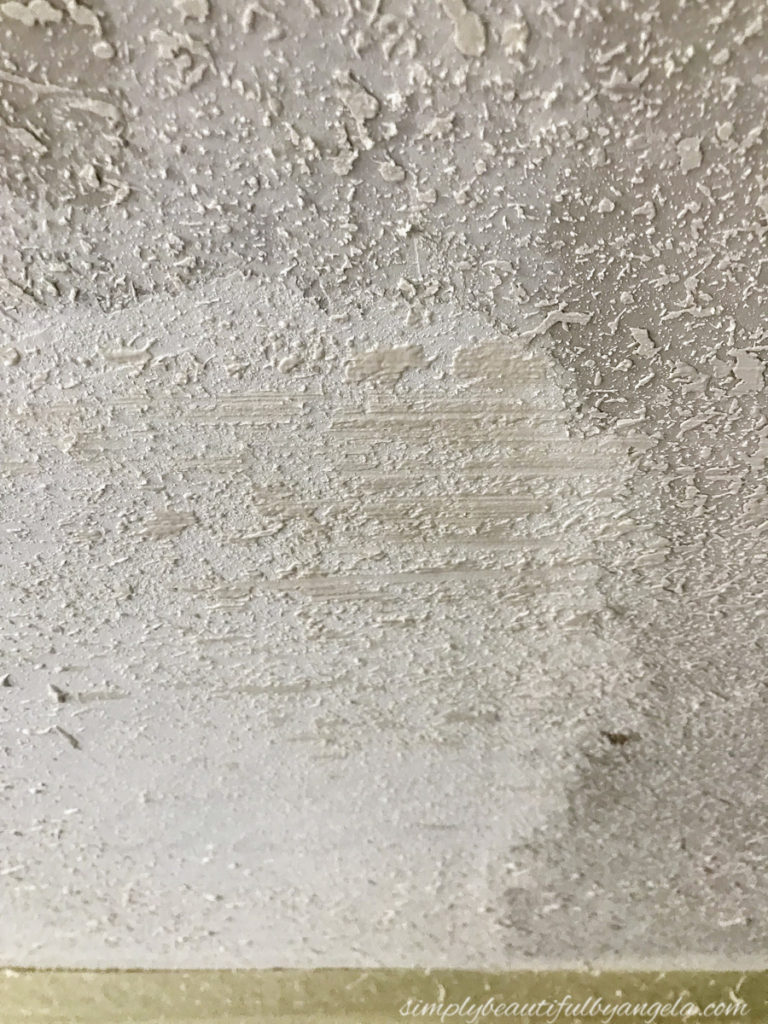
If you smooth too soon it will sort of smear like this…
If this does happen in a few spots, don’t stress since it’s hardly noticeable after primer and paint go up.
I didn’t get a picture of me sanding, but once it was dry I went back over all of the ceilings with a pole sander to smooth the little “crusties” that were left over. One they were smooth Anthony went over it with primer.
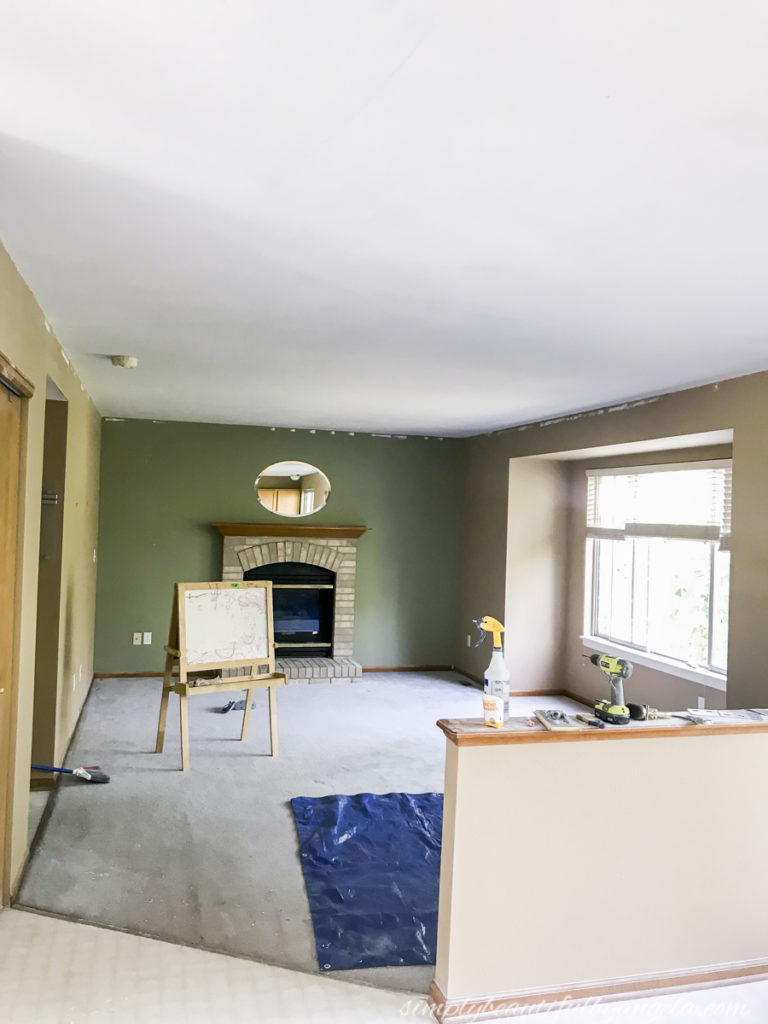
And after a coat of ceiling paint this is what our living room looked like.
I know it’s hard to tell the difference in this picture. You’ll have to exuse the awesome phone quality and trust me when I say that after the paint went up, it felt so bright and airy! My number one thing that I dislike about popcorn is how much it absorbs all of the light and makes the room feel more cramped.
I wish I had a bunch of pretty reveal pictures to share with you guys, but our entire house looks like a war zone after moving in this past weekend. I’m off work the rest of the week to take the boys on a few fun adventures, but I am hoping to make some serious progress on unpacking during nap.
Thanks for stopping by today, I hope you have a fantastic rest of the week and weekend!
Linking up to these awesome parties!

Great post.Thank you for sharing this wonderful recipe.Every people will like this recipe.I will definitely make this cake.Cake is a favorite food of most people.The recipe shared here is good.Expecting more recipes it like this from you.Visit thesis writing to get more topics.