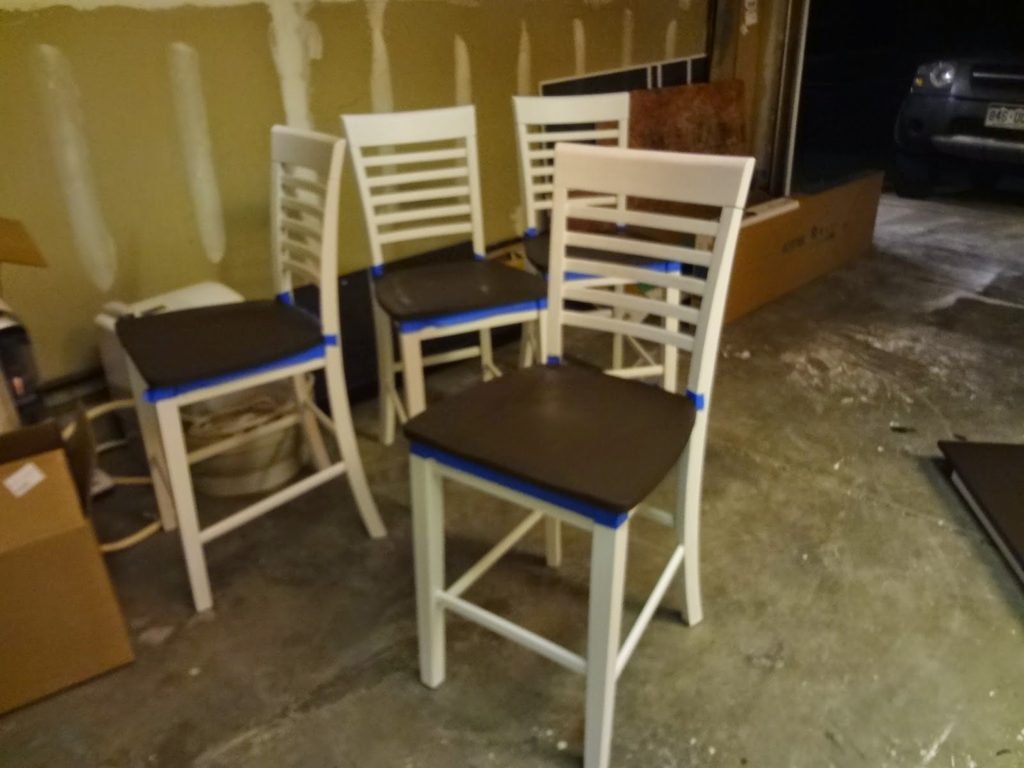
When I was all done this is what they looked like. I used a spray bottle to lightly wet them and used a wet rag to wipe all of the sanding dust off.

I then went back over everything with a 220 grit sandpaper to smooth the surface out. I fully admit that I wasn’t as thorough as I was with the 80 grit. I focused on the larger areas like the seat and the backs.
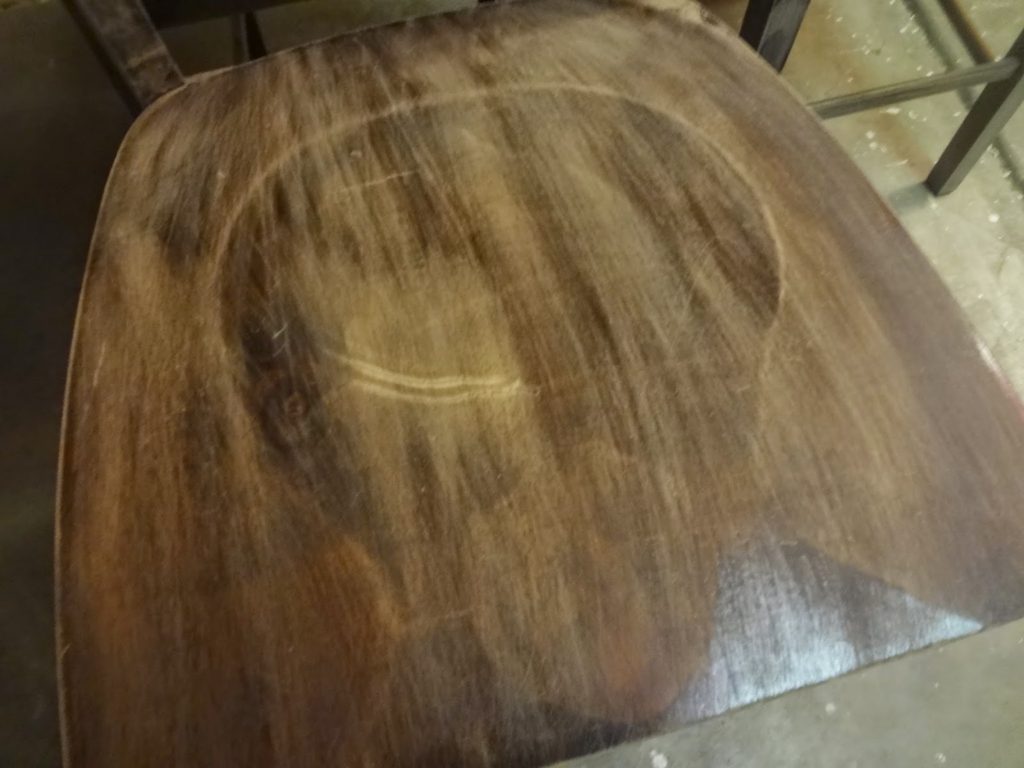
Here is a picture of what the seat looked like before the 220 grit paper.
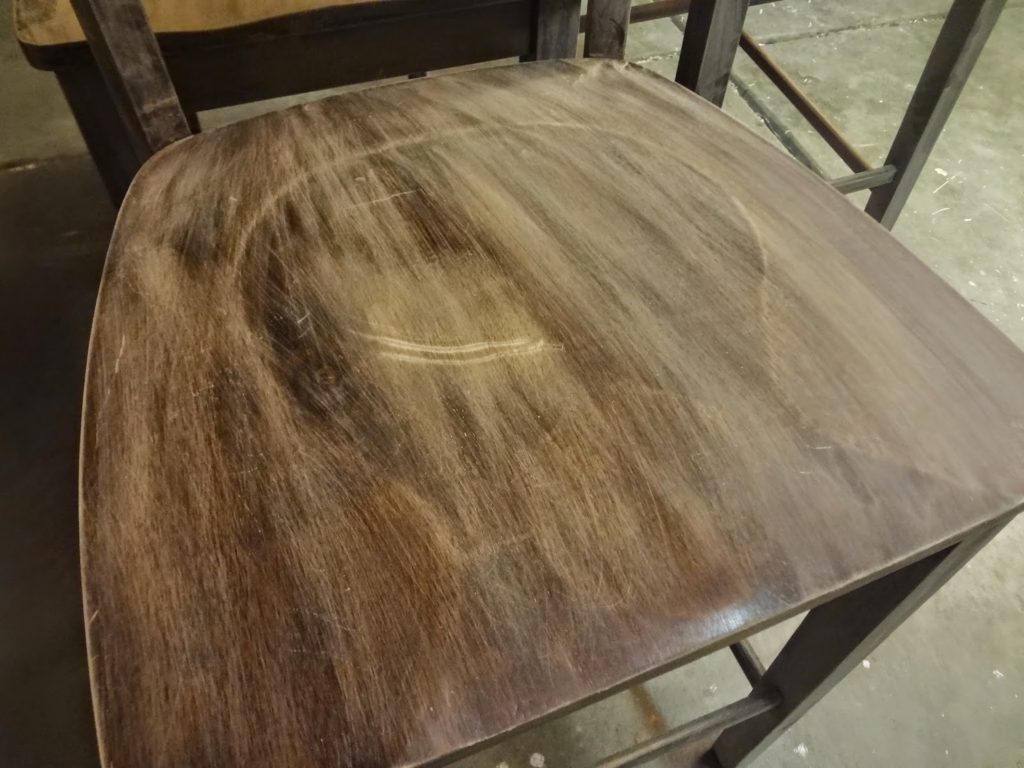
And in this picture, I had gone over the right side. You can see that it really smooths the grain out.
Then I was finally ready to prime! I used KILZ water based primer. The key is to put both the primer and the paint on in thin layers, sanding between each coat. My first two projects (a desk and an entertainment center) I ignored this and just slapped it on thick and skipped any sanding between coats. Although I think they turned out alright, they do look a little sloppy. At least they are both in the basement where we don’t get a ton of light though so it’s hard to notice!
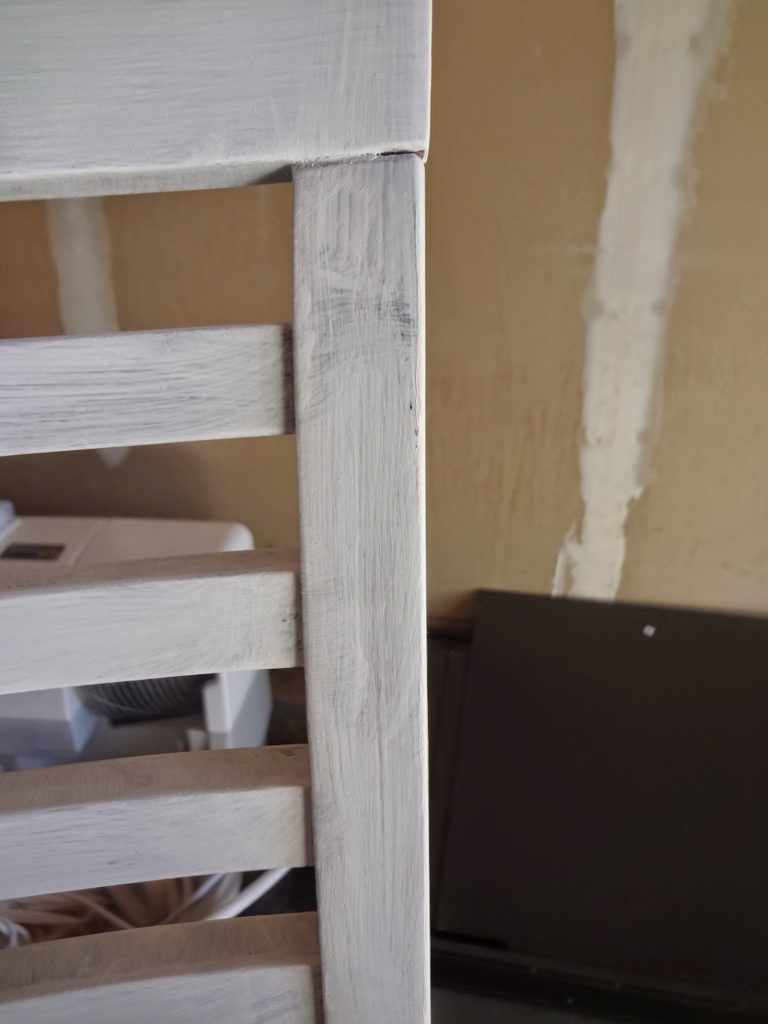
Here is a close up of what the primer looks like. Not total coverage, but pretty good.
I stood the table legs on my workbench to paint and it only took maybe 10 minutes to do a coat on all 4, which was a nice break after it took me 15-20 minutes per chair!
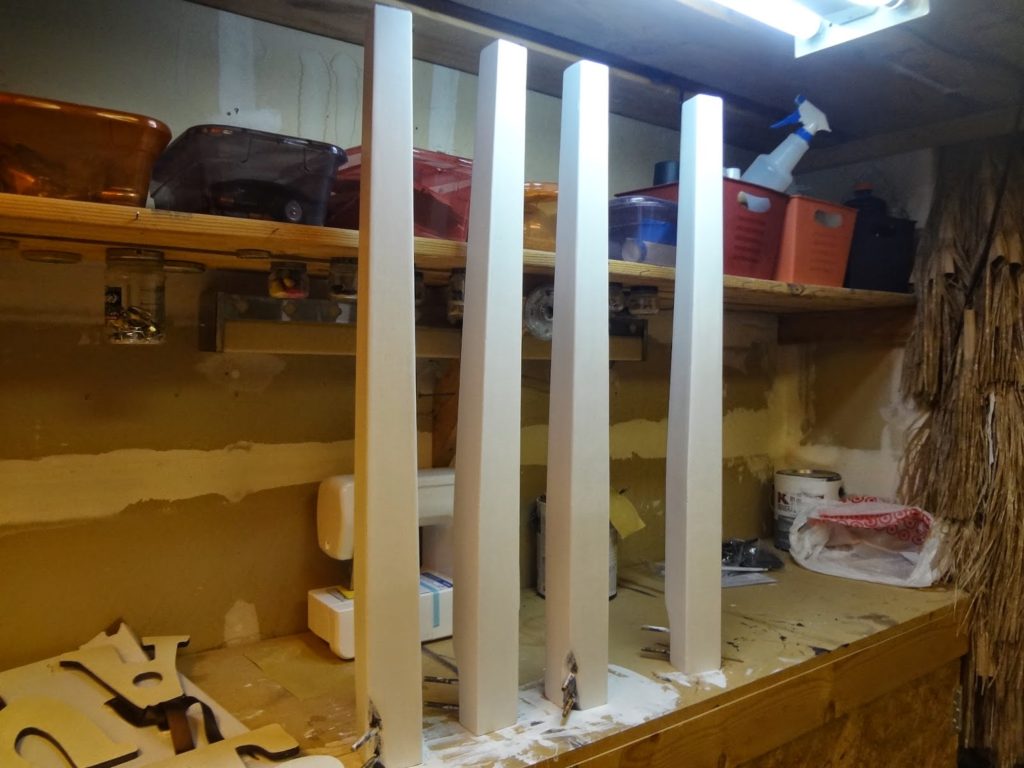
I worked through my son’s morning and afternoon naps both Saturday and Sunday, Saturday and Sunday evening after he had gone to sleep and this is where I ended up on Sunday night.
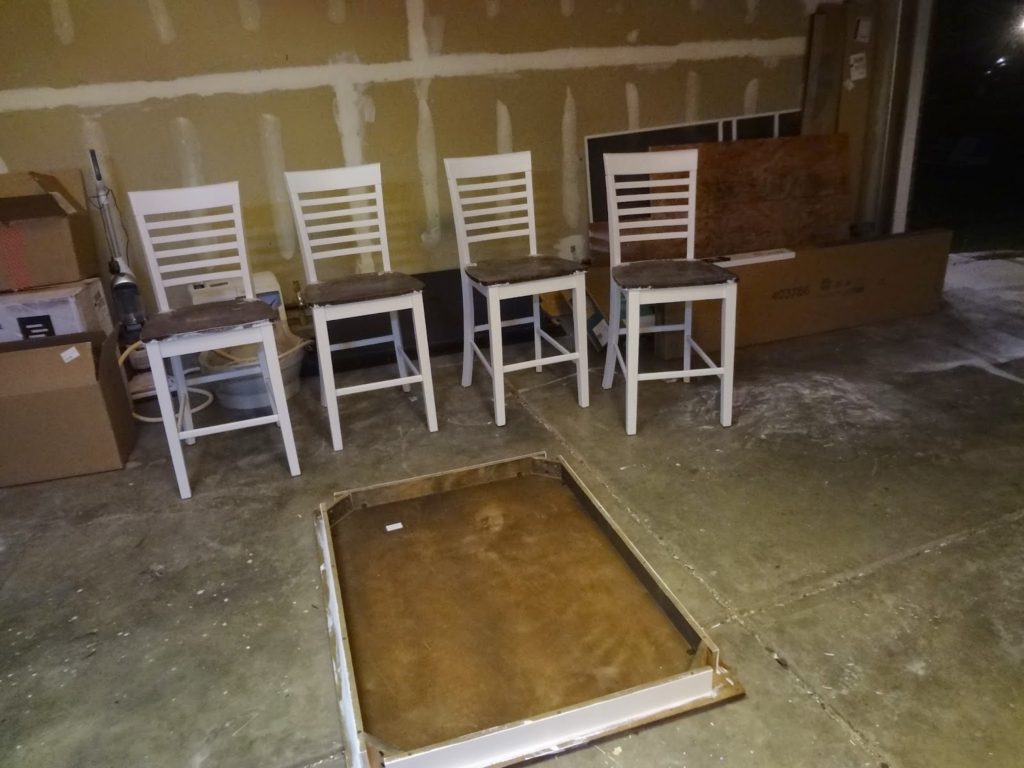
That’s two coats of primer, and 2 and a half coats of white satin paint (I spot coated after the second coat to get any spots that I missed). Whew!!!
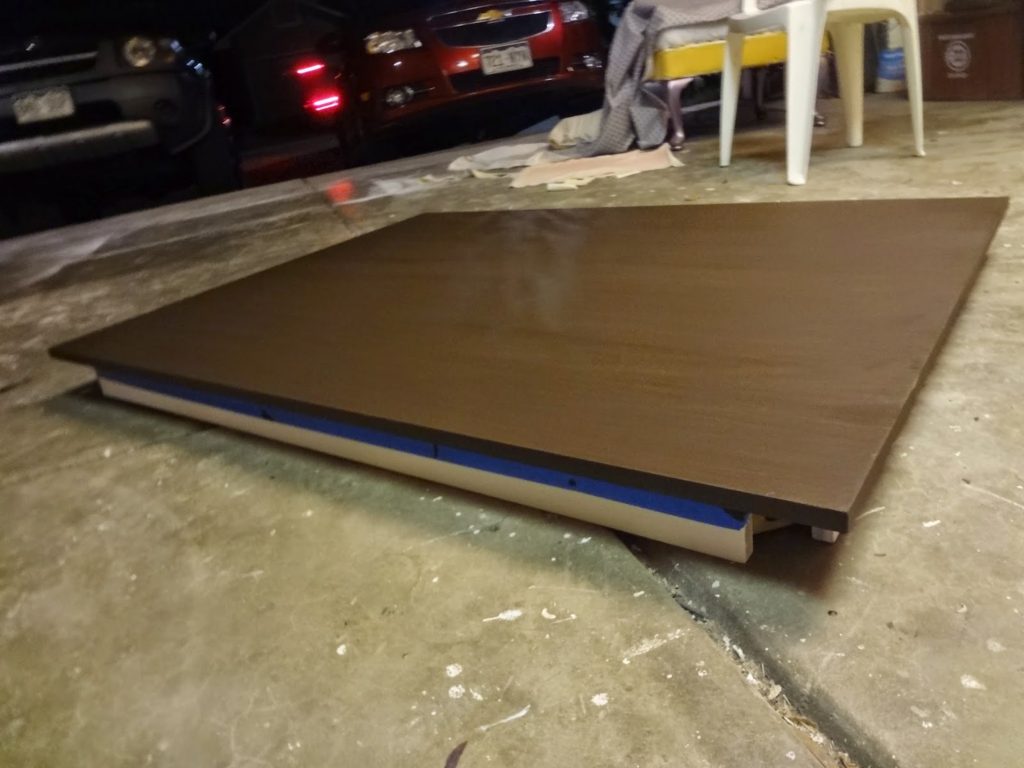
Last night I put the espresso on the seats and the table top. I first taped off all of my white that I worked so hard on. I’m not one for winging it, I almost always need my painters tape. I made sure that the white had at least 24 hours to dry before I taped to prevent it from peeling the paint off and I applied a lot of pressure to the edge to prevent the espresso from bleeding under (I’ve learned my lesson after making both of those mistakes several times while we were painting the house!)

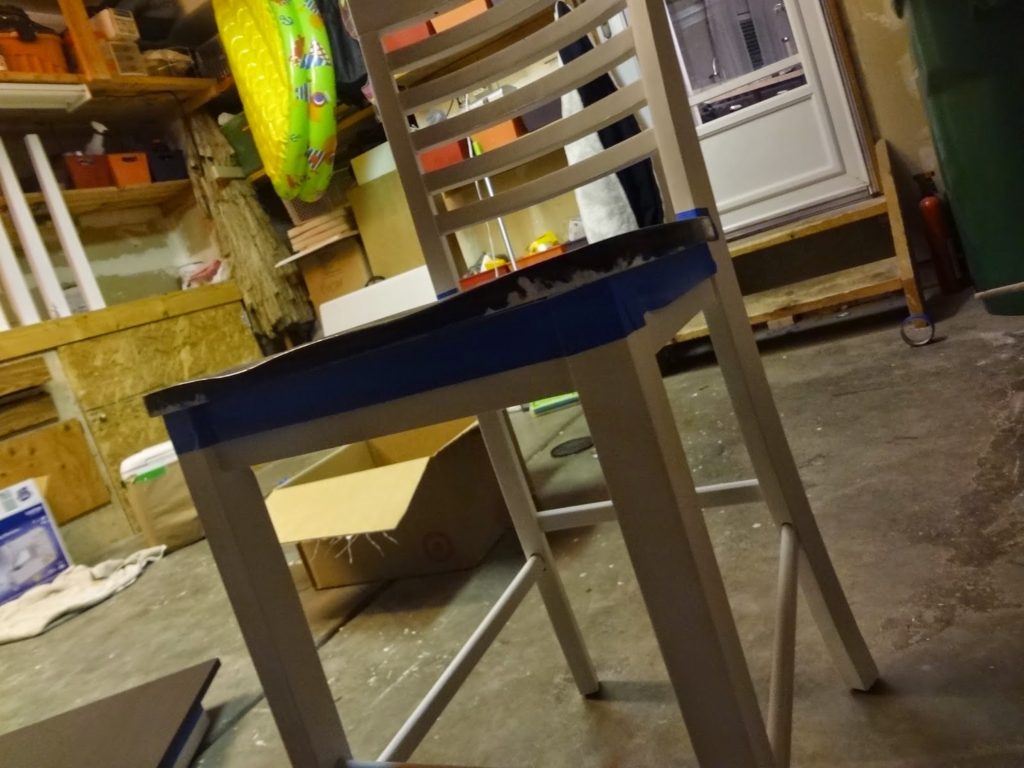
There were a few “oops” where I had to quickly touch up the white but it wouldn’t be my project if these didn’t happen!
I’m so excited with how it is all turning out. Tonight I will put on the top coat and I’m debating between the polyurethane or polycrylic. I’ve read that the polyurethane can yellow white pieces and I actually have noticed that on a piece of oak on our landing that I painted white. I’m also debating on going with a semi-gloss top coat instead of satin on the table top and seat tops because it would be easier to wipe down.
In either case, I should be able to run a quick sand with the 220 grit and apply the first coat tonight. Tomorrow night I’ll run another quick sand and put on the final coat. Stay tuned for the big reveal!
(P.S. my new camera is on it’s way so better pictures are also soon to come! I’m super excited!!)