Happy Friday! If you’ve been following along, you know that our kitchen renovation is pretty much complete now that I’ve refinished the laminate counter tops, painted the cabinets white and installed the subway tile backsplash.
Of course I’m still dreaming about new flooring and creating an open pantry, but for now I’m pretty happy with the progress that we’ve made. And because I’m so happy with our new kitchen, I thought I would create a little something special to put above the pantry.
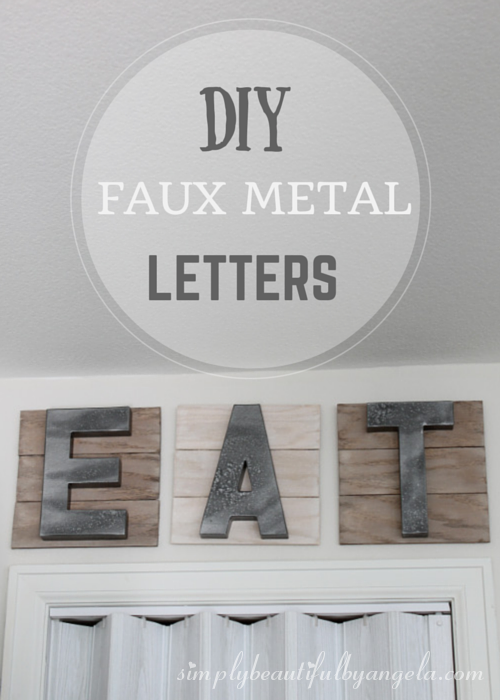
It seems like “EAT” signs are a hot trend right now. Even though the hubby at first poked fun at the idea, I knew that we had to have one.
I like the big chunky metal letters, but I don’t like their price tag so much. So I did what I always do, I made my own.
I knew that I wanted the letters on some type of base rather than each by themselves. I originally was going to do one long set of planks, but I was determined to only use scrap wood in the garage, so each letter ended up with their own. In the end I think I like this better!
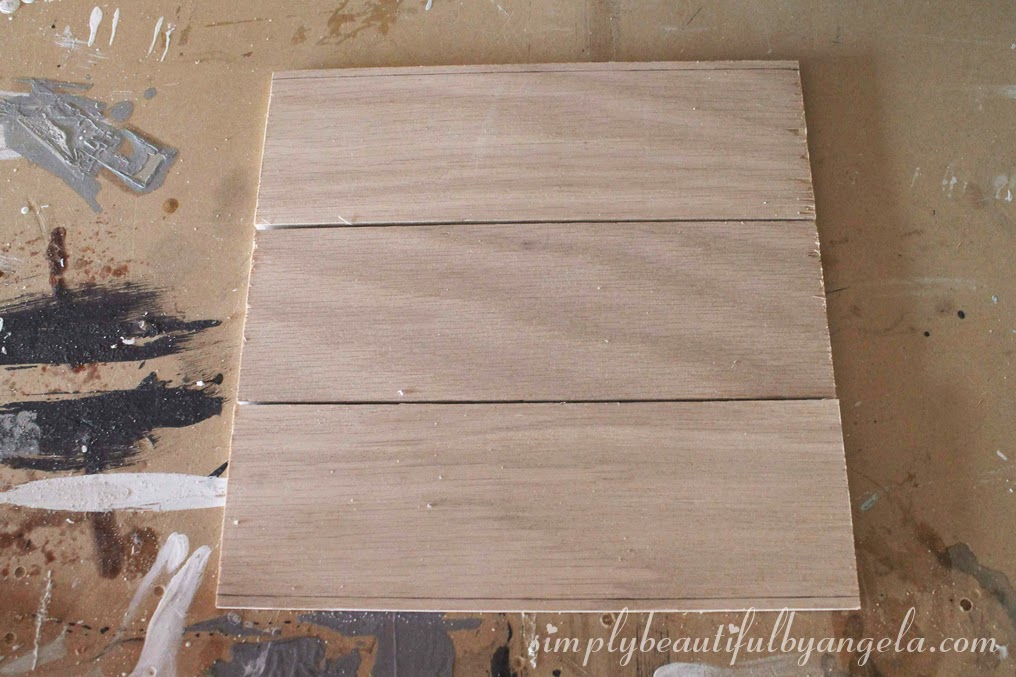
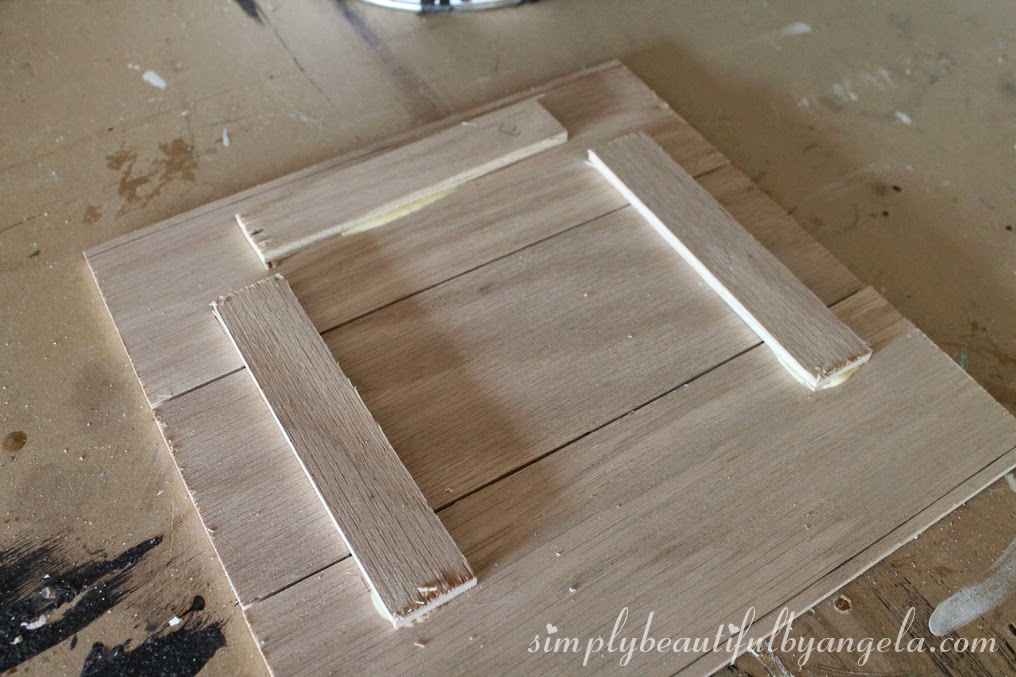
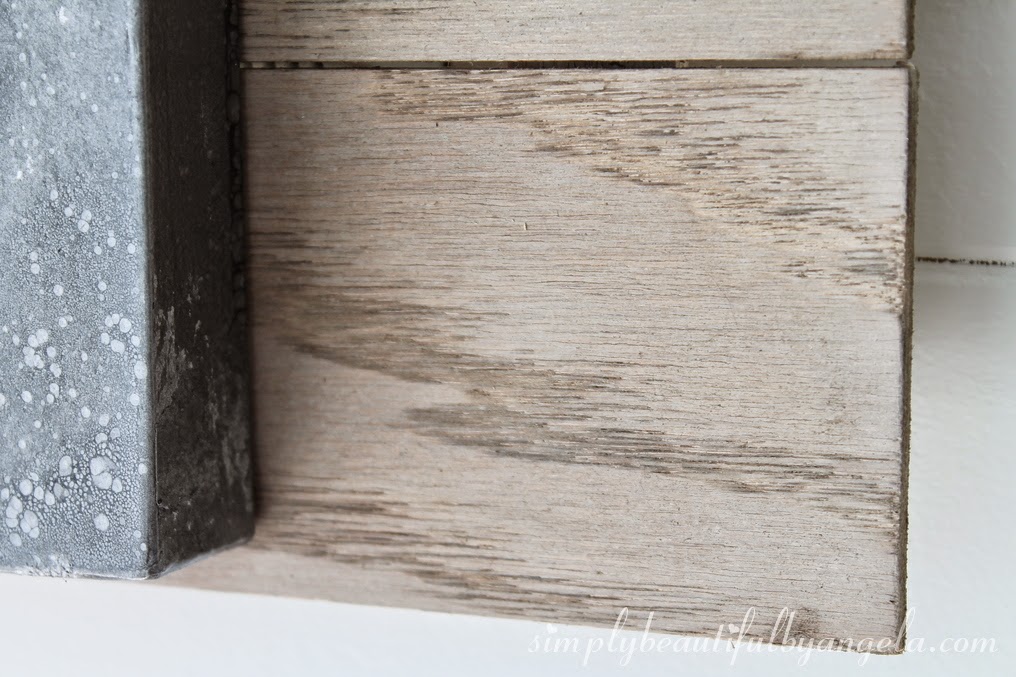
I began cutting 9 planks out of 1/4″ plywood that I had left over from the board and batten. Each plank is 3″ wide and 9″ long. I arranged three planks per letter.
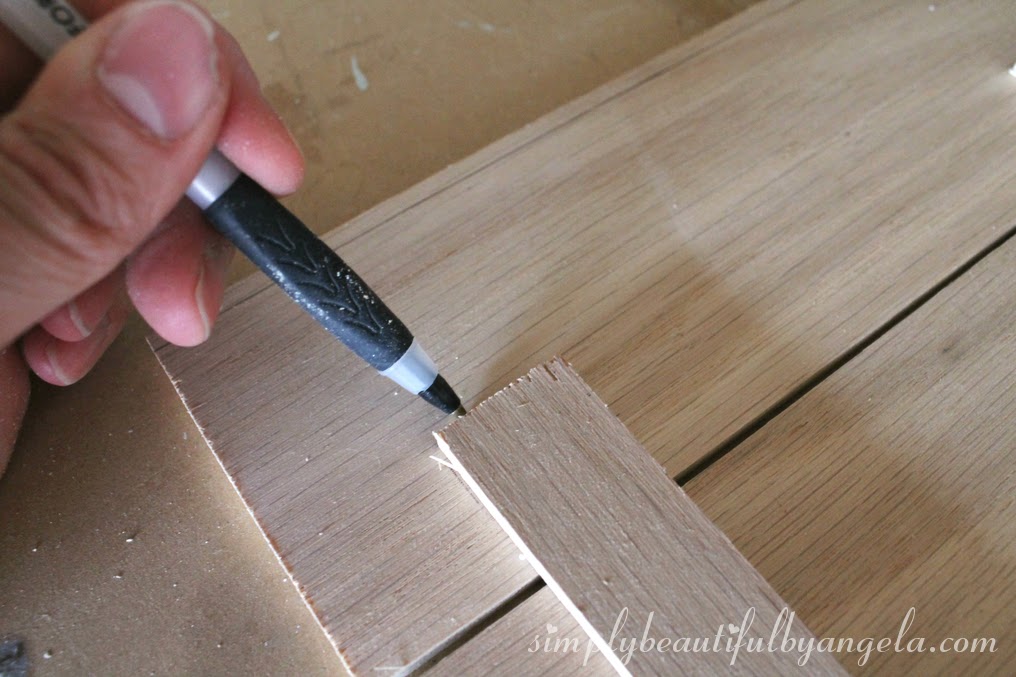
I then cut out 6 skinny pieces of plywood to hold the planks together. I marked with a pen where they would be attached.
Then applied wood glue within those lines.
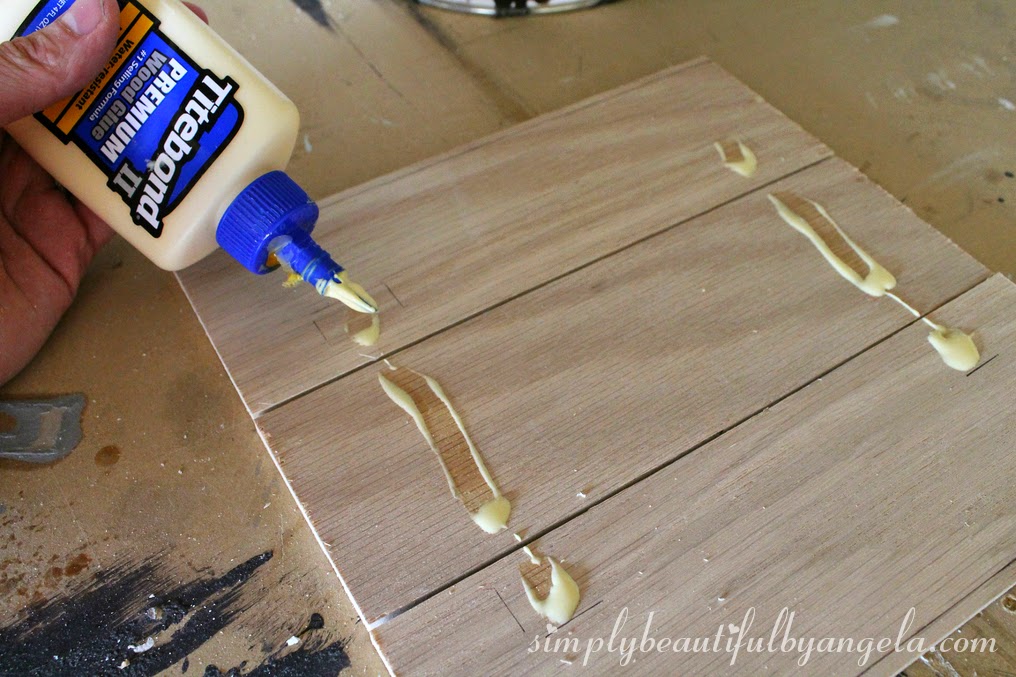
I also attached a skinny piece along the top to use as a hanger, and although I didn’t get a picture I also added one along the bottom to make sure that it sat flush against the wall.
I also didn’t take a picture of the staining process but you can read my methond in my IKEA dresser hack post.
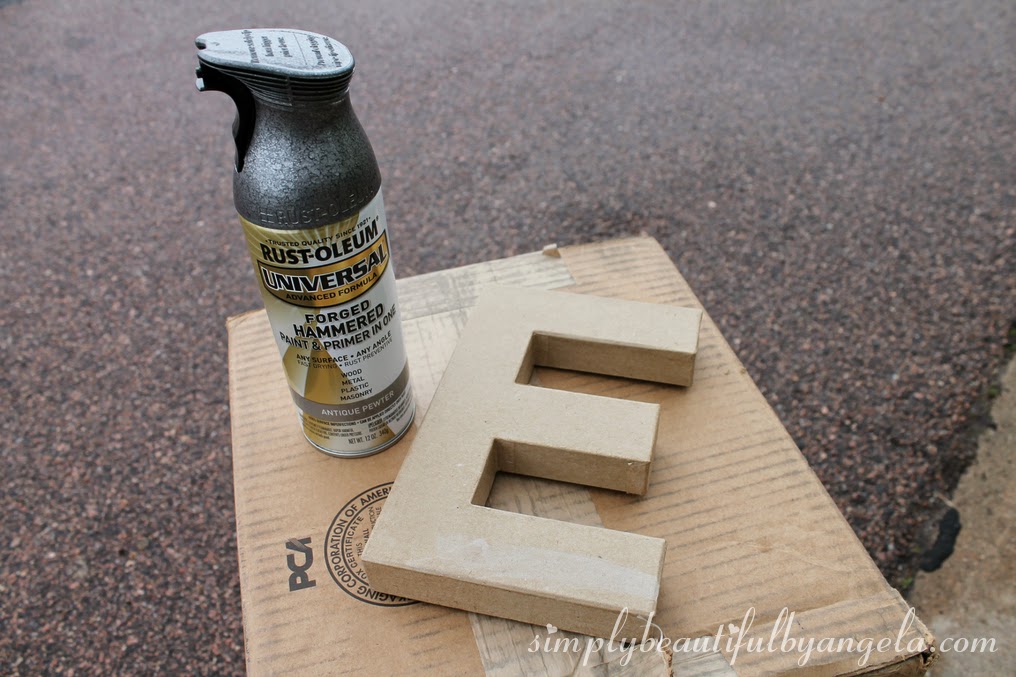
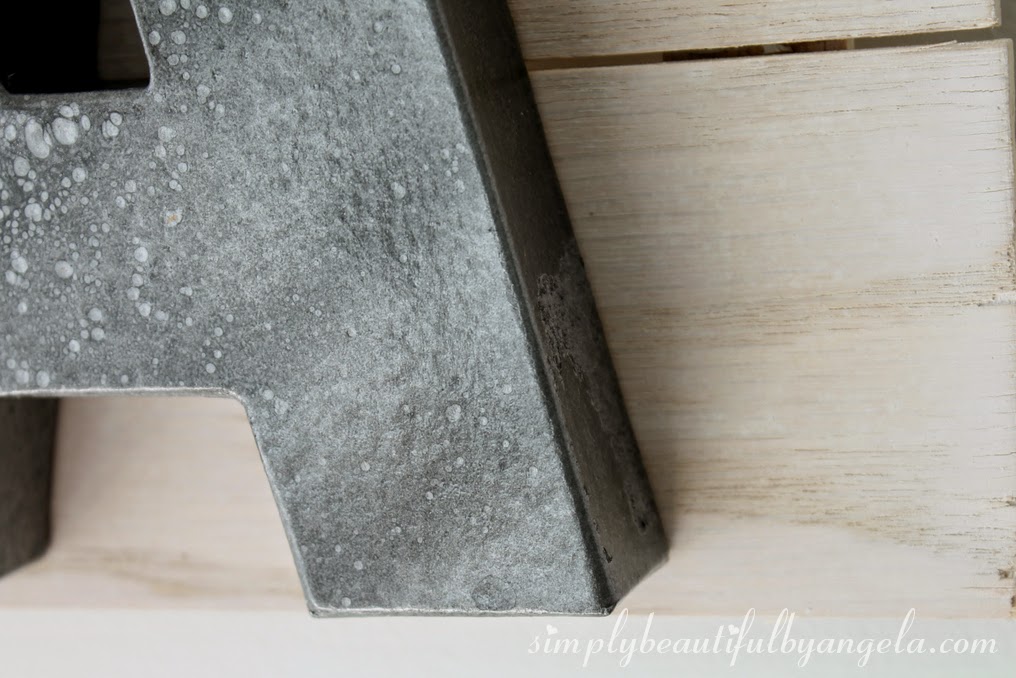
For the letters, I used paper mache letters from Hobby Lobby. I’ve been wanting to try Rust-Oleum Hammered spray paint(side note–I just realized that I’ve been spelling Rust-Oleum as Rustoleum my entire blogging career haha…). I knew that it would be perfect for this project.
The texture that this spray paint makes is neat! It only took one quick coat and they were done.
Once the planks and the letters dried, I used liquid nails to attach each letter as evenly as I could. I used too much on this first letter and it squished out the sides, whoops! I used some paper towels to clean up the excess.
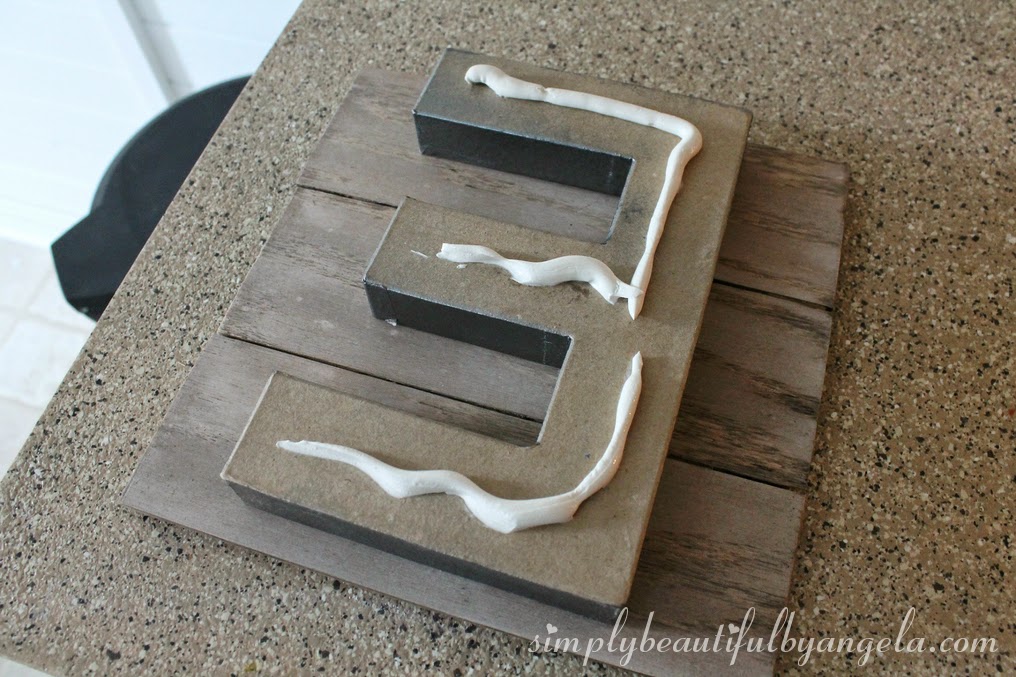
I allowed them to dry for a few hours before hanging them over the pantry.
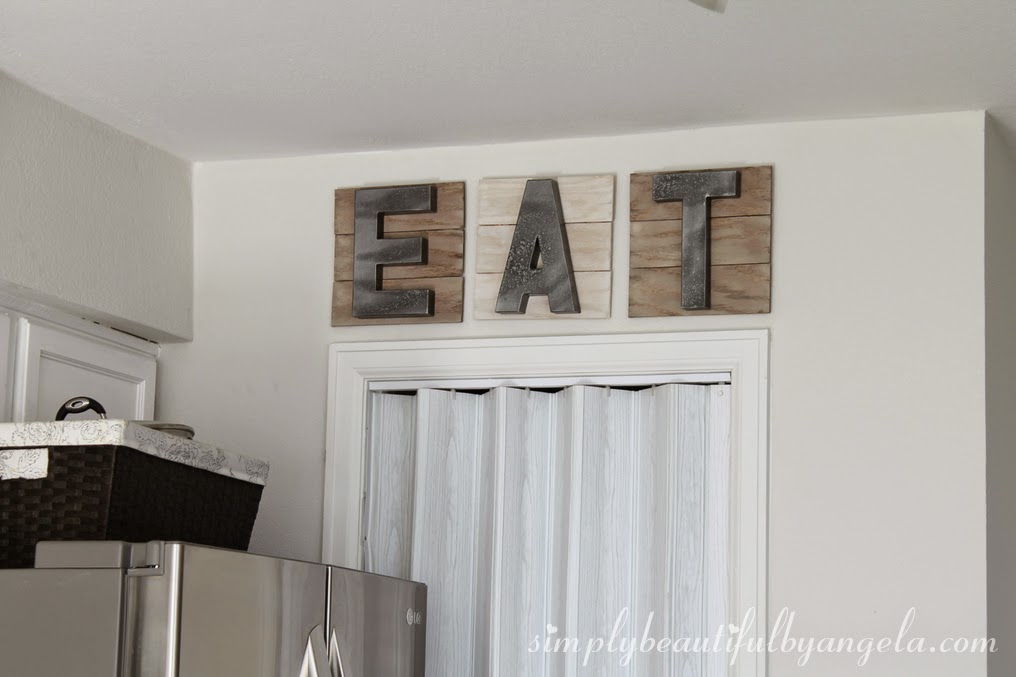
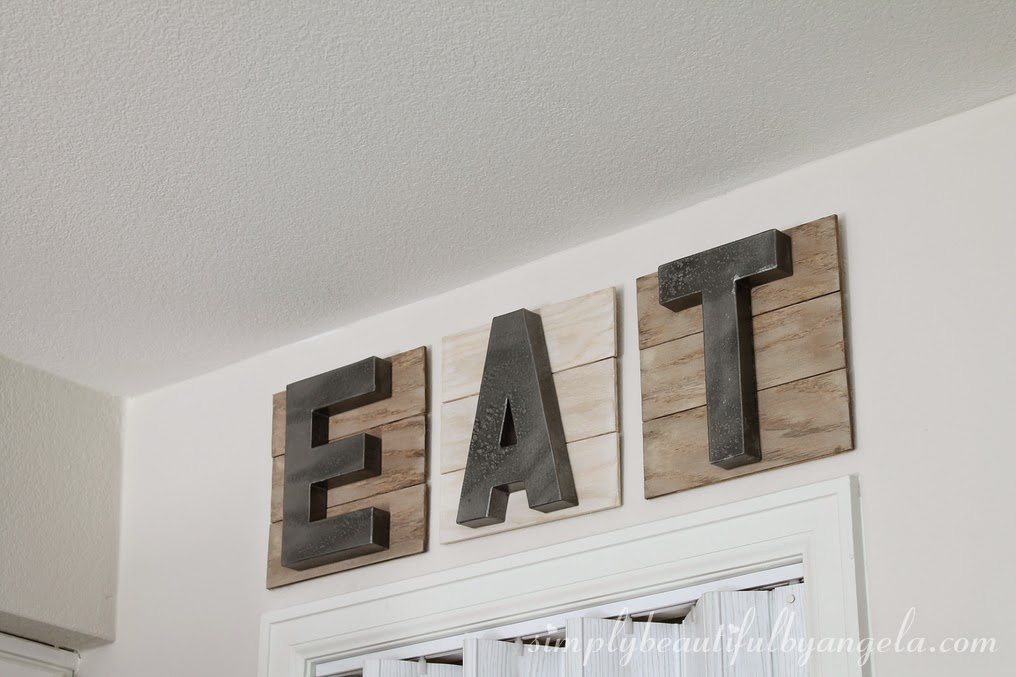
You may notice that I left the planks on the “A” white washed with no stain. After I stained the first two, I really liked how the last one looked without the stain, so I left it. I’m so glad I did because I really like how it looks.
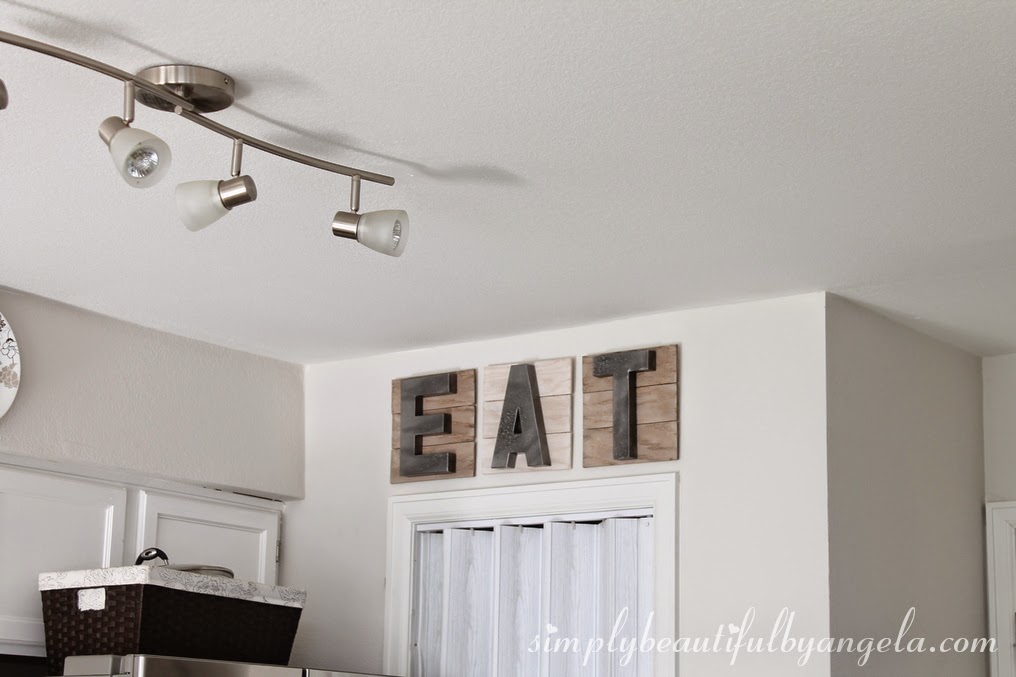

And yes, now that it’s up on the wall, the hubby agrees that it looks good and no longer makes fun of the idea haha.
I hope everyone has a very happy weekend, I don’t plan on doing much other than a little bit of yard work. 🙂
Linking up to these awesome parties!
This post was featured on Craft Friday Frenzy hosted by Craft Dictator and Friday Frenzy Recipe, Inspire Me Wednesday and Craft Party hosted by Staying Close to Home! Click on the images below to take you to the feature posts.
|

|

|