Happy Wednesday everyone! I mentioned last week that I was working on a pretty awesome furniture makeover and I must say, I’m pretty happy with how well it turned out.
I’ve been eyeing the Threshold Windham line of furniture at Target for a long time. So you can imagine my total and utter excitement when I spotted this gem at Goodwill!

It didn’t look like it was used by anybody since it had the instructions and wall straps included. I know that Target donates a lot of their castoffs to Goodwill, and I think that’s exactly what happened with this poor little guy.
It had a few little dings, was missing a knob and I think the door was on backwards. I didn’t flip it since having the knob on the right ended up working best for where I put it.
The navy color was nice, but if you know me…then you can probably guess that I needed to paint it white!
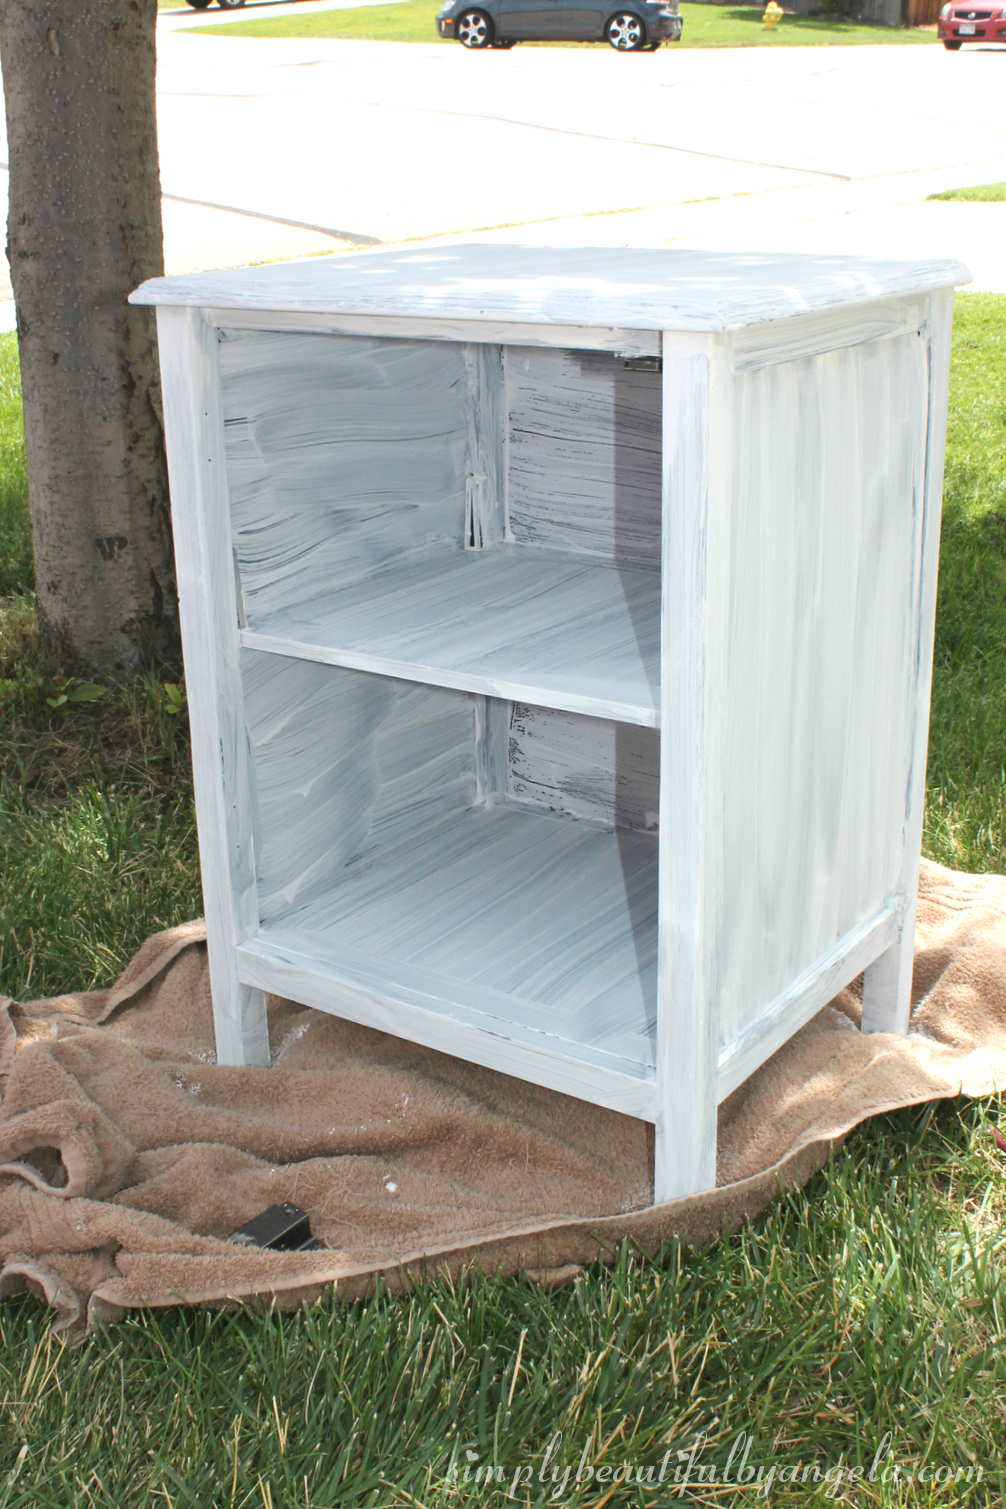
I’ve painted over laminate and MDF with plain latex before, but I thought I would try something new. Chalk paint doesn’t need a coat of primer (yes!!) and it’s supposed to have more coverage with less coats. However, this stuff is not cheap! A quart of Annie Sloan is somewhere around $45 I believe. Since I didn’t feel like spending more on paint than I did the actual cabinet, I DIY’ed some.
Here is what I used:
1 cup latex paint
2.5 Tablespoons Plaster of Paris
1 Tablespoon water
The Plaster of Paris is the perfect element to give the paint that chalky consistency. I chose an eggshell finish for the paint, but flat would give you a bit more of a chalky finish if that’s what you’re going for.

After one coat of paint, I wasn’t too impressed. To be honest, I wasn’t too impressed after the second coat either. But to be fair, I was painting white over navy so I really shouldn’t have been too surprised when I needed a third and a fourth coat.
The time spent was well worth it though, because I’m in love with the finished product!

Unfortunately the glass didn’t come off, so I had to tape it off to paint the lattice pieces. If you look really close you can see that it didn’t turn out perfect, but that’s not how we do things around here anyways 😉
I still need to touch it up a little, I was too excited to get it all put together and see it with the new knob!


I put on two coats of Polycrylic to protect it. I originally was going to use wax, but after reading up on it I decided that with kids it would be better protected with Poly. Plus I don’t think I am going to be up for reapplying the wax every year or so!
I do enjoy the satin sheen that the Poly gives it.


In real life I plan on putting all of our DVDs in here. Little man has a tendency to take all of the DVDs out of the storage cubbies. When we aren’t looking he actually throws some away :O
Now we can add a cabinet lock and our DVDs will be safe from the little monster!


I’m so happy with how perfectly it fits in this spot. And I’m even happier that I didn’t have to spend $100 on it!

Now that I’m comfortable with chalk paint, I think I’m hooked! I picked up a curbside dresser a few weeks ago that I’m going to tackle next with this magical stuff.
Have a great week everyone!
Linking up to these awesome parties!
This post was featured on City of Creative Links hosted by City of Creative Dreams! Click on the image below to take you to the feature post.
|