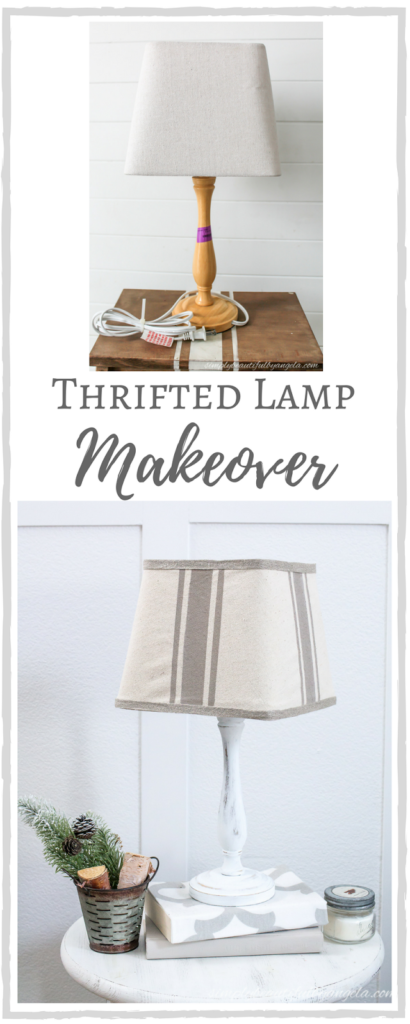
Well hello there! Guys–I am sooo excited that the monthly Thrift Store Decor Upcycle Challenge is back! As you may recall each month I team up with some super talented bloggers to share a thrifted item that we’ve flipped. We take the months of November and December off because our schedules get so hectic with the holidays, but we are back and more motivated than ever before!
…well, maybe that’s a slight exaggeration because I myself am still feeling pretty exhausted and not quite caught up with life just yet. But this past weekend I was able to muster up enough energy to finally finish a project that I actually started last summer. Gheesh, I know right?

The Rules:
- Upcycle an item(s) from a thrift store, resale store, or garage sale into a new piece of decor.
- There’s no monthly theme.
- There’s no budget to stick to.
Meet the Hosts
Supplies Used: (Affiliate links may be provided for convenience. For more info, see my full disclosure here.)
- Medium Grit Sandpaper
- Minwax Wood Stain in Provincial
- Waverly Inspirations Chalk Paint in Mineral
- Waverly Inspirations Chalk Paint in Snow White
4′ x 5′ drop cloth
- Hot Glue Gun
- ScotchBlue Painter’s Tape
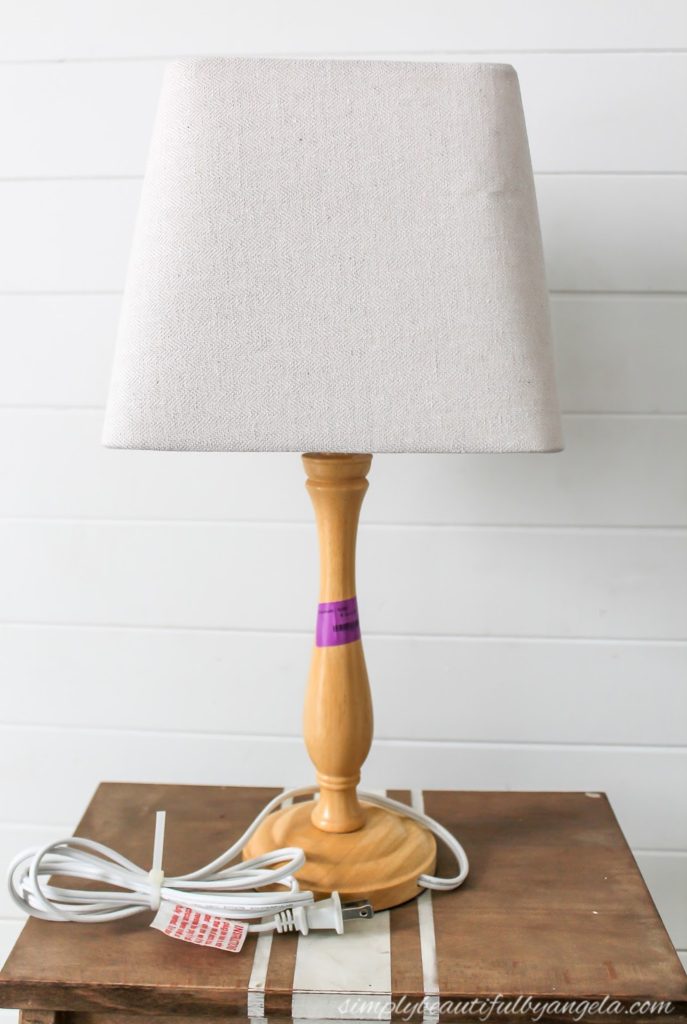
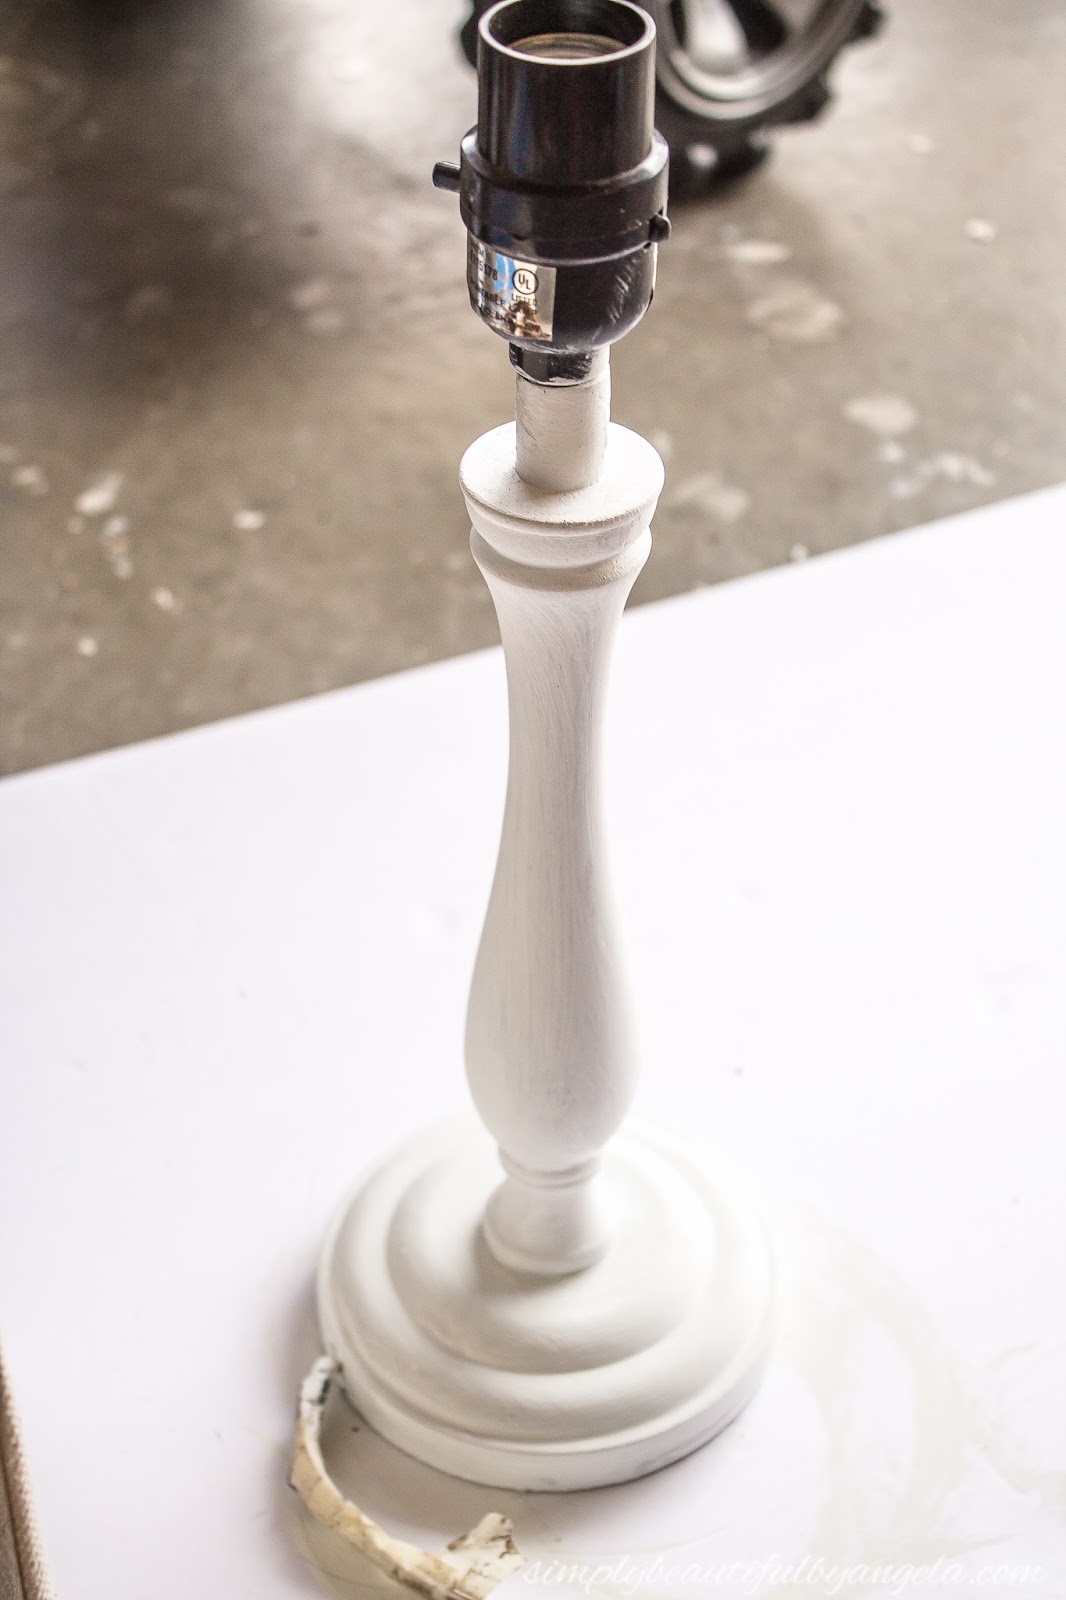
I found this little lamp at Goodwill for only 2 bucks and just couldn’t pass it up. Sure, it had that old 90’s yellow finish and the wood was a little banged up. But I saw its potential!
I began by sanding off the shiny finish that was over the wood so that my stain would take better.
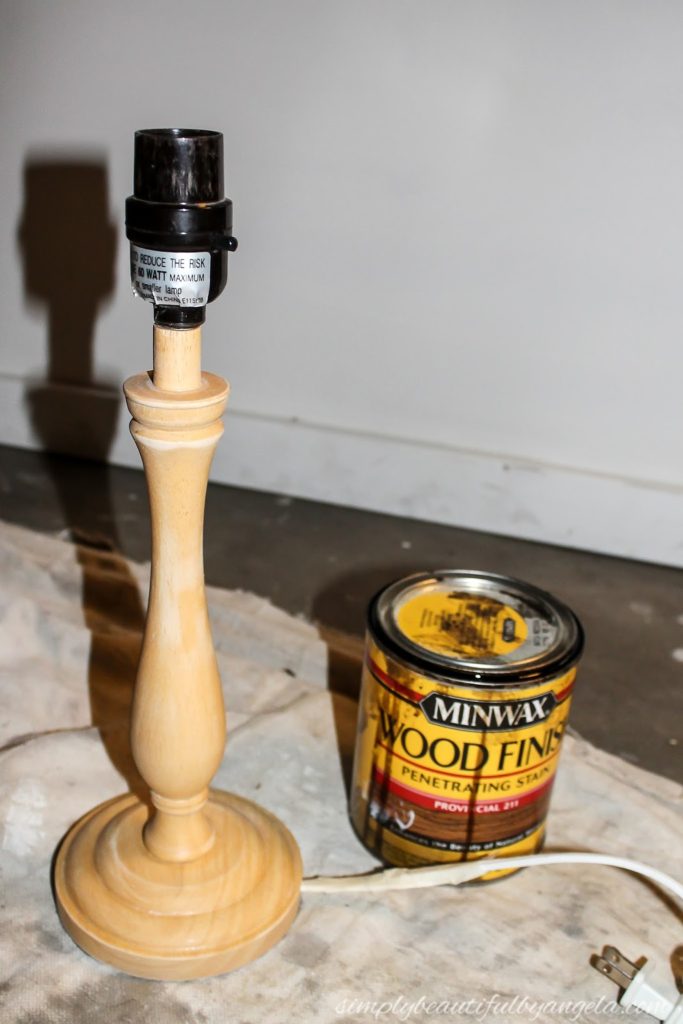
The new stain still had a hard time adhering and even though it looks pretty good in this picture, it actually turned out quite sloppy and splotchy.
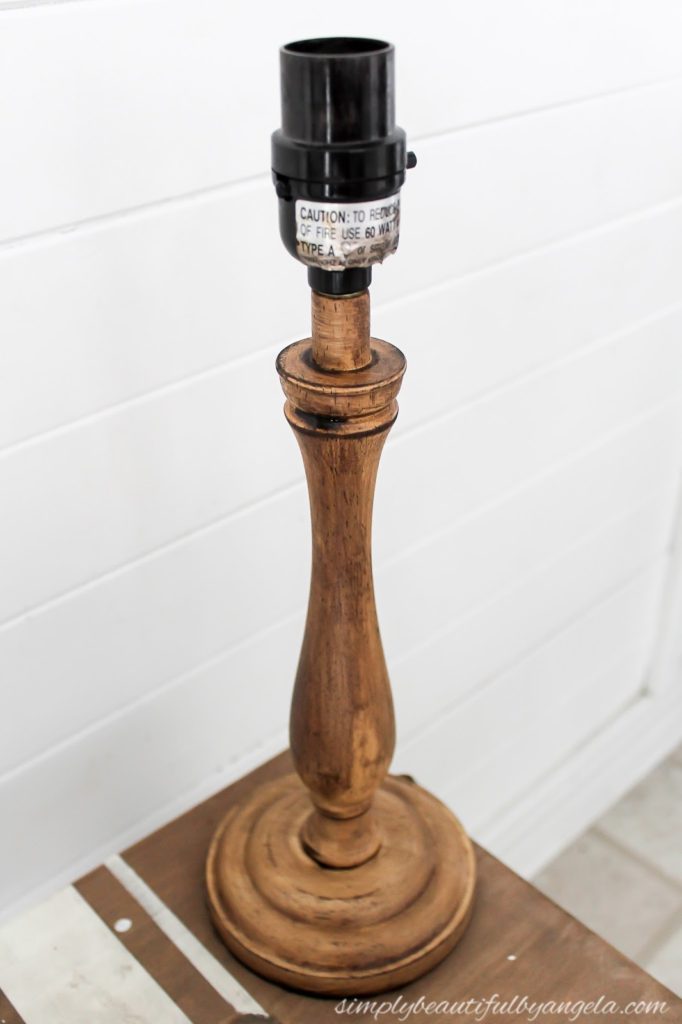
So I gave up on it for the time being and it lived in the garage for the next several months.
I want to say it was around October when I decided to get back to it. While I was figuring out how to fix the stain I worked on recovering the lampshade. The old shade wasn’t terrible, but it had a couple of smudges that I just couldn’t get out so I decided that a new cover was in order.
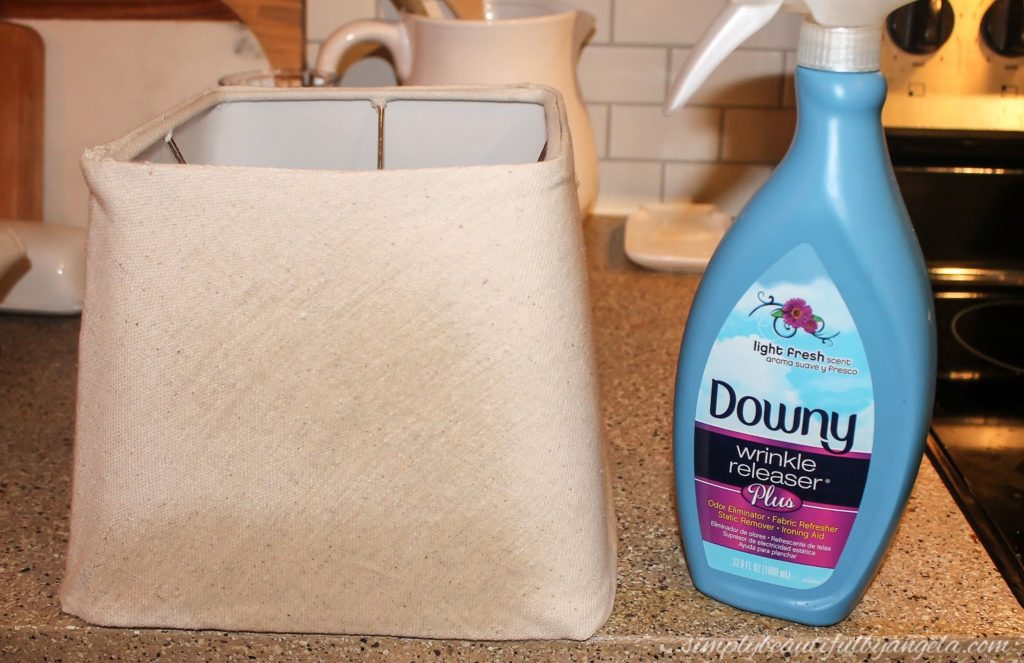
Some of you may already be familiar with my canvas drop cloth obsession, so it should come as no surprise that it’s what I pulled out of my stash for this. It’s super cheap yet has such a pretty texture and color to it. I used my hot glue gun to attach the drop cloth to the back seam of the lampshade.
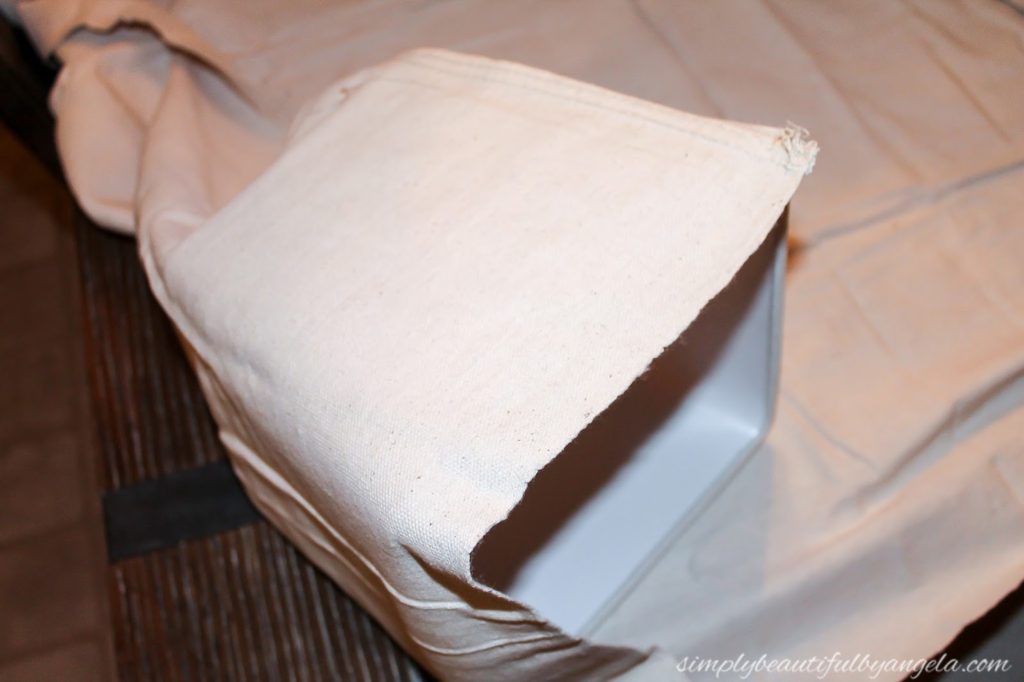
Next, I rolled it as tightly as I could and marked where I needed to cut it. You’ll notice that since this shade has a funny shape I actually ended up going around with the fabric in an angle.
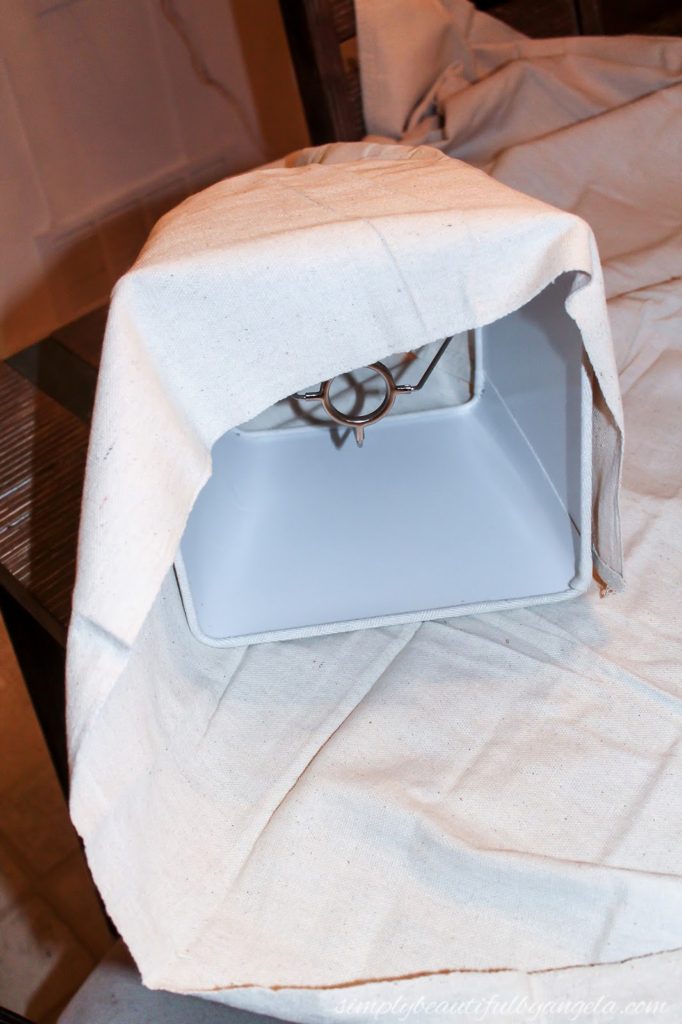
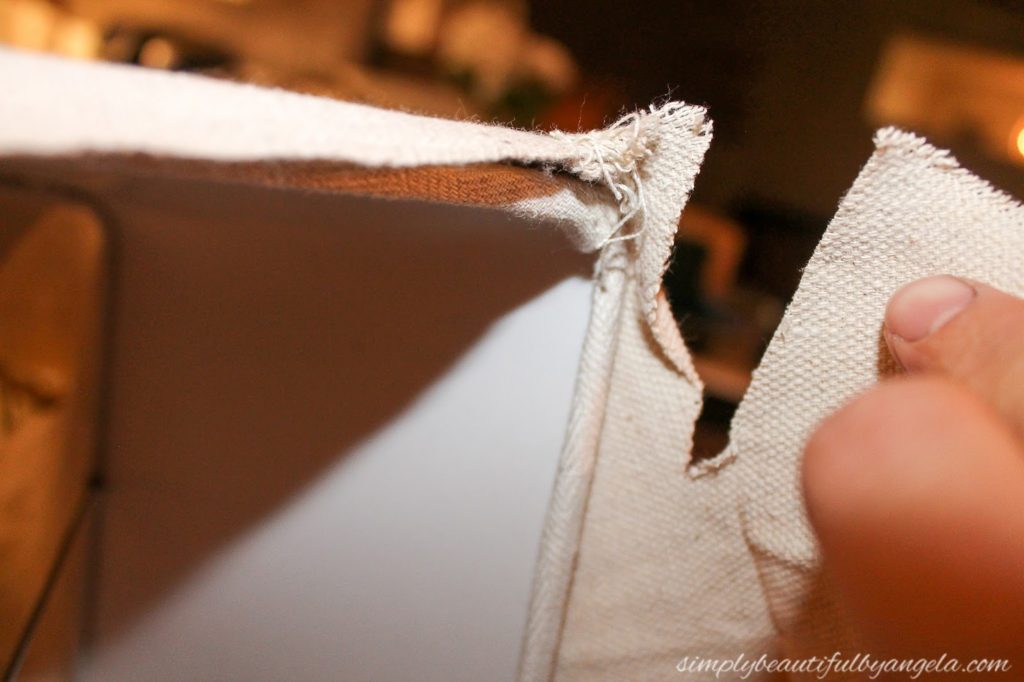
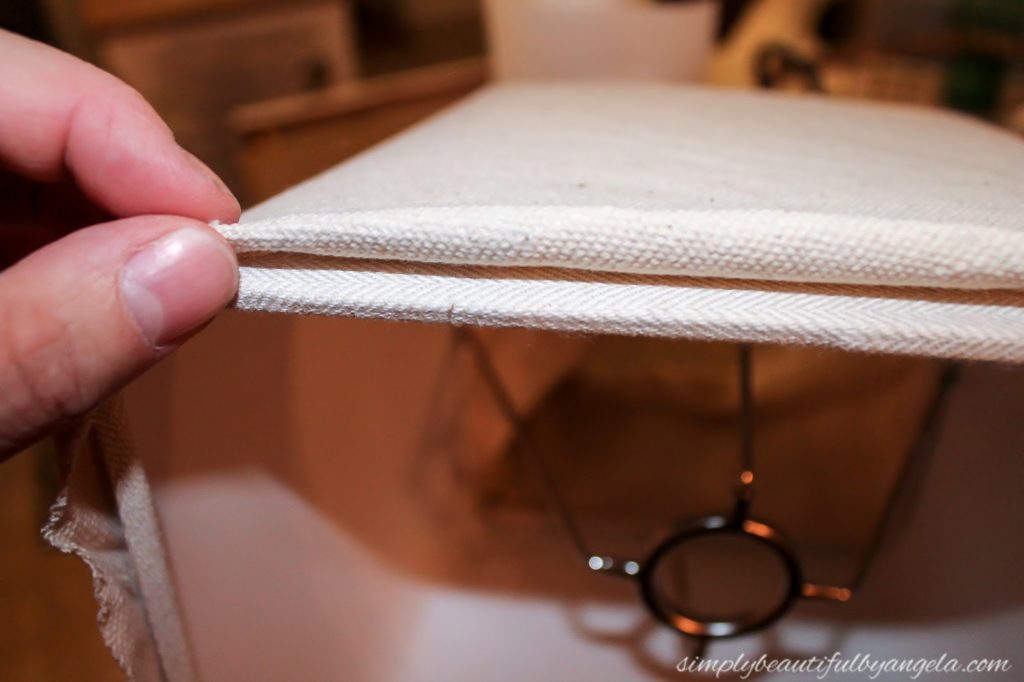
I then folded the edge before hot gluing it down over my beginning seam.
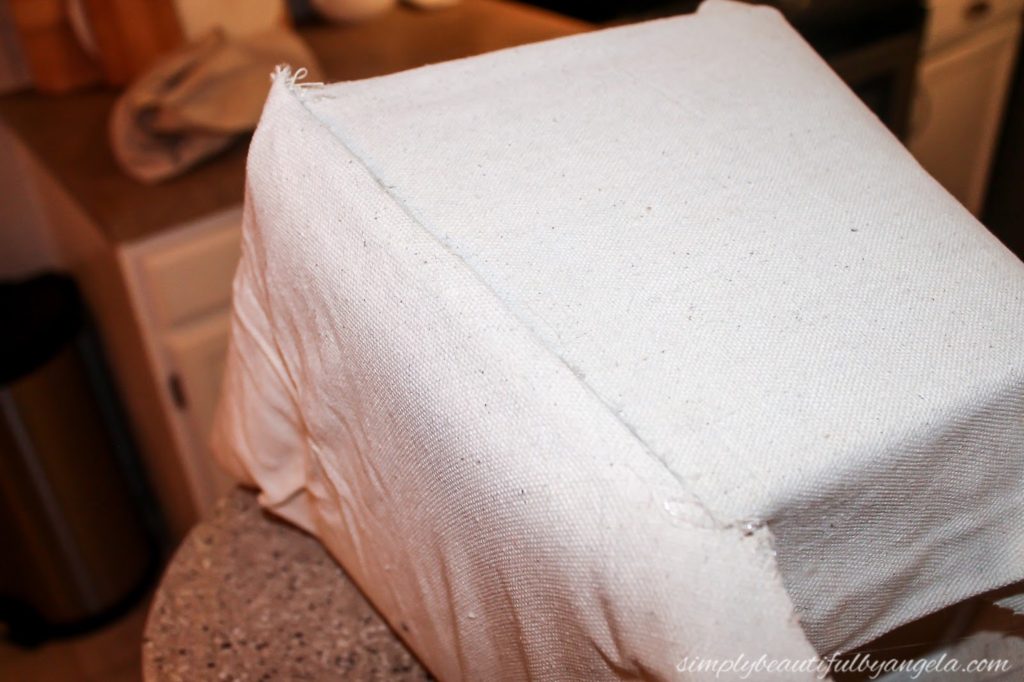
I trimmed the excess fabric off leaving about half an inch so that I could fold it under and create a clean edge all the way around.
Obviously the wise thing to do would have been to iron the drop cloth prior to beginning but luckily I always have some Downy Wrinkle Releaseron hand so I sprayed a little bit on and they smoothed right out.
But then I lost motivation again and tossed it in the garage with it’s poor unfinished counterpart–the messily stained base.
However when this past weekend rolled around I was determined to finish this projecte for this month’s challenge instead of heading to Goodwill (which was mighty tempting) to find another one.
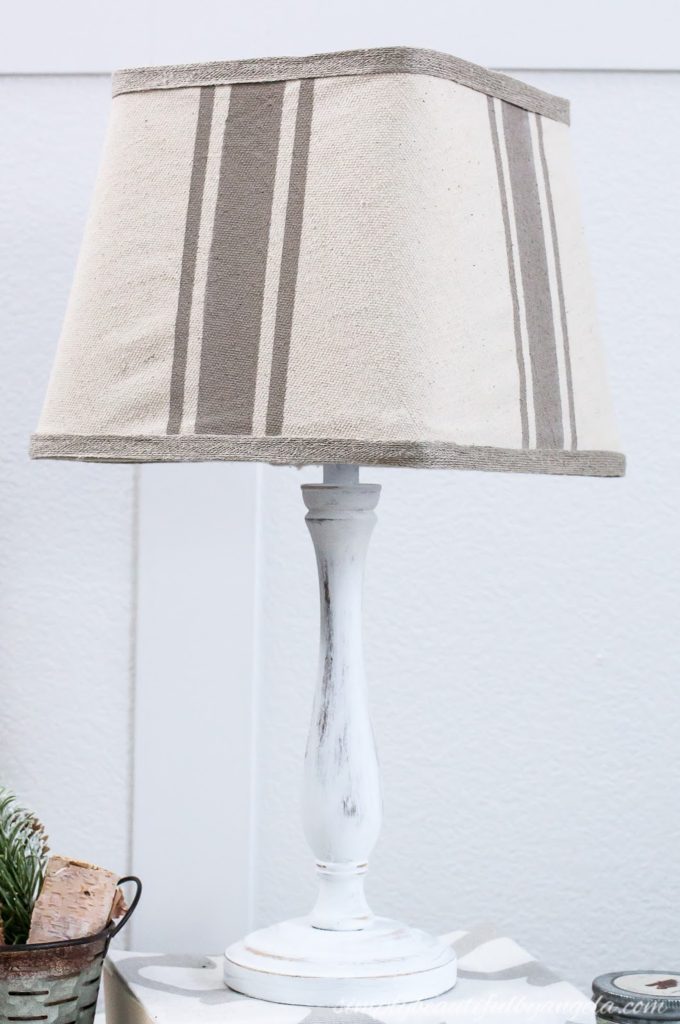
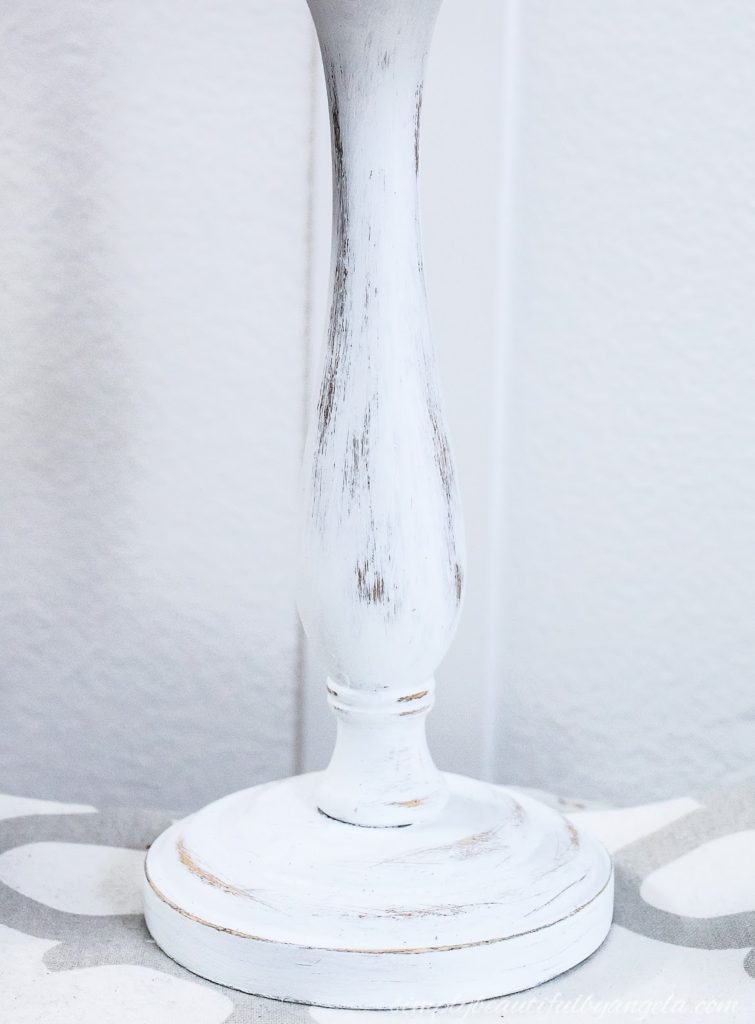
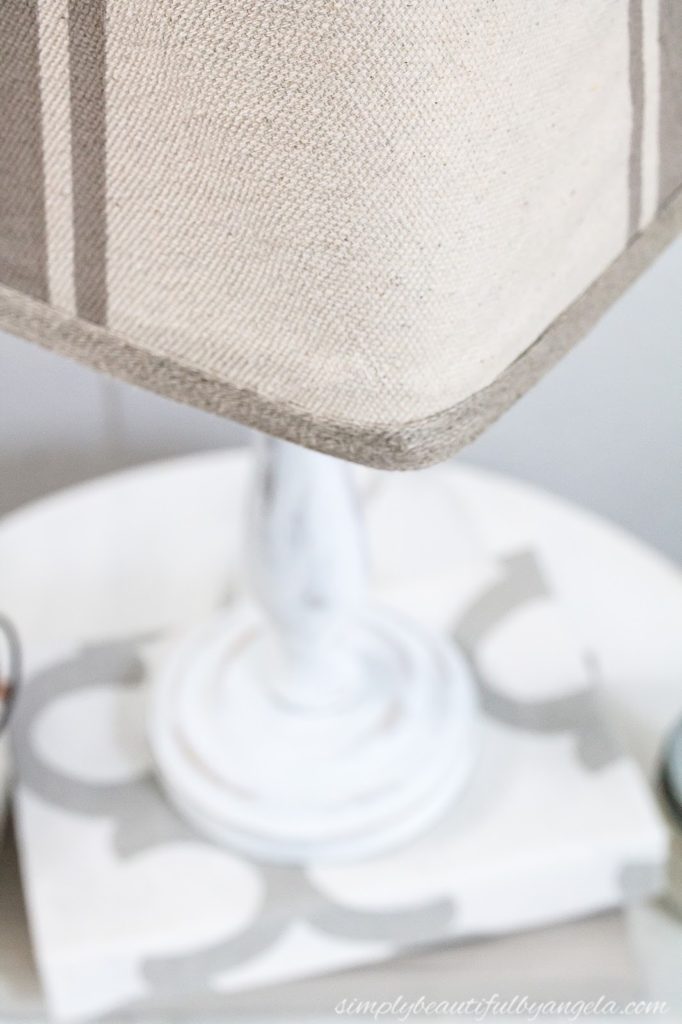
I first decided to paint the base with white chalk paint and distressed it with some sandpaper so that the splotchy stain was disguised.
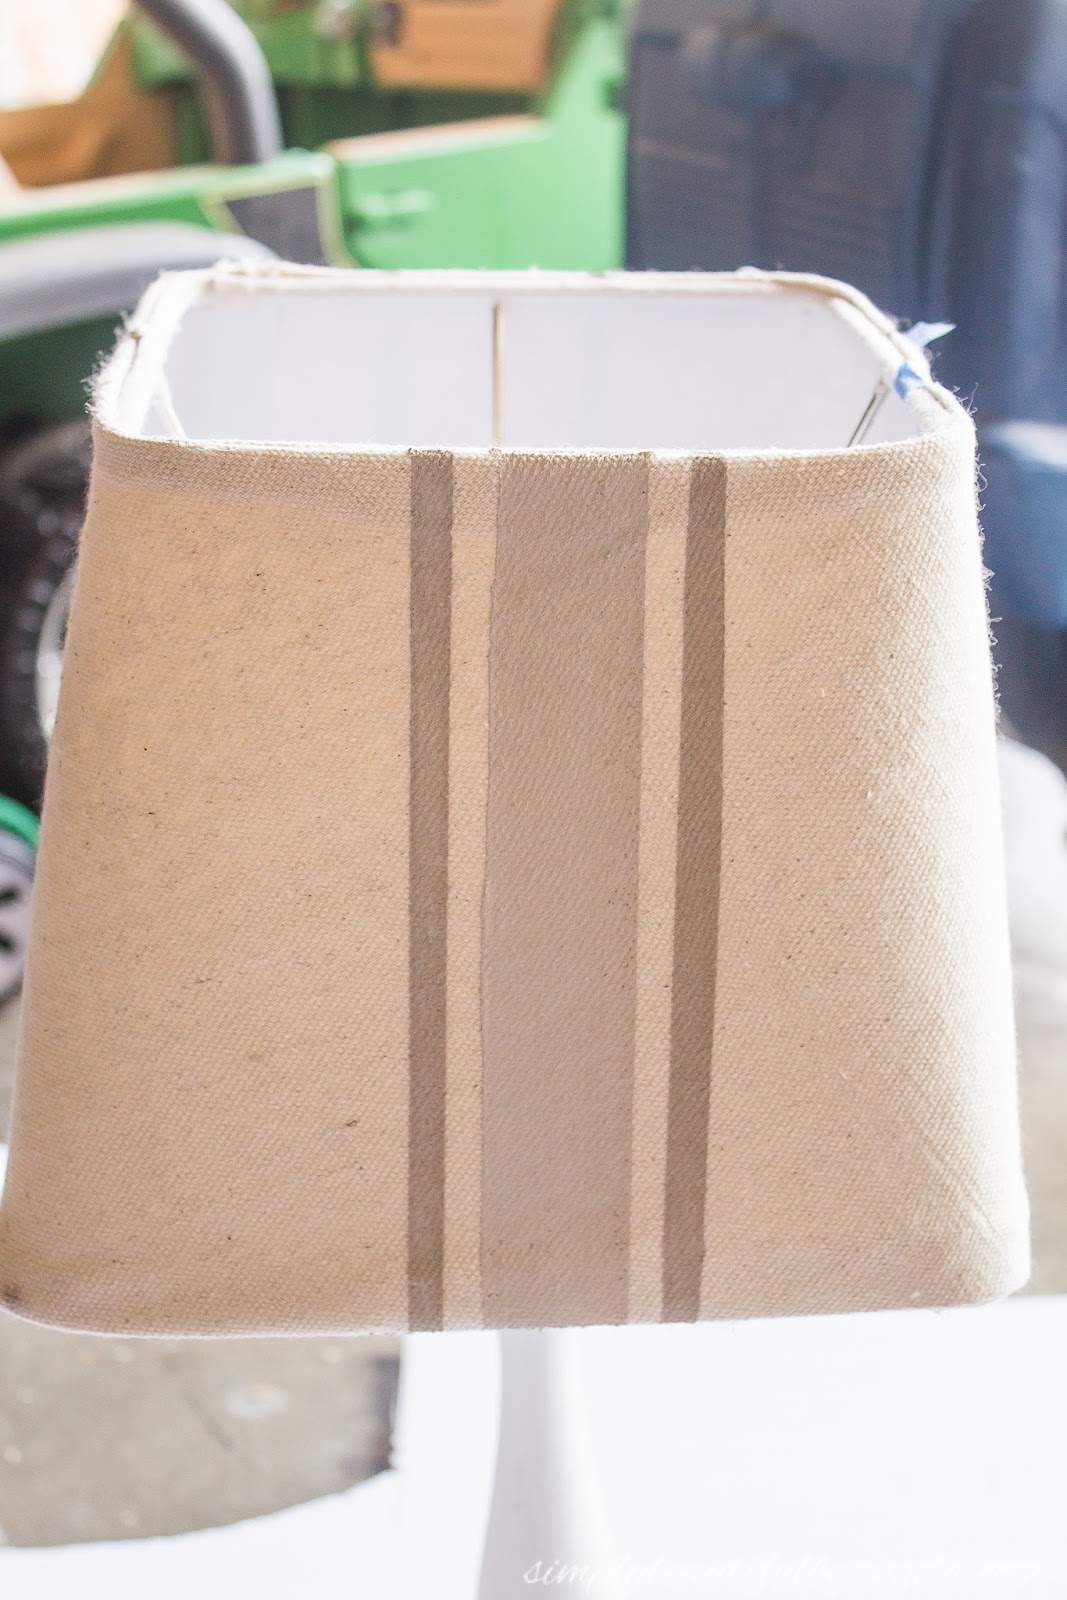
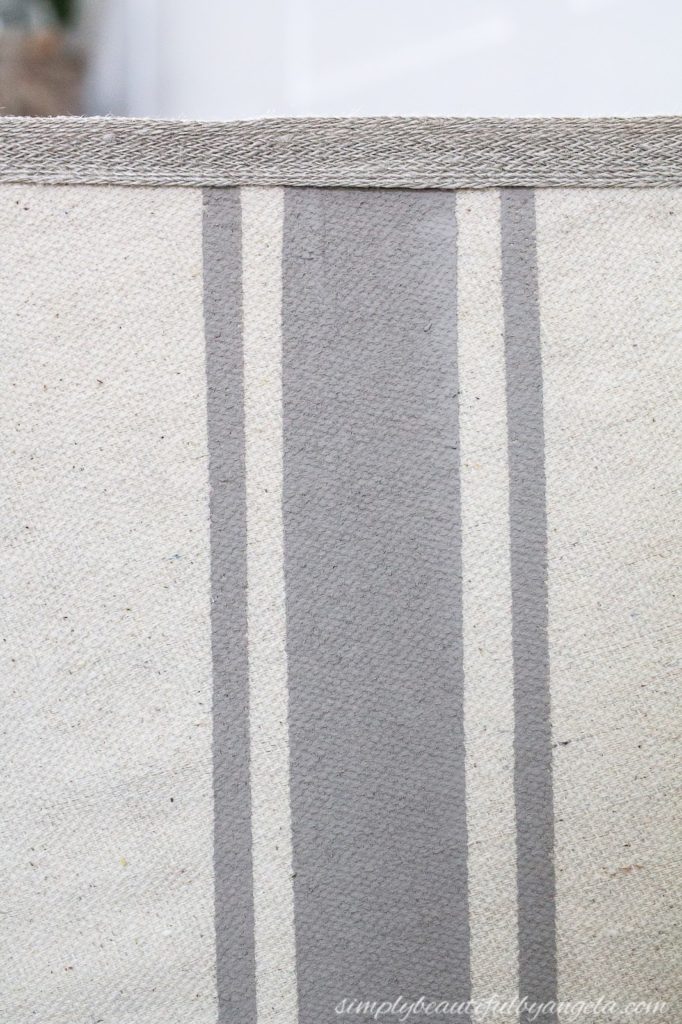
The lampshade was feeling too bland and I decided that it needed something to make it more fun and interesting. I ran a strip of thick painters tape down the middle, then ripped a piece in half and placed each piece about a 1/4 inch out.

I then brushed my favorite brown chalk paint inside these lines.
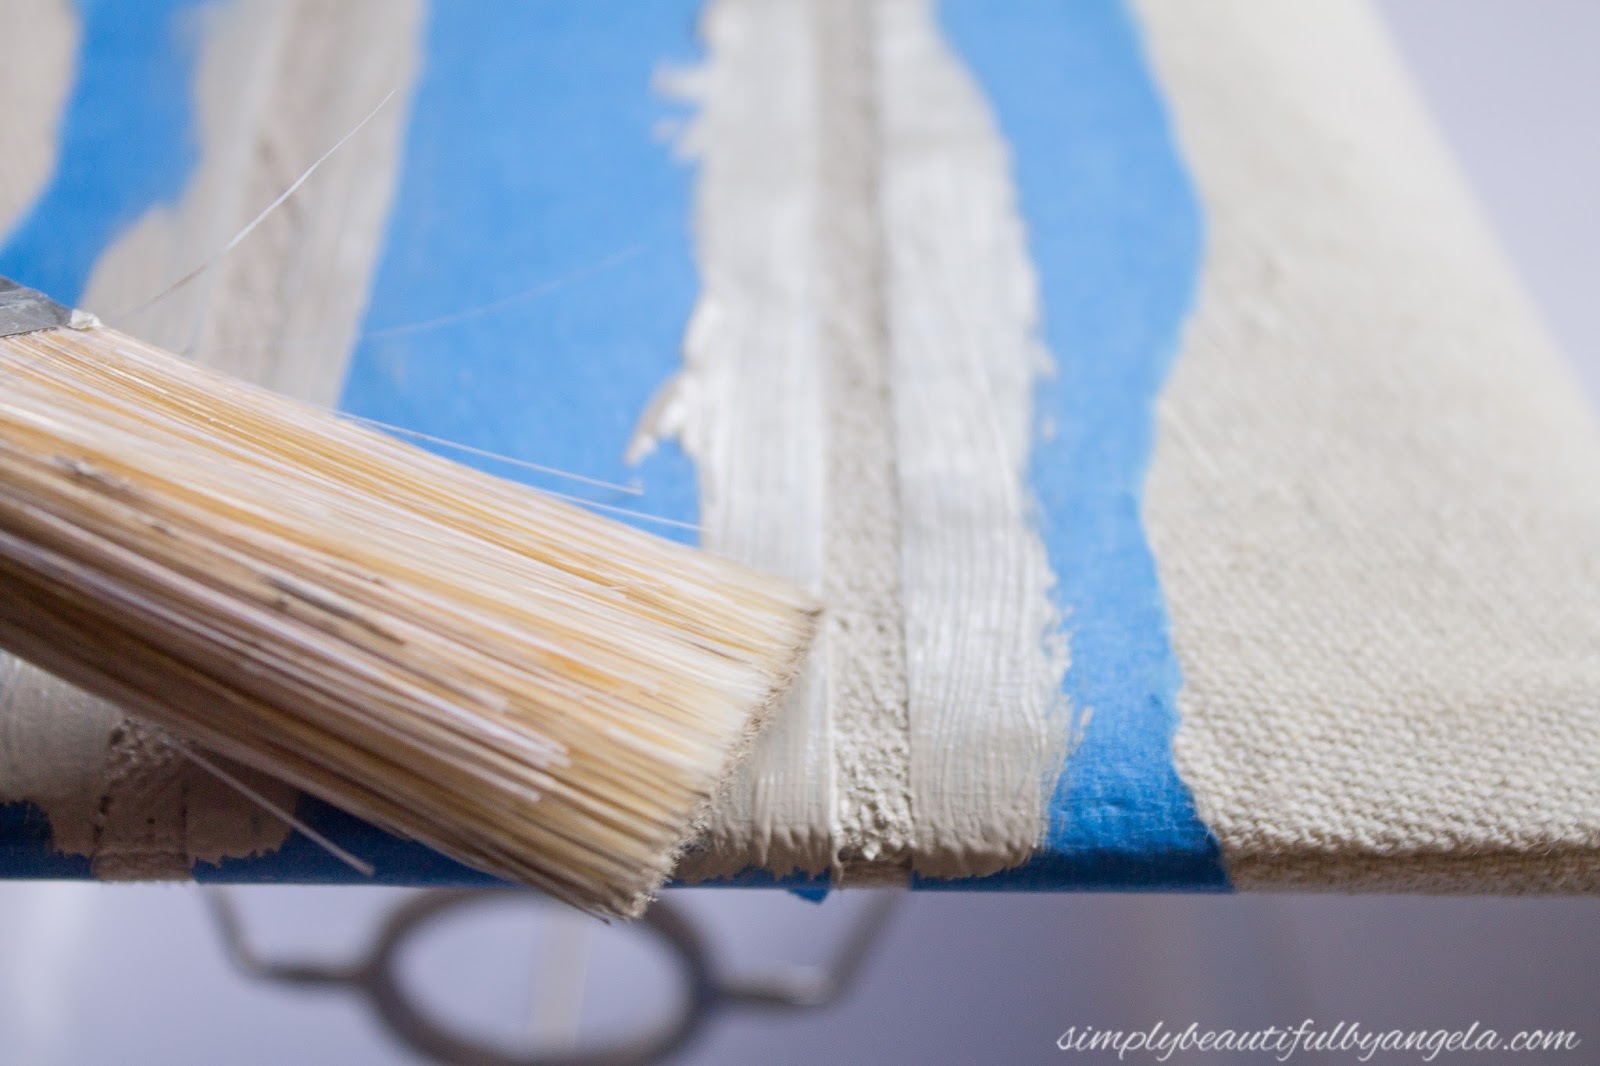

One they were dry (about 10 min for chalk paint) I took two more ripped pieces and set them a 1/4 inch in from each of these lines.


After painting that middle section and removing the tape I was left with a nice pretty grain sack pattern!
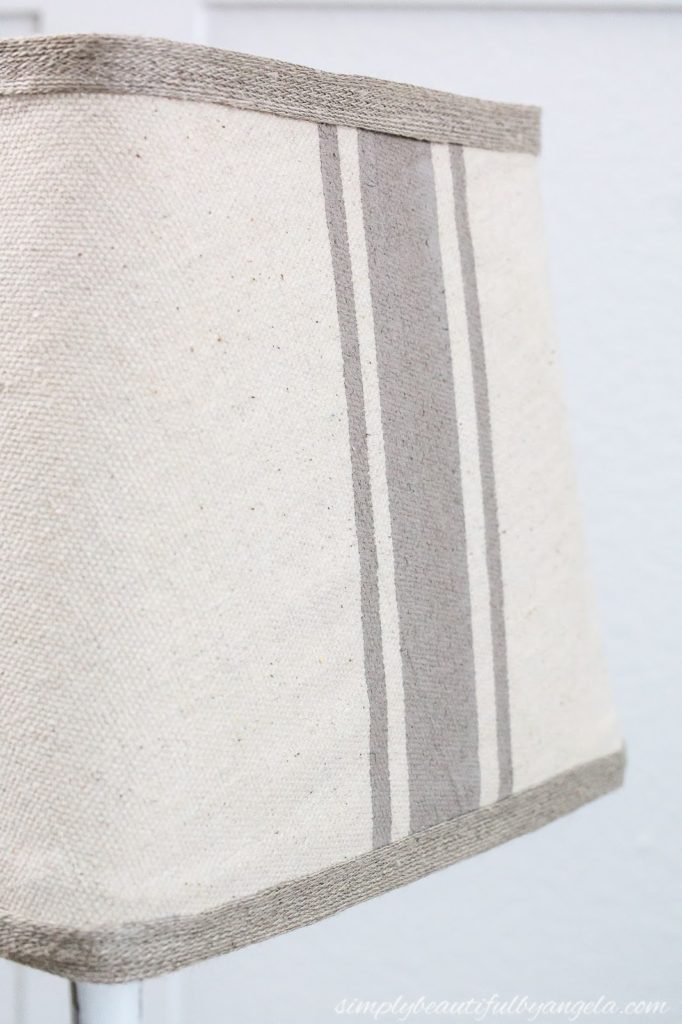
It still felt unfinished so I searched the ribbon aisle at Hobby Lobby for the perfect one to use as trim and then carefully hot glued it around the top and bottom of the shade.

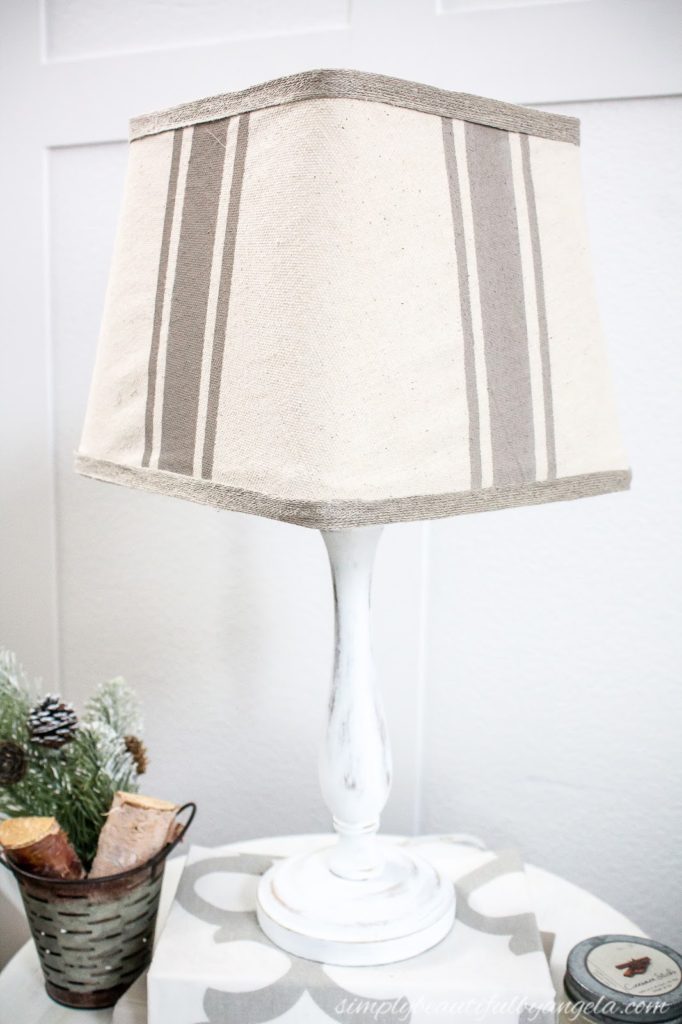
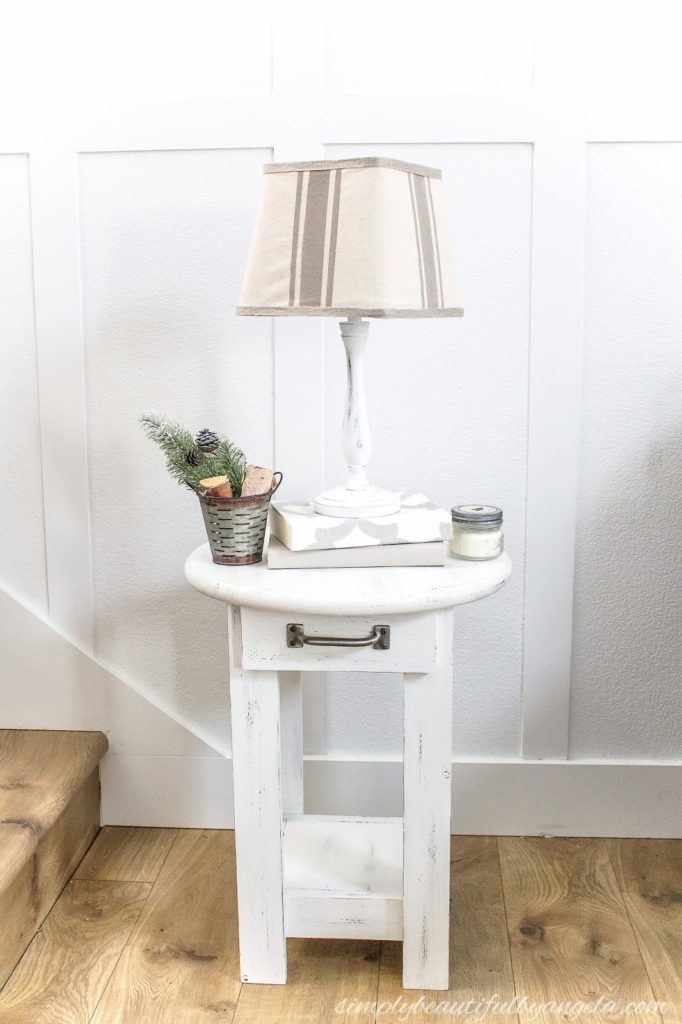
And this is how it turned out!
I probably shouldn’t mention it because half of you probably didn’t even notice…but for the half of you that did, the wrinkle on the left was noticed after I shot the photos. Of course it smoothed out with my hand right away afterwards, but I didn’t feel like redoing the photos! I just had to get that out there!
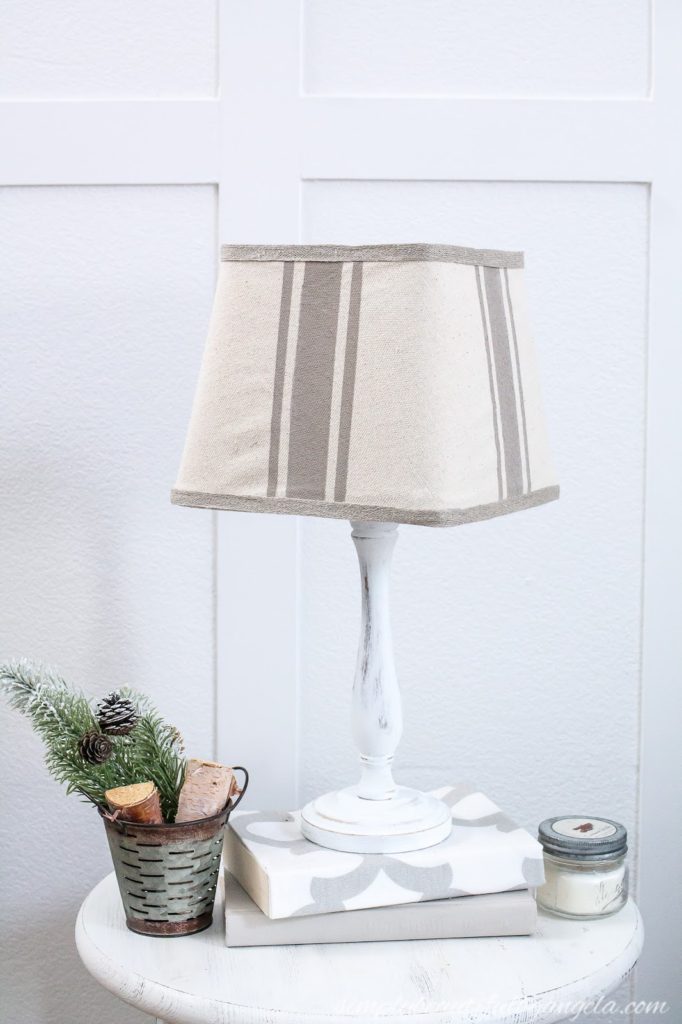
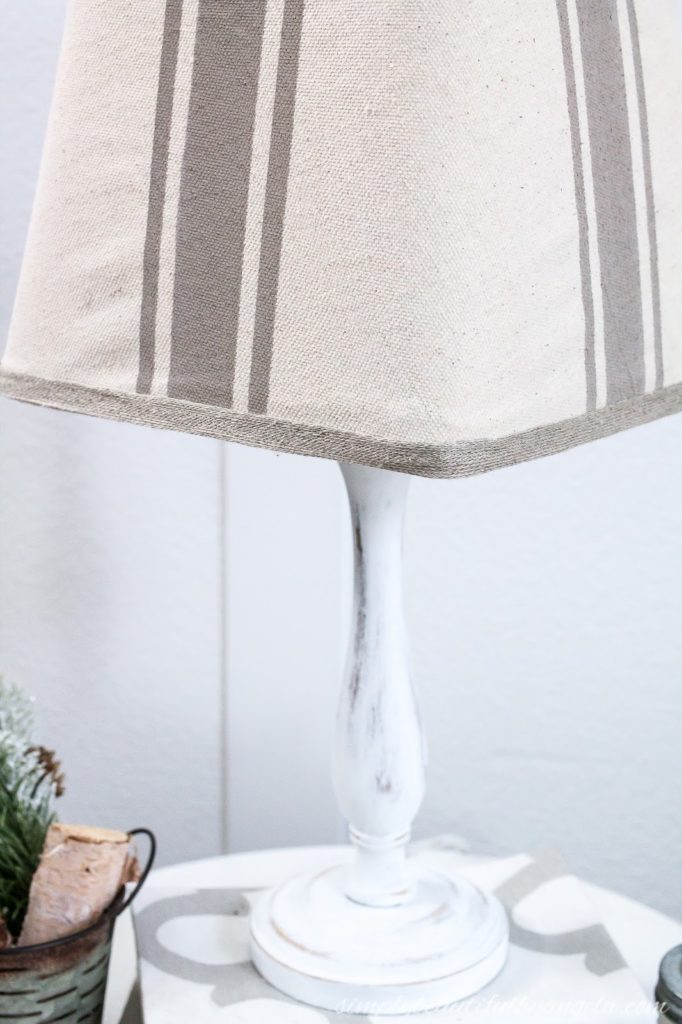
I may distress the base a little more to bring out more of the wood but for now I like how the white pops against the shade.
A lamp like this in a boutique would probably go for a lot more than 2 bucks, wouldn’t you think?
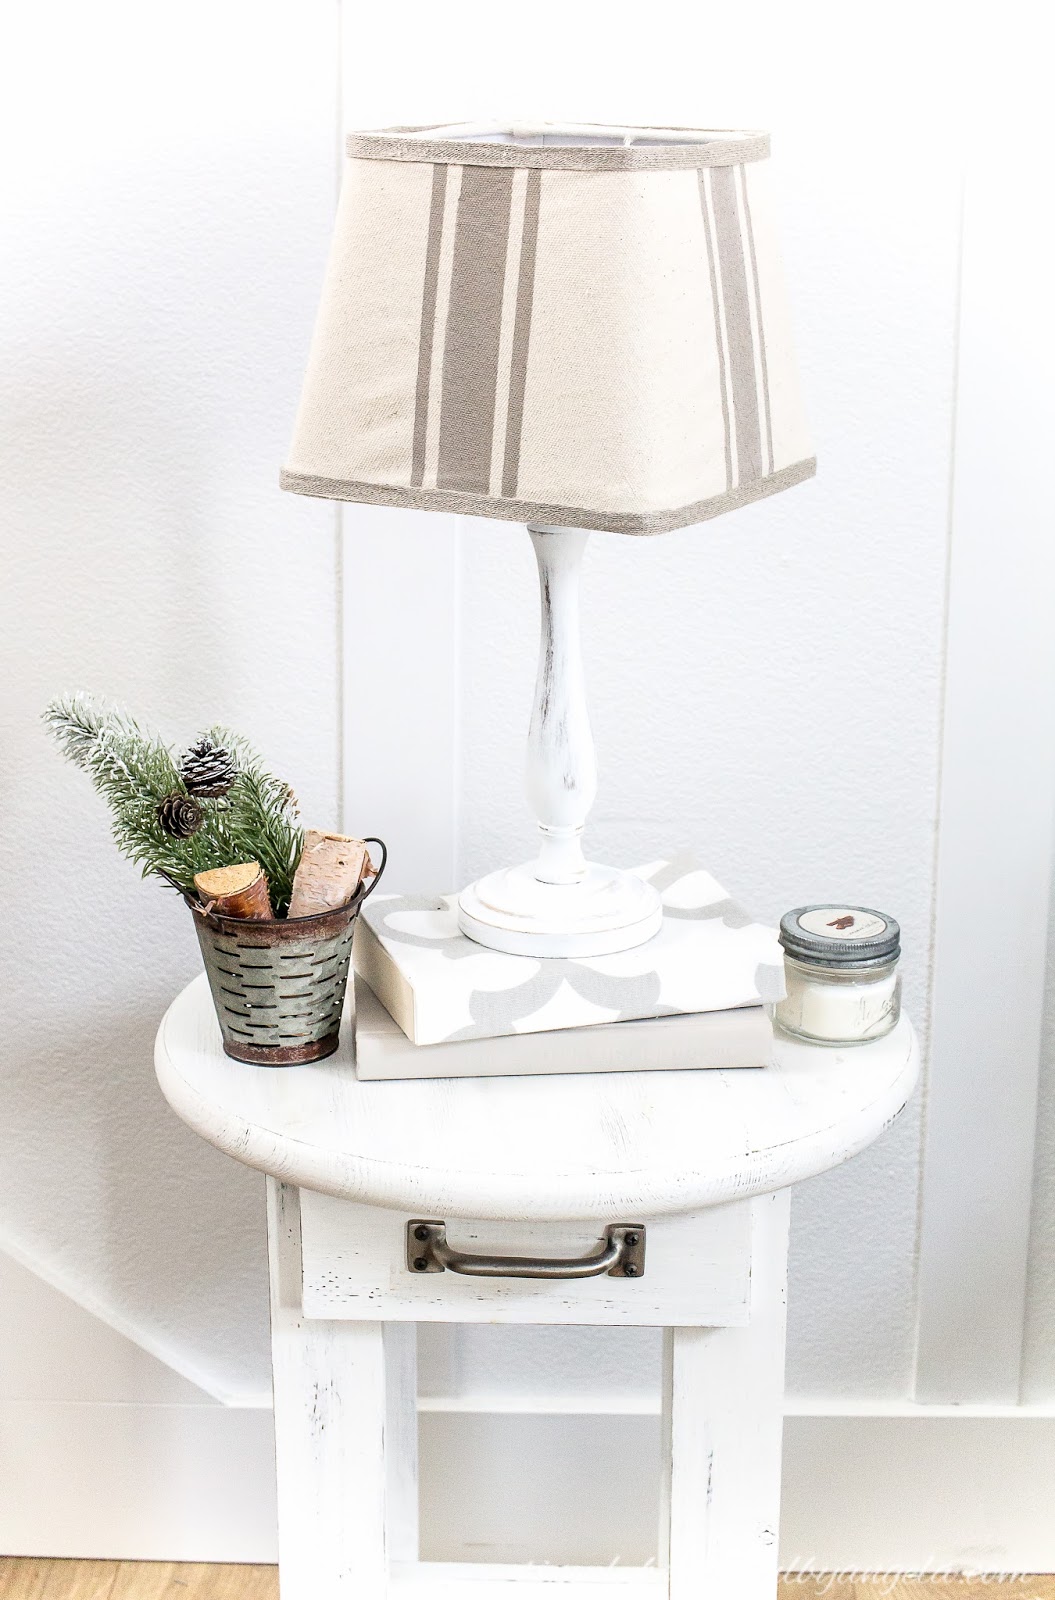
This was yet another project that I originally planned on selling but after seeing it all finished up I loved it so much that I just had to keep it. We already have a gazillion lamps but I still found a nice spot for it in the basement!
Alright my friends be sure to check out all of the amazing creations that my friends came up with below! I hope you all have a fun yet restful weekend. See ya next week!
And now for more thrifty goodness!
Check out what my fellow upcyclers created below!
—
Linking up to these awesome parties!