Simply Beautiful By Angela

creating simple beauty on a budget

  • Home Tours
  • Projects
  • Legal
  • Link Parties
  • Let’s Chat!
  • About Me

Vintage Standing Mirror Makeover

August 1, 2018

Hello friends and happy August!  Holy moly how are we already almost through the summer?  I feel like we’ve been so wrapped up in our new fixer upper that the summer has totally gotten away from us and I’m not gonna lie–it totally bums me out!  I am going to make an honest effort to enjoy it as much as possible before the leaves start to turn because I’m sure it will be much sooner than we think!
Anyways, today I want to share a super simple makeover with you guys.  In fact it was so simple, that I debated whether or not I should even write a tutorial on it.  But I’m so excited with how it turned out that I couldn’t resist sharing it!
A couple of weeks ago I finished the board and batten grid wall in our bedroom and I was feeling pretty ecstatic to finally have a finished space in our home.
I’ve always dreamed of having a pretty standing mirror and we now have the perfect space for it in our new room.  So as soon as I finished the board and batten, you can probably guess what I started shopping for!
However I started to realize that it was actually a lot harder to find what I was looking for than I thought it would be.  I wanted an antiqued distressed looking one, but all I could find in my price range was either plain wood or painted.  Womp womp.
Doesn’t it drive you crazy when you have something in mind and know exactly what you want it to look like but can’t find it?
So I had no other choice but to create my vision myself!

Supplies Used: (Affiliate links may be provided for convenience.  For more info, see my full disclosure here.) 

  • Medium Grit Sandpaper
  • Minwax Dark Walnut
  • Frogtape
  • Chalky Spraypaint by Krylon
  • DIY Chalk Paint (White Latex Paint + Plaster of Paris)
I found this one on Amazon for an amazing price and chose the color oak.

Once it arrived, I assembled the base since I figured that it would be easier to spray paint while  it was standing rather than having to flip and turn pieces over as they dried.  I briefly ran over the entire thing with some medium grit sandpaper.
Yes briefly!  My goal wasn’t to get the entire thing down to bare wood.  Let’s be honest, that would take forever and I just don’t have that kind of patience!
I just roughed up the surface a little bit so that the paint would stick better and I focused more heavily on the edges and corners so that the stain would take nicely in those spots since that’s where I planned to do most of the distressing later on.

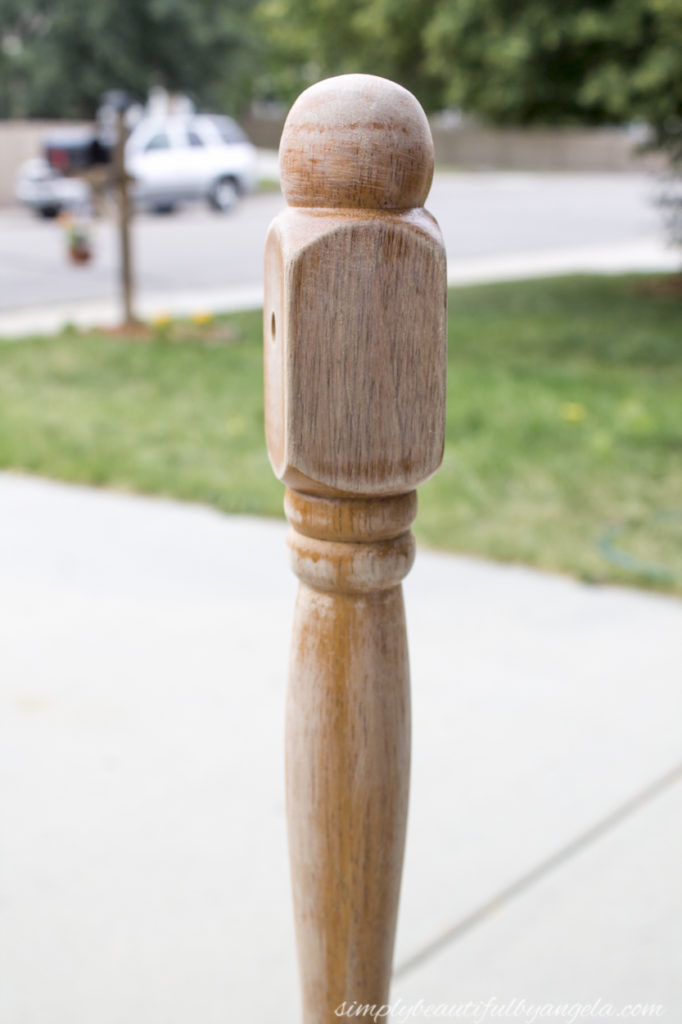
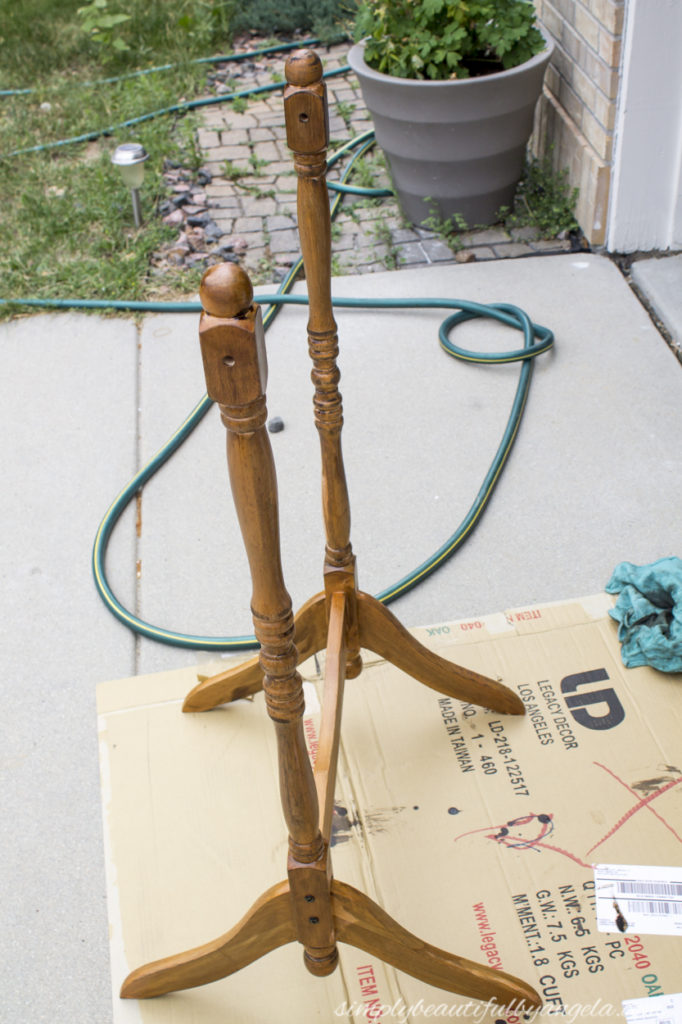
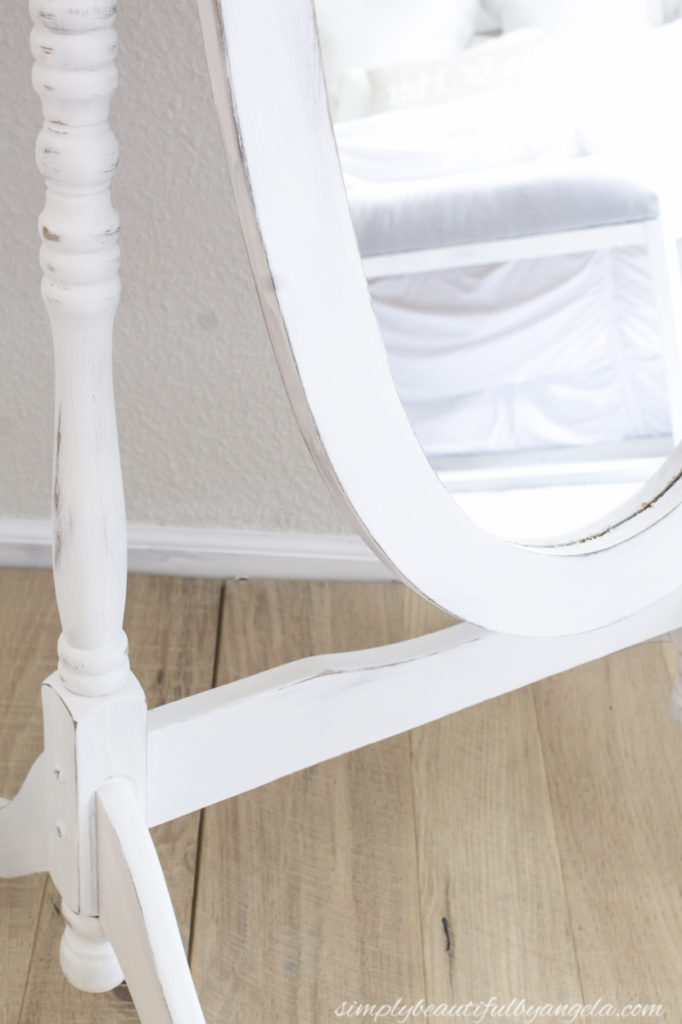
I wiped my Miniwax Dark Walnut stain over the entire piece, but as you can see it really only absorbed in to the spots that were sanded down to bare wood.

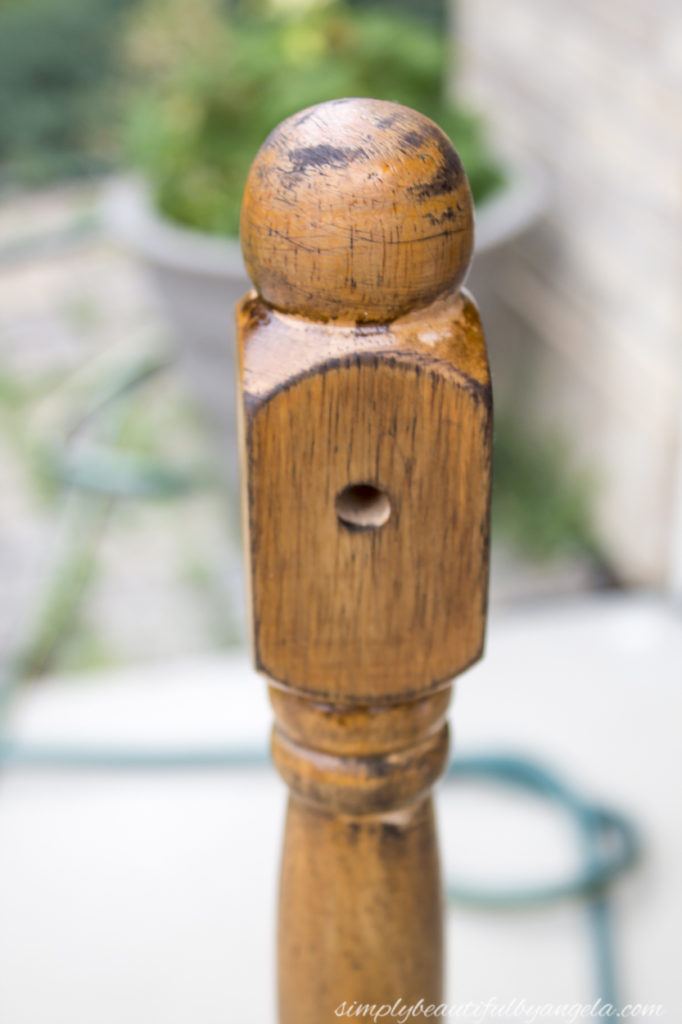
Which was okay because those were the only spots that would really matter!

I did the same thing to the mirror portion, however I first went around with Frogtape and a garbage bag to cover the mirror up.

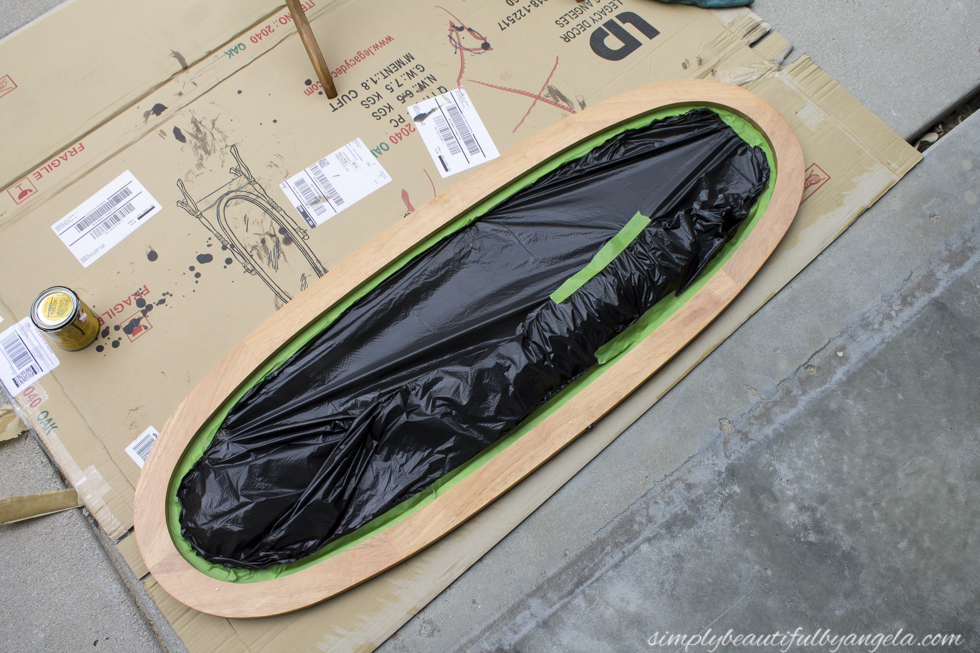
I simply ran my tape around the edge and then pressed the bag up against the side of the tape that I didn’t press down.  I still ended up with a little paint bleed in some spots, but cleaning them up was quick with some Windex.

And then I forgot to take pictures because I was working so quickly! Whoops…

But the next steps were so simple that pictures aren’t really needed–I promise!

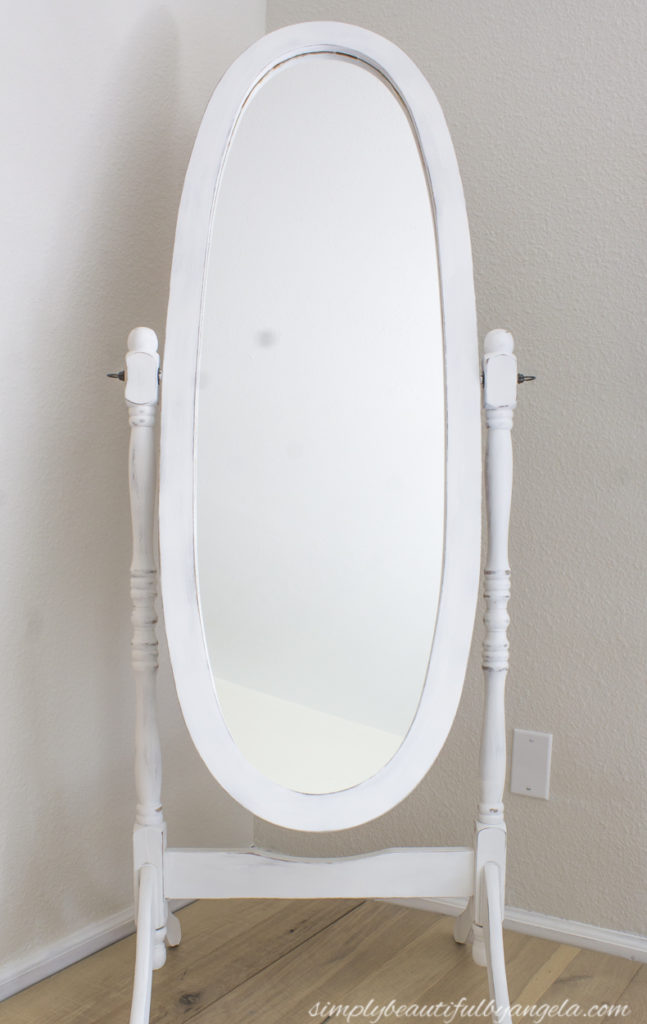
Once the stain was dry I gave it two coats of coats of Krylon white chalky spraypaint. It gave me pretty good coverage, but a few spots still seemed too light. Since I was too lazy/cheap to go buy another can, I went around with a brush and gave the entire piece a quick coat of my DIY chalk paint.

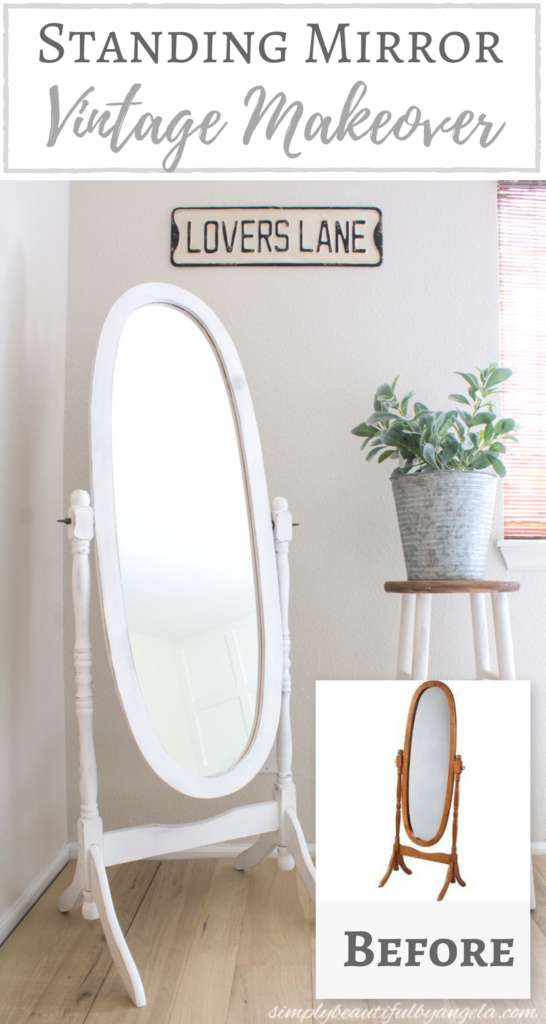
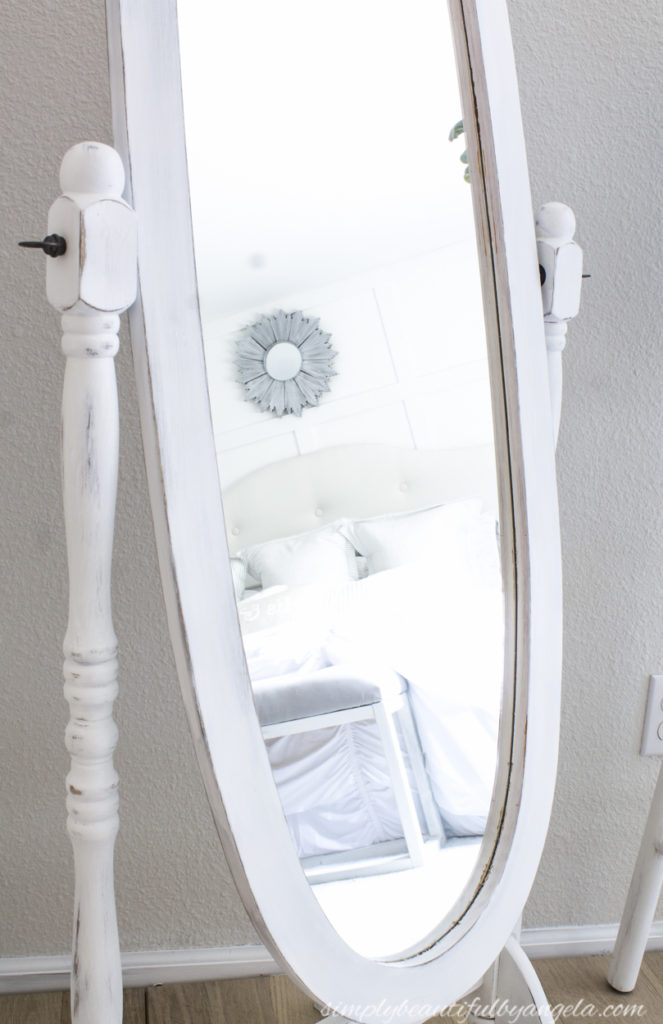
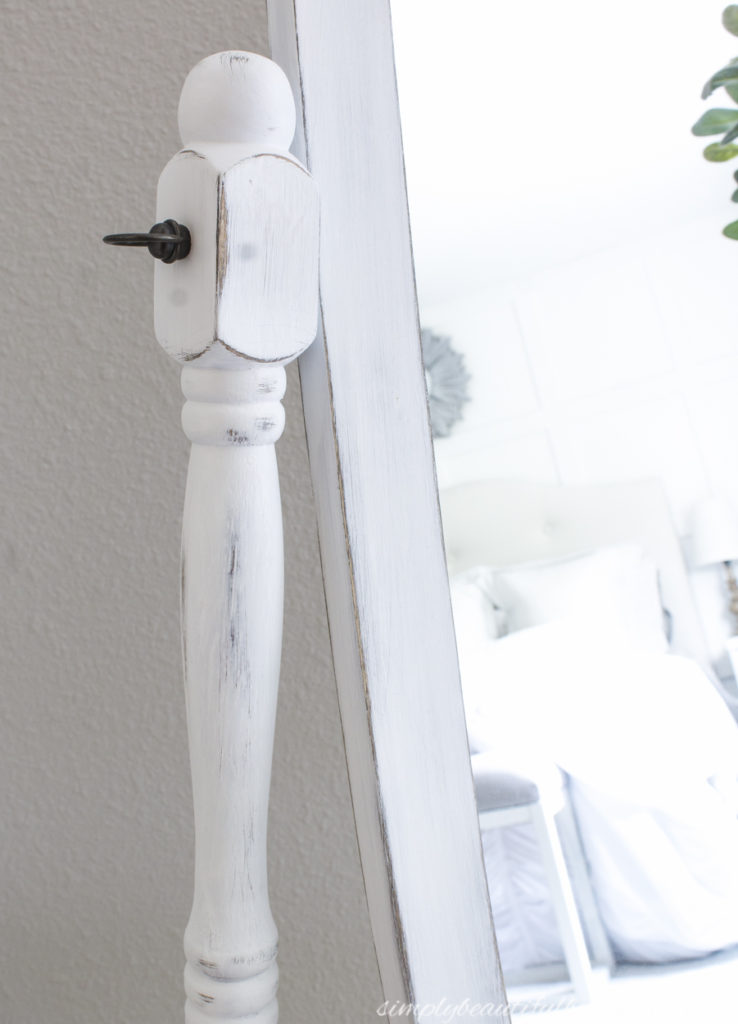
Finally I worked on the most fun part–the distressing!  I used medium grit sandpaper and sanded down the edges and corners to bring out the natural wood and make it look naturally aged and worn.  When I was done I was left with what I envisioned all along!

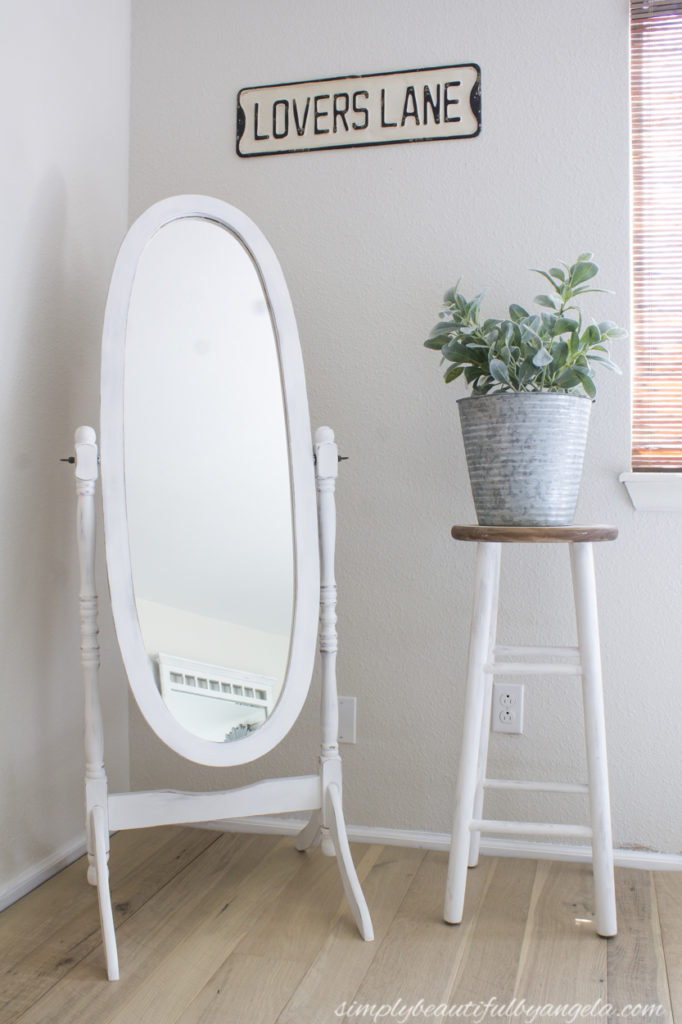
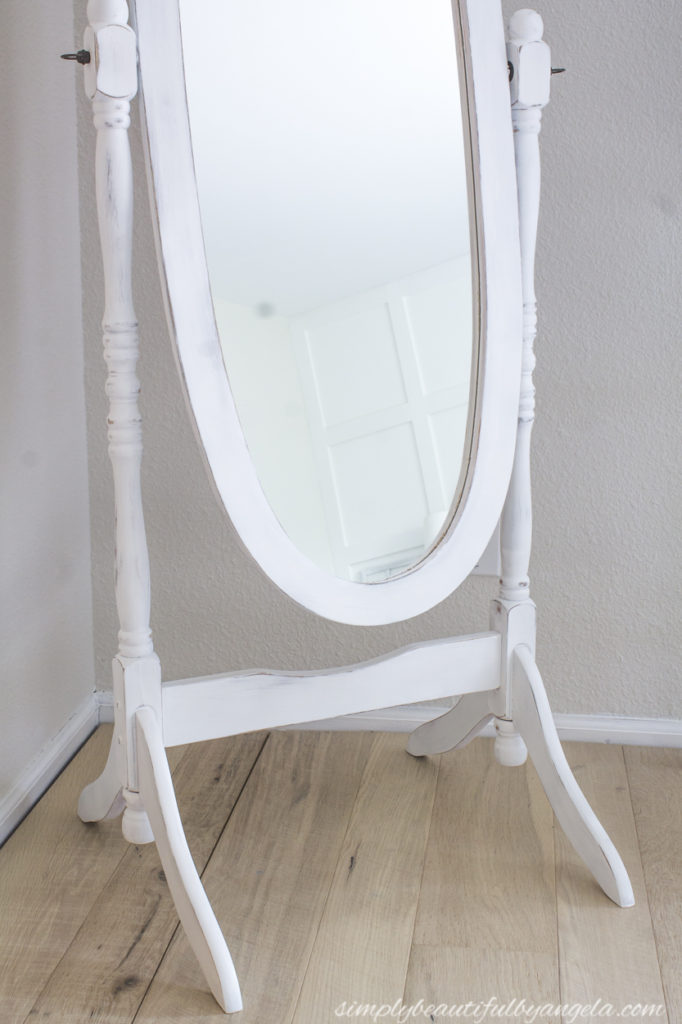
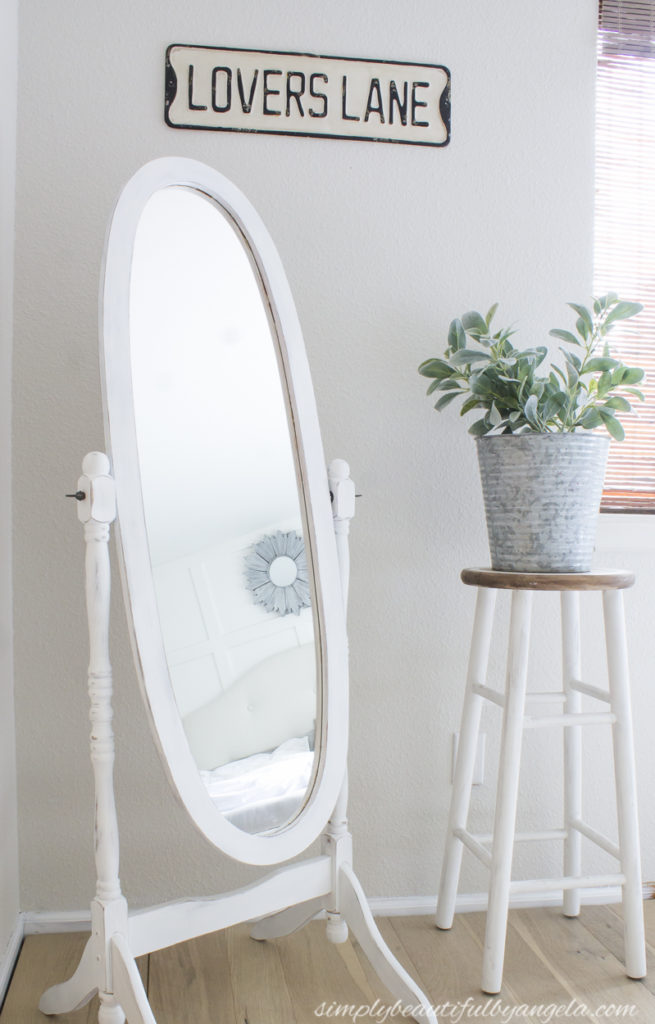
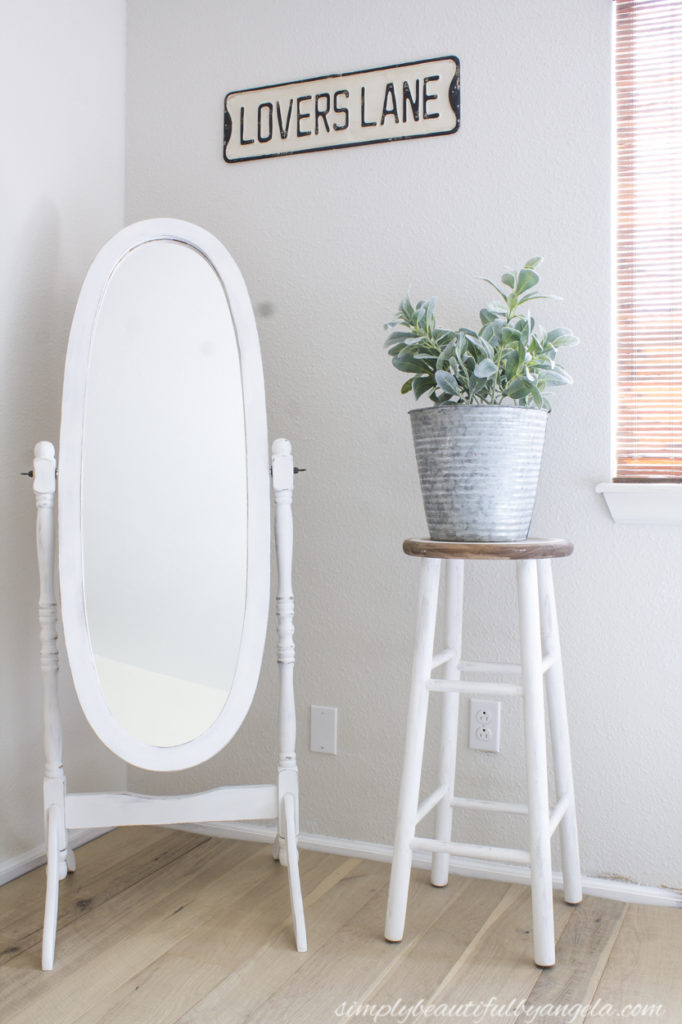
It turned out even better than I had hoped and the vintage look totally makes my heart skip a beat every time I look at it!

The Lovers Lane Street Sign was an awesome Amazon find that I just couldn’t resist.  It works perfectly in this little corner.  Eventually I would like to replace the stool with a little olive tree once the budget allows for it.

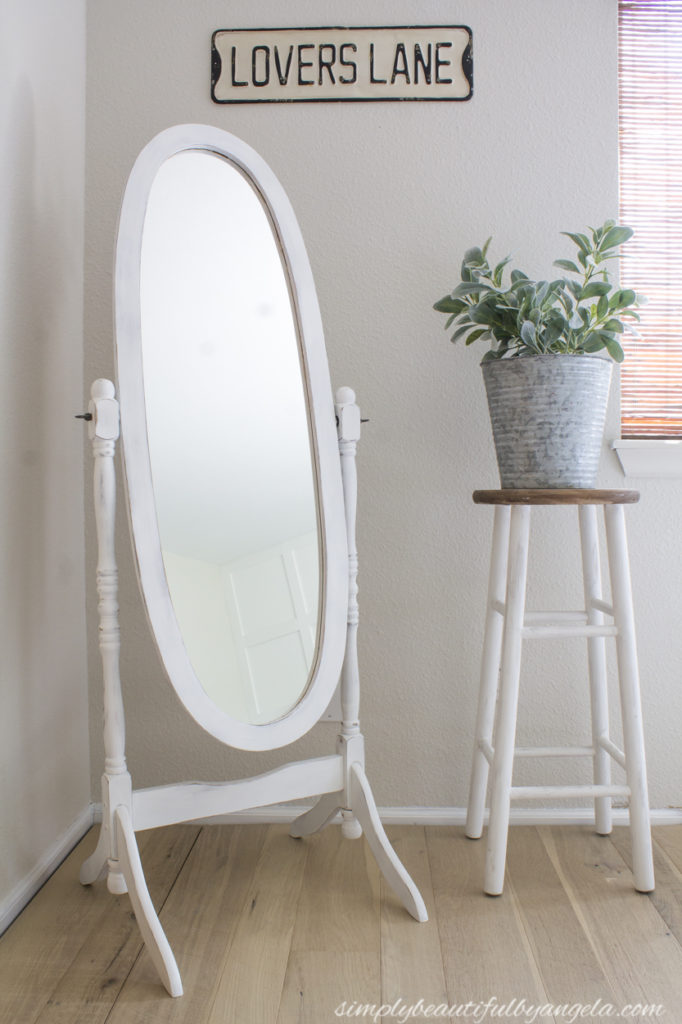
Oh and did you notice the floors?  If you caught my art easel makeover post last week you probably know my little secret that these aren’t really the floors that I have in this room.

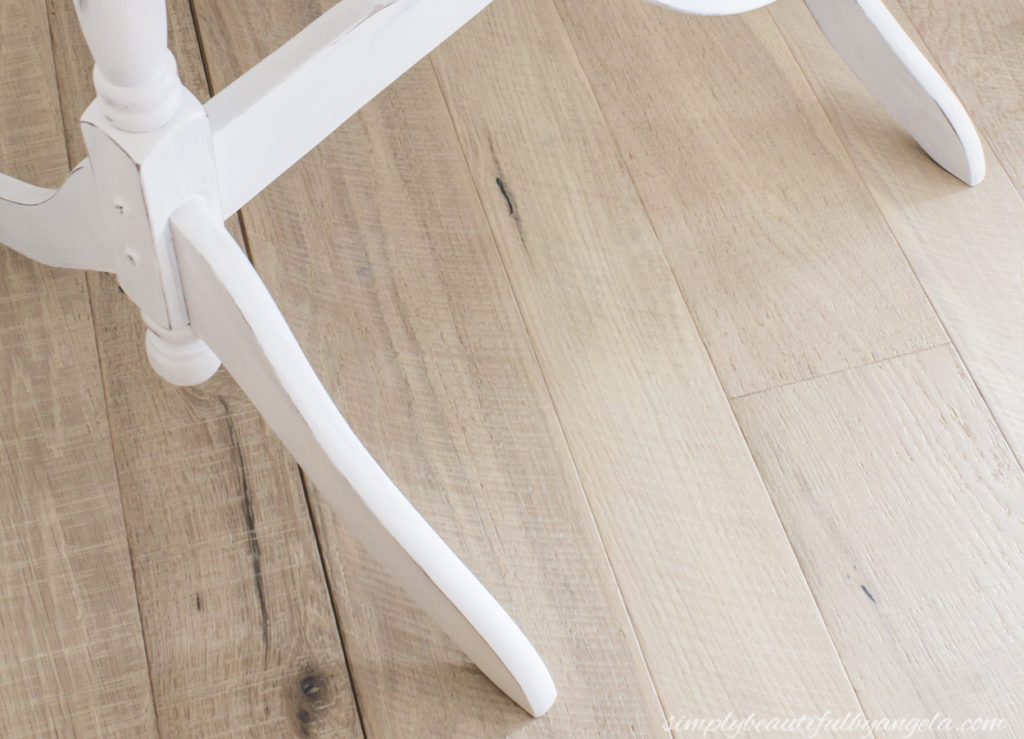
I just bought a box of them to see if I liked them and of course, the second that I laid them out I instantly fell in love!

After looking at a few other options last weekend, I finally convinced Anthony that these are “the ones” and we’ll be laying these down one room at a time over the next few months.  They sure are pretty aren’t they?

Thanks for stopping by the blog today, I hope you all have a fantastic rest of the week.  Get out there and enjoy the last few weeks of summer–I know that I will be!

Linking up to these awesome parties!

· Labels: Uncategorized

Hello, I am so happy that you're here! My name is Angela and I love to create simple beauty in our home on a budget. Here you will find DIY decor and home projects, furniture flips and other home inspiration!

Never Miss a Post!


Diagonally Fluted Nightstands

Diagonally Fluted Nightstands

Hello! I’m really enjoying the extra daylight and the fact that it’s been paired with warm sunny weather this week has been icing on the cake. I’m trying to soak it all in before the next snowstorm! Today’s flip was from about a year ago and is still one of my favorite sets of nightstands…

Read More »

How to Update a Dresser with a Missing Drawer

How to Update a Dresser with a Missing Drawer

Hey friends, happy March! Even though I know we still have quite a bit of cold weather coming our way here in Colorado, it’s exciting to see these warmer days sprinkled in here and there. This week I am sharing how I saved an old IKEA dresser from ending up at the landfill! Supplies Used:(Affiliate…

Read More »

Vintage Ice Box Style Nightstands Makeover

Vintage Ice Box Style Nightstands Makeover

Hello friends! We just got back from our annual trip to the Great Wolf Lodge and it was fun times as always! Today I am sharing how I updated these fun vintage ice box style nightstands that I found on Marketplace! Supplies Used:(Affiliate links may be provided for convenience.  For more info, see my full disclosure here.) …

Read More »

Never Miss a Post!


GOOGLE 2

GOOGLE 3

GOOGLE 4

GOOGLE 5

GOOGLE 6

GOOGLE 7

Theme by 17th Avenue · Powered by WordPress & Genesis