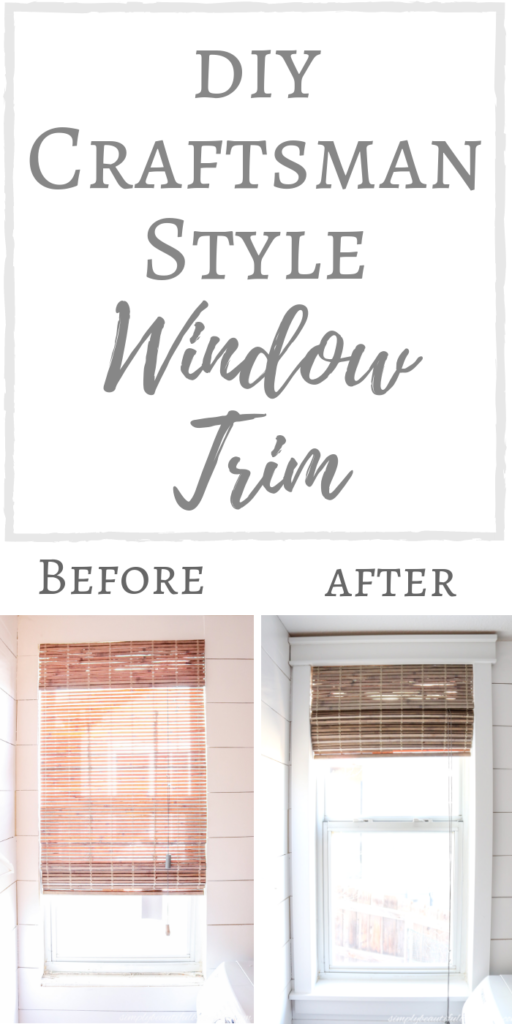
Hey everyone! So my life has been all out of sorts this past two weeks. My mom suddenly came down with multiple serious illnesses that has had her in and out of hospitals and a rehab center. It’s been utterly exhausting both physically and emotionally for my entire family. We aren’t quite out of the woods yet, but I believe we are starting to finally see a light at the end of the tunnel.
On Saturday night the boys spent the night with Anthony’s parents. So after we visited my mom at the hospital we headed home, had some leftover Chinese and decided to work on the house. It may sound crazy to some people, but it’s the absolute best form of therapy for me. Nailing, sawing, painting, caulking…it really helps keep my mind in a good healthy place.
As Anthony worked on the hardwood floors that I’ll have to tell you all about soon, I gathered my supplies to finally completed a project that I’ve been meaning to do for months.
The whole time we lived at our old house I admired craftsman window and door trim, but didn’t had the guts to rip out all of the existing trim. I was worried that it would be difficult and I was terrified of messing it up.
However when we moved in to this house, I decided that I would overcome that fear. Since I’m wrapping up the finishing touches of the powder room/laundry room makeover I decided to start with this one.
Supplies Used:(Affiliate links may be provided for convenience. For more info, see my full disclosure here.)
- Two 1×3 MDF boards
- 1×2 MDF board
- 1×6 MDF board
- Finger Joint Stop
- Utility Knife
- Jigsaw
- Level
- Ryobi Cordless Brad Nailer
- Measuring Tape
- Miter Saw
- Speed Square
- Spackle
- Medium-Grit Sandpaper
- White Caulk
- White Latex Paint
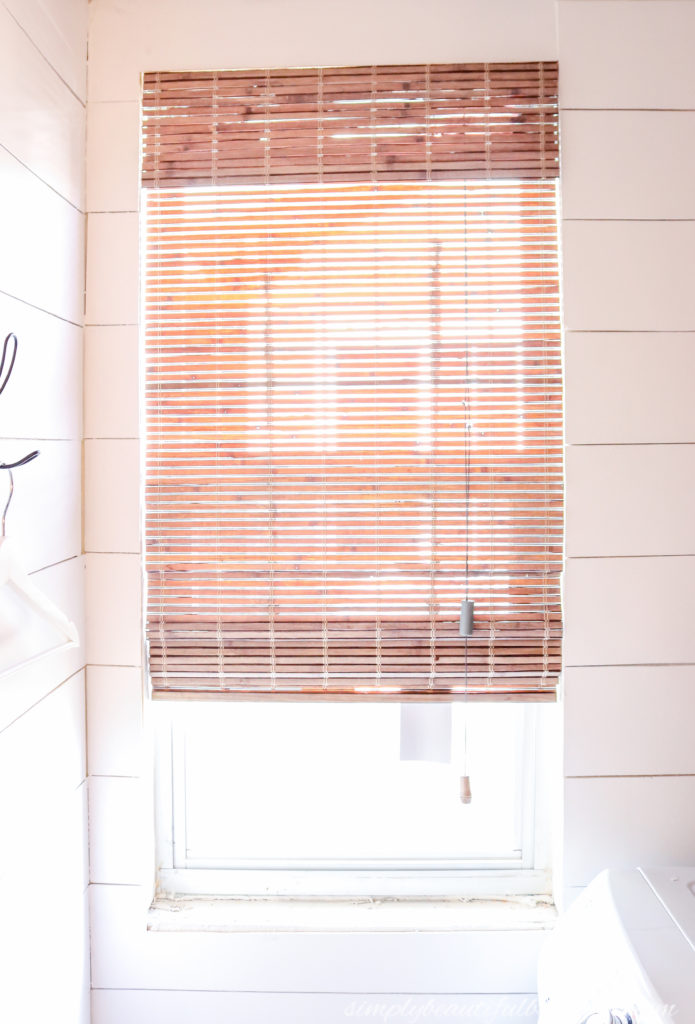
The first step was to remove the existing window sill. I didn’t snap a picture of this step since I was in the thick of installing the shiplap, but I simply ran my utility knife along the caulking and then used a pry bar to pop it off.
In the rest of the house I plan to use a full 1×6 board for the new window sill, but since the dryer sits so close to this window I actually had to trim an inch off on the table saw so that it would fit. So instead of a 5.5″ sill here I have a 4.5″ one.
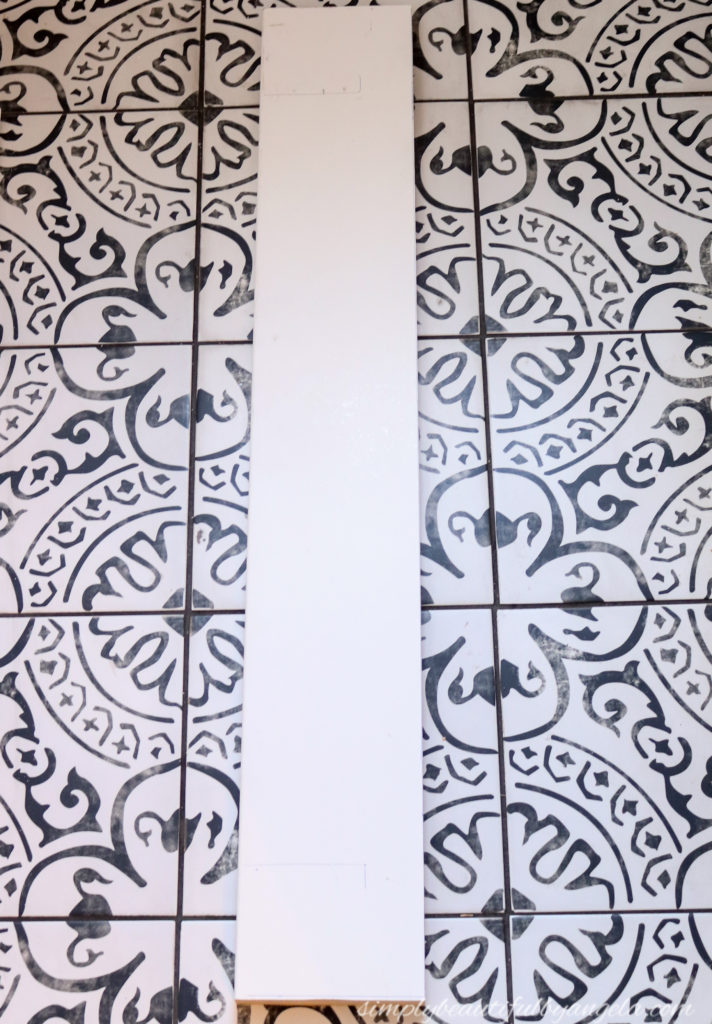
To get the measurement of the new sill, I took the width of the window and added 6″ (3″ for each side since I was using a 1×3 for side trim which measures 2.5″ and wanted a 1/2″ overhang). I saved the old window sill to use as a template. I placed it on my new sill that had already been cut to length, measured three inches in from either side and traced where I needed to make my jigsaw cuts.
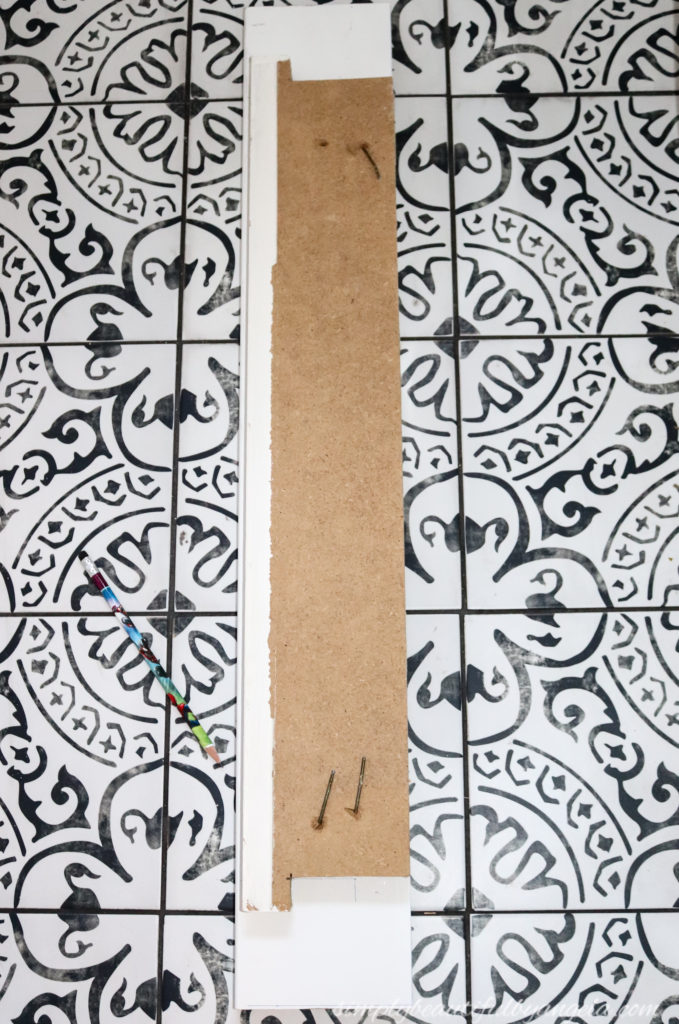
Once it was cut I attached it to the bottom of the window with my nail gun.
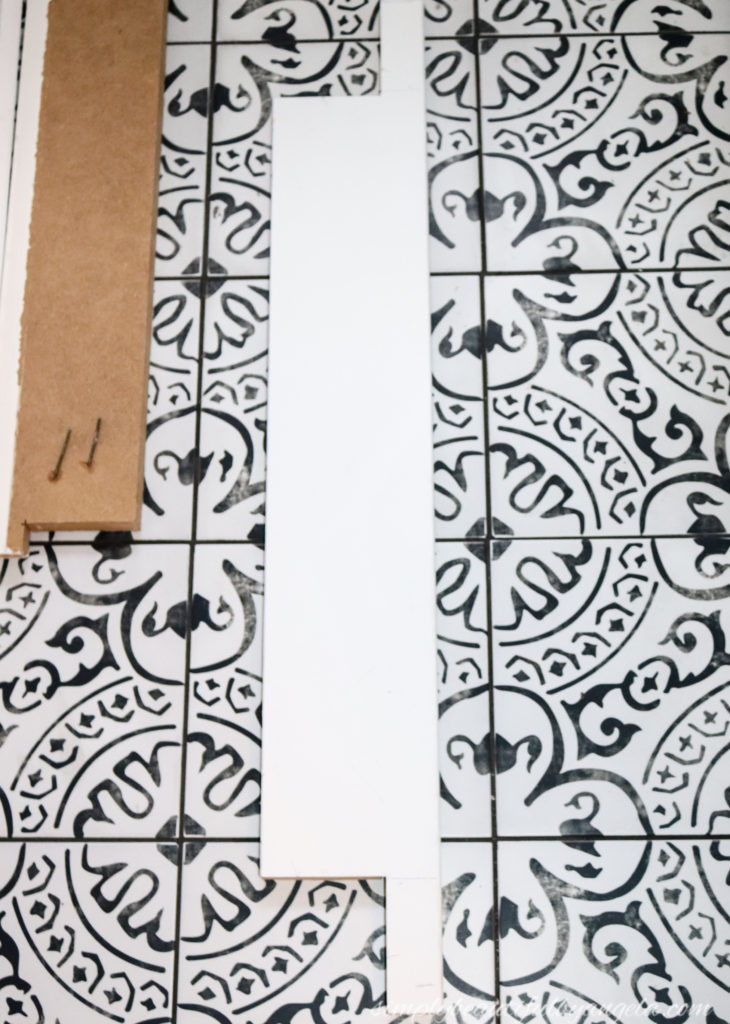
Next, I measured from the new window sill to the top of the window for the 1×3 sides. I actually should have used the level to mark where the top piece would sit BEFORE measuring this piece. You will see why in a second.
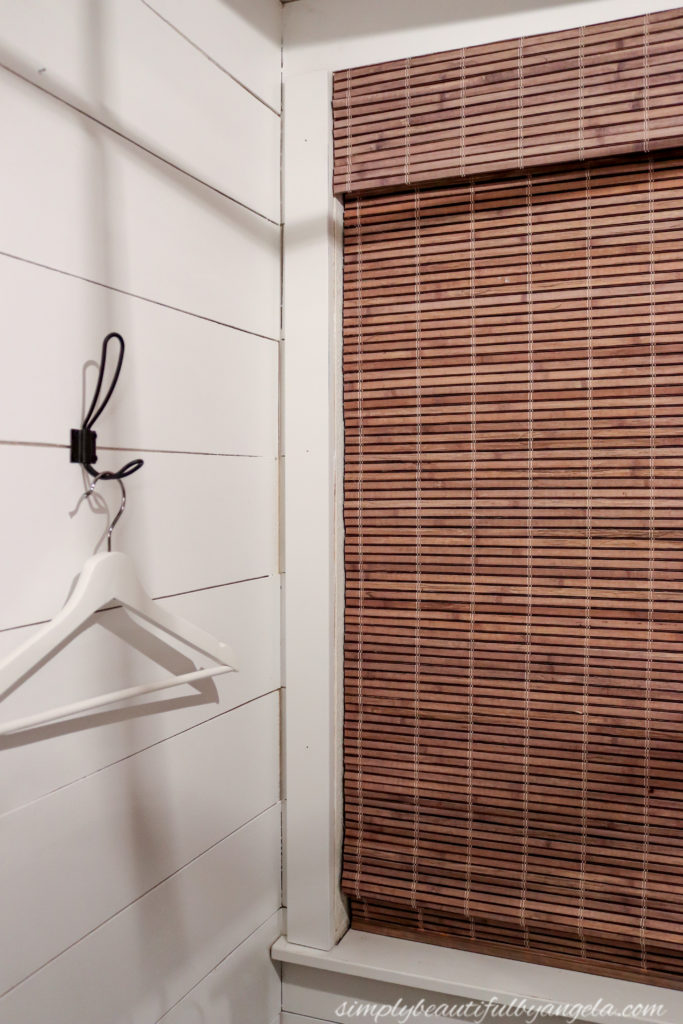
I did the same thing for the other side.
I was feeling pretty good about everything until I got to this next part. The top piece is comprised of a 1×2, 1×3 and a Finger Joint Stop. (Some will do a 1×2, 1×3 and another 1×2 instead but I like the thinner look of the Finger Joint Stop–just make sure you put the rounded side in front!)
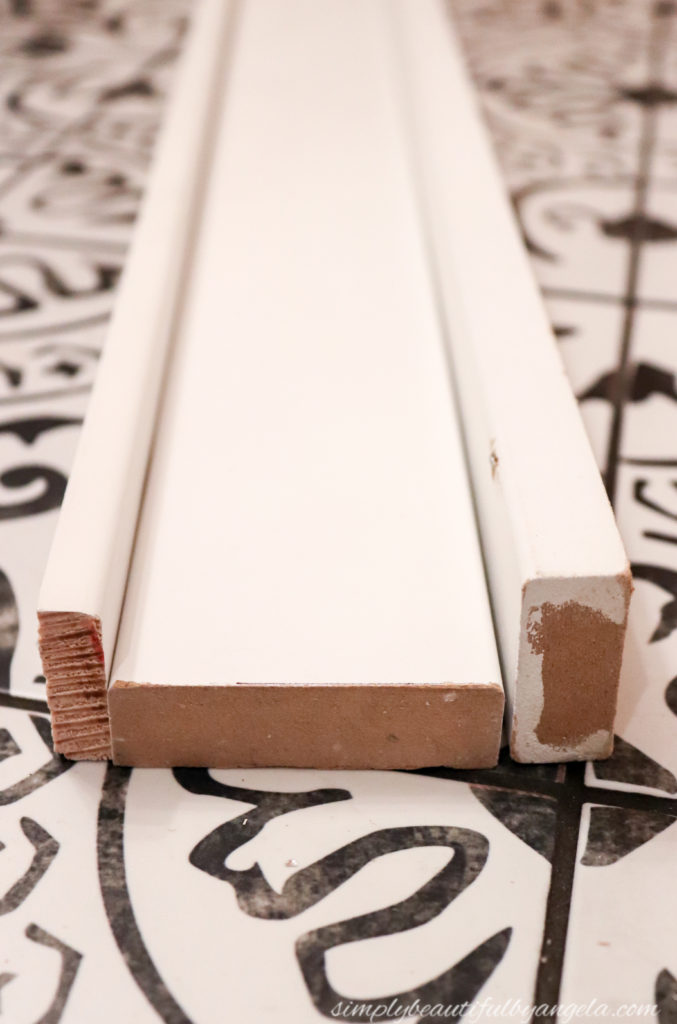
I cut each piece the same width of the window sill since that was most appealing to me. I have also seen it done where the 1×3 is flush with the sides while the top and bottom pieces overhang it a little.
It must be assembled prior to going up on the wall. I didn’t have smaller nails for my nail gun, so it was super difficult to get the nail straight into the 1×3 instead of shooting outside of it. I spent about 30 minutes pulling out one failed attempt after another, but finally ended up with this.

Note to self for the next window–use shorter nails or possibly Liquid Nails!
Once it was finally put together I attached it to the top of the window using a level to make sure it went on straight.
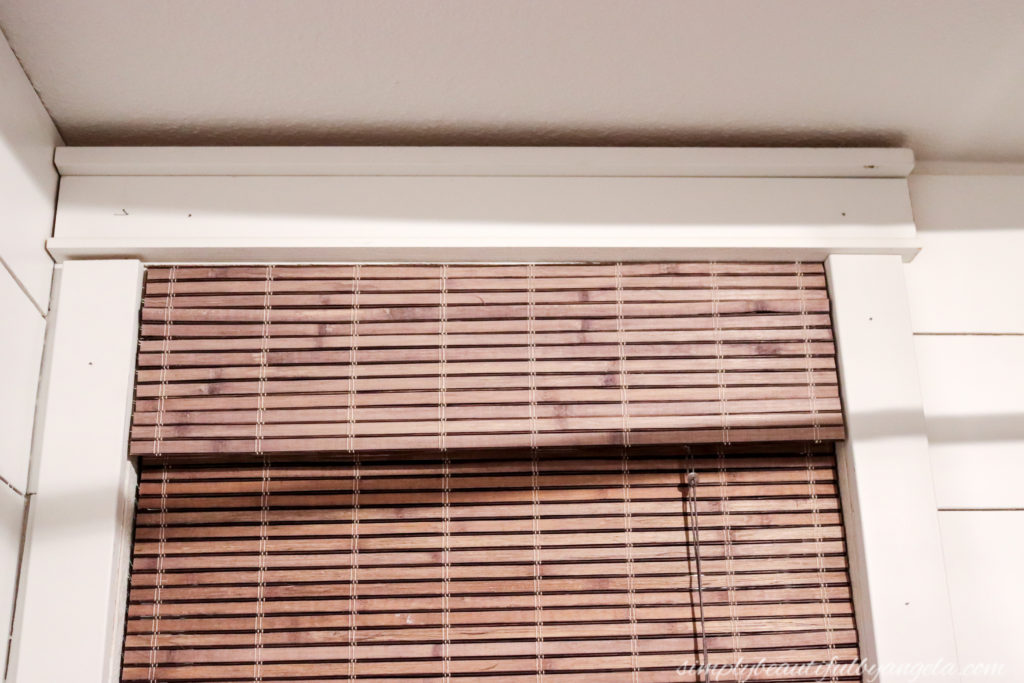
See the gap on the left side between the 1×3 and the top piece? Remember how I mentioned that I should have marked where the top piece would sit level before making my 1×3 measurement and cut?
Yep that’s why. Caulk ended up coming to the rescue later on, but it would be nice to avoid that next time.
Finally it was time to attach the bottom trim piece. This piece measures one inch shorter than the windowsill so that it lines up with the 1×3 side pieces.
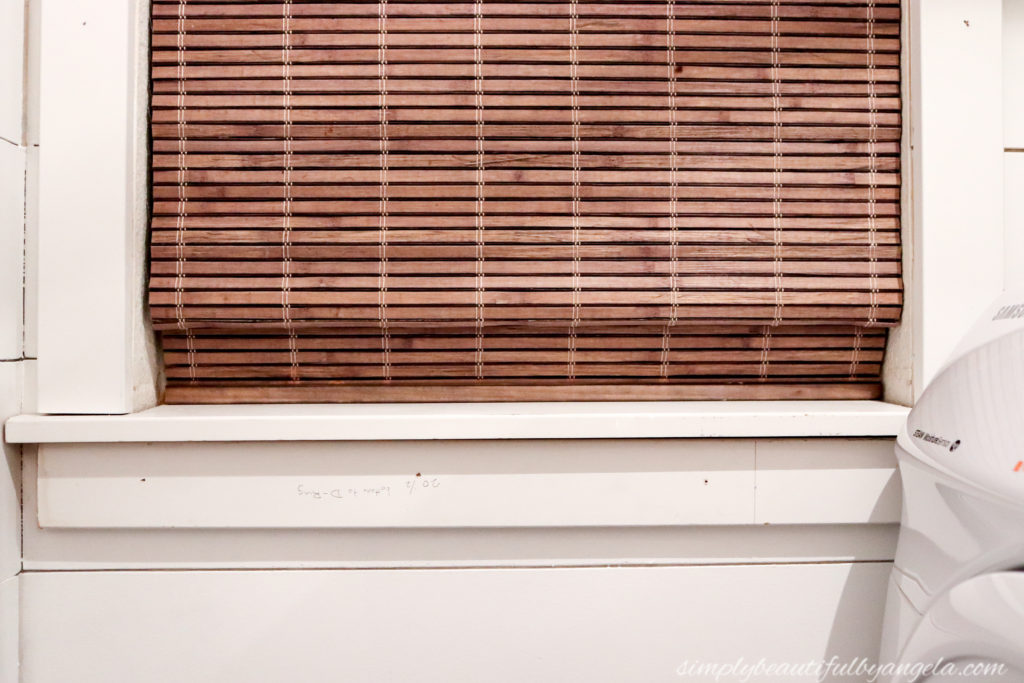
Once all of the trim was attached it was time to make it pretty. I first went around and covered all of the nail holes with spackle.
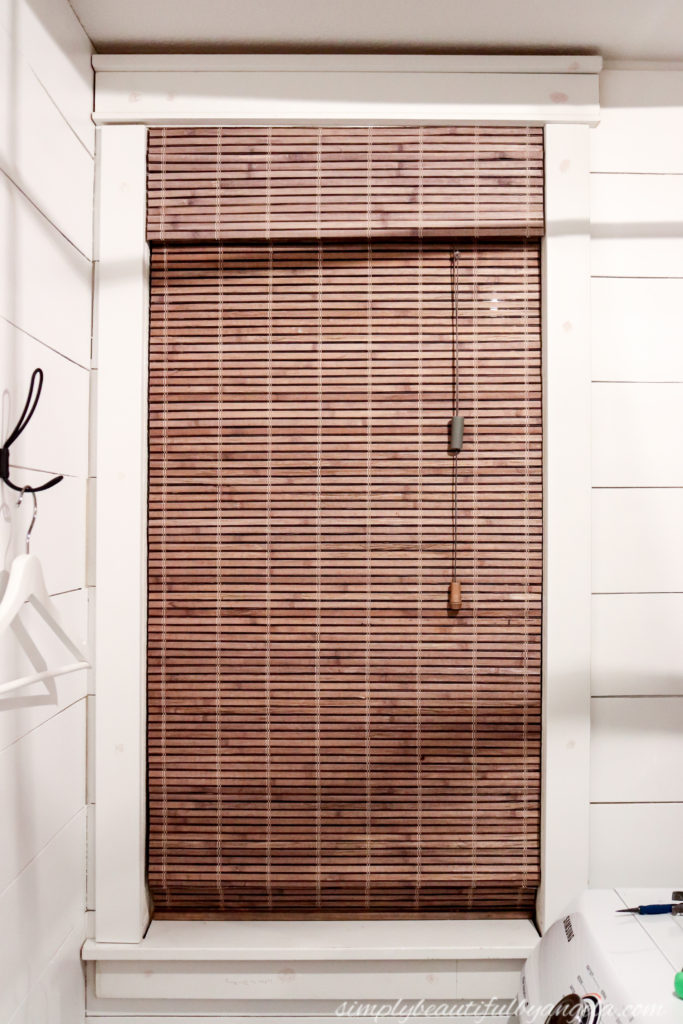
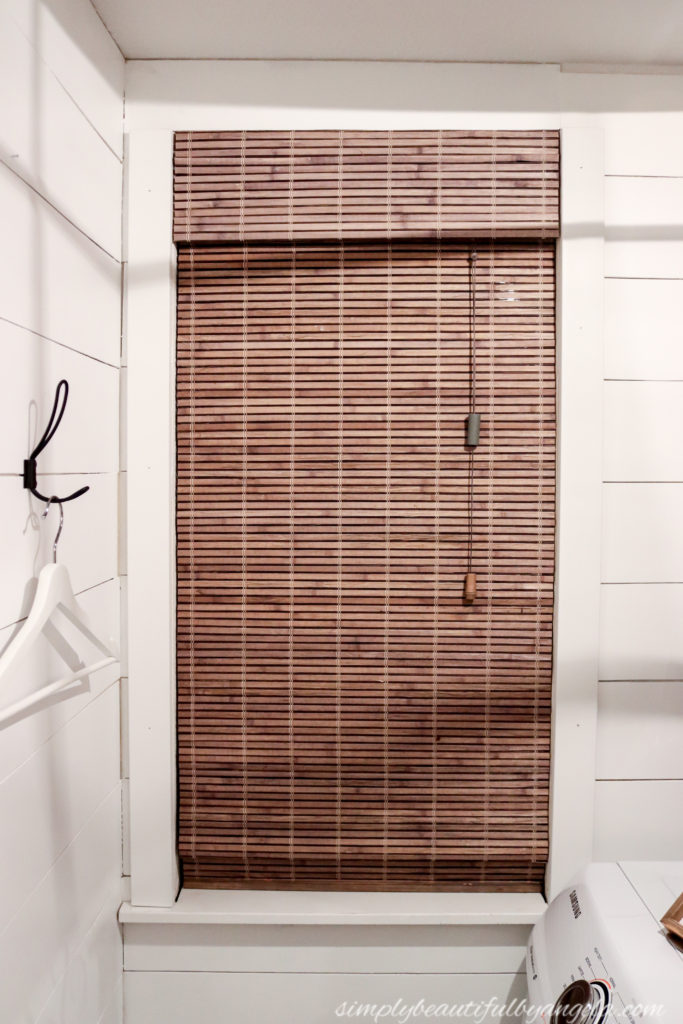
I then caulked all of the seams and once the caulk was dry I gave it all a coat of paint. This is how it turned out!
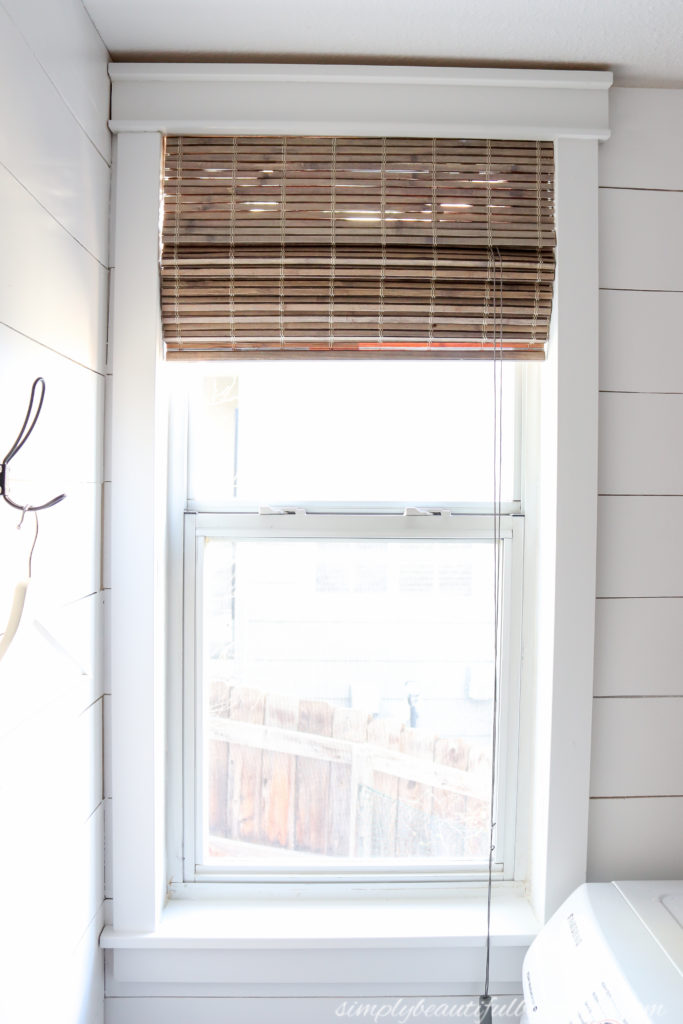
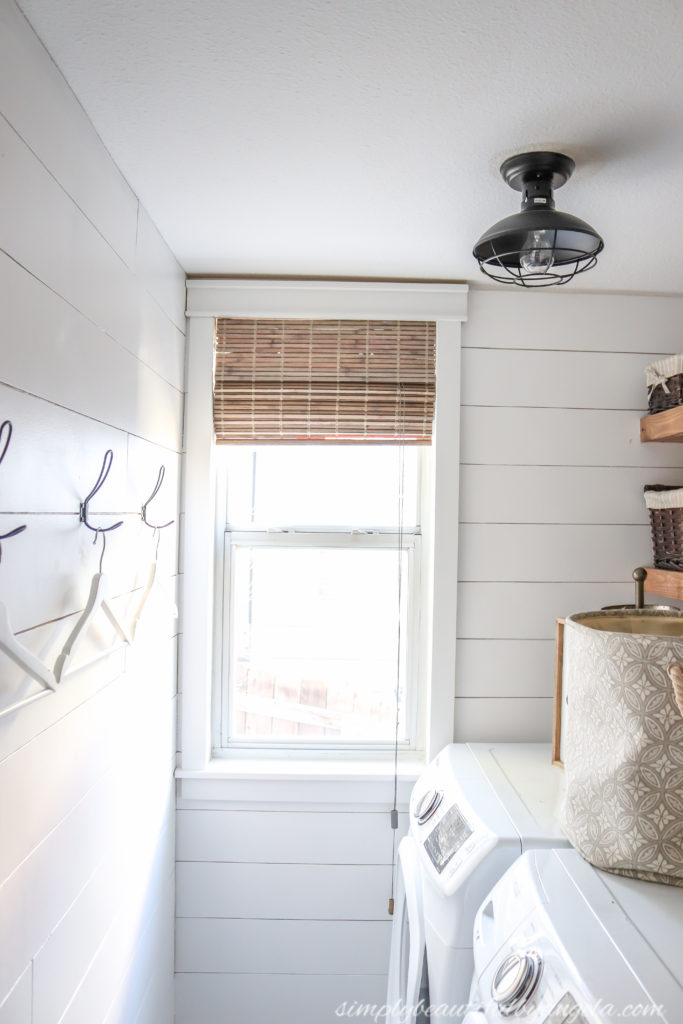
We usually keep the shade down for privacy so that cord isn’t typically hanging there but I needed the light for the photos!
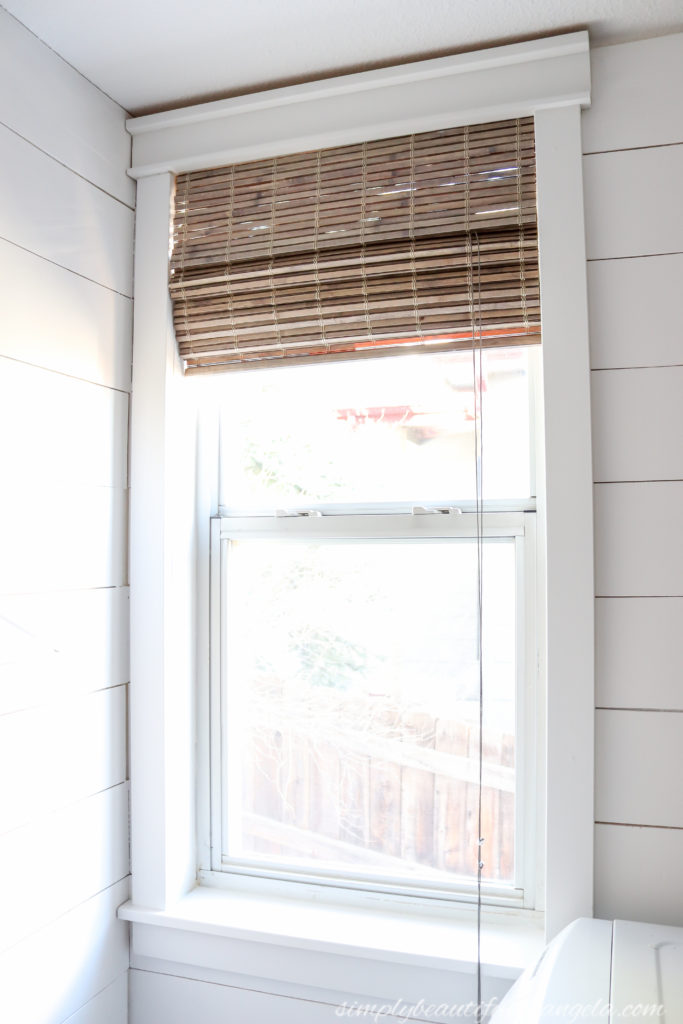
I still need to add quarter round around the top of the ceiling, I hope I still have space for it here otherwise I will have to end it at the window which I suppose wouldn’t look too terrible.
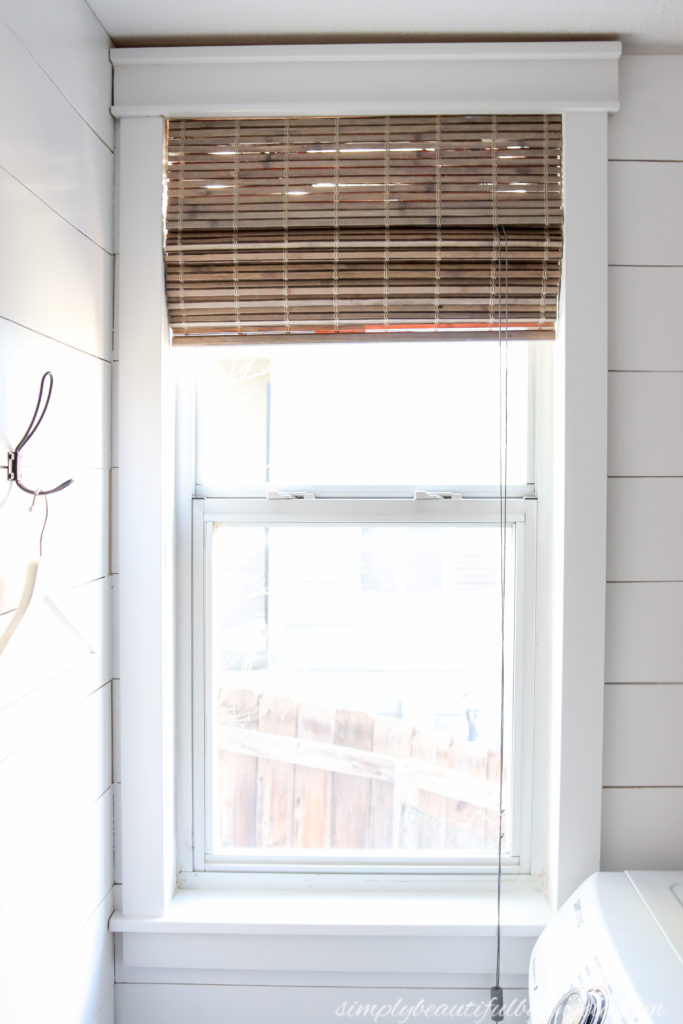
I still haven’t quite adjusted to the fact that we officially have a craftsman trimmed window after dreaming of it for so long.
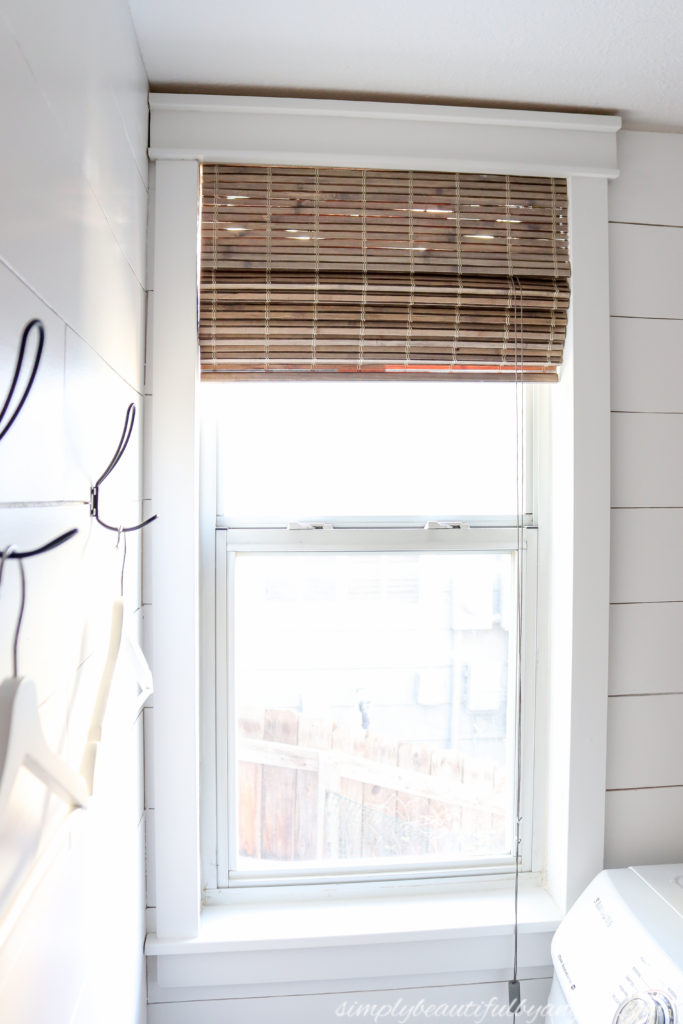
One window down, 12 more to go! We’ll get there eventually haha.
Before I sign off, here is an old gross photo from the beginning of this makeover that shows what the window looked like before.
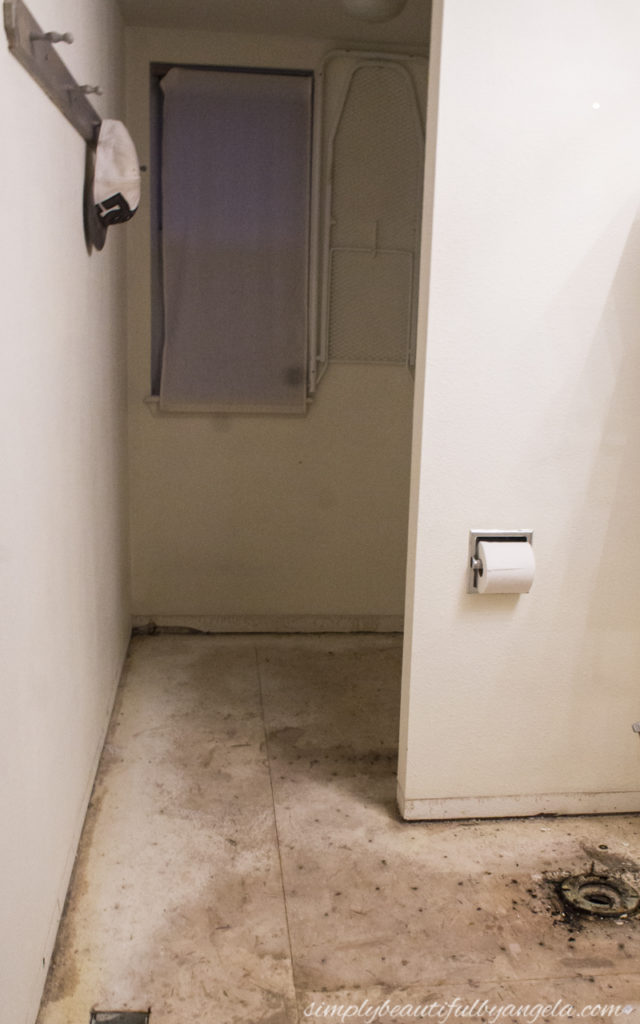
Compared to today…
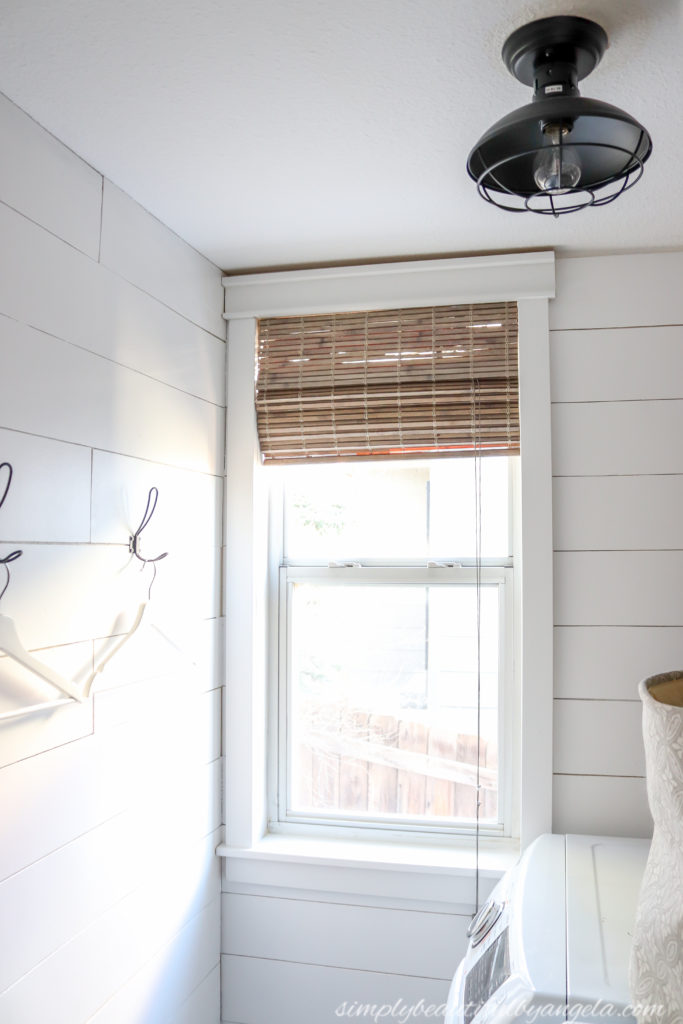
Much better!
Thanks for stopping by today my sweet friends. I will be back on Monday to share one of our trees for this year’s annual Christmas Tree Decor Blog Hop. See you all then!
Linking up to these awesome parties!