Happy Wednesday everyone! We’ve been having some absolutely gorgeous weather the past couple of days and I noticed that being able to get out and enjoy the sun for a little bit has really been helping all of our moods.
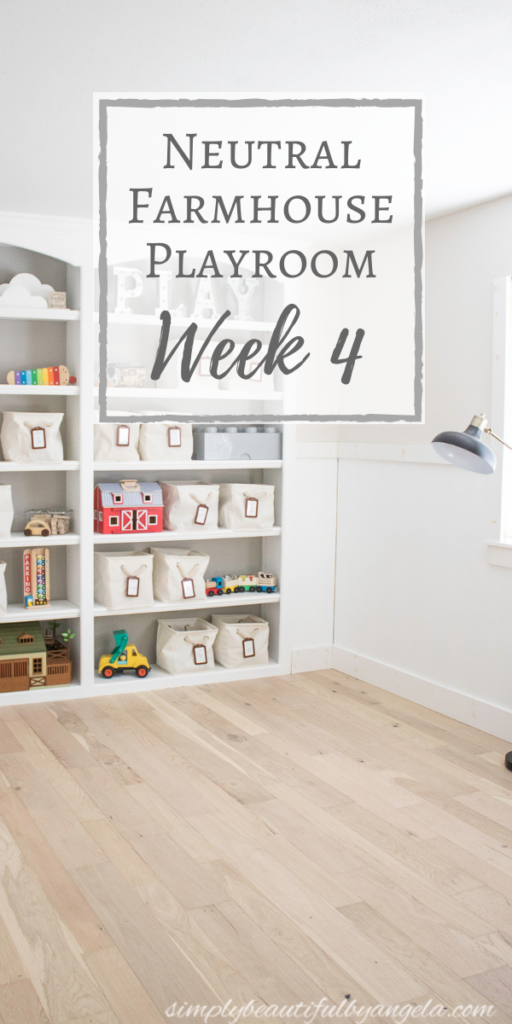
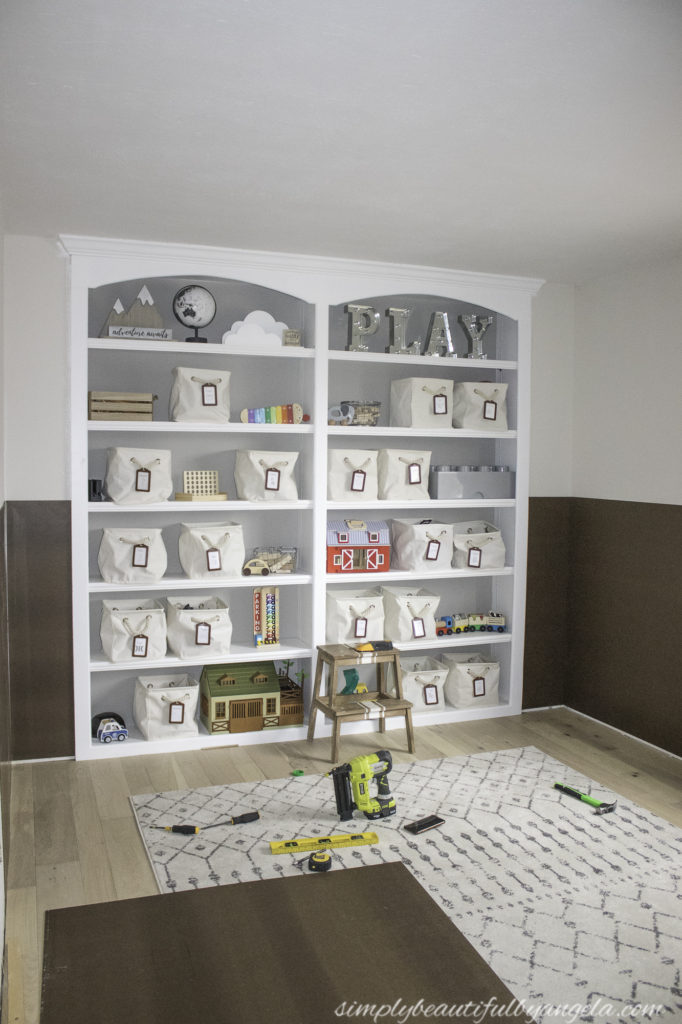
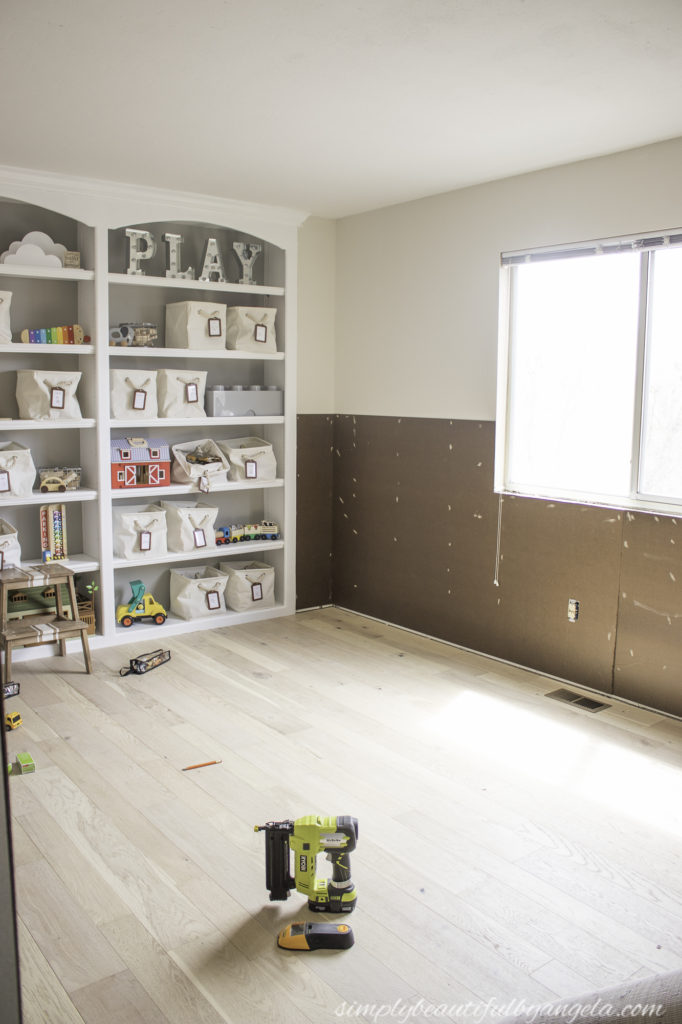
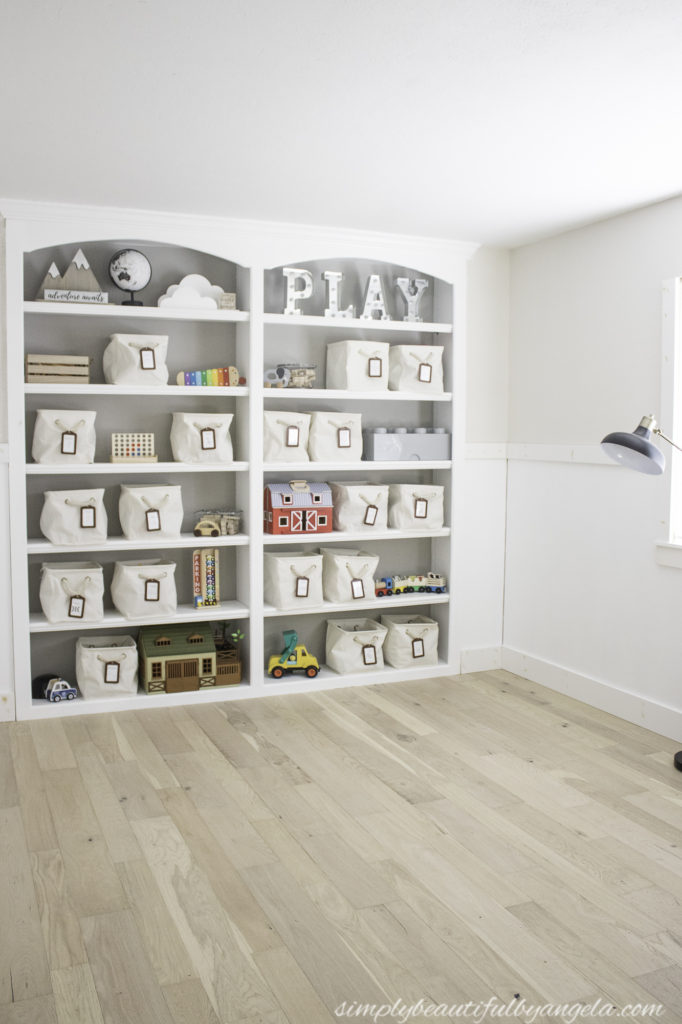
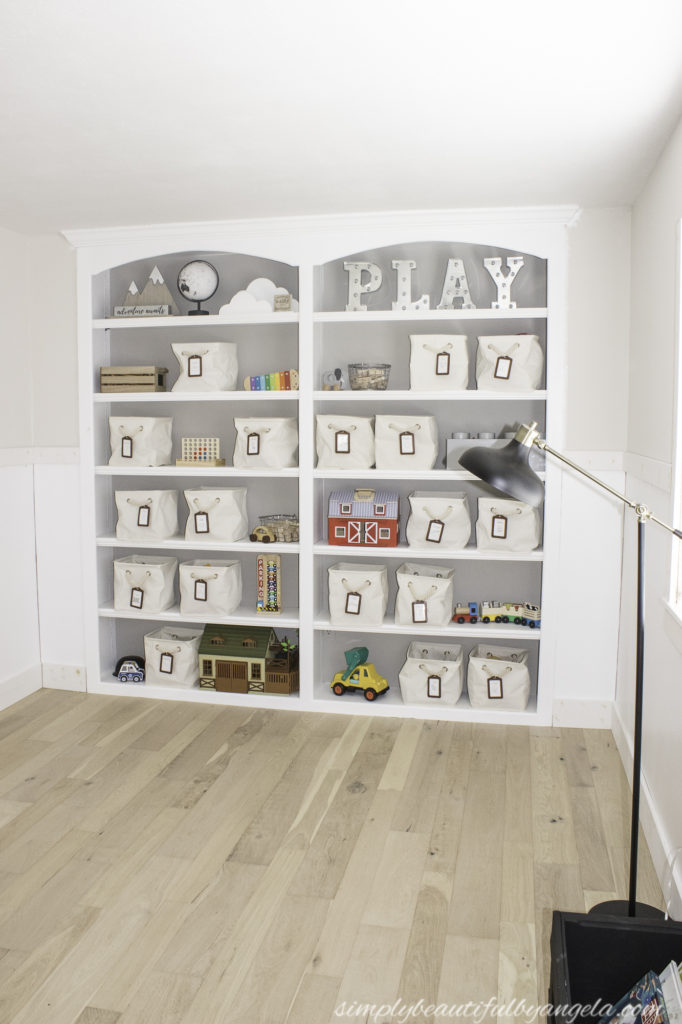
Operation playroom makeover is still going strong and I feel like I made some major progress over the past week. As a reminder this is where I left off last week:
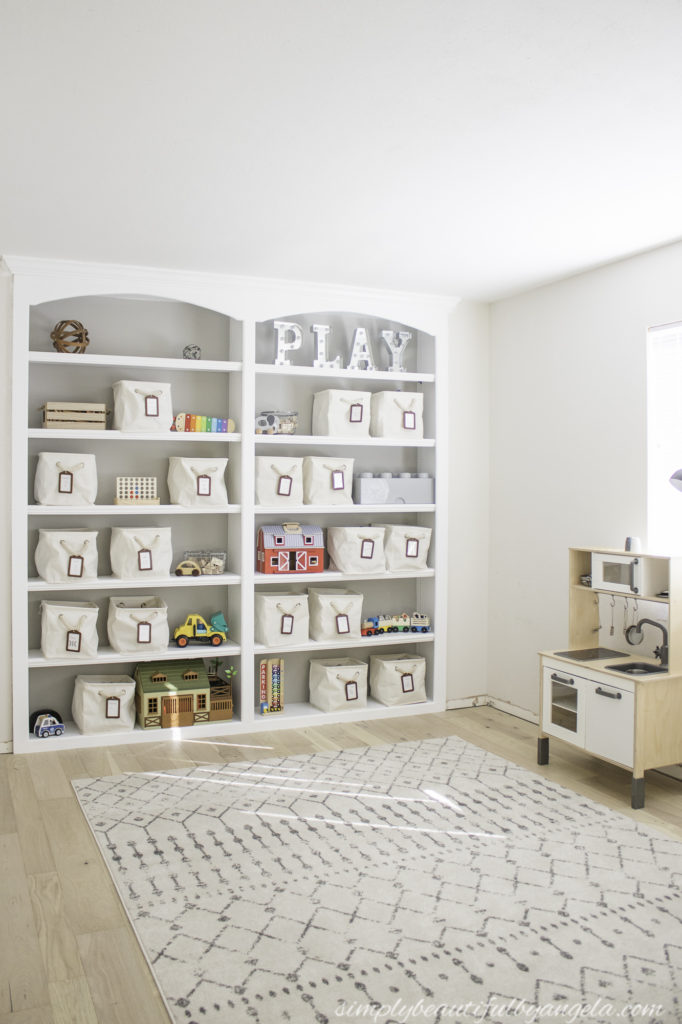
With the floors done and the built-ins painted it was finally time to start on the most exciting feature–the board and batten! You may recall that I installed a somewhat faux board and batten in several areas of our old house. True board and batten has a smooth board base with battens on top, however I just painted the wall white rather than installing smooth board.
I have been wanting to install true board and batten in our new house, however I’ve been putting it off for what feels like ages…hence why we are still baseboard-less on the main level haha! I decided that this room needed board and batten so I began my first true board and batten installation.
Before begining, I let the boys do someting that is normally a big no-no…color on the walls!
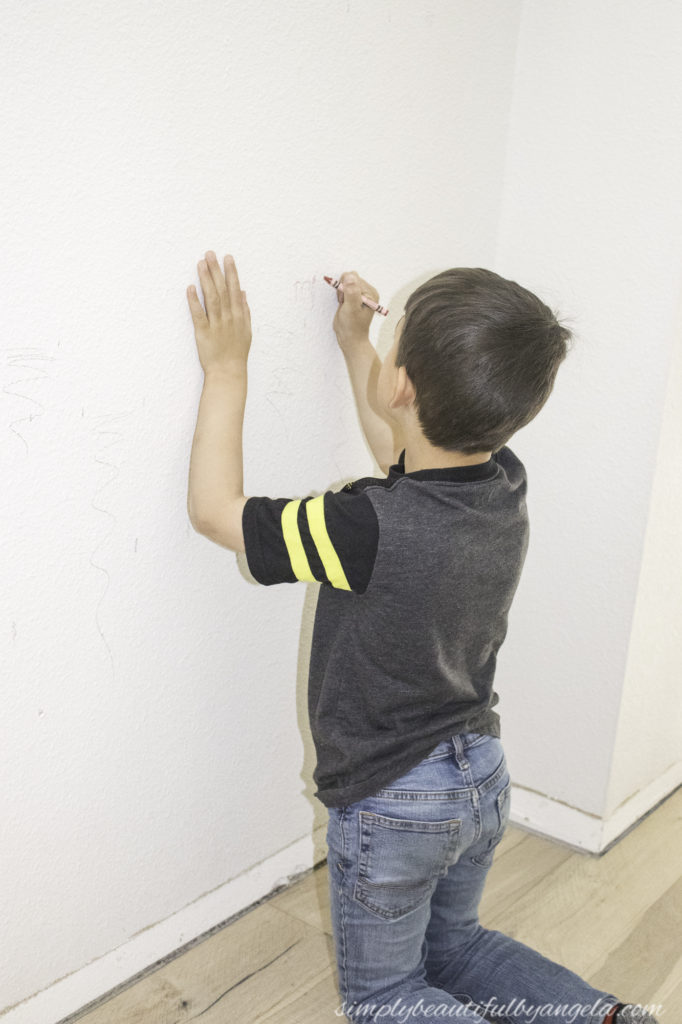
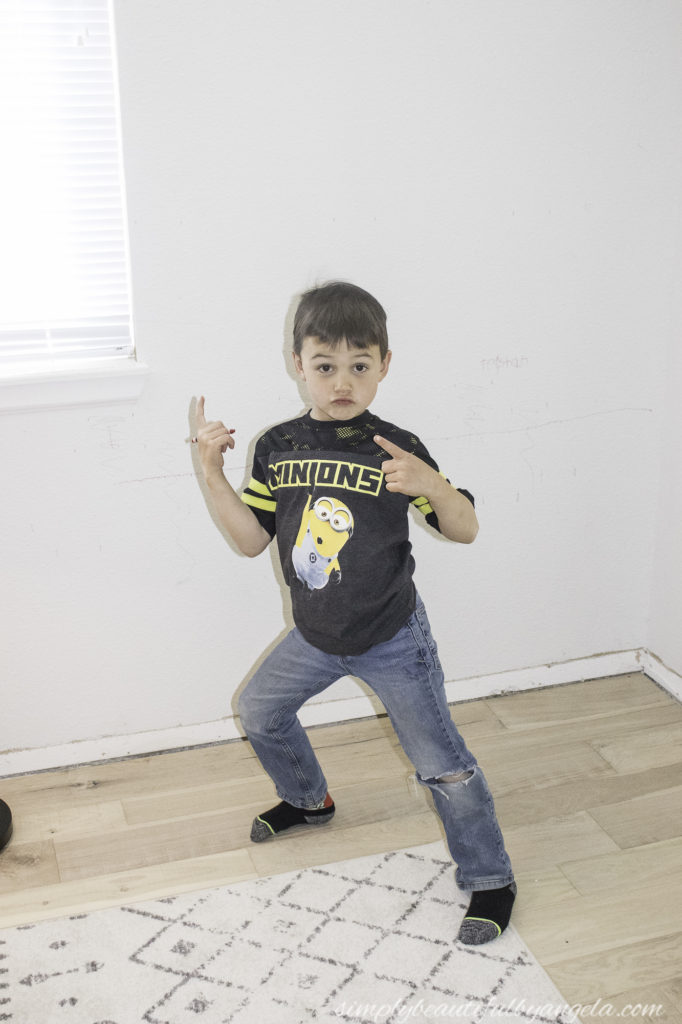

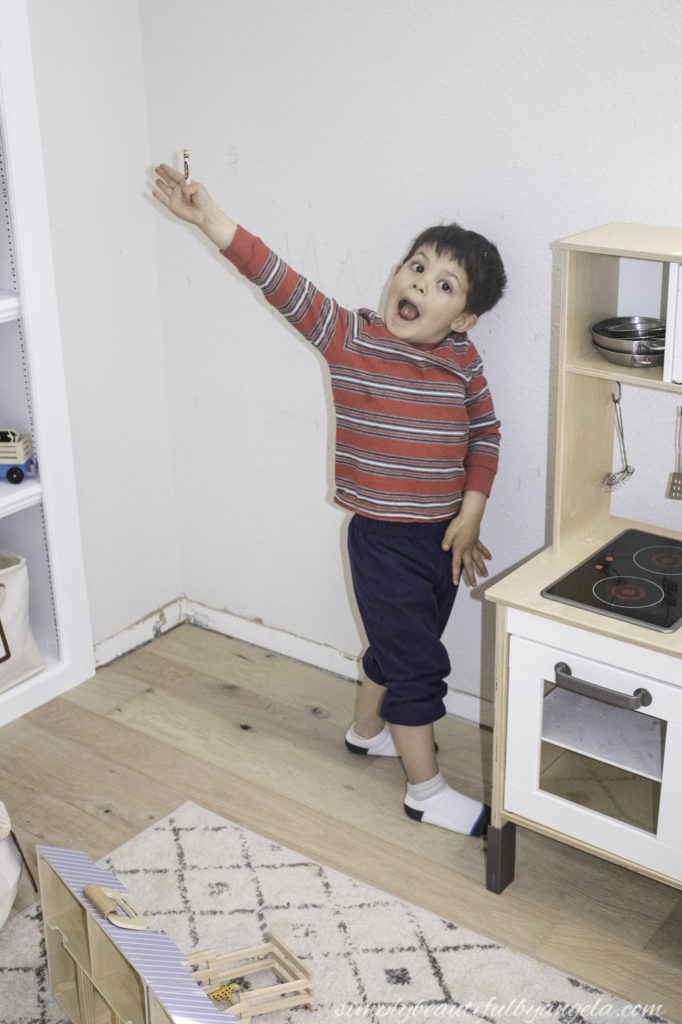
They had an absolute blast haha!
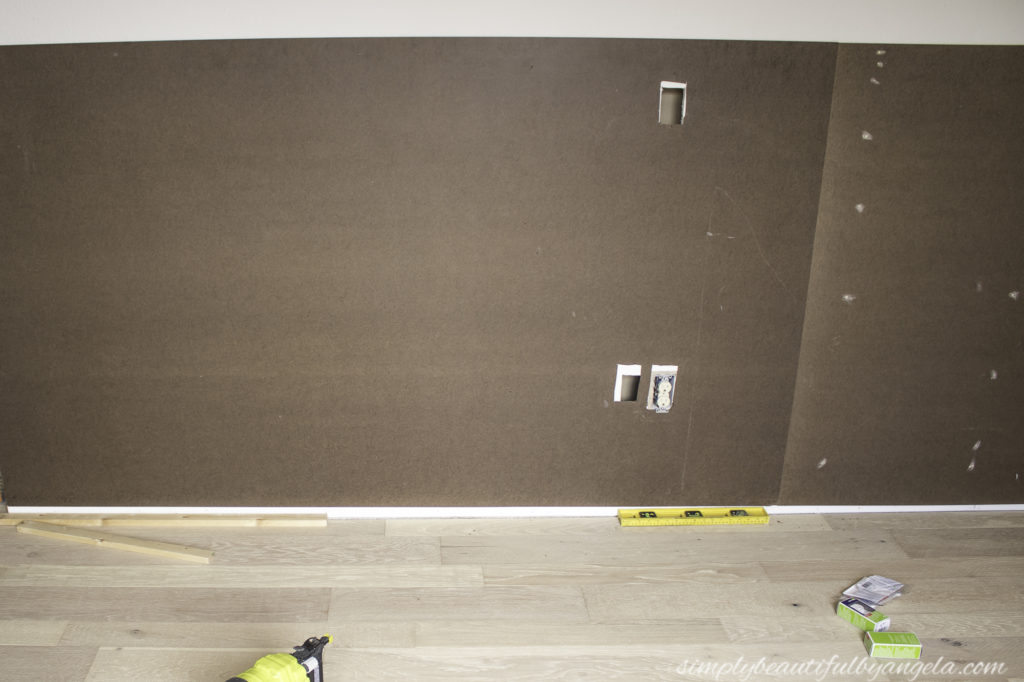
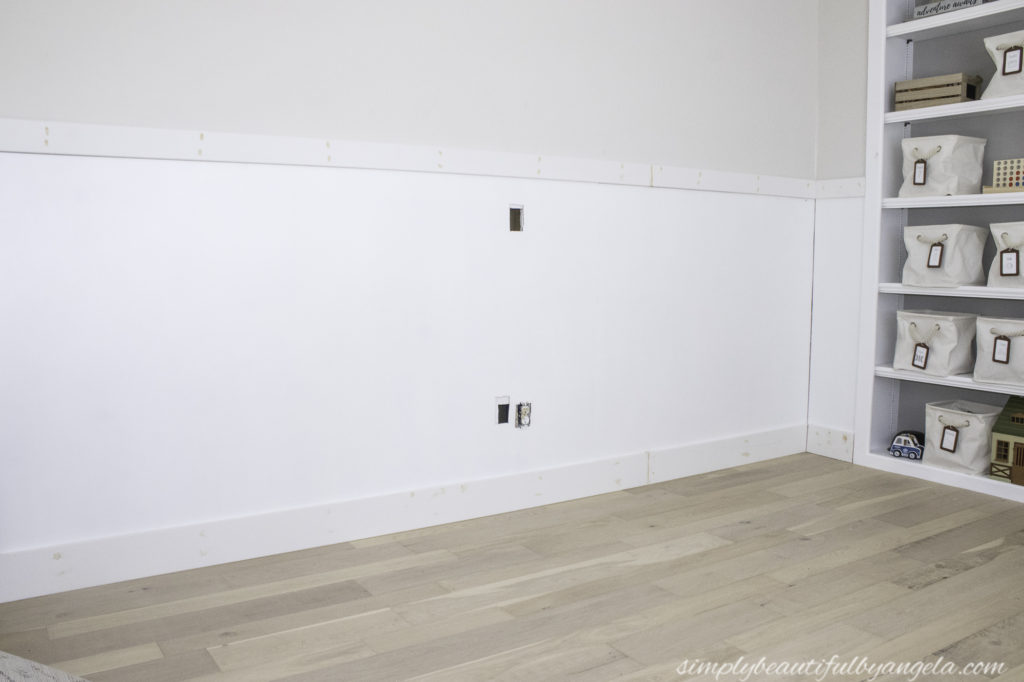
I started by nailing up some hardboard and used a scrap 1×2 at the bottom to space it so that it was level with top of the lightswitch. Turns out that I actually needed to go up further, but more on that in a second.
Before beginning I marked out where the battens would sit to ensure that any seams would fall behind one.
Originally I was going to try to miter the edges around corners, but after realizing how difficult that would be because of how thin this stuff is, I decided that I’ll just put mitered battens on the corners instead which I think that will look better anyways.
I managed to get the outlet on the other side of the room jigsawed out perfectly, but when I got to this side the openings used for the mounted TV must have made me distracted and I ended up being waaaaaay off!
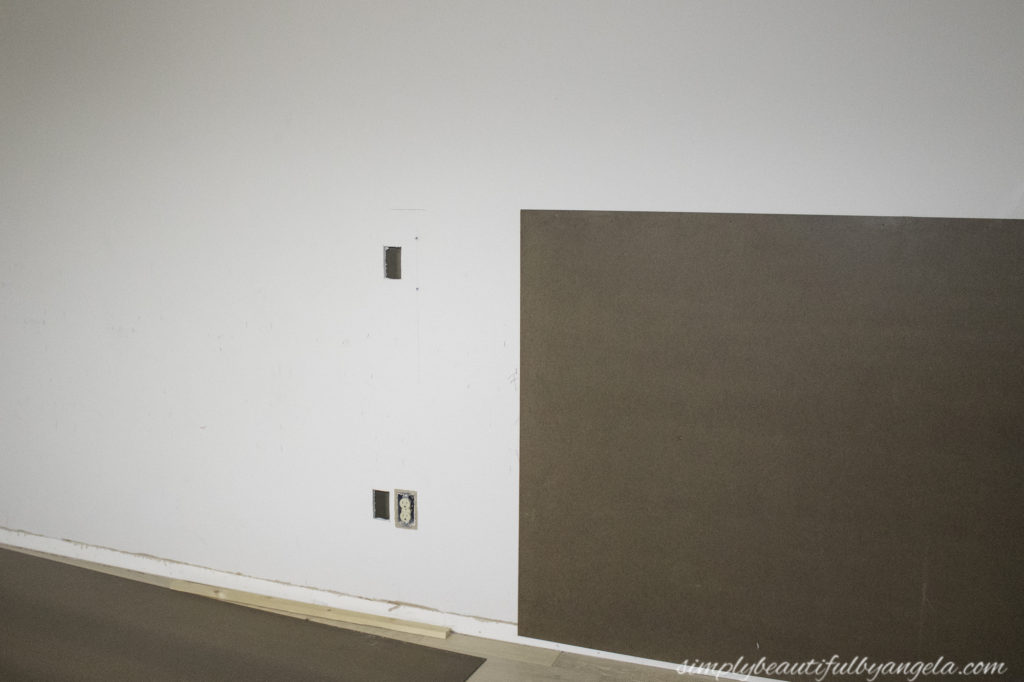
Luckily the drywall behind the TV mount holes can be re-cut and I was able to slip a little piece of scrap at the top of the outlet hole. Once I puttied, sanded and painted it you can hardly tell.
It was a little more work than I had anticipated getting all of the boards, cut, level and nailed to studs but I persevered and managed to get them all done on Saturday. Once they were all up me and my little helpers went around and filled all of the holes with wood putty.
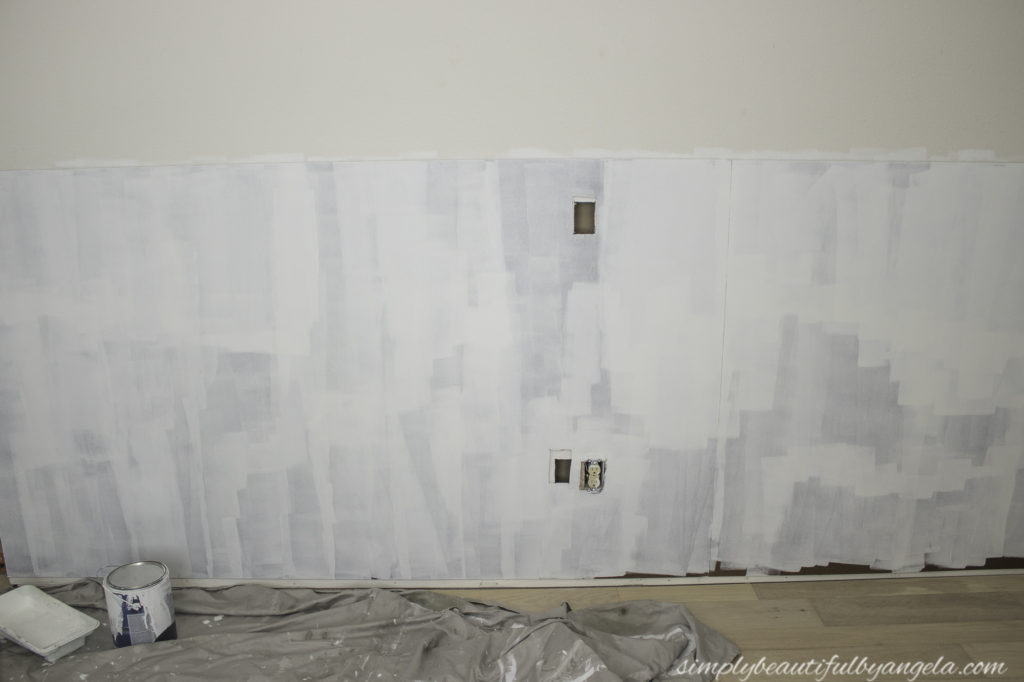
By Sunday I was ready to sand and start the coat of primer. I forgot how bad this stuff soaks primer up! It wasn’t looking too promising…
But after three coats of paint this is where it’s at today!
I also got the baseboards and the top pieces installed.
Back to the top piece. Remember how I had placed the hardboard up a certain distance from the floor so that the top batten would sit on top of lightswitches rather than running in to it? It turns out I forgot that the top board would be on the wall rather than the hardboard which would be a problem when I install the vertical boards because they wouldn’t be flush. As an easy fix I had Anthony rip some hardboard in to three inch strips and attached them all around the top so that the top piece would sit on this. Caulk will fill the small gap left behind.
I’m working on a little rolling book box (still need to stencil the words since my handwriting is terrible) and I’ll share that with you guys next week for the Thrift Store Challenge.
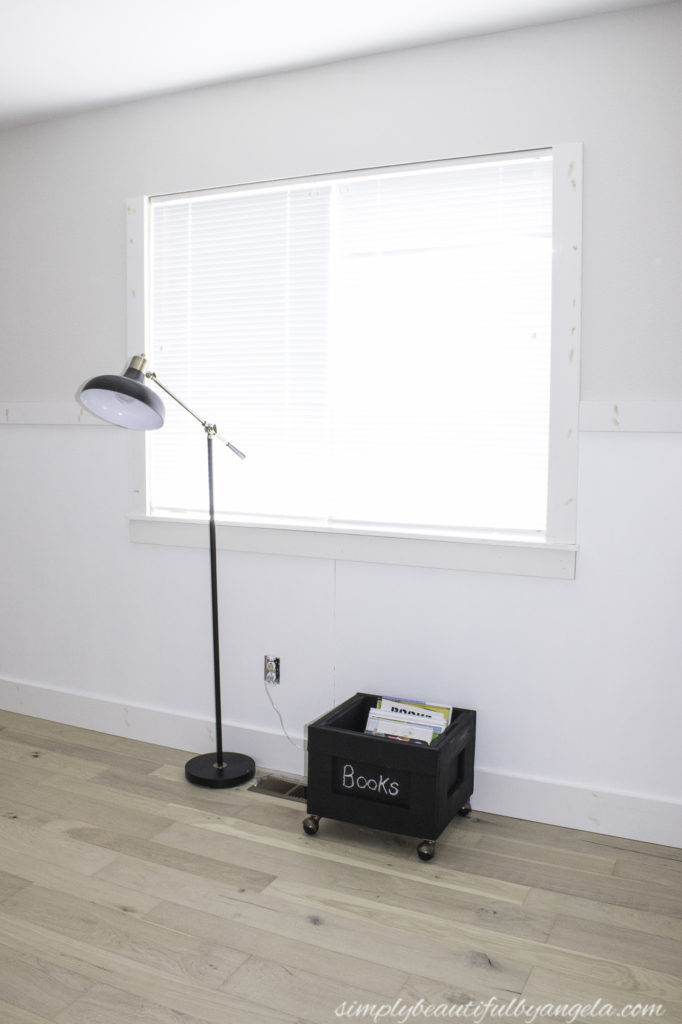
Oh and the craftsman window trim is almost done! Unfortunately after I cut the bottom board, the saw tried to kill me–really!
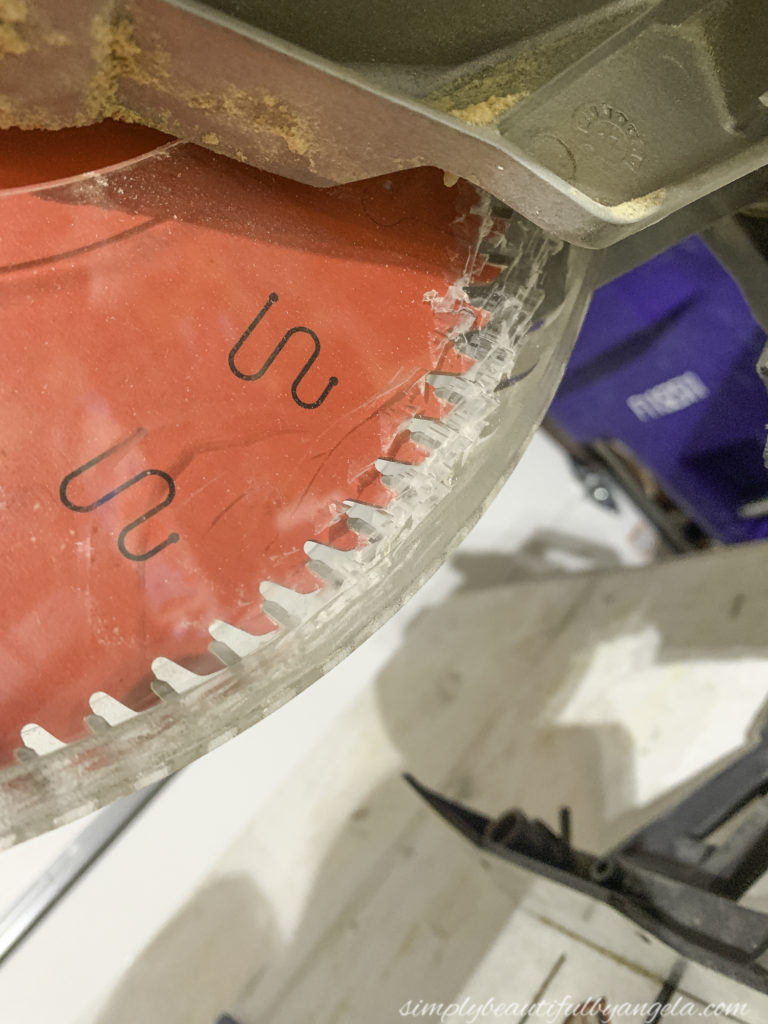
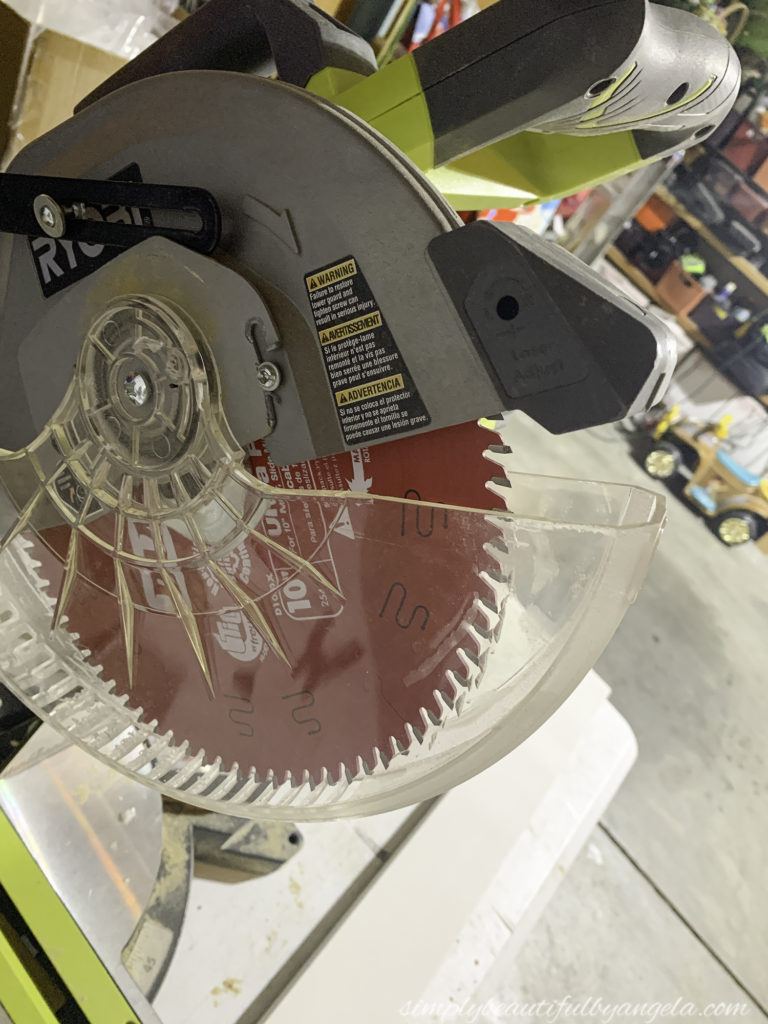
I’m not sure what happened but something holding the blade cover snapped off. It was terrifying! It’s still usable but the thought of using a saw with no cover kind of scares me so until we can figure out how to get a new one I’m kind of at a standstill as far as the timwork in here goes.
This weekend I plan to make use of the nice weather to go out and use the paint sprayer to paint the table, chairs and bench that will be going back in here. I’ll catch up with you guys next week!
I am participating in the spring 2020 One Room Challenge! You can catch all of the progress on other fun room makeovers here!

(Affiliate links may be provided for convenience. For more info, see my full disclosure here.)
Linking up to these awesome parties!