Hello friends, happy Wednesday 🙂
I’m on the furniture flipping streak for the month of March and last week I finished not only the piece that I’m sharing today, but 3 other things! I would be lying if I said I wasn’t experiencing any burnout, but I’m determined to get through the rest of the items in the garage this month so we are going to keep pushing forward!
This little cabinet has had quite the journey. I first purchased it at Goodwill to use as DVD storage at our old house and painted over the orignal navy with white. When we moved to this house, we used it in the living room to hold our cable and modem boxes in the living room. And finally, after we installed the fireplace built-ins it got a second makeover and was moved next to the stairs.
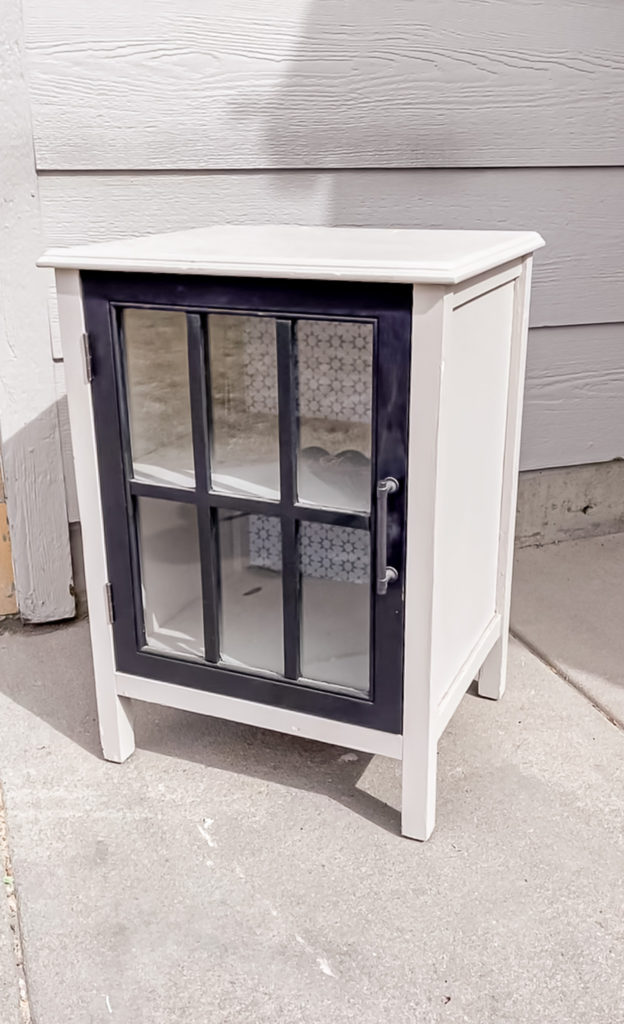
The second makeover was a rushed job and I didn’t scuff sand which meant that the paint was peeling off. When I found something else to put next to the stairs it got banished to the basement and waited for some help before it could be sent off to it’s new home!
Supplies Used:(Affiliate links may be provided for convenience. For more info, see my full disclosure here.)
- Sander
- Nail Gun
- Wood Glue
- Spackle
- Miter Saw
- Reeded Molding
- Paint Sprayer
- Ultra Flat Polyacrylic
- Spray Paint
- Spray Acrylic
- Modge Podge
- White Burlap
- Iron Pull Bar
- Contact Paper
I started by sanding off the second coat of paint that I had added, and since I didn’t do a scuff sand it peeled off very easily. The first coat of paint was chalk paint covered with polyacrylic so it was on there good and just needed to have the polyacrylic scuff sanded.
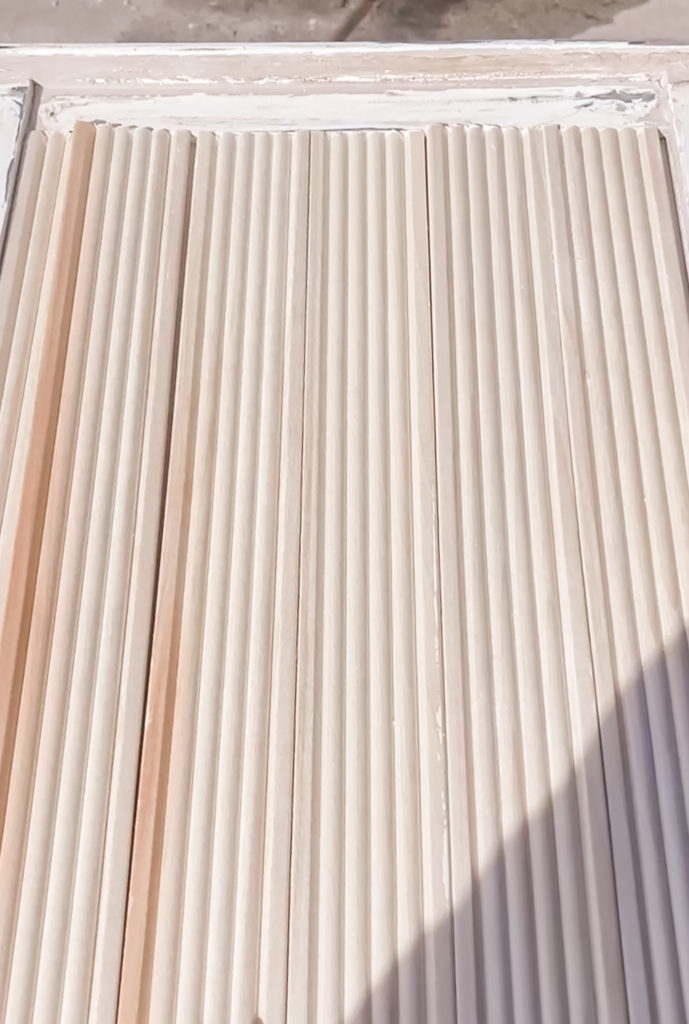
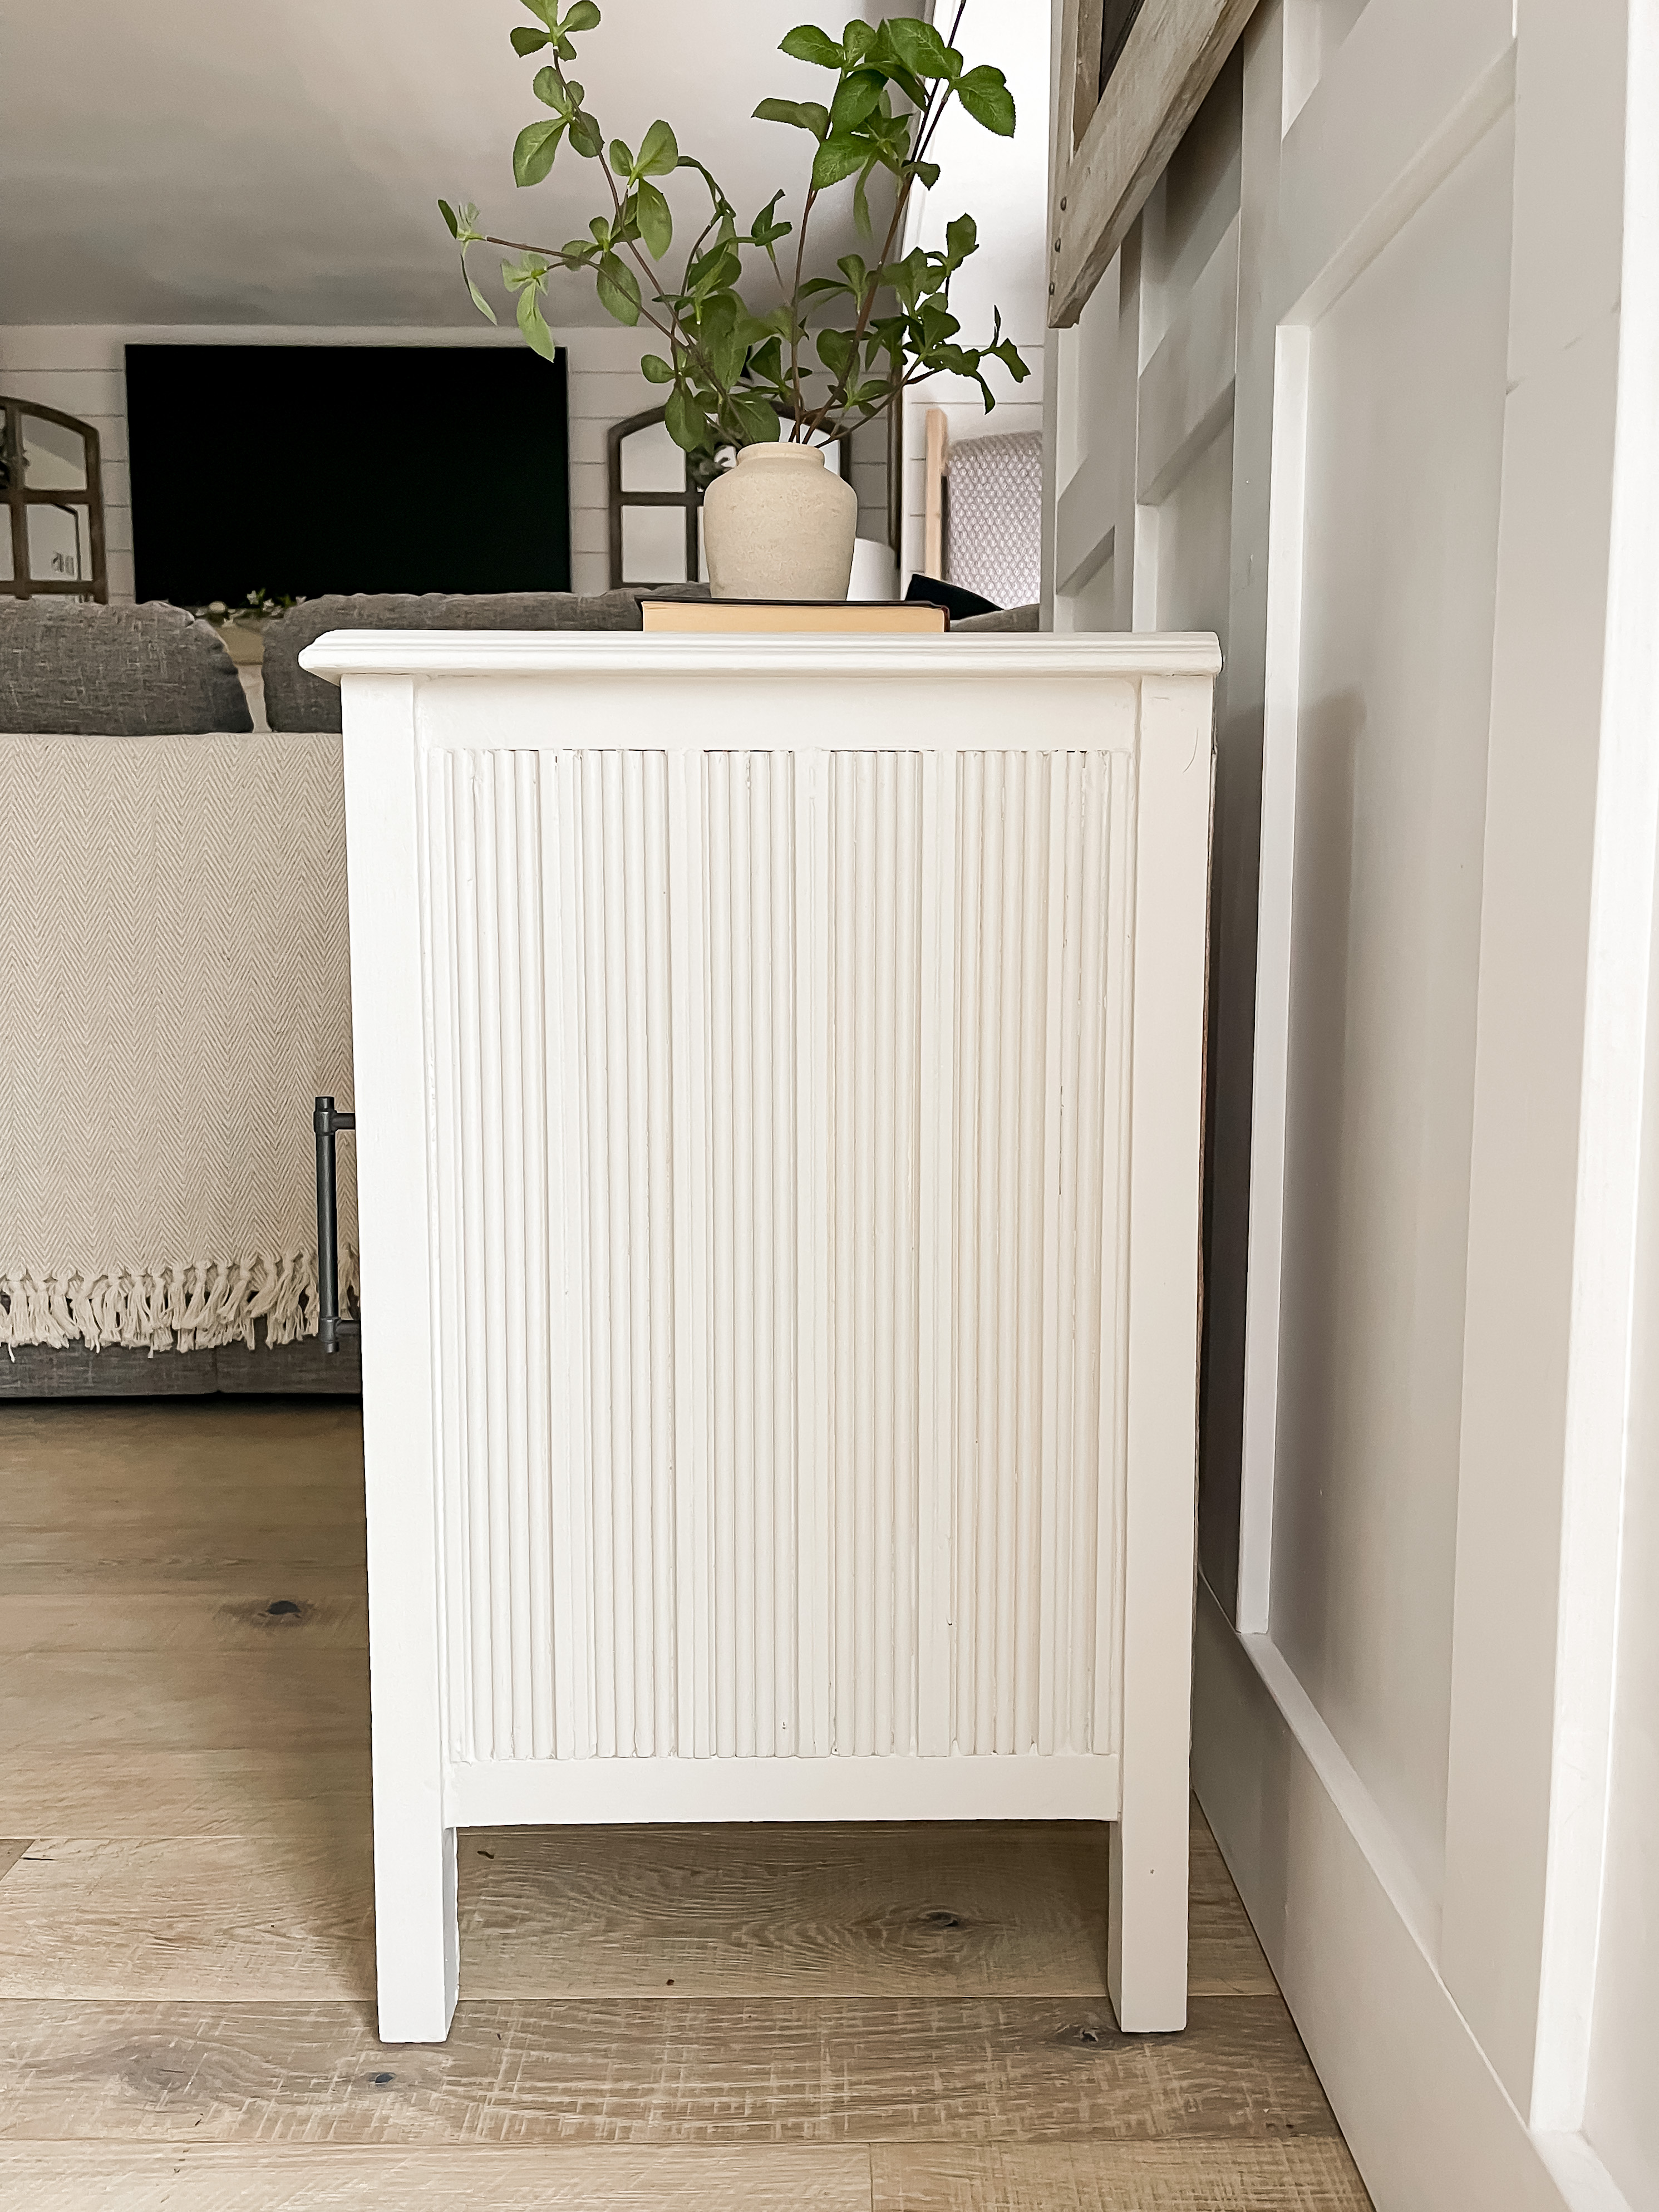
I then started adding some reeded molding to the sides. I started by cutting strips down to size, then applied some wood glue to the backs of each one before pressing them in to place.
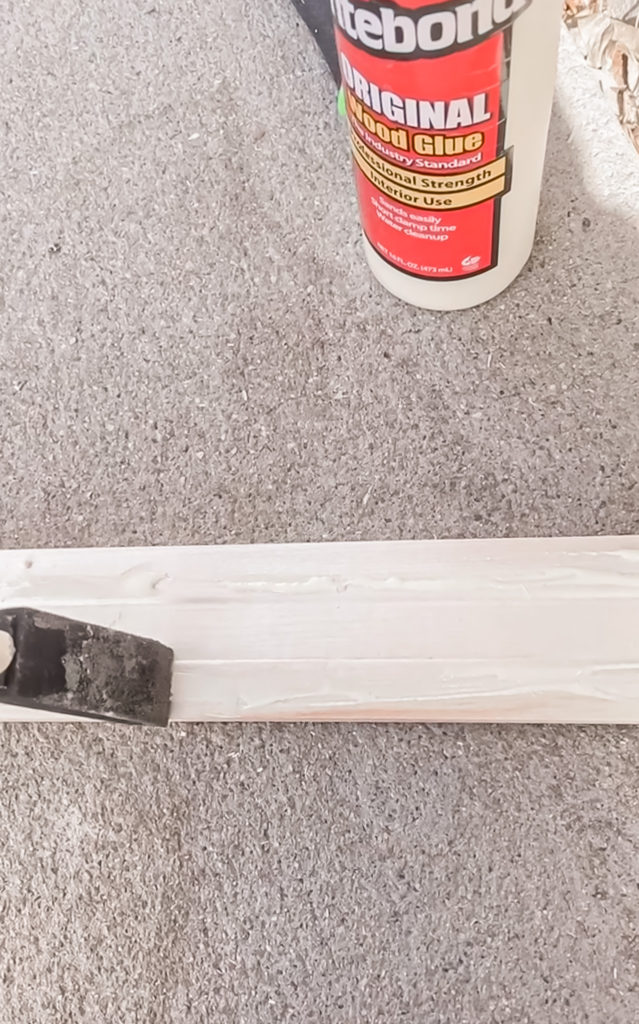
They probably would have held up just fine like this, but I decided to add nails for extra stability.
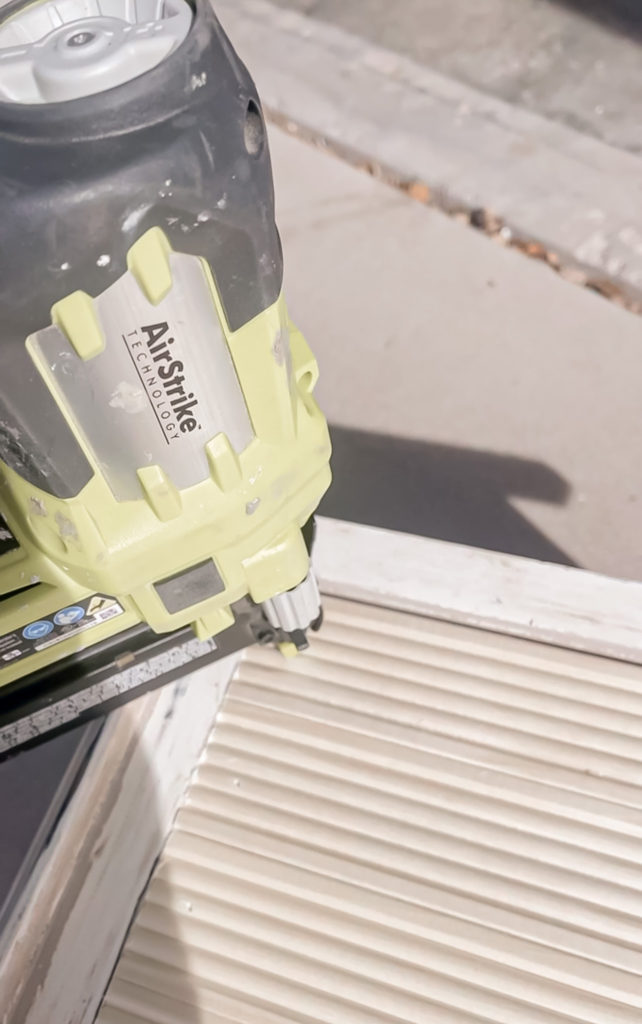
I didn’t have shorter nails on hand, so they of course shot through to the inside of the cabinet. I used some snippers to chop the ends off then covered them up with some scrap hardboard.

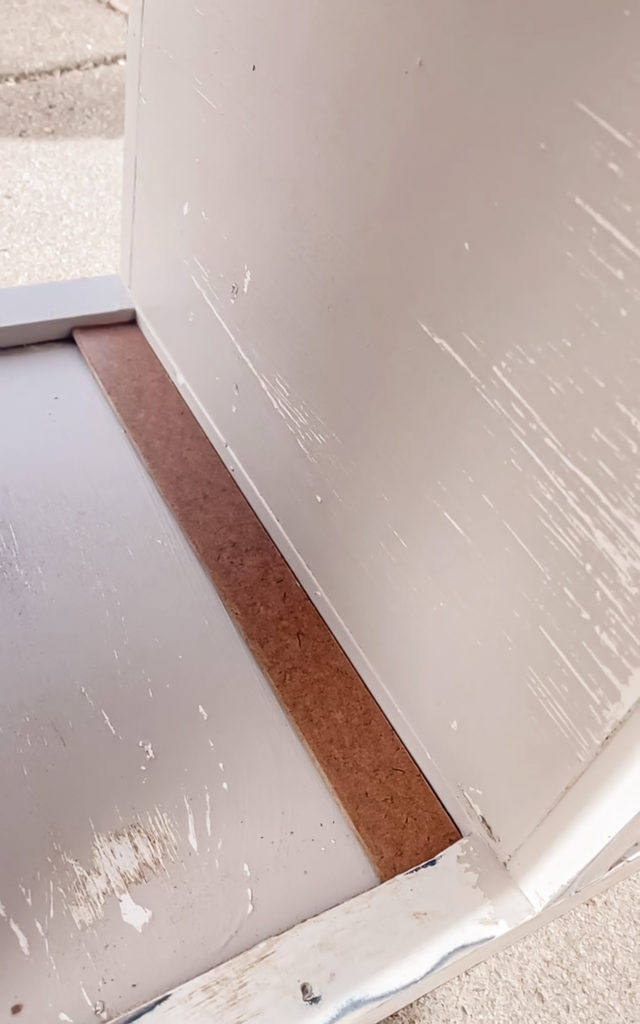
This definitely ended up being a lot more work than it would have been to just go to the store and get the right sized nails–lesson learned!
I went over all of the seams and nail holes with some spackle and let it dry overnight.
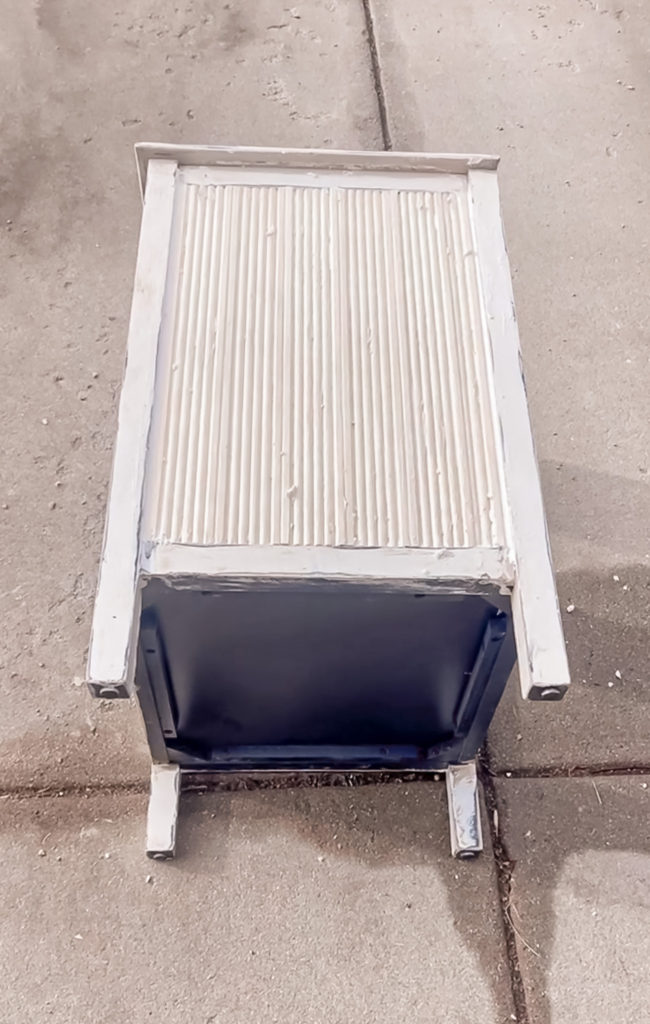
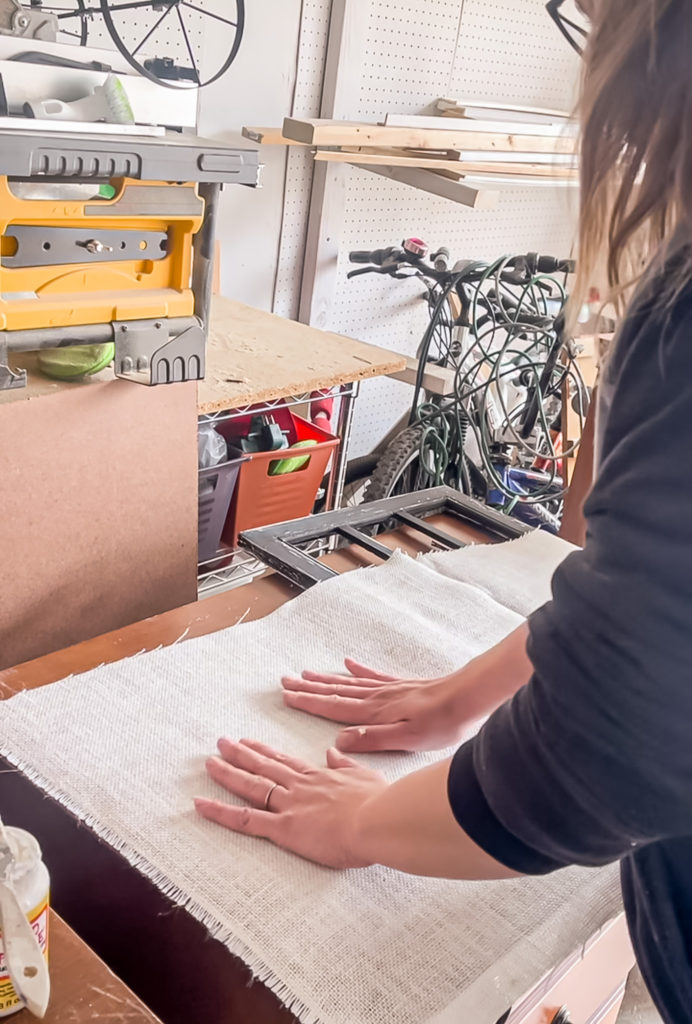
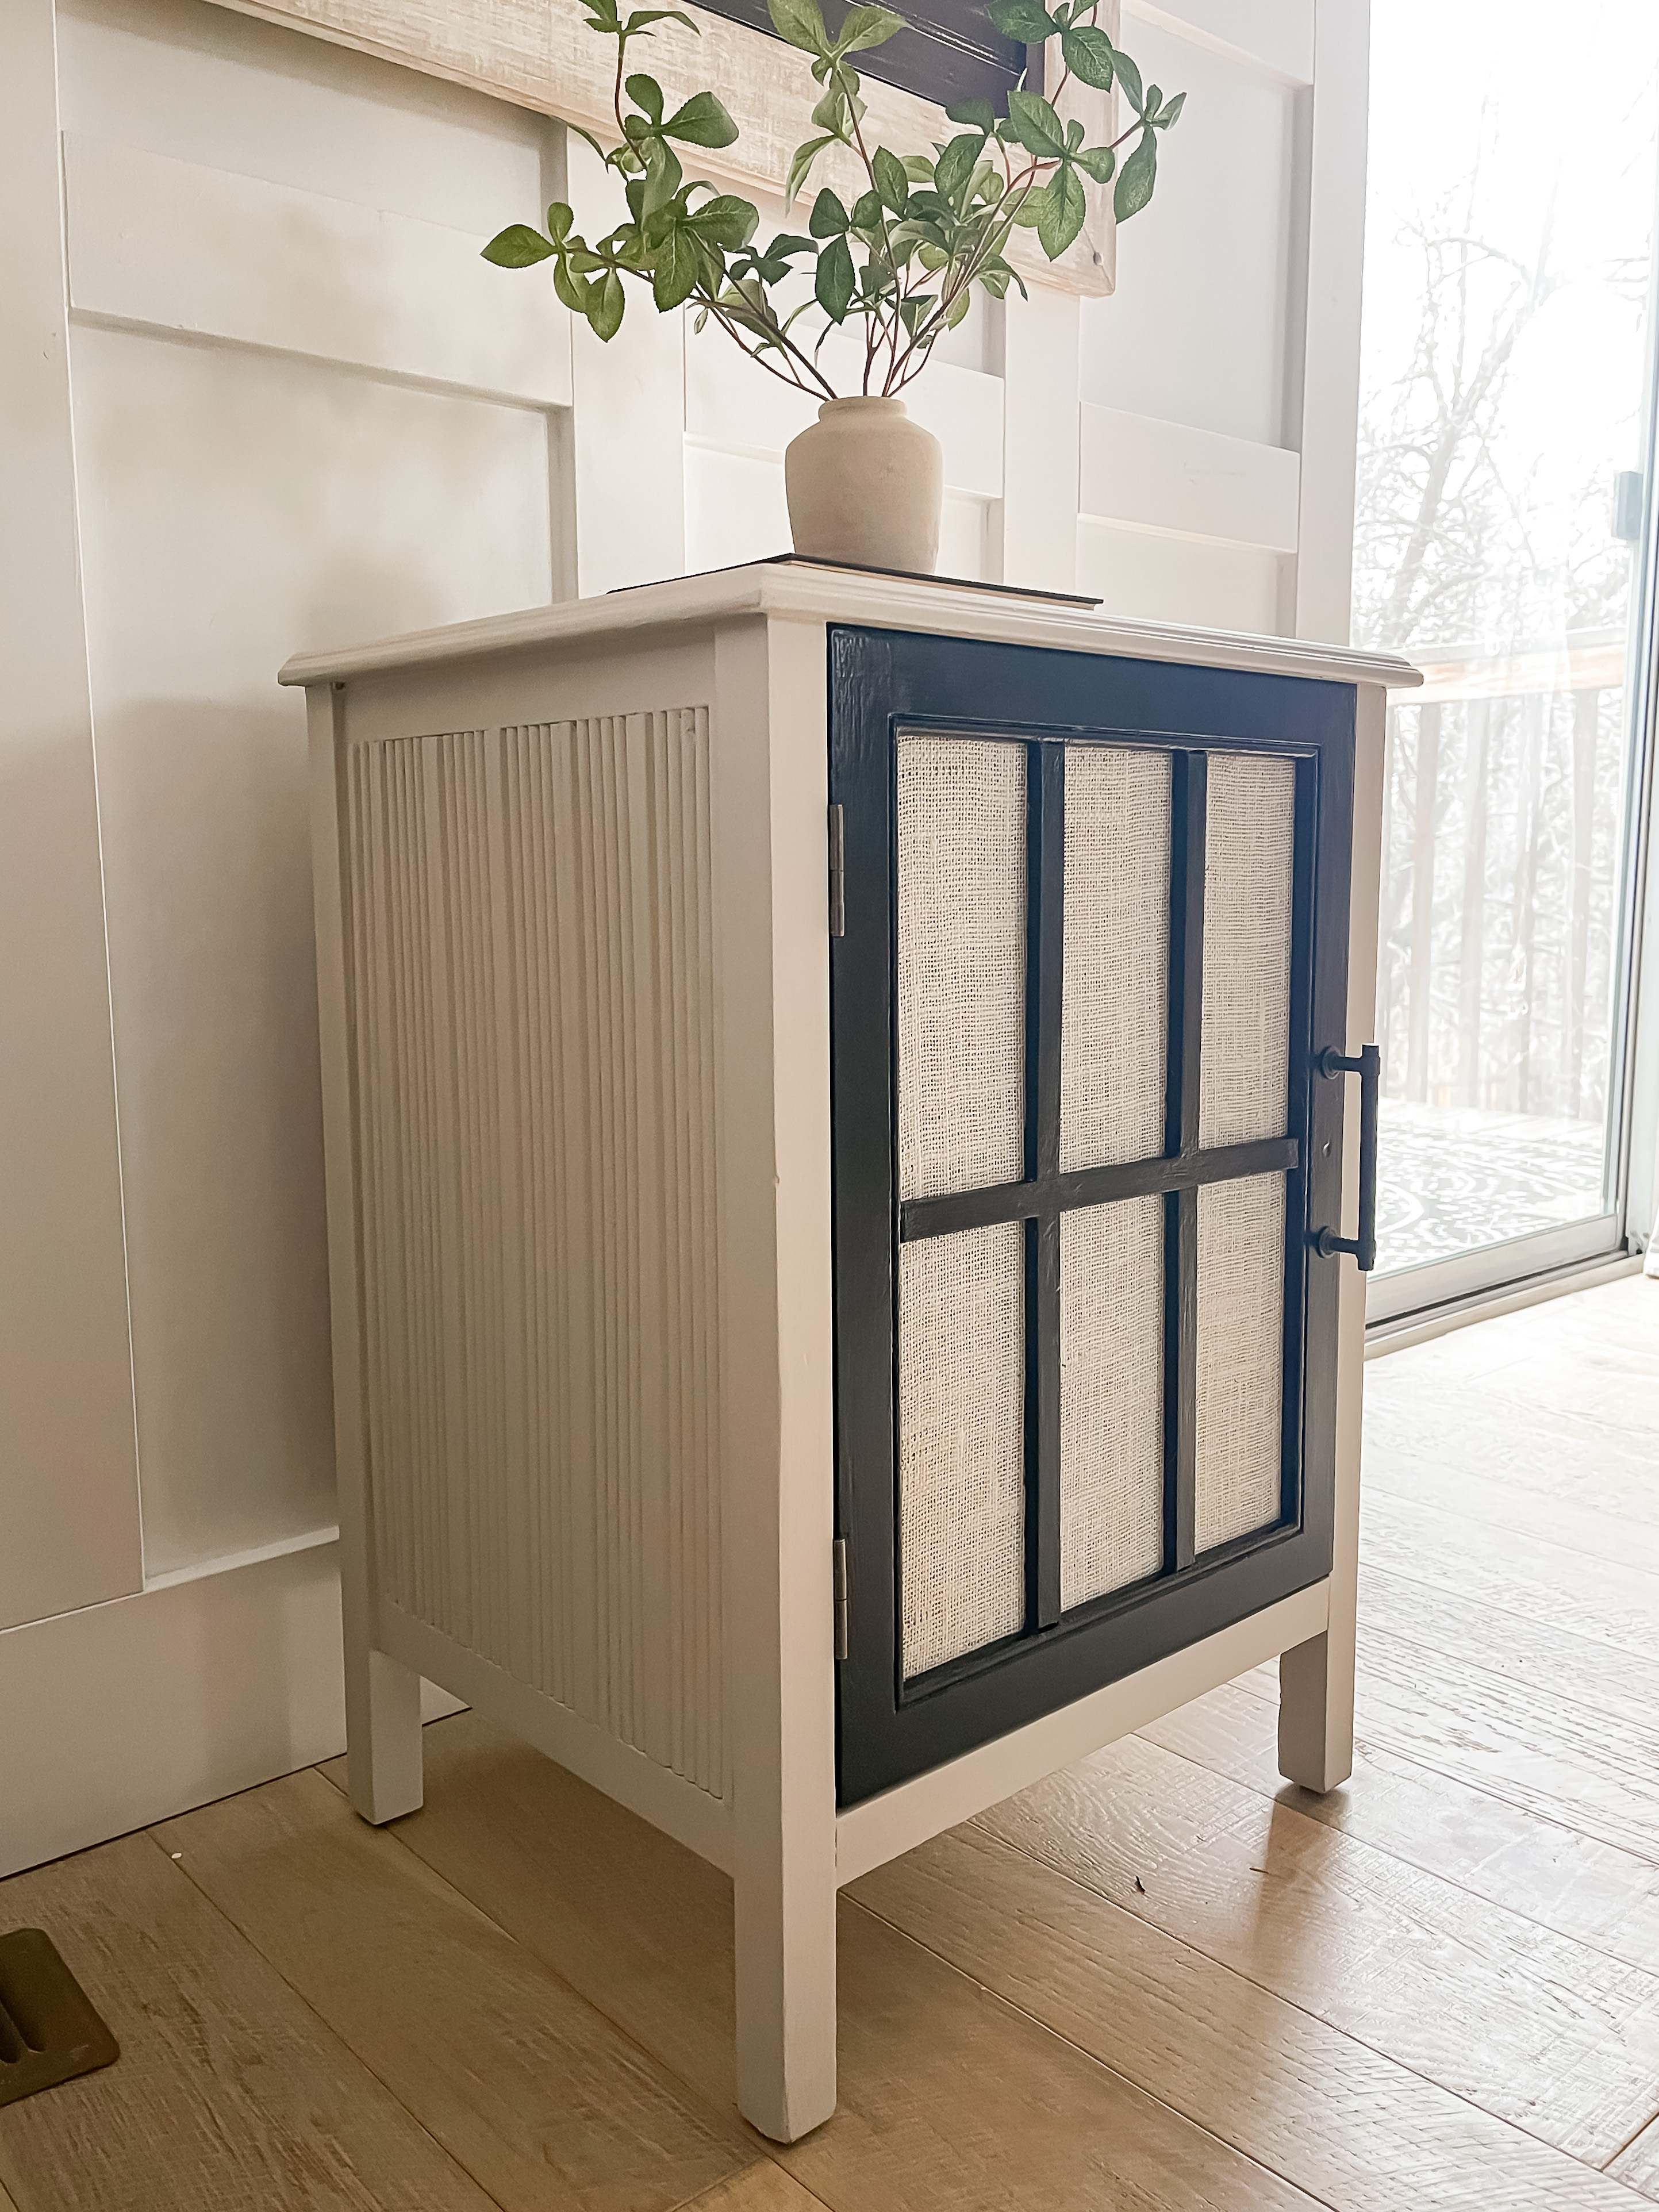
Although I was originally going to add some reeded film to the glass door, I decided it would be too much with the reeded trim on the side. So instead, I decided to take the glass out entirely and replace it with a hardboard covered with white burlap. I started by coating the hardboard with the Modge Podge, then pressed the burlap in to place. I let it dry before trimming off the excess.
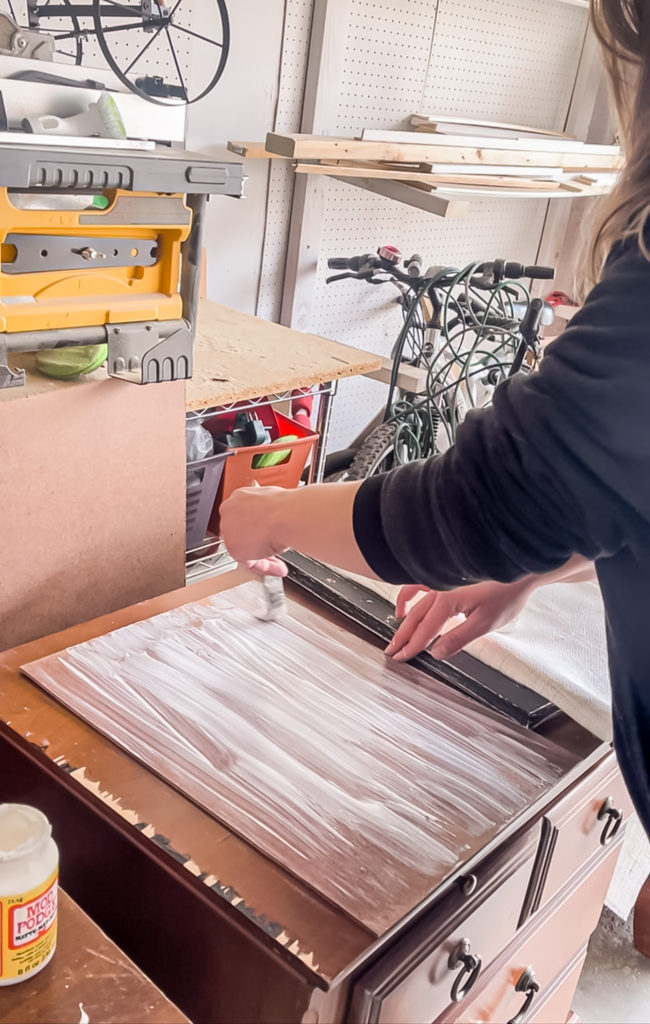
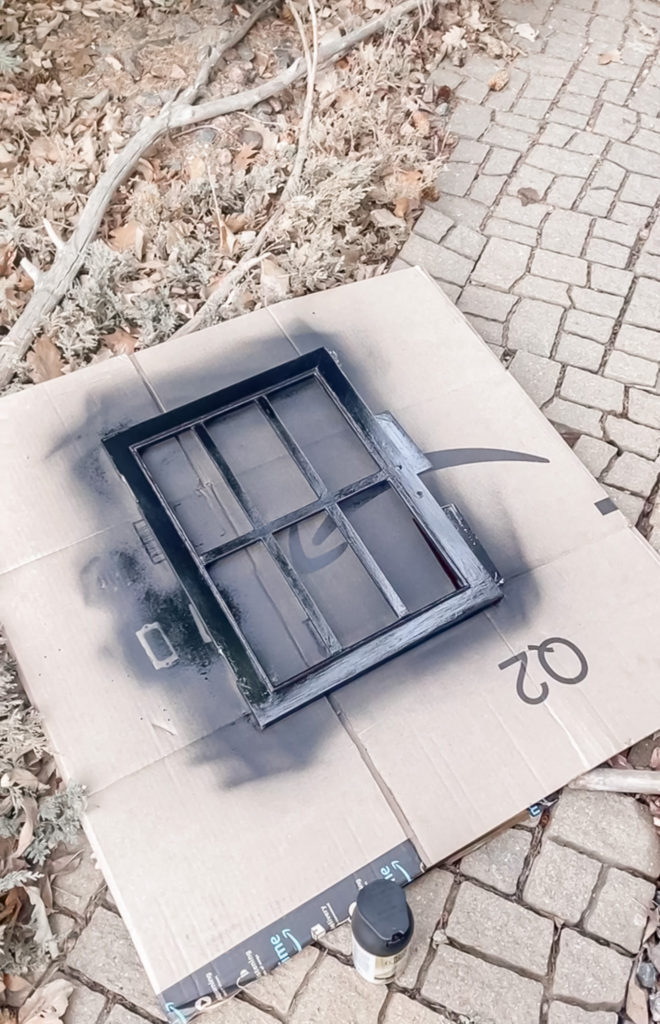
For the door frame itself, I still liked the black but it needed a new coat of paint. So I scuff sanded it with the sander then applied two light coats of flat black spray paint followed by polyacrylic.
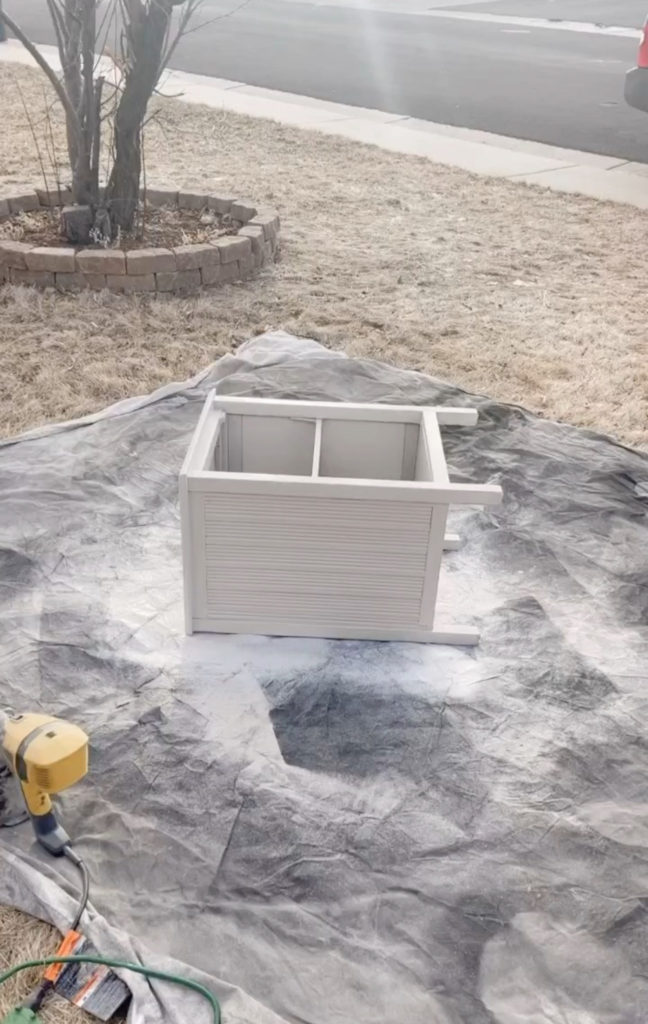
I sanded the spackle down on the base, wiped it clean and then gave it a couple coats of a light warm gray paint (cotton grey by Behr).
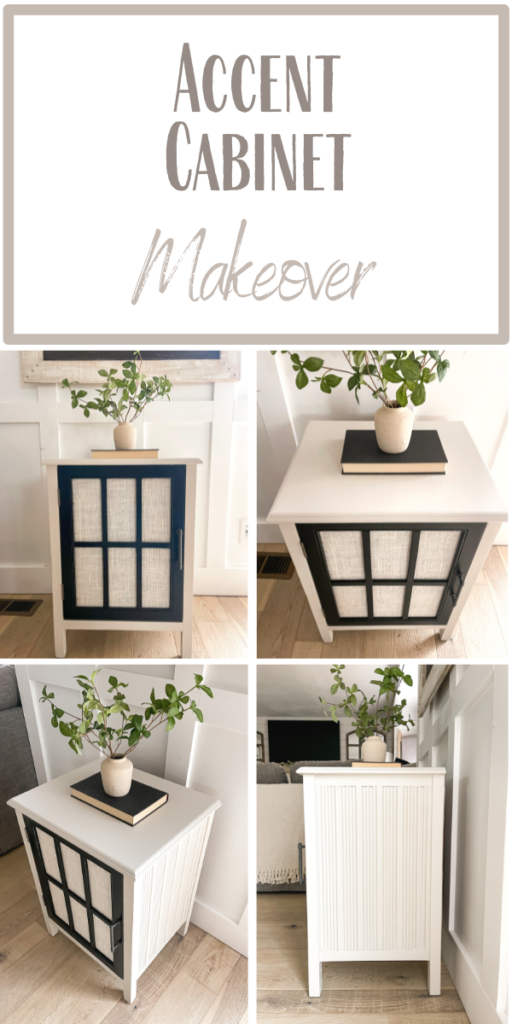
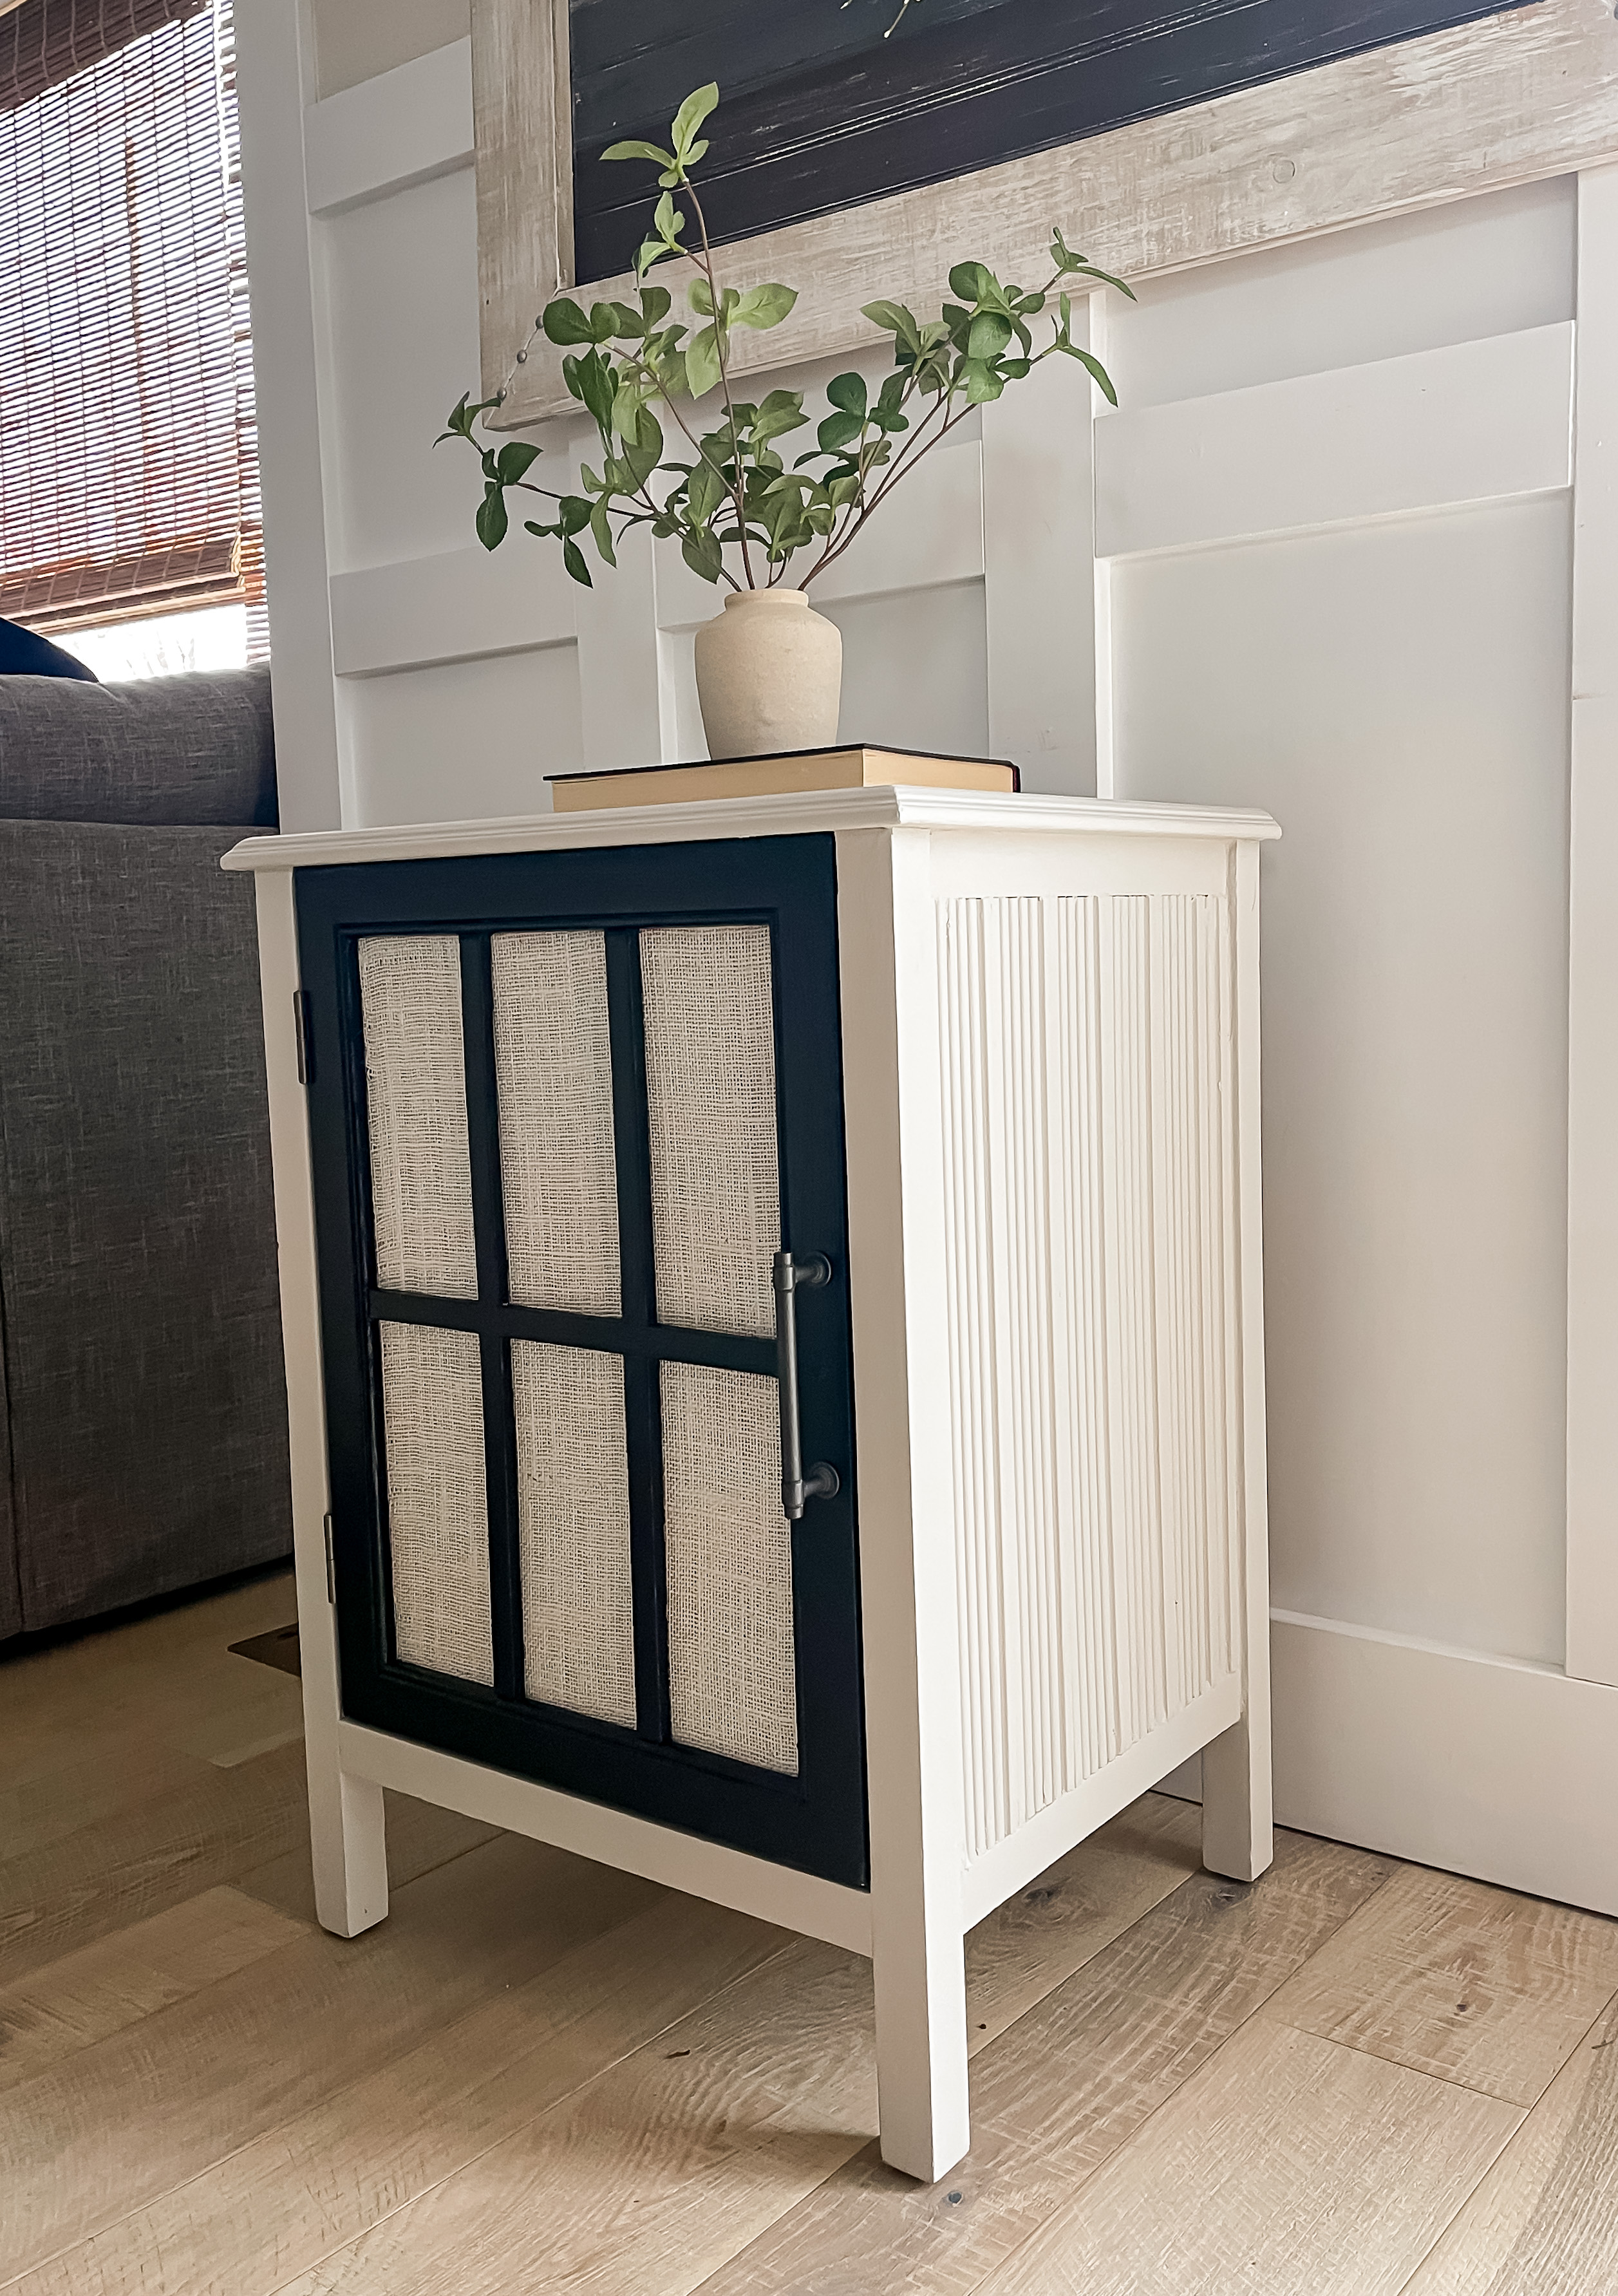
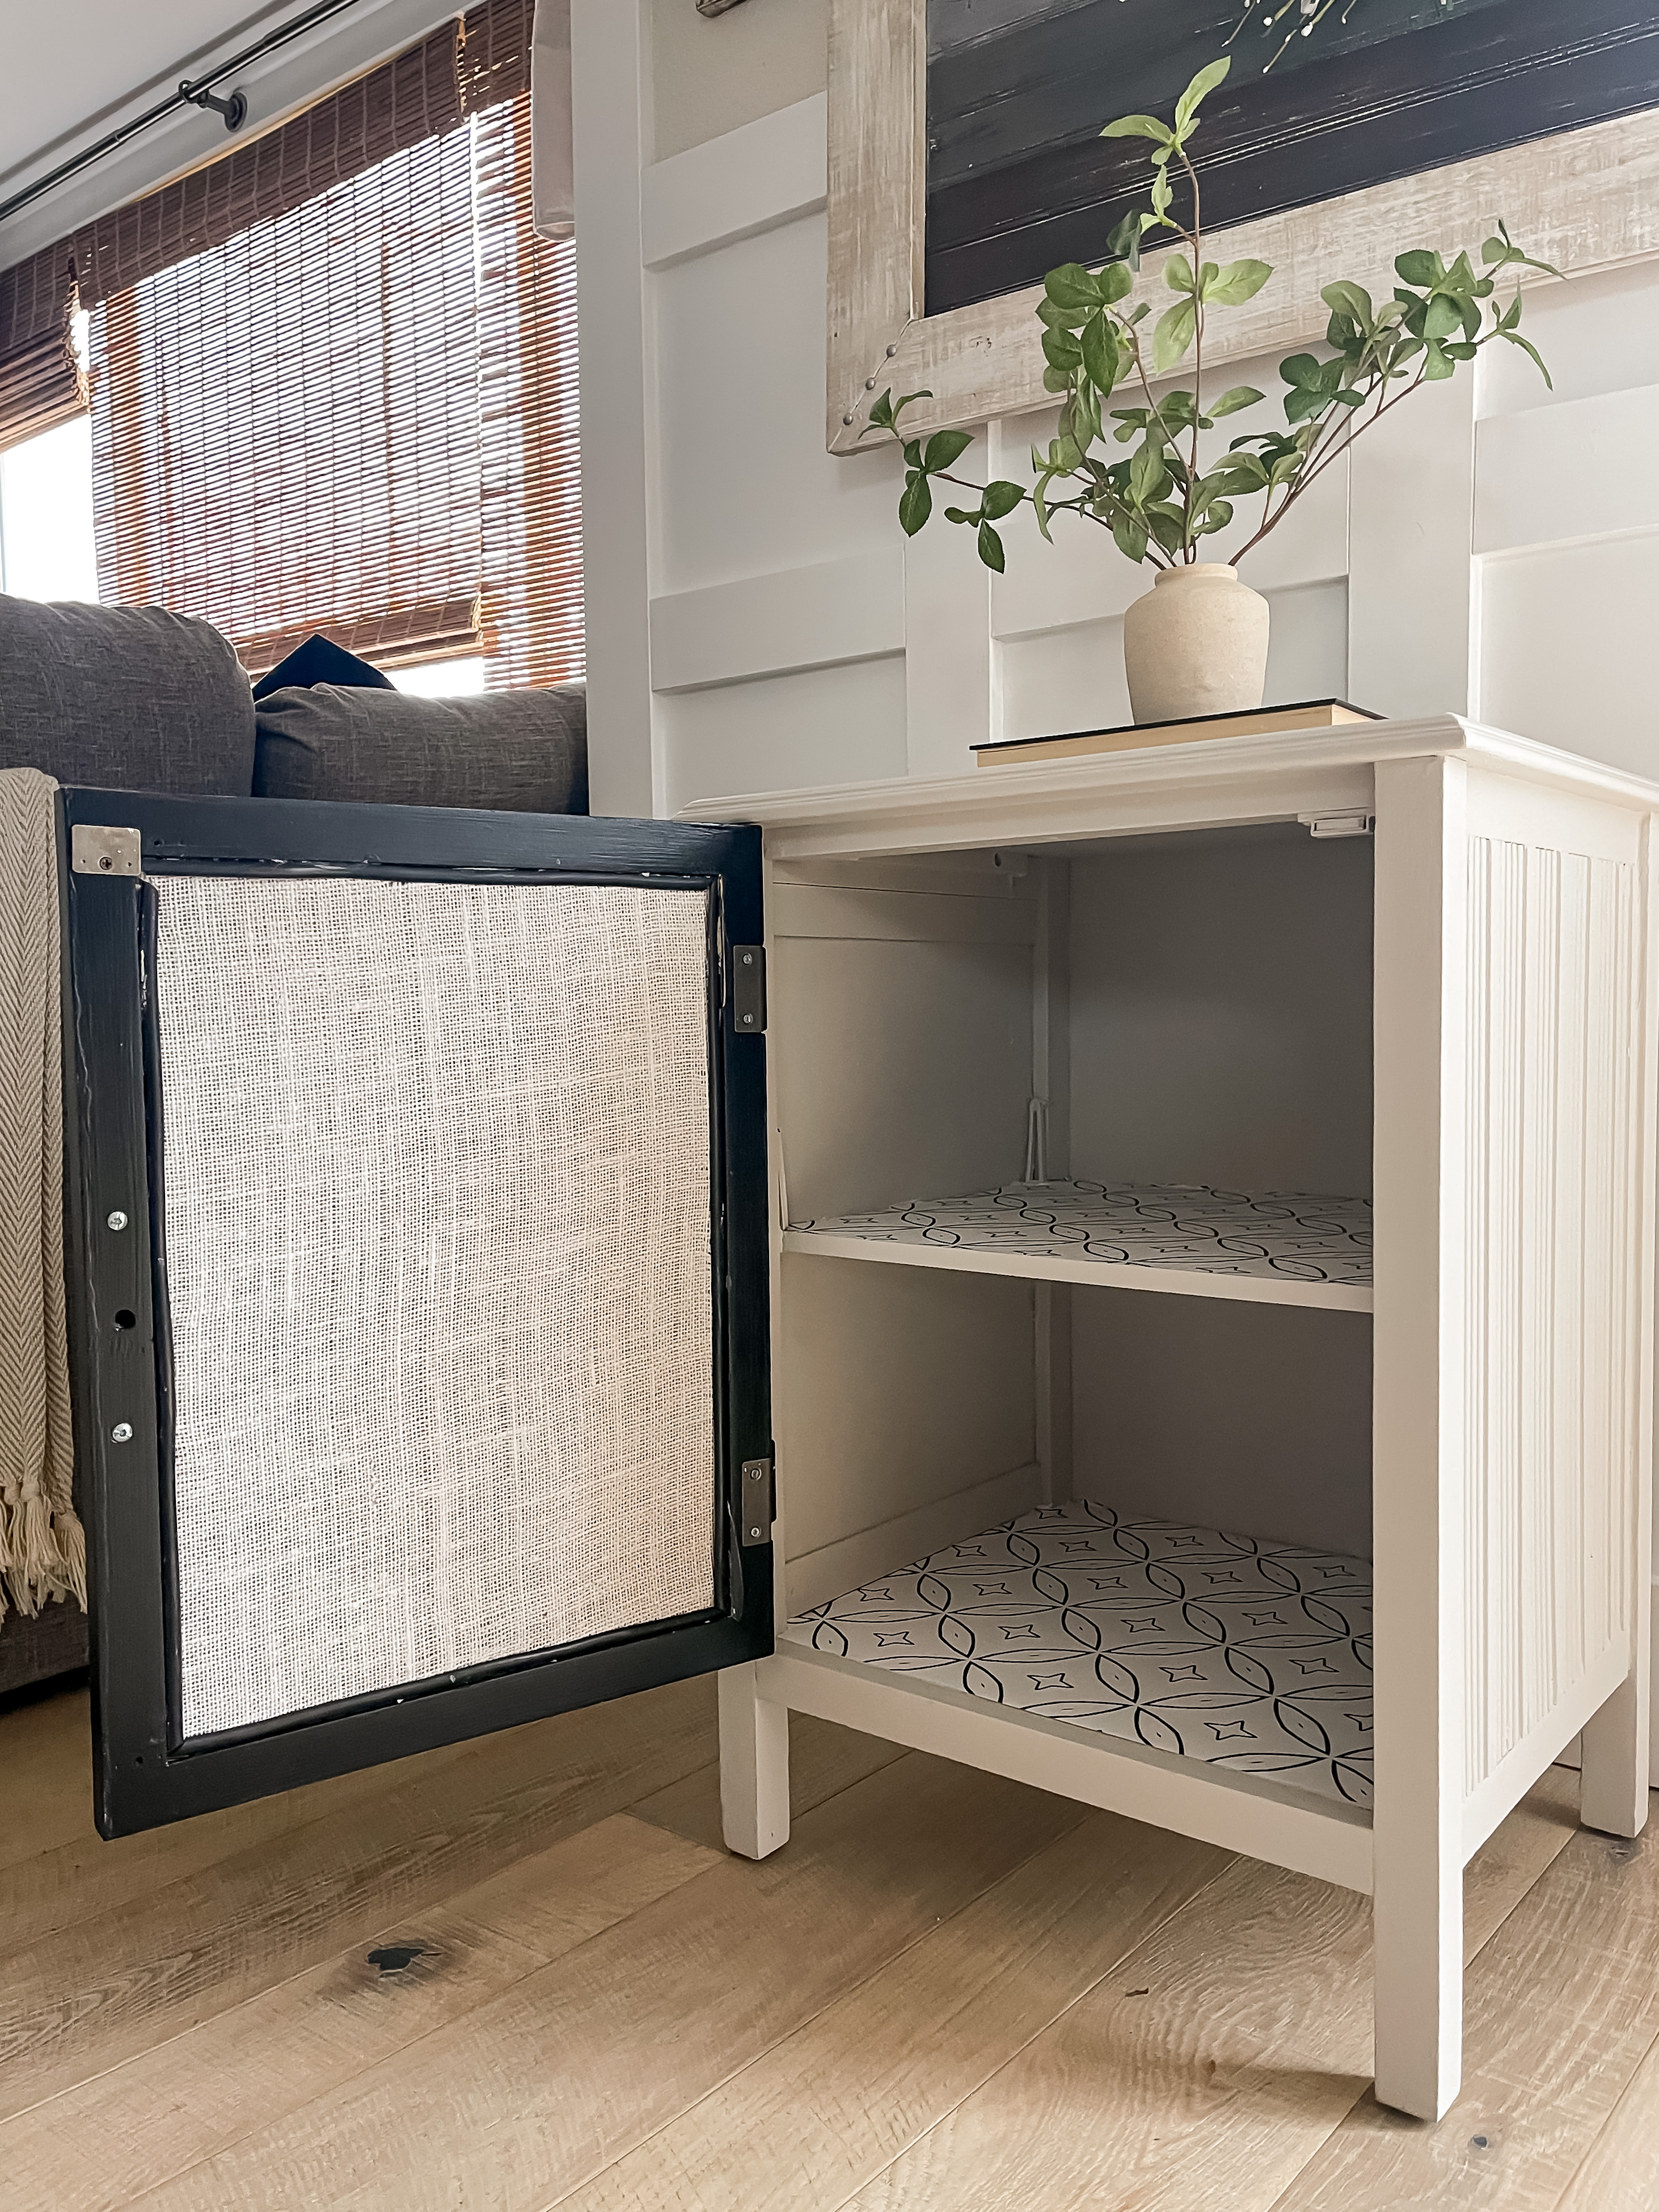
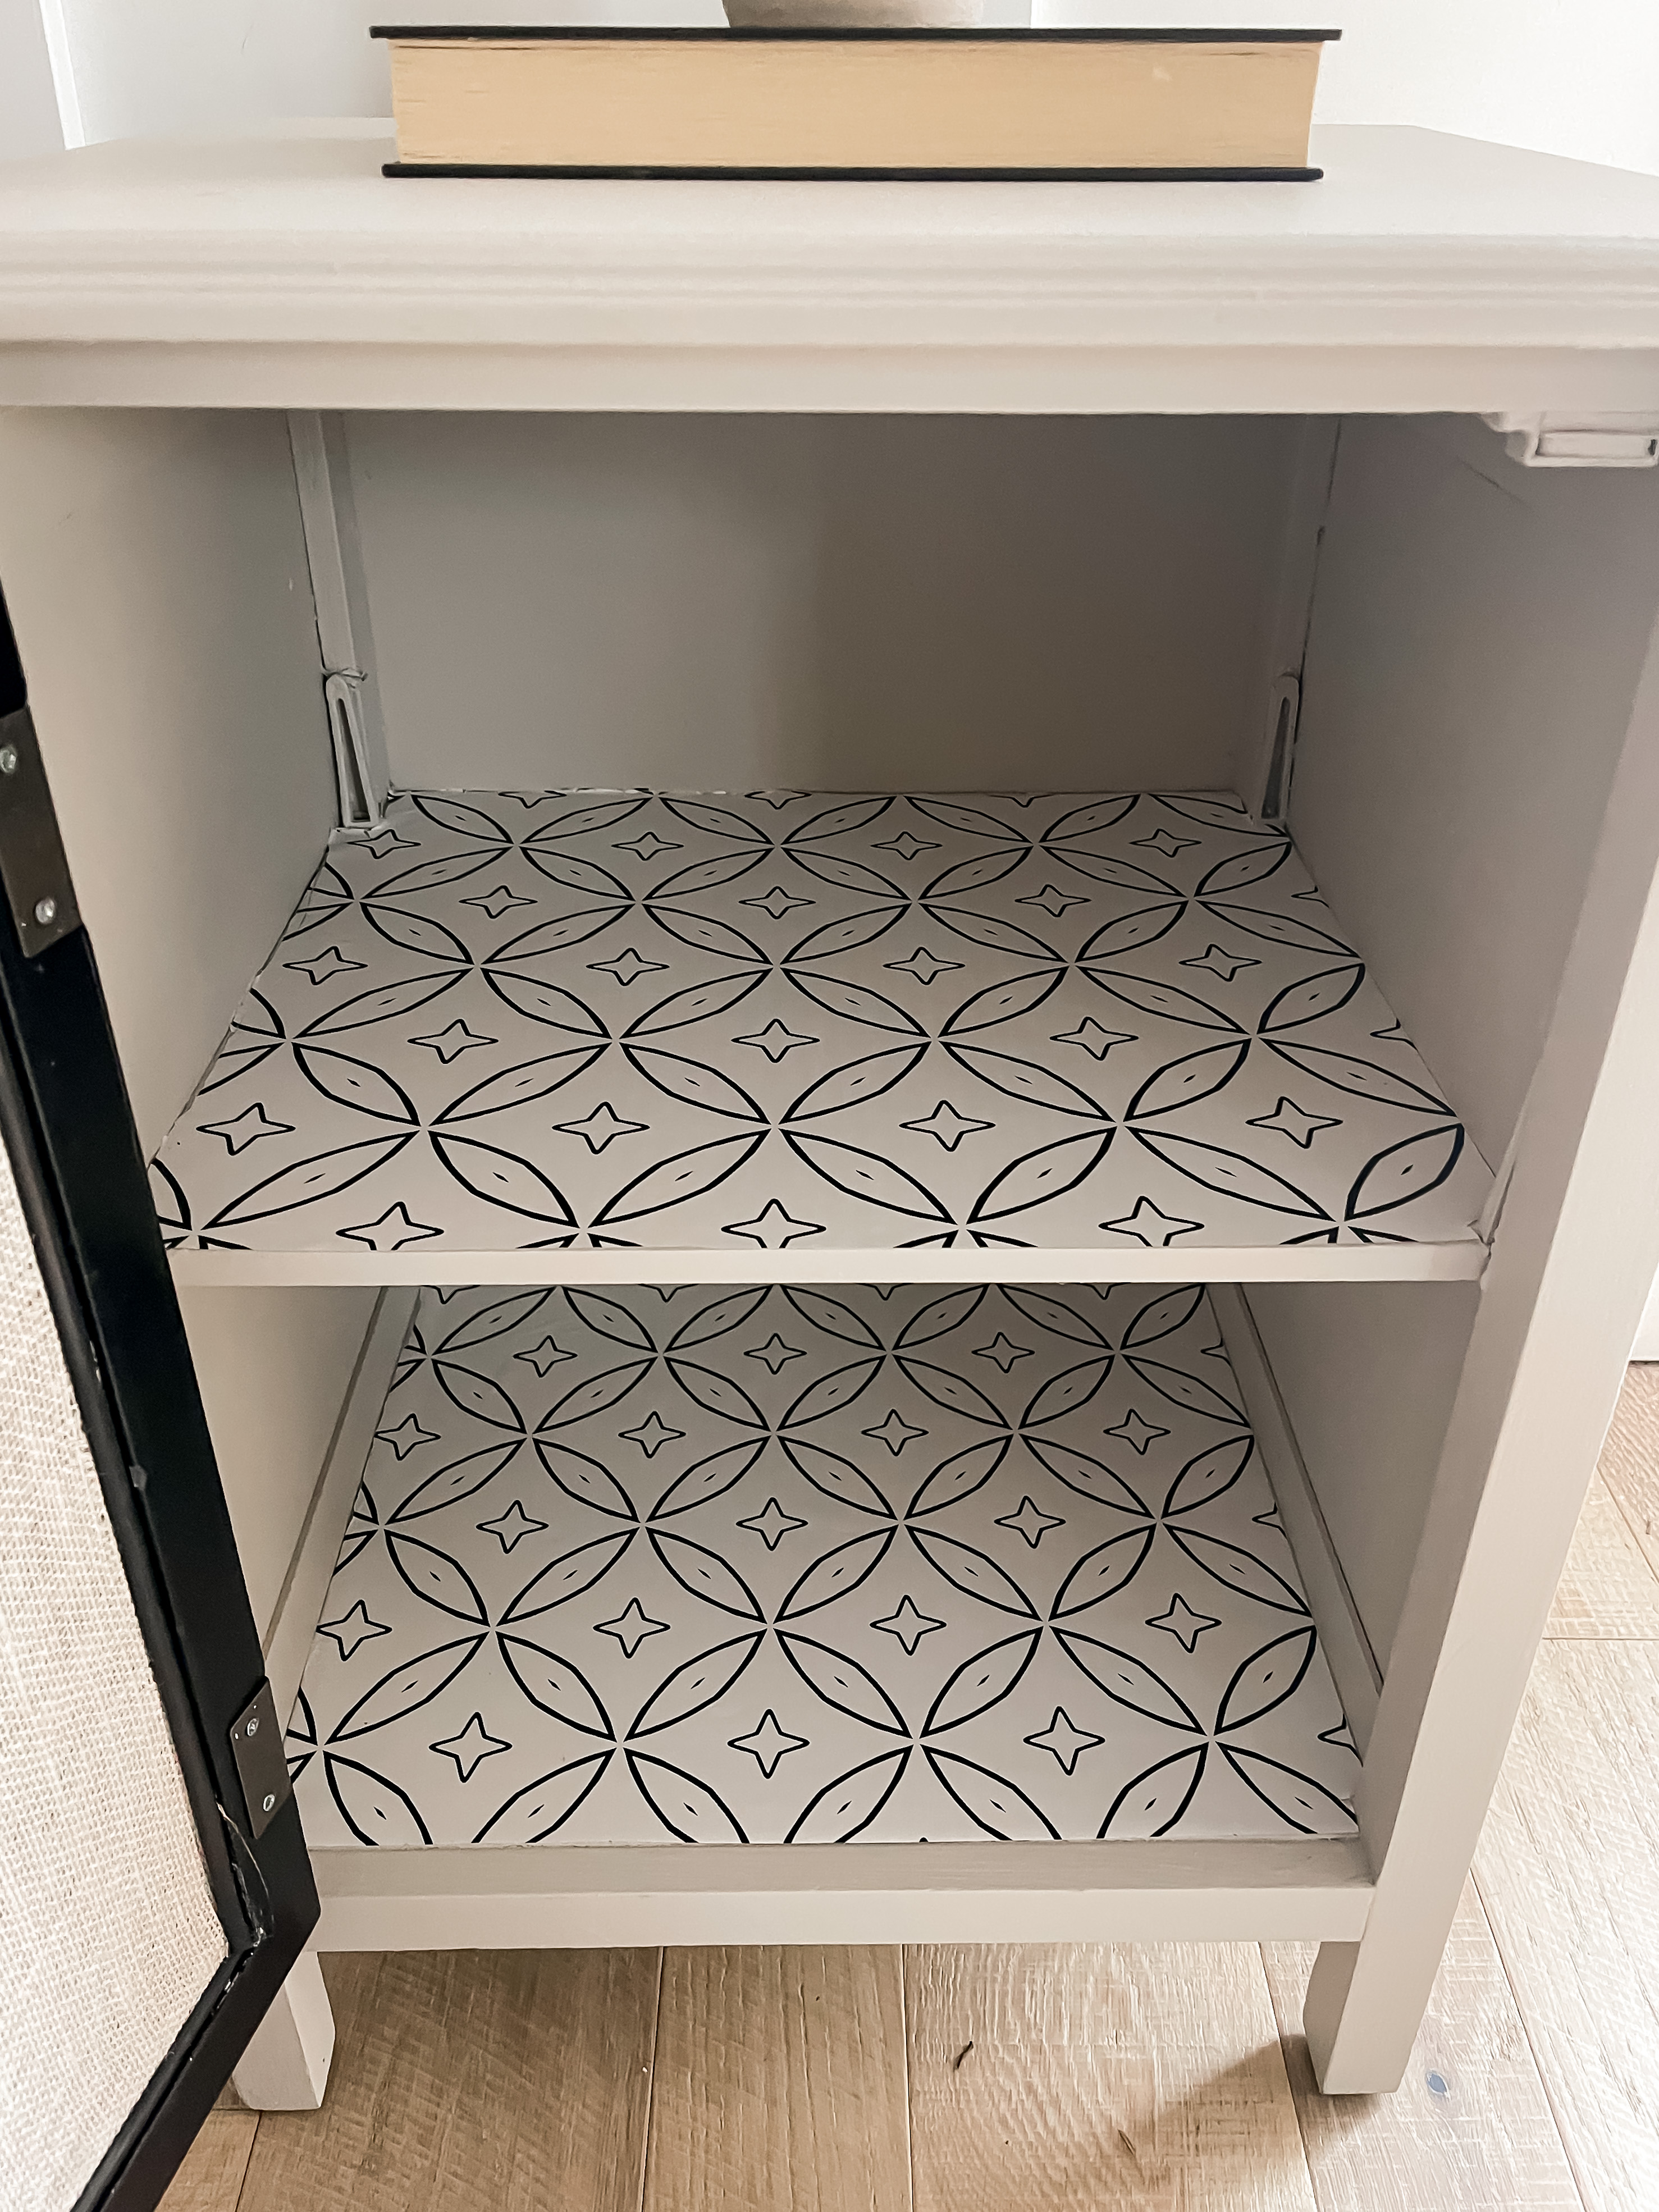
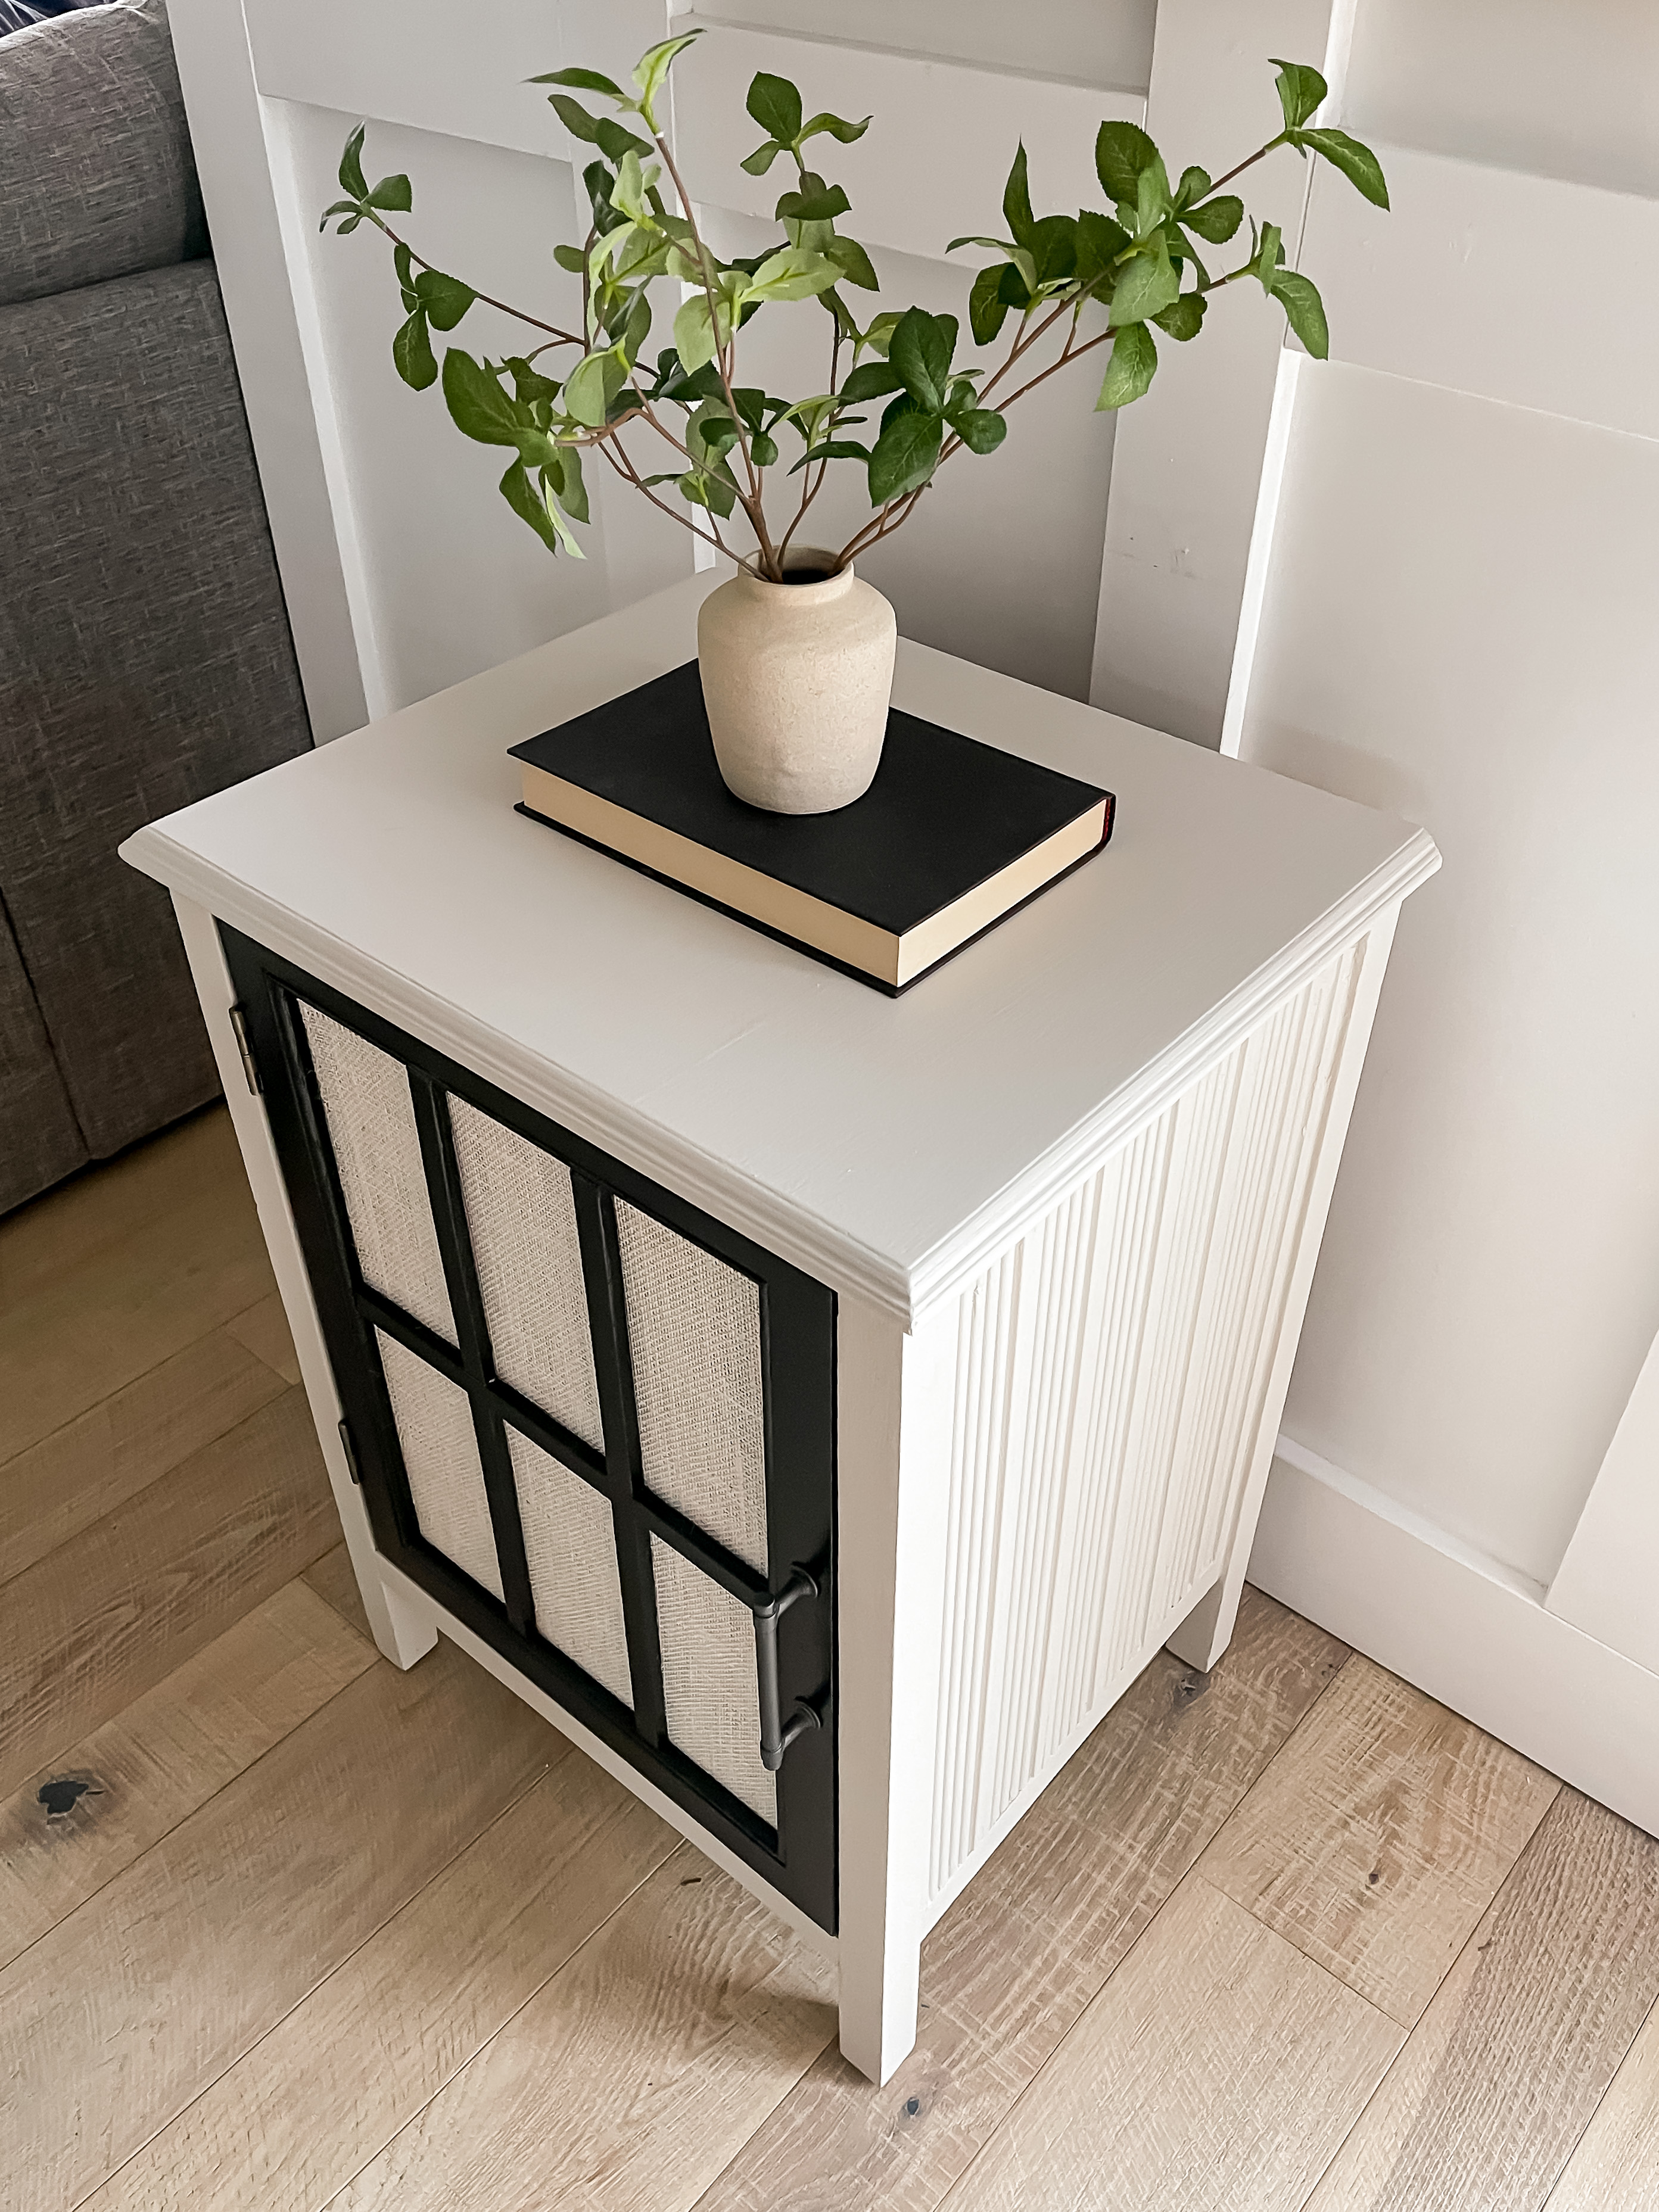
I finished it up by sealing with some polyacrylic, then brought it inside to install the iron pull bar and papered the shelves. Here is how it turned out!
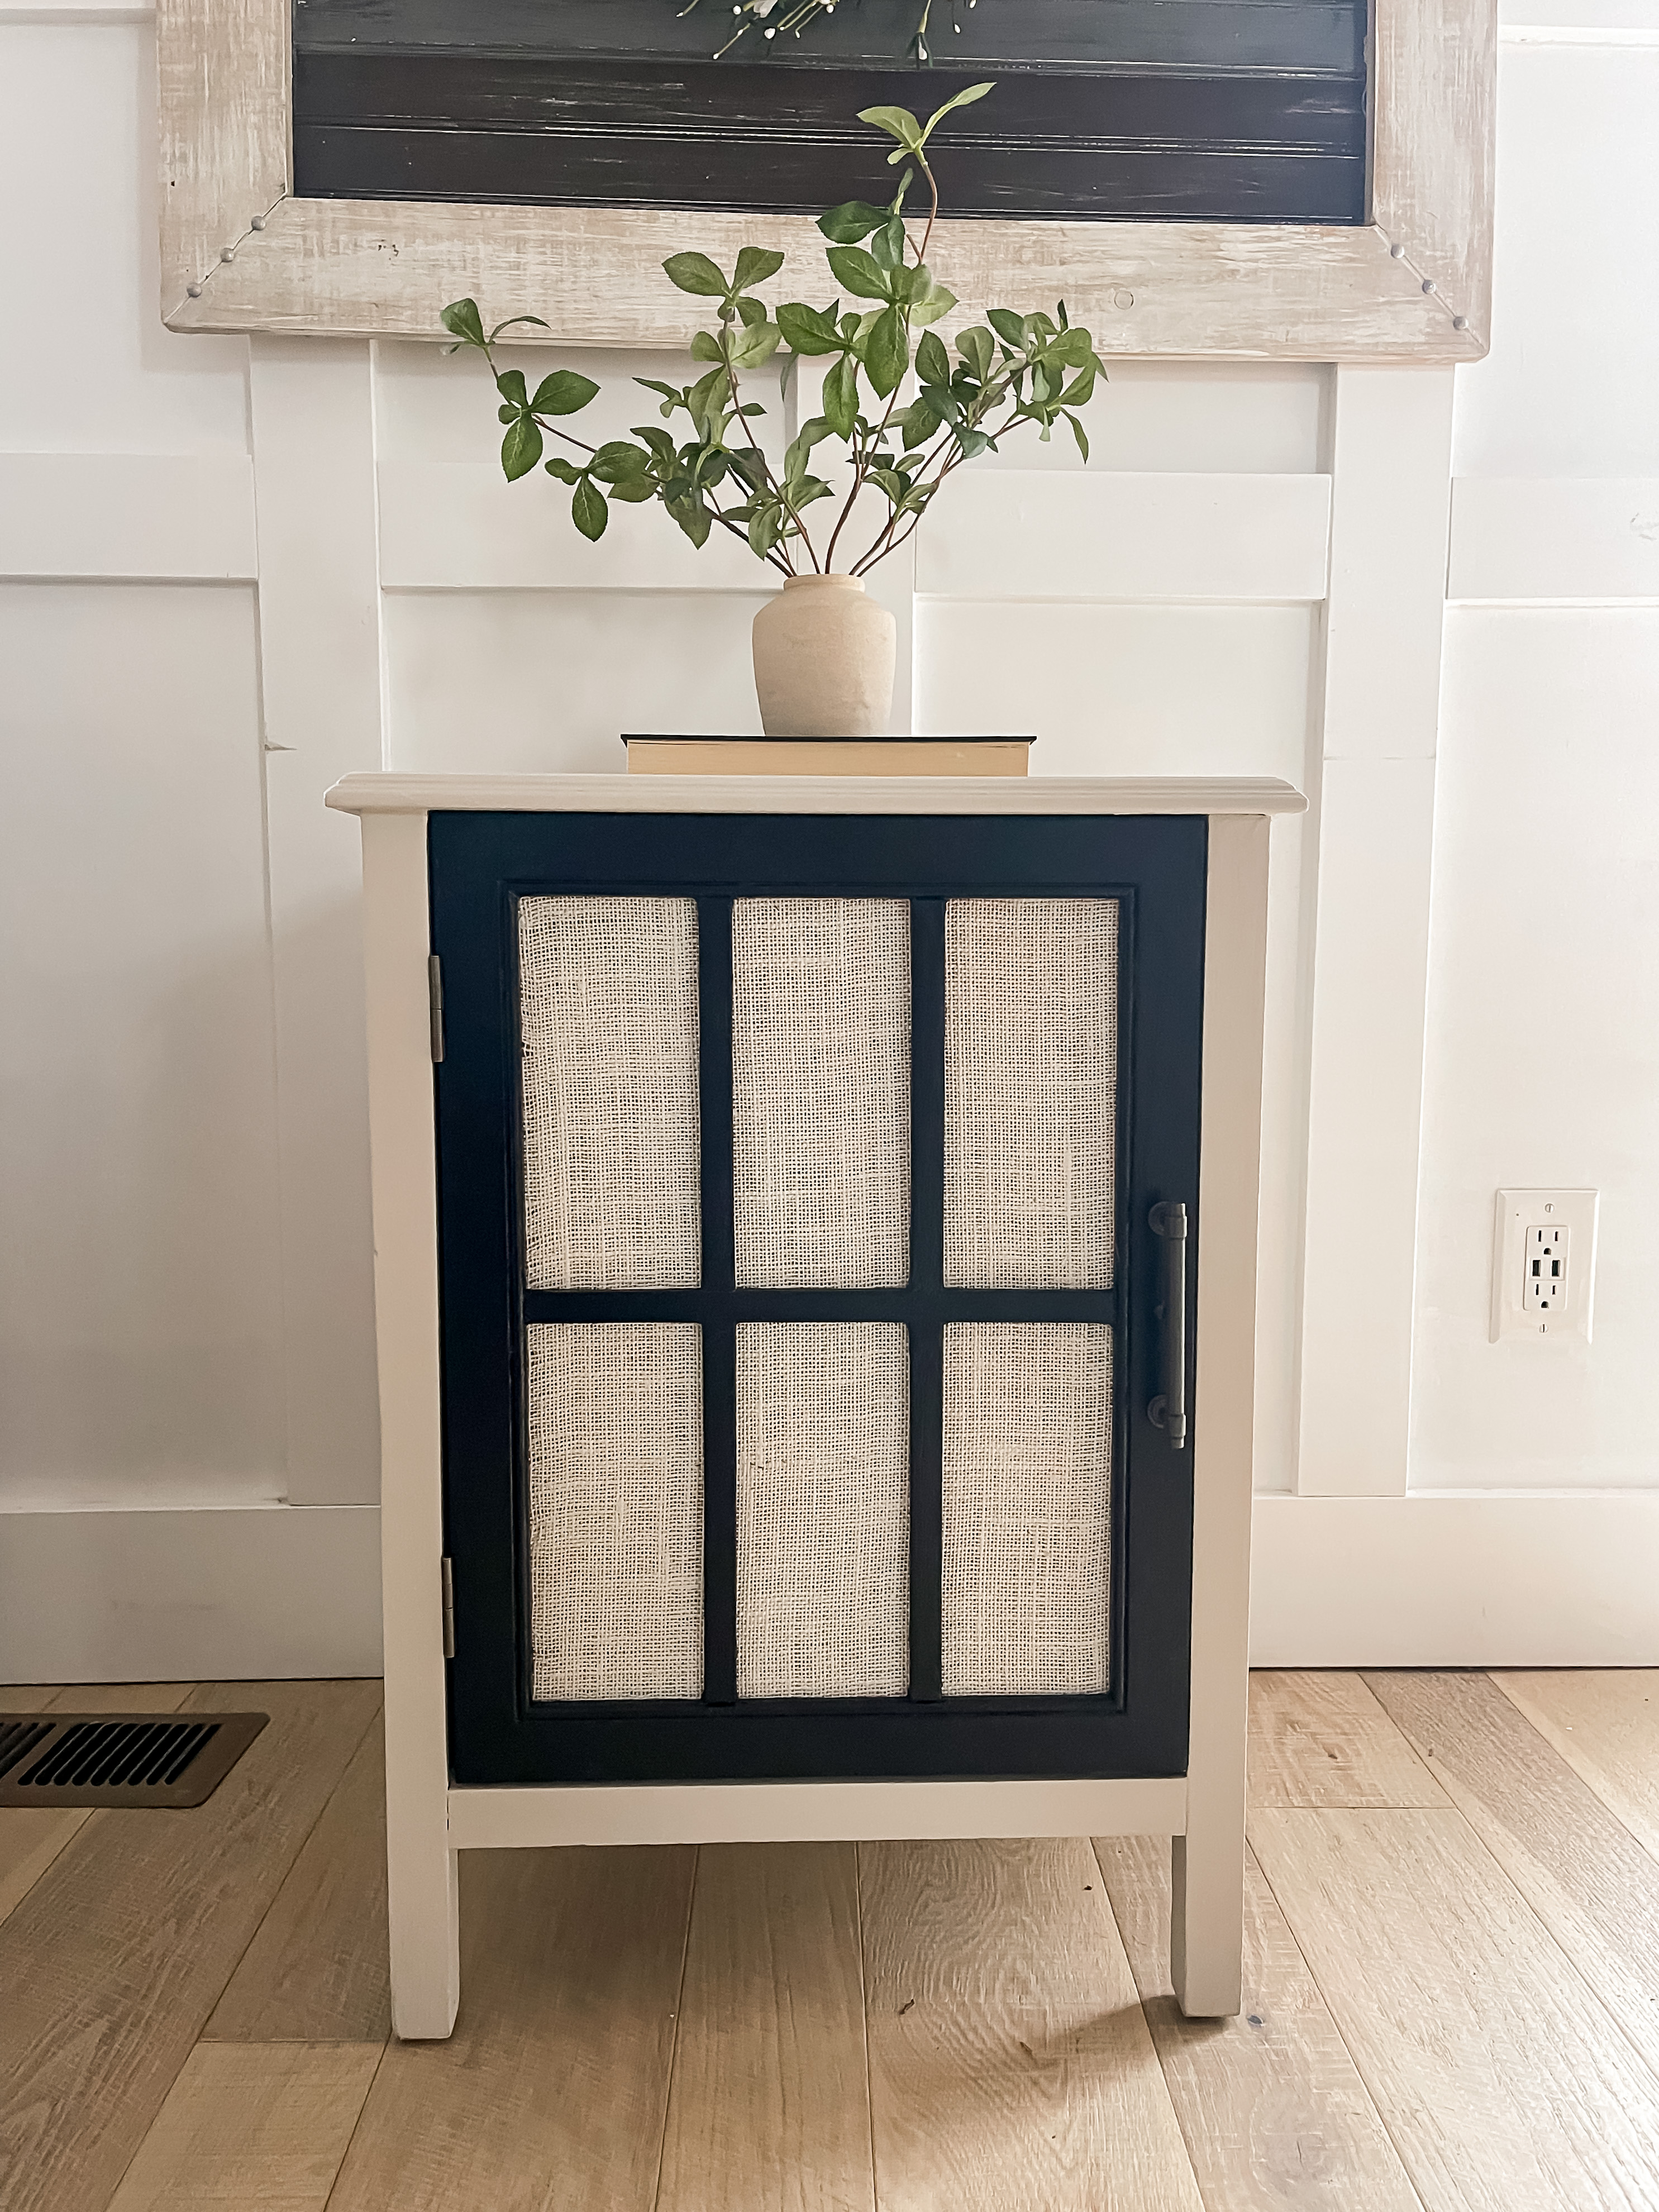
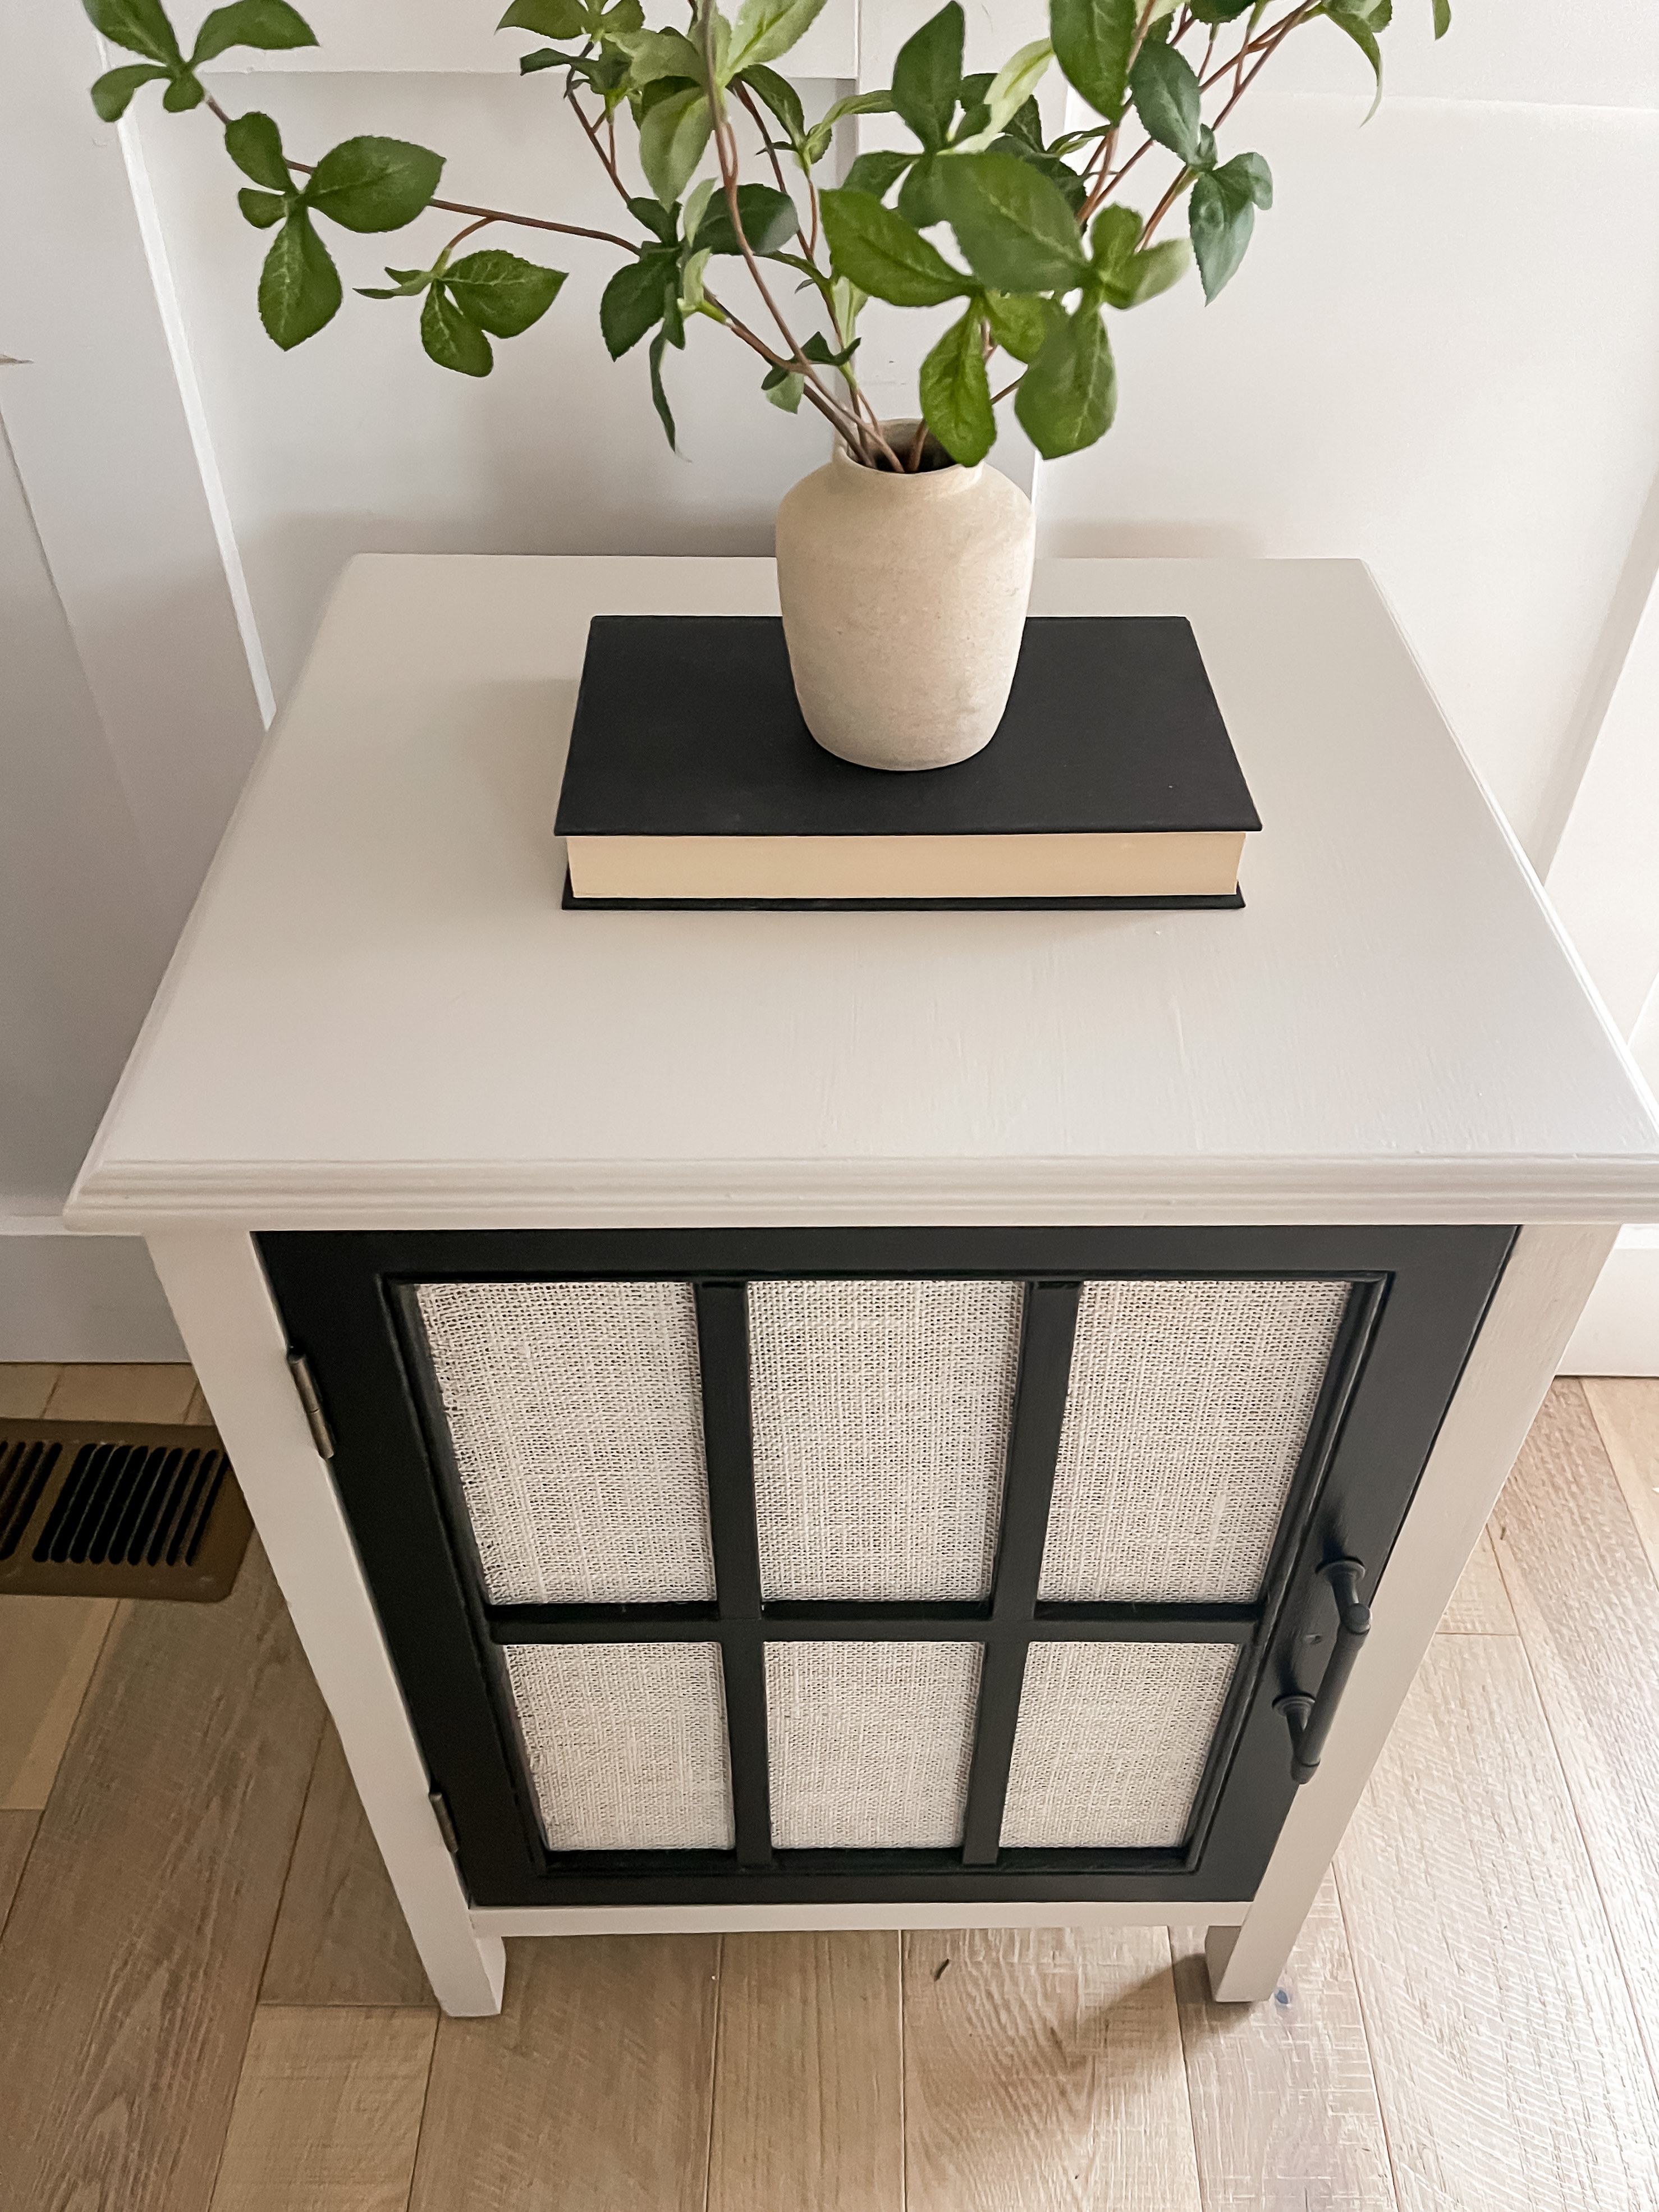
The reeded molding along the sides really make this piece and I can admit that it was totally worth the extra work and frustration!
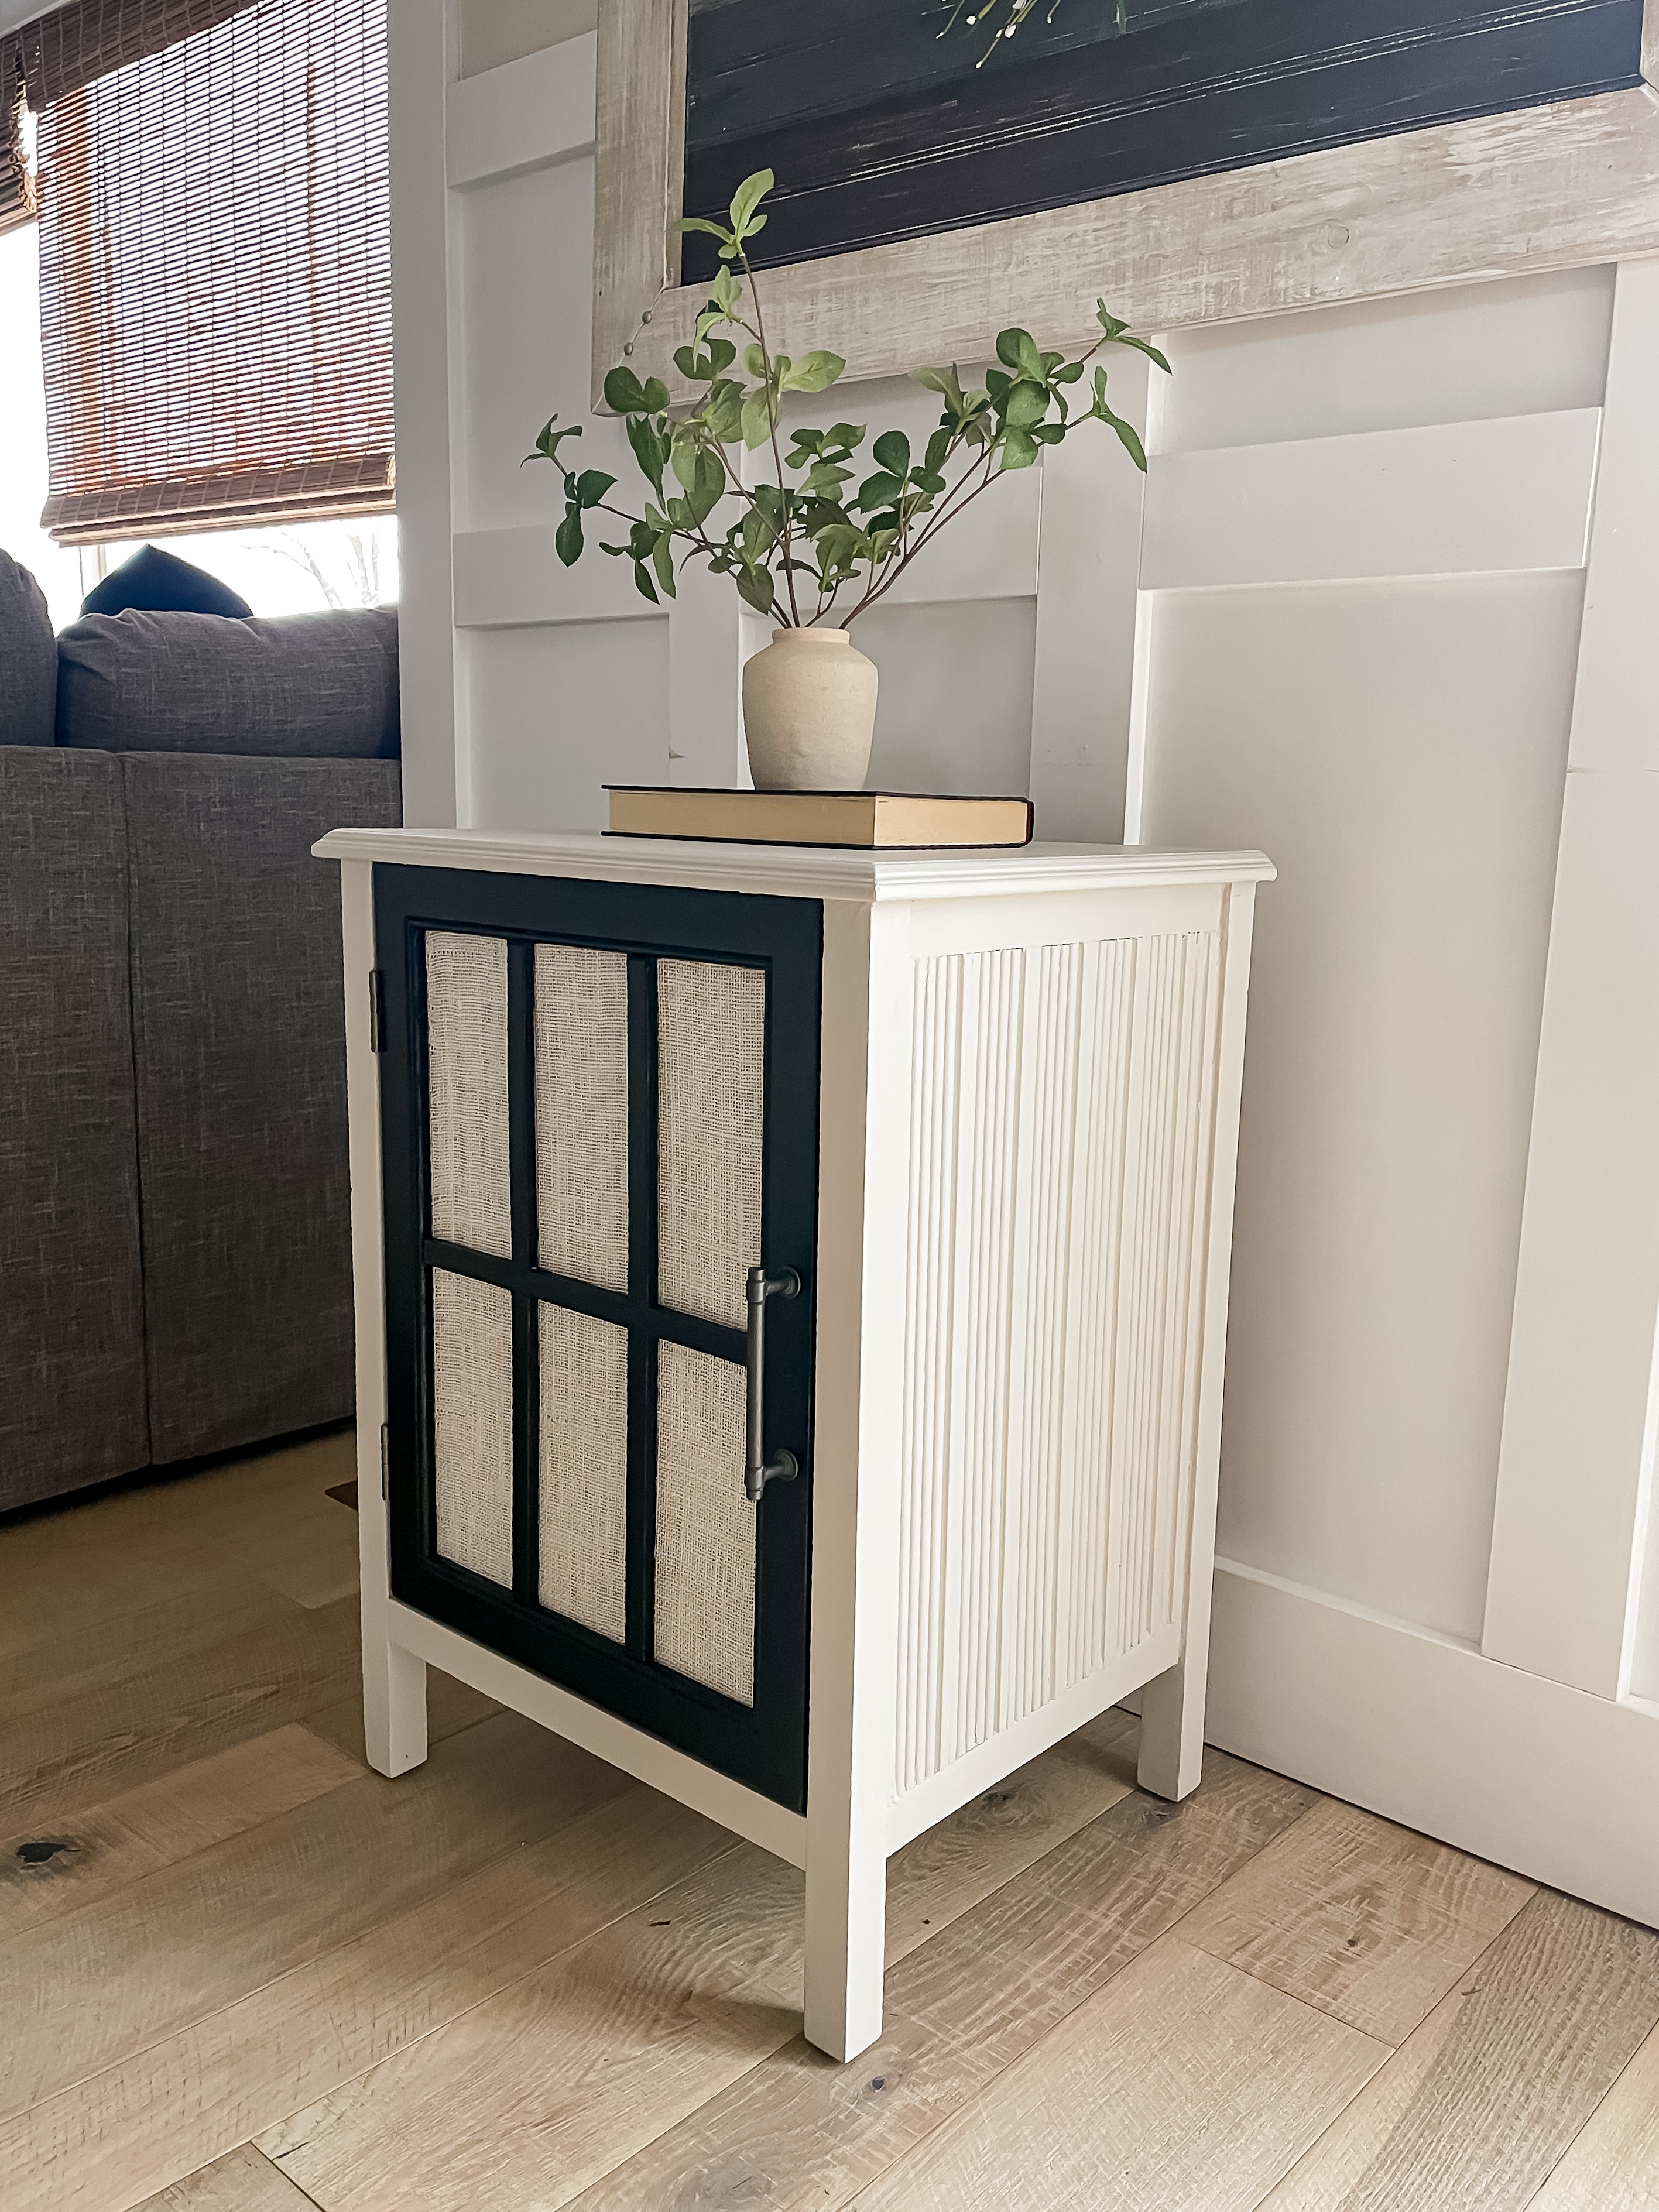
It was a dark and gloomy day when I snapped these photos, so I feel like they don’t truly give this beautiful piece justice!

The paper that I added to the shelves inside give a fun little pop.
It sold the same day that I listed it and I wasn’t surprised!
I am so happy that you could stop by today! Later this week I will be sharing another fun flip so see you soon 🙂
Linking up to these awesome parties
PIN FOR LATER