Happy Friday everyone! Can you believe that this weekend we will already be going in to October? I feel like the month of September has flown by insanely fast!
This week I am taking a break from sharing furniture flips (even though I still have many to catch up with!) and I’m sharing how I was able to save an old mirror by building a simple frame.
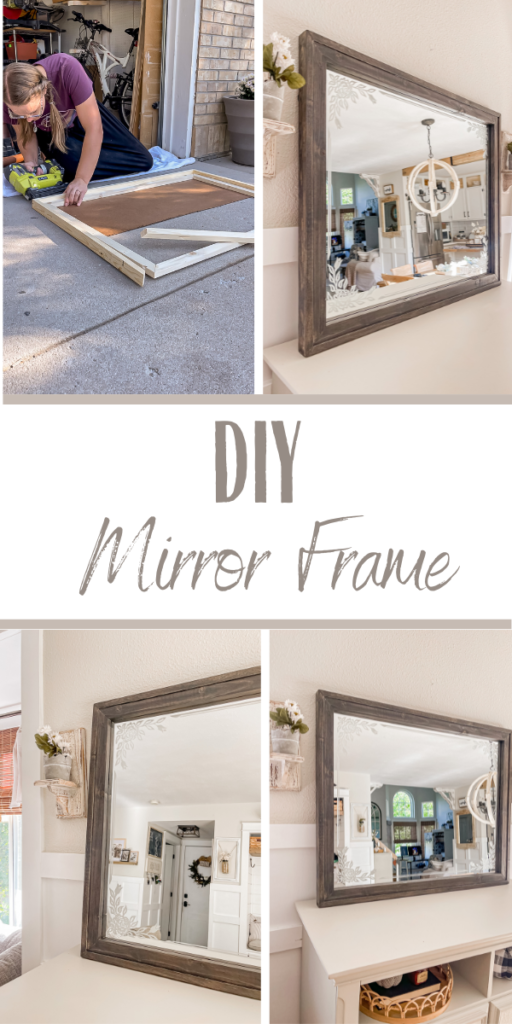
My friend lost her mom last year and although she didn’t have room to keep her entire dresser hutch, she wanted to save the mirror. I’ve never framed such a large mirror before, but I loved the idea–so I was determined to find a way. I followed this amazing DIY Framed Mirror tutorial with a few minor adjustments since this mirror was a little larger.
Supplies Used:(Affiliate links may be provided for convenience. For more info, see my full disclosure here.)
- 1x2s
- Miter Saw
- Sander
- Kreg Jig
- 1 1/4 inch Pocket Hole Screws
- Wood Glue
- Nail Gun
- Paint
- Mirror Clips
- Eucaplytus Board
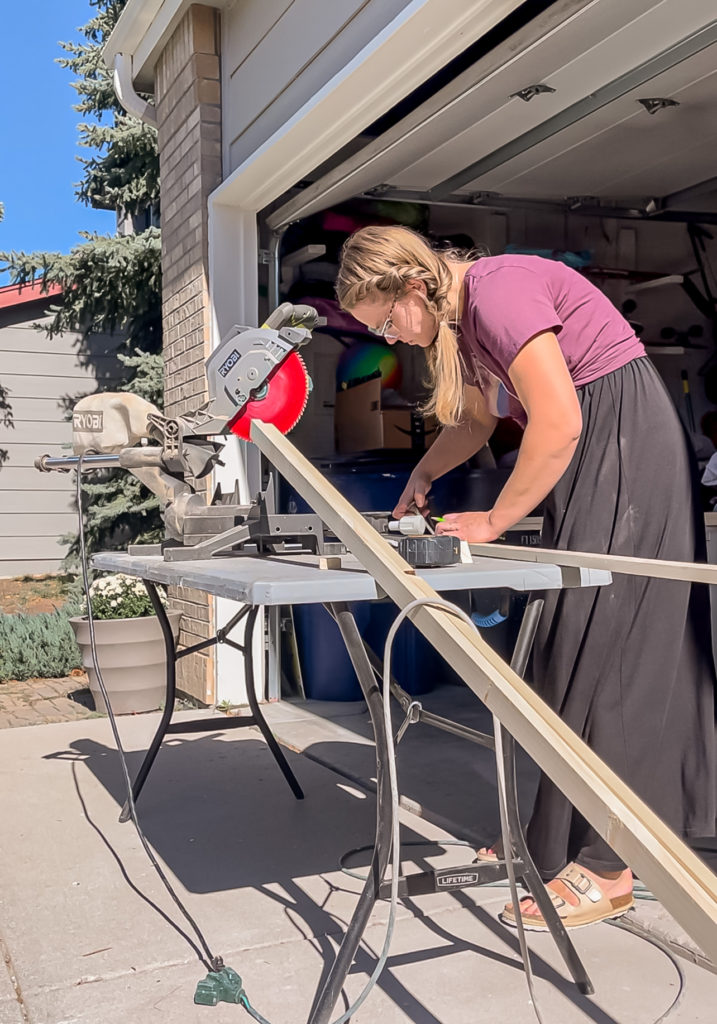
I started by cutting down the 1x2s to size, following the tutorial as a guide. This mirror is 28″ x 36″so I cut the interior pieces at 29″ x 37″ mitered on the thicker side of the 1×2.
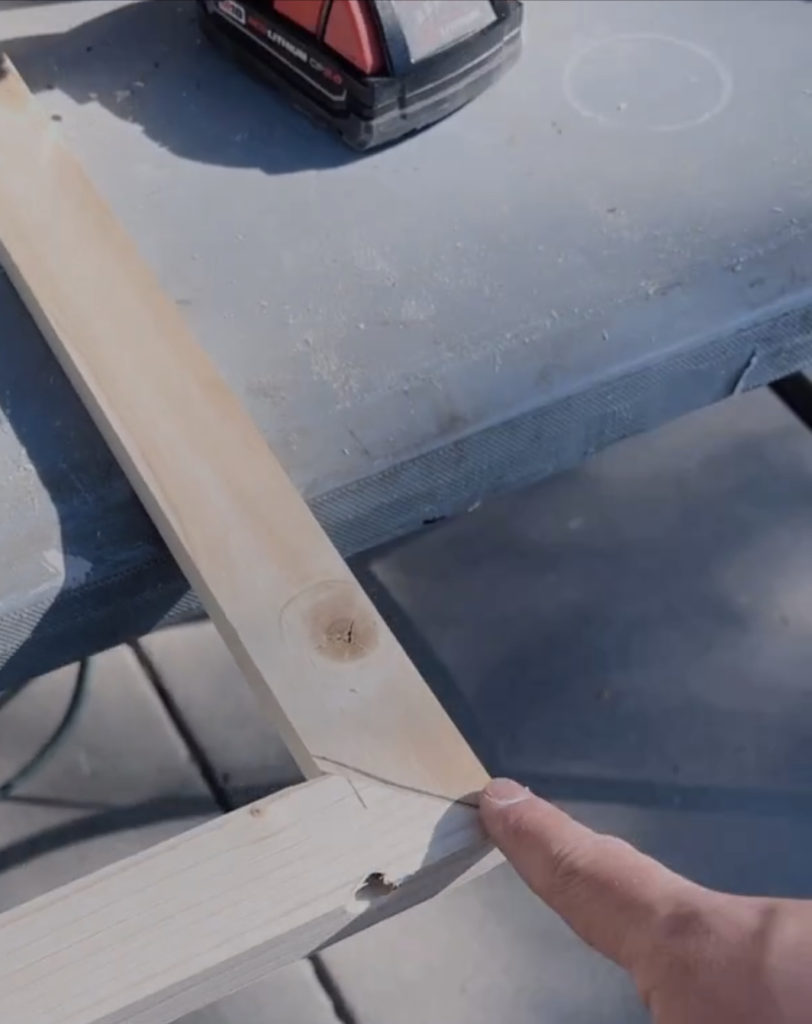
Then I messed up haha. I cut the exterior pieces at 30.5″ x 38.5″ the same way–which was incorrect! The miter actually needed to be on the thinner side. Whoops!
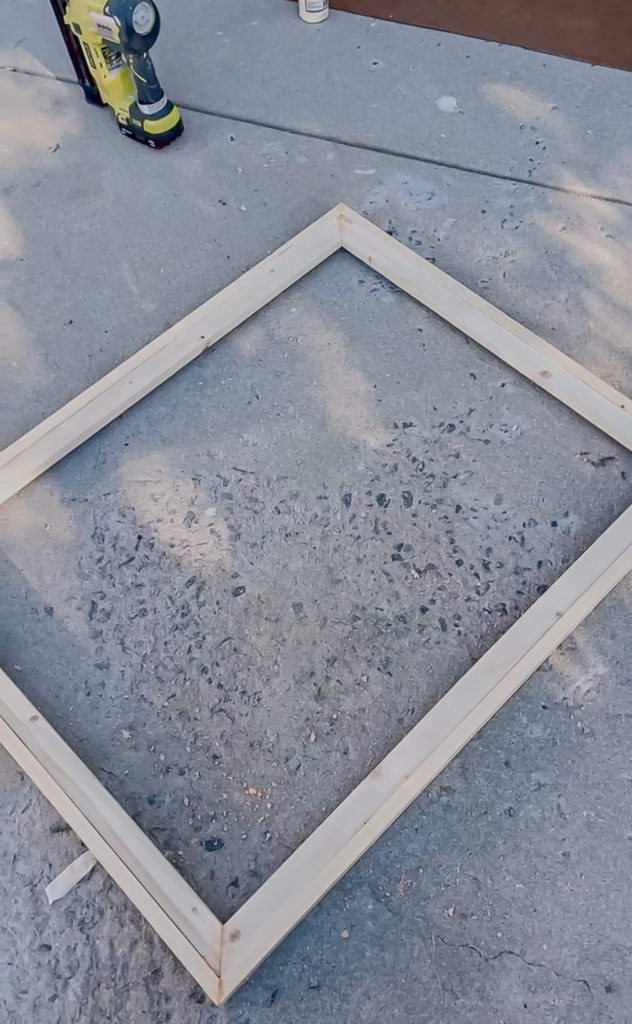
The hubby ran to the store to buy more wood so that I could re-cut those pieces, while I started to assemble the interior of the frame. Using my Kreg Jig I made pocket holes on the mitered sides of the shorter pieces and secured them to the longer pieces using wood glue and 1 1/4″ pocket hole screws. I also added a couple of 1″ brad nails to extra stability.
Once he returned, I cut the exterior pieces correctly and used them to frame out the interior frame using wood glue and brad nails.
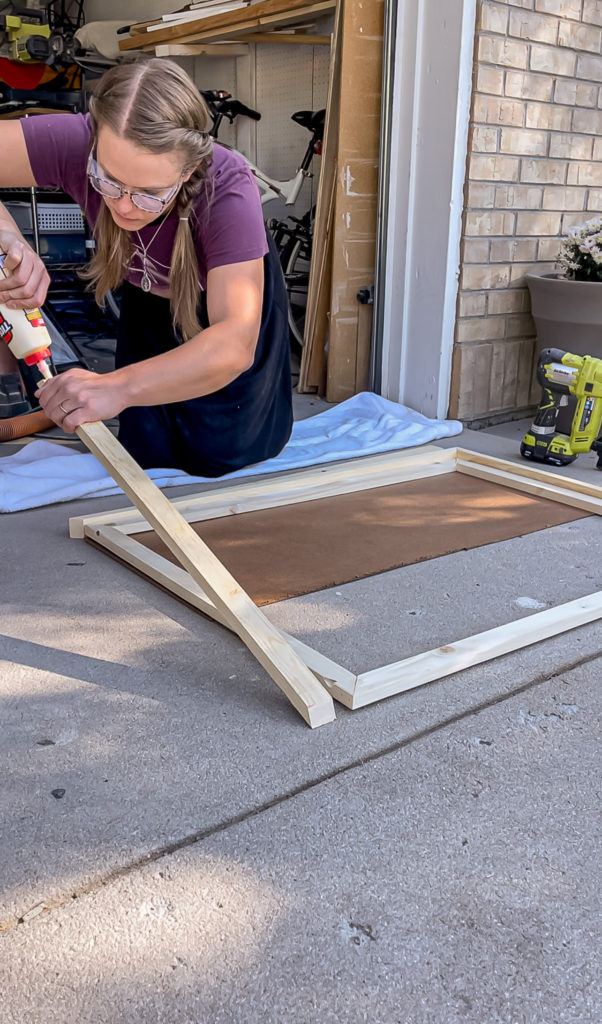
I placed a piece of 1/8″ hardboard down as I assembled to create a small reveal in the front.
This is what it looked like once it was done.
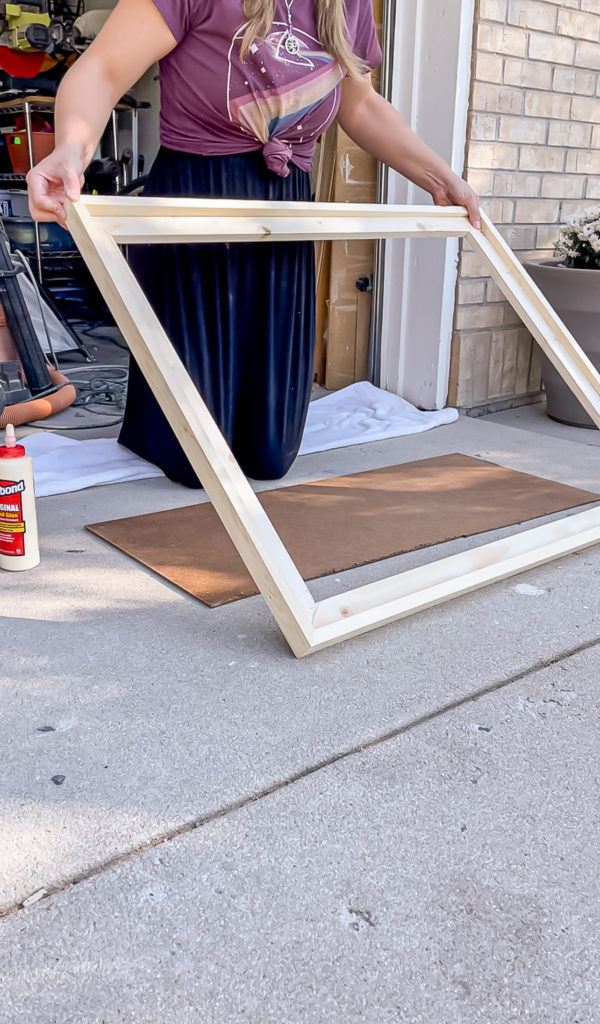
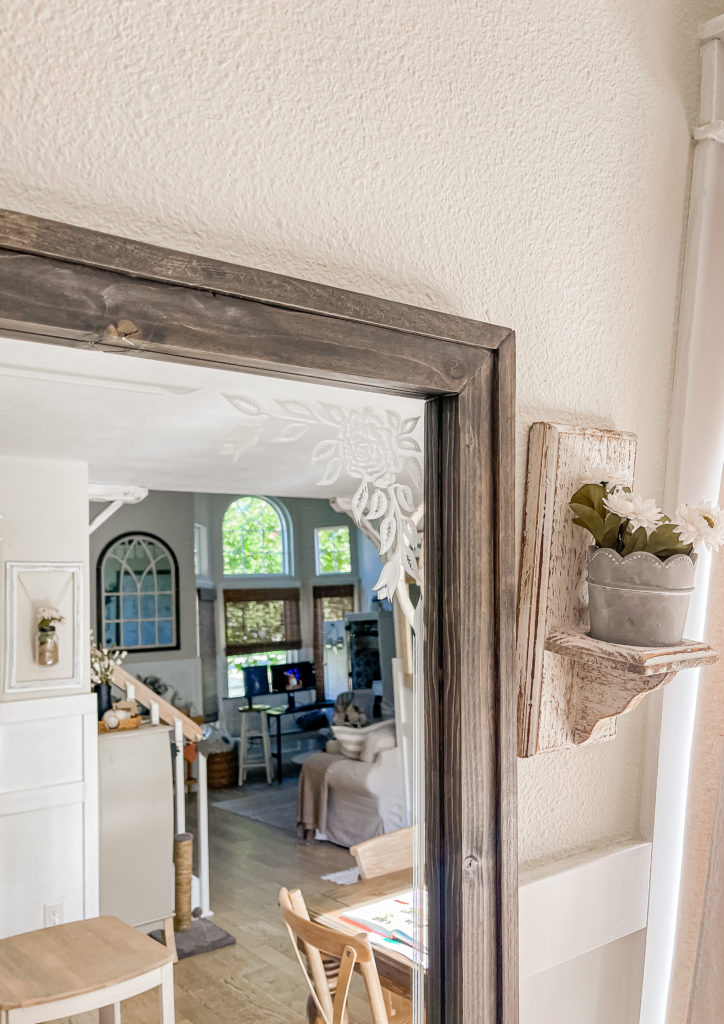
Some of the corners didn’t line up perfectly, but wood filler saved the day on those!
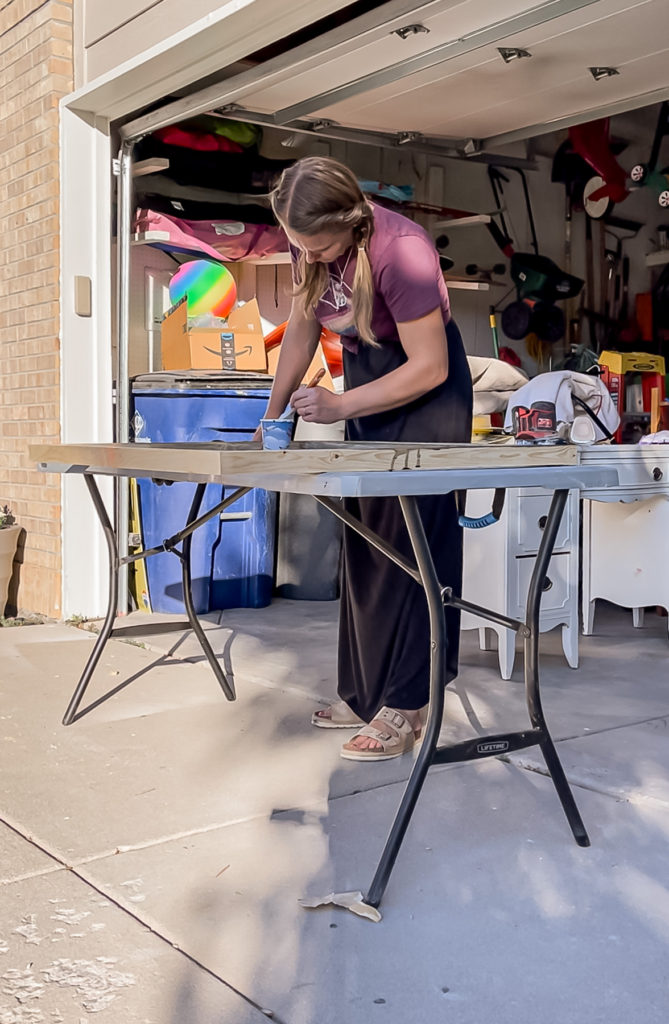
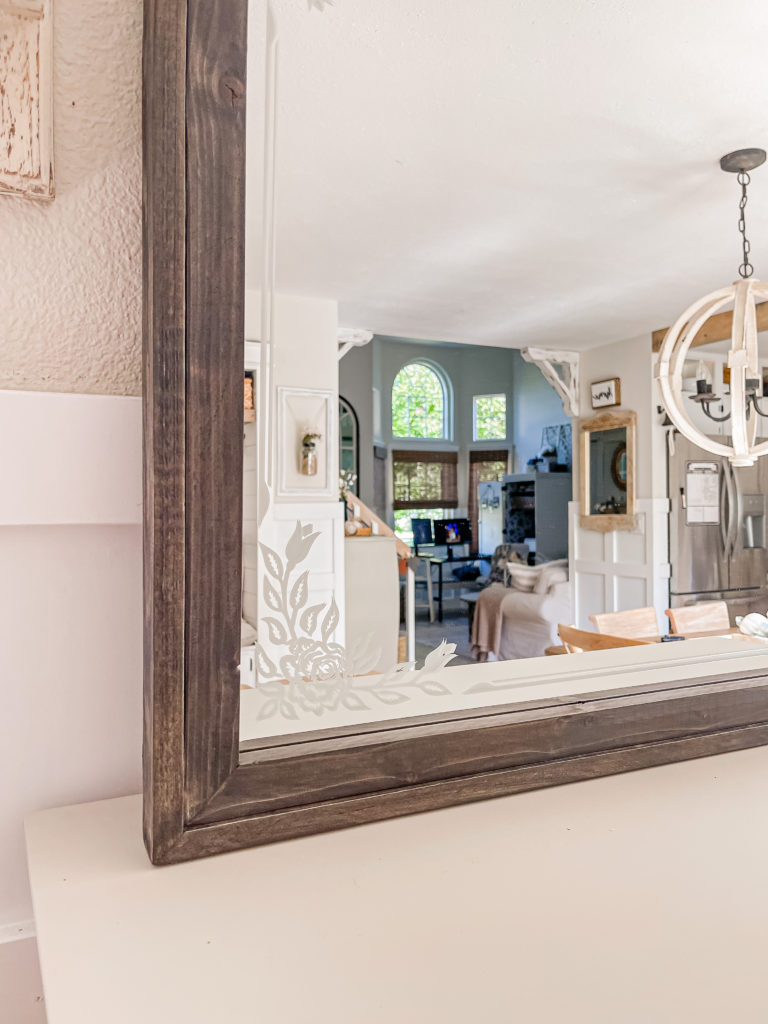
Once the wood filler was dry, I went over the entire thing with 120 grit sandpaper to smooth it all out before applying the paint wash. This was my first time doing a black paint wash and it turned out so pretty!
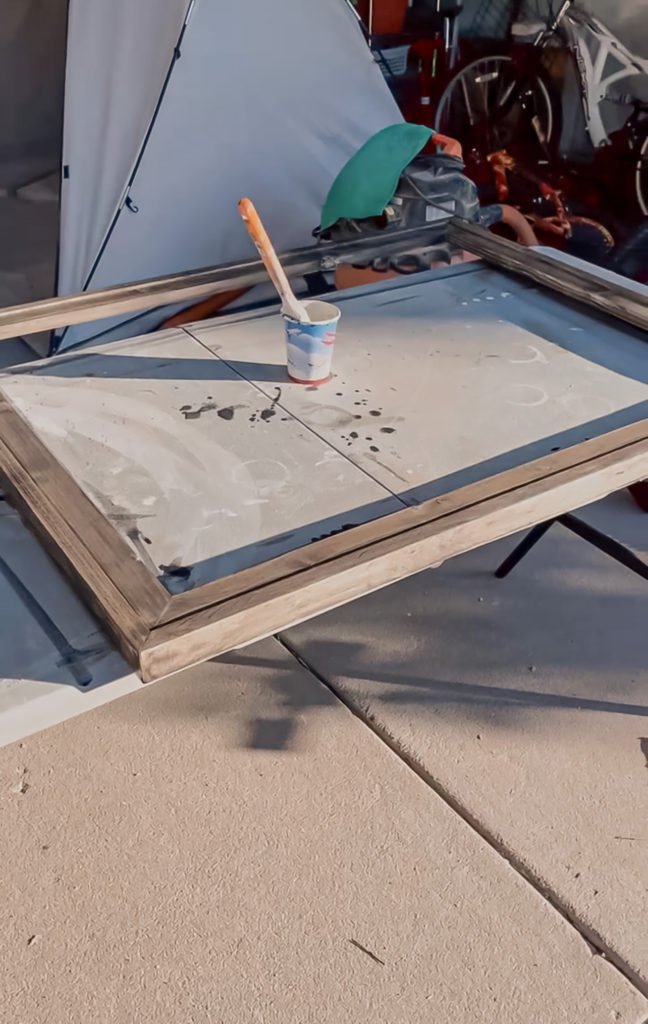
I sealed it up with polyacrylic and let it dry overnight. The next day I came back and gently placed the mirror inside the frame. I got two packages of mirror clips since I figured that it was better to have too many than not enough on this sized mirror. I lined up three on each side and made small pilot holes before securing them with 1″ wood screws.
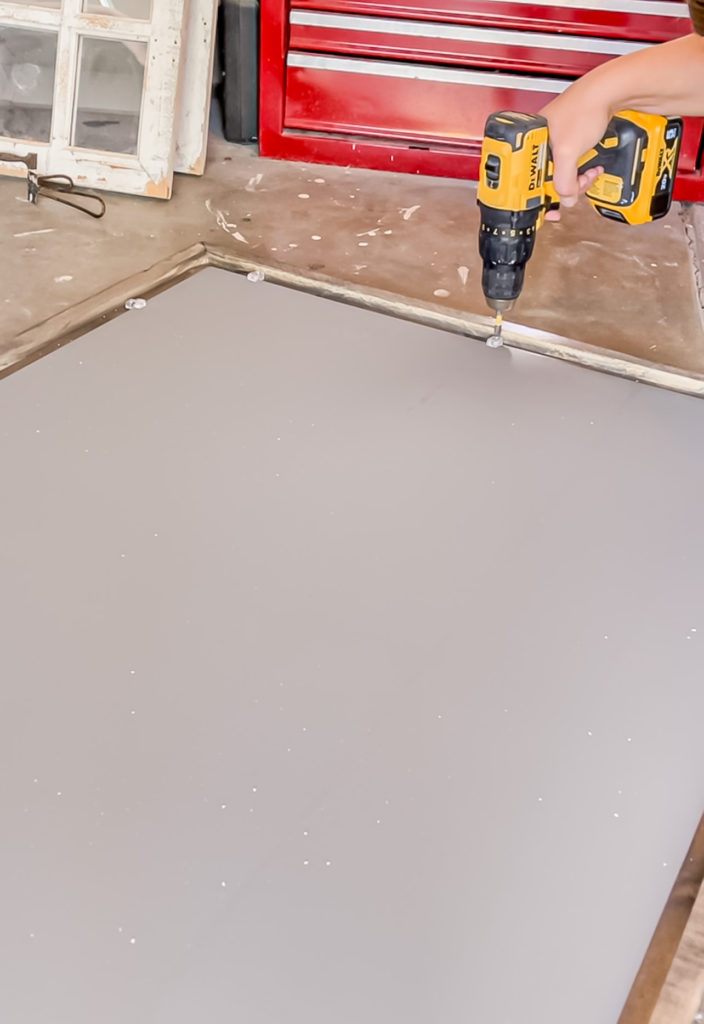
I didn’t like the idea of the back of the mirror being left exposed, so I cut down some hardboard to size and placed pieces of 1/2″ scrap wood in the corners so that I could attach it to those pieces with wood glue.
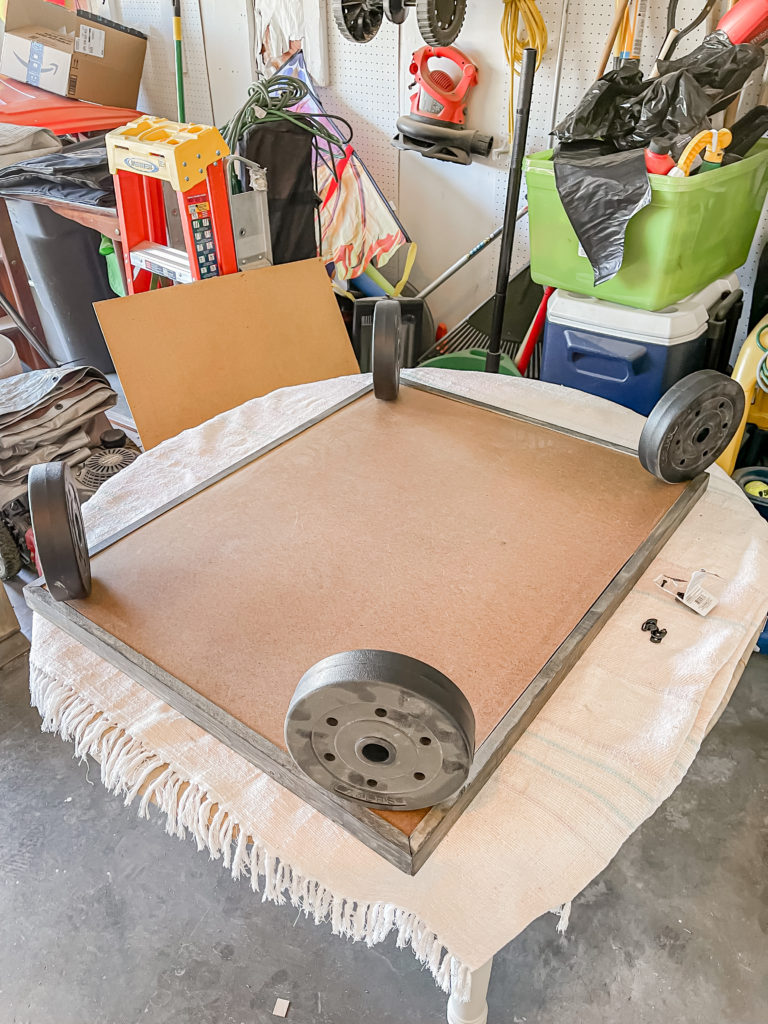
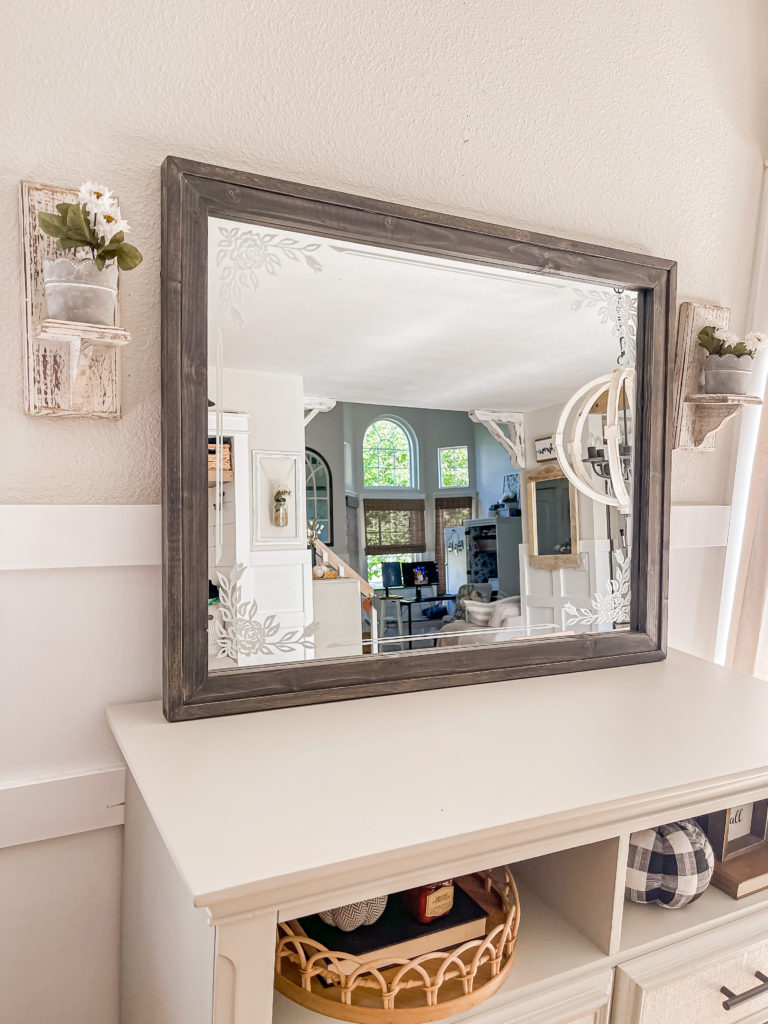
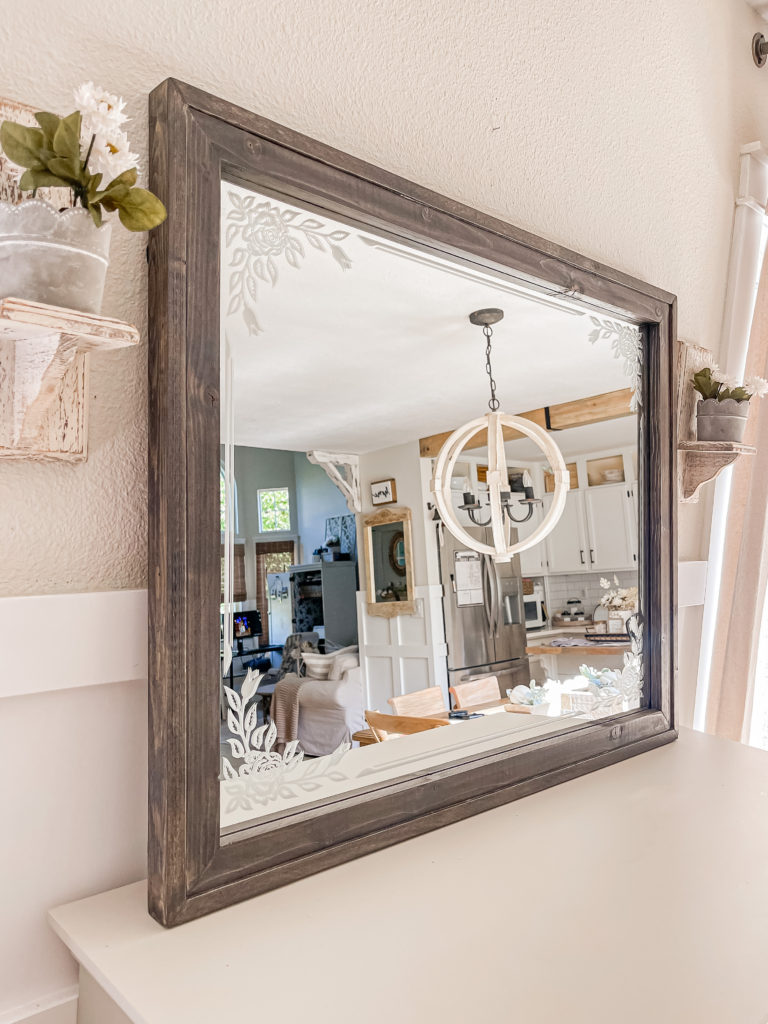
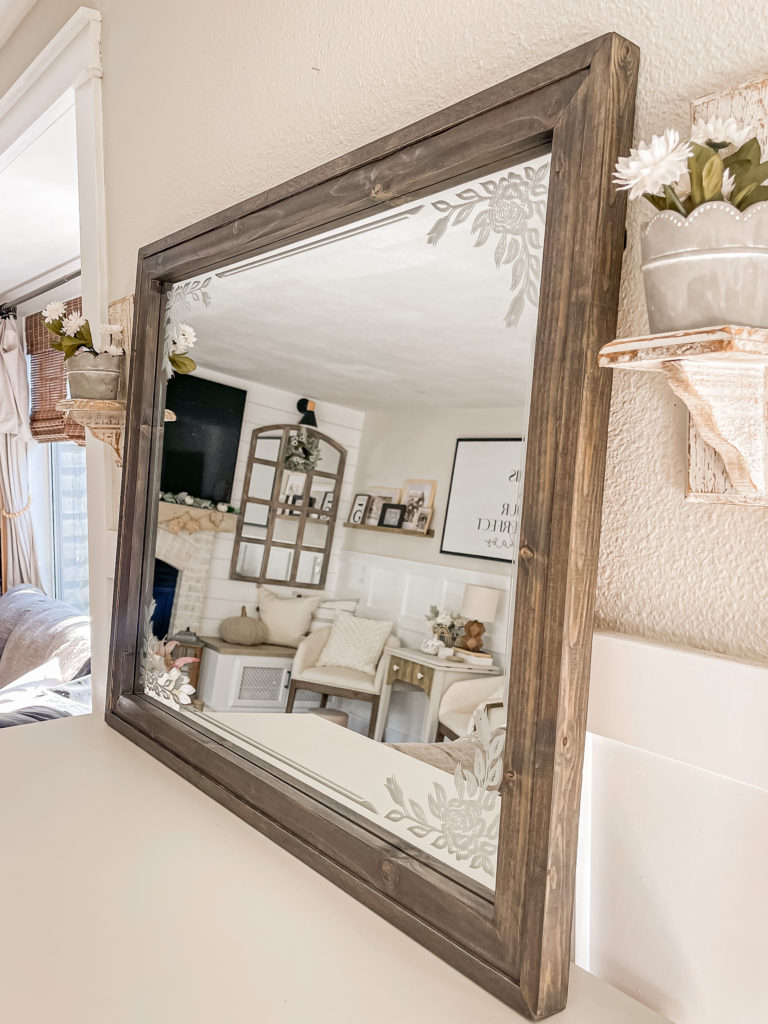
I let it dry with weights on top for several hours, and this is how it turned out! I love the dark wash over the wood grain and feel like it compliments the style of this mirror beautifully.
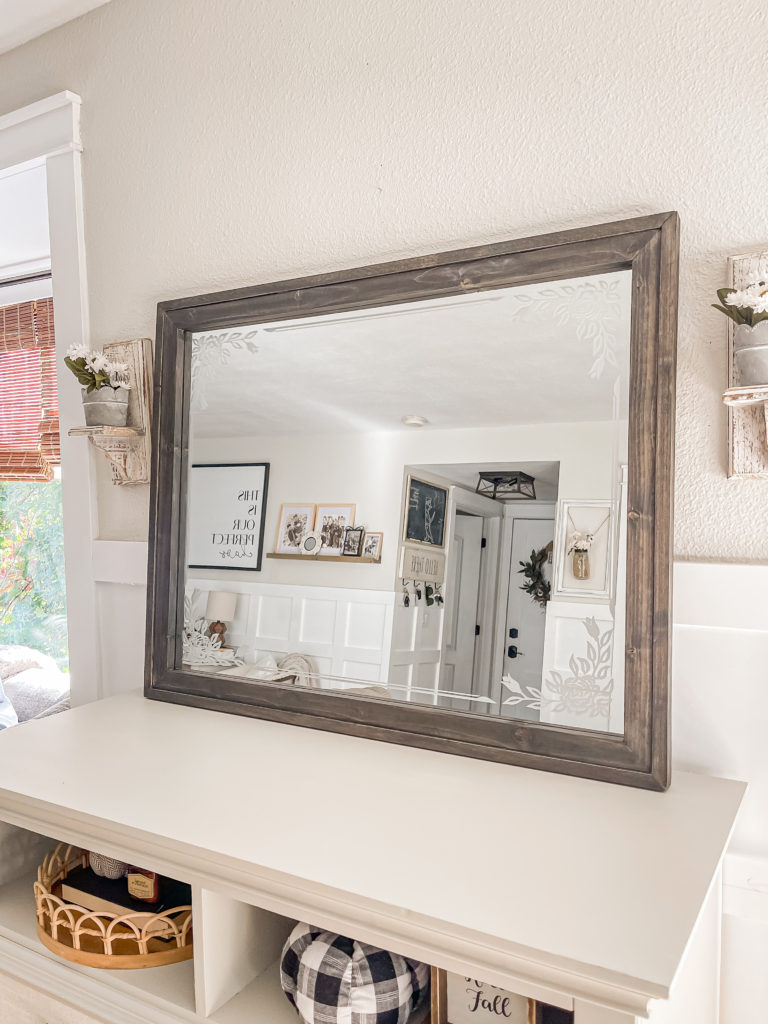
As you know it’s impossible to get a straight shot of a mirror without being in it so, hi!
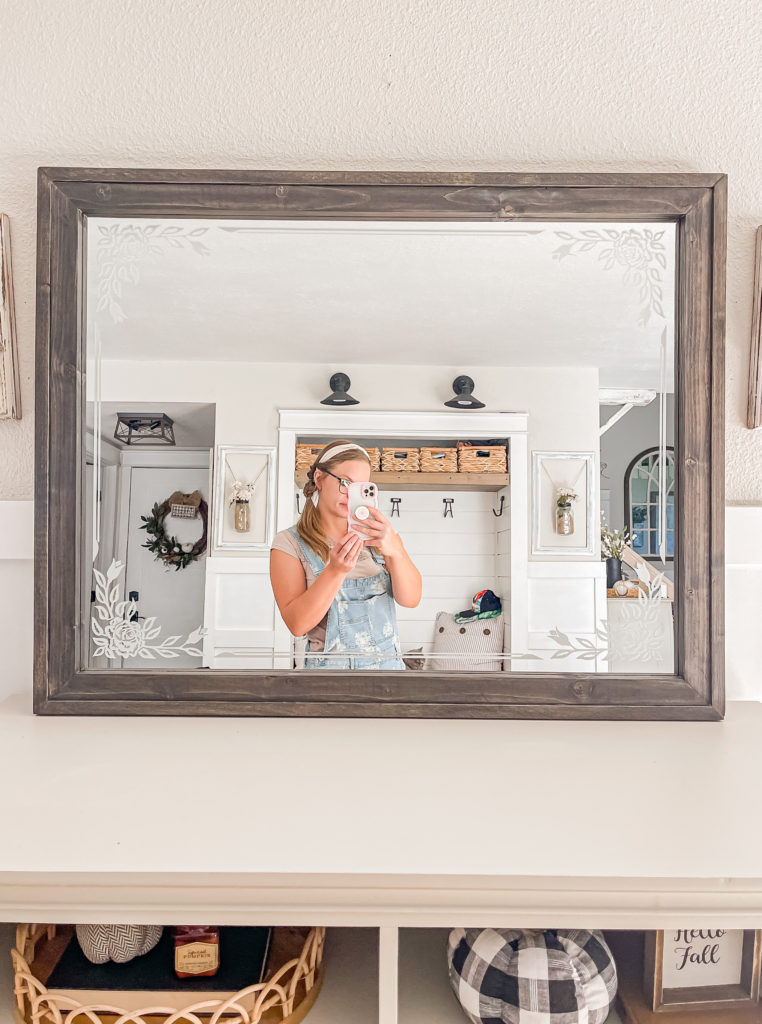

I am so happy that I was able to salvage this precious piece for her!

Have a safe and happy weekend my friends!
PIN FOR LATER!
Linking up to these awesome parties!